Adding More Pots
Today we are going to take two brand new pots, that could have gone anywhere in the house, and we are drilling holes in them!
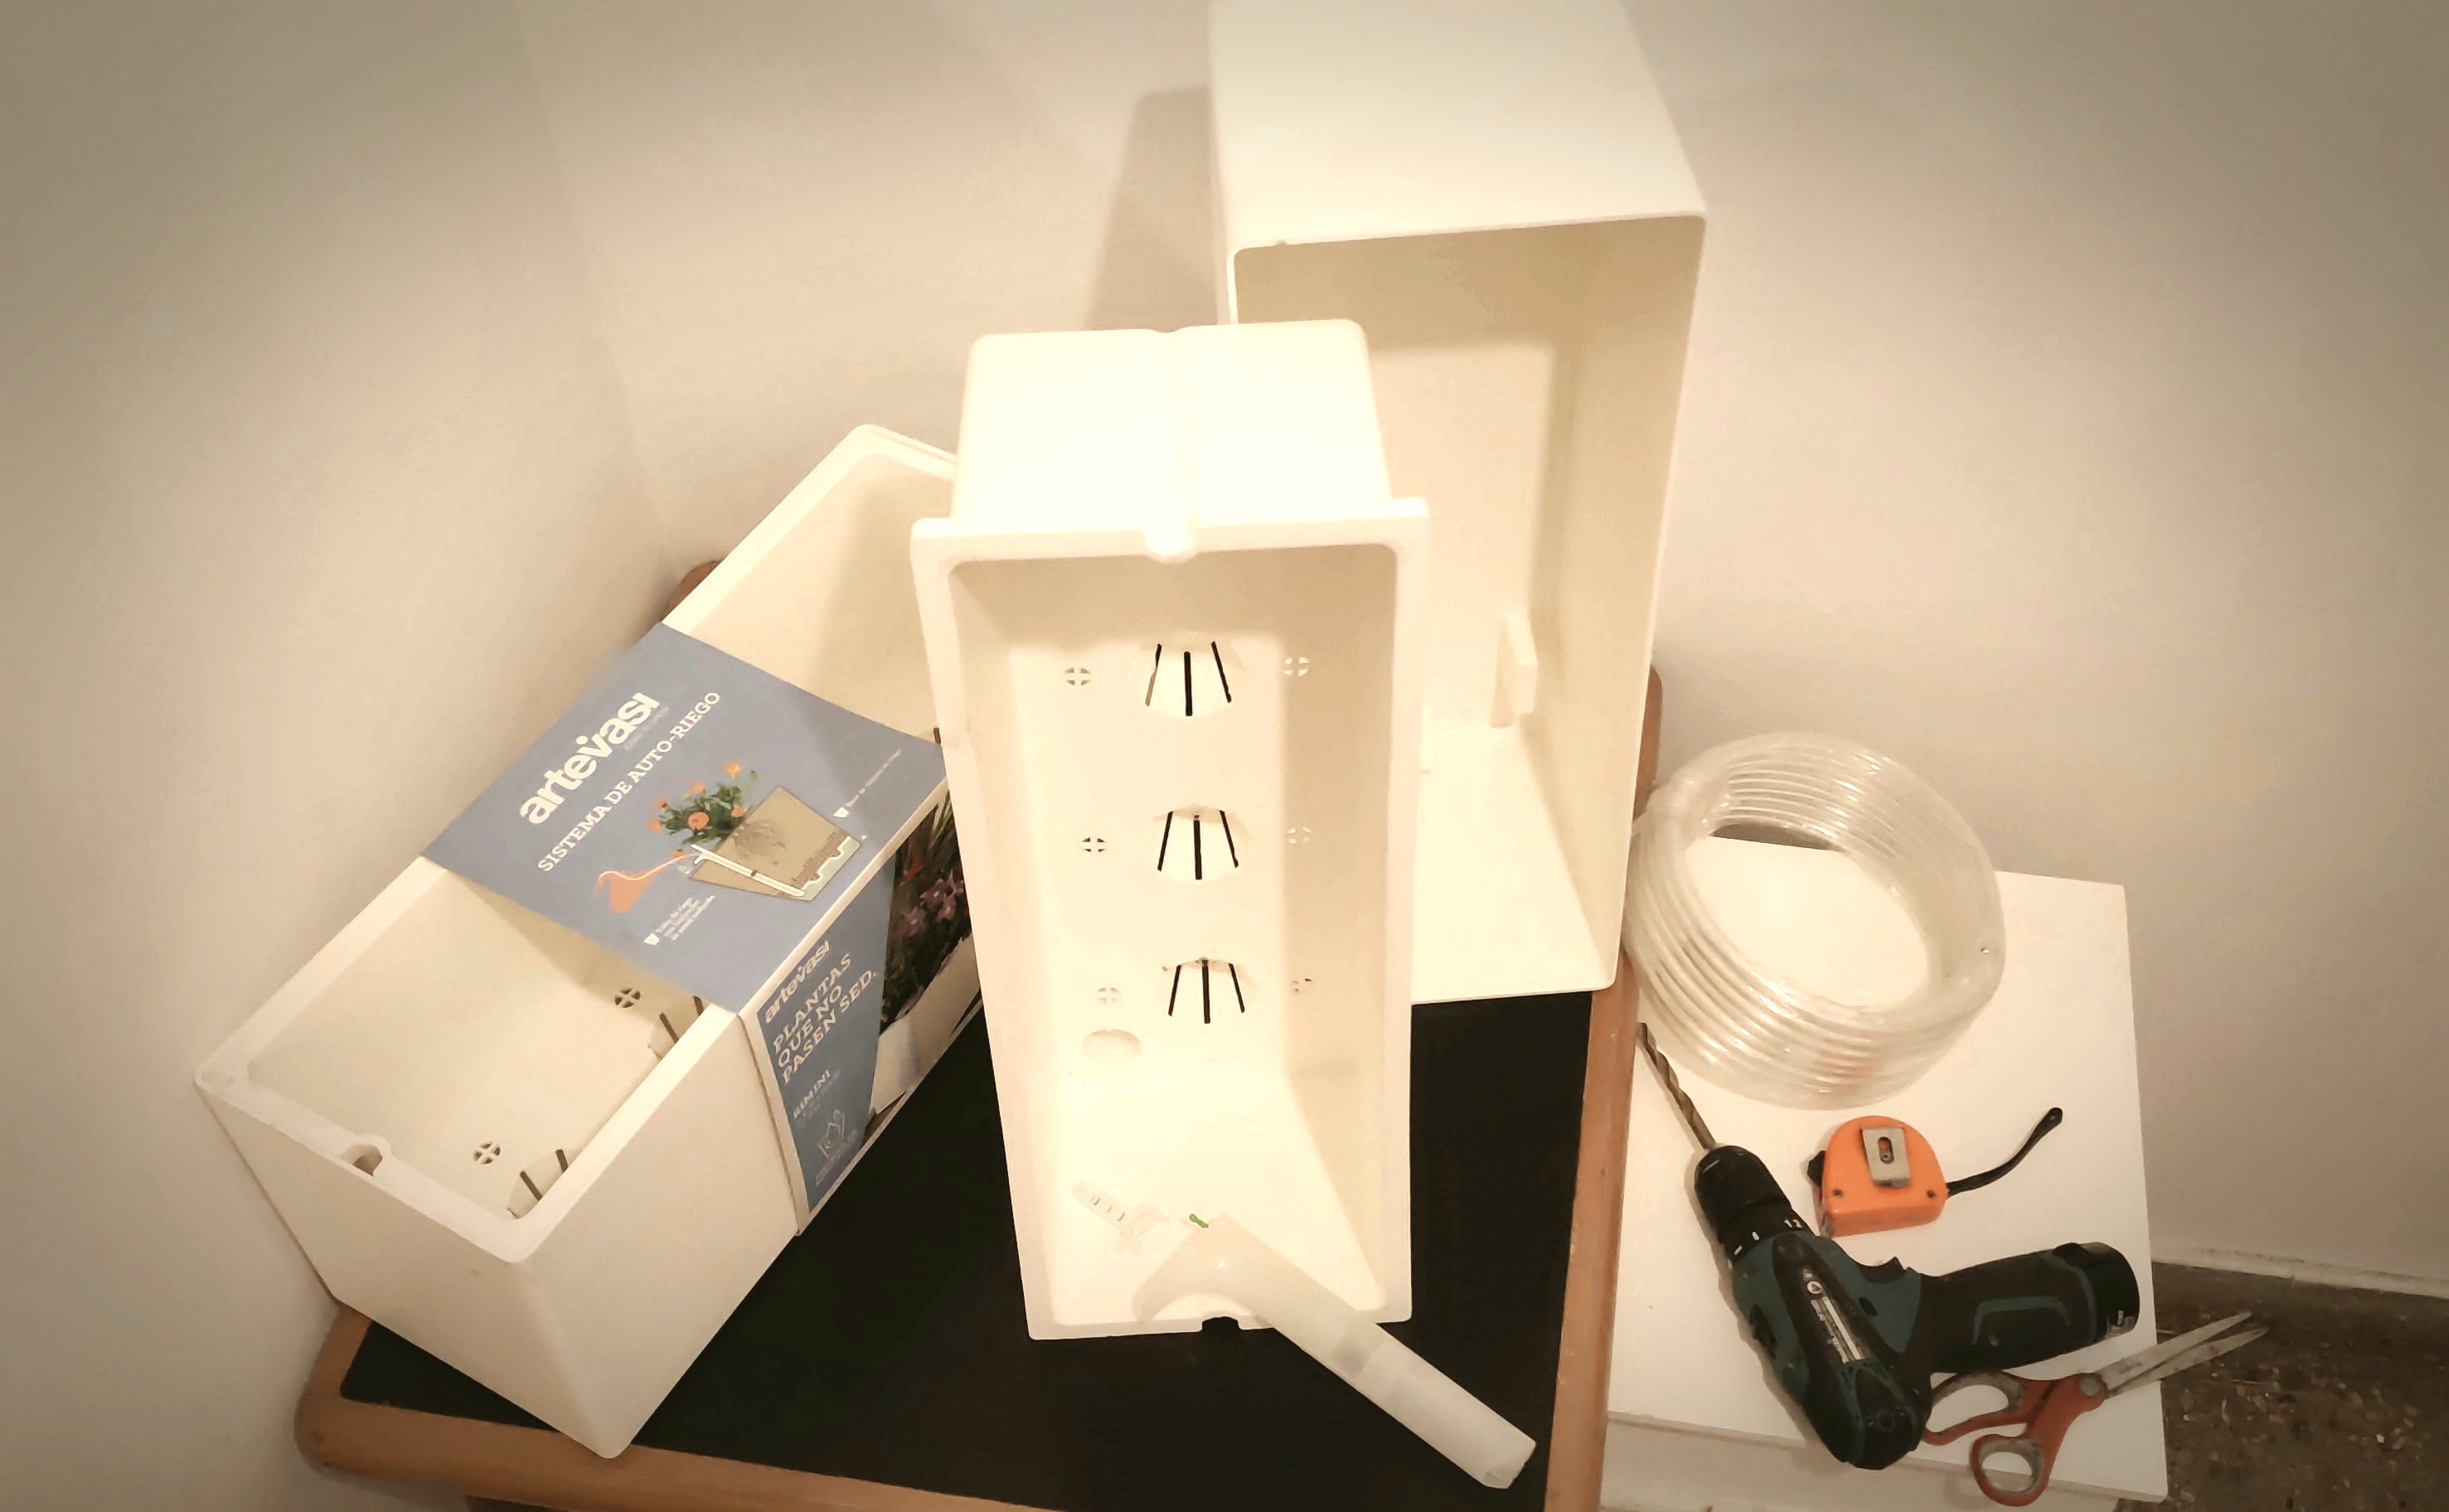
Just about two inches from the bottom, there will be a hole in order to connect these, using tubing, so that all can be watered automatically. There will be an electric pump on a timer which cycles the water through all of the pots once per day.
First I have to add a paper-thin mesh that will keep dirt out of the water supply which runs running through the bottom. It is okay if the water is discolored but if it has any particles in it, the pump will get clogged up.
Prepping the inner pots
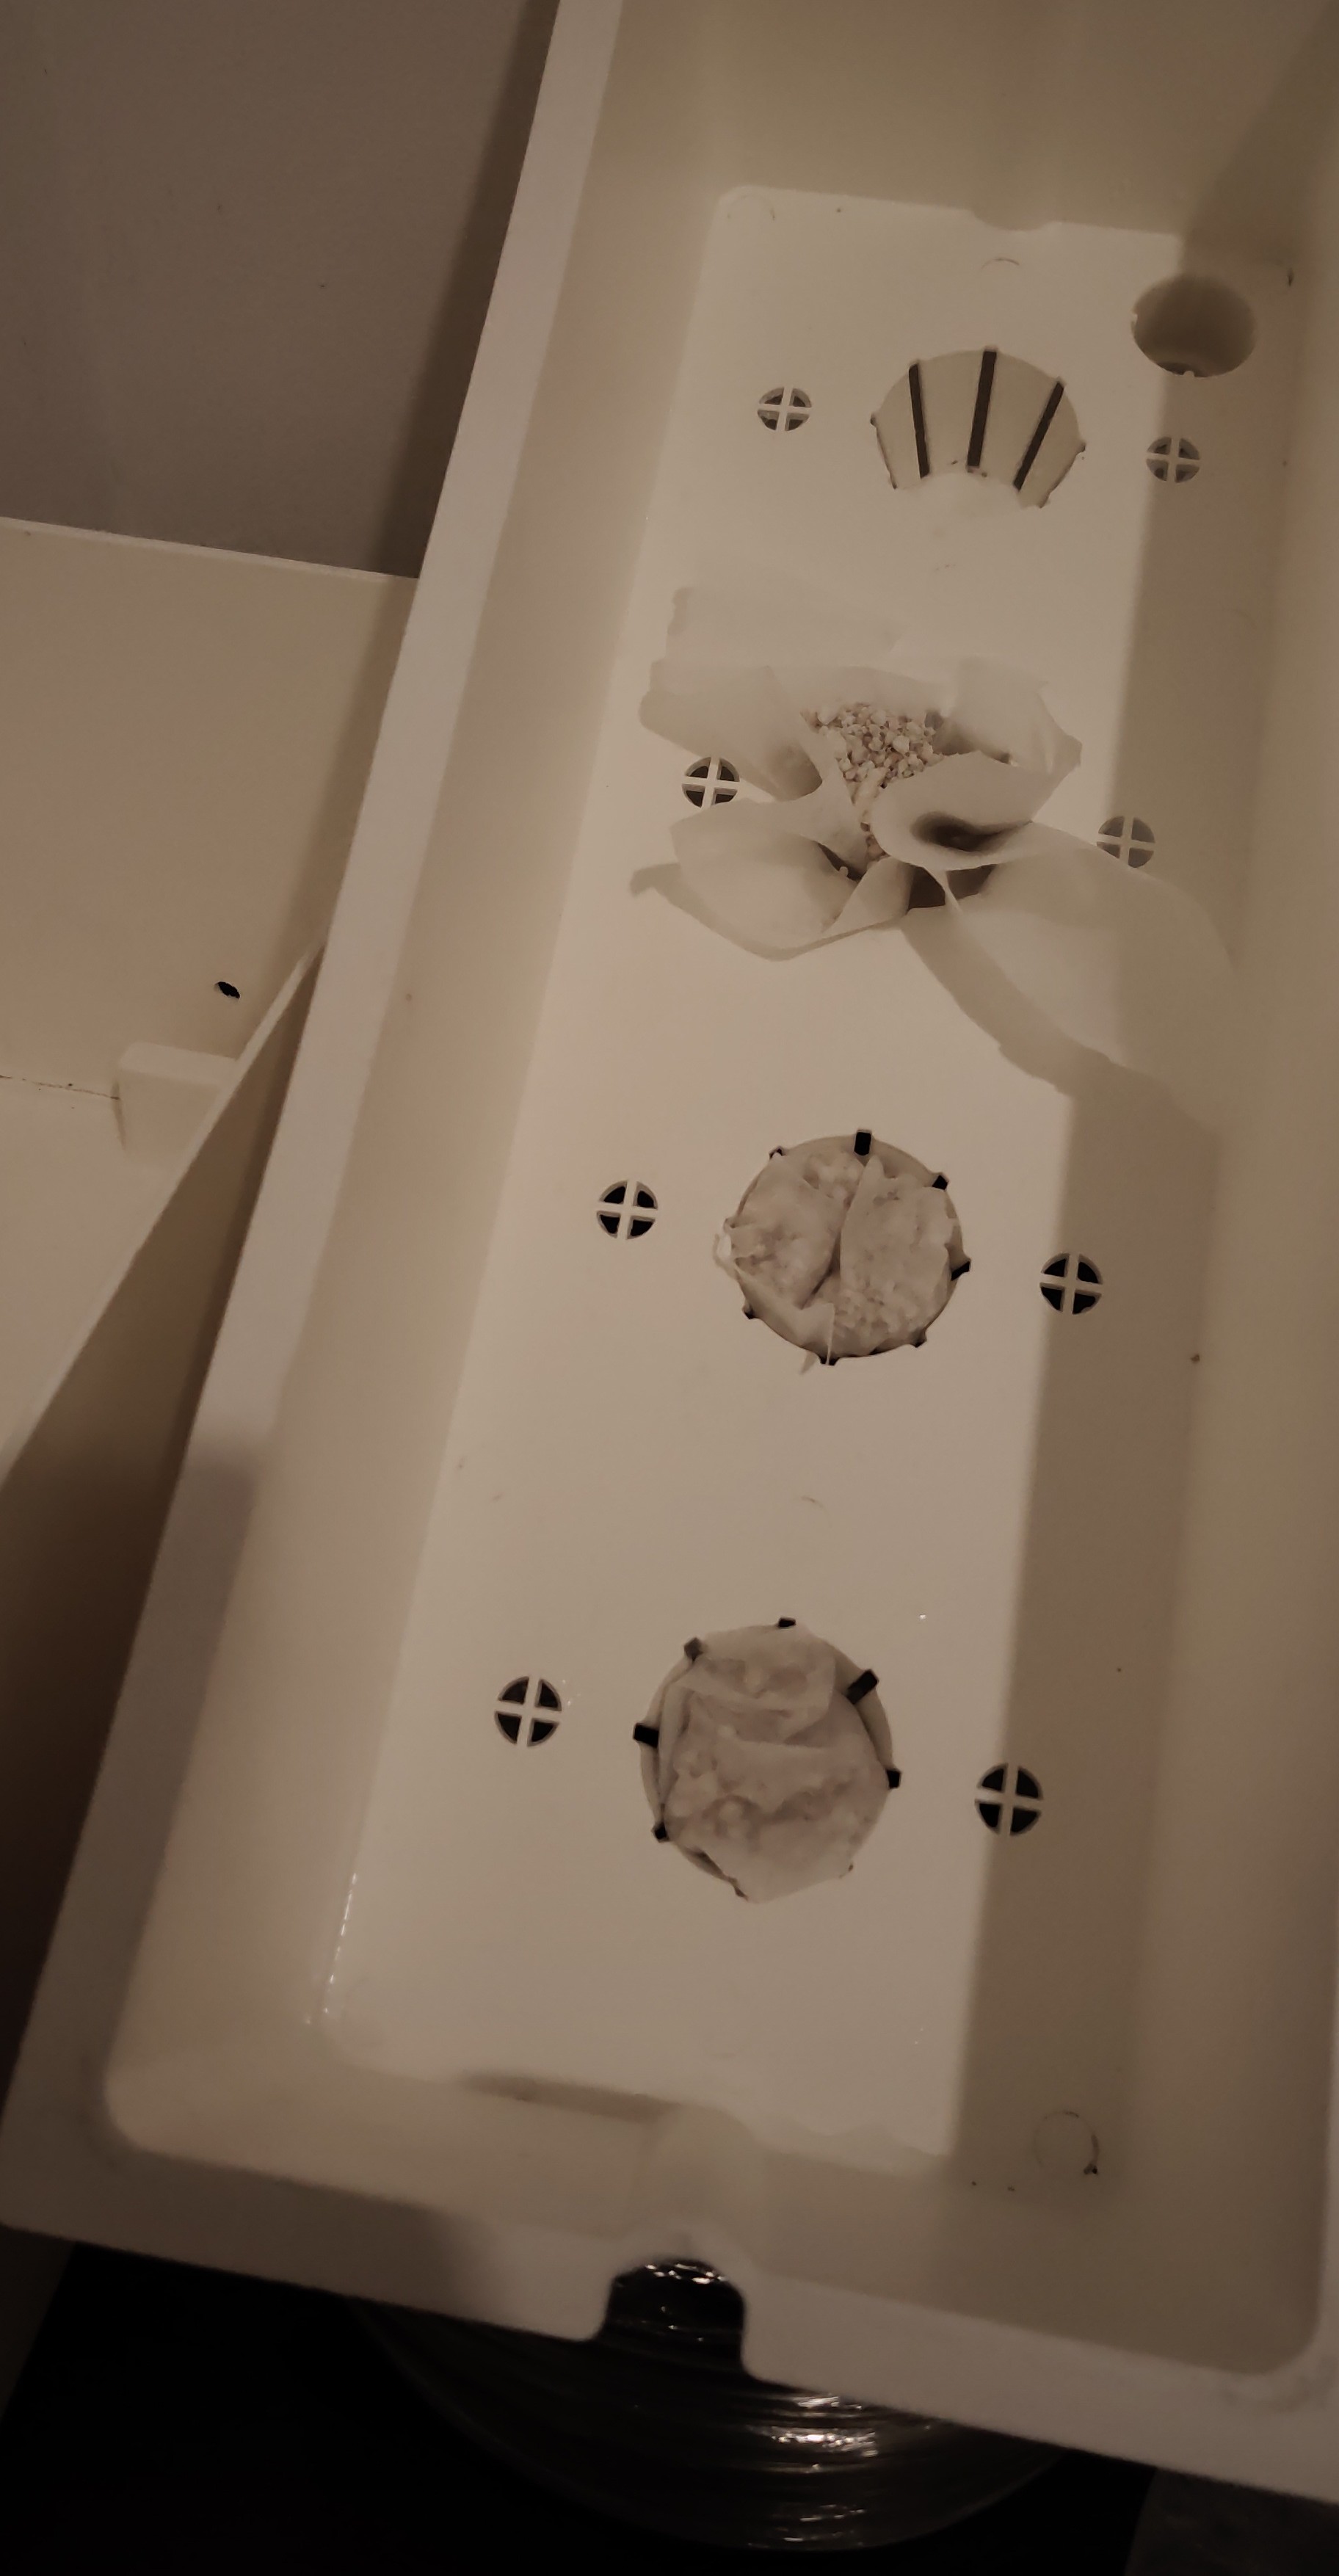
Each of the wells are filled with mesh containing perlite, then a flat mesh goes onto the bottom of the inner pot where the soil will be.
Next install the float system that will tell us how the automatic watering system is doing, that is, in case the pump or timer fails. Place the fine mesh at the bottom to cover the other grates that would otherwise contaminate our reservoir.

If you are following along, It should look like this before you start adding soil-perlite strata. See how fine the flat layer of mesh is, you can hardly see it.
Perlite carries water upward. I place perlite across our mesh two inches deep. Then we put a mound of dirt in the middle of the pot. This could have been a 100% hydroponic system with no soil, but some plants that I am growing have not been tested to see if they will produce in perlite alone. I use a mix of fertilizer in the water, which the soil will absorb to produce luscious vegetables.

I am adding two pots to the four I had already started farming . Put your inner pot aside and prep the next one for however many you are using. Two layers are sufficient to start. Build your layers after the inner pots are dropped into the reservoirs. If I were to fill mine to the top, I would have trouble lifting them into place five feet off the ground.
Time to prep the outer pots
I started drilling my pots two inches from the bottom and each consecutive pot is drilled slightly lower for flow.
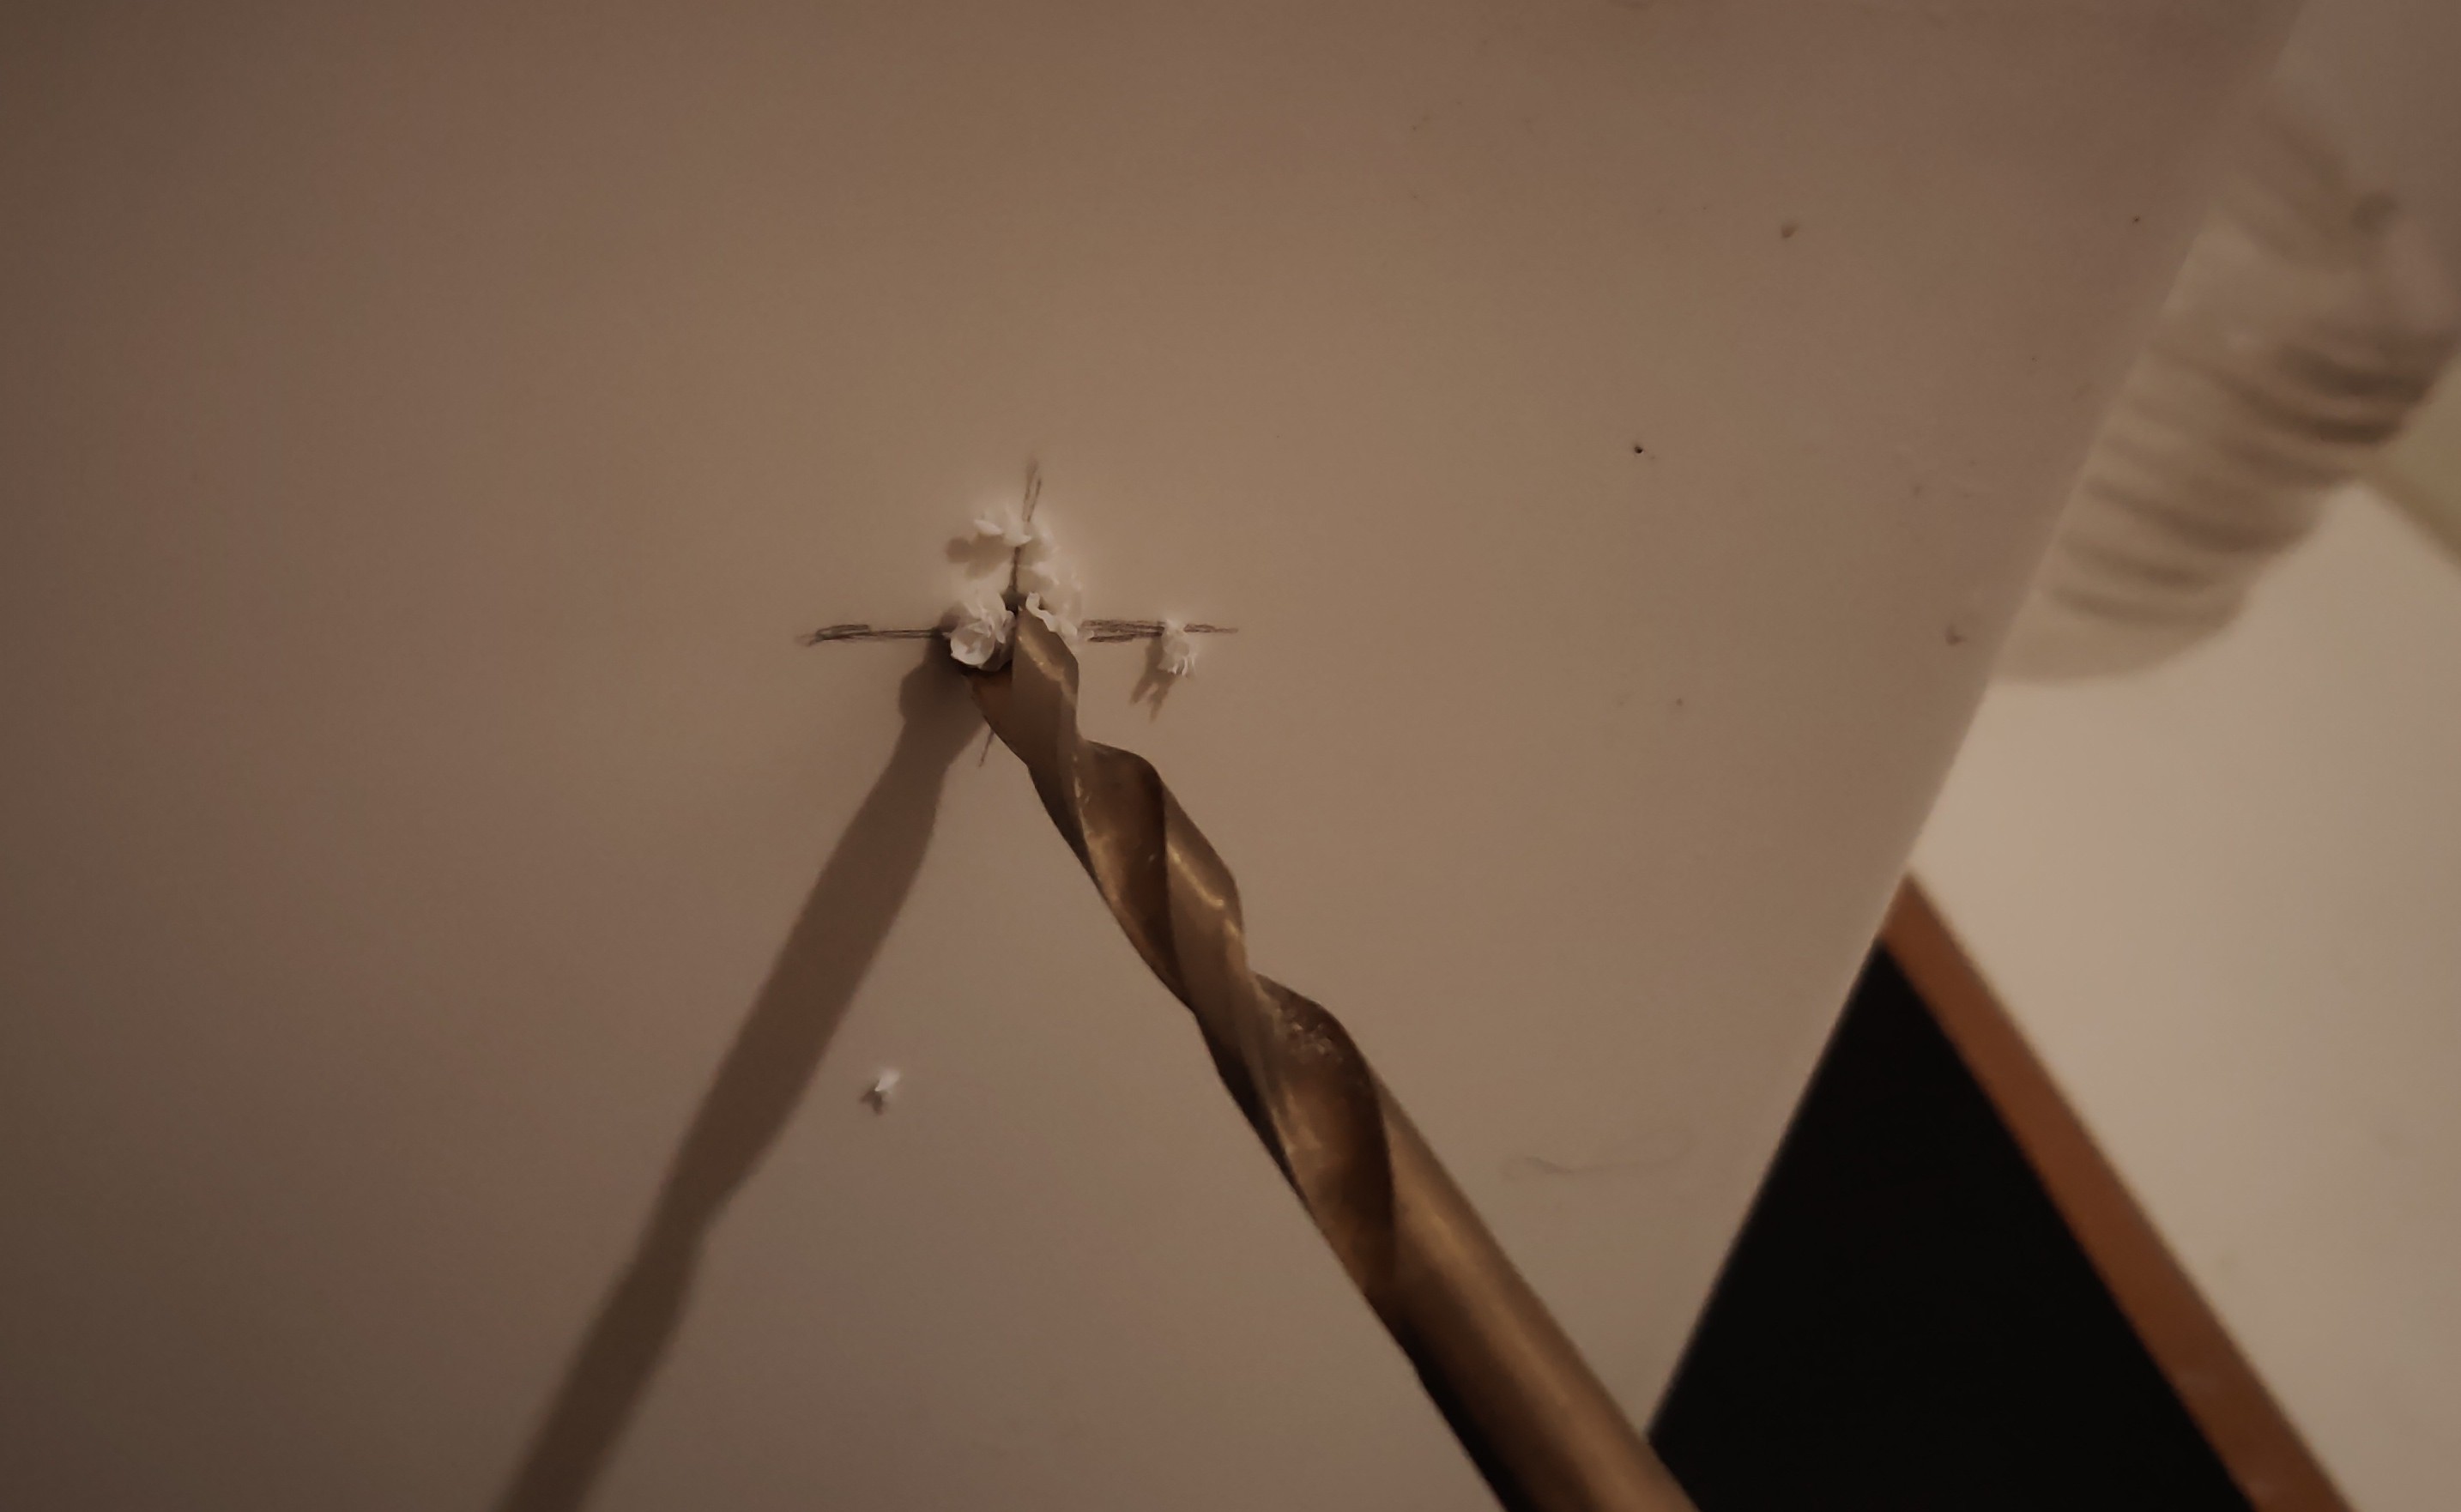
It would likely work with all of them at the same level but this way, I can plant vegetables that like slightly dryer soil at the end of the daisy chain, and ones that like more moisture at the first pot.
We drill both ends of the outer pot and then set it in place. Today, I am adding this one to the group of post that have already been seeded. I cut what was the drain hose and run it to the inlet of pot number five.
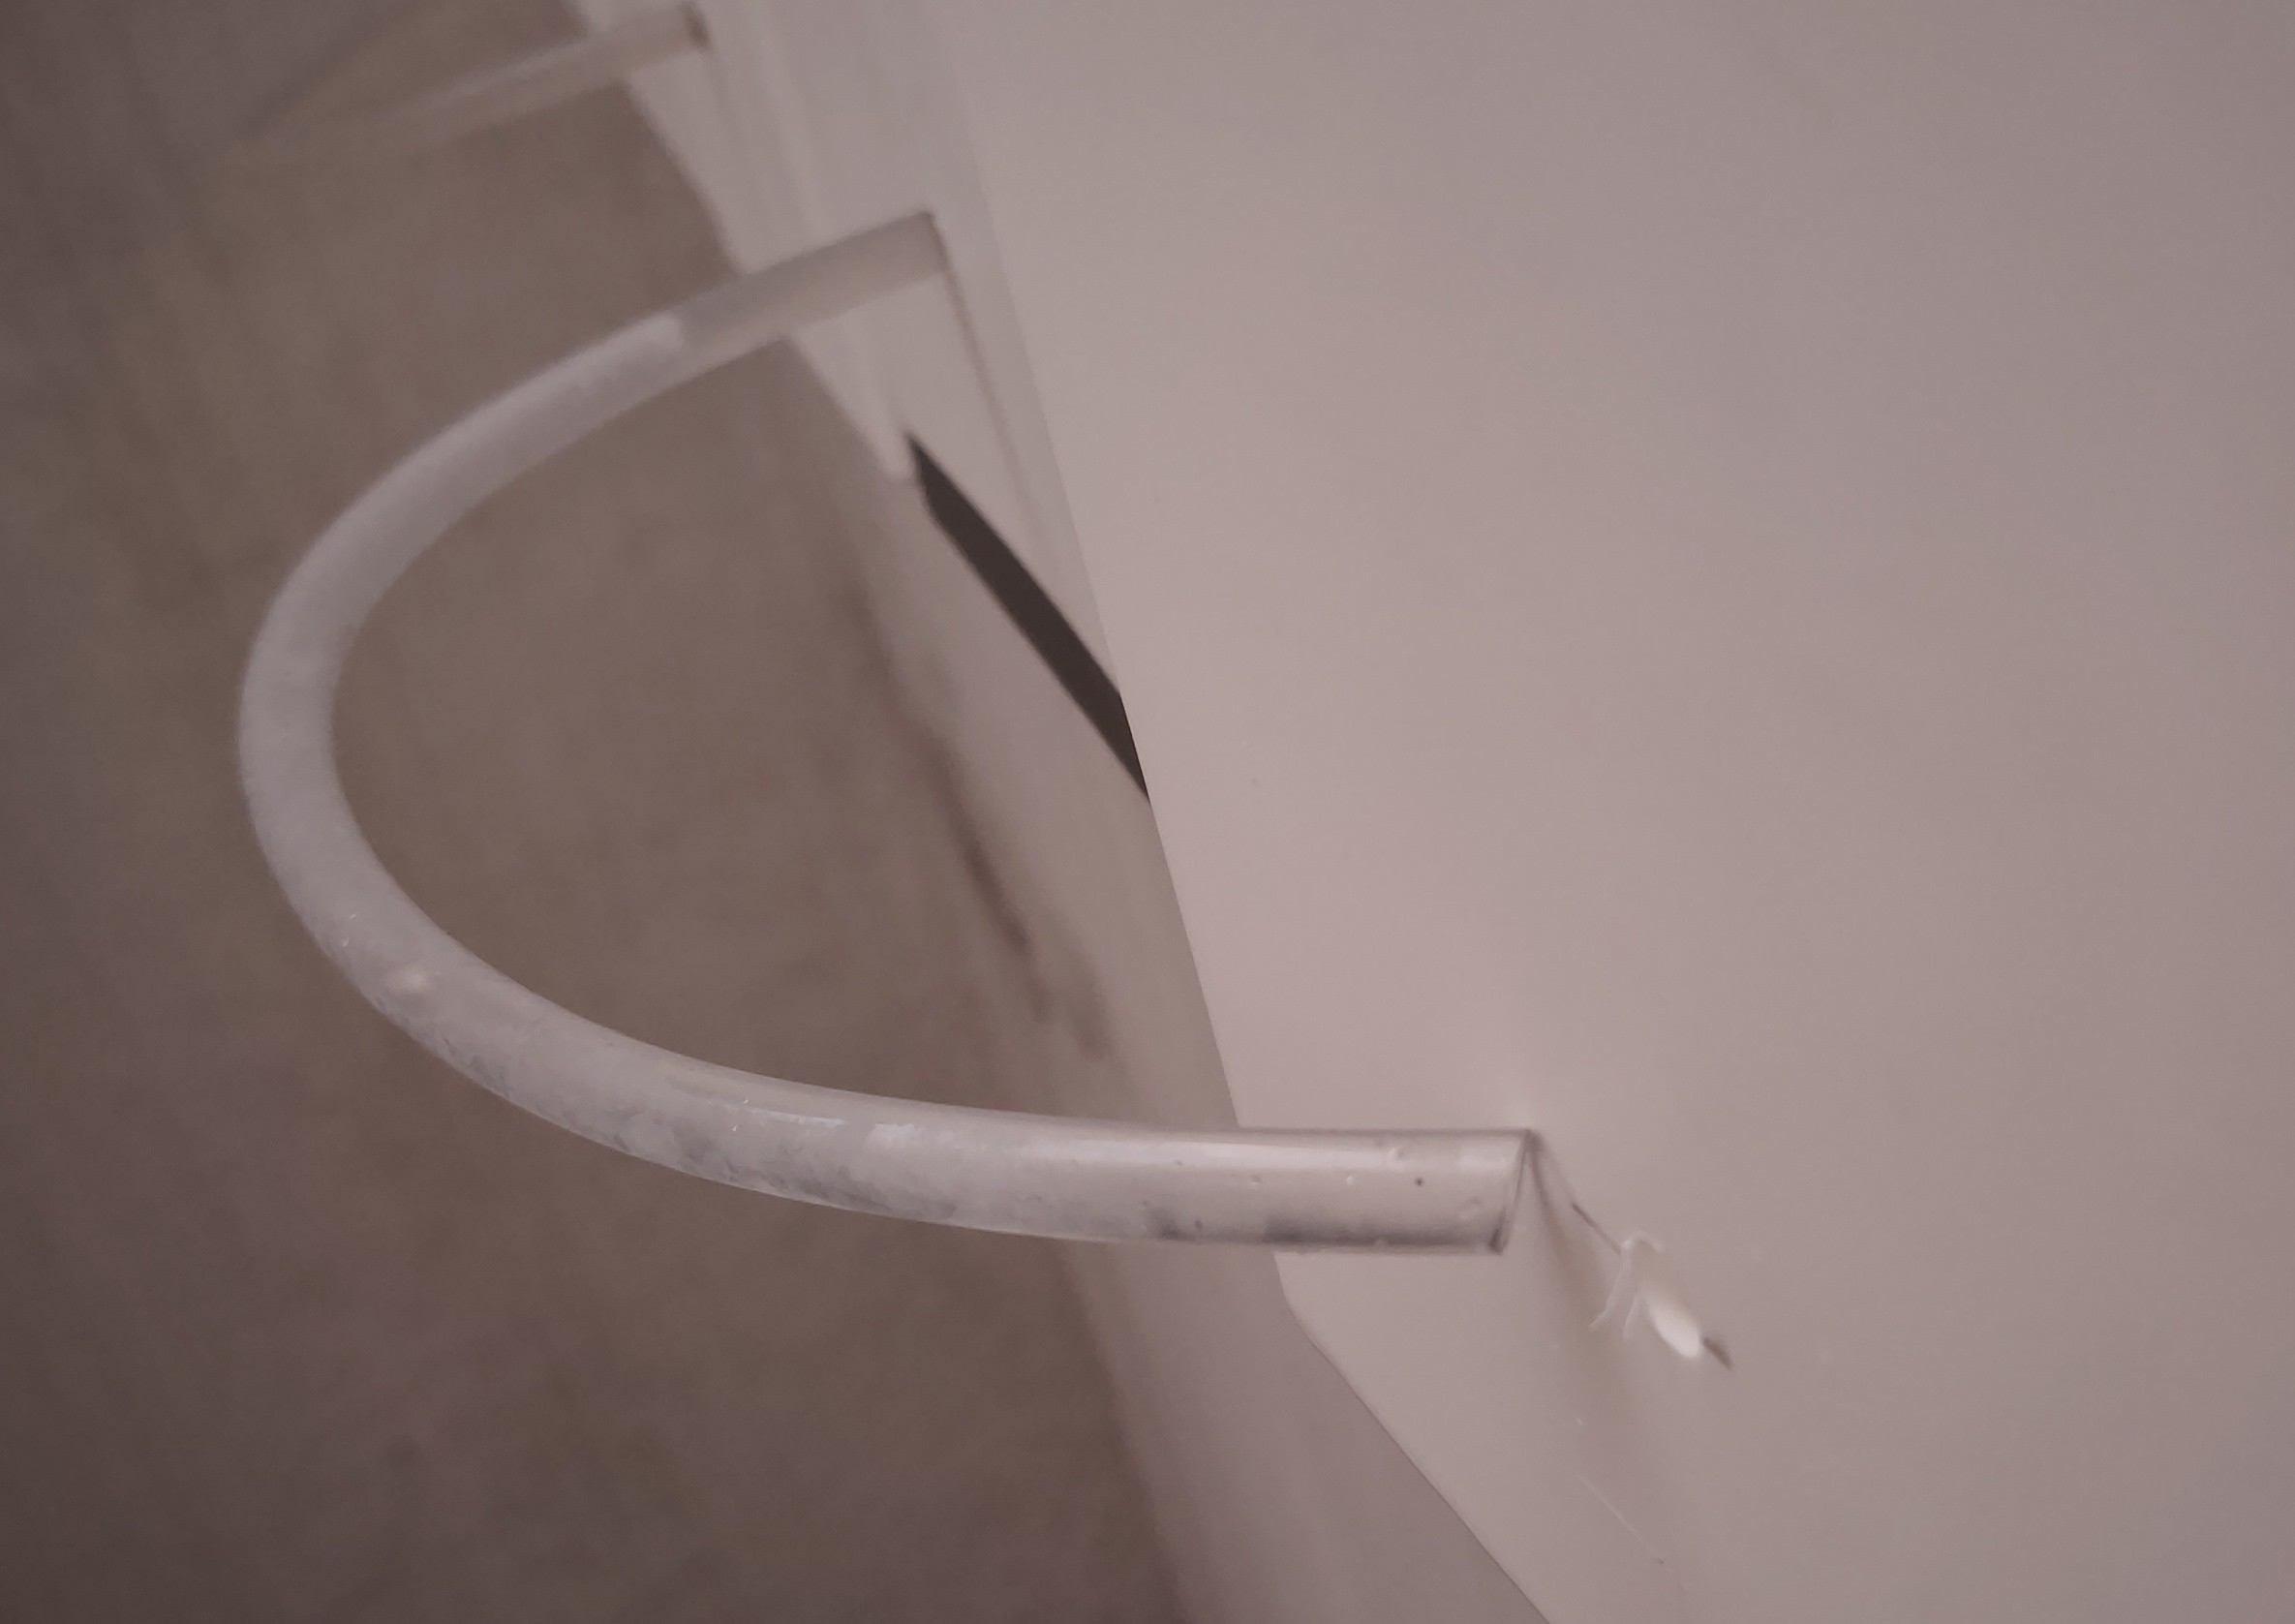
Here is me, hanging over the edge of the open-air window to take a picture of the next pot coming on line. Water was draining into it as I inserted the tubing into pot number five.
You want to insert the tubing farther than needed, apply silicone sealant around the tubing (inside the pot) and then slowly pull the tubing back out until there is only a quarter inch sticking through to the inside the pot. Our, inner pot does not leave much clearance so this is important.
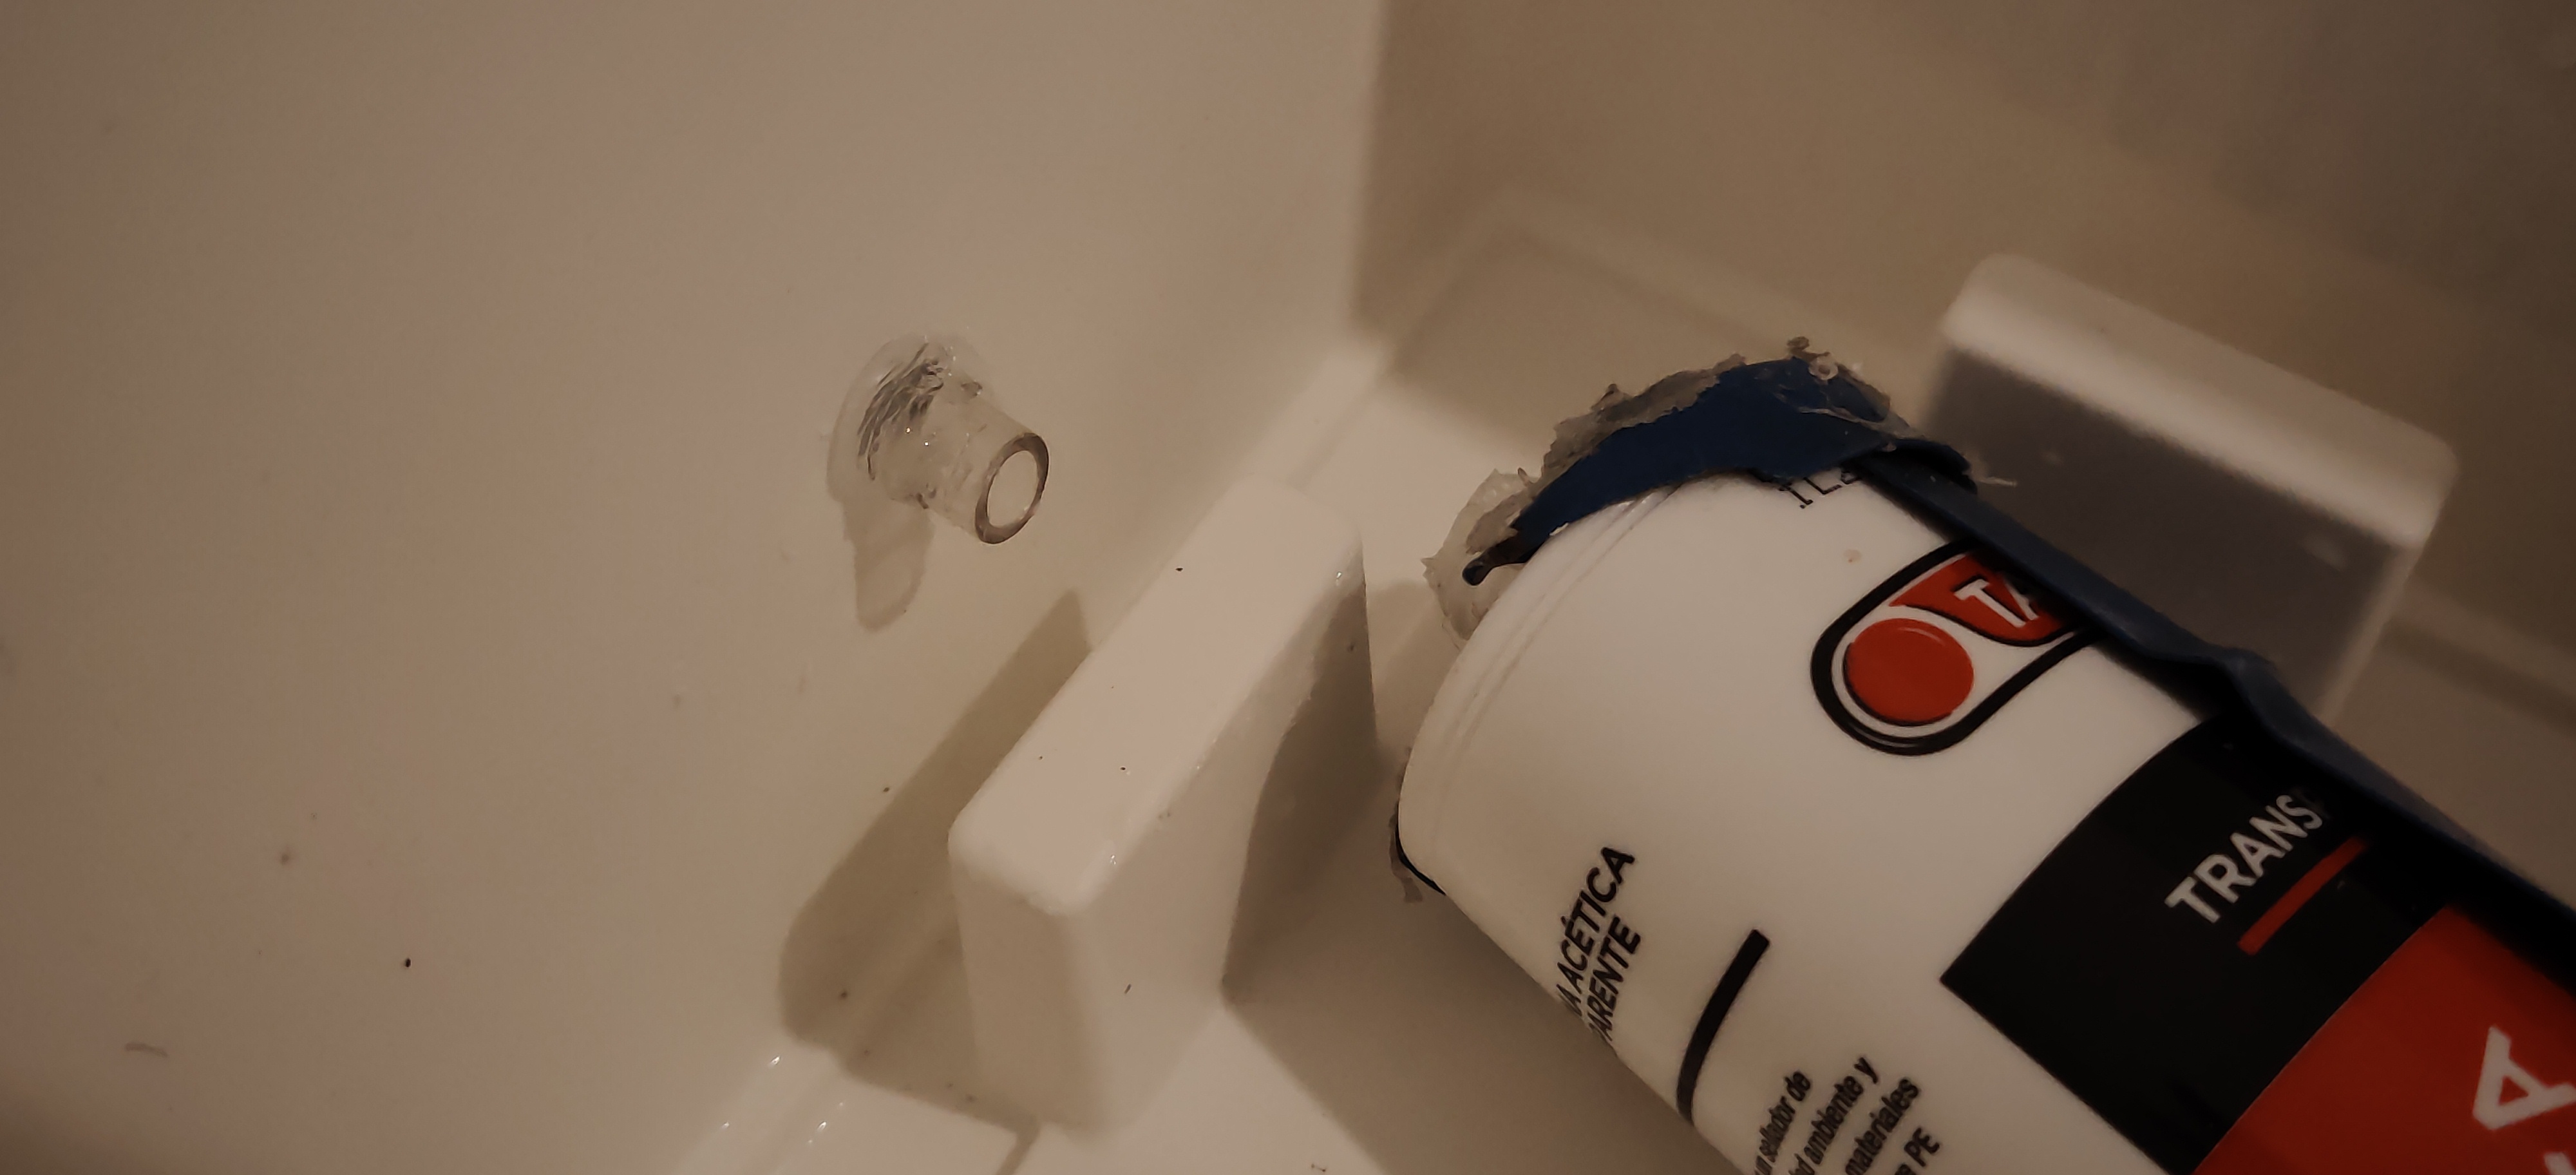
Here you see the pedestals that will support the inner pot. If you leave too much intruding, you will have difficulty lowering the inner pot down. These pots were not designed to do what I am doing. I am lazy and do not want to go water them every day.
I am repeating the same process with pot number six now and I will run a new drain hose out the back of it. We swing that hose around and drill a hole through the shelving, allowing the water to collect in the pump reservoir.

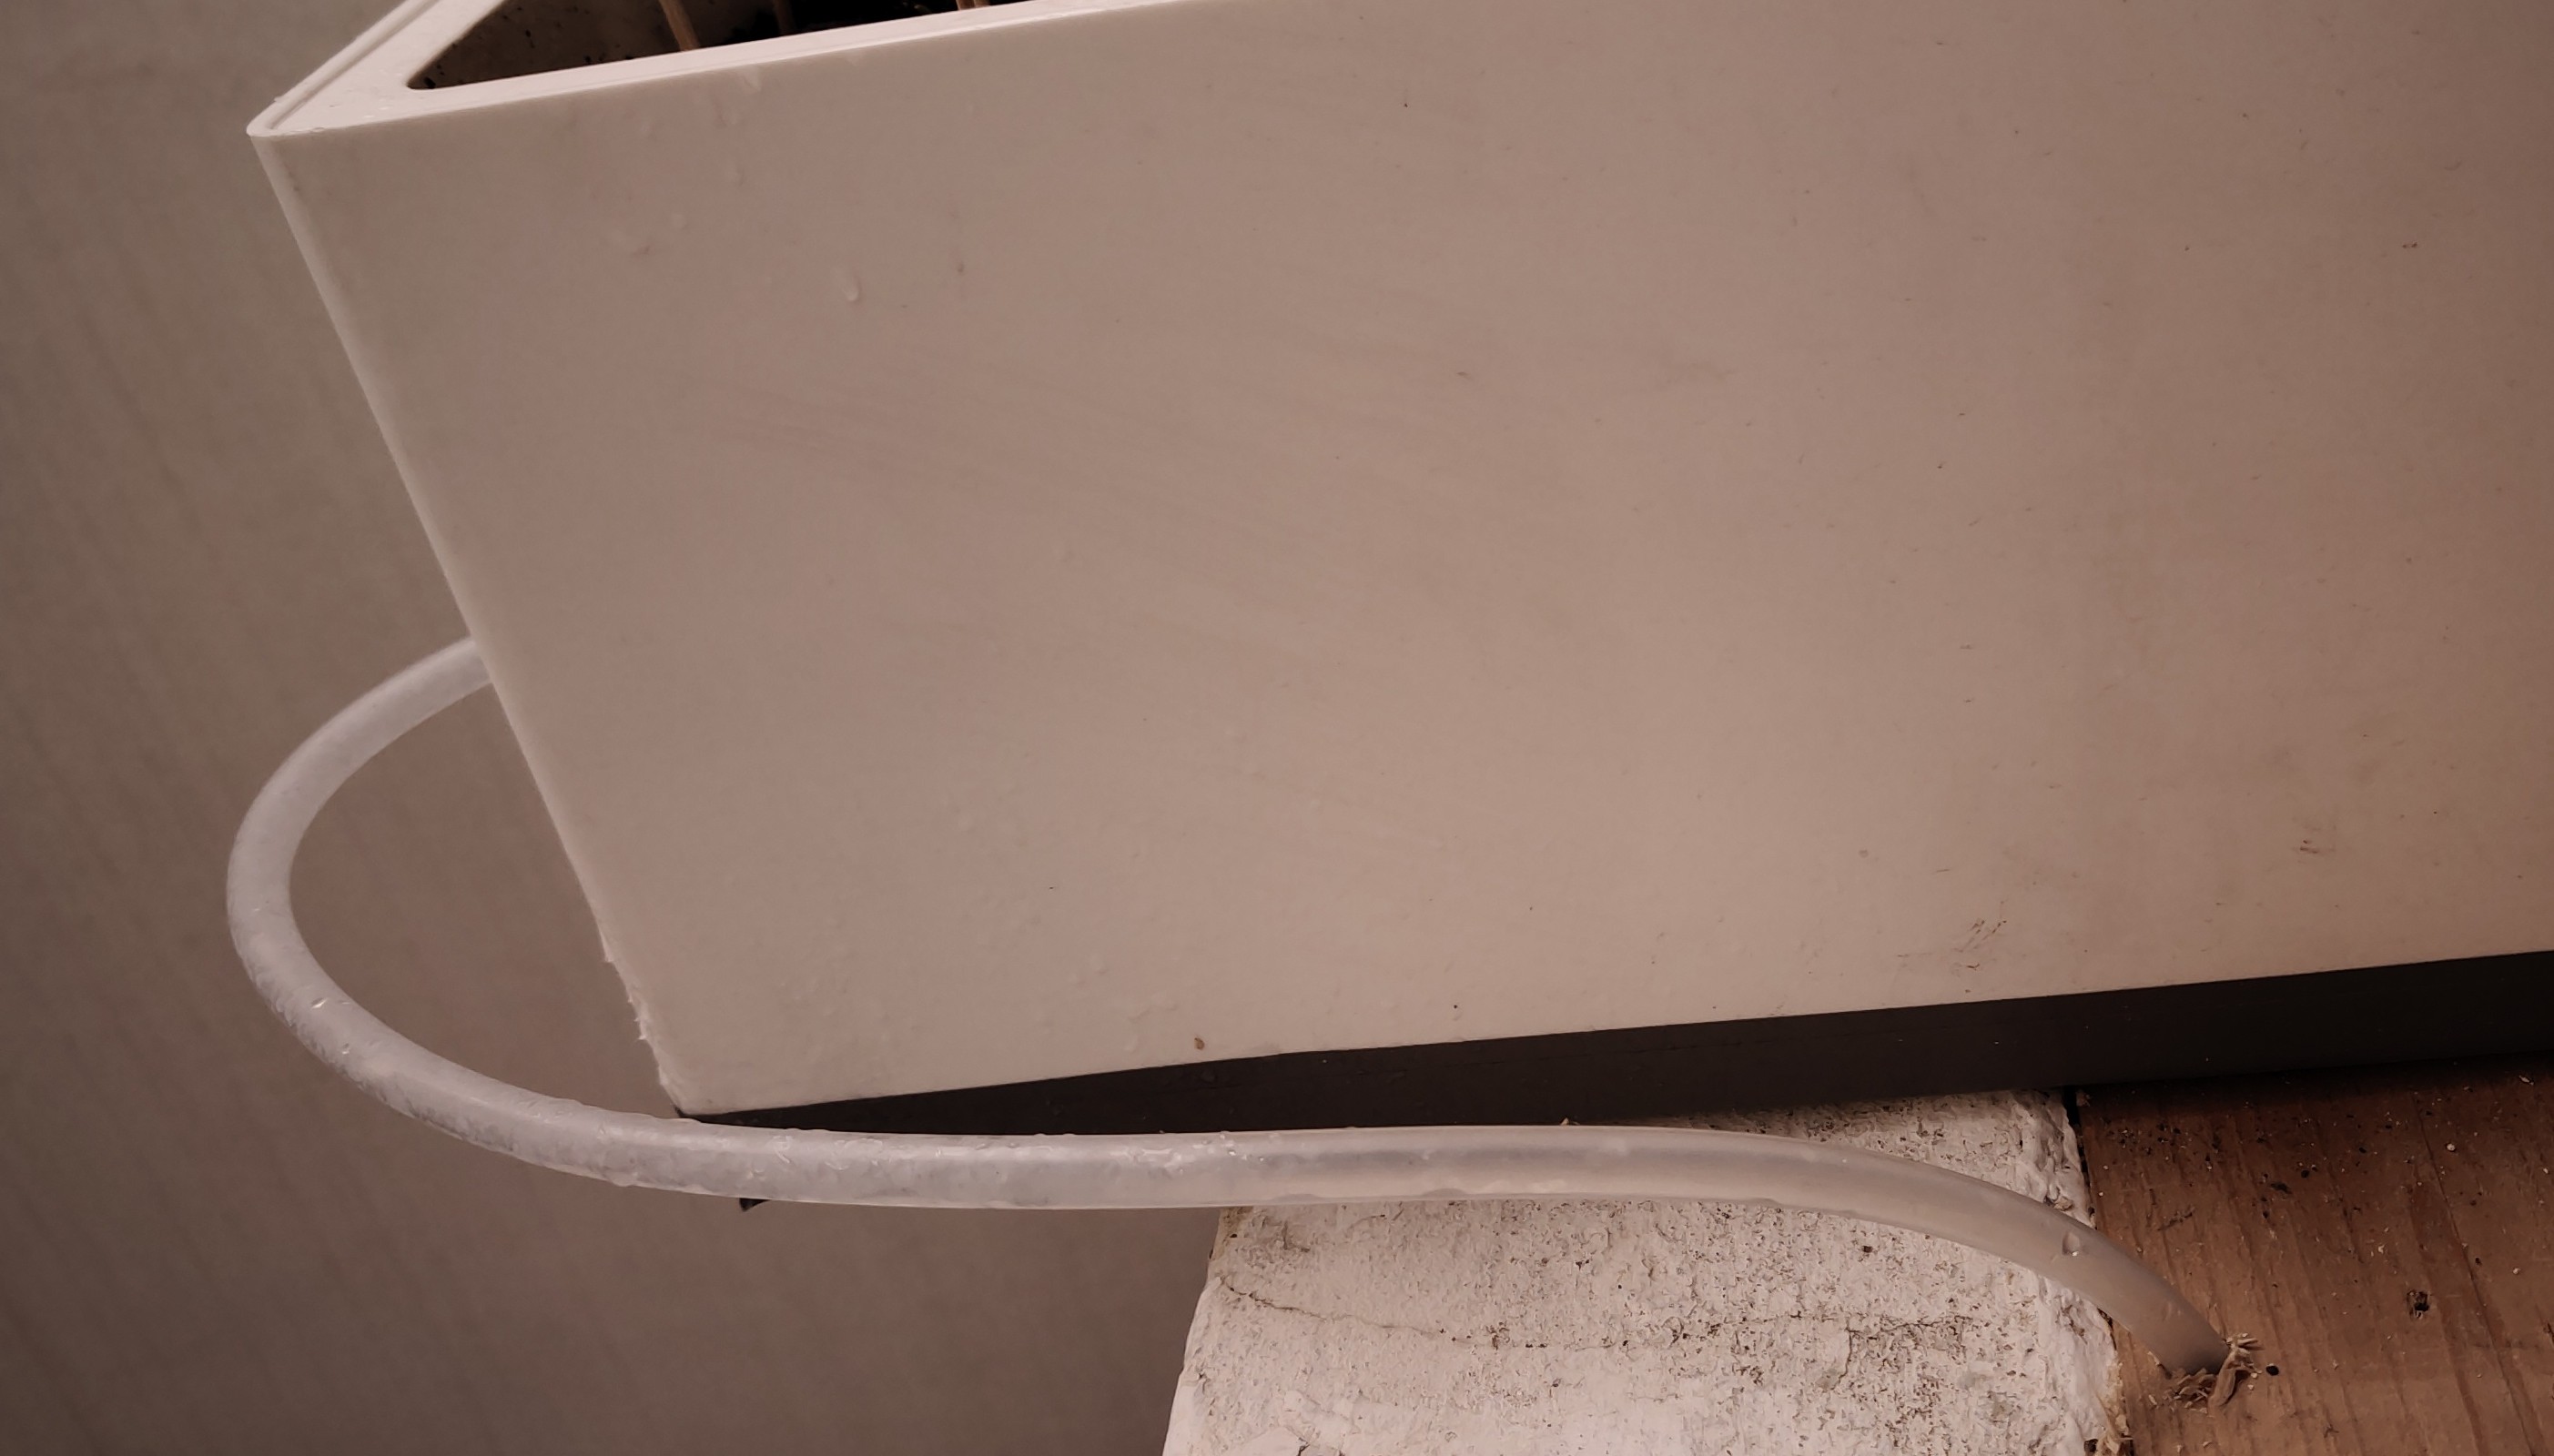
Here is from the top side and below
Coming up next, the wiring and plumbing of the pump works and timer.
