✨🍬🎄¡Hola amigos amantes de la creatividad y la Navidad! Espero hayan pasado un bonito inicio de semana.🎄🍬✨
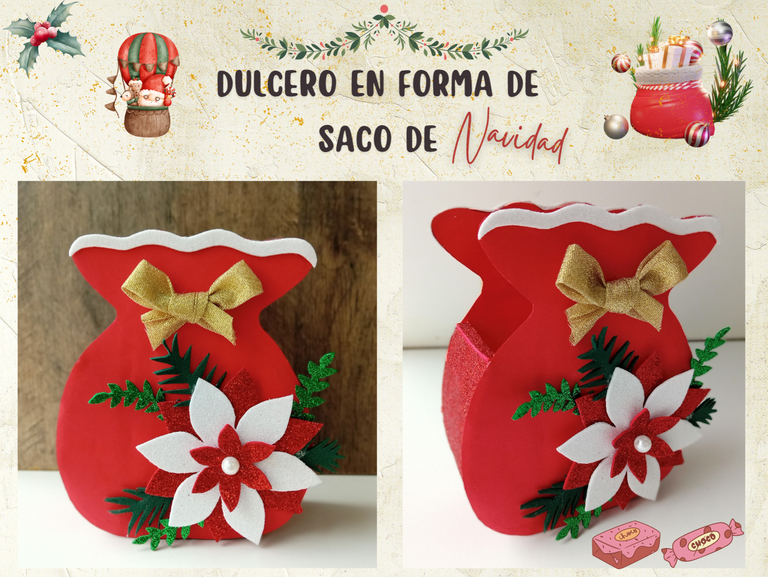
En esta oportunidad les traigo un lindo dulcero en forma de saco con la temática navideña, en la cual he estado elaborando diferentes manualidades con esta temática, pronto les traeré cositas nuevas que no tendrán que ver con temática navideña pero es que me encanta y ya compre materiales acordes jaja. Aun así, próximamente variaré el contenido. El saco lo elabore con muy pocos materiales, es realmente fácil de elaborar, ya que al final, es lo que buscamos a la hora de hacer dulceros , pues se trata de hacer varios para regalar a los niños, familiares o amigos como un bonito detalle. Y que a su vez son económicos, fáciles y rápidos de elaborar. Como siempre digo, esto es solamente una idea de lo que pueden hacer, se trata de que utilicen su creatividad y saquen el mayor provecho.
🔸A continuación, los dejo con el paso a paso:
✨🍬🎄¡Hello friends lovers of creativity and Christmas! I hope you have had a nice start to the week.🎄🍬✨
This time I bring you a nice box of sweets in the shape of a sack with a Christmas theme, in which I have been doing different crafts with this theme, soon I will bring you new things that will not have to do with a Christmas theme but I love it and I already bought game materials haha Even so, I will vary the content soon. The bag is made with very few materials, it is really easy to make, since in the end it is what we are looking for when making sweets, since it is about making several to give to children, family or friends as a nice detail . And that in turn are cheap, easy and quick to do. As I always say, this is just an idea of what you can do, it's about using your creativity and getting the most out of it.
🔸Here I leave you with the step by step:
♥️ESPERO QUE TE GUSTE,
¡Empecemos!
♥️I HOPE YOU LIKE IT,
Let's start!

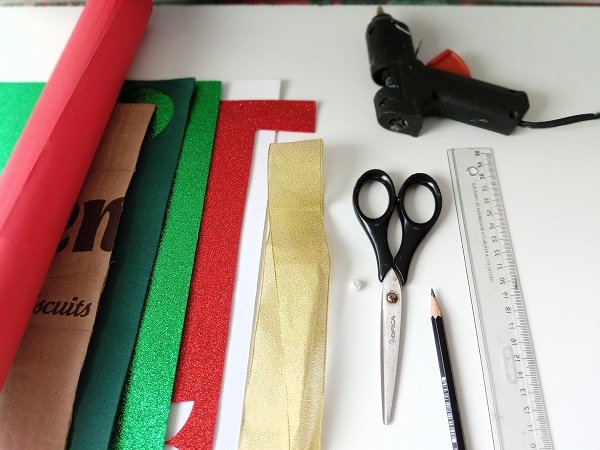
🎁 MATERIALES | 🎁 MATERIALS
- Cartulina escolar roja.
- Foami escarchado rojo
- Foami escarchado blanco.
- Foami verde oscuro.
- Foami escarchado verde.
- Cinta navideña.
- Perla para decorar.
- Cartón.
- Silicina caliente.
- Tijeras.
- Lápiz.
- Regla.
✏️Enlaces de Imágenes de referencia, al finalizar el post.
- Red school cardboard.
- Red frosted foami
- White frosted foami.
- Dark green foam.
- Green frosty foami.
- Christmas ribbon.
- Pearls to decorate.
- Carton box.
- hot silicon.
- Scissors.
- Pencil.
- Rule.
✏️Links of Reference Images, at the end of the post.
🍭 PROCEDIMIENTO | 🍭 PROCESS
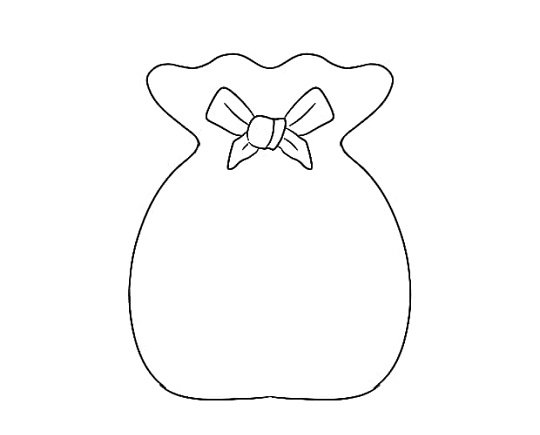
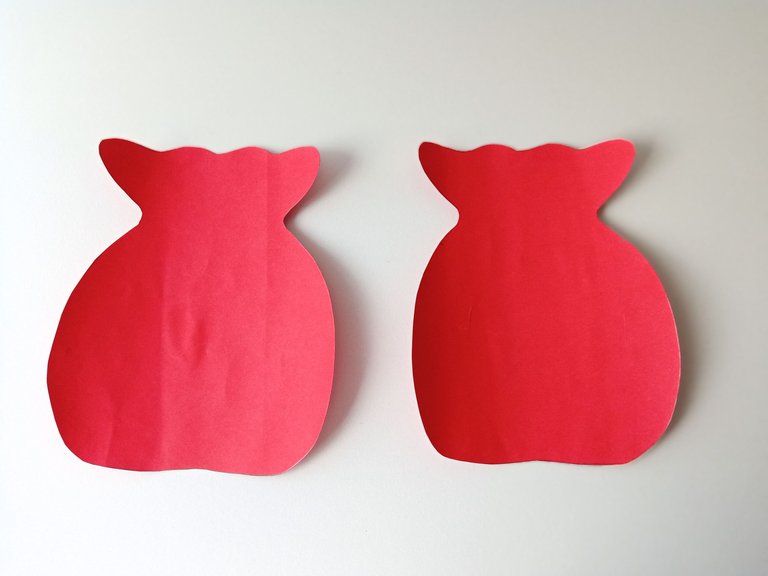
- PASO 1:
Lo primero que hice, ya que no encontraba una imagen de un saco de regalos que me gustará, fue hacer el dibujo en mi celular, por acá les dejo la foto por si quieren usar mi imagen de referencia. Luego dibuja y recorta 2 piezas de aproximadamente 14cm de largo, en la cartulina escolar roja .
- STEP 1:
The first thing I did, since I couldn't find an image of a sack of gifts that I liked, was to make the drawing on my phone, here I leave the photo in case you want to use my reference image. Then draw and cut out on the red school cardboard, 2 pieces approximately 14cm long.
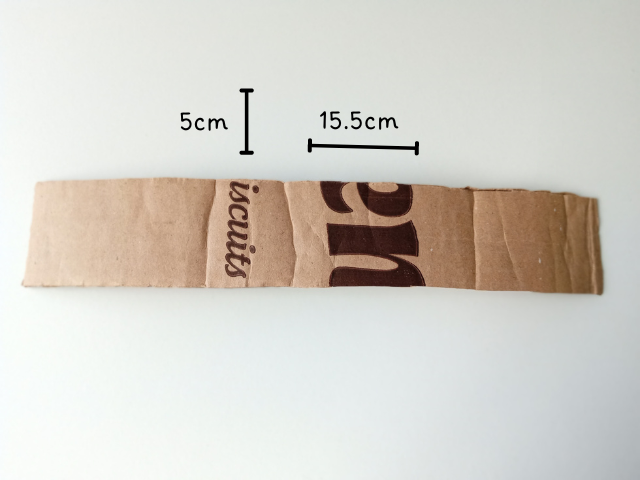
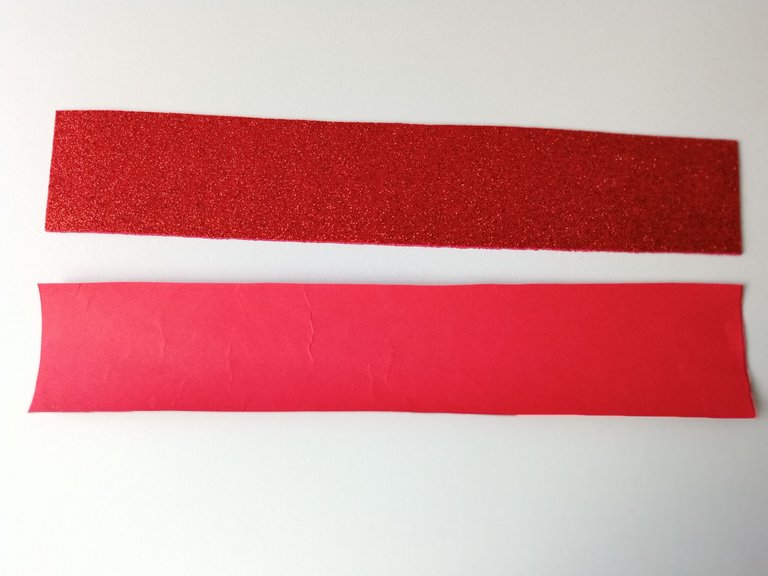
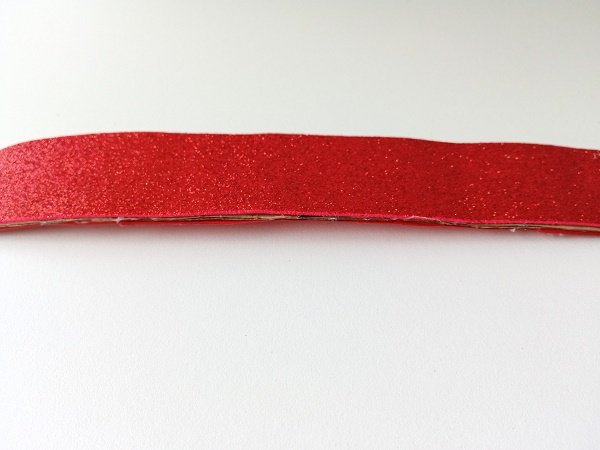
- PASO 2:
Para que el dulcero se mantenga de pie, recorte una pieza de cartón de 15.5cm x 5cm. Luego, para cubrir la pieza, traza y recorte 2 piezas con las mismas medidas, 1 de foami escarchado rojo y 1 de cartulina escolar roja. Pegar cada una de las piezas en cada una de las caras del cartón.
- STEP 2:
To make the candy box stand up, cut a 15.5cm x 5cm piece of cardboard. Then, to cover the piece, trace and cut 2 pieces with the same measurements, 1 from red frosted foami and 1 from red school cardboard. Glue each of the pieces on each of the sides of the cardboard.
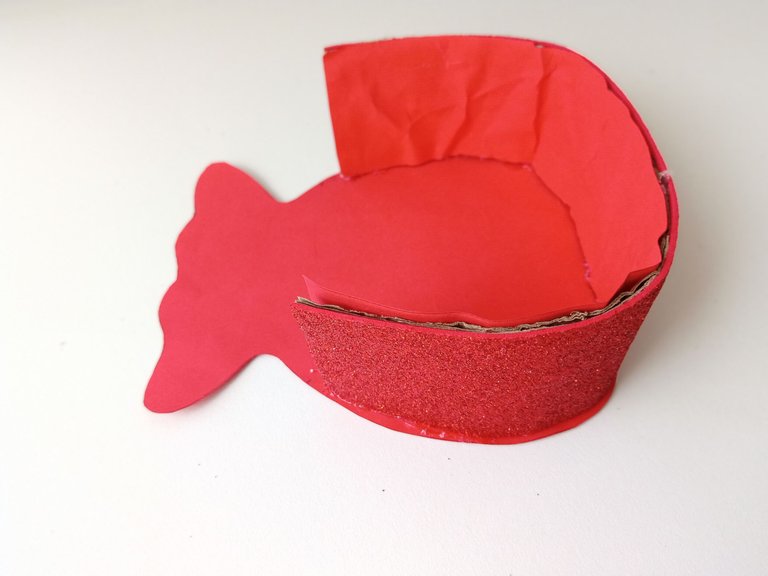
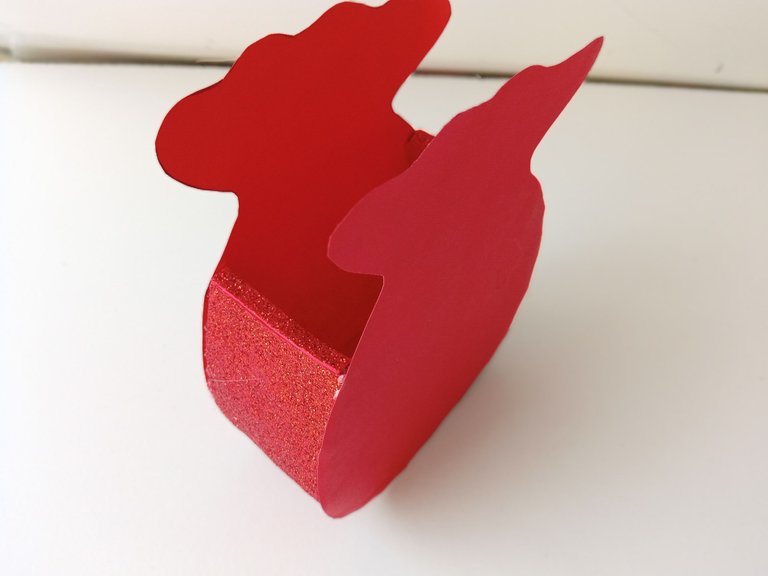
- PASO 3:
Para comenzar a armar, debemos pegar la pieza de cartón por todo el borde superior de uno de los sacos que hicimos al principio, dejando la parte escarchada por fuera. La pieza no debe cubrir toda la parte redonda del saco, sería 2cm antes de llagar a la parte donde irá el lazo del saco. Luego unir la otra pieza del saco pegándola de la misma manera.
- STEP 3:
To start assembling, we must glue the piece of cardboard, along the entire upper edge of one of the bags that we made at the beginning, leaving the frosted part on the outside. The piece should not cover the entire round part of the bag, it would be 2cm before reaching the part where the bow of the bag will go. Then join the other piece of the bag by gluing it in the same way.
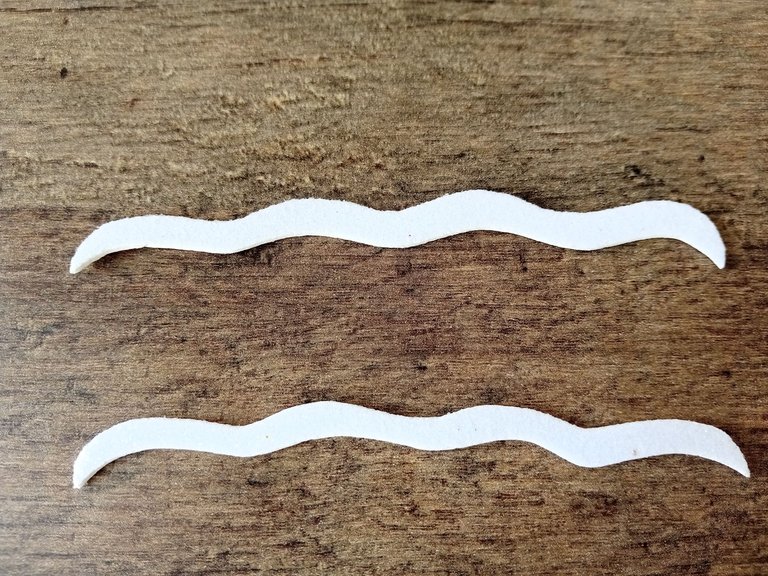
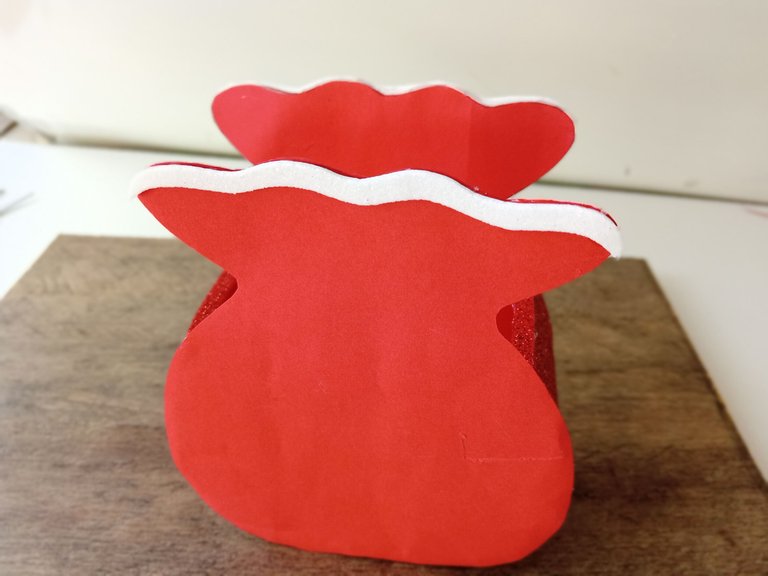
- PASO 4:
Ahora podemos empezar a decorar. Trazar 2 piezas de 0.5 cm en foami escarchado blanco, recortar dando la forma que tiene los sacos en la parte superior y pegar en cada pieza del dulcero.
- STEP 4:
Now we can start decorating. Trace 2 pieces of 0.5 cm in white frosted foami, cut out giving the shape that the bags have at the top and stick them on each piece of the candy box.
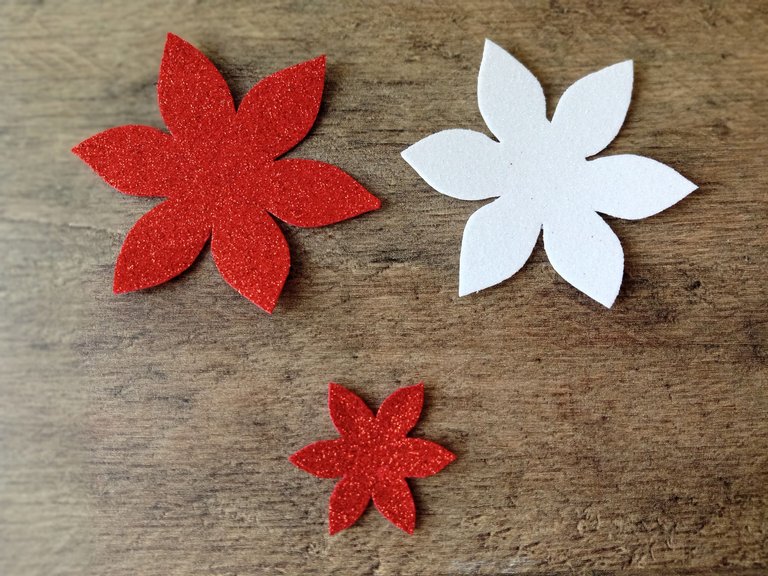
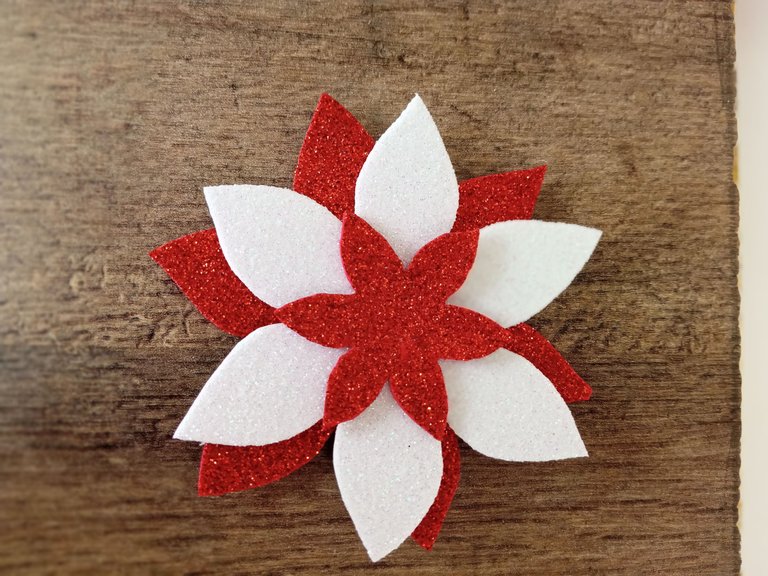
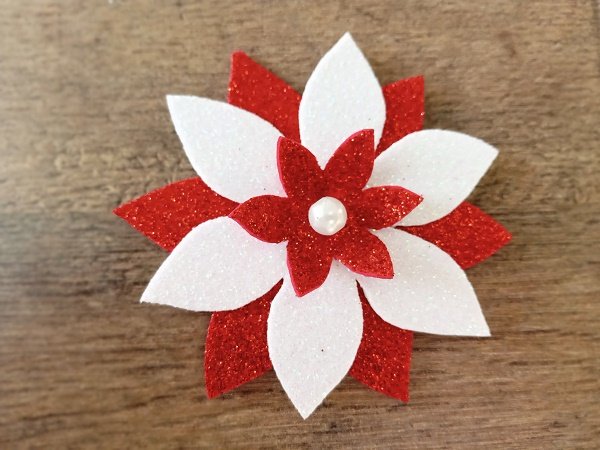
- PASO 5:
Por otro lado, busqué algunas imágenes de referencia para hacer una linda flor navideña y las dibujé haciendo 2 piezas de 8cm x 8cm, 1 en foami escarchado blanco y 1 en foami escarchado rojo. Luego, dibujé otra pieza más pequeña de 4cm x 4cm y pegué todas las piezas, primero la roja, la blanca y encima la roja más pequeña, la doblé para darle un poco de volumen y en el medio pegué una perla blanca. .
- STEP 5:
On the other hand, I looked for some reference images to make a nice Christmas flower and I drew them by making 2 pieces of 8cm x 8cm, 1 in white frosted foami and 1 in red frosted foami. Then, I drew another smaller piece of 4cm x 4cm and glued all the pieces, first the red one, the white one and on top the smaller red one, fold it to give it a little volume and in the middle glue a white pearl.
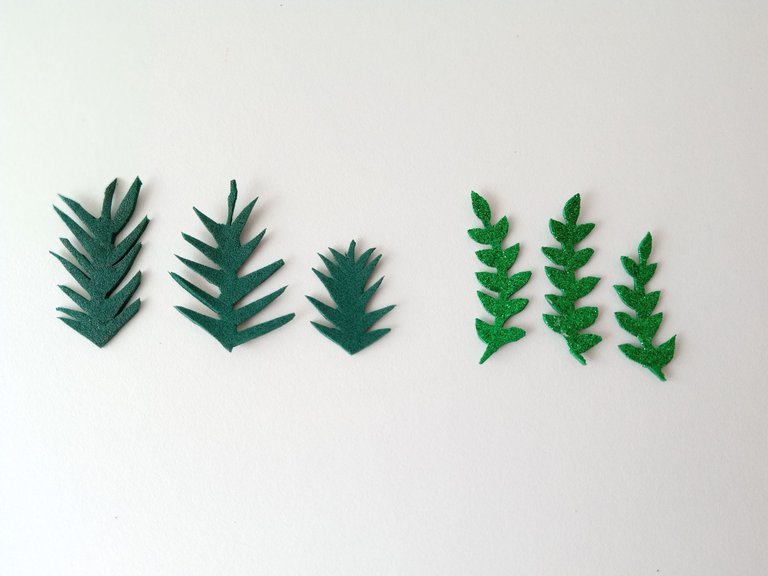
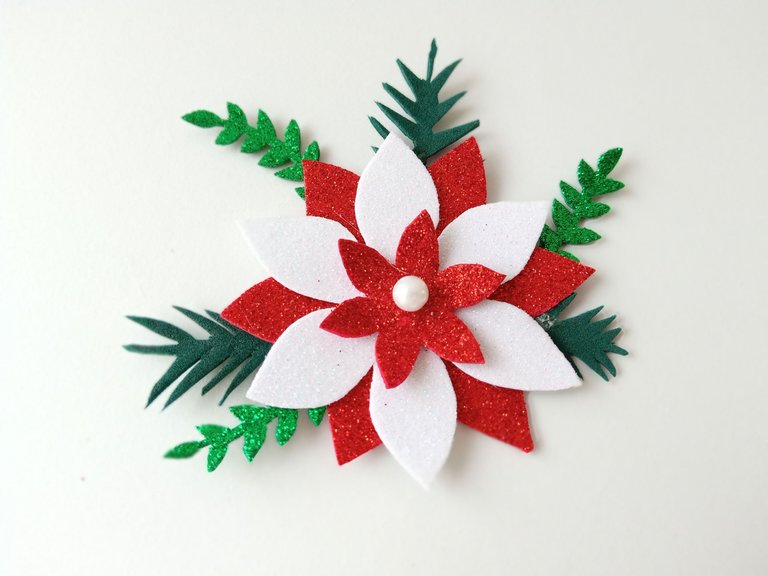
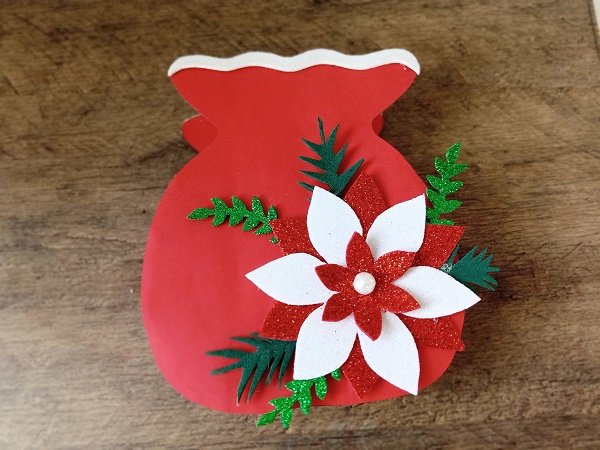
- PASO 6:
Luego dibujar hojas pequeñas de dos estilos y colores diferentes para la flor, recorta y pega a la flor en el orden deseado. Una vez hecho esto, elige uno de los lados de la caja de dulces y pégalo en el medio o en uno de los laterales inferiores del saco.
- STEP 6:
Then draw small leaves of two different styles and colors for the flower, cut out and glue to the flower in the desired order. Once this is done, choose one of the sides of the candy box and paste it in the middle or on one of the lower sides of the bag.
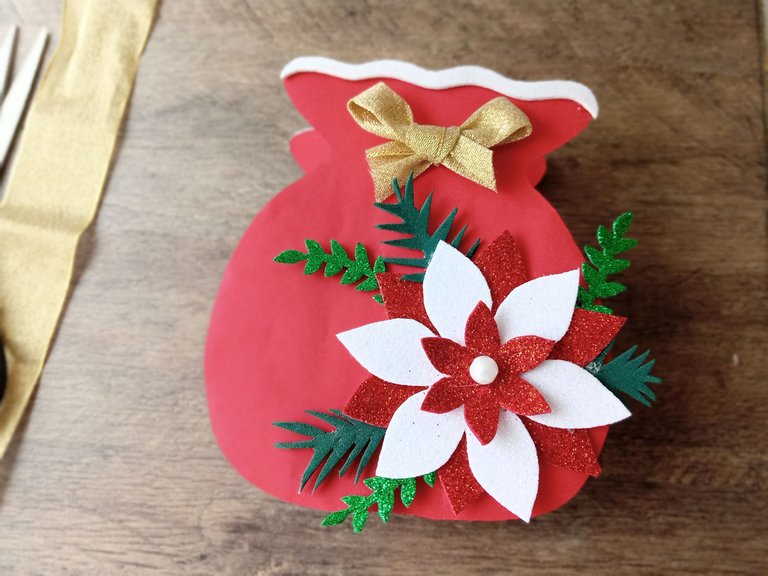
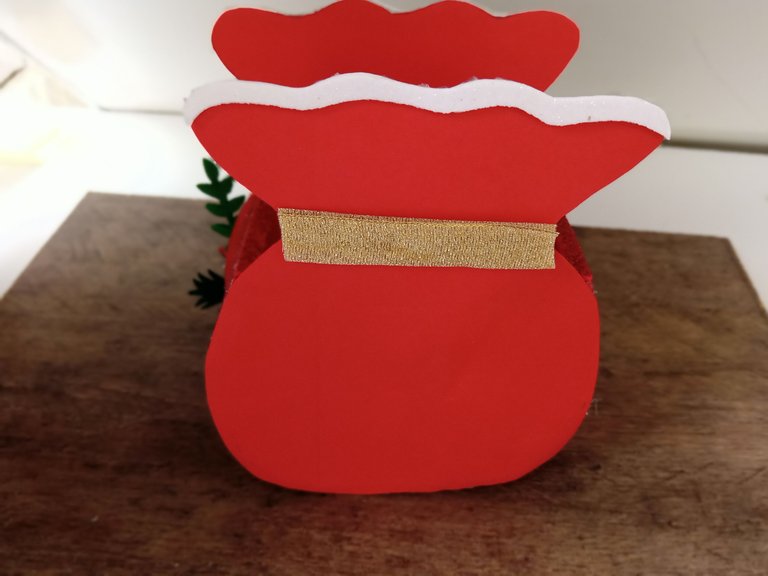
- PASO 7:
Para terminar, haz un lazo con cinta navideña y pégalo al frente para simular que el saco está atado. Luego, para la parte de atrás, pega un trozo de cinta navideña en el mismo lugar.
- STEP 7:
To finish, make a bow with Christmas ribbon and glue it to the front to simulate that the sack is tied. Then, for the back, glue a piece of Christmas ribbon in the same place.
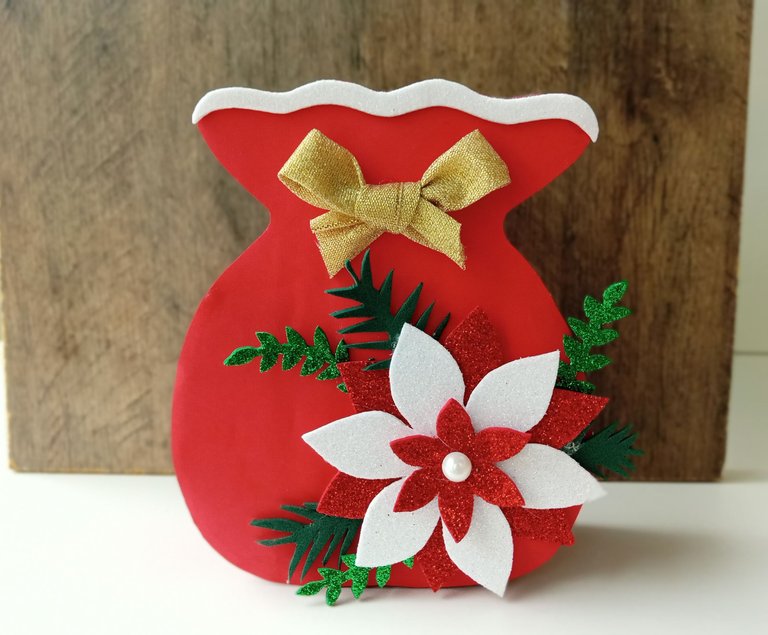
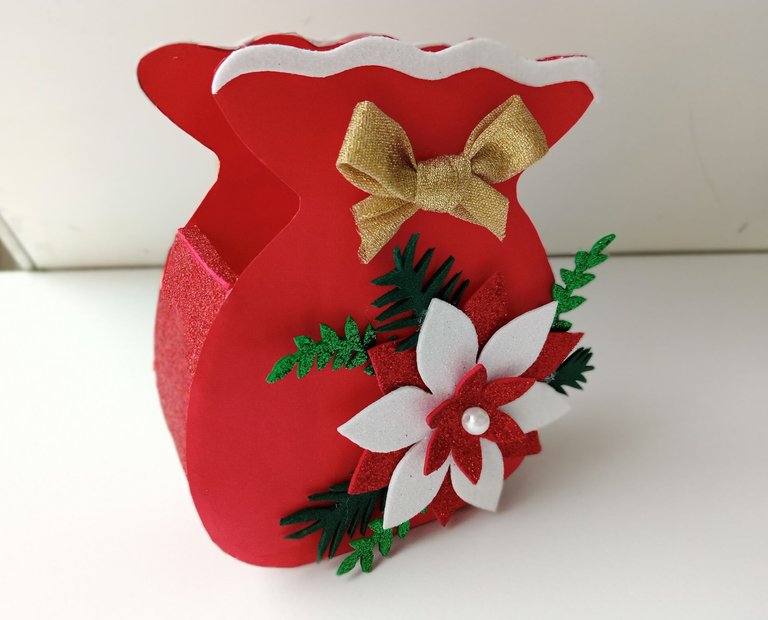
✨🍭🎄¡Y listo!🎄🍭✨ Habremos terminado con la elaboración de este hermoso dulcero en forma de saco de regalos con temática navideña, me parece una buena idea que sea de esta forma, ya que no es muy común ver una saco navideño en cuanto a las decoraciones. Debo admitir que también es una buena idea como servilletero jaja. Por otro lado, espero que les guste esta idea y la elaboren con amor para sus seres queridos.
❤️Hasta la próxima publicación.
✨🍭🎄¡And ready!🎄🍭✨ We will have finished with the elaboration of this beautiful box of chocolates in the form of a Christmas-themed gift bag, I think it is a good idea that it be like this, since it is not very common to see gift bags in terms of decoration. I must admit that it's also a good idea as a napkin holder haha. On the other hand, I hope you like this idea and do it with love for your loved ones.
❤️Until the next post.


Todas las fotografías son de mi propiedad.
Separador y Fotos editadas en Canva
All photographs are my property.
Photos edited in Canva
Ay, están muy bonitos que agradable ir viendo decoraciones navideñas.
En especial las flores me gustaron mucho, saludos.
Hola @circogatto. ✨
Me alegra mucho que te haya gustado. La verdad que fue bastante fácil realizar las flores.
Sí, es agradable ver las decoraciones navideñas y ver los bonitos trabajos que han estado realizando en la comunidad.
Muchas gracias por comentar, saludos.✨👋🏻
~~~ embed:1590133440409931776 twitter metadata:OTk5NjE1NDA4ODUxMzQ5NTA0fHxodHRwczovL3R3aXR0ZXIuY29tLzk5OTYxNTQwODg1MTM0OTUwNC9zdGF0dXMvMTU5MDEzMzQ0MDQwOTkzMTc3Nnw= ~~~
The rewards earned on this comment will go directly to the people( @valenpba, @equipodelta, @mariajcastro28 ) sharing the post on Twitter as long as they are registered with @poshtoken. Sign up at https://hiveposh.com.
Lo veo perfecto para reyes magos, esta super hermoso esos colores lo hacen resaltar muchísimo, además esta prolijo en cada ángulo que lo veas ajjaja.
Hola amiga! Muchas gracias, me alegra mucho que te haya gustado.❣️Así es,también es una muy buena opción para los regalos de reyes magos.✨😊
Gracias linda, saludos.🍬
Hermoso tu trabajo amiga!
Muchas gracias por compartir.
Saludos..
Hola linda!
Muchas gracias, me alegra que te haya gustado.
Saludos.❣️✨🍬
Congratulations, your post has been upvoted by @dsc-r2cornell, which is a curating account for @R2cornell's Discord Community. We can also be found on our hive community & peakd as well as on my Discord Server
Felicitaciones, su publication ha sido votado por @dsc-r2cornell. También puedo ser encontrado en nuestra comunidad de colmena y Peakd así como en mi servidor de discordia
Muchas gracias por el apoyo amigos @dsc-r2cornell , súper agradecida. ✨❣️
Thank you for sharing this post on HIVE!
Your content got selected by our fellow curator rezoanulvibes & you just received a little thank you upvote from us for your great work! Your post will be featured in one of our recurring compilations which are aiming to offer you a stage to widen your audience within the DIY scene of Hive. Next time make sure to post / cross-post your creation within the DIYHub community on HIVE and you will receive a higher upvote ;) Stay creative & HIVE ON!
Muchas gracias por el apoyo @rezoanulvibes Y @diyhub, muy agradecida.✨
Esta muy bonito tu trabajo
Hola @rodriguezkike232 ! ✨
Muchas gracias, me alegra que te haya gustado. Saludos. ✨👋🏻
Amiga que bello te quedó ese dulcero, que buen que andas trabajando en cositas ara navidad, yo igual pero aun no he compartido los tutoriales, me encanta lo que has compartido hasta ahora, todavia ando pendiente de hacer las velas navideñas para decorar 😃 saludos amiga, espero ver mas creaciones navideñas tuyas! ♥️♥️♥️
Muchas gracias amiga bella! ♥️
Sí, estoy súper metida en las decoraciones navideñas , intentando hacer cositas lindas y prolijas. 🤭
Igualmente, Ya quiero ver lo que estás haciendo, me encantaron los materiales que compraste.
Por lo que veo si harás las velas jaja , espero que puedas elaborarlas si así lo quieres amiga.♥️✨
Me alegra mucho que te esté gustando mi trabajo, Gracias por tus palabras. Un fuerte abrazo Mi Mary.♥️♥️🍬
Todas tus creaciones que he visto hasta ahora han sido hermosas y me han encantado, ayer compré mas materiales, poco a poco voy reuniendo lo que necesito amiga y cada voy haciendo algo diferente siempre que me rinda el tiempo entre los demás pendientes, y pues si, quiero hacer las velas, tengo tantas ideas en mente que no se si me alcance el tiempo para hacer todo lo que quiero jaja pero espero hacer al menos lo mas importante, ya pronto verás amiga y espero que te guste ♥️♥️♥️
Muchas gracias amiga, me alegra mucho saber que te gusta lo que he elaborado estos días.❤️
Así es amiga, uno tiene mil ideas en mente que muchas veces no da el tiempo de hacer todo lo que uno tiene planeado por falta de tiempo, quizá por falta de materiales, etc... jaja
Obvio que me van a encantar , eres excelente en todo lo que haces.❤️