Hello creative friends of #hivediy, happy to greet you on this great day! Today I want to share a detail that I make to my partner, and it is always ideal to have those romantic details with that person who shares your day to day.
So next I will show you how I made it, come with me😉
In this opportunity we will use the following materials:
- cartulina escolar roja
- cartulina azul,amarilla y rosada
- Silicon
- tijera
- adorno dorado
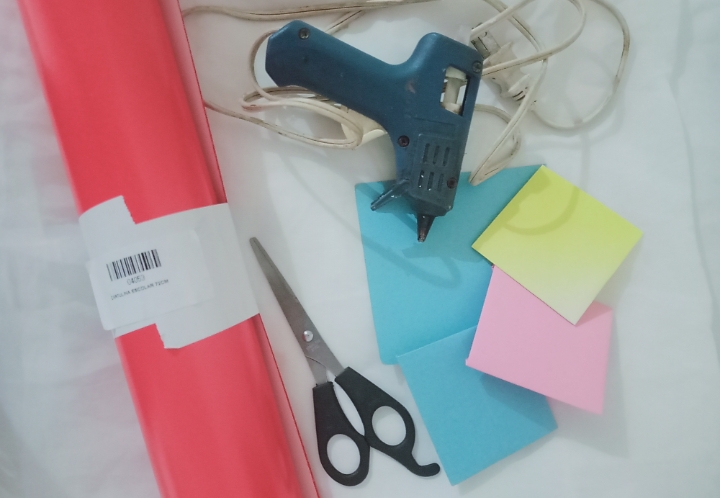
MATERIALS
- red school cardboard
- blue, yellow and pink cardboard
- Silicon
- scissor
- gold trim
STEP BY STEP
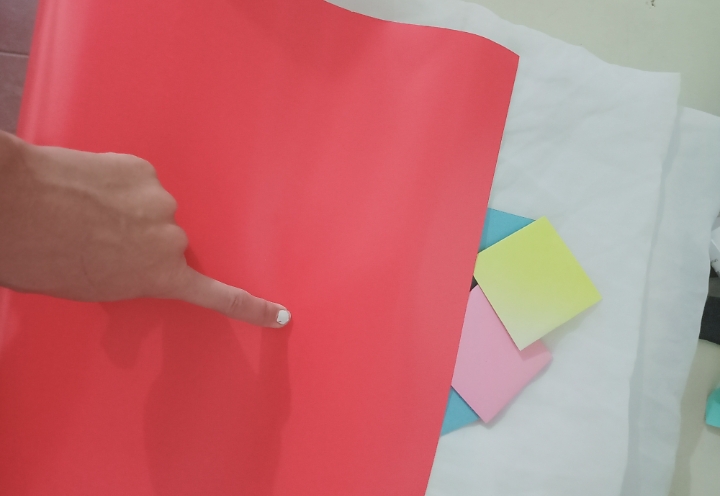
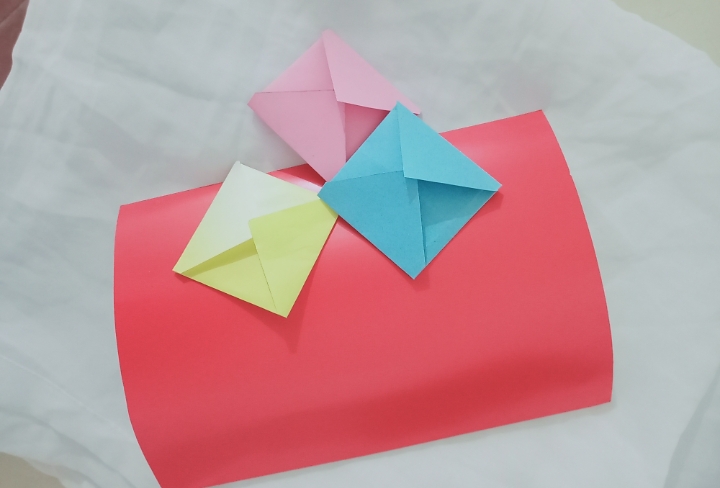
- Take the red cardboard and with my scissors cut a rectangle!
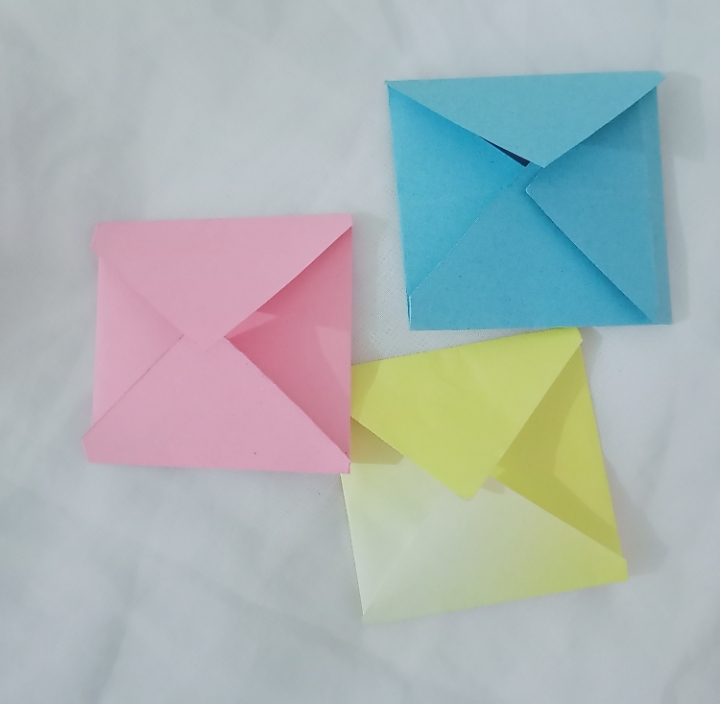
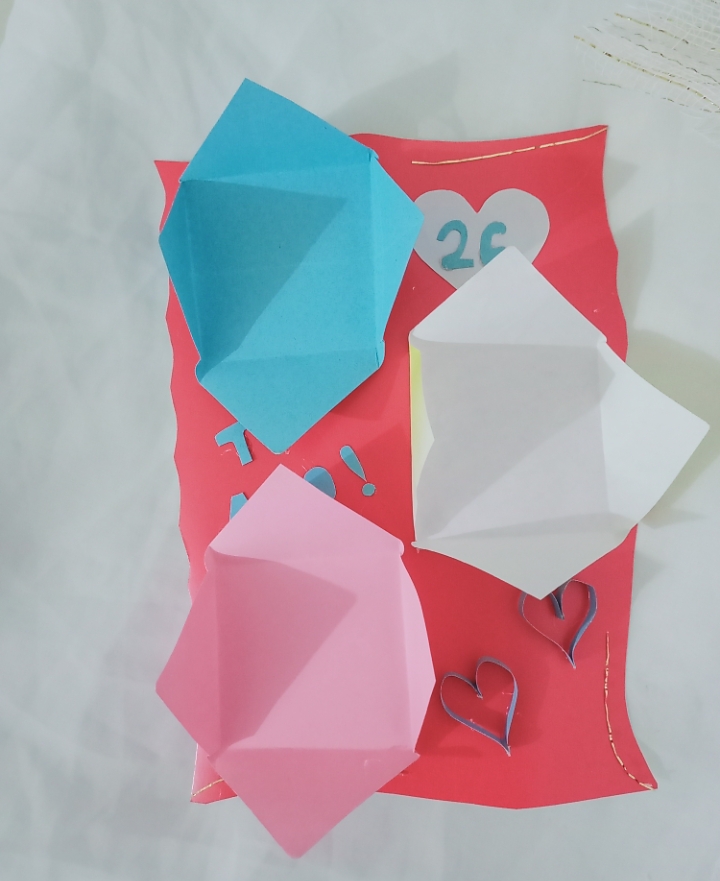
- Then cut out a square from the blue cardboard which folds its ends inwards creating an envelope as I show you below
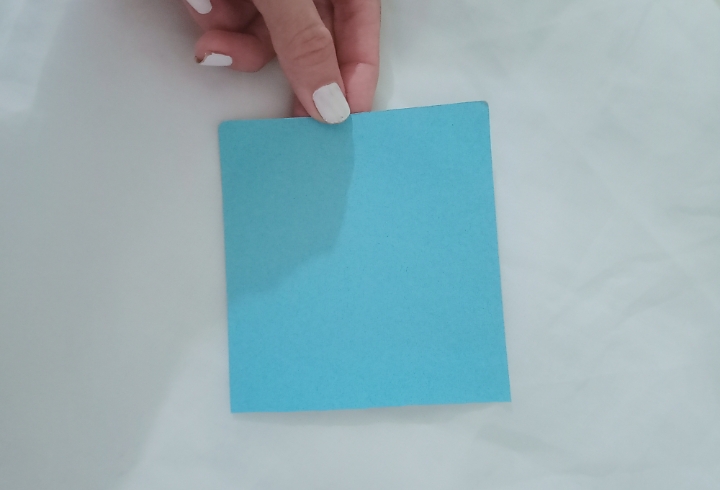
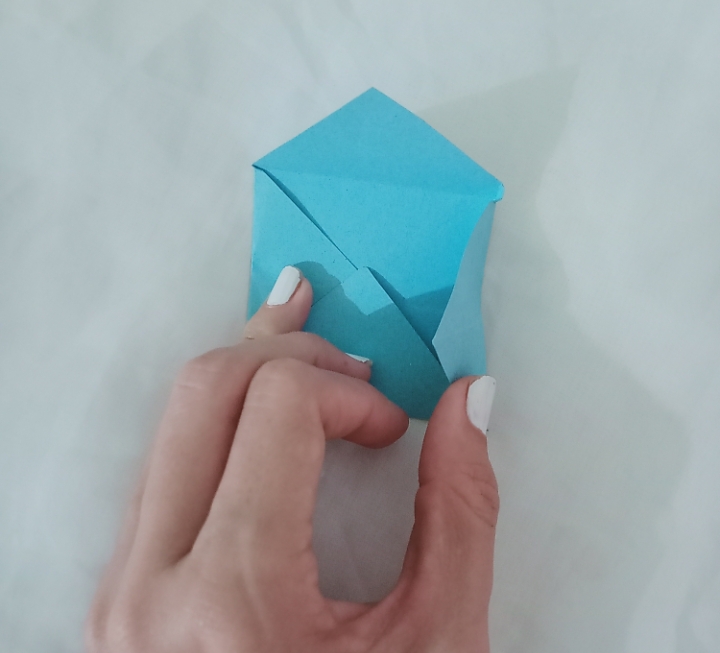
- Do this procedure with the next pink and yellow pieces.
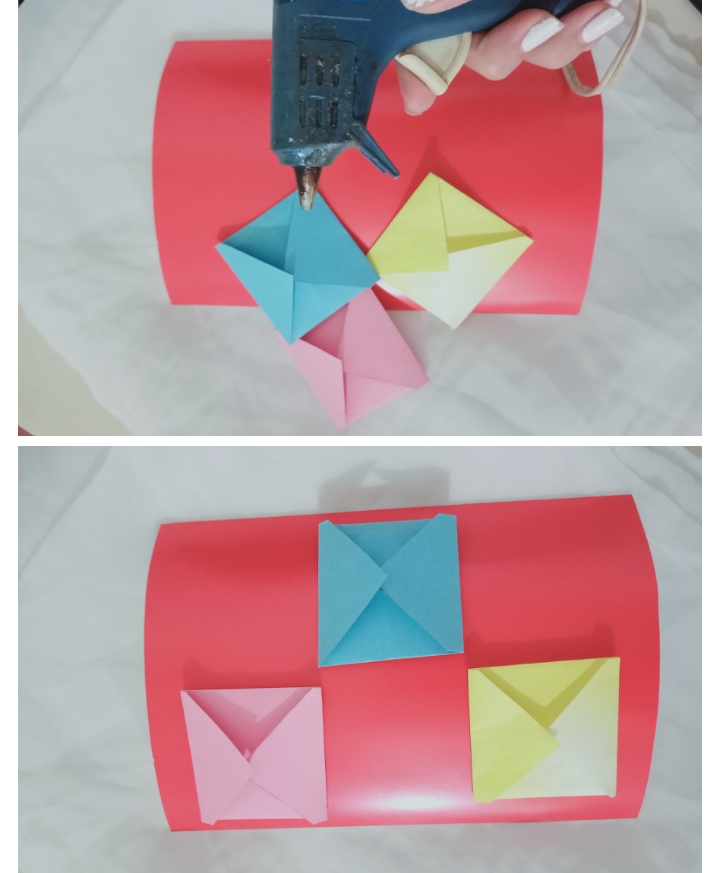
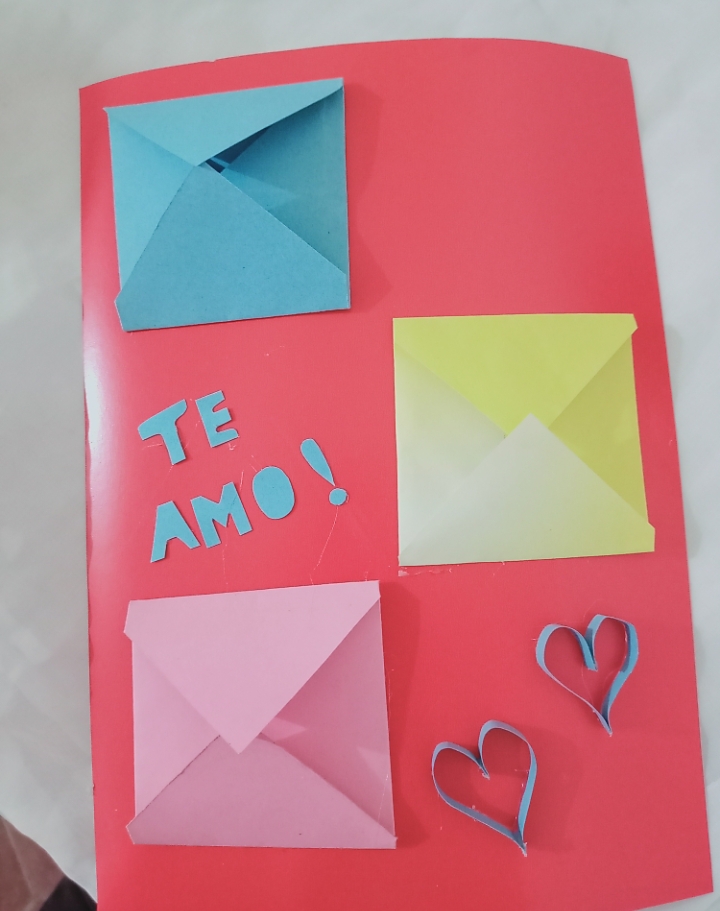
- Having already formed our envelopes and our card base, we proceed to paste.
- I took the glue gun and applied to the back of each envelope placing it in the place I wanted.
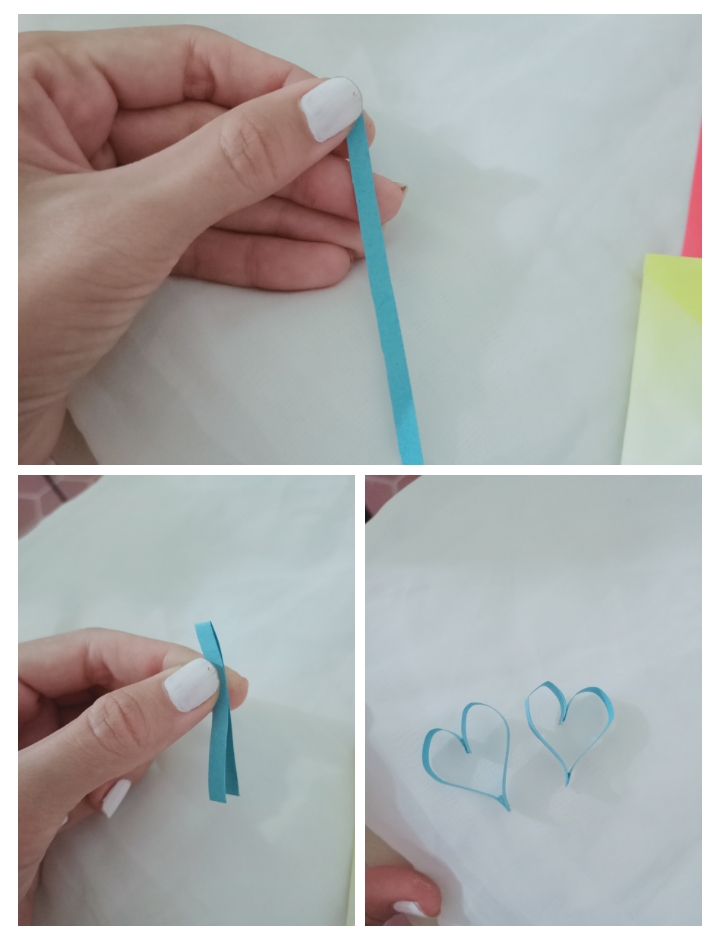
- Now, take my scissors and cut a very thin strip from the blue cardboard with which to form a heart, for this we fold it in half and put a dot of silicone in the middle and on the tip and thus we will obtain our heart.
From the blue cardboard I extracted the phrase "I love you!", Paste in the space below the first envelope.
On white paper to make the shape of a heart and number 26 on blue cardstock, since that is the age he is turning!
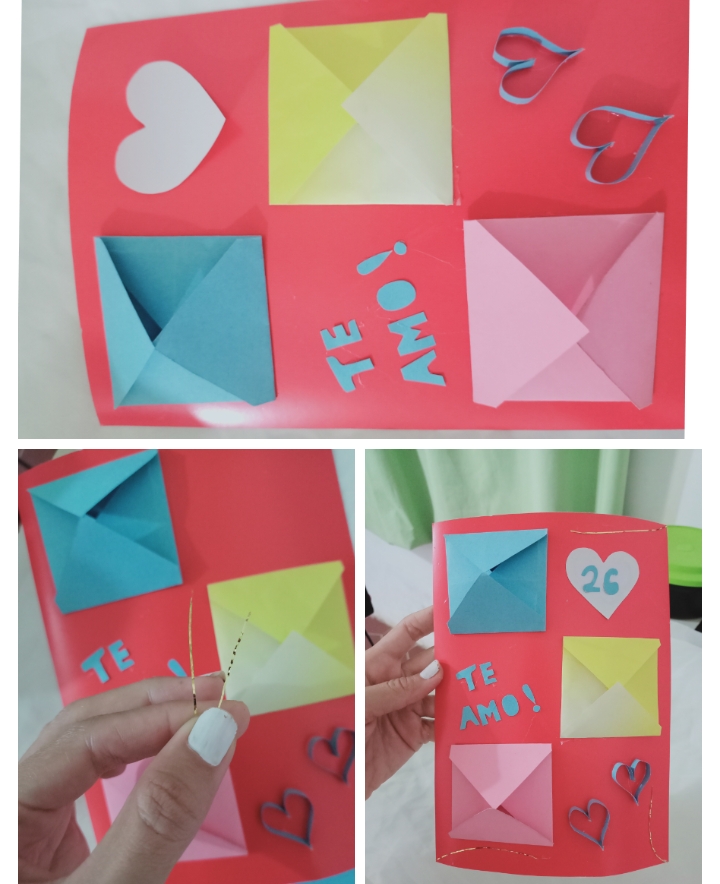
Finally we glued together with the glitter, and you ate was make a cut along the edge of the card.
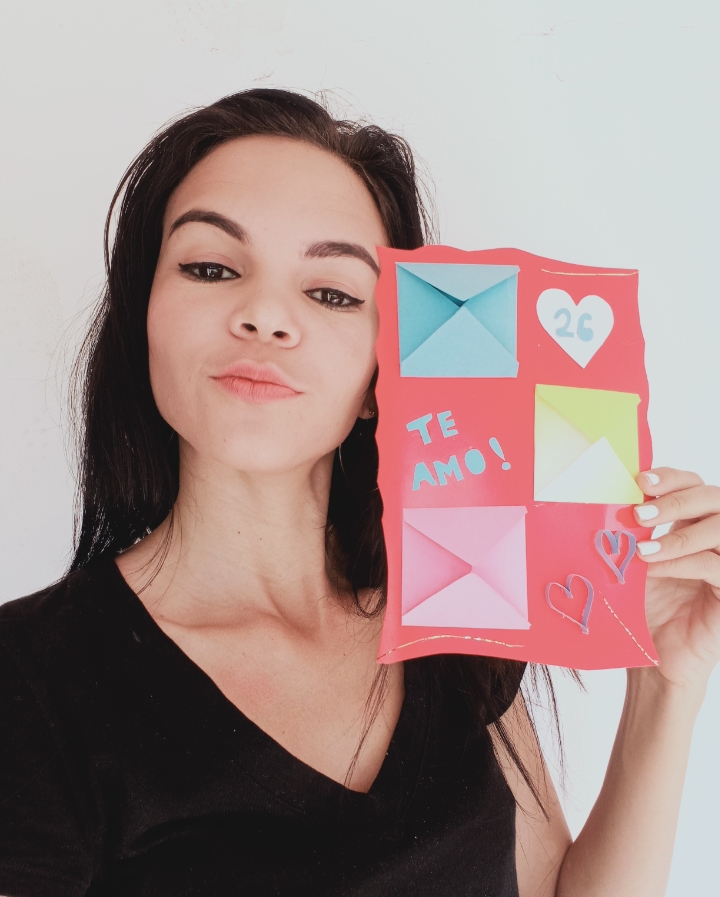
And ready! This is how I got my card 😁♥️
RESULTADO FINAL
FINAL SCORE
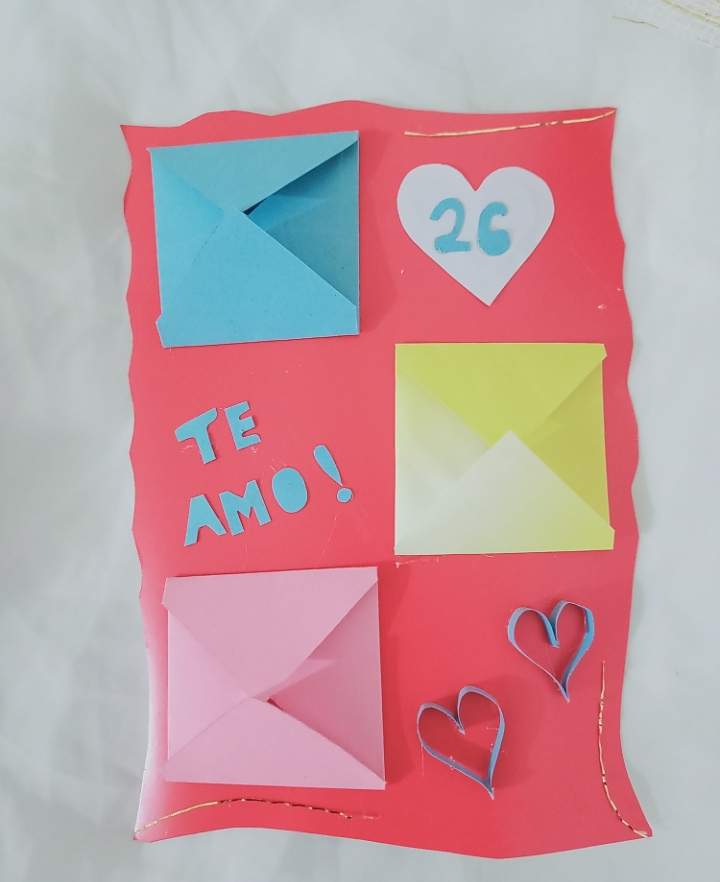
remember to write your love message inside the envelopes
--
Fotografías propias tomadas con mi REALME 7i
Own photographs taken with my REALME 7i
Portada: diseño propio creado en PicsArt/ own design created in PicsArt