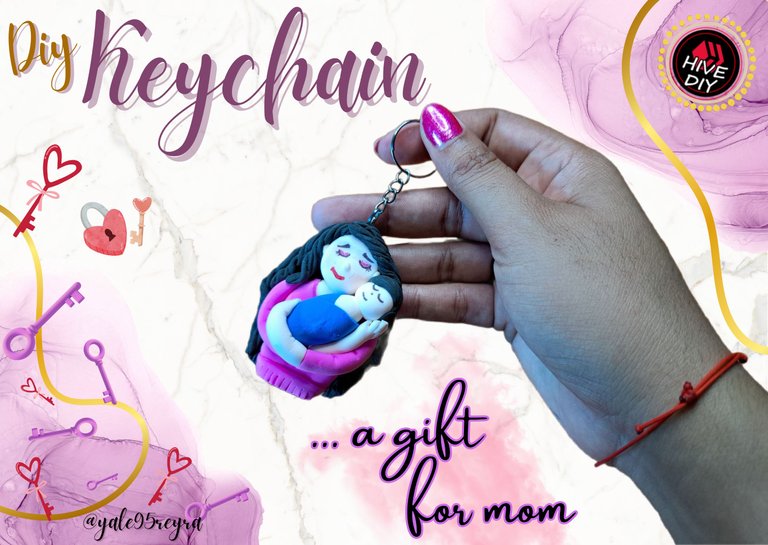
Hello friends craft lovers, there are only a few hours left until the long awaited day, Mother's Day, one of the most special dates of the year. Today I bring you a keychain made with moldable foami, you will see how easy it is to make. In my family there are many women and most of them are already mothers and I would like in one way or another to give a little gift to each one of them. We always get together at my grandmother's house, it is a family tradition.
Why make a keychain, because we all need one, I imagine that most of us, not to generalize, always bring a keychain with us, whether it is the keys to the house, the car, the motorcycle, or the office. Therefore, this would be a simple but practical gift for one of them. I hope you like this tutorial, below, I show you the materials used and the step by step, enjoy.
Hola amigos amantes de las manualidades, ya faltan pocas horas para el día tan esperado, el día de las madres, una de las fechas más especiales del año. Hoy les traigo un llavero hecho con foami moldeable, ya verán que fácil es de hacer. En mi familia hay muchas mujeres y ya la mayoría son madres y quisiera de alguna forma u otra darle un detallito a cada una. Siempre nos reunimos en casa de mi abuela, es una tradición familiar.
¿Por qué hacer un llavero?, porque a todos nos hace falta uno, me imagino que la gran mayoría para no generalizar, siempre trae un llavero consigo, ya sea con las llaves de la casa, del carro, de la moto, o de la oficina. Por lo tanto, este sería un sencillo, pero práctico regalo para una de ellas. Espero les guste este tutorial, a continuación, te muestro los materiales utilizados y el paso a paso, que lo disfruten.
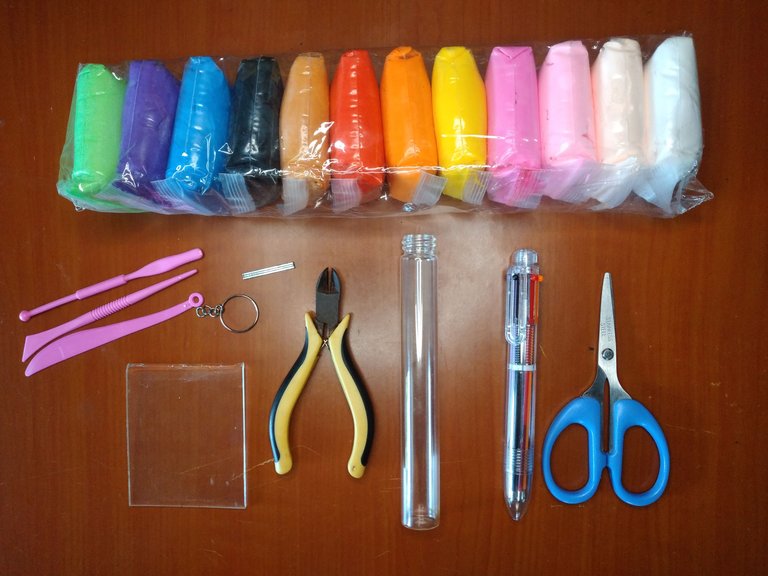
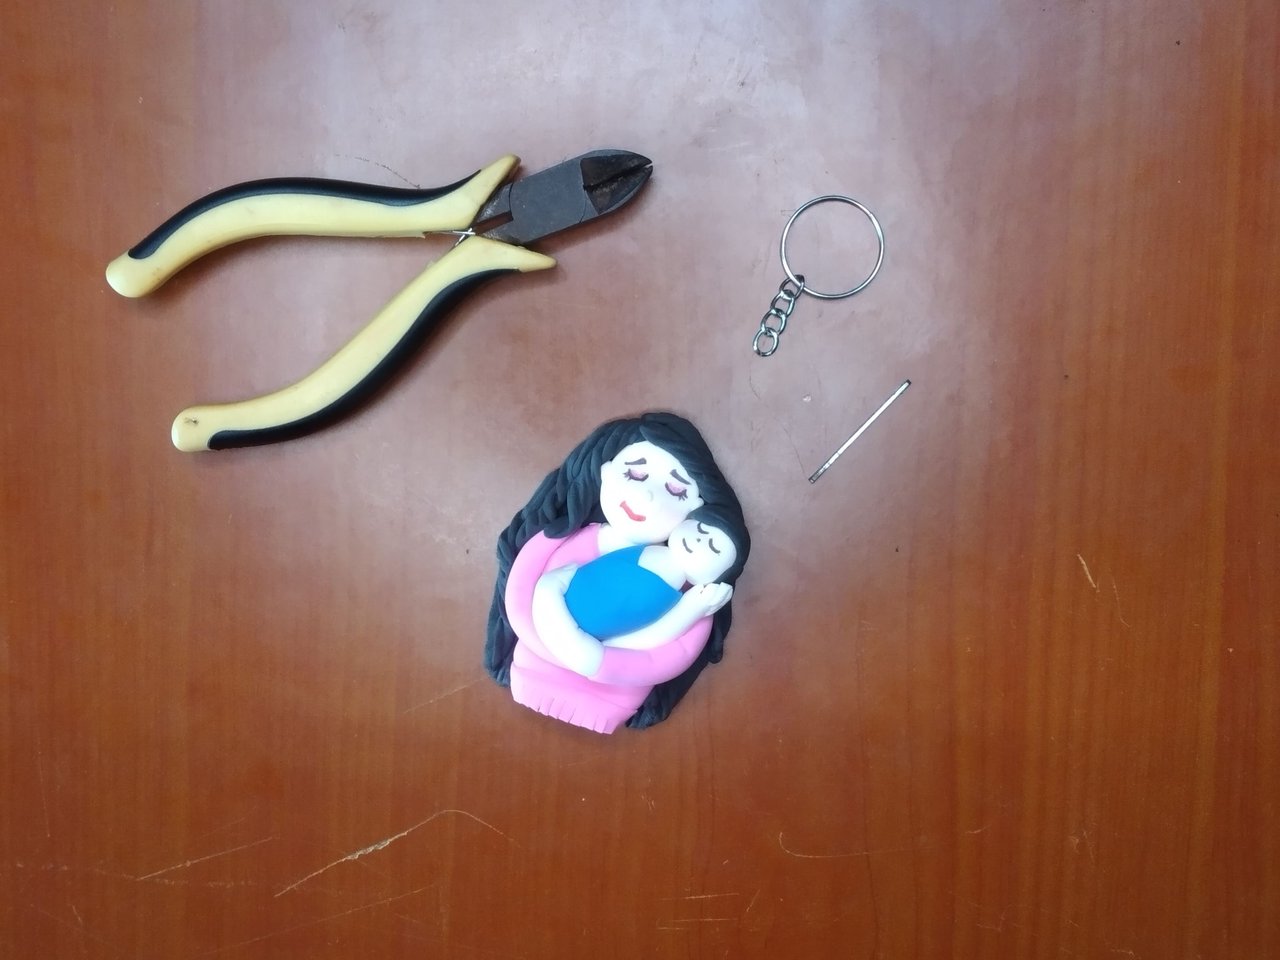
Materials // Materiales
- Moldable Foami / Foami moldeable
- Stakes / Estecas
- 1 key ring hardware / 1 herraje para llavero
- 1 electric hammer nail or clip / 1 clavo de martillo eléctrico o una presilla
- Transparent plate / Placa transparente
- Clamp / Pinza
- Roller / Rodillo
- Pen or permanent marker / Lapicero o marcador permanente
- Scissors / Tijera
Step by step // Paso a paso
 |
 |
 |
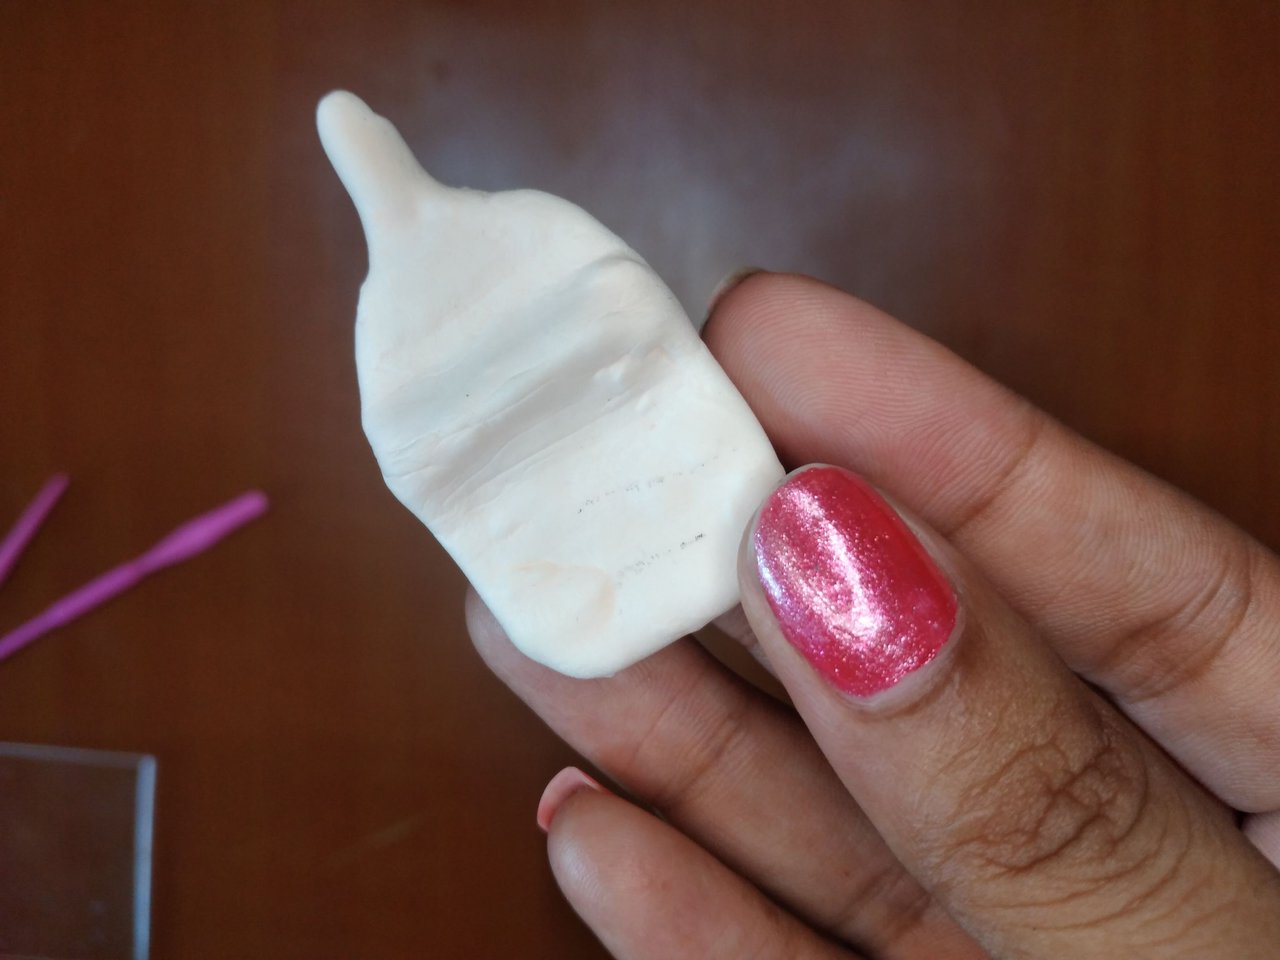
The first thing you have to do is to take skin-colored moldable foami and with your fingers give it this shape that I show you here, this is the body of the mother, it is made as a square and the part of the chest is pronounced and little by little the neck is lengthened.
Lo primero que tienes que hacer es tomar foami moldeable de color piel y con los dedos darle esta forma que aquí les muestro, este es el cuerpo de la madre, se hace como un cuadrado y se le va pronunciando la parte del pecho y poco a poco se va alargando el cuello.
 |
 |
 |
 |
 |
 |
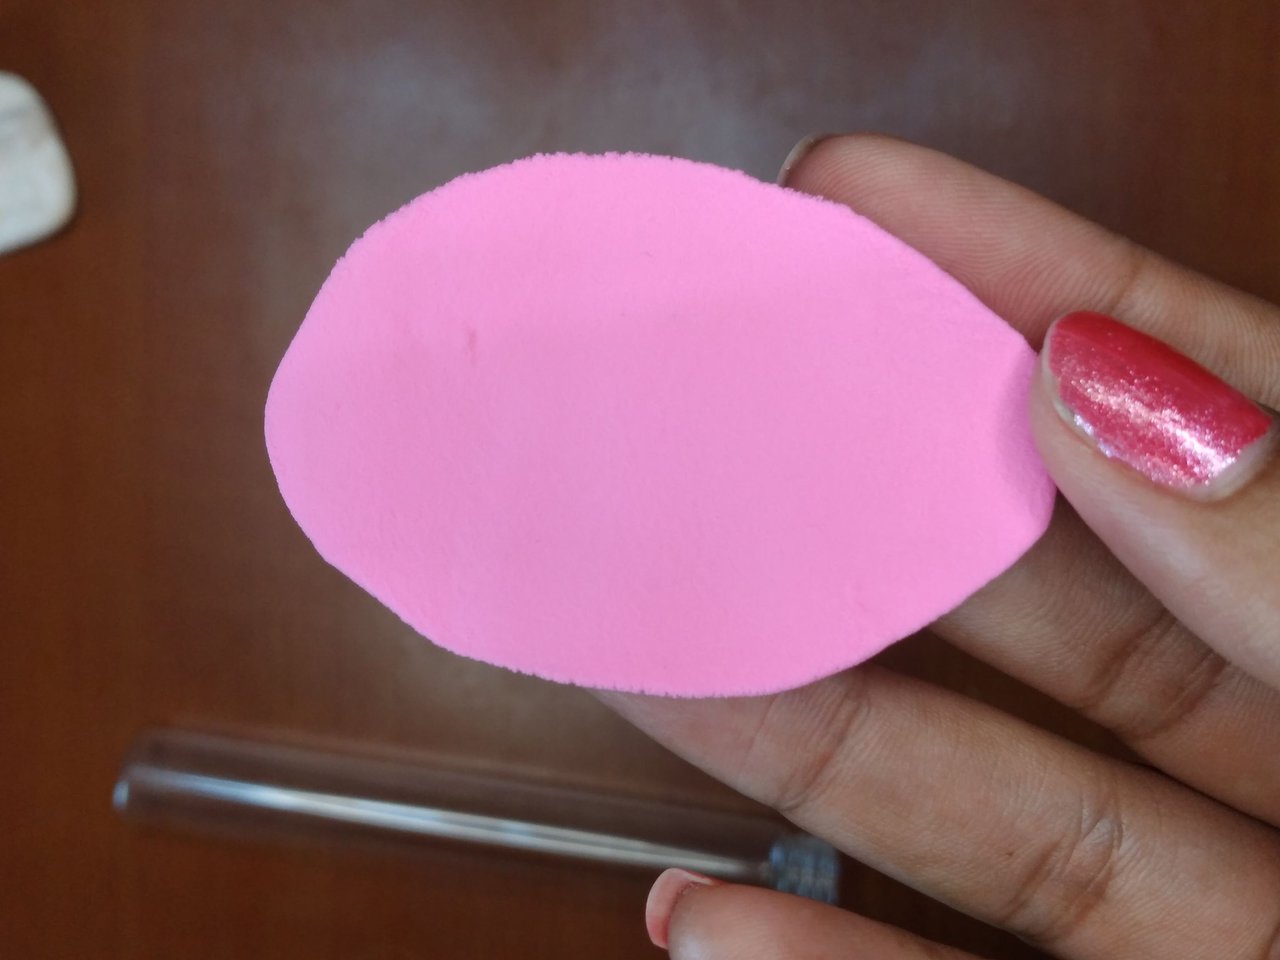
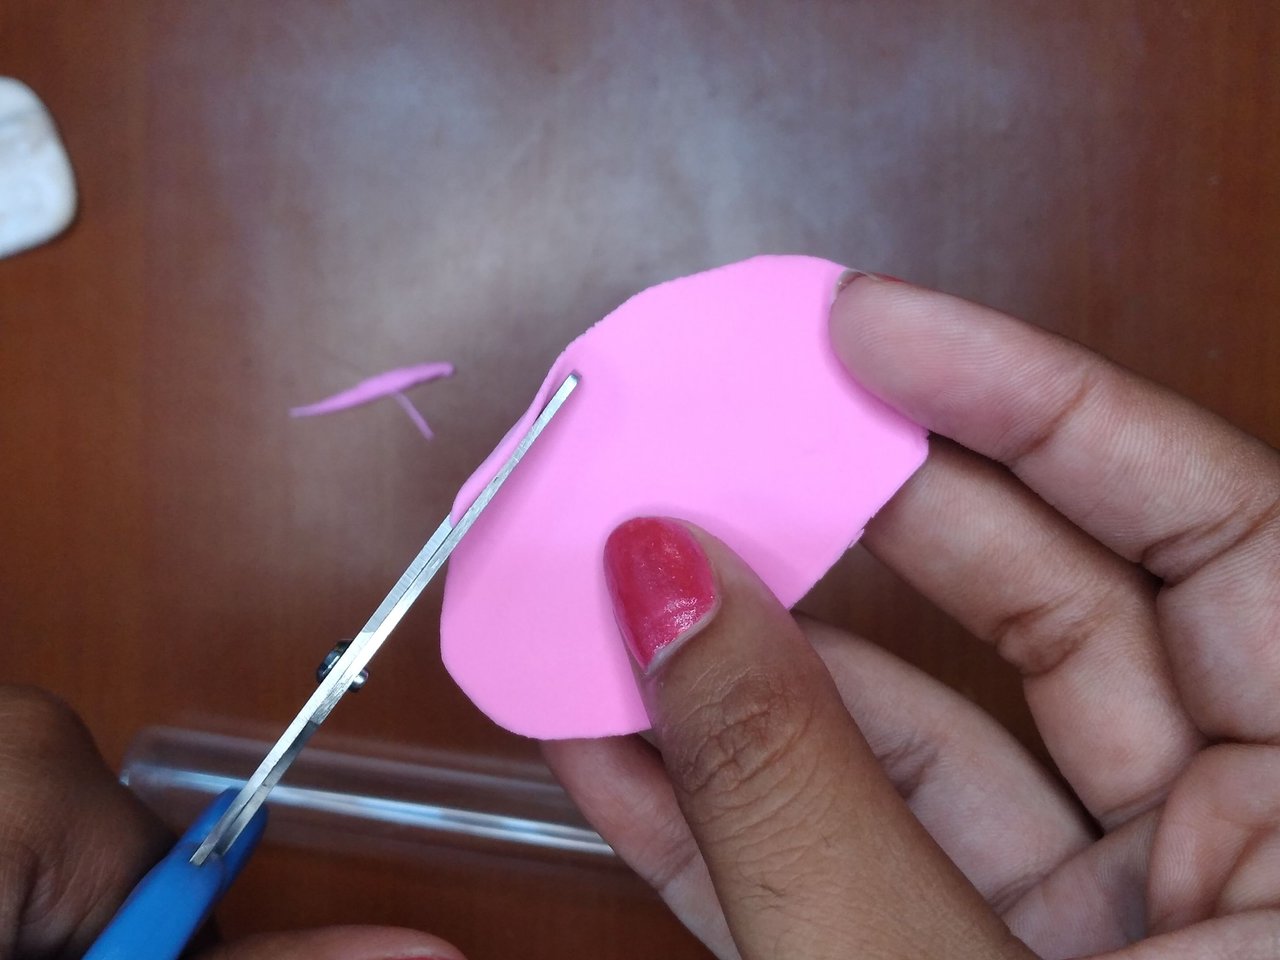
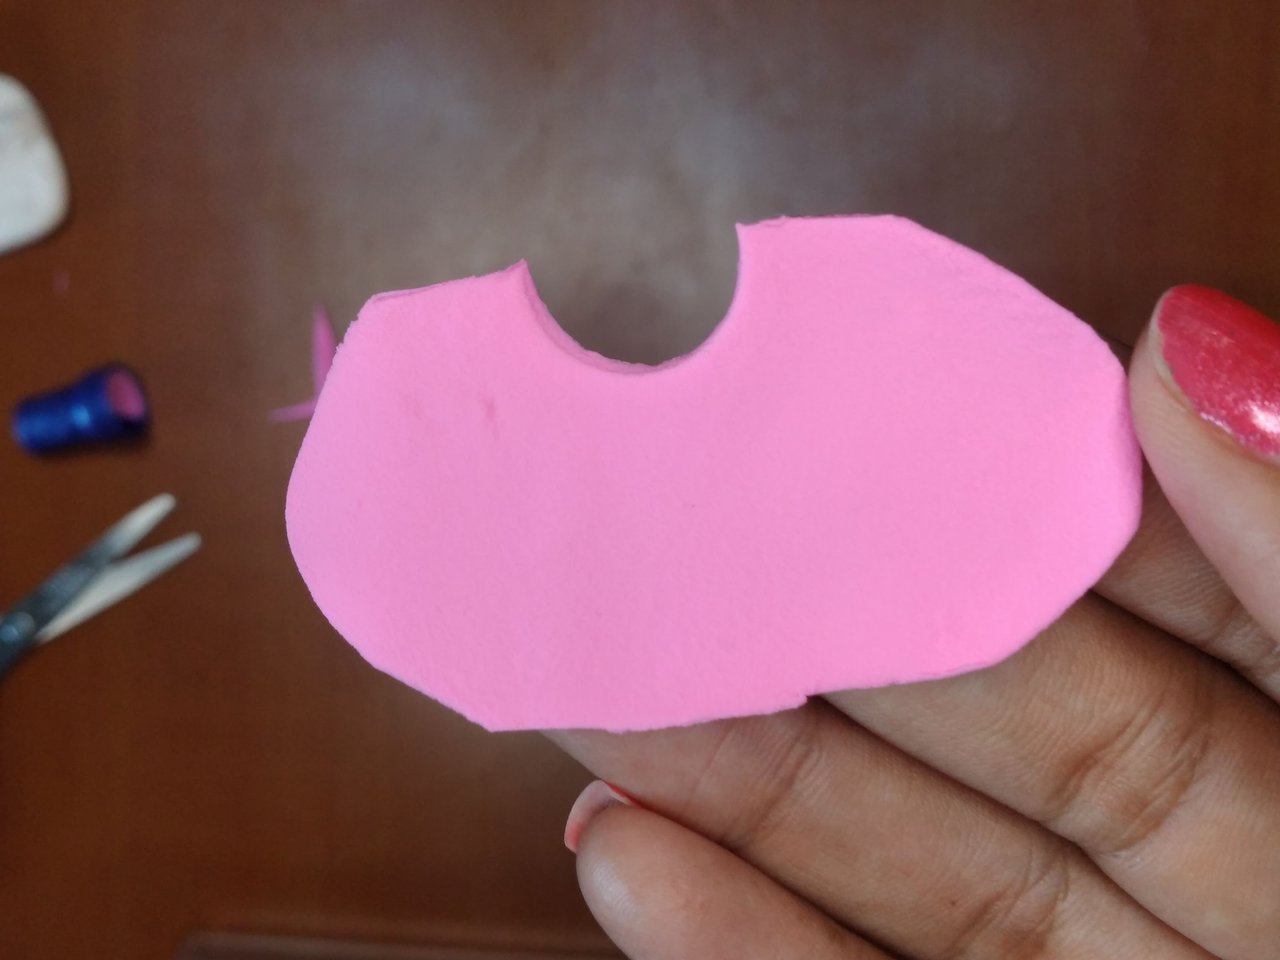
For the blouse take pink foami, but the color does not matter, you can choose the color you want. With the rolling pin flatten this portion of foami to obtain a flat and uniform piece. With the scissors chop the ends so that they are straight and with a cap of a small knob or with a circular mold chop what would be the neck of the blouse. Finally, place it on top of the body and arrange it in such a way that it is completely covered. The length of the blouse was a little short because I didn't take the measurements, but I was able to remedy it. With the leftovers from the sides I made some bangs with the scissors and placed them on the bottom and it was a beautiful fringed blouse.
Para la blusa se toma foami rosa, pero el color da igual, puedes elegir el color que desees. Con el rodillo aplanar esta porción de foami para obtener una pieza plana y uniforme. Con la tijera picar los extremos para que queden rectos y con una tapa de un pomo pequeño o con un molde circular picar lo que sería el cuello de la blusa. Por último, colocar encima del cuerpo y acomodarlo de tal forma que quede completamente cubierto. La blusa me quedó un poco corta de largo porque no tomé las medidas, pero lo pude remediar. Con el sobrante de los lados le hice unos flecos con la tijera y los coloqué en la parte de abajo y quedó una hermosa blusa de flecos.
 |
 |
 |
 |
 |
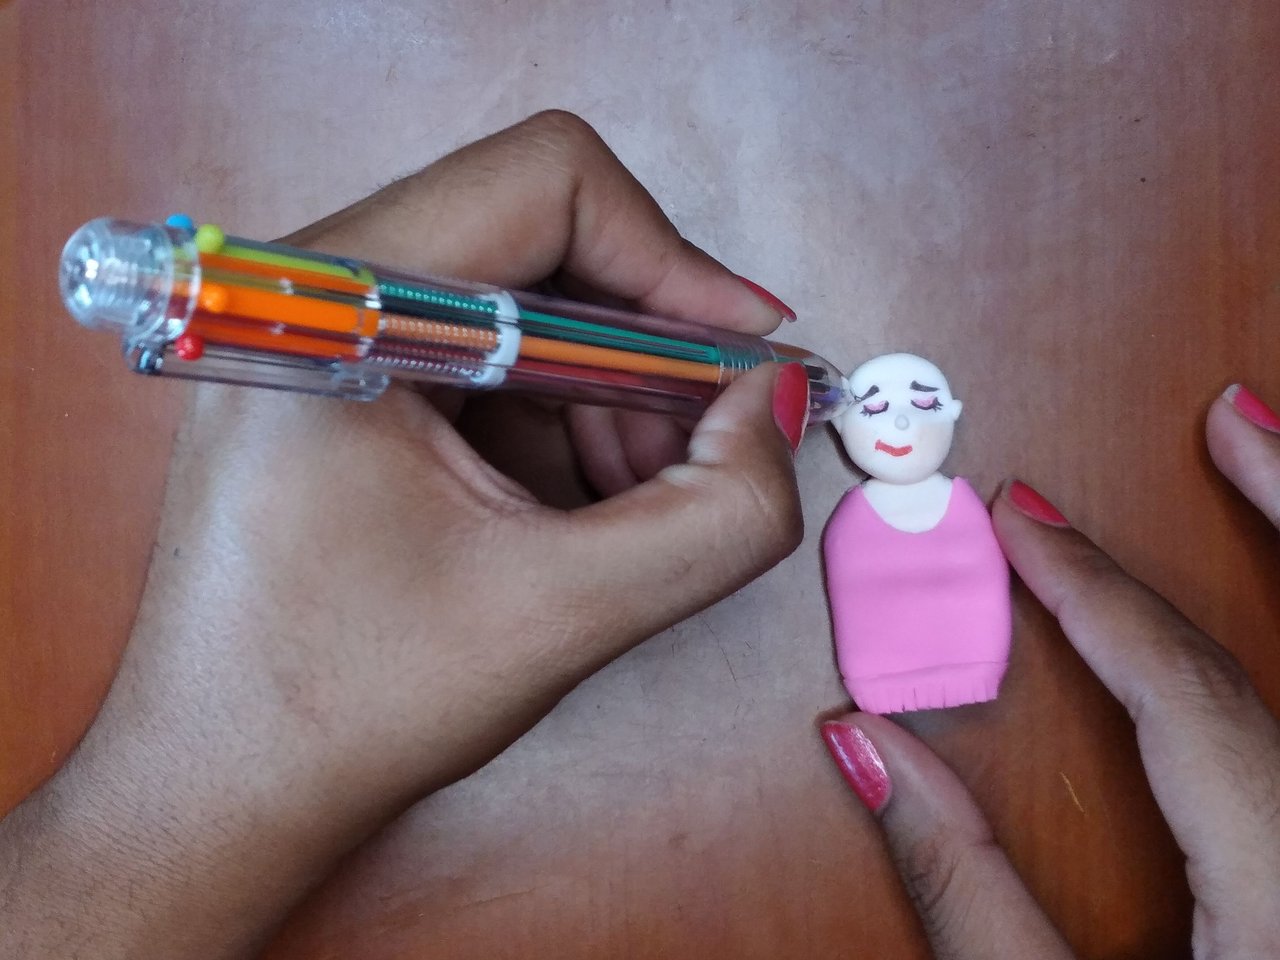 |

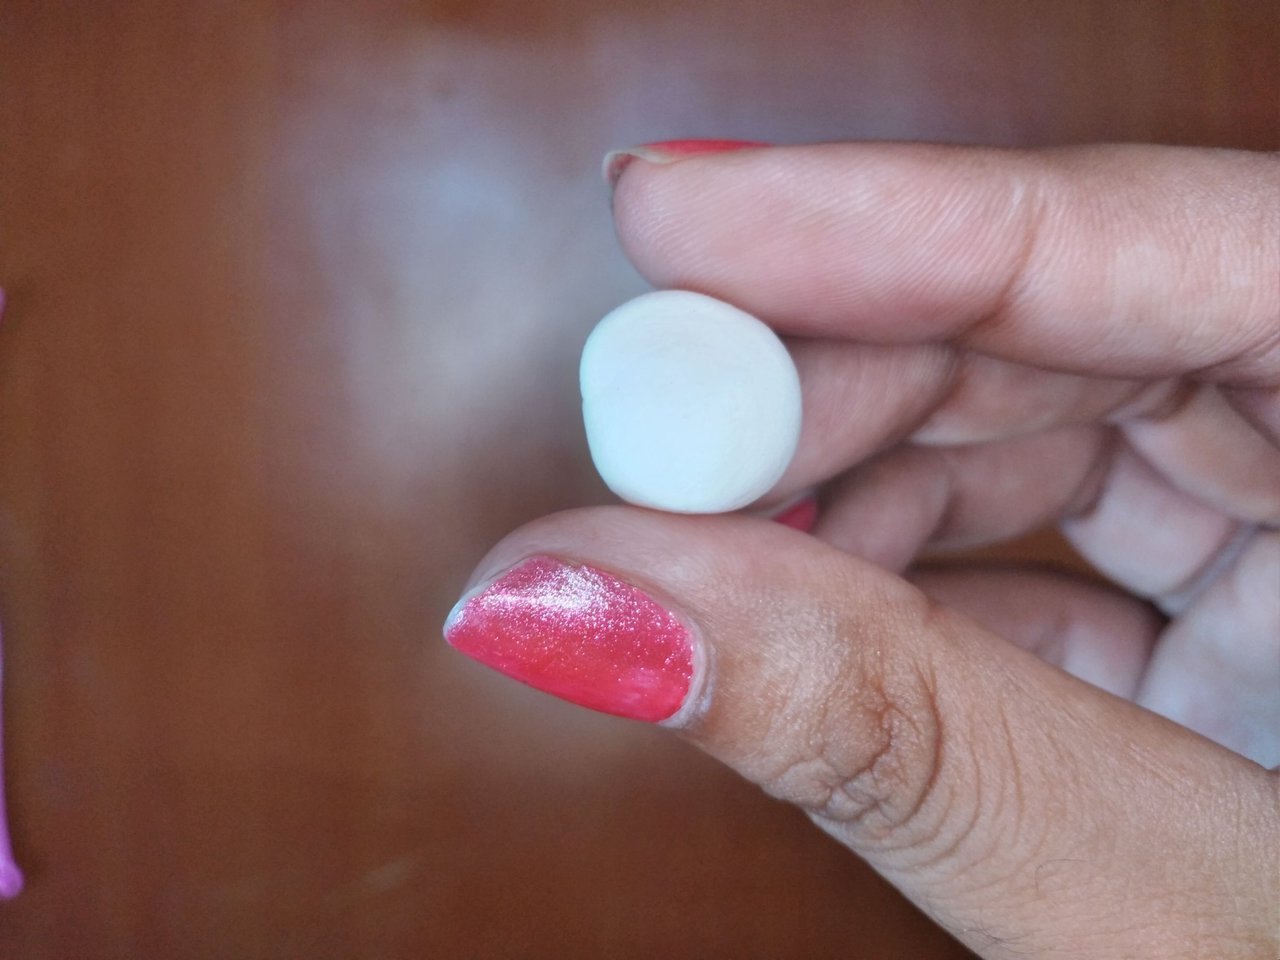
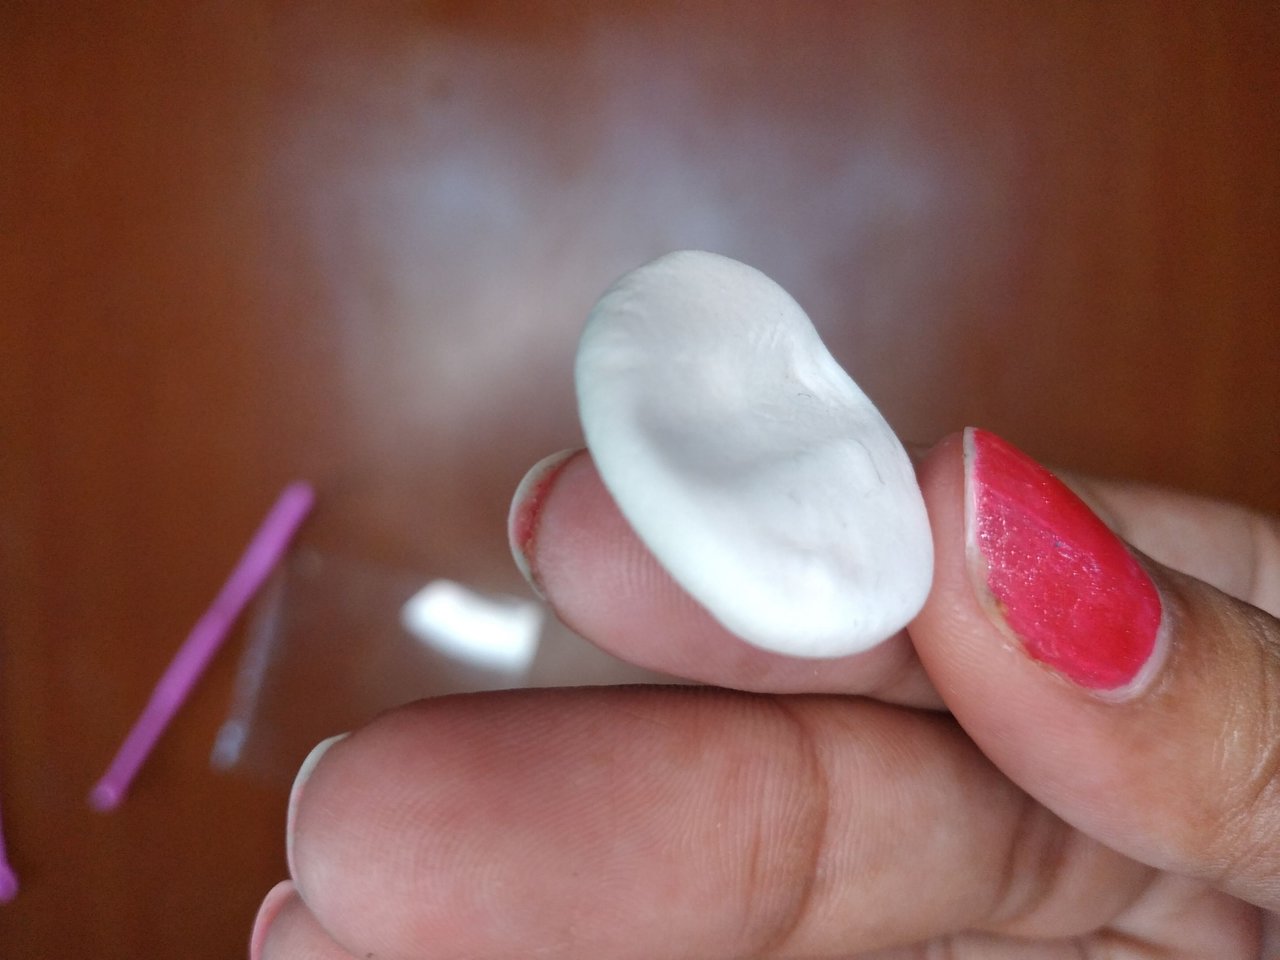
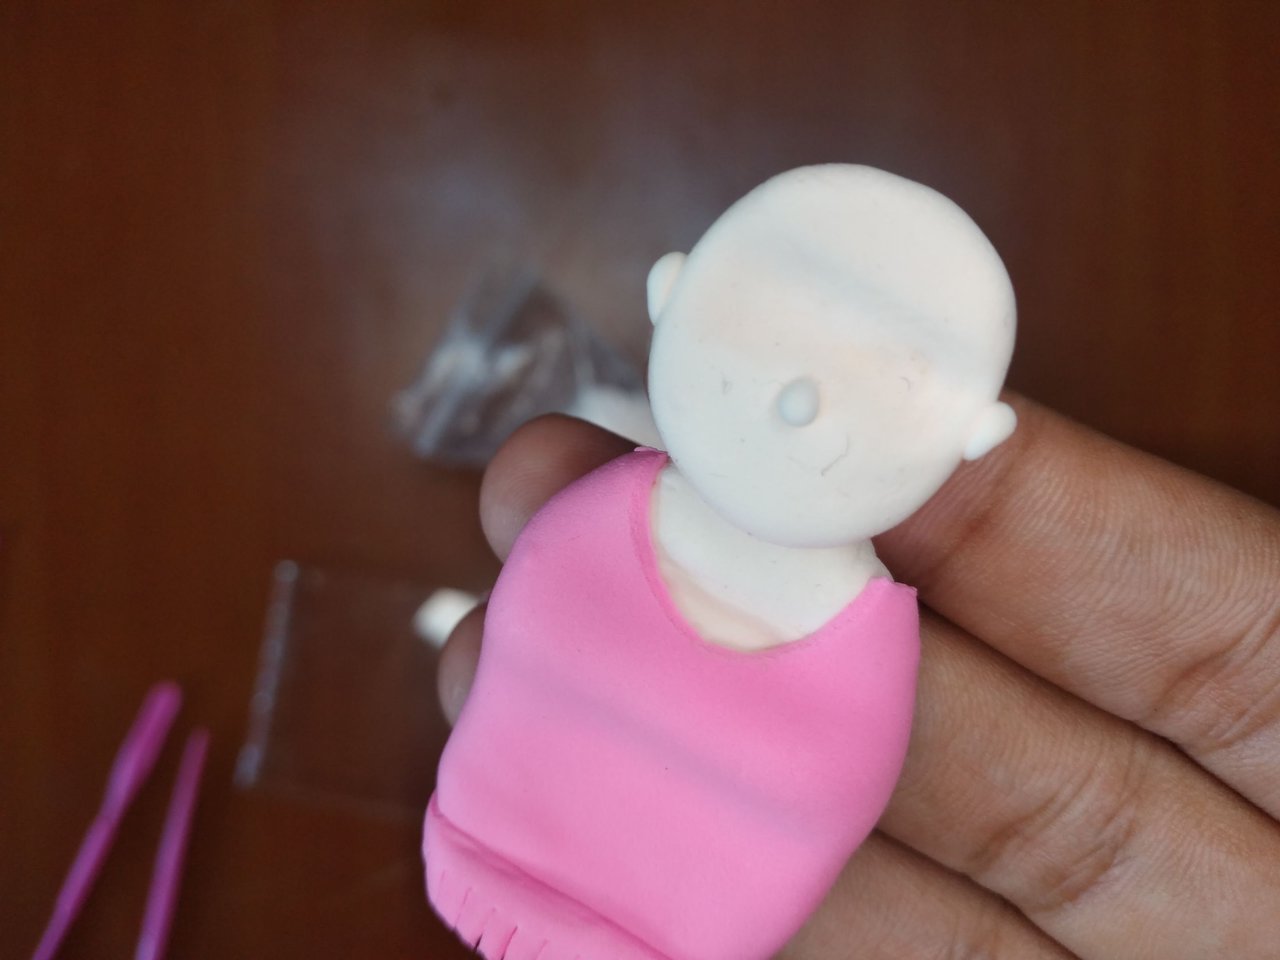
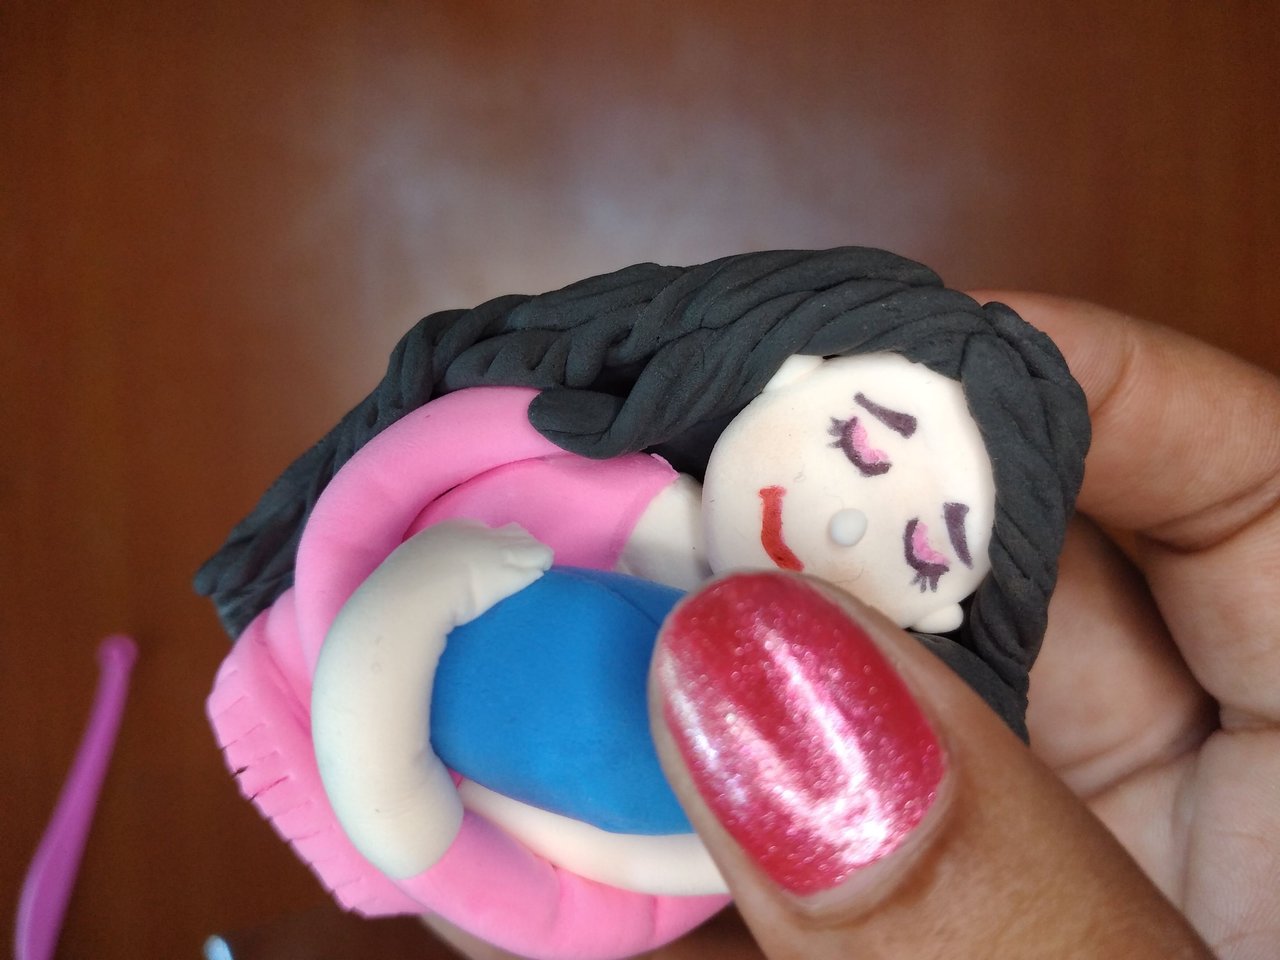
To make the head, take a skin-colored ball and flatten it just a little. Then press on the part where the eyes go to give it shape. Then I placed two small balls on the sides and with a fine tip I made a hole in the lower part, that's how the ears were. The nose is very simple, you only have to place a small ball. For the eyes and mouth I used a colored pencil and you can see how it turned out, you don't have to be a painter for this, just look at me.
Para elaborar la cabeza tomar una bolita de color piel y aplanar solo un poco. Luego presionar en la parte donde van los ojos para darle forma. Después coloqué dos bolitas a los lados y con una punta fina hice un orificio en la parte inferior, así quedaron las orejas. La nariz es muy simple, solo tienes que colocar una pequeña bolita. Para los ojos y la boca utilicé un lapicero de colores y ya ven como quedó, no hay que ser pintor para esto, mírenme a mí.
 |
 |
 |
 |
 |
 |
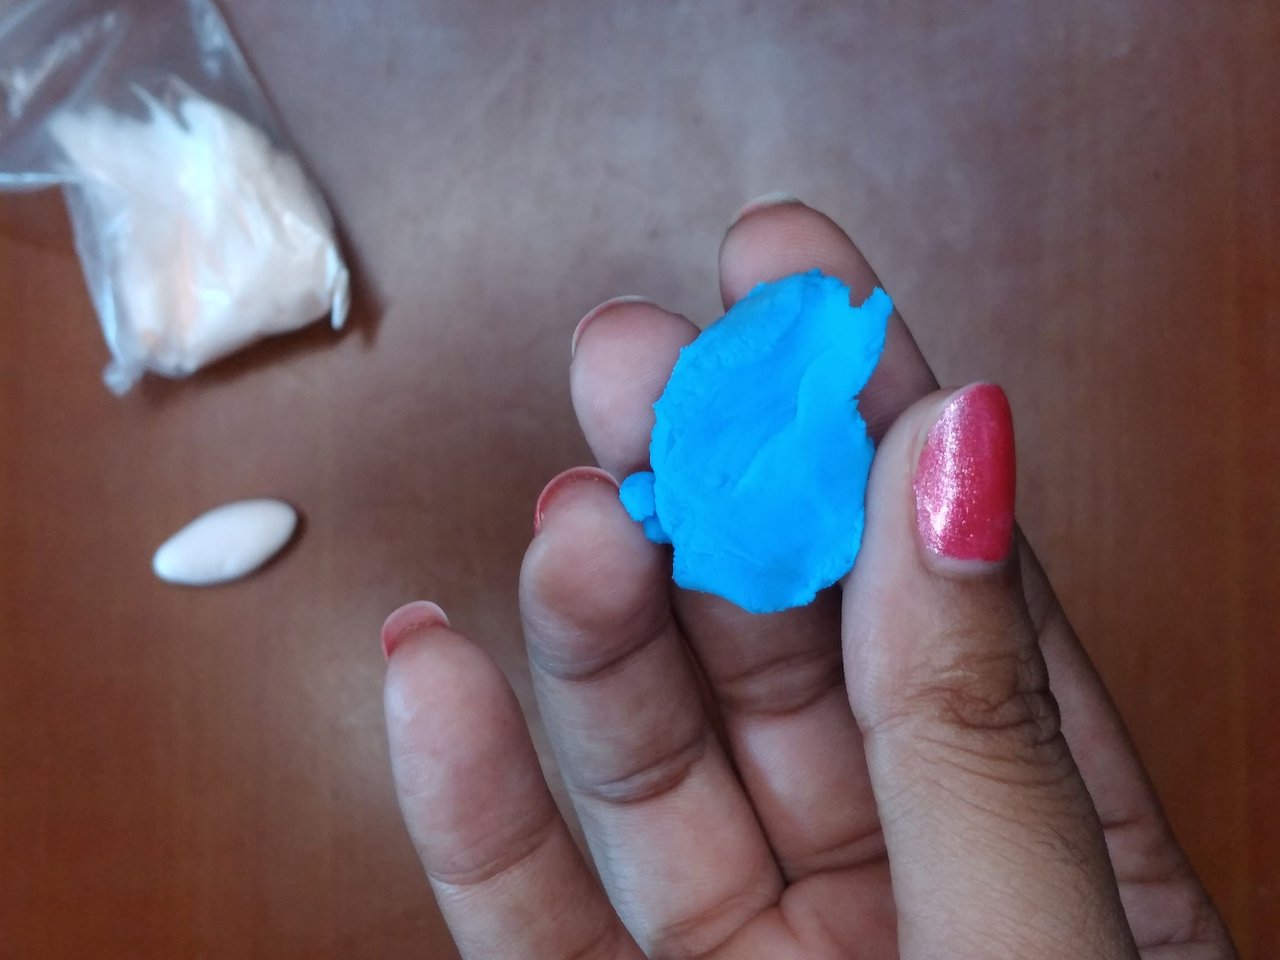
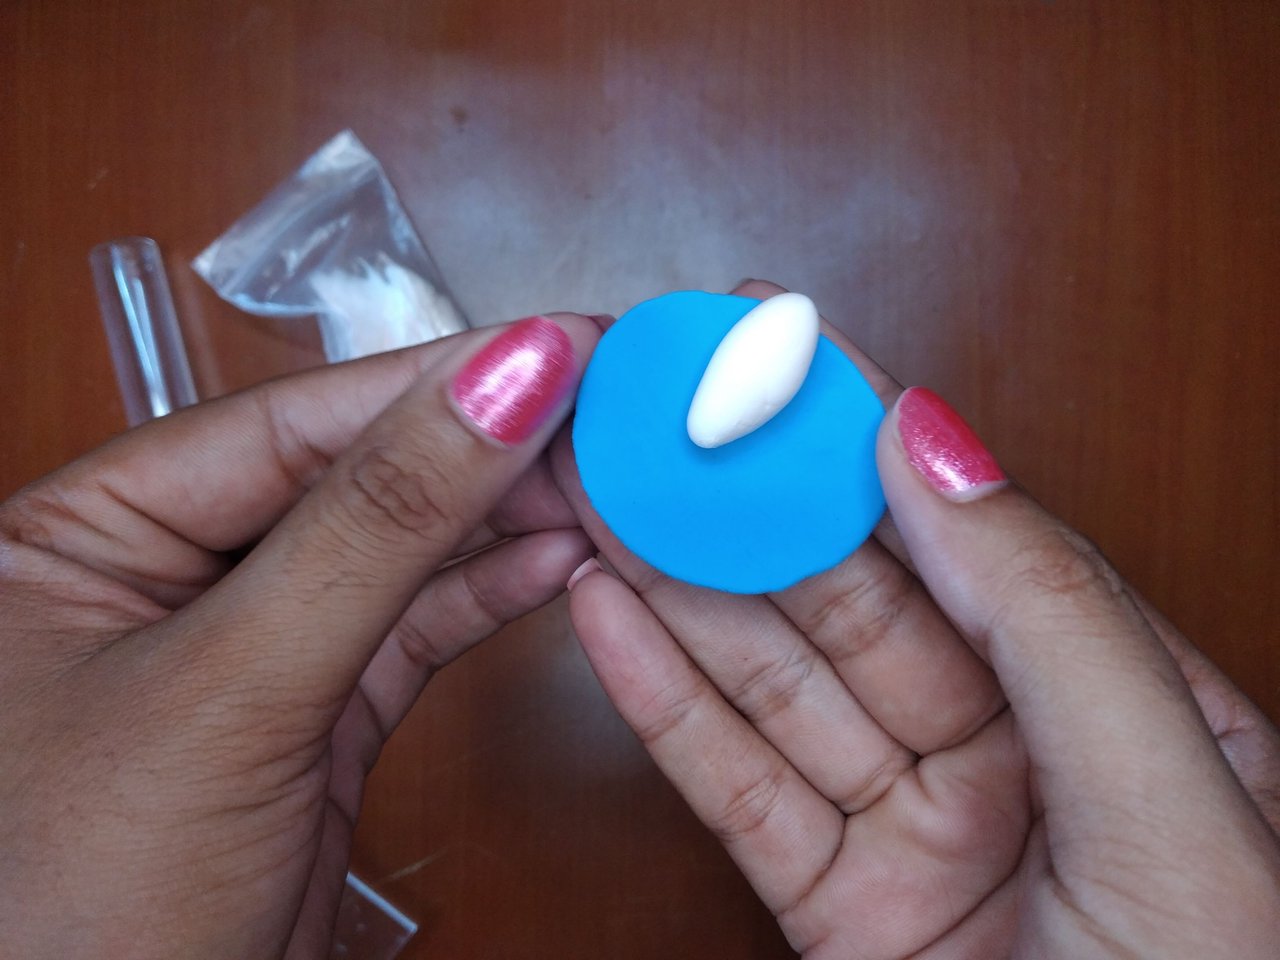
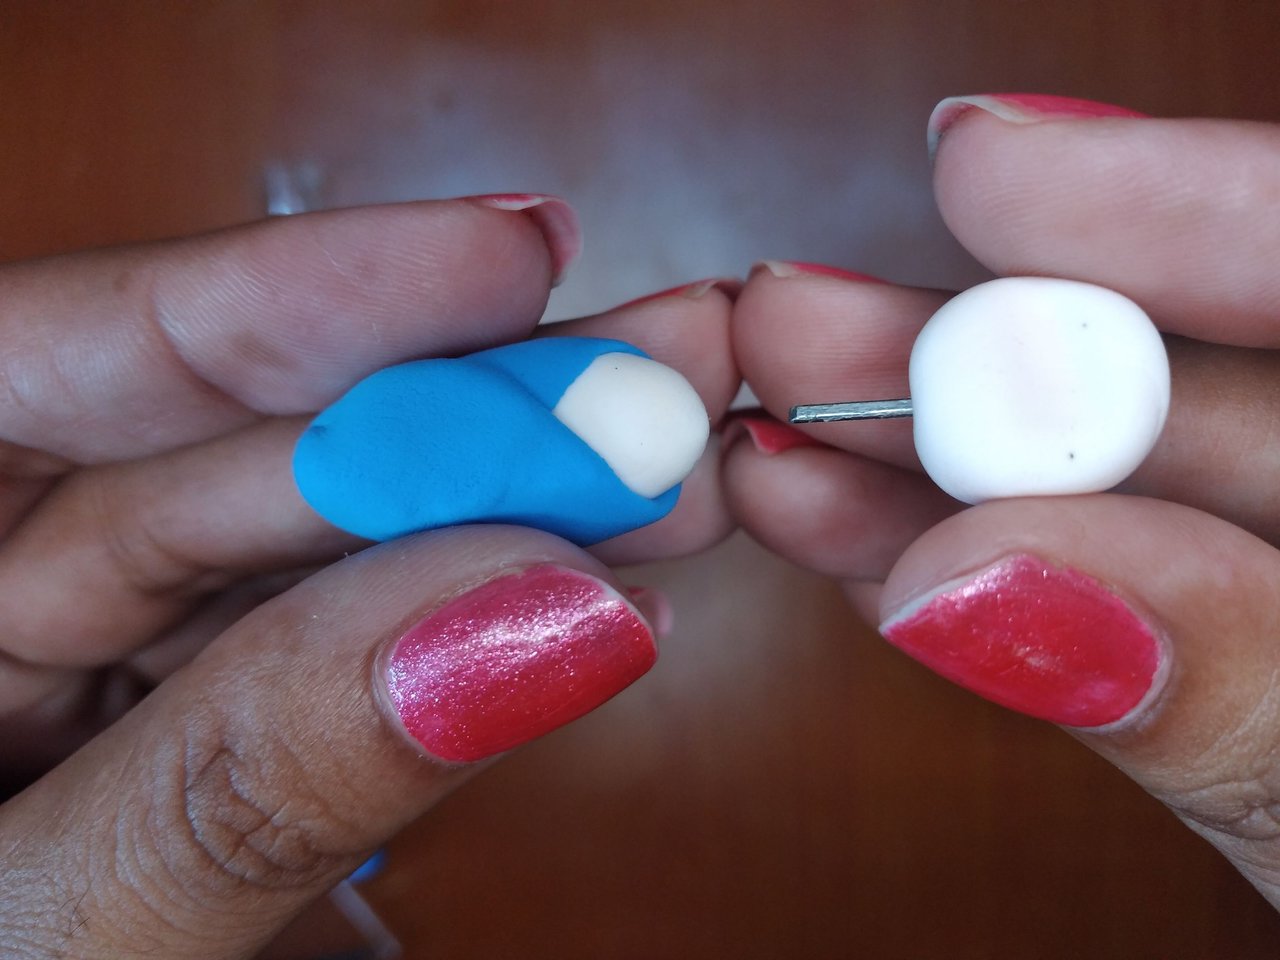
For the baby's body, I just made an oval shape and covered it with a layer of blue flat foami. This would be the blanket.
Para el cuerpo del bebé, solo hice una forma ovalada y la cubrí con una capa de foami plana de color azul. Esta sería la manta.
 |
 |
 |
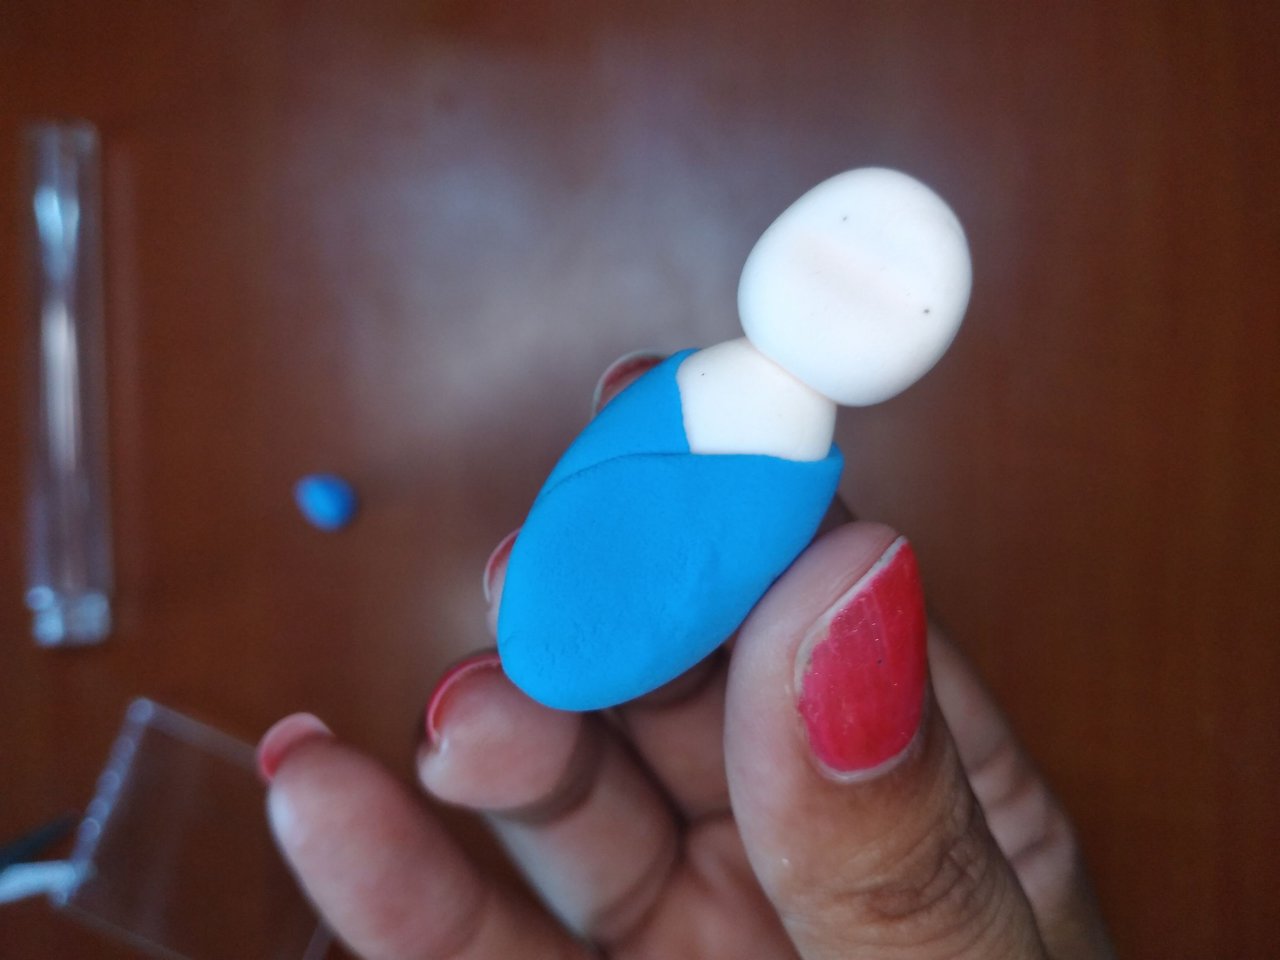 |
I made the baby's head in the same way I did the mother's, but I put it in place using a nail to join the two parts so that it would not move out of place.
La cabecita del bebé la realice de la misma forma que hice la de la madre, pero esta la coloqué en su lugar utilizando un clavo que uniera las dos partes para que no se fuera de lugar.
 |
 |
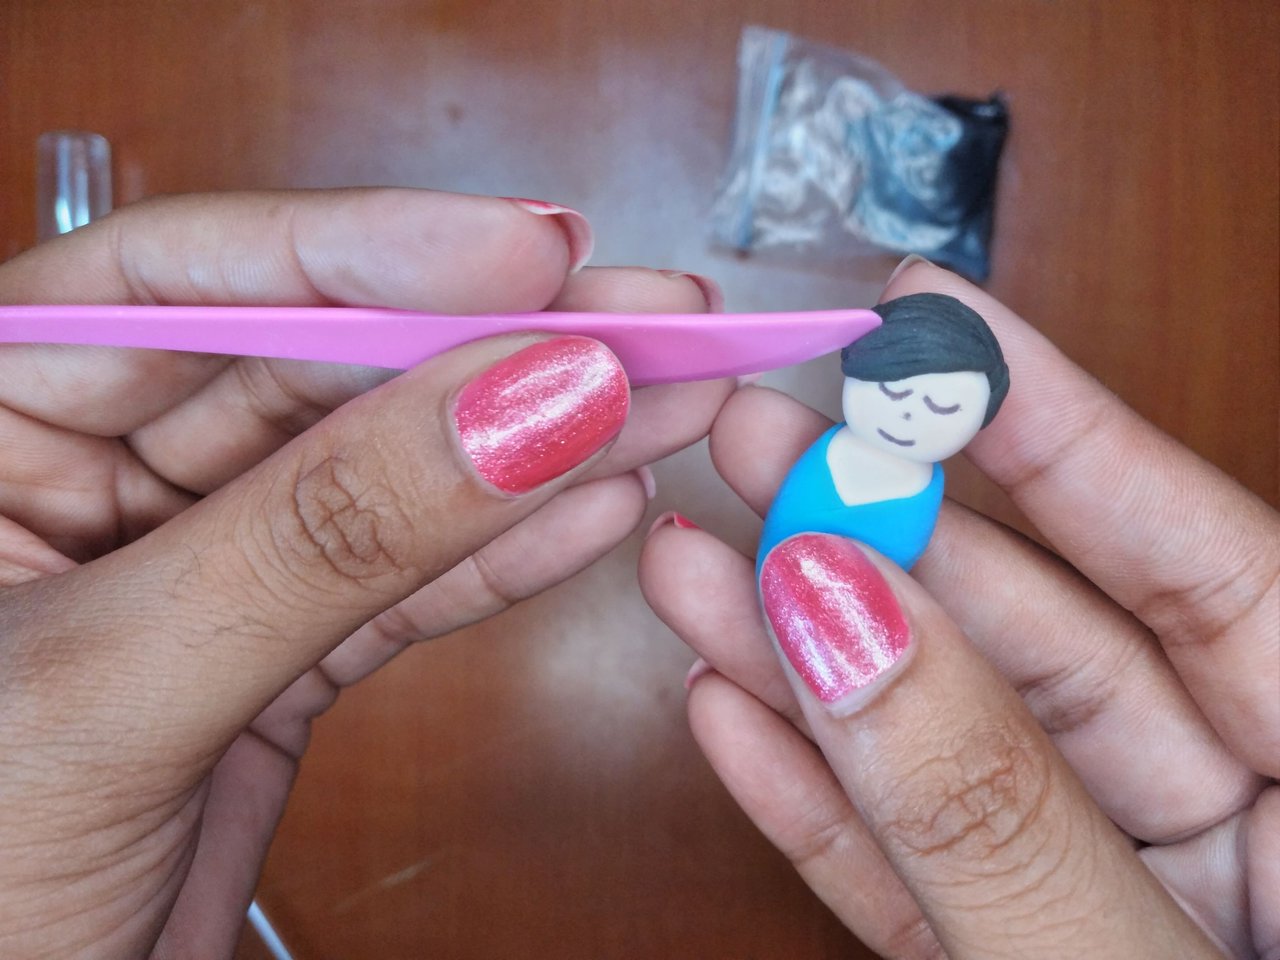
For the baby's hair, take a small piece of black foami and place it on the baby's head and make some straight cuts to give it the texture of the hair. Then place the baby in this position, on top of the mother.
Para el cabello del bebe tomar una pequeña porción de foami negro y colocarla en la cabecita y con una esteca hacer unos cortes rectos para darle la textura del pelo. Luego colocar el bebé en esta posición, encima de la madre.
 |
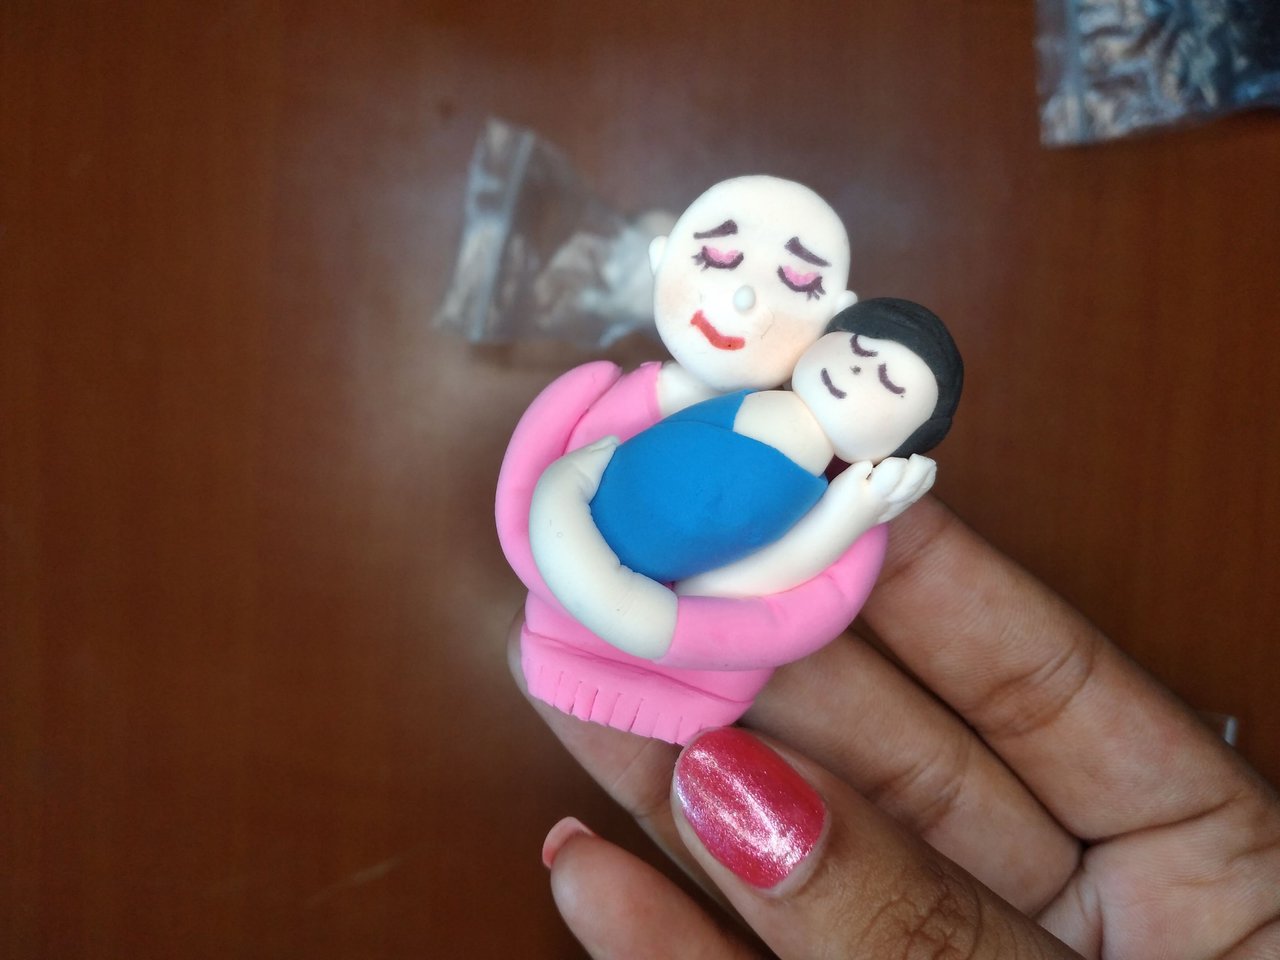 |
I made the hands like this, two pink tubes and two skin-colored tubes and joined them together. Then at the ends I made the shape of the little fingers. Finally, place them in a crossed shape as if I was hugging him.
Las manos las hice de esta forma, dos tubos rosas y dos tubos color piel y los uní. Luego en las puntas hacerle la forma de los deditos. Por último, colocarlos en forma cruzada como si estuviera abrazándolo.
 |
 |
 |
 |
 |
 |
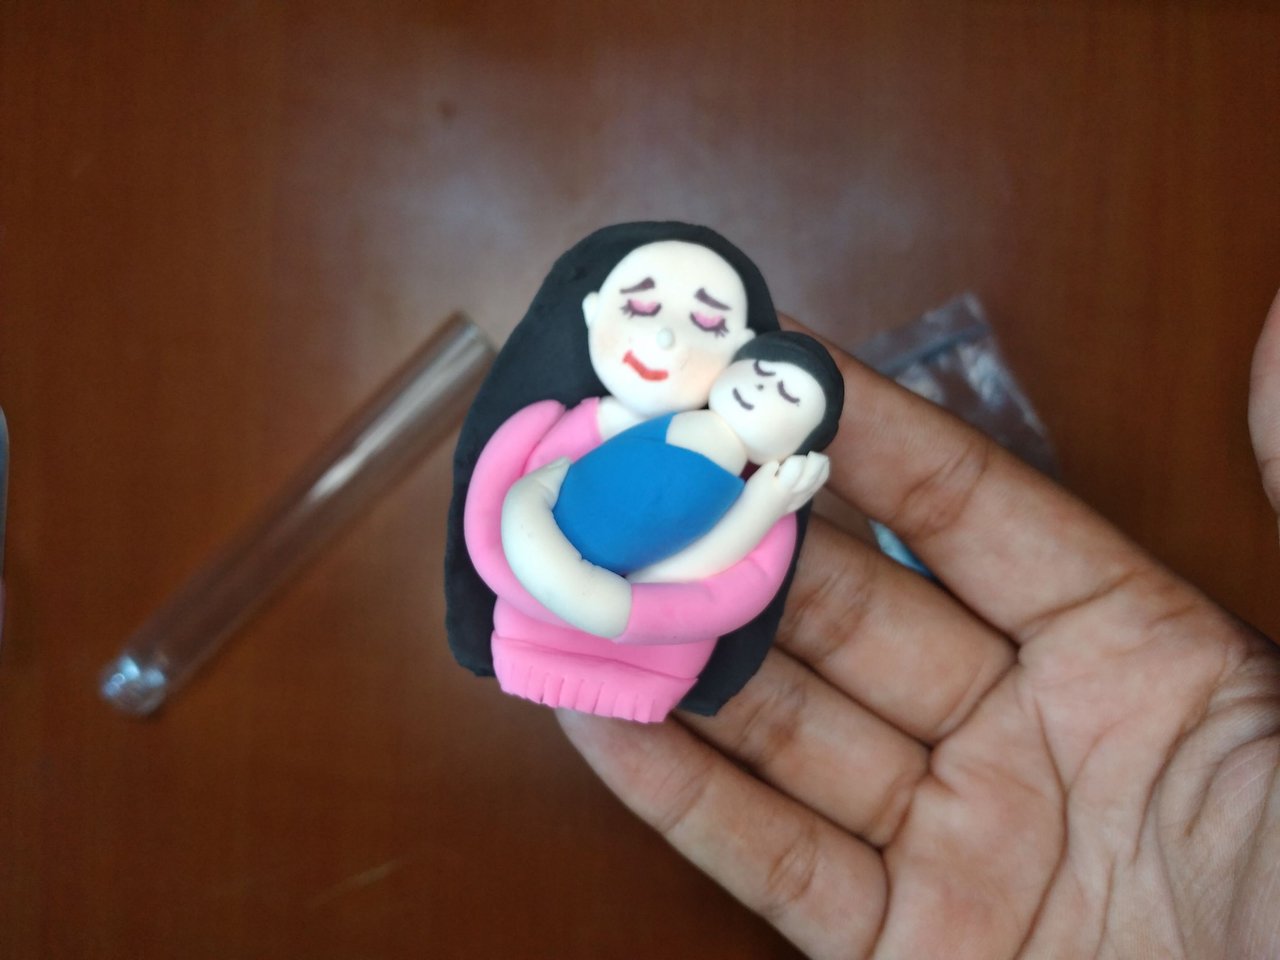
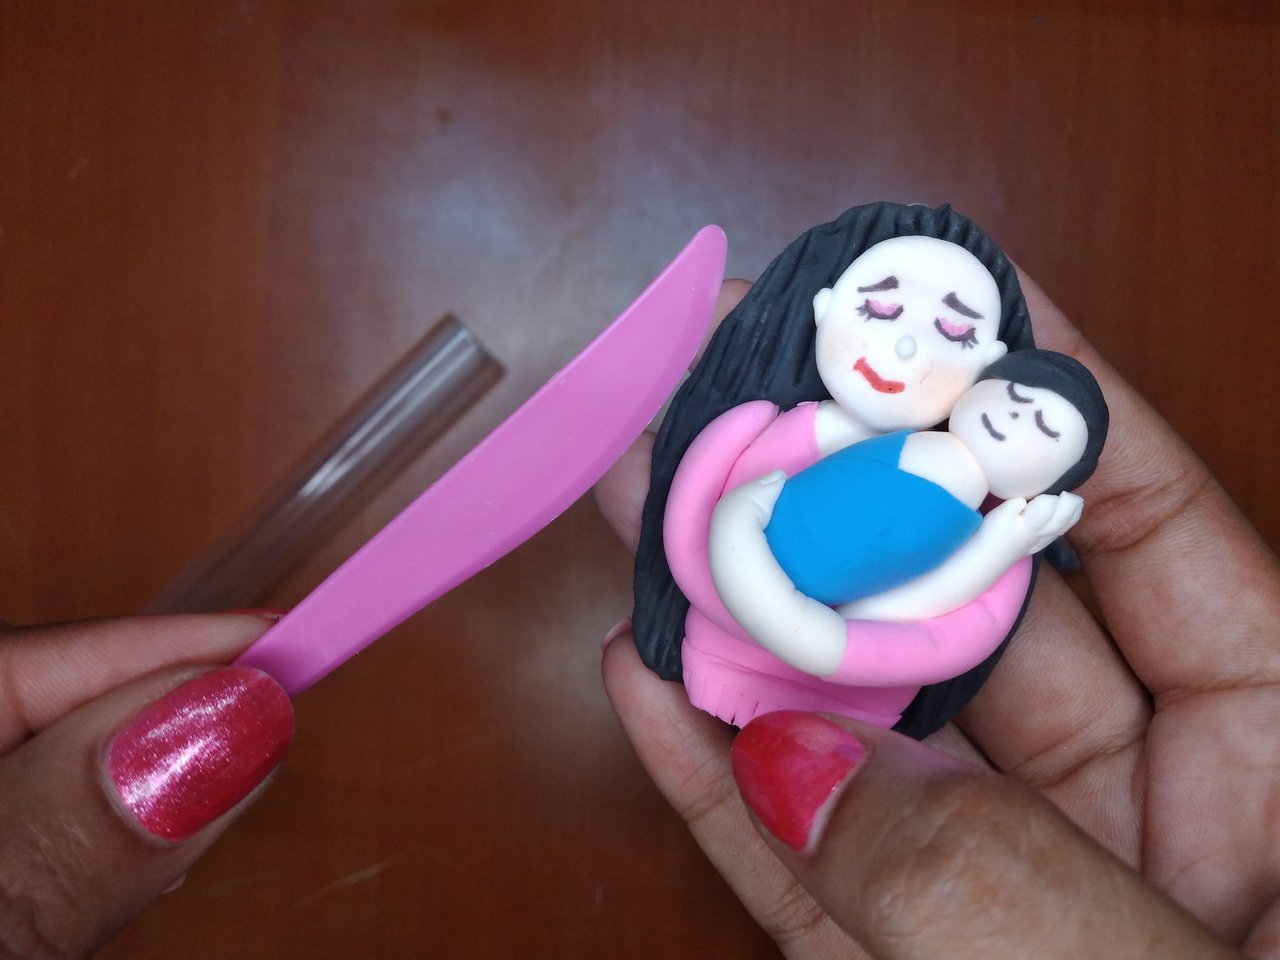
For the hair make a flat base of the color you want to make the hair, I used black. Then place the bodies on top of it and with a stake make straight cuts on the base to simulate the hair. To give it volume take small portions of black foami in an elongated shape and make cuts, then twist to look like curls or curly hair, place all over this surface.
Para el cabello hacer una base plana del color que quieras hacer el cabello, yo utilicé el negro. Luego colocar los cuerpos encima y con una esteca hacer cortes rectos en la base para simular el cabello. Para darle volumen tomar porciones pequeñas de foami negro de forma alargada y hacer cortes, luego torcer para que parezcan tirabuzones o cabello rizado, colocar en toda esta superficie.
 |
 |
 |
 |
 |
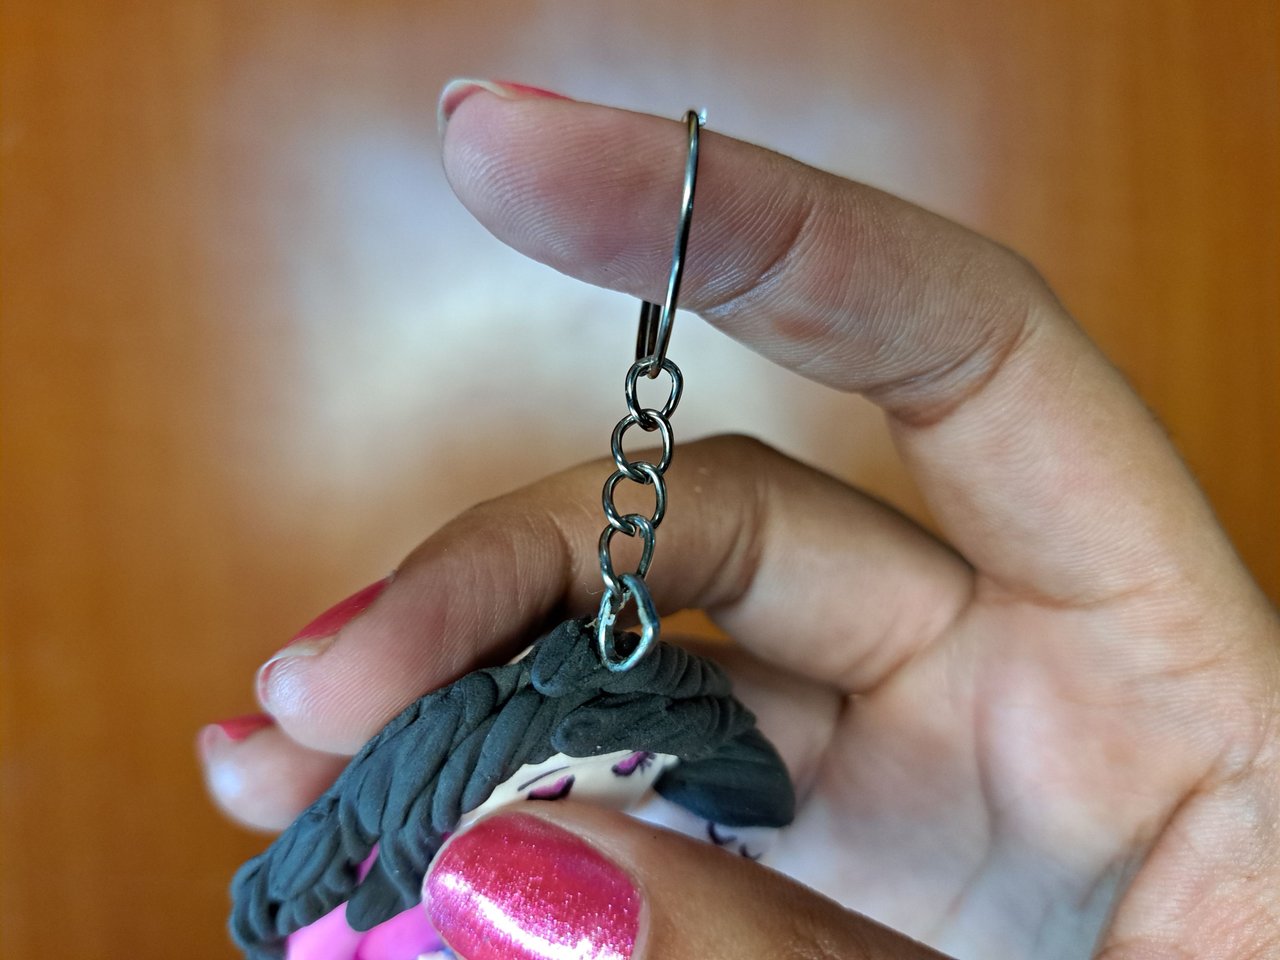 |
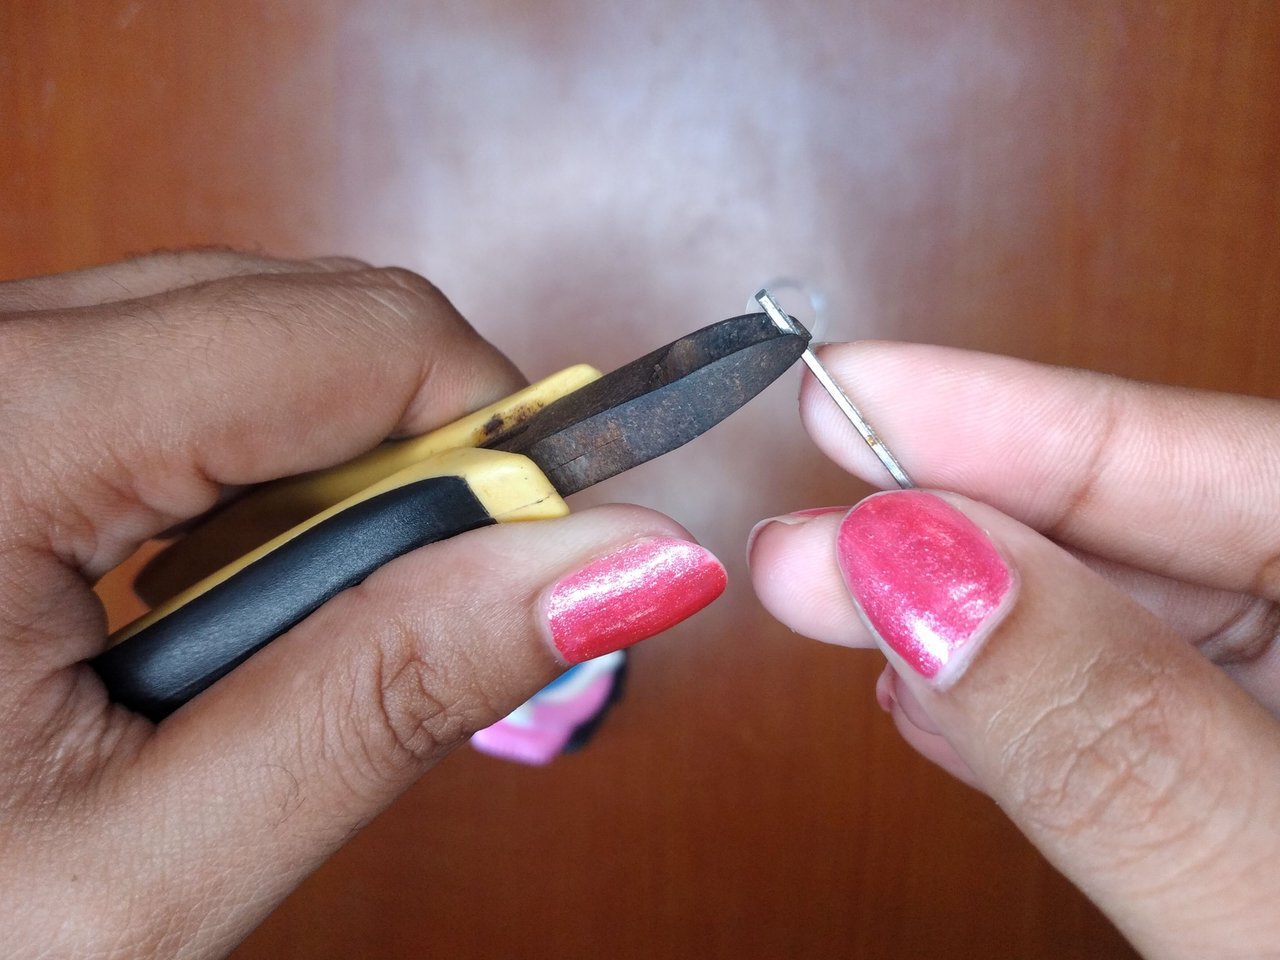
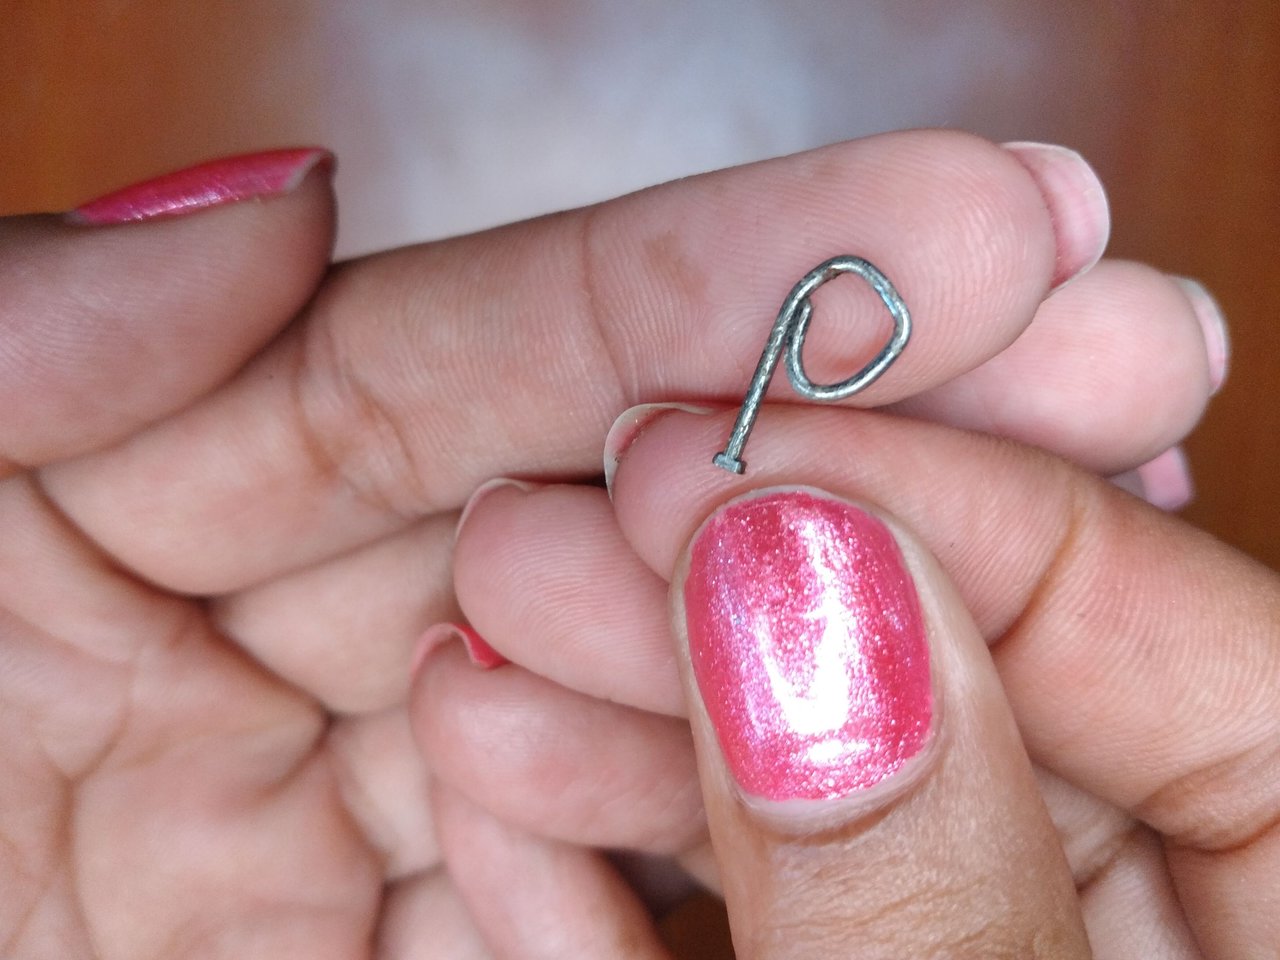
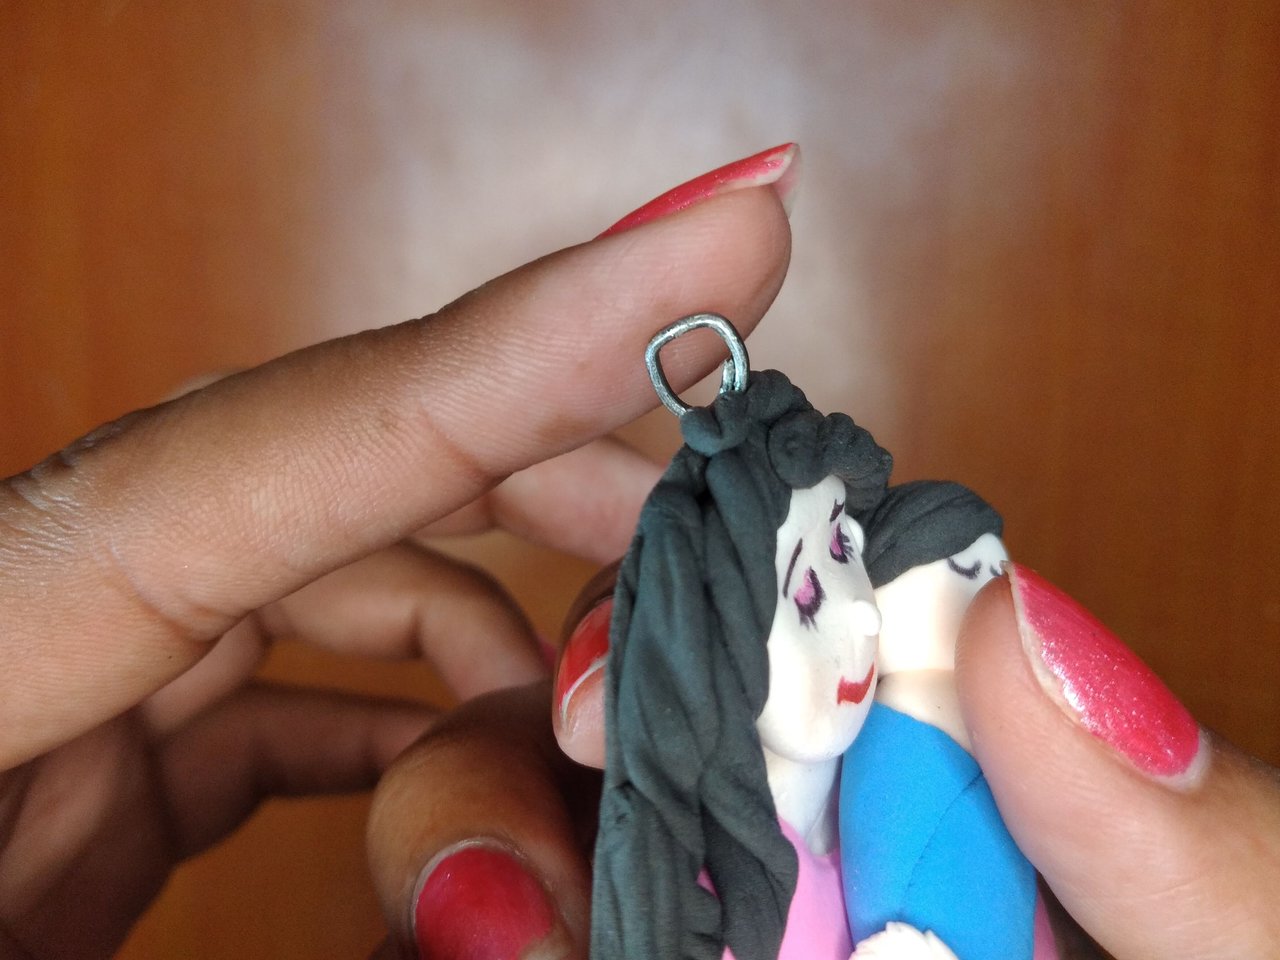
With the help of a plier give this shape to the nail and place it where you want to put the ring. Finally, place the hardware.
Con ayuda de una pinza darle esta forma al clavo y ubicarlo donde queramos poner la anilla. Por último, colocar el herraje.
 |
 |
 |
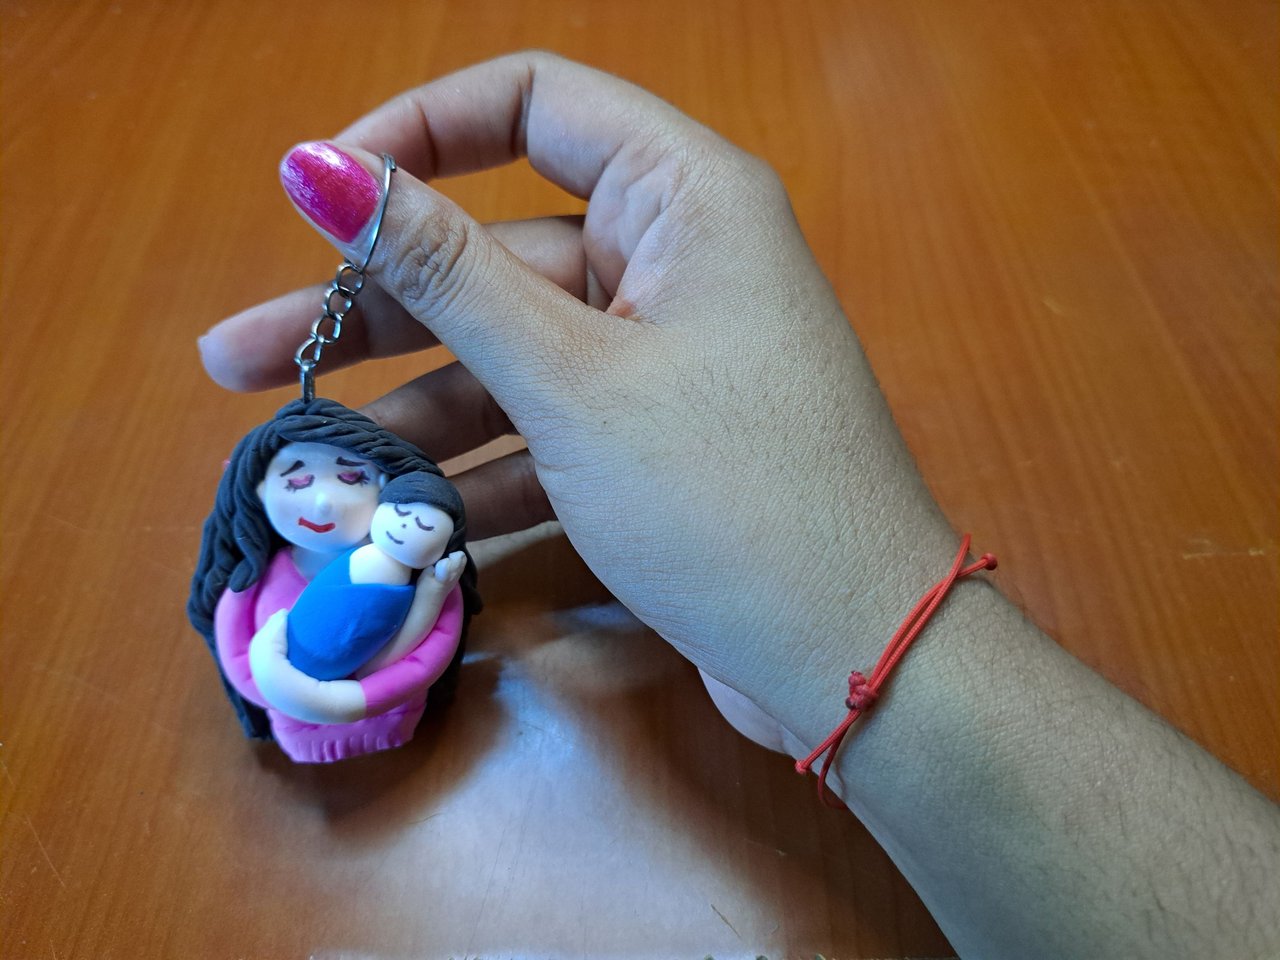 |
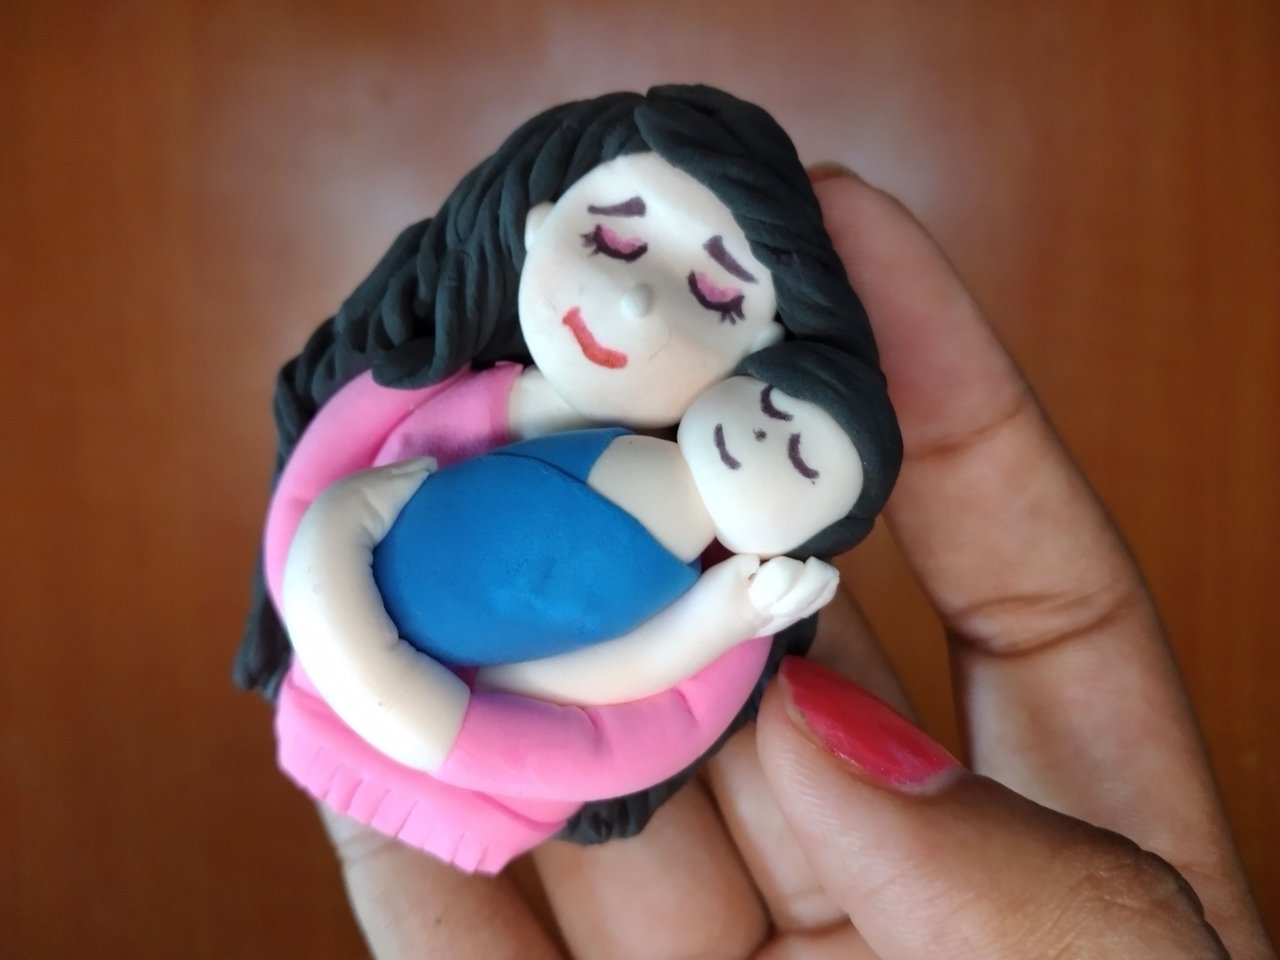
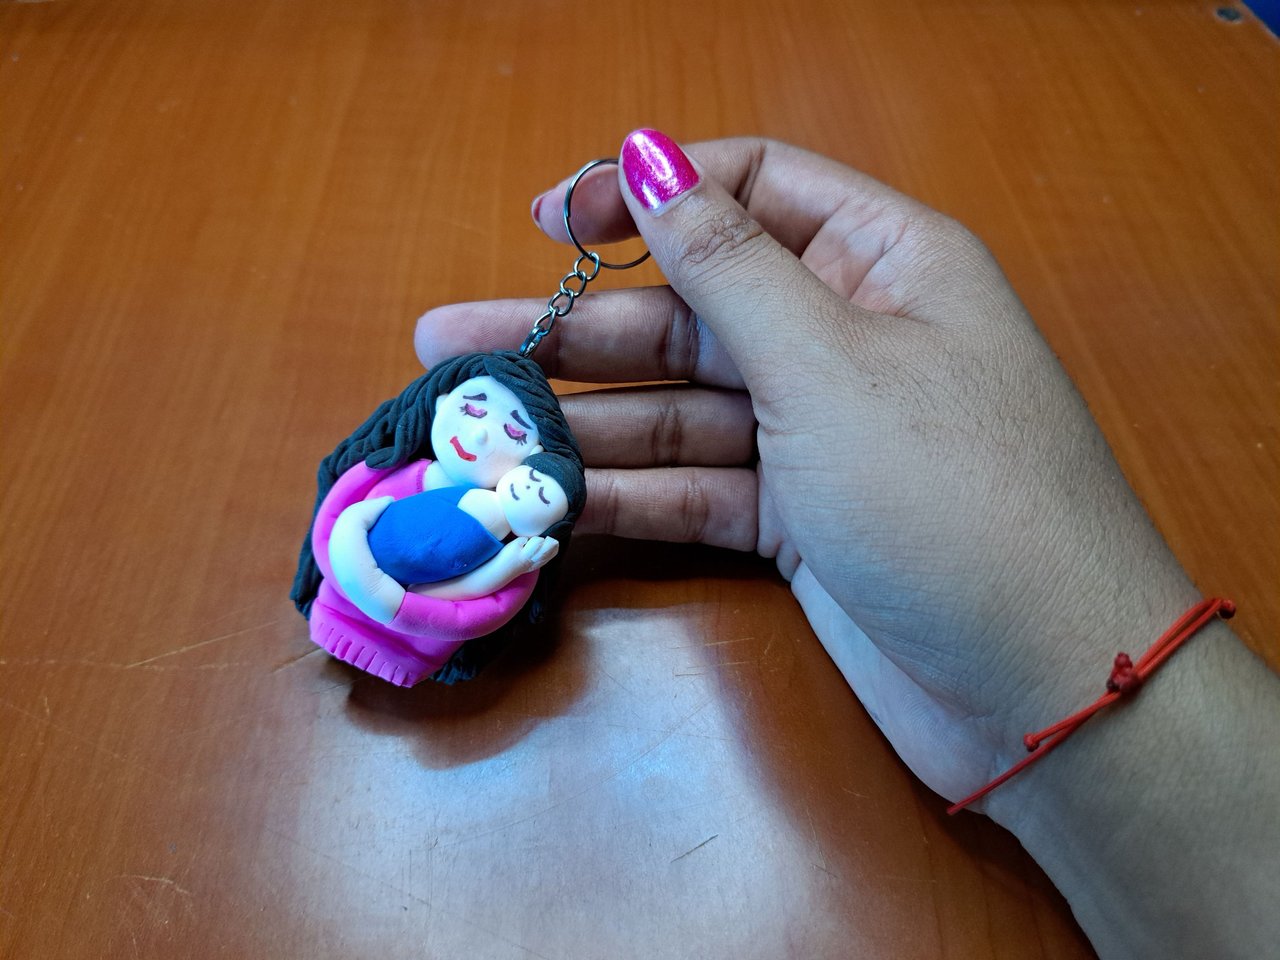
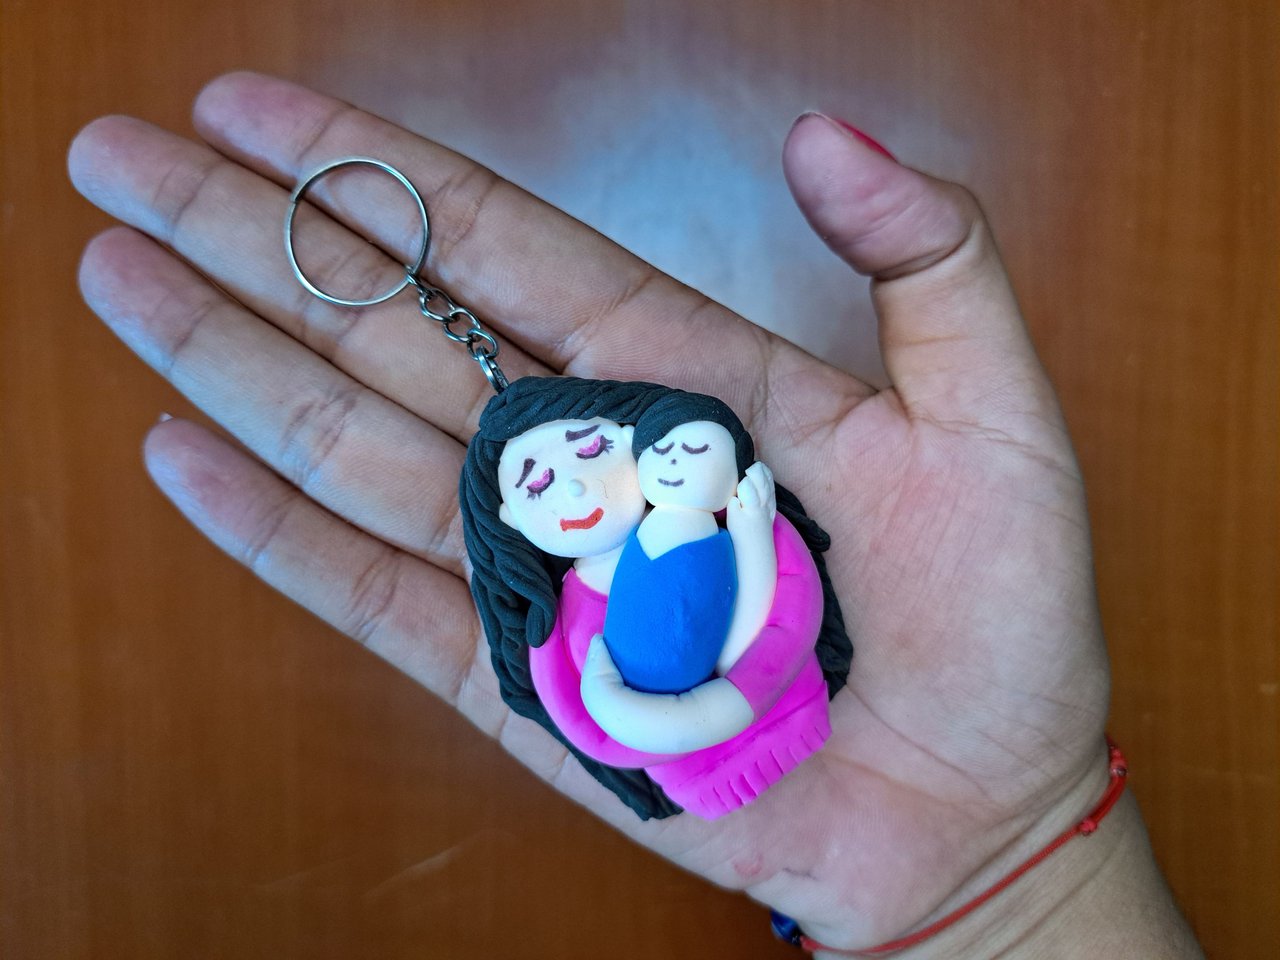
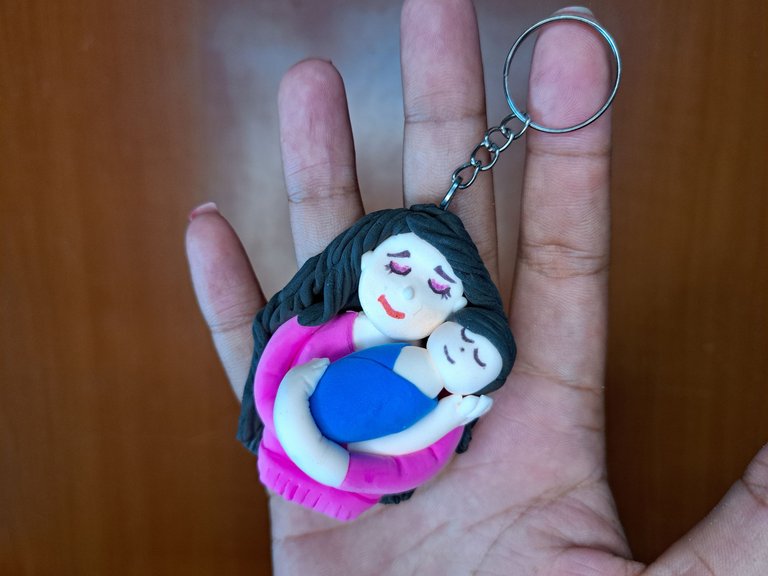
And now this beautiful keychain is ready for mom! or for any mother for that matter. I hope you liked it and that it serves as a creative reference. Let me know in the comments what you thought, greetings to all.
¡Y ya está listo este precioso llavero para mamá! o para cualquier madre claro está. Espero les haya gustado y que les sirva de referencia creativa. Déjenme en los comentarios que les pareció, un saludo a todos.
Cover made in Canva
English is not my native language, translated by DeepL
Un llavero verdaderamente hermoso. Sin dudas sería un bello regalo para el día de las madres.
Muchas gracias 🥰, así es un bello regalo
Que bonito detalle para regalar a mamá. Sin duda el mejor regalo 😍
Muchas gracias 🤗, un sencillo detalle pero hecho con mucho amor ❤️
🥰🥰🥰
wow that looks so amazing you are amazinag. keep up the good work.
Thank you very much for the support 🥰
Muy lindo llavero, me encantaría regalarle uno así a mi madre.
Muchas gracias, pues manos a la obra, no es tan difícil.
Saludos @yale95reyra, que hermoso y tierno llavero, un lindo regalo para mamá hecho con amor 🌻🌺🌼🌹.
Feliz inicio de semana!
Muchas gracias 🥰, lindo lunes 🤗