Hi friends, I noticed that you liked the post in the HiveGarden section a lot! I have good news for you because I decided to repot my avocado and I want to share it with you! I really enjoyed gardening at home, more exactly on my balcony, so I will continue this section and add to my collection! There were a lot of comments under the previous post and you asked me to share the progress of my basil and mint growing - I will definitely write a post about it, friends! I want to thank you very much for your interest! I really enjoy reading your comments :)
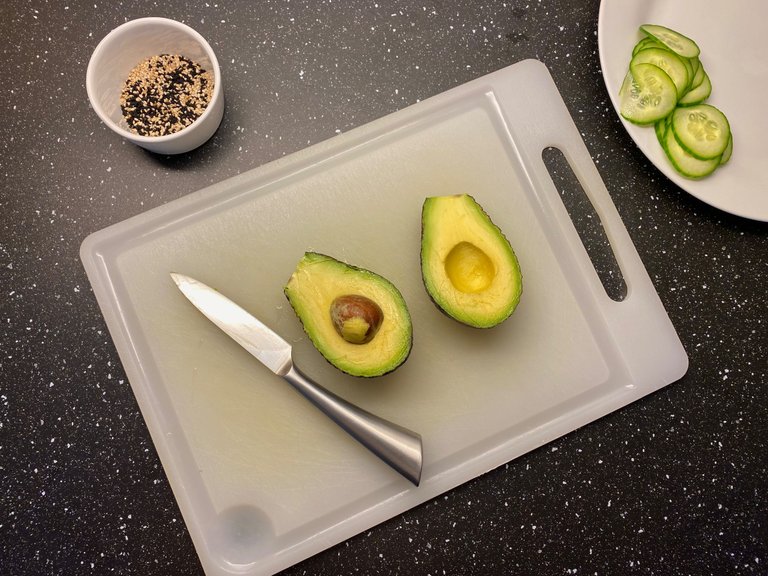
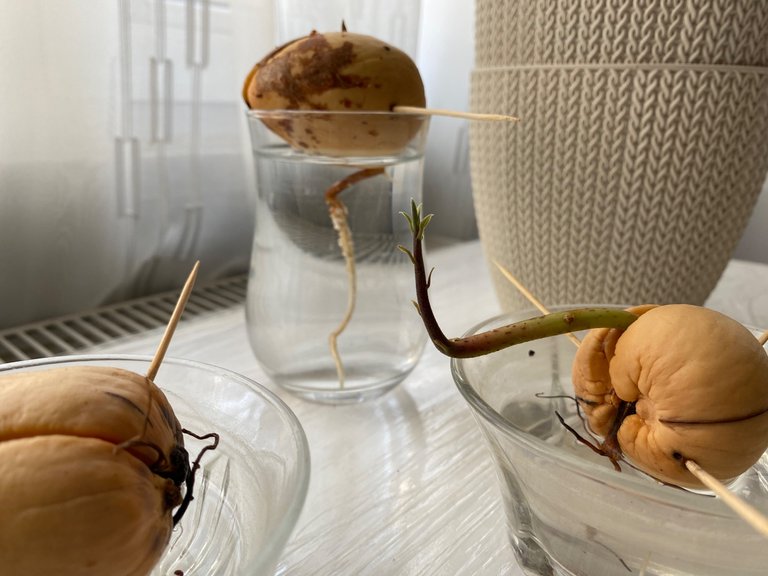
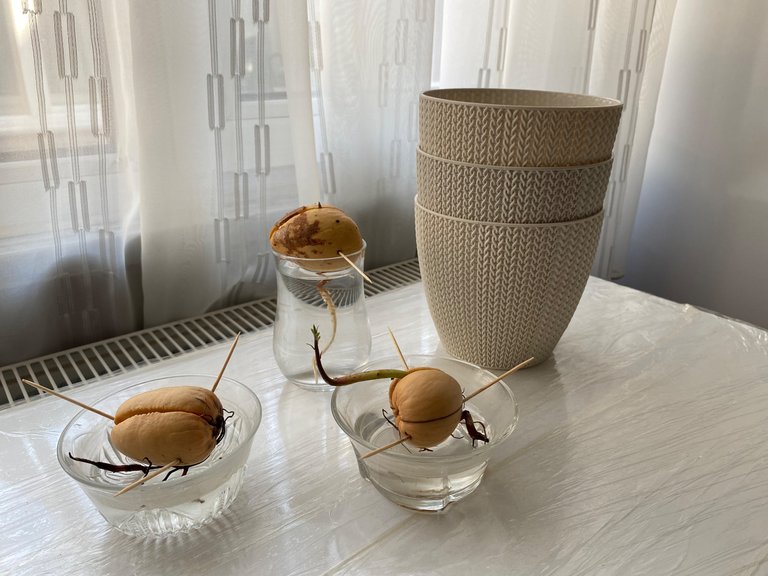
So, today I will be showing and telling you the story of how I repotted my three avocados. It took me a whole two months to see sprouts on the avocado seeds. It's a long process. But very very informative! To do this, you need to take a ripe avocado fruit and take the seed out of it. Then the seed should be thoroughly washed and peeled from the brown skin. After that, moisten a napkin with water and wrap the avocado seed in this napkin. Place it in a small bag and put it away in a warm, dark place for 2-3 weeks. After this time you will be able to see the roots from the avocado seed. Next is the fun part! The seed should be placed halfway in water. Just be patient! The plant will continue to develop for about a month and then you will be able to see the green sprout! That means it's time to put the plant in the ground. That's exactly what I did today.
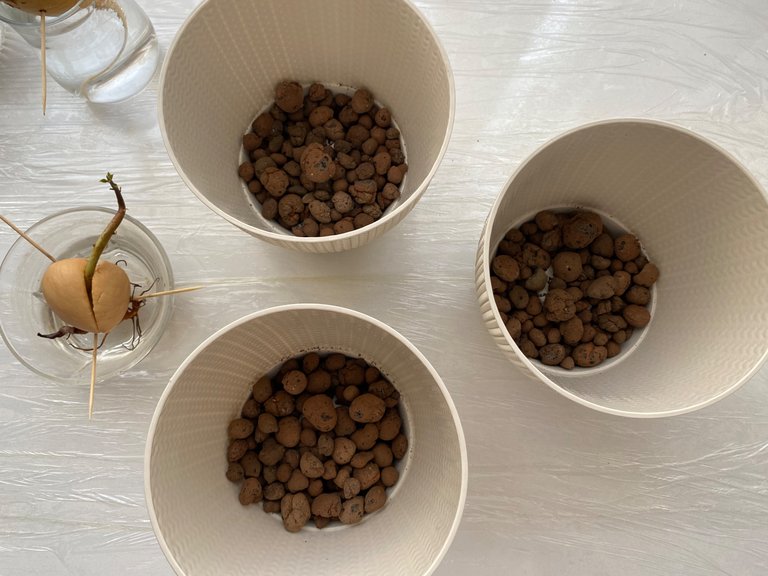
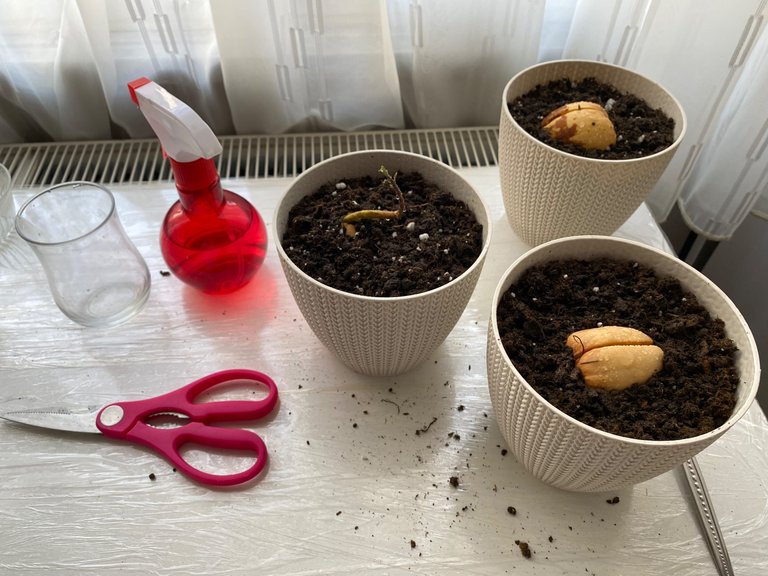
We will need: pots for plants (I have 1.5 liters), drainage for plants (expanded clay), a sprayer with water, a smile on your face. This activity will help to get rid of stress, clear your head of annoying thoughts and rebuild yourself on a positive mood.
The first thing I did was to put some drainage on the bottom of each plant pot. If you don't put drainage at the bottom of the pot, moisture will stagnate, which will lead to poor plant growth, rotting of the root system and even death of the plant. That is why it is so important not to skip this step!
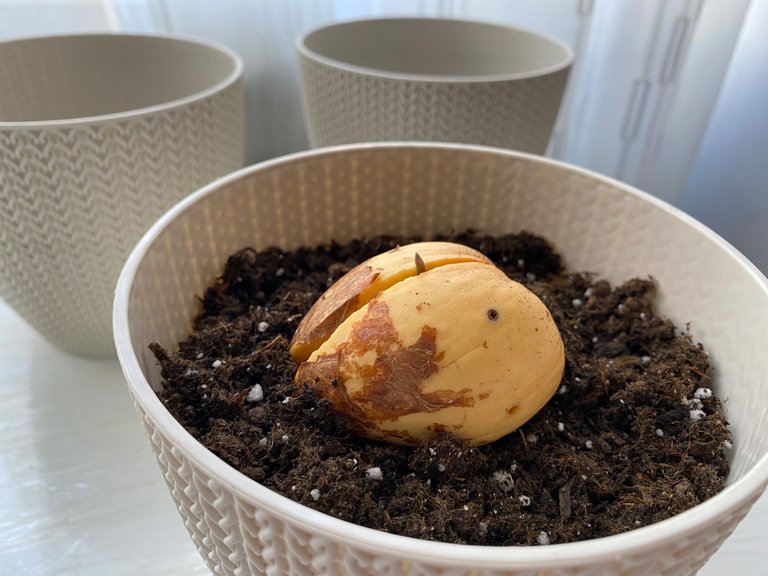
In this photo you can observe how a sprout appears from the avocado seed. I did not cover the seed with soil as the sprout has just appeared and it needs more space to grow better. And the next layer, after drainage, will be soil with special fertilizer.
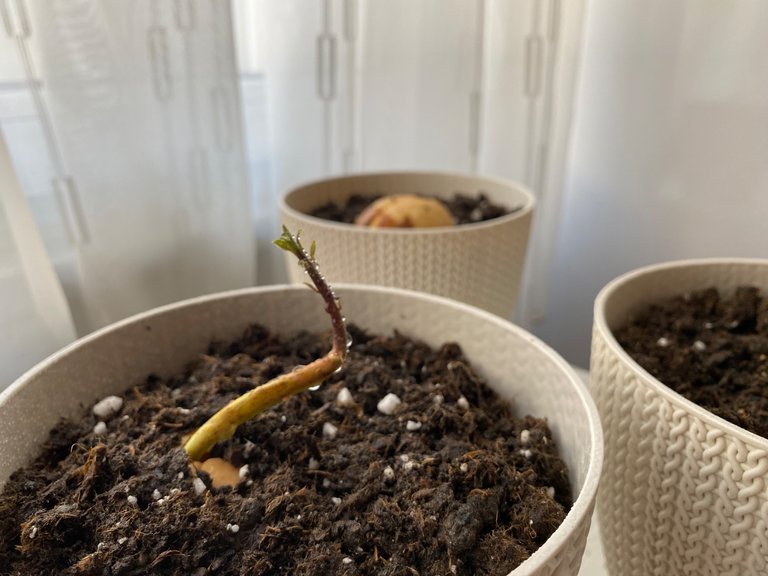
And on this photo, you can see already a little stem with small leaves. Very soon it will enlarge in size and turn into a little tree! It's an amazing process! After you have placed the avocado seed in the ground - water abundantly.
This is the end of my work. Even though the process is quite simple and quick, it still helps me relax and distract myself. I also want to plant lemon and pepper seeds. What do you think, is this a good idea? Write your opinion down below in the comments. I can't wait to read it! I wish everyone warm spring days and good mood. See you soon, friends! Bye-bye!
!ALIVE
You Are Alive so I just staked 0.1 $ALIVE to your account on behalf of @ tuisada. (3/10)@norwaylife!
The tip has been paid for by the We Are Alive Tribe
 through the earnings on @alive.chat, feel free to swing by our daily chat any time you want, plus you can win Hive Power (2x 50 HP) and Alive Power (2x 500 AP) delegations (4 weeks), and Ecency Points (4x 50 EP), in our chat every day.
I am going to copy this technique of your if ever I got hold of avocado seeds. Thank you for sharing.
You are welcome 🙂 I'm happy you like it!
Wow this is amazing process. I love the technique you apply here
Thank you so much! Nice to hear ⭐️