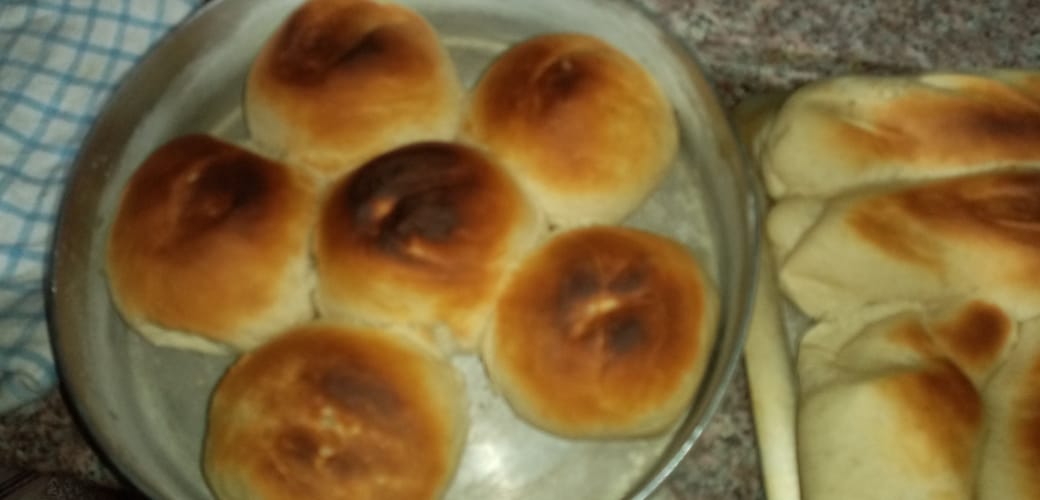
Puedes usarlos para acompañar tus comidas o prepararlos como sandwich, siempre a tu gusto.
Necesitaras:
1Kg de harina todo uso.
10 gramos de sal
20gramos de azucar
20 gramos de levadura instantánea
500ml de agua tibia "No caliente"
20gramos de margarina o aceite.
Antes de iniciar la preparación te recomiendo probar si la levadura funciona, ya que muchas veces la refrigeramos por largos tiempos o la almacenamos de manera inadecuada.
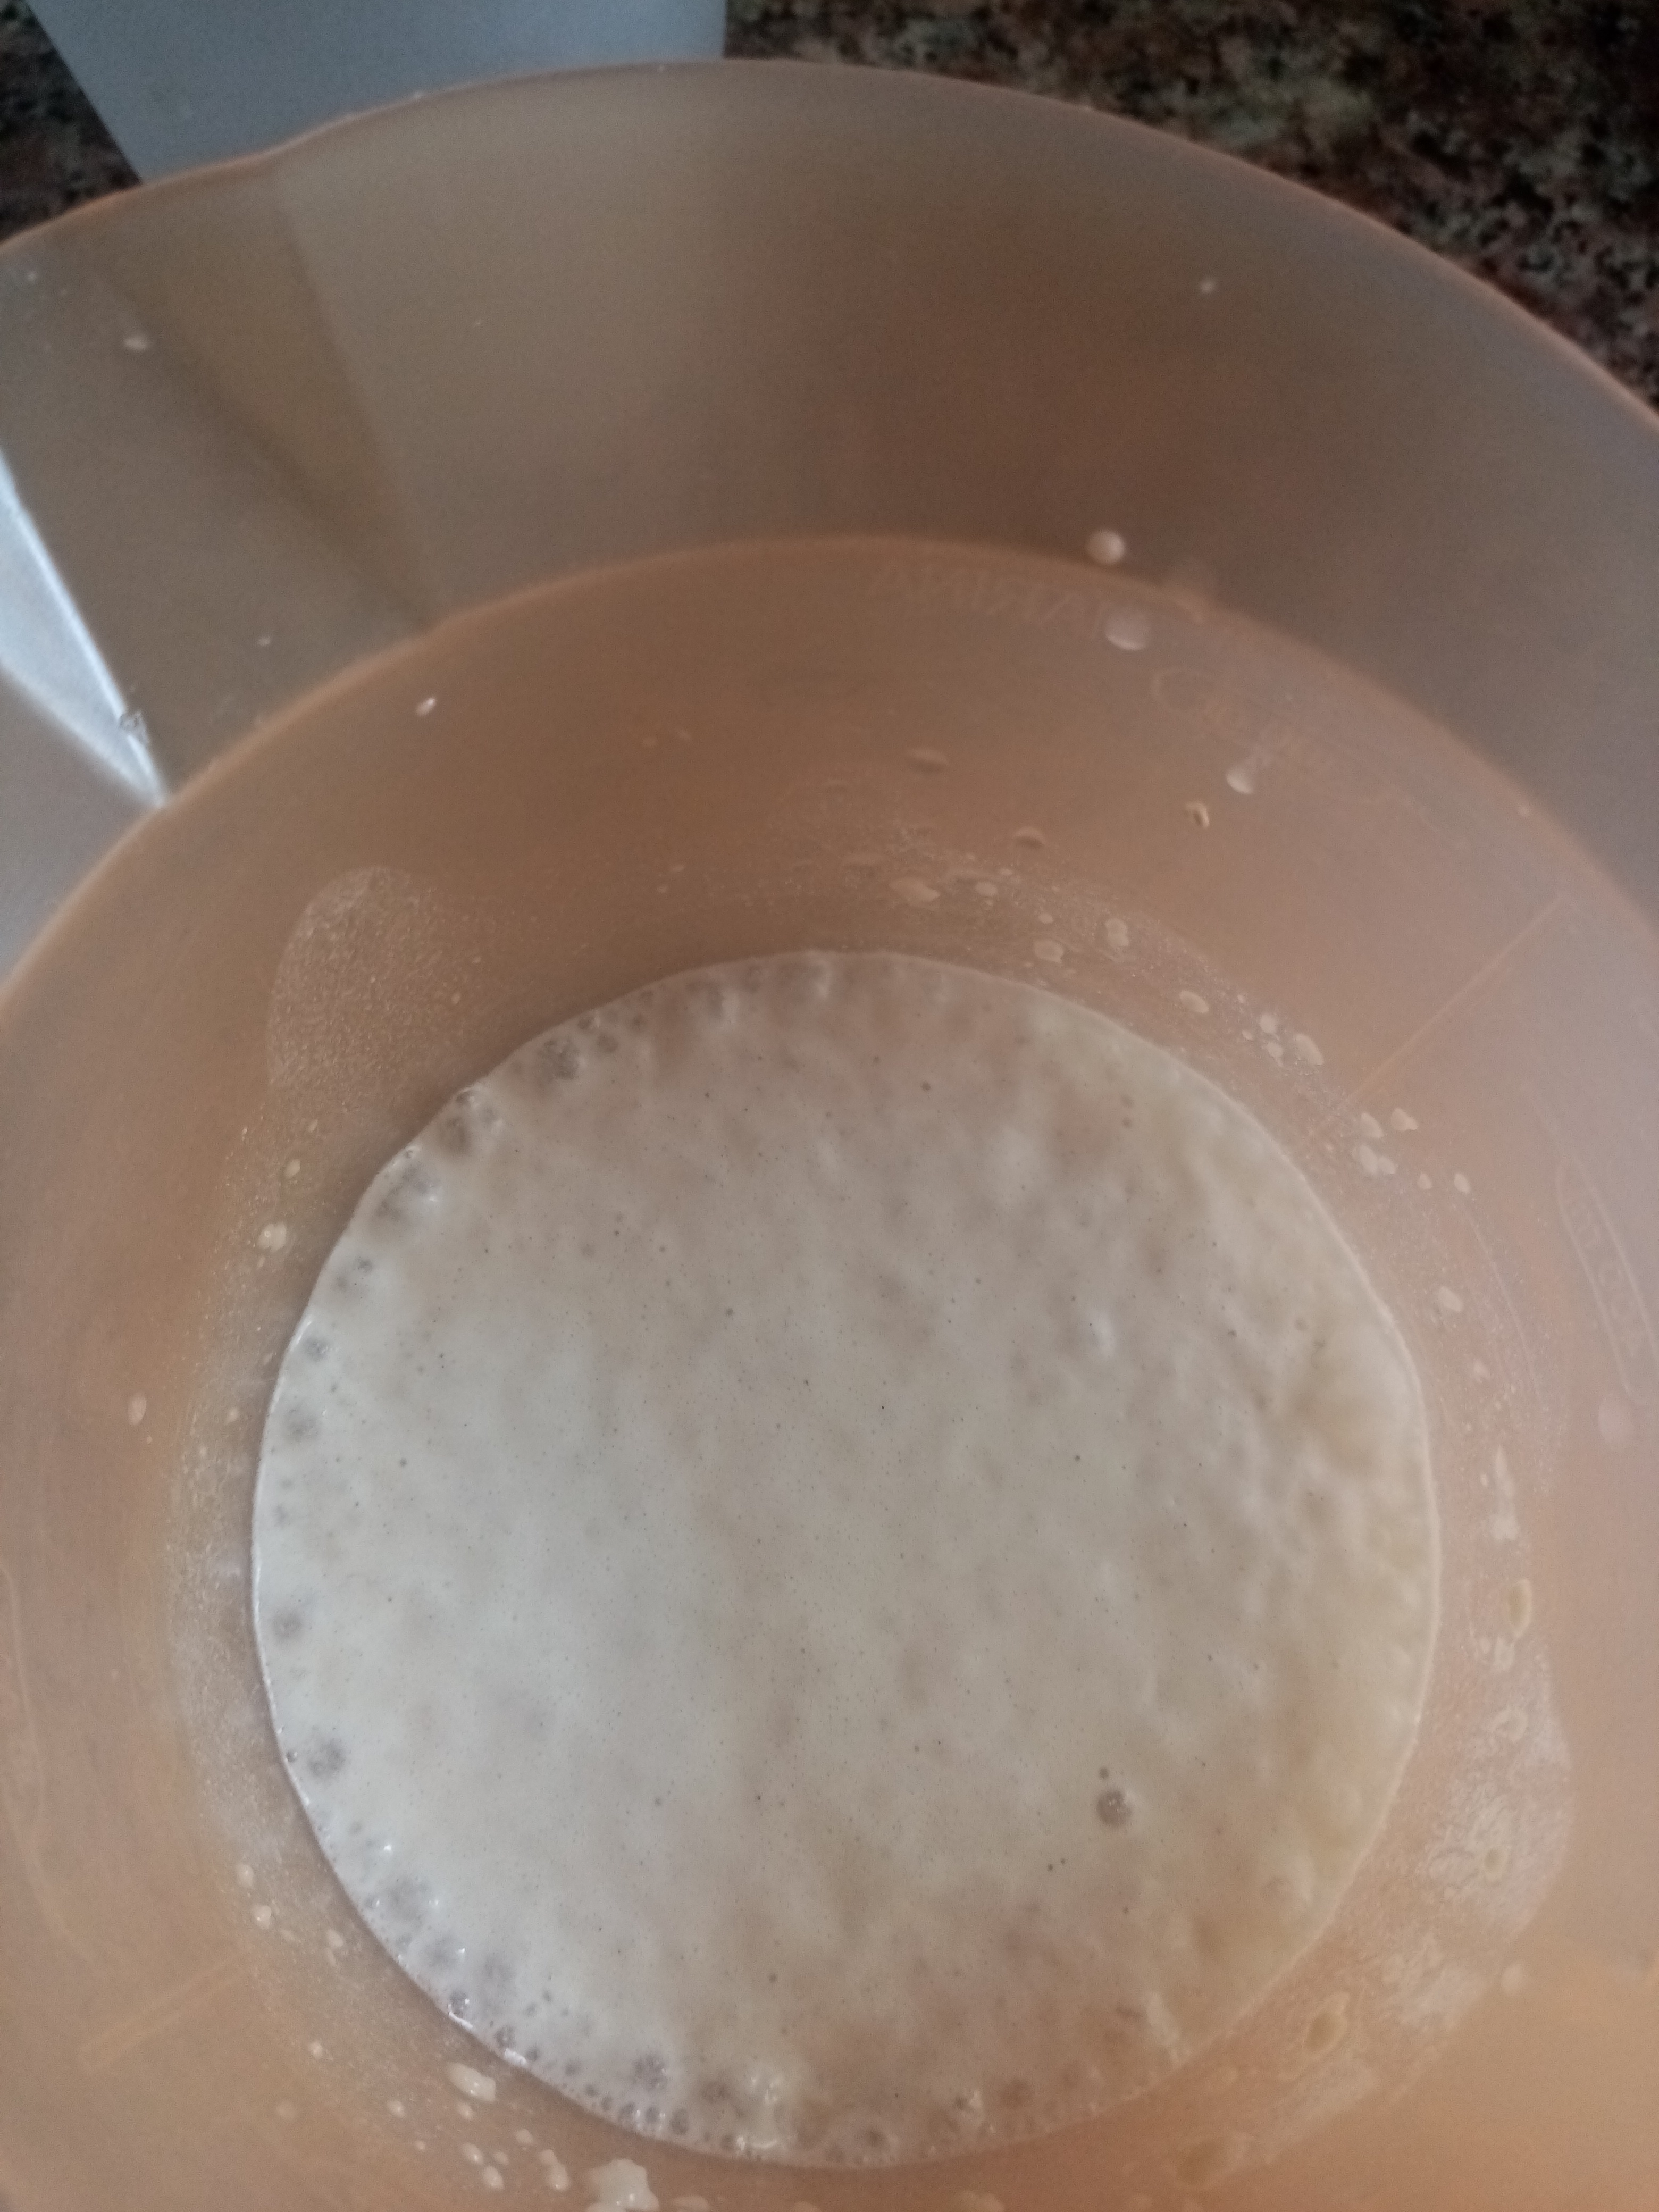
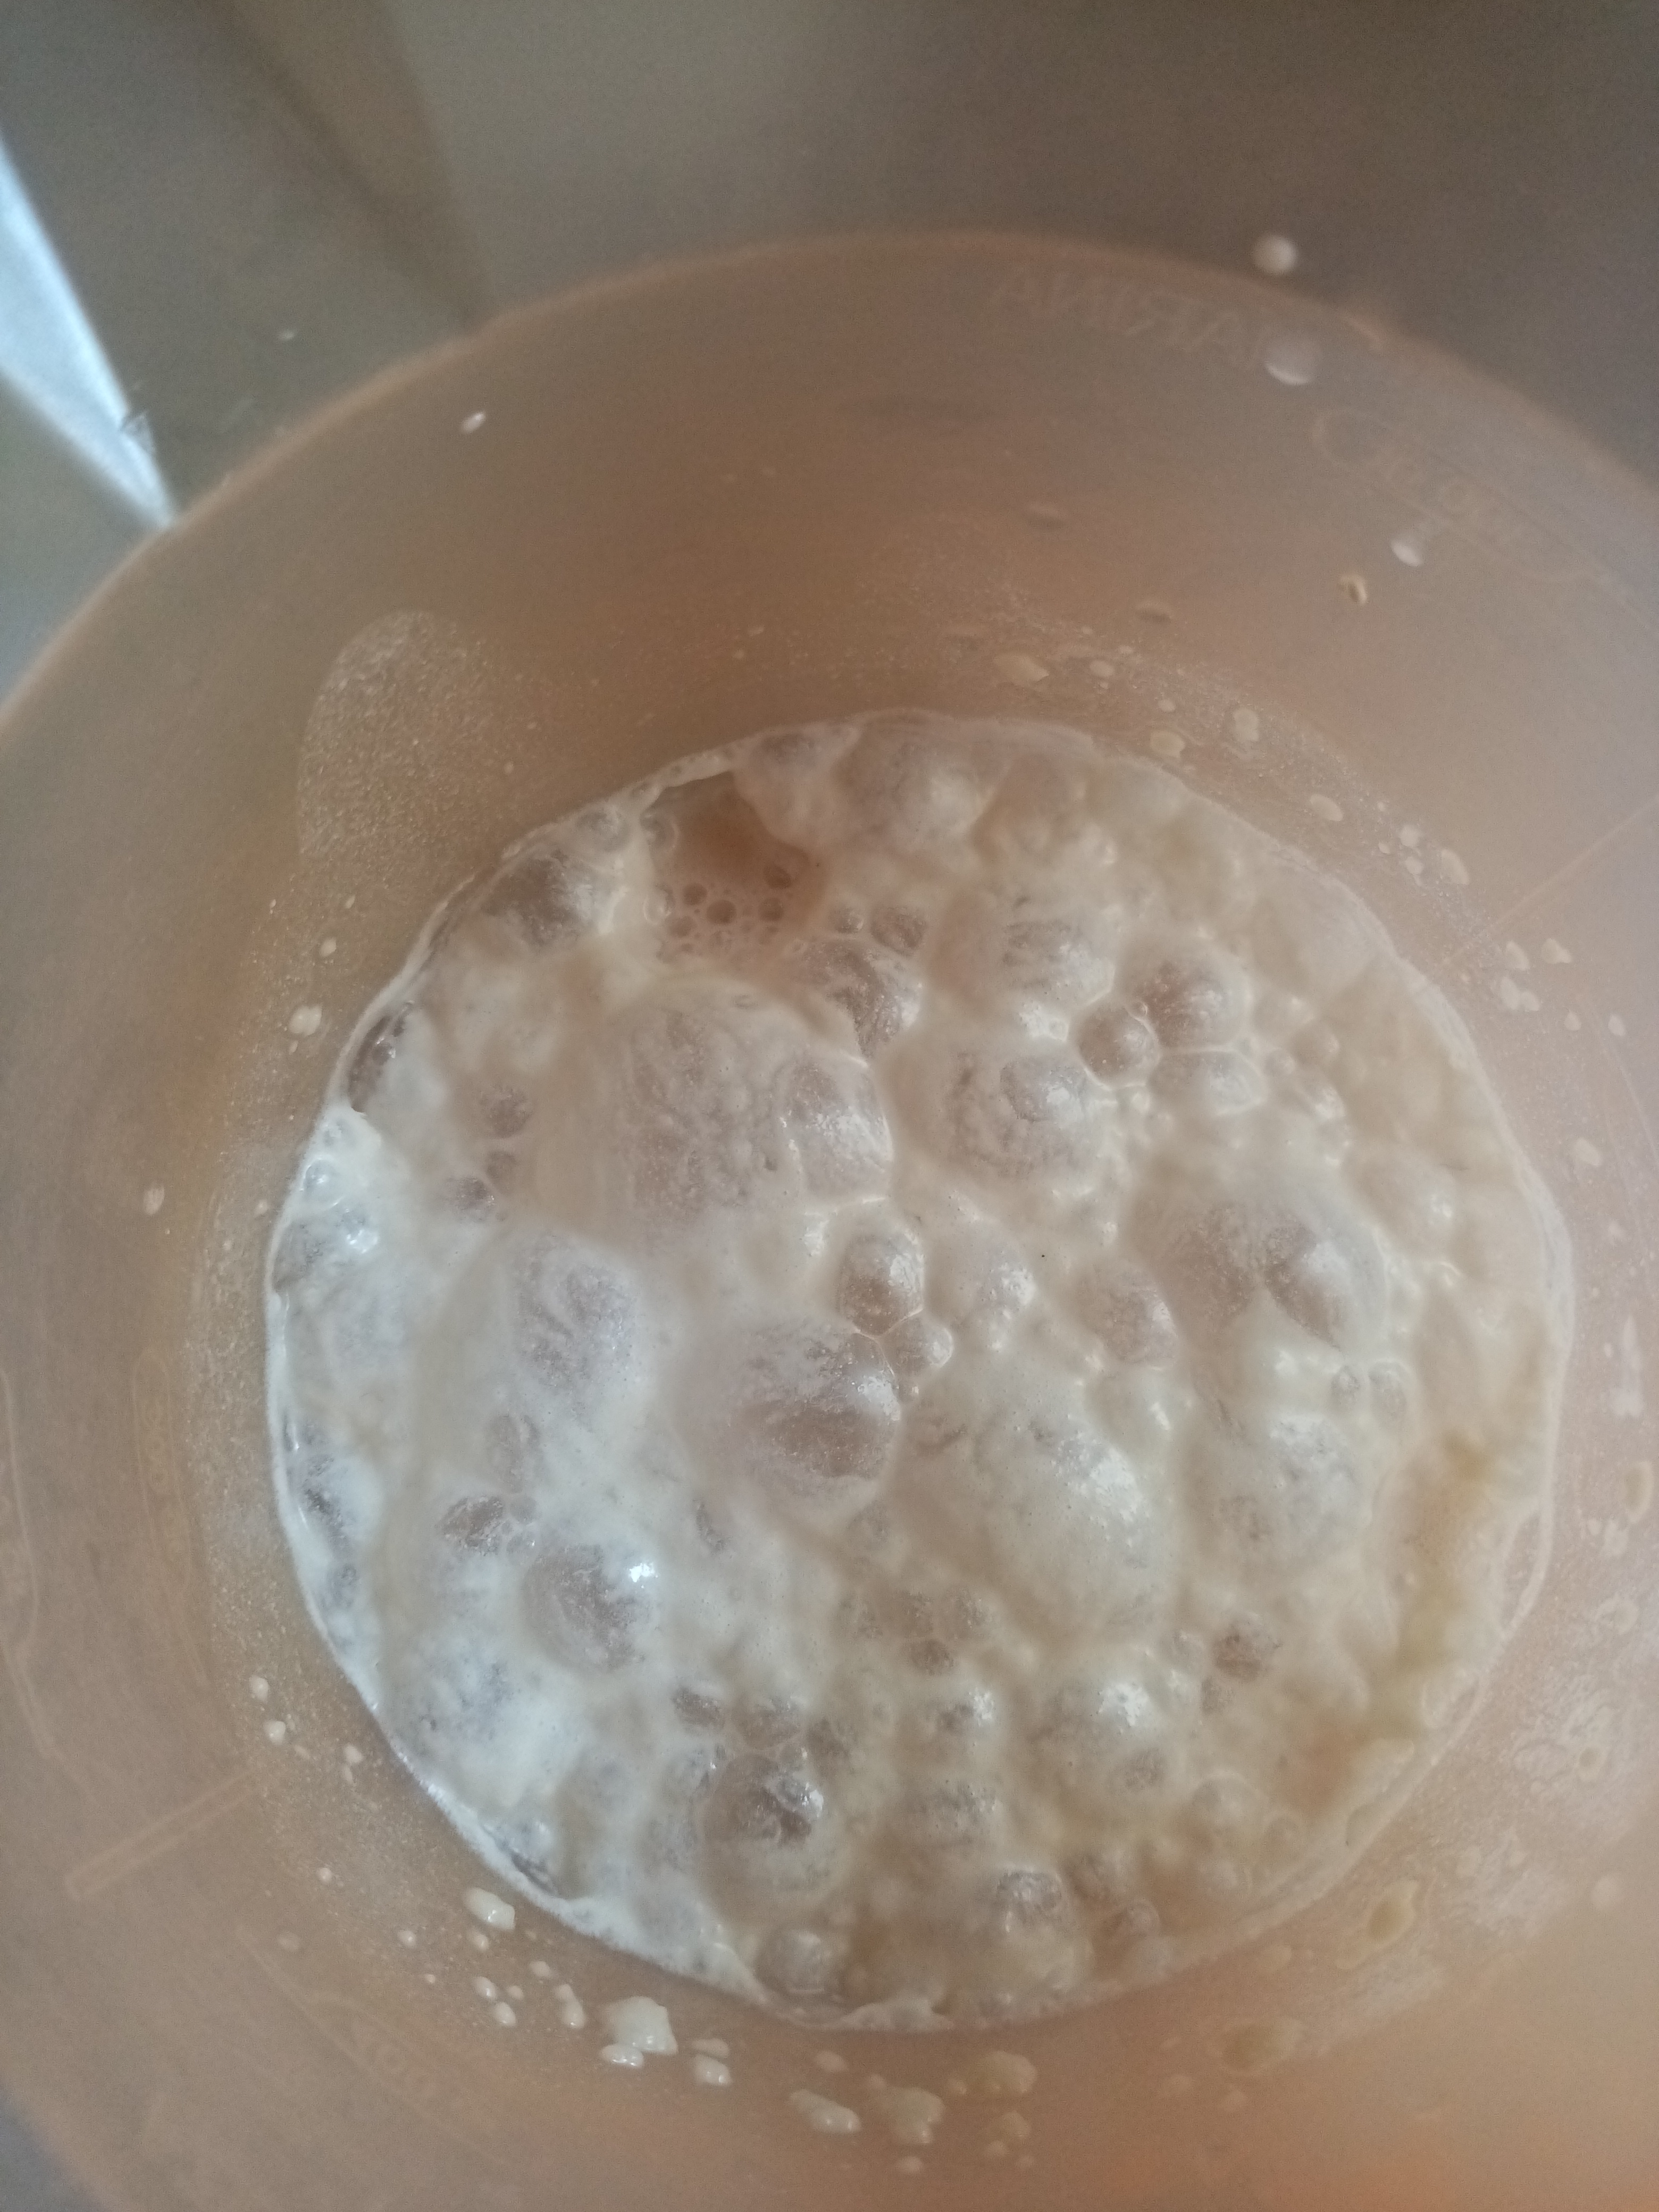
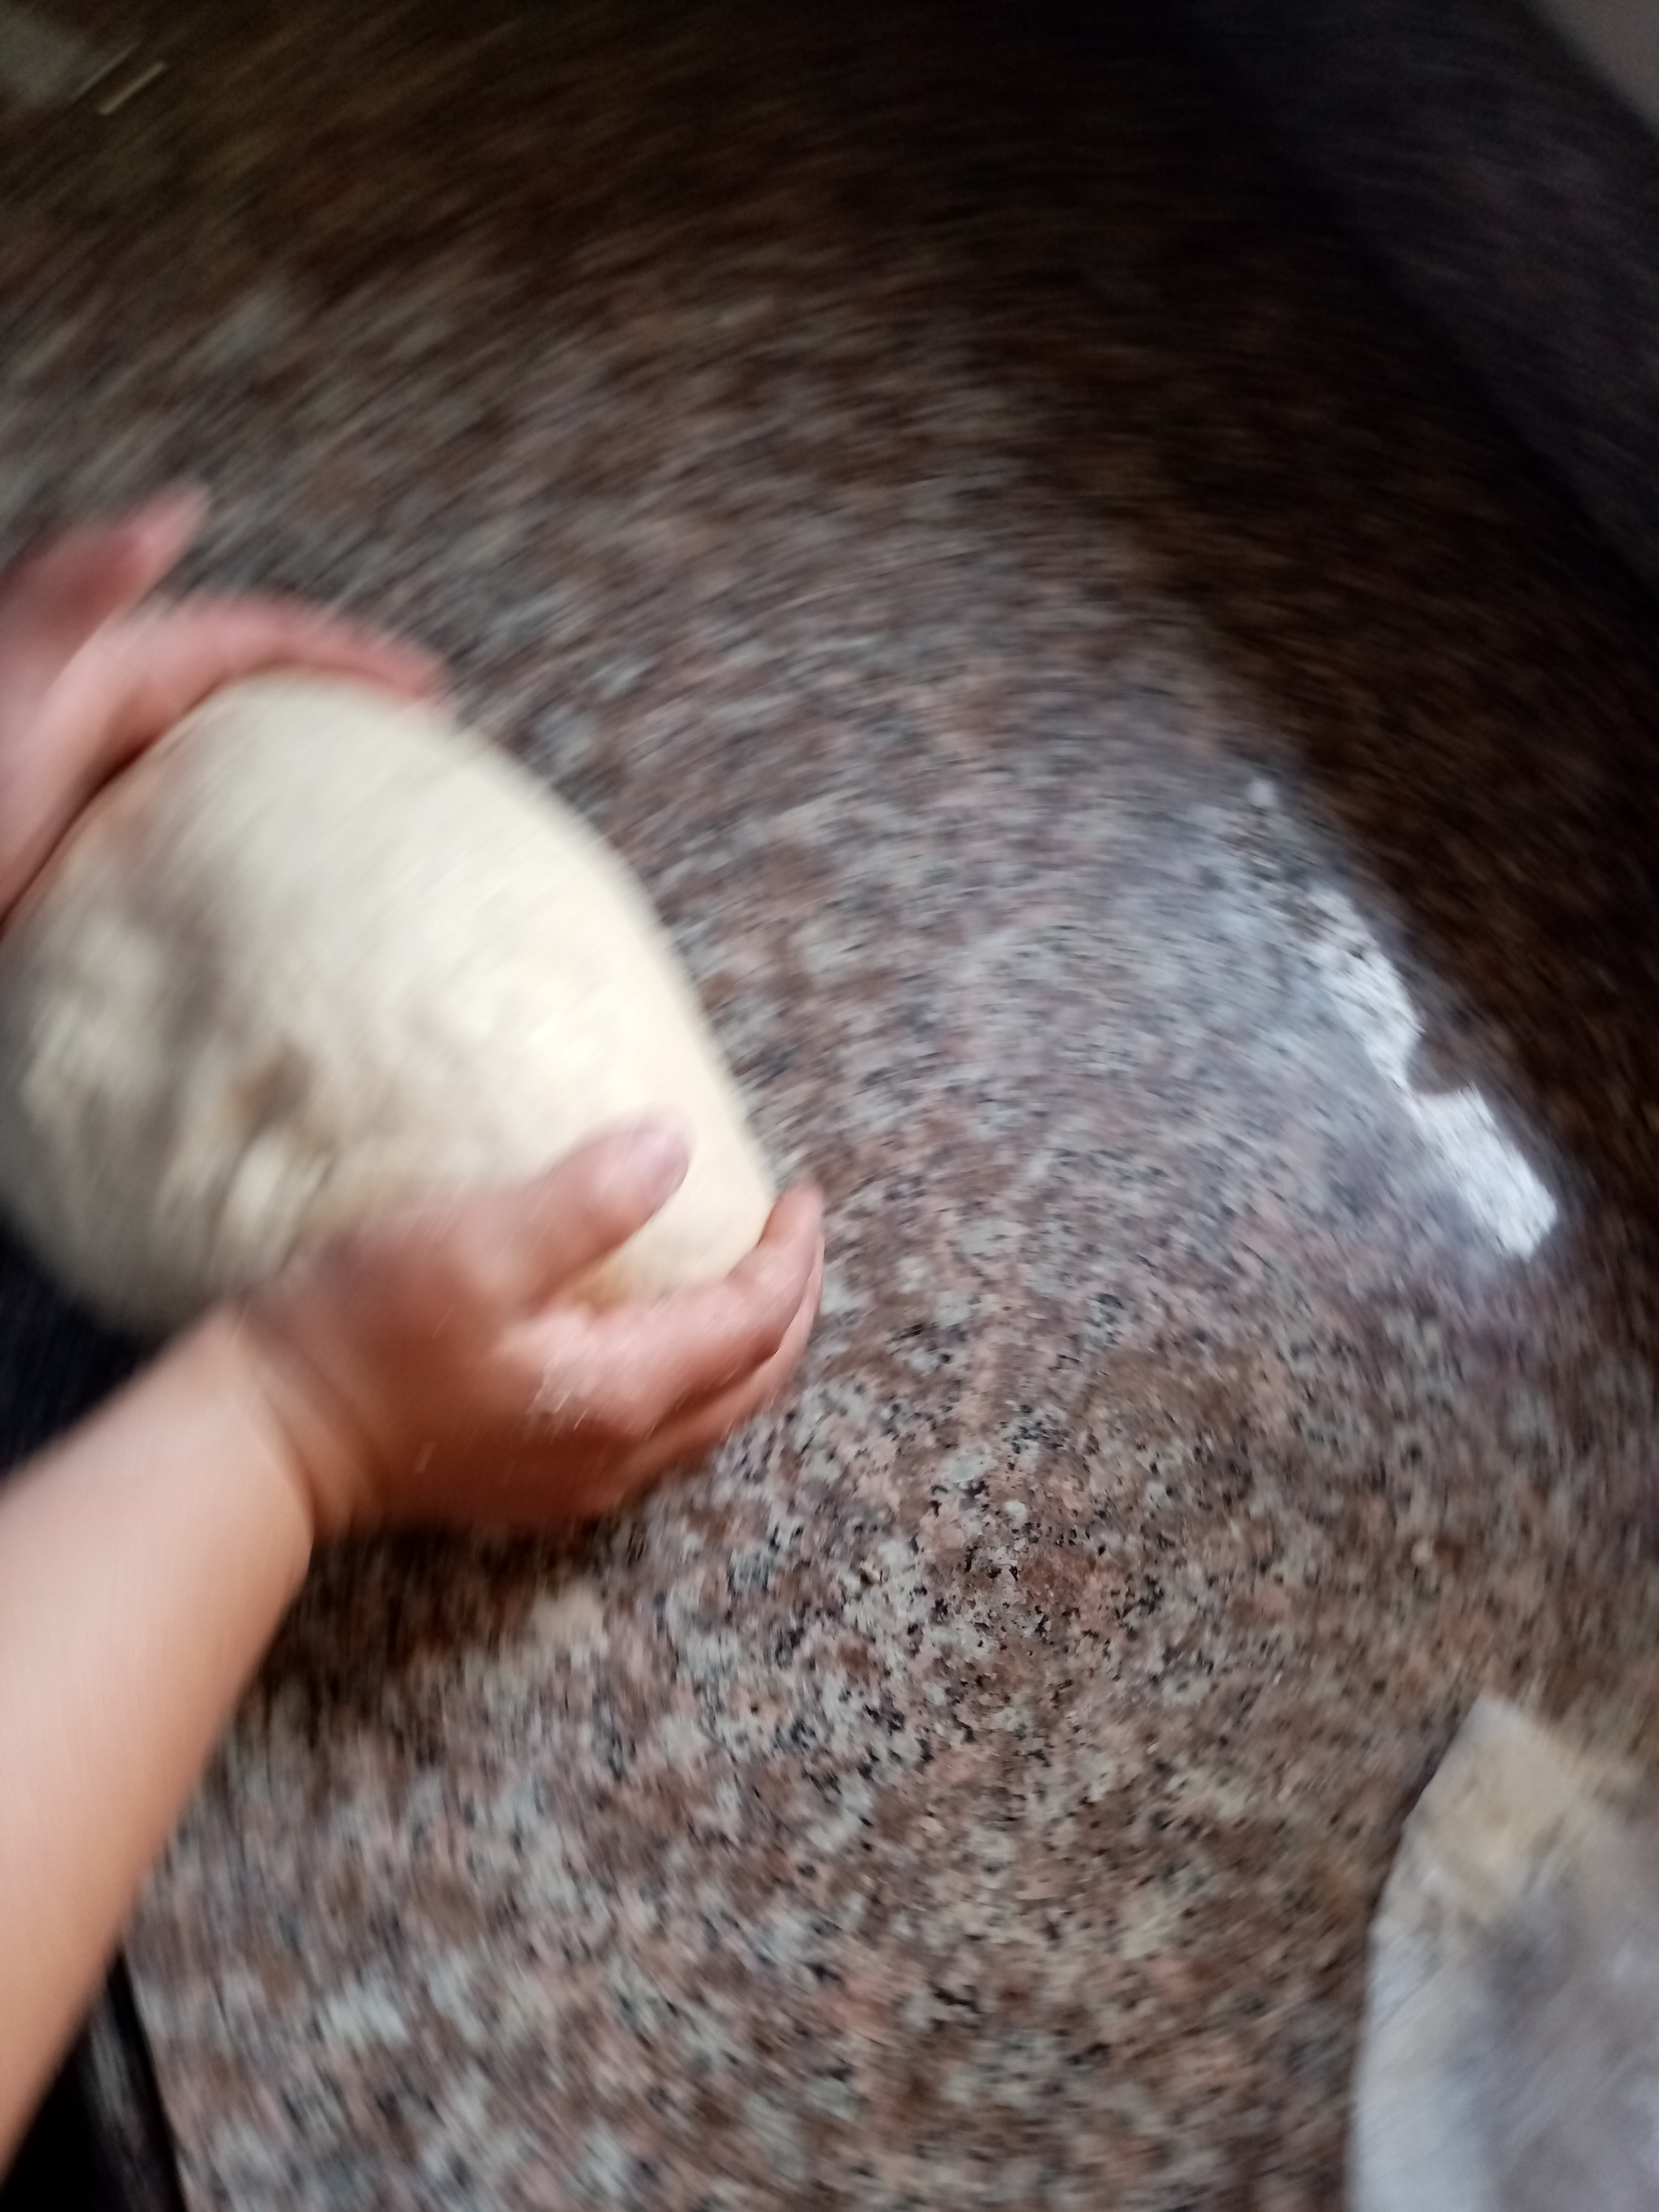
Tomaremos 250ml del agua tibia y le agregaremos la levadura, una cucharada de azúcar y de harina, revolvemos bien. Dejas reposar unos 5minutos hasta que se comience a formar como una capa esponjosa, esto quiere decir que la levadura está fermentado correctamente.
Ahora pasamos a un recipiente la prueba anterior de la levadura y agregaremos el resto de agua y azúcar. Comenzarás a mezclar con movimientos envolventes y agregaras poco a poco la harina.
Cuando ya no puedas seguir mezclando con la paleta, coloca harina al mesos y pasa el contenido del recipiente, irás agregando poco a poco la harina y la margarina. Te sugiero que no le vuelques la harina completamente ya que dependiendo del tipo que uses, necesitarás el kilo completo o quizás unos gramos menos. Si te pasas de harina y la notas muy dura, tendrás que agregar poquito cantidad de agua hasta que se torne suave.
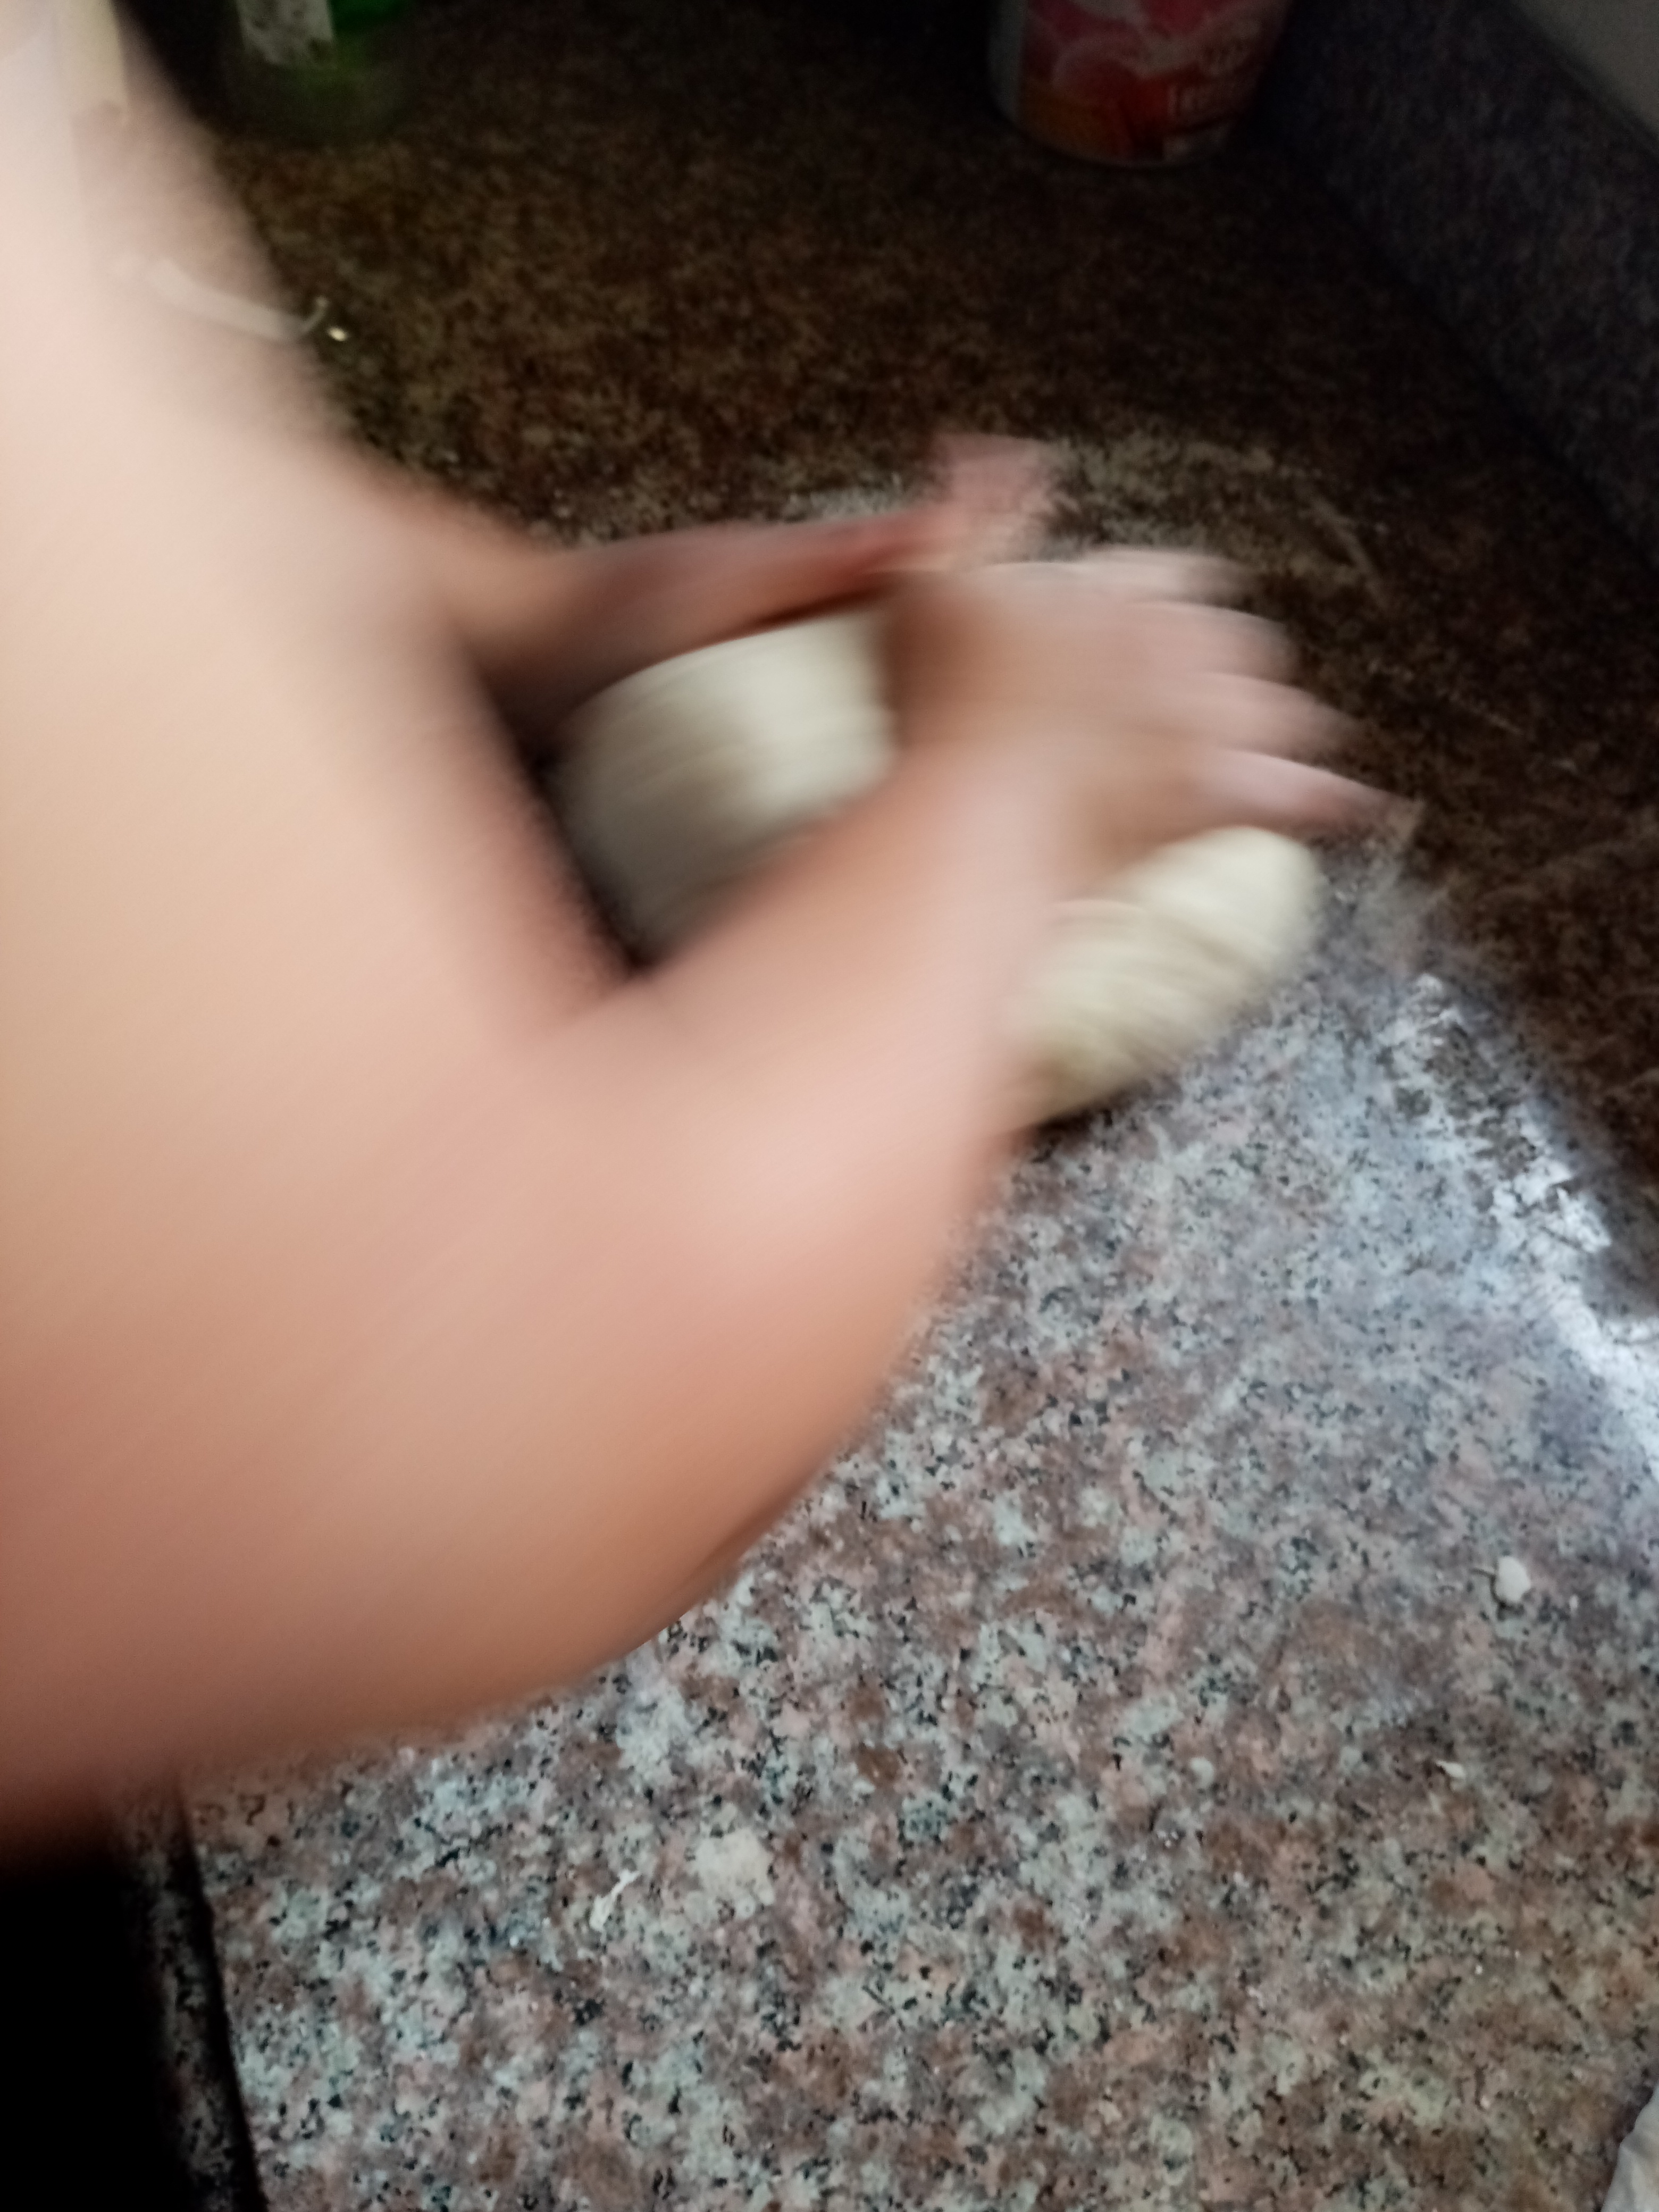
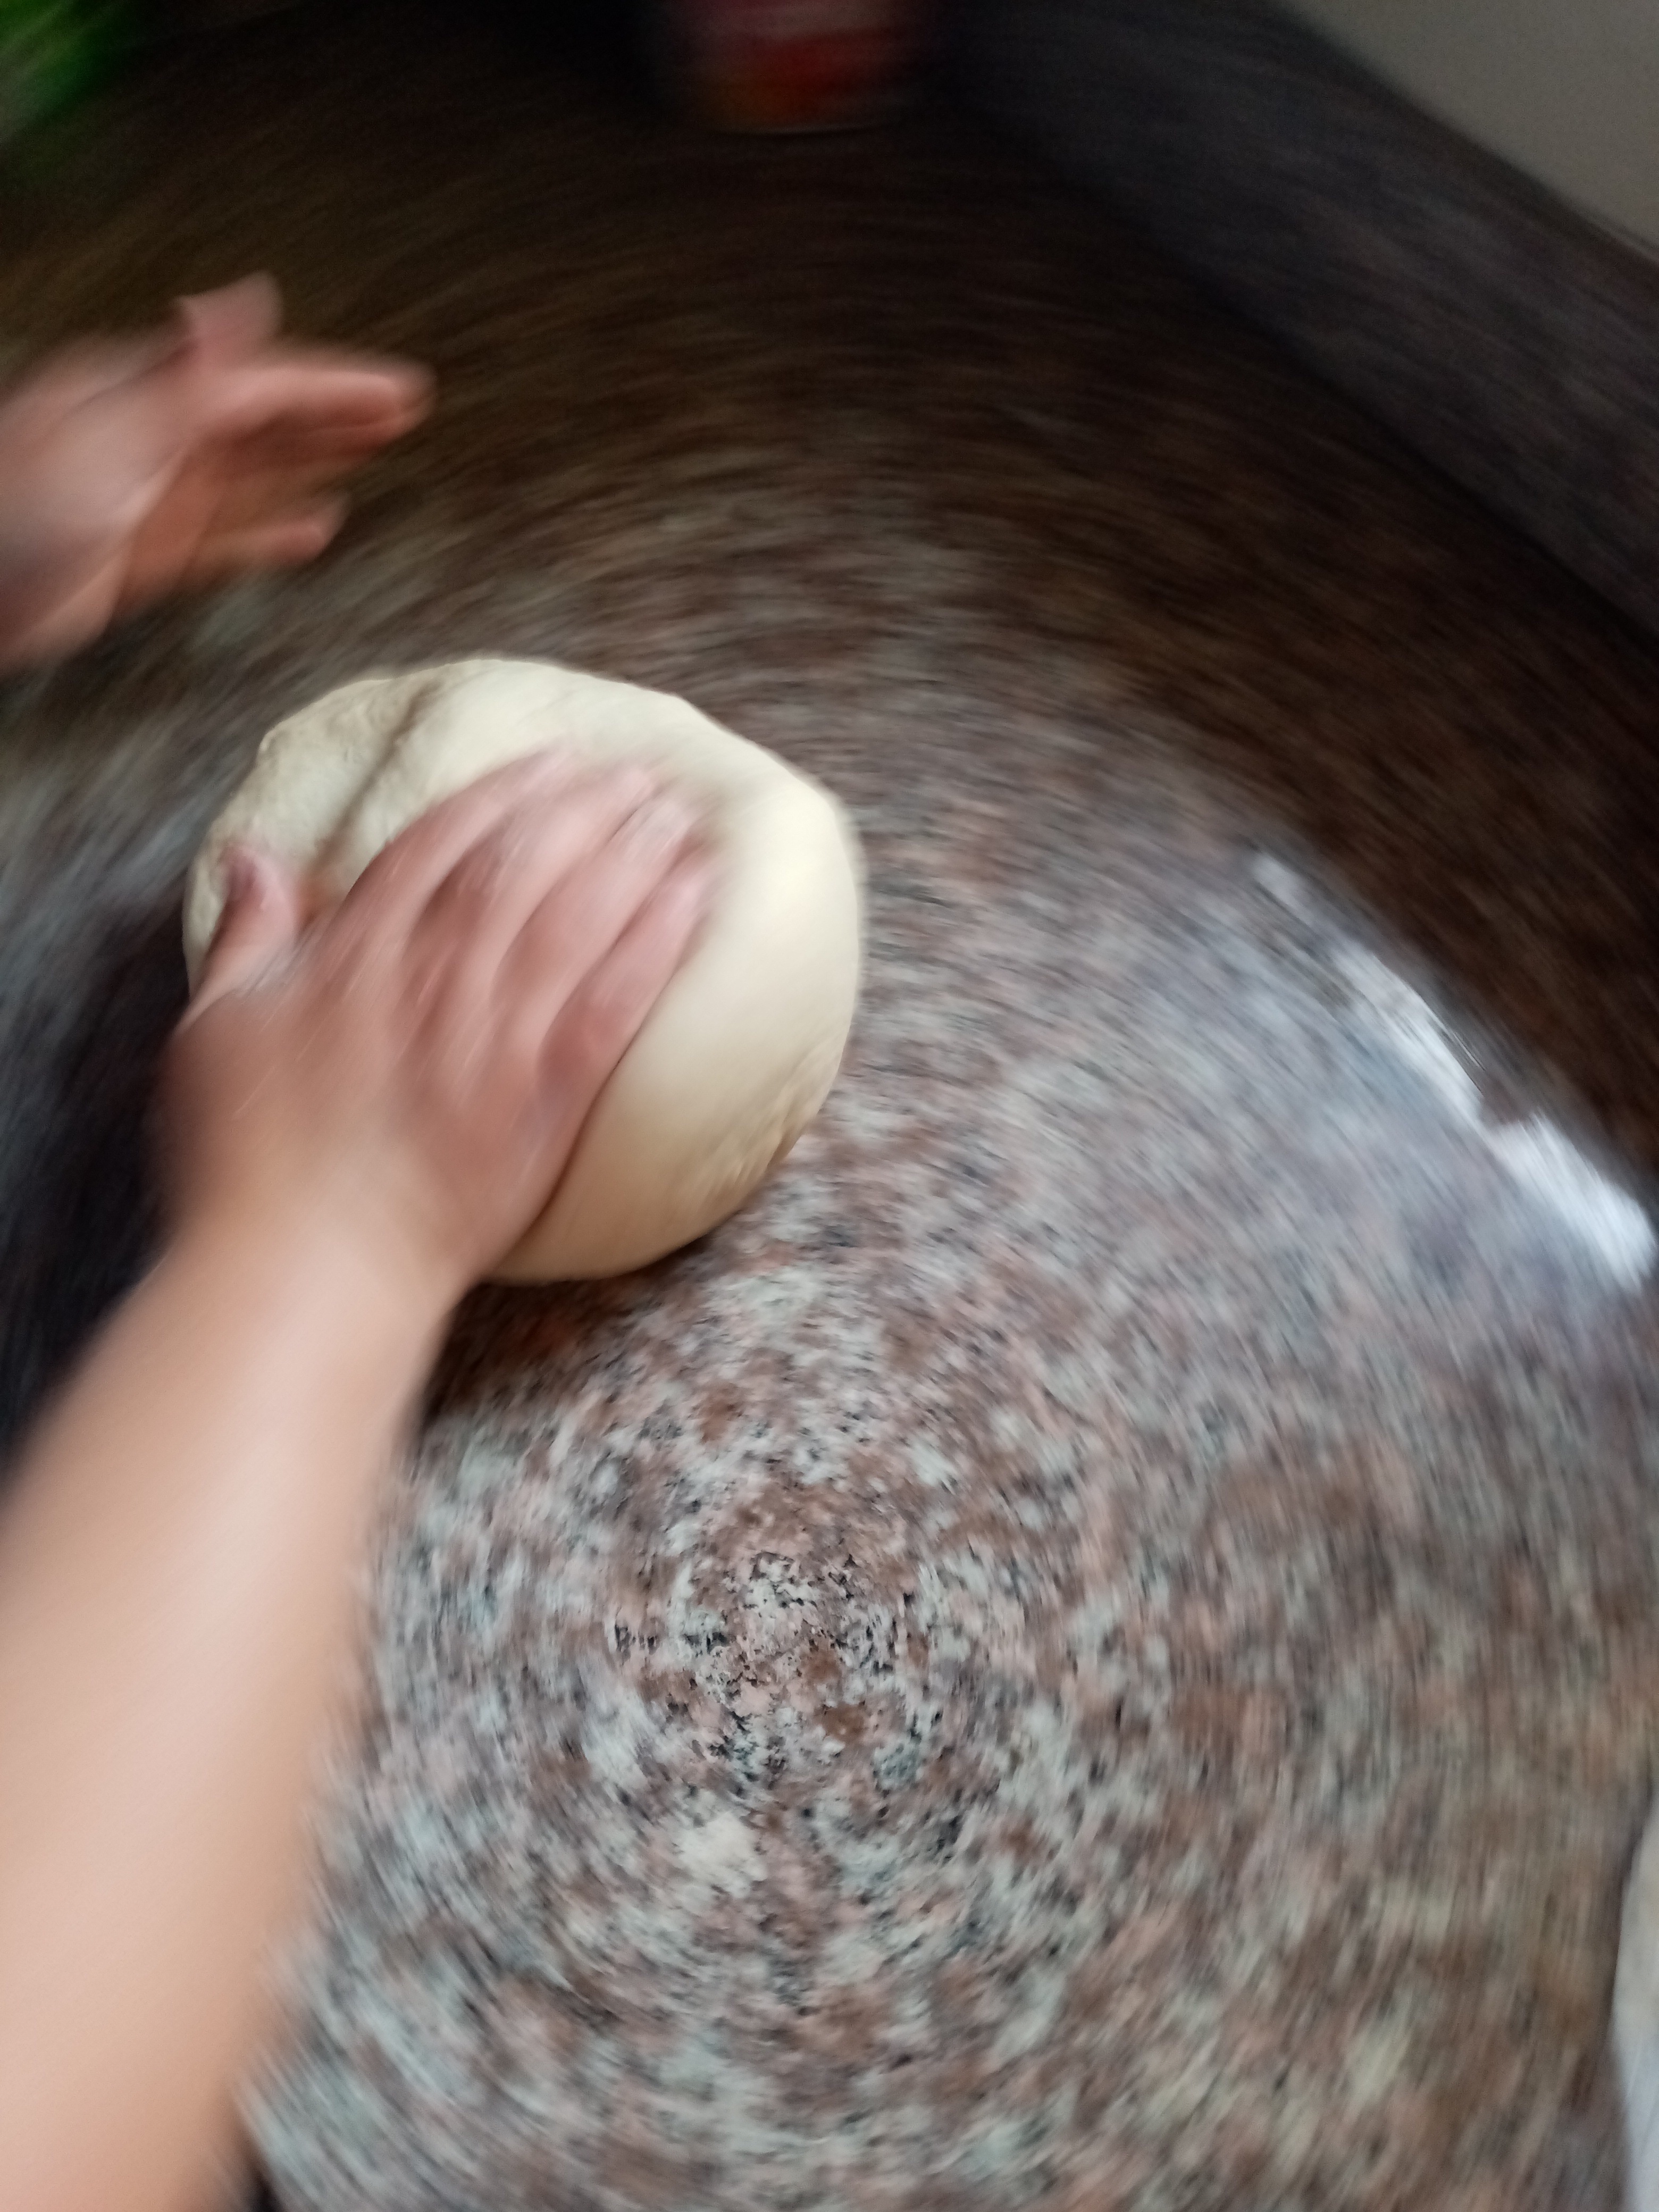
Es importante que amases muy pero muy bien, tratando que la masa quede lo más suave posible. Aproximadamente por unos 15minutos. Por último agregaras la sal.
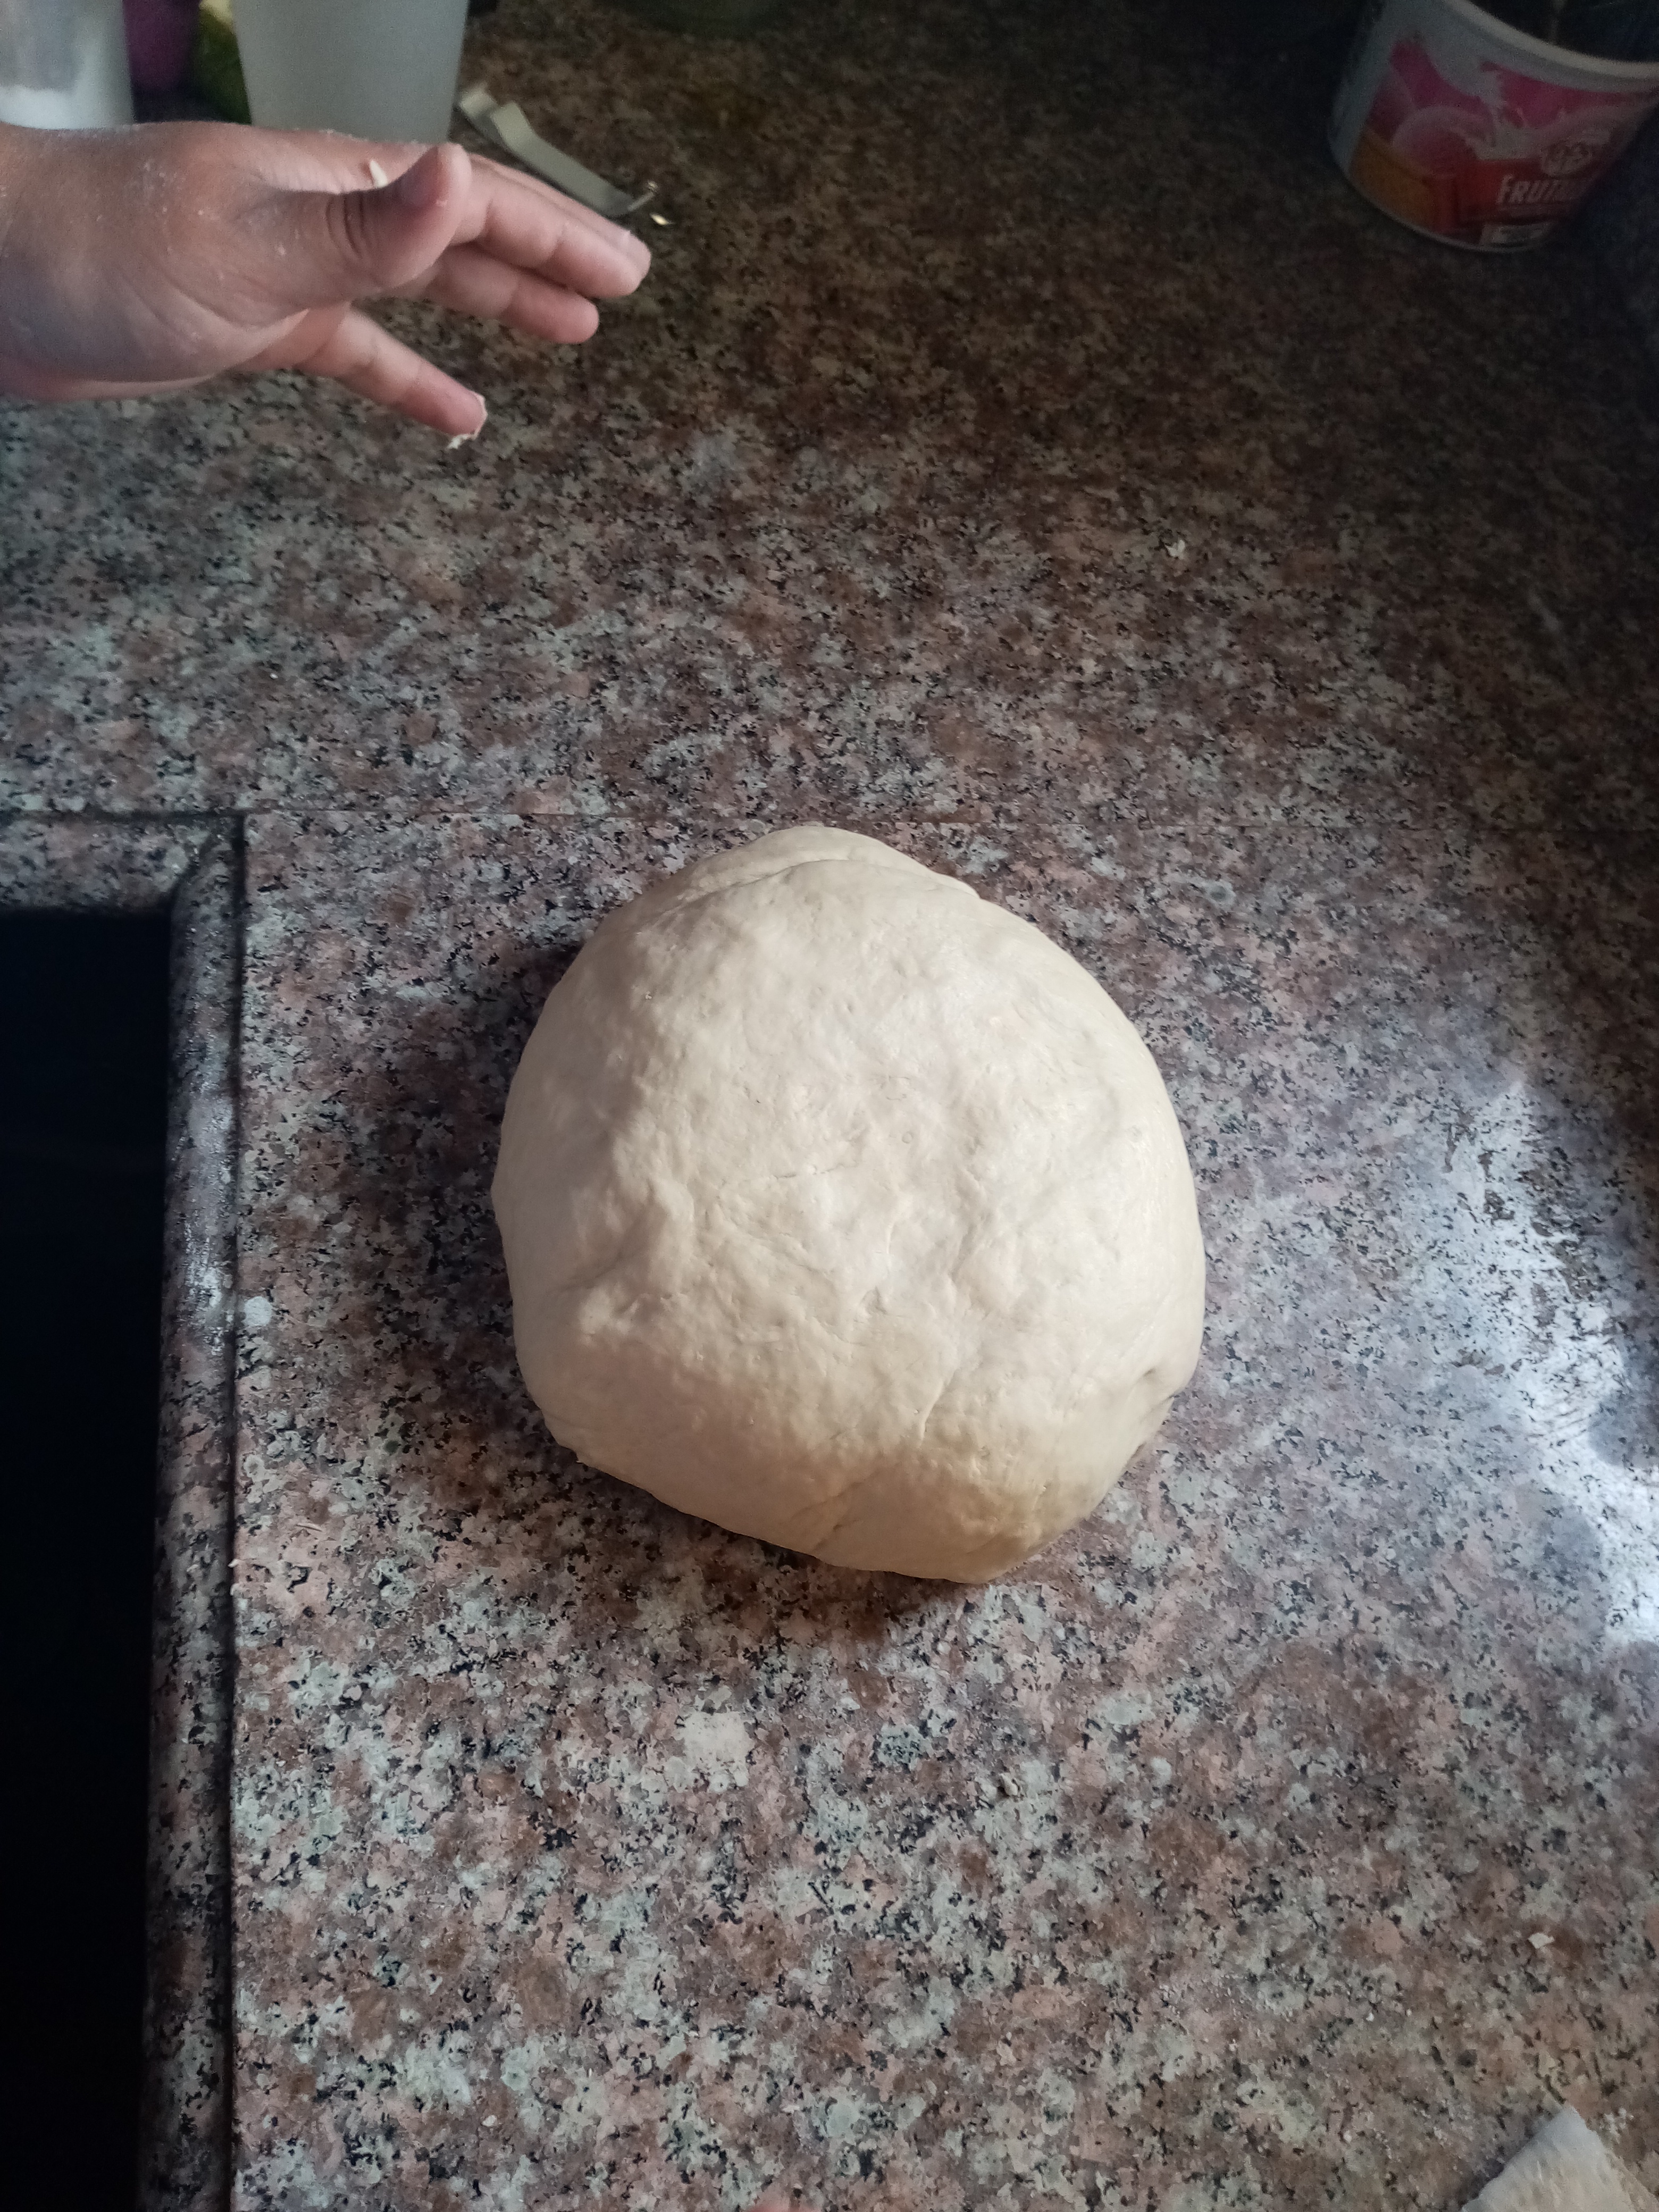
Luego la colocar en un recipiente agregándole harina a todos los alrededores y base. Esto para que no se pegue del envase. También puedes cubrir con una capa delgada de aceite o mantequilla la masa y le colocas y pañito limpio. Dejala reposar 30 min en un Lugar cálido, donde no existan corrientes de aire (yo uso el horno apagado).
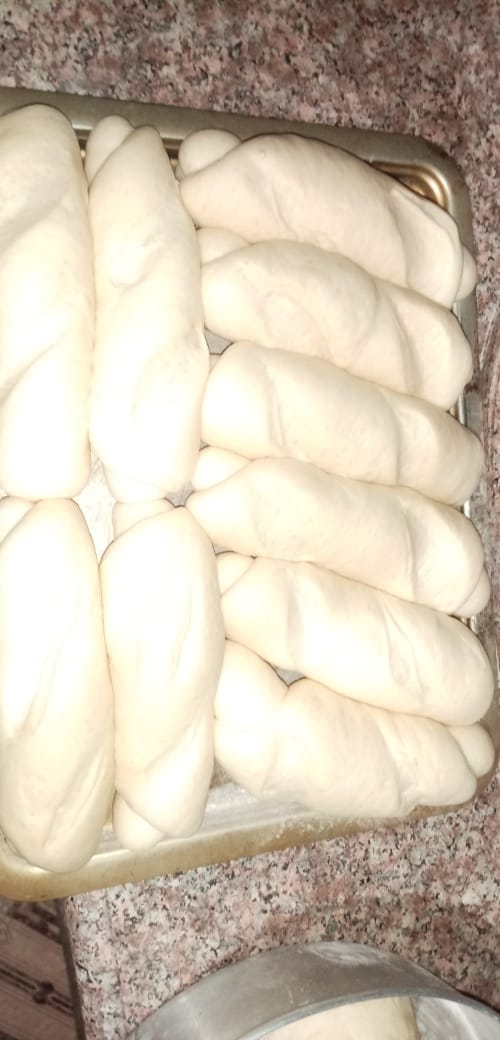
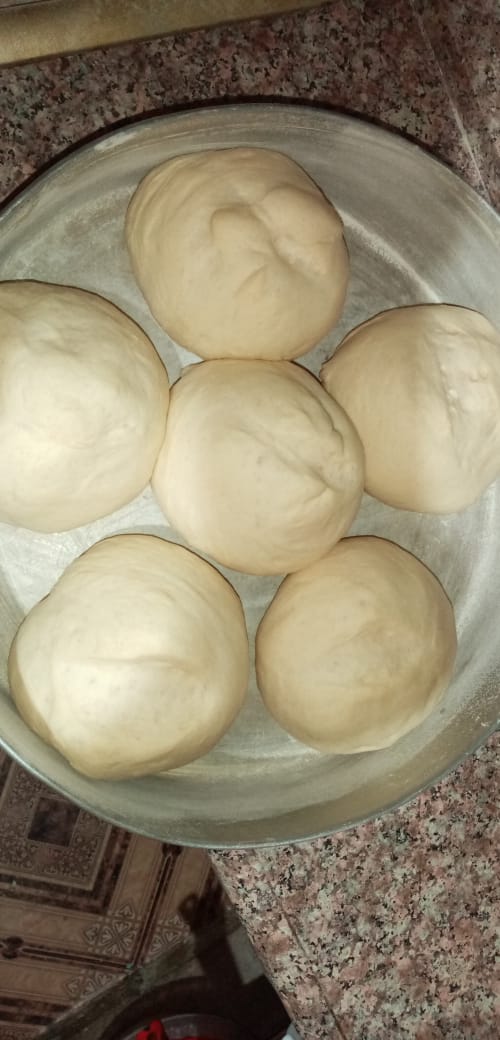
Cuando finalice el reposo sacala del envase y con ayuda de un rodillo sacale todo el aire a la masa. Dividela en partes iguales, yo las pese en 90g cada una y de esta receta salieron 16 unidades de varios tipos de pan.
Ojo, la canilla es como de 100-200gr el campesino un poco más. Yo los hice pequeños. Con un cuchillo muy filoso hazle los cortes al pan.
Prepara una bandeja y coloca todos los pancitos en la forma que quieras y llévalos nuevamente al reposo, esta vez de 1:30 a 2horas. Al sacarlos "No golpees la bandeja ya que perderán el gas que tienen adentro y se deformarán".
Otra cosa, evita formarlos y dejarlos en una bandeja que no sirve para horno, ya que al cambiar de una a otra igual te hará perder el gas.
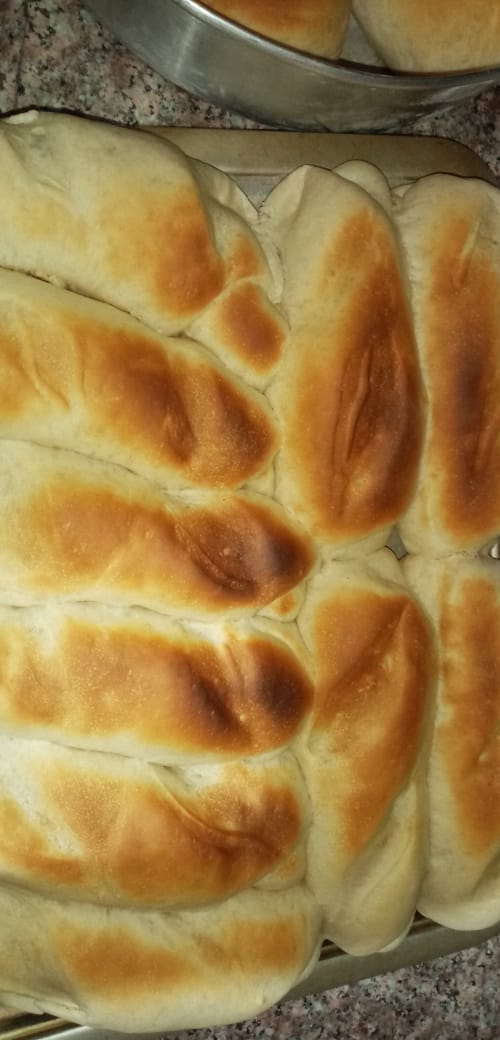
Llevalos al horno por 30min aproximadamente a unos 189-190C, todo depende de tu horno. Al verlos un poco dorados puedes sacarlos, todo dependerá de que tan tostados los prefieras.
Si deseas una capa suave, colocale una bandeja con agua.
Espero que les guste mucho esta receta y les sea muy funcional.
Recipe for Pan canilla, peasant bread.
I love peasant bread, shins and even French bread. These remind me a lot of my land. Here in Ecuador I have found little similar breads unless they are made by my own countrymen.
You can use them to accompany your meals or prepare them as a sandwich, always to your liking.
You will need them:
1Kg of all-purpose flour.
10 grams of salt
20grams of sugar
20 grams of instant yeast
500ml warm water "Not hot"
20 grams of margarine or oil.
You probably need a few more grams of flour for the bread-making process.
Before starting the preparation I recommend you to test if the yeast works, since many times we refrigerate it for long periods or store it in an inadequate way.
Take 250ml of warm water and add the yeast, a spoonful of sugar and flour, stir well. Let it rest for about 5 minutes until it starts to form a spongy layer, this means that the yeast is fermented correctly.
Now we pass to a container the previous test of the yeast and add the rest of water and sugar. You will start to mix with encircling movements and you will add little by little the flour.
When you can no longer mix with the trowel, put flour on the table and pass the contents of the container, you will gradually add the flour and margarine. I suggest that you do not pour the flour in completely because depending on the type you use, you will need the whole kilogram or perhaps a few grams less. If you overdose the flour and notice that it is too hard, you will have to add a little water until it becomes soft.
It is important that you knead very, very well, trying to make the dough as soft as possible. For about 15 minutes. Finally you will add the salt.
Then place it in a container adding flour to all the surroundings and base. This is to prevent it from sticking to the container. You can also cover with a thin layer of oil or butter the dough and place it and clean cloth. Let it rest for 30 minutes in a warm place, where there is no draught (I use the oven off).
When the dough has rested, remove it from the container and use a rolling pin to remove all the air from the dough. Divide it in equal parts, I weigh them in 90g each and from this recipe came out 16 units of various types of bread.
Be careful, the bobbin is about 100-200g the peasant a little more. I made them small. Use a very sharp knife to cut the bread.
Prepare a tray and place all the bread in the form you want and take them back to rest, this time from 1:30 to 2 hours. When you take them out, "Don't hit the tray because they will lose the gas inside and will deform.
Another thing is to avoid forming them and leaving them on a tray that is not suitable for the oven, since changing from one to the other will make them lose gas.
Take them to the oven for about 30min at about 180-190C, it all depends on your oven. When you see them a little golden you can take them out, it all depends on how toasted you prefer them.
If you want a soft layer, put a tray with water.
I hope you like this recipe very much and that it is very functional.

Gracias por tu visita.
Thanks you for your visit.

Wao te quedaron bellos se nota que están muy buenos!
Gracias, así es. Lo importante de un buen pan es el amasado, respetar los tiempos de reposo y no golpear la bandeja.
Excelente mi amiga yo quierooooo
Congratulations @canggie92! You have completed the following achievement on the Hive blockchain and have been rewarded with new badge(s) :
You can view your badges on your board And compare to others on the Ranking
If you no longer want to receive notifications, reply to this comment with the word
STOPTo support your work, I also upvoted your post!
Do not miss the last post from @hivebuzz:
Excelente receta, sería conveniente que justificaras al final del pos qué dispositivo usaste para tomar las fotografías.
Muchas gracias por tu recomendación, la tendré en cuenta para una nueva publicación en caso de no poder editarla. Sin embargo, todas ellas son tomadas de mi celular.