It's been a while since my previous contribution to the #blurtutorials initiative and so I made a post that shows how I edit my photos using Lightroom. I like editing my photos using this software because it's a lot easier to organize my photos through the Catalog. Also, the functions are much simpler and it also allows me to create a preset for every edit style that I do.
For this post, I will show you the workflow that I follow when using this software.
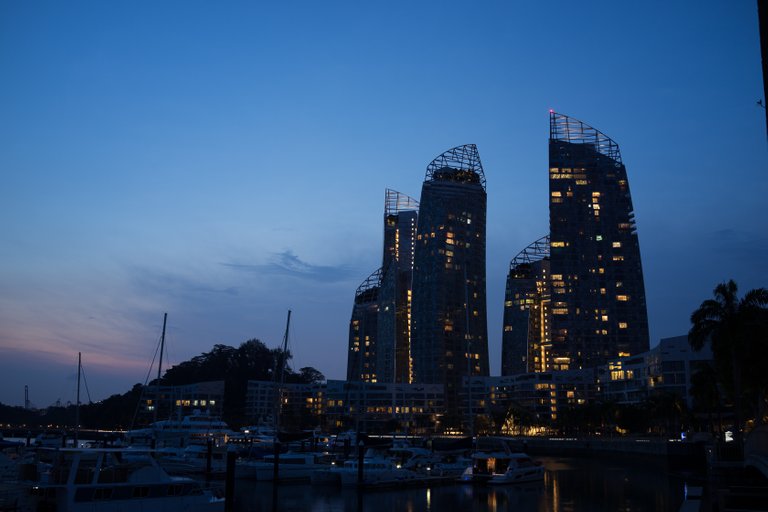
Here's the original photo:
The first thing that I do is to correct the perspective of the image.
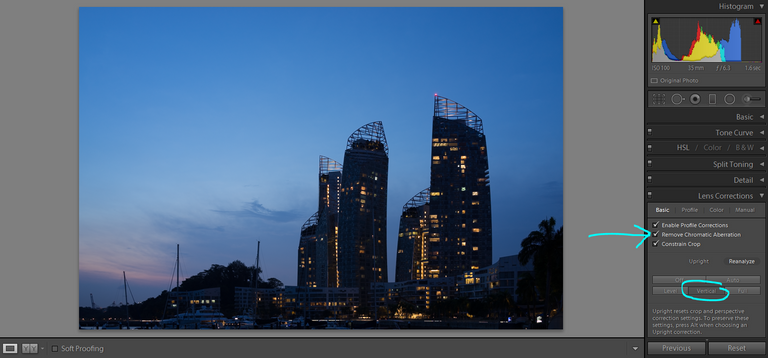
Under the Lens Correction Menu, I chose the Vertical correction method which I feel is best suited for photos of buildings as the subject on it.
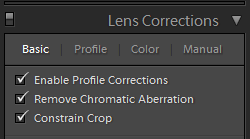
Also, tick on the following settings:
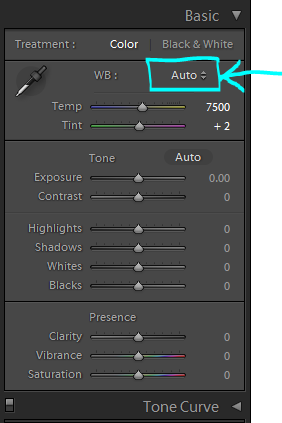
The next thing I did is to correct the White Balance. The safest option for this part is the use of "Auto" which basically allows the software to be a better judge in improving the White Balance of the image.
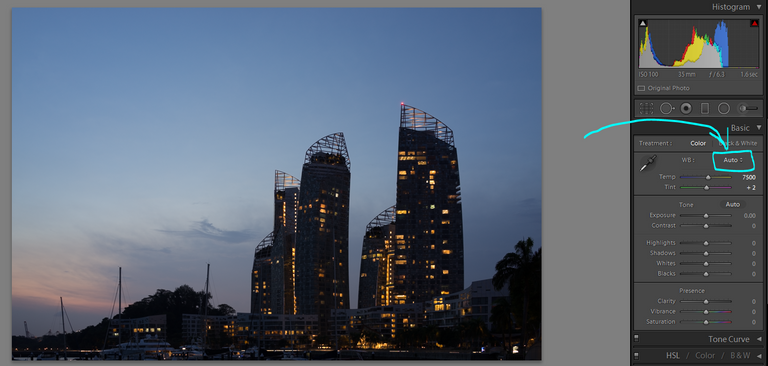
As you can see, the overall tone of the edited image is warmer than the original.
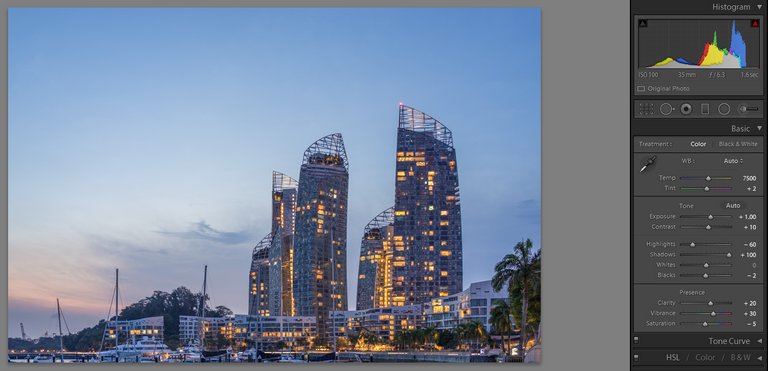
At this point, I'm editing the settings through the Basic Panel. Here's the result:
These are the settings that I did:
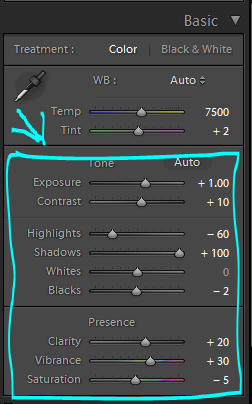
Also, please note that the values I used for my photos don't necessarily apply to every other photo since each of them requires a unique value.
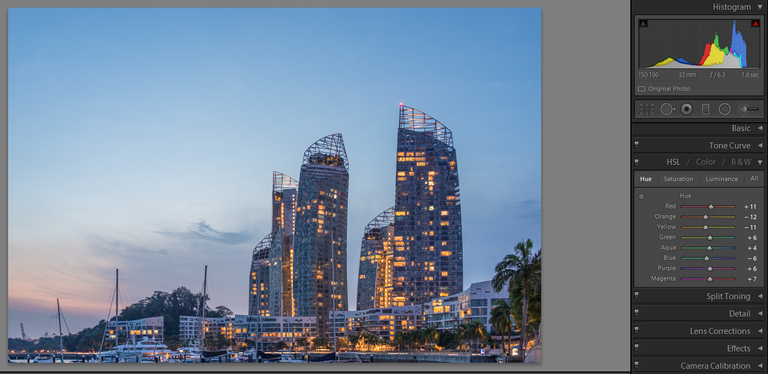
From here, I went on editing through the HSL Panel. This part is highly subjective and the values could go crazy on your photos so be careful.
I started changing values under the Hue settings:
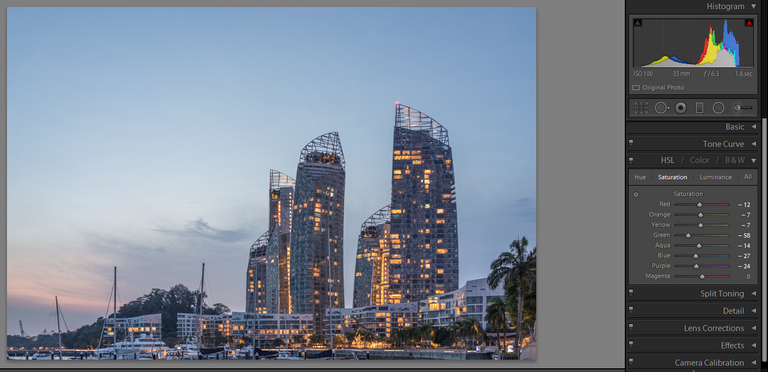
And then I went on editing the Saturation values of the image:
And then, the last part will be for the Luminance settings:

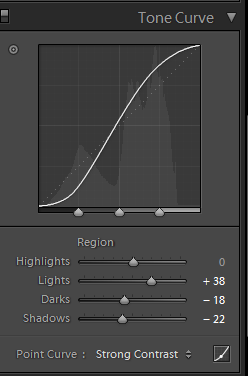
For the last part, I want to bump up the contrast of the image and so I went to Tone Curve panel to adjust the Lights, Darks, & Shadows sliders. Again, the values are highly subjective.
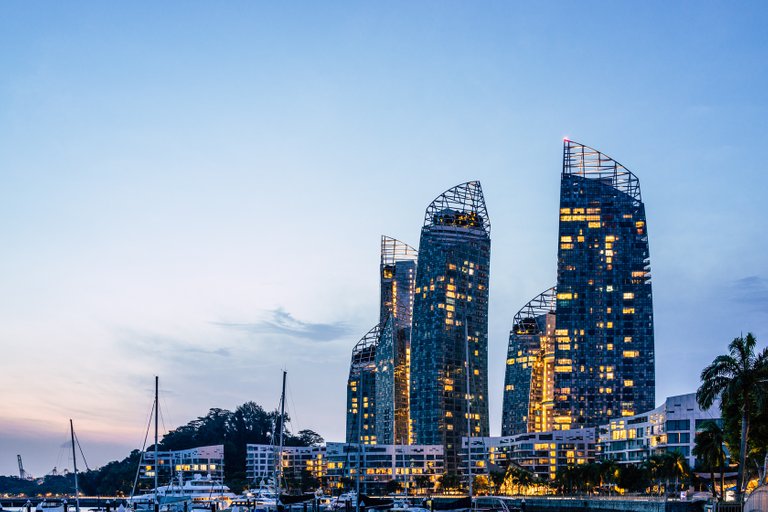
And the final result...
Thank you for viewing my post.
If you wish to contribute to the #blurtutorials initiative, go to the Introductory post by @blurtutorials to learn more about the project.