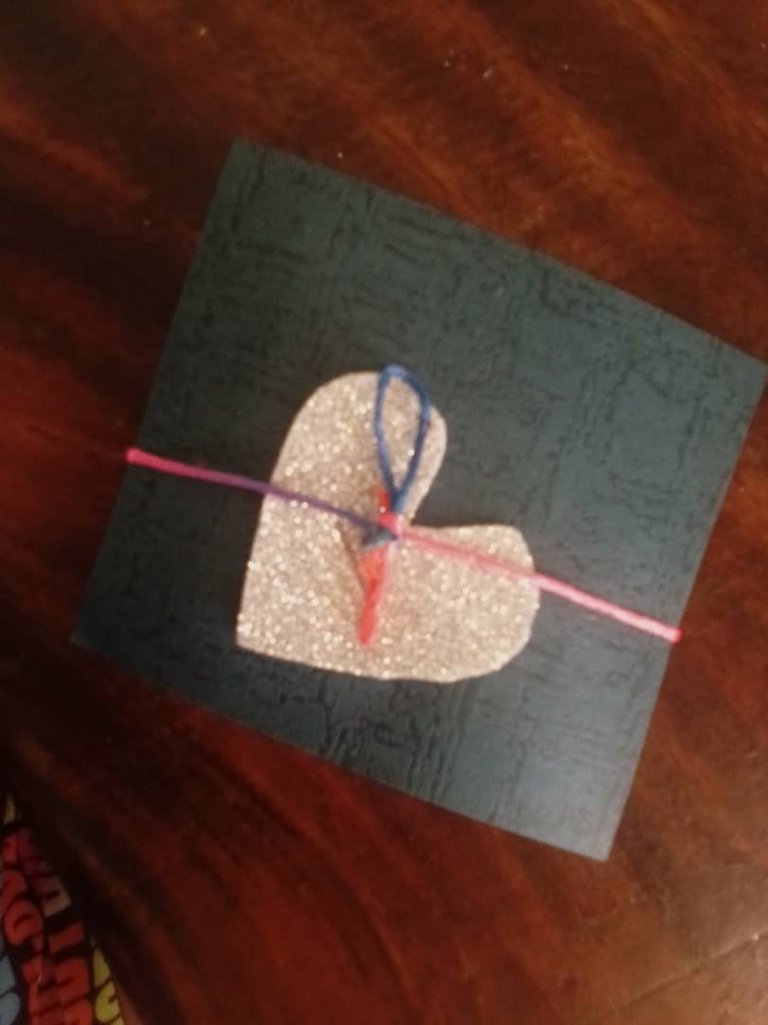
Hello, good afternoon hive family. Today I will bring you another gift idea for a special moment. A very different letter from the everyday one. I will make it somewhat short and with a very simple decoration, but you can make the size you want, you can also make your cover of a different model that is not a painting, but always taking into account that you have to make a little larger than the closed letter size. I hope you like it.
Hola, buenas tardes familia de hive. Hoy le traeré otra idea para obsequiar en un momento especial. Una carta muy diferente a la cotidiana. Yo la hare algo corta y con una decoración muy sencilla, pero ustedes la podrán realizar del tamaño que desee, también podrán realizar su caratula de algún modelo distinto que no sea un cuadro, pero siempre tomando en cuenta que tiene que hacer un poco más grande del tamaño de la carta cerrada. Espero que le guste.

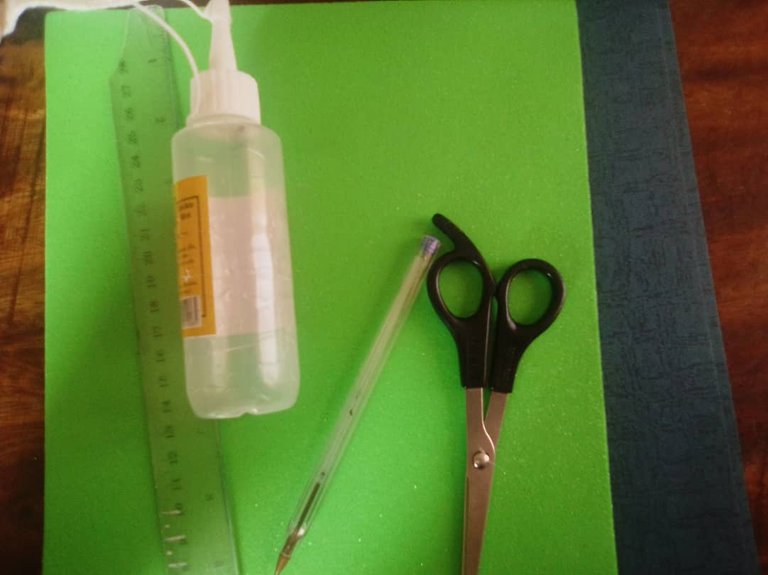
Materials to use: Cardboard, pencil, ruler, cold silicone or glue, foami for decoration.
Materiales a utilizar: Cartulina, lápiz, regla, silicón al frio o pega, foami para la decoración.
Steps to follow:
Pasos a seguir:
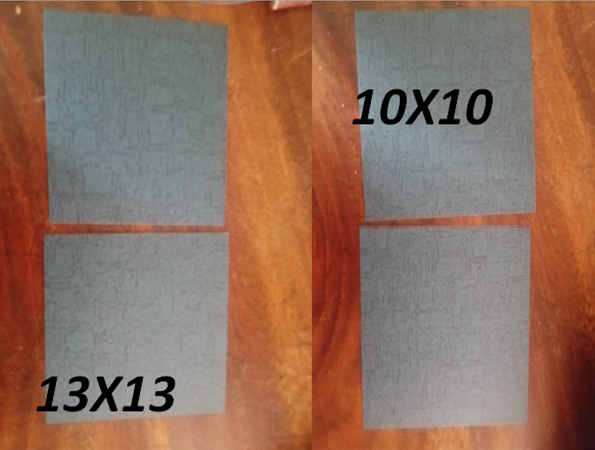
Starting we chop 13X13 squares and another a little smaller that would be 10X10.
Comenzando picamos cuadrados de 13X13 y otro un poco más pequeño que sería 10X10.
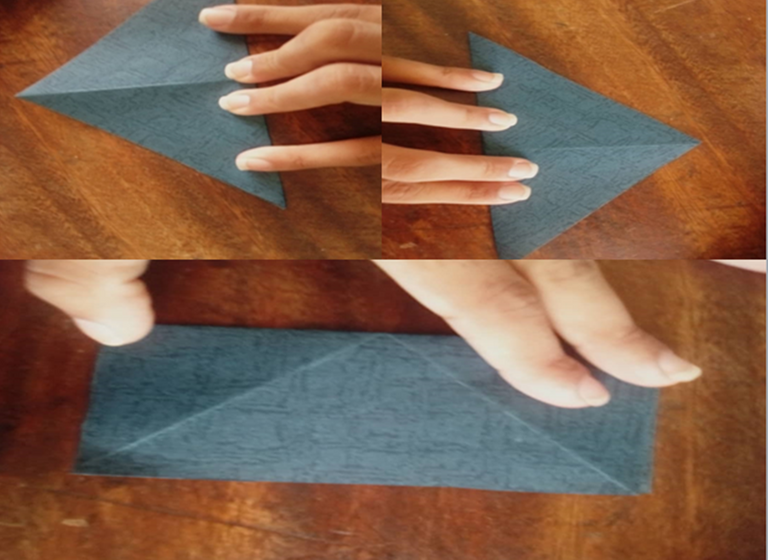
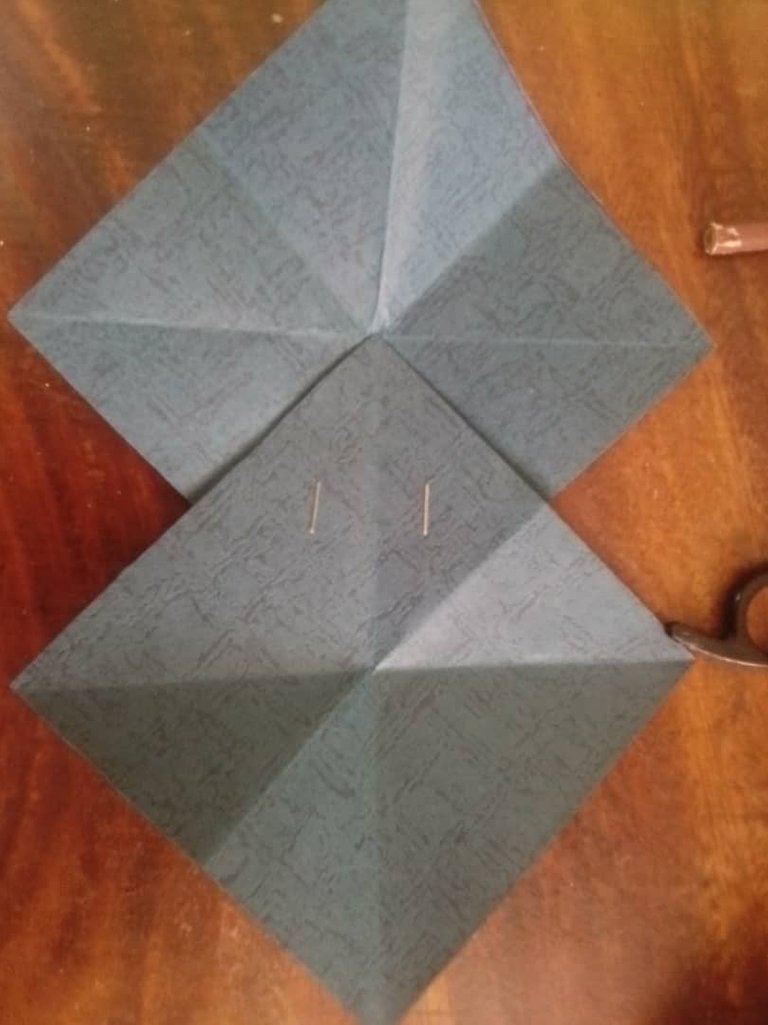
We continue to fold the larger squares in three ways (two diagonals and the other sideways).
Continuamos doblando los cuadrados más grandes de tres maneras (dos diagonales y el otro de lado).

We make a fold to close the card that would be folding diagonally inwards, there would be a mini diamond.
Hacemos un doblado para cerrar la carta que sería doblando diagonal hacia adentro, quedaría un mini diamante.
We continue gluing the squares so that it is horizontal and always gluing it diamond to diamond (which will be formed when we do the second step).
Seguimos pegando los cuadrados de manera que quede horizontal y siempre pegándolo diamante con diamante (que se formaran cuando hagamos el segundo paso).
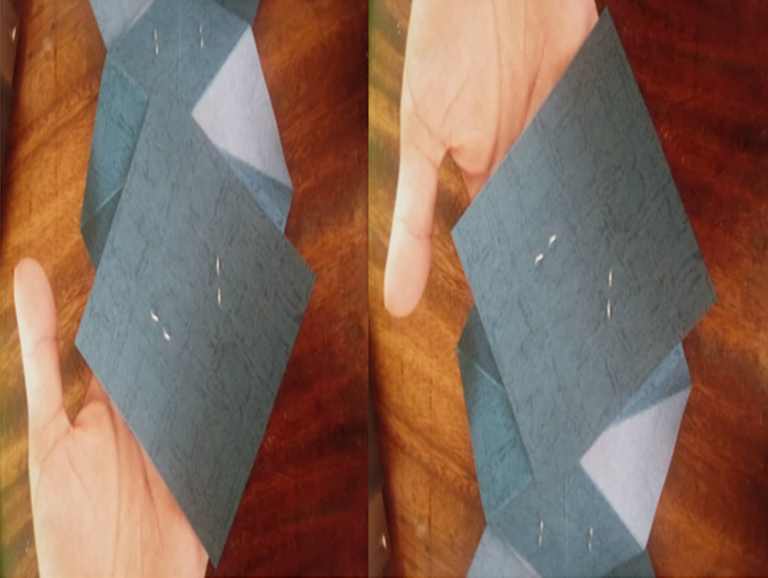
Then we glue the cover to the outside of the card (one outside on one side and the other on the other side, for when we close that all square).
Luego pegamos la caratula a los exteriores de la carta (un exterior de un lado y el otro del otro lado, para cuando vallemos a cerrar que todo cuadrado).
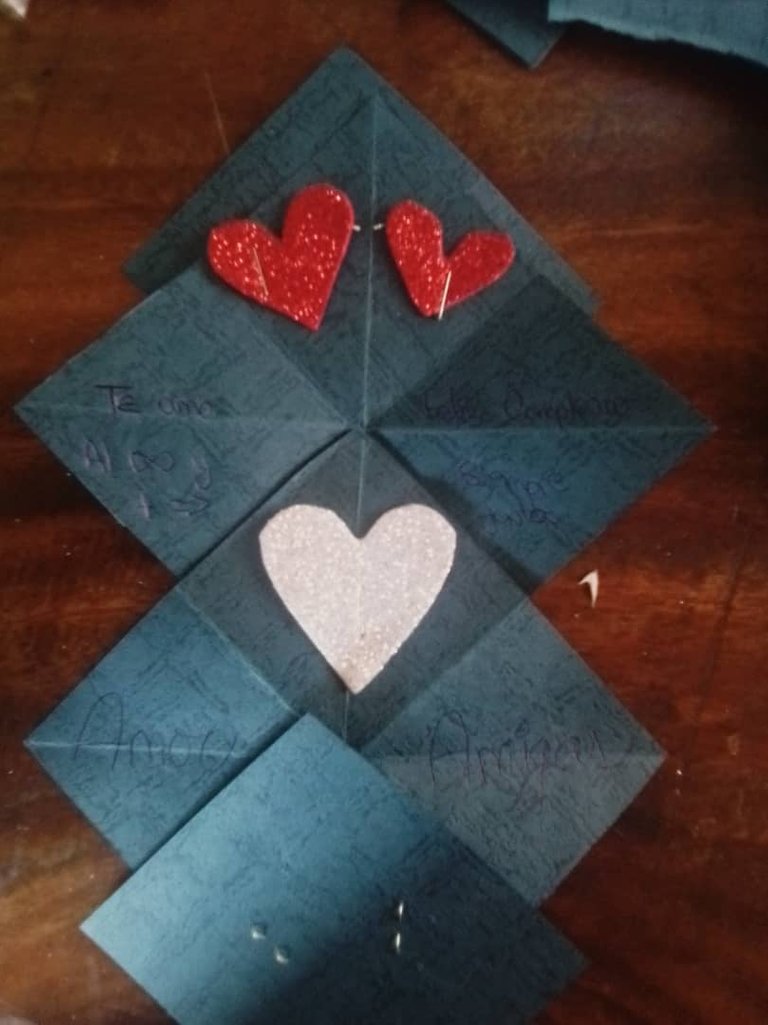
Now we come up with the decoration we want.
Ahora venimos con la decoración que deseemos.
Congratulations @genegermablog! You have completed the following achievement on the Hive blockchain and have been rewarded with new badge(s) :
You can view your badges on your board and compare yourself to others in the Ranking
If you no longer want to receive notifications, reply to this comment with the word
STOPDo not miss the last post from @hivebuzz: