.png)
Hello, God bless this beautiful community greatly, today I want to share with you the elaboration of this beautiful landscape of a beach made in a toilet paper tube, I hope it will be of benefit
Hola, Dios bendiga grandemente a esta hermosa comunidad, hoy quiero compartir con ustedes la elaboración de este lindo paisaje de una playa hecho en un tubo de papel higienico, espero sea de provecho
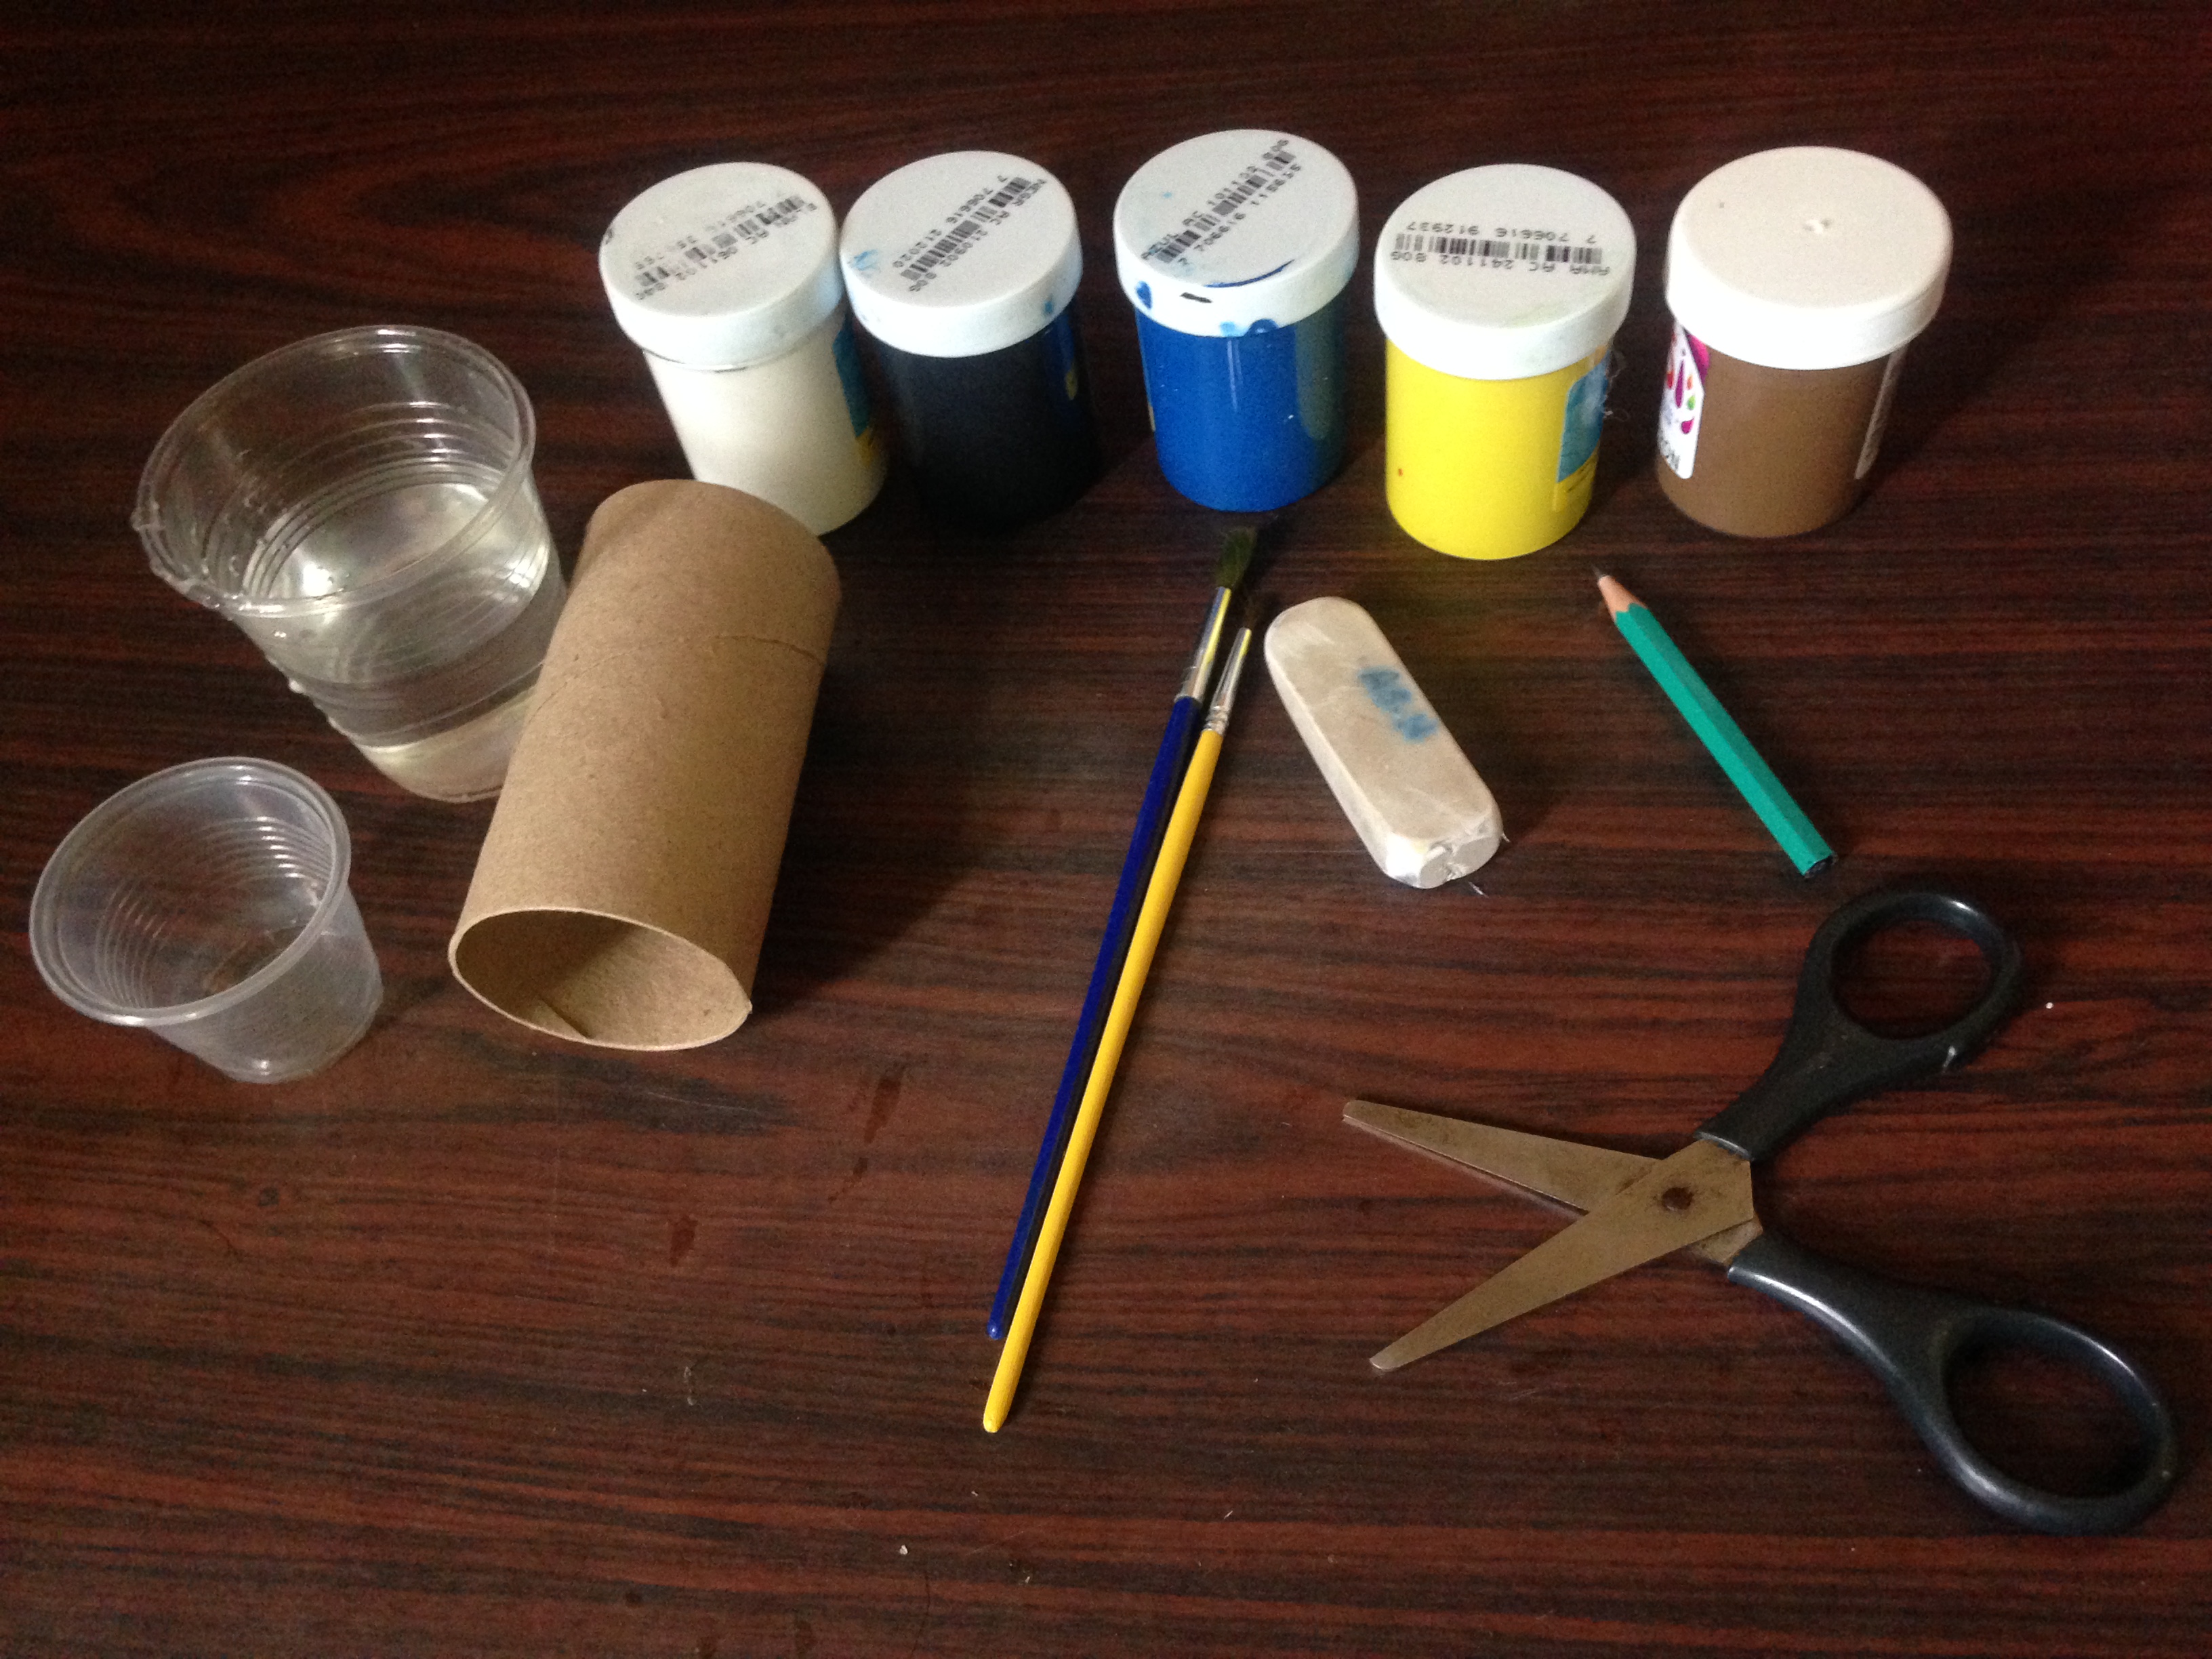
Materiales:
- Tubo de papel higiénico
- pinturas de color: amarillo, azul, blanco, negro, marrón
- pincel pequeño
- pincel mediano
- un vaso con agua para lavar los pinceles
- tijeras
- borrador
- lápiz
- vaso pequeño para mezclar colores
Materials:
- Toilet paper tube
- color paints: yellow, blue, white, black, brown
- small brush
- medium brush
- a glass of water to wash the brushes
- pair of scissors
- draft
- pencil
- small glass for mixing colors
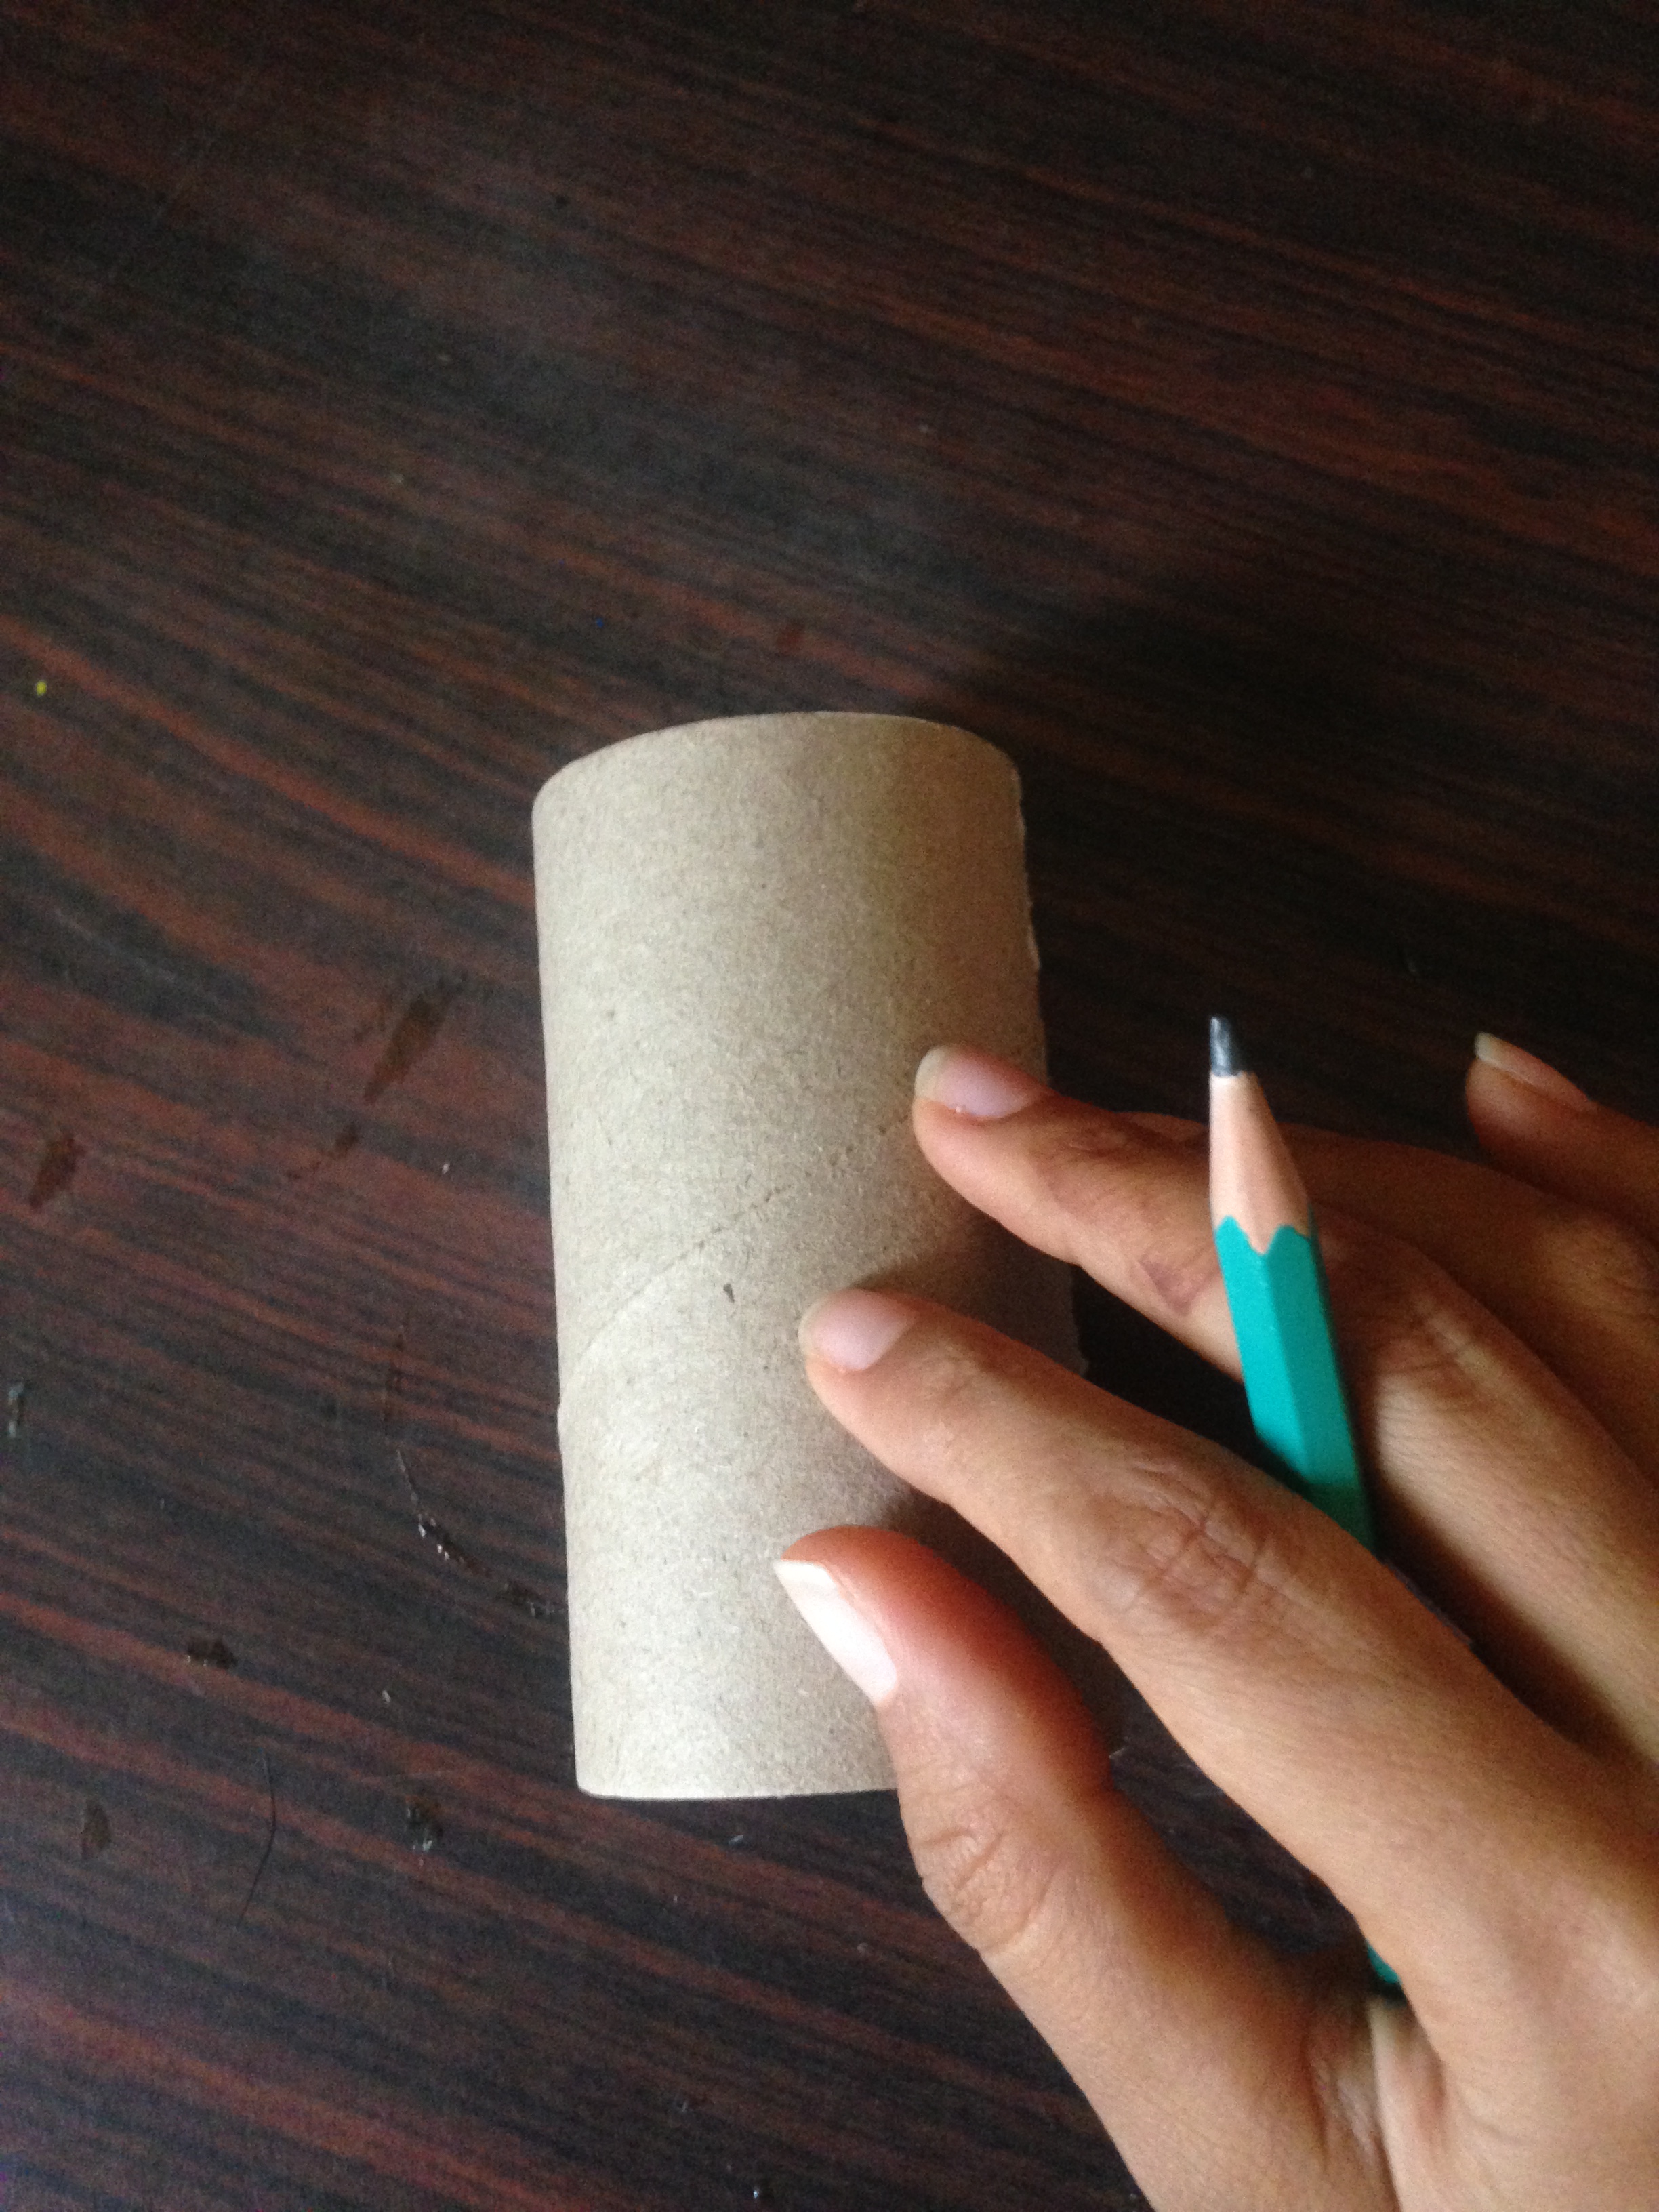
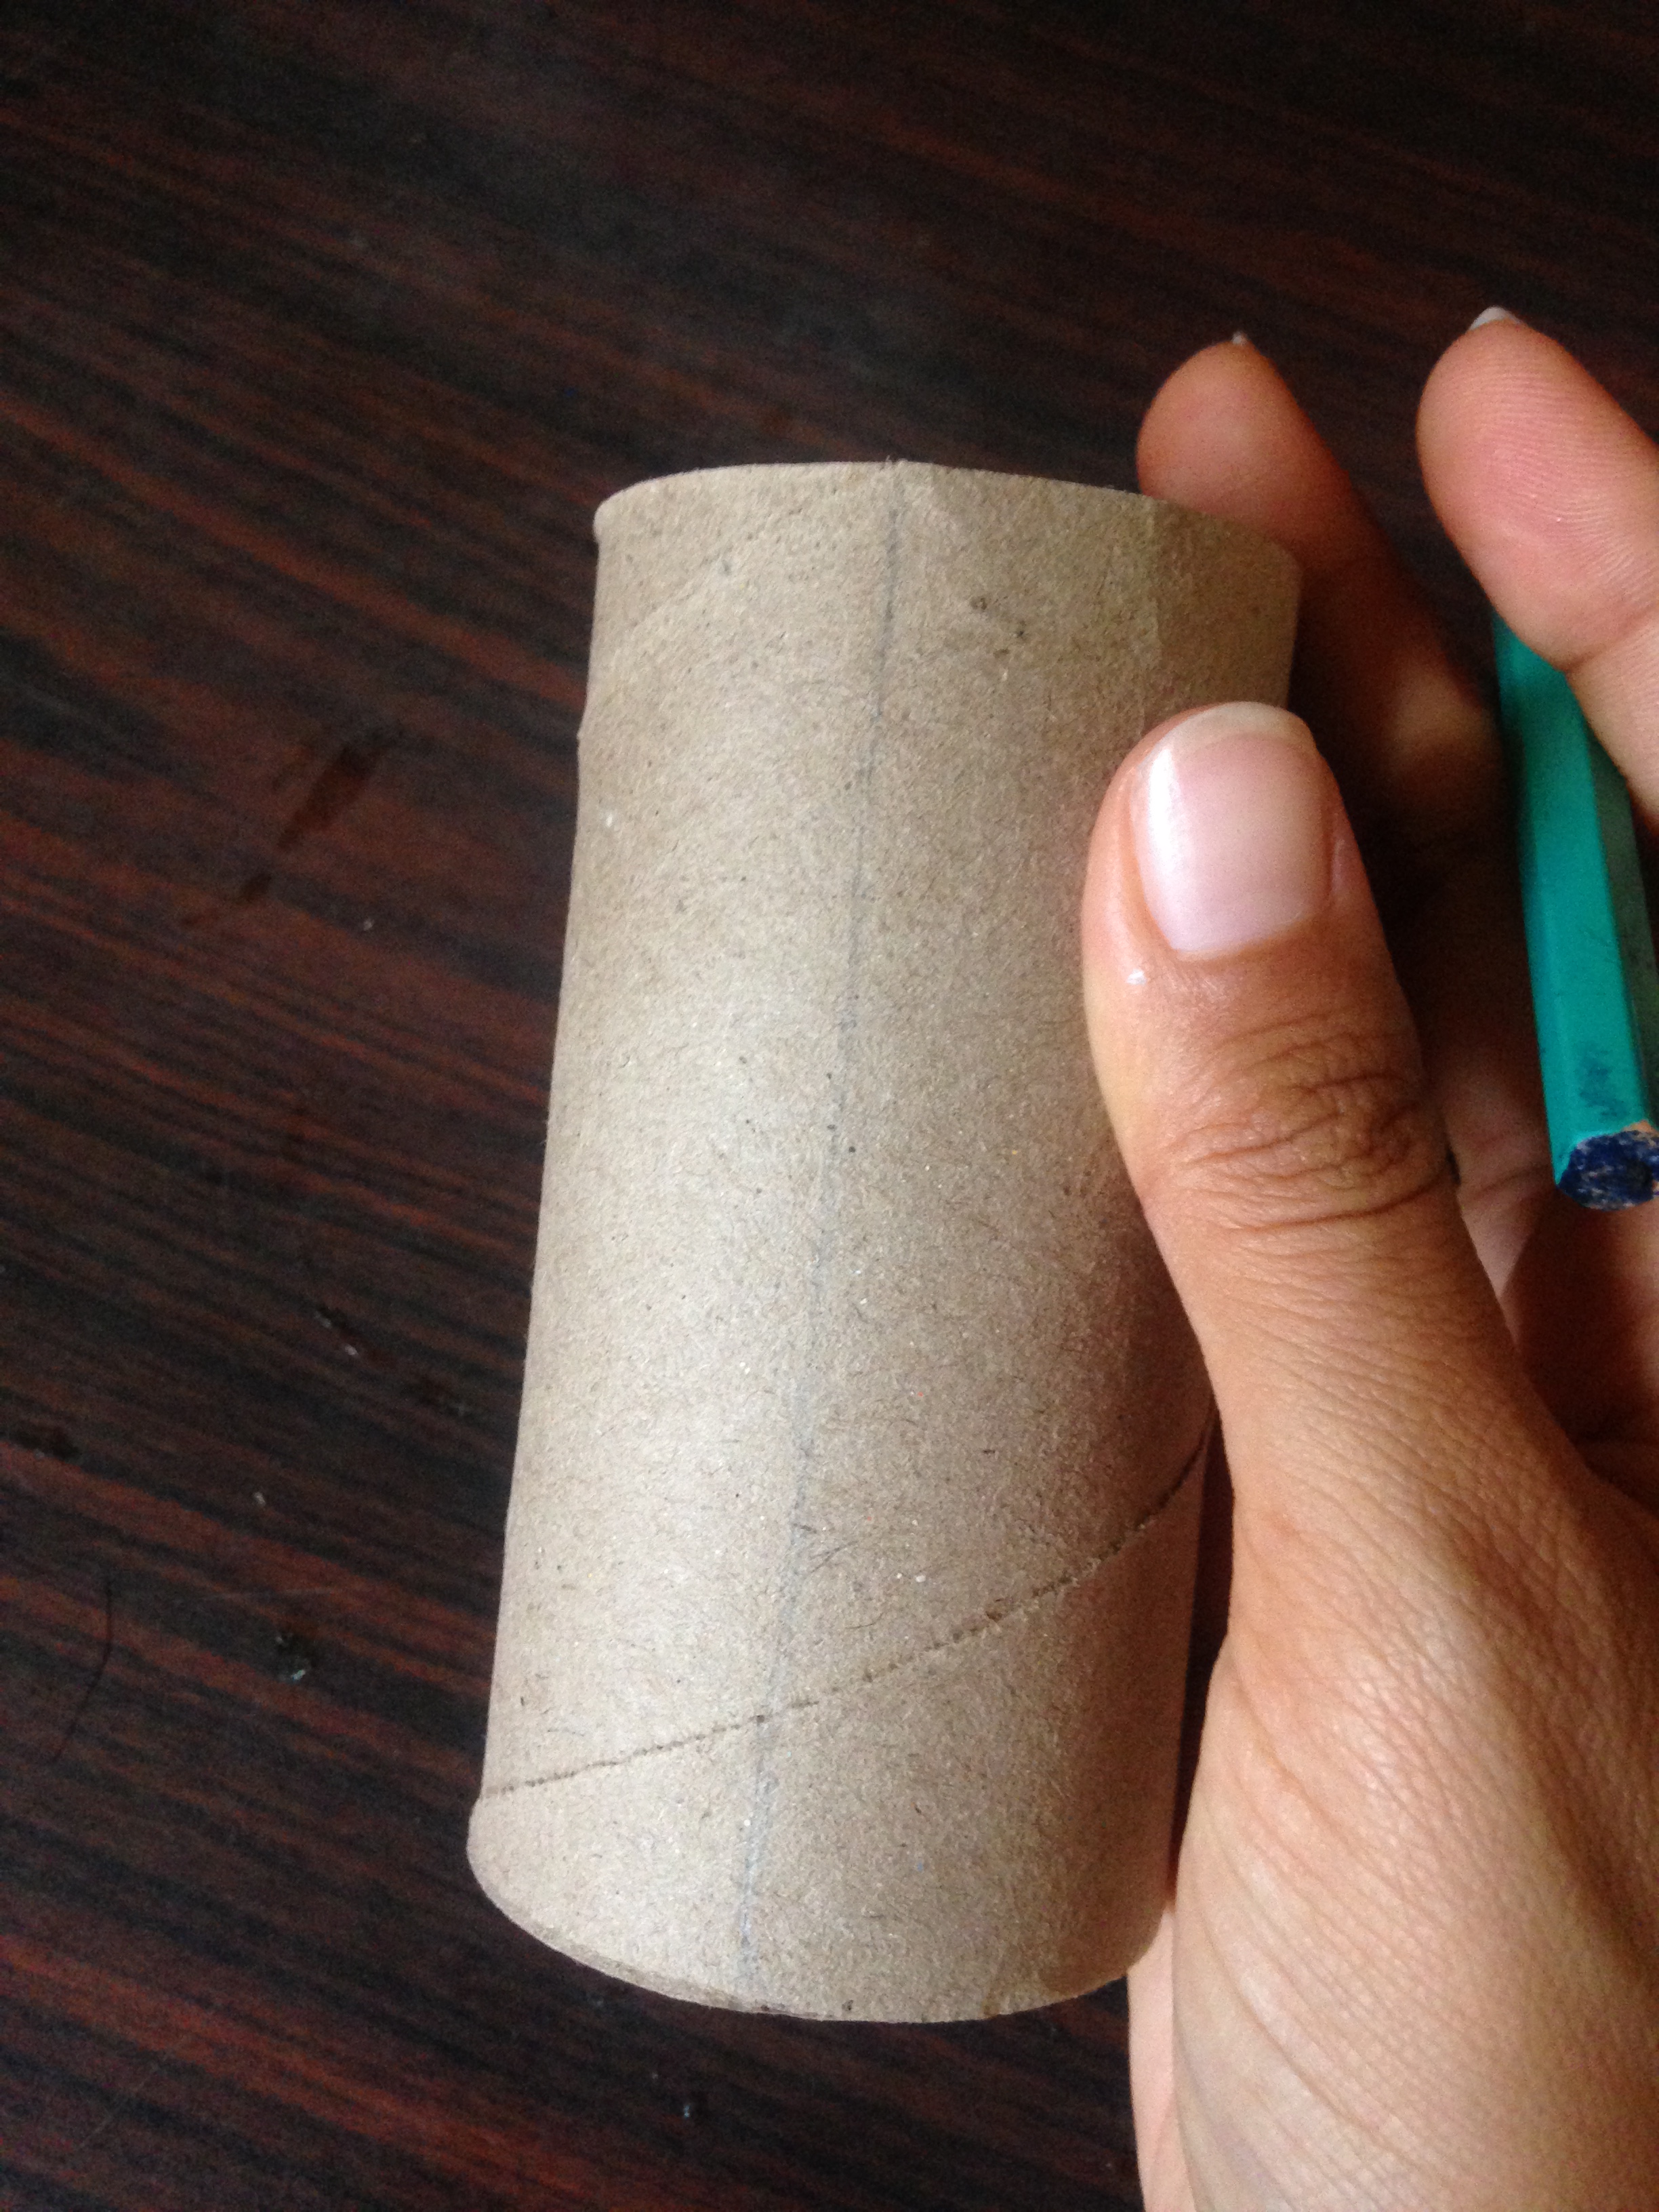
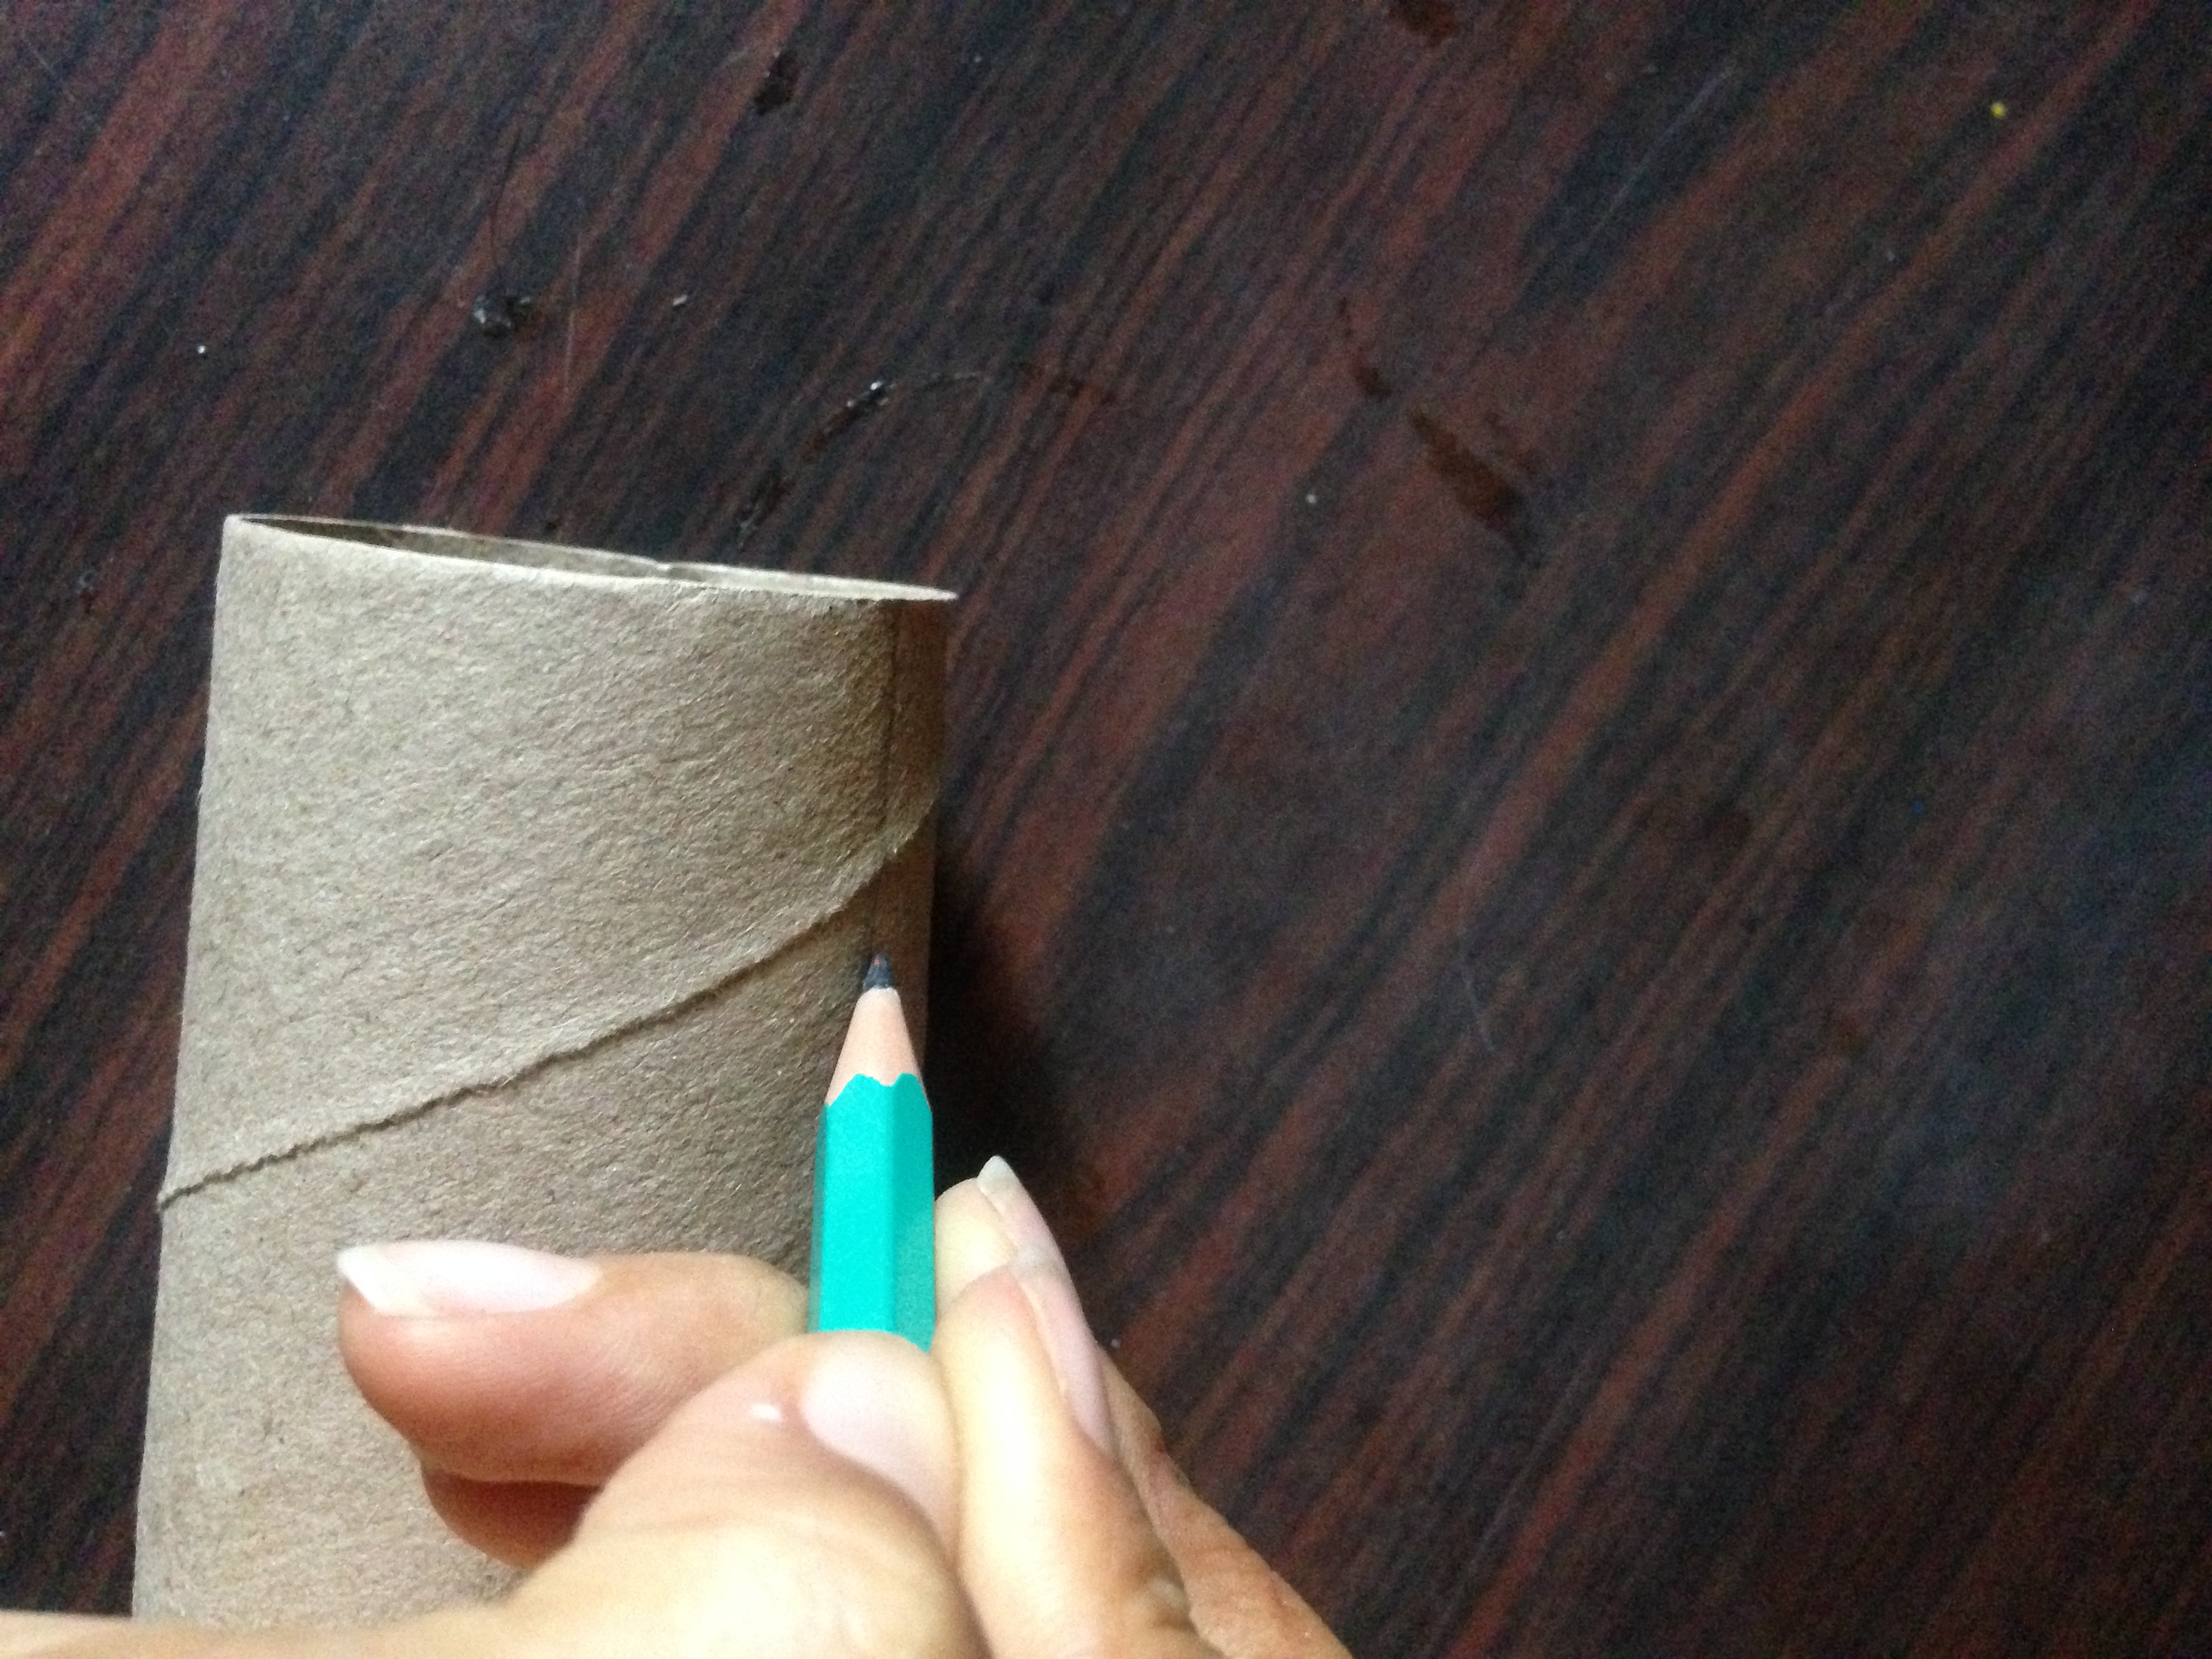
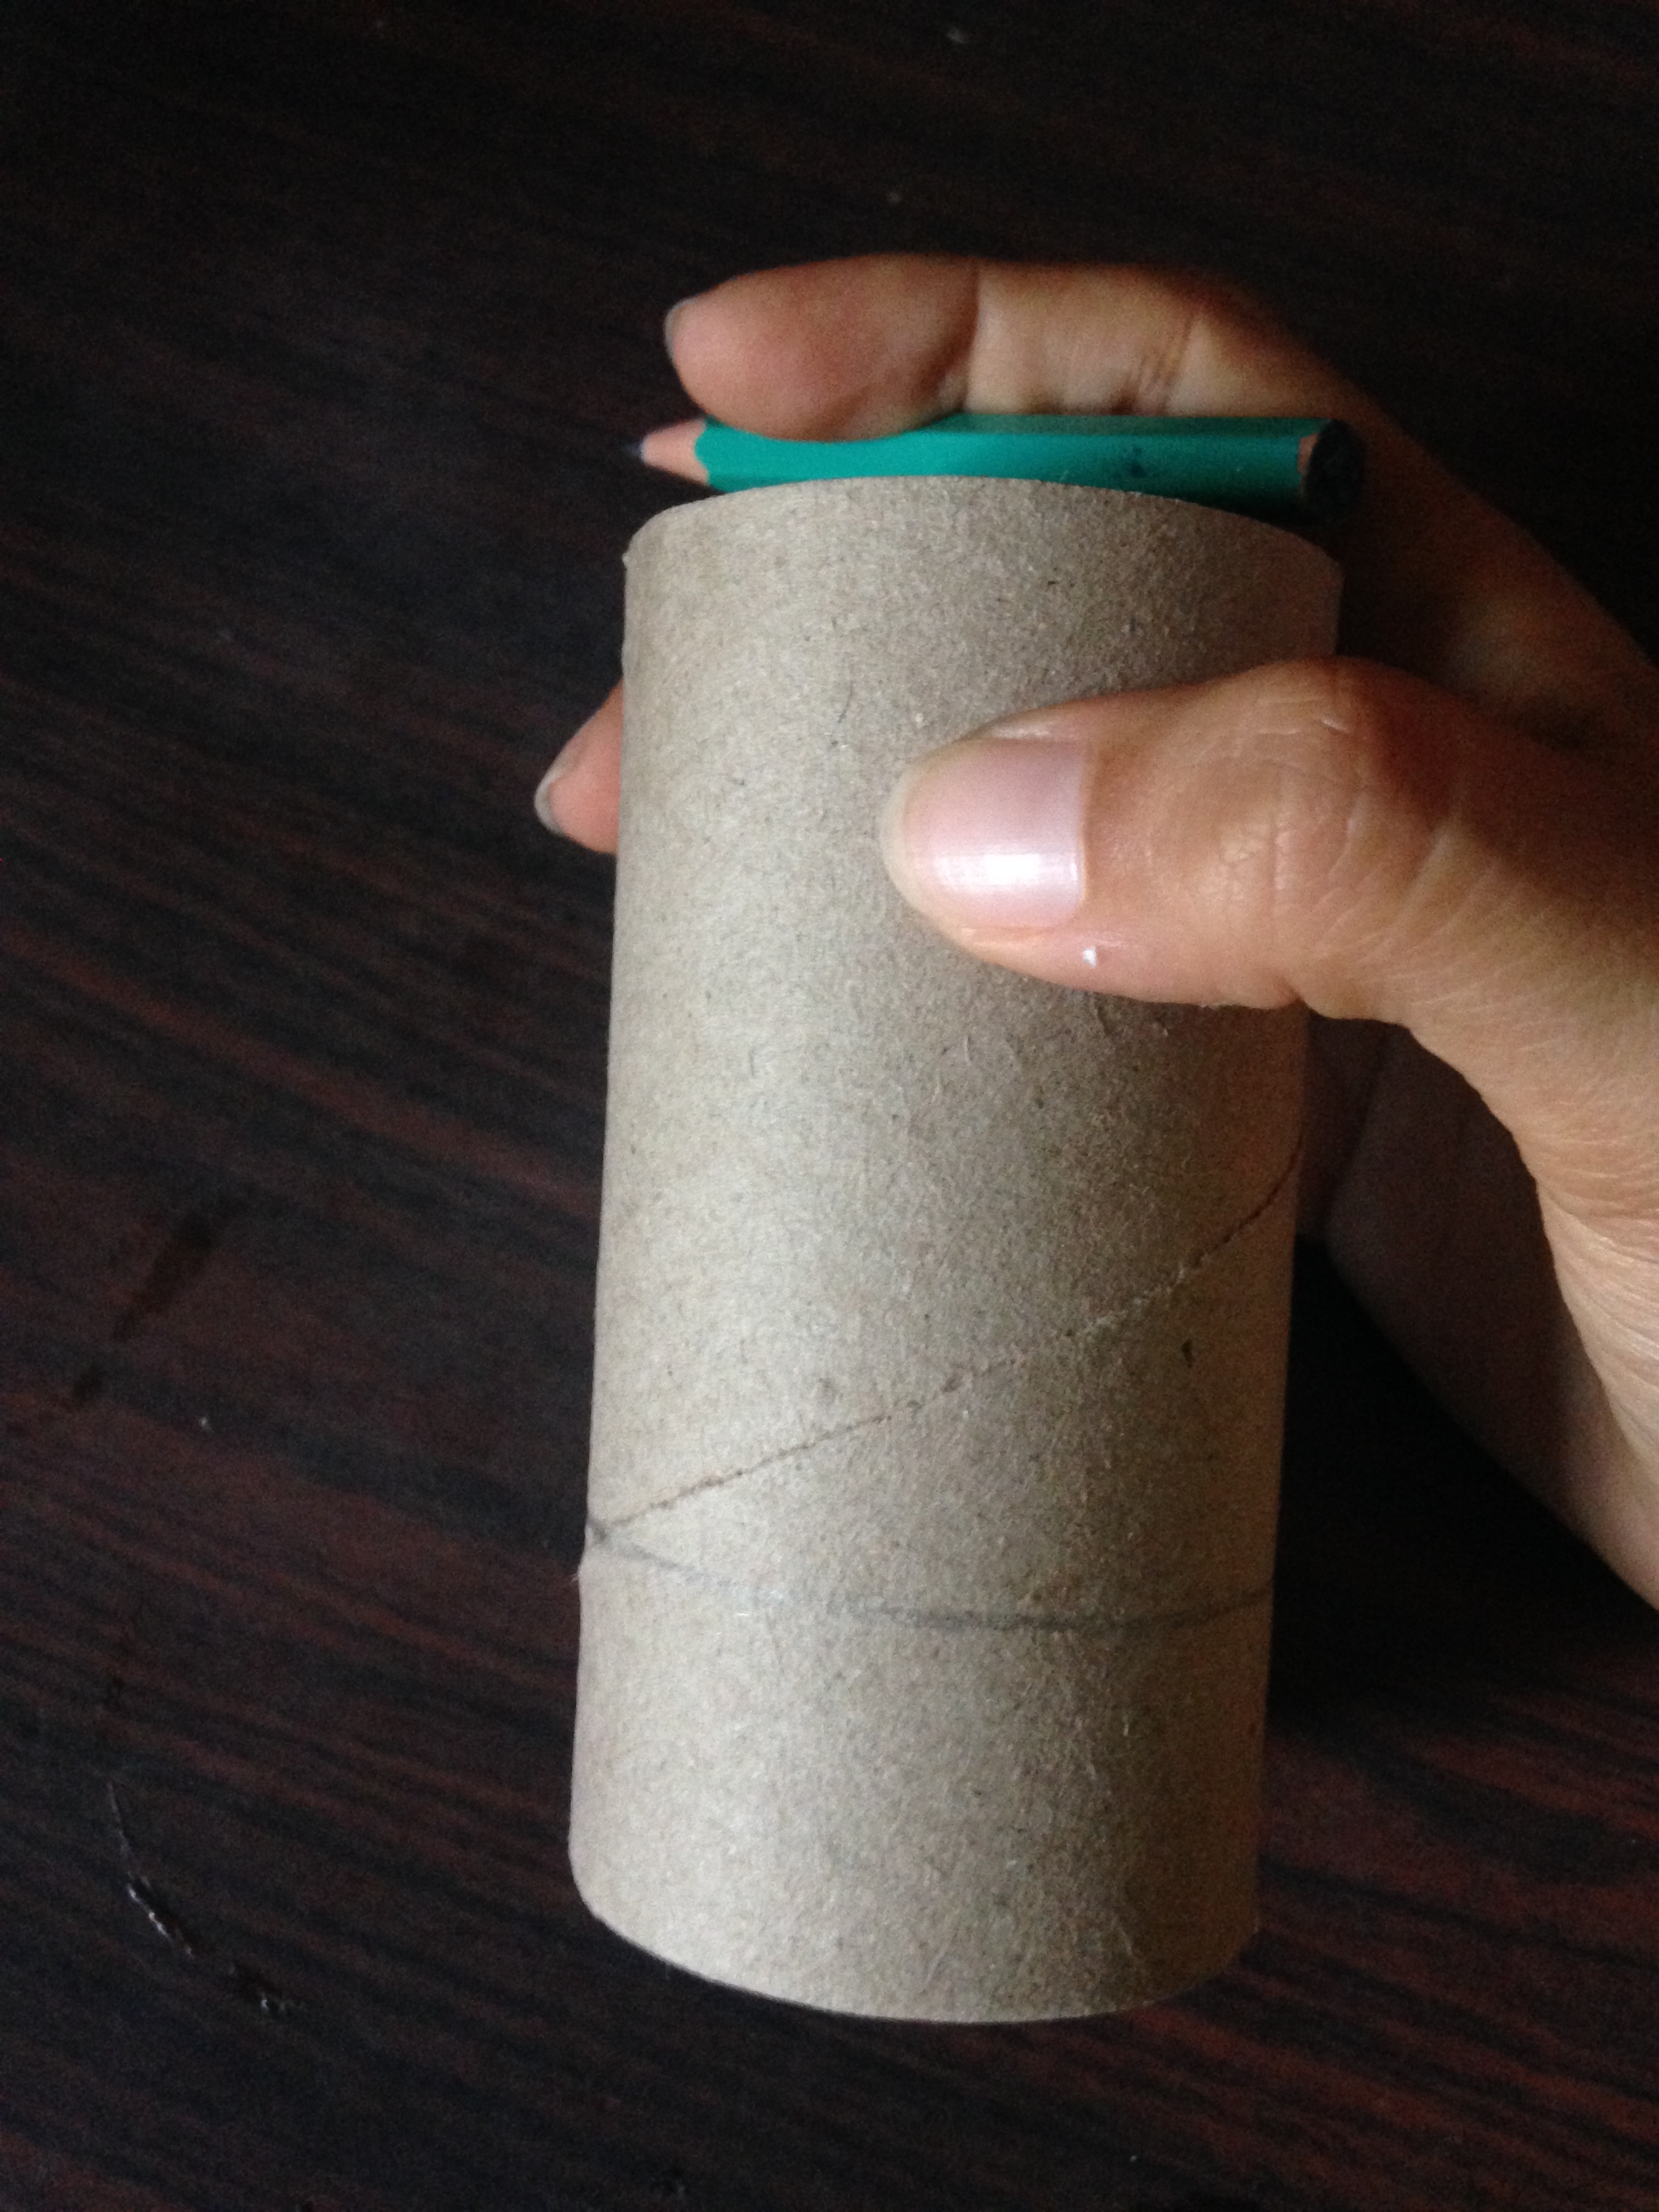
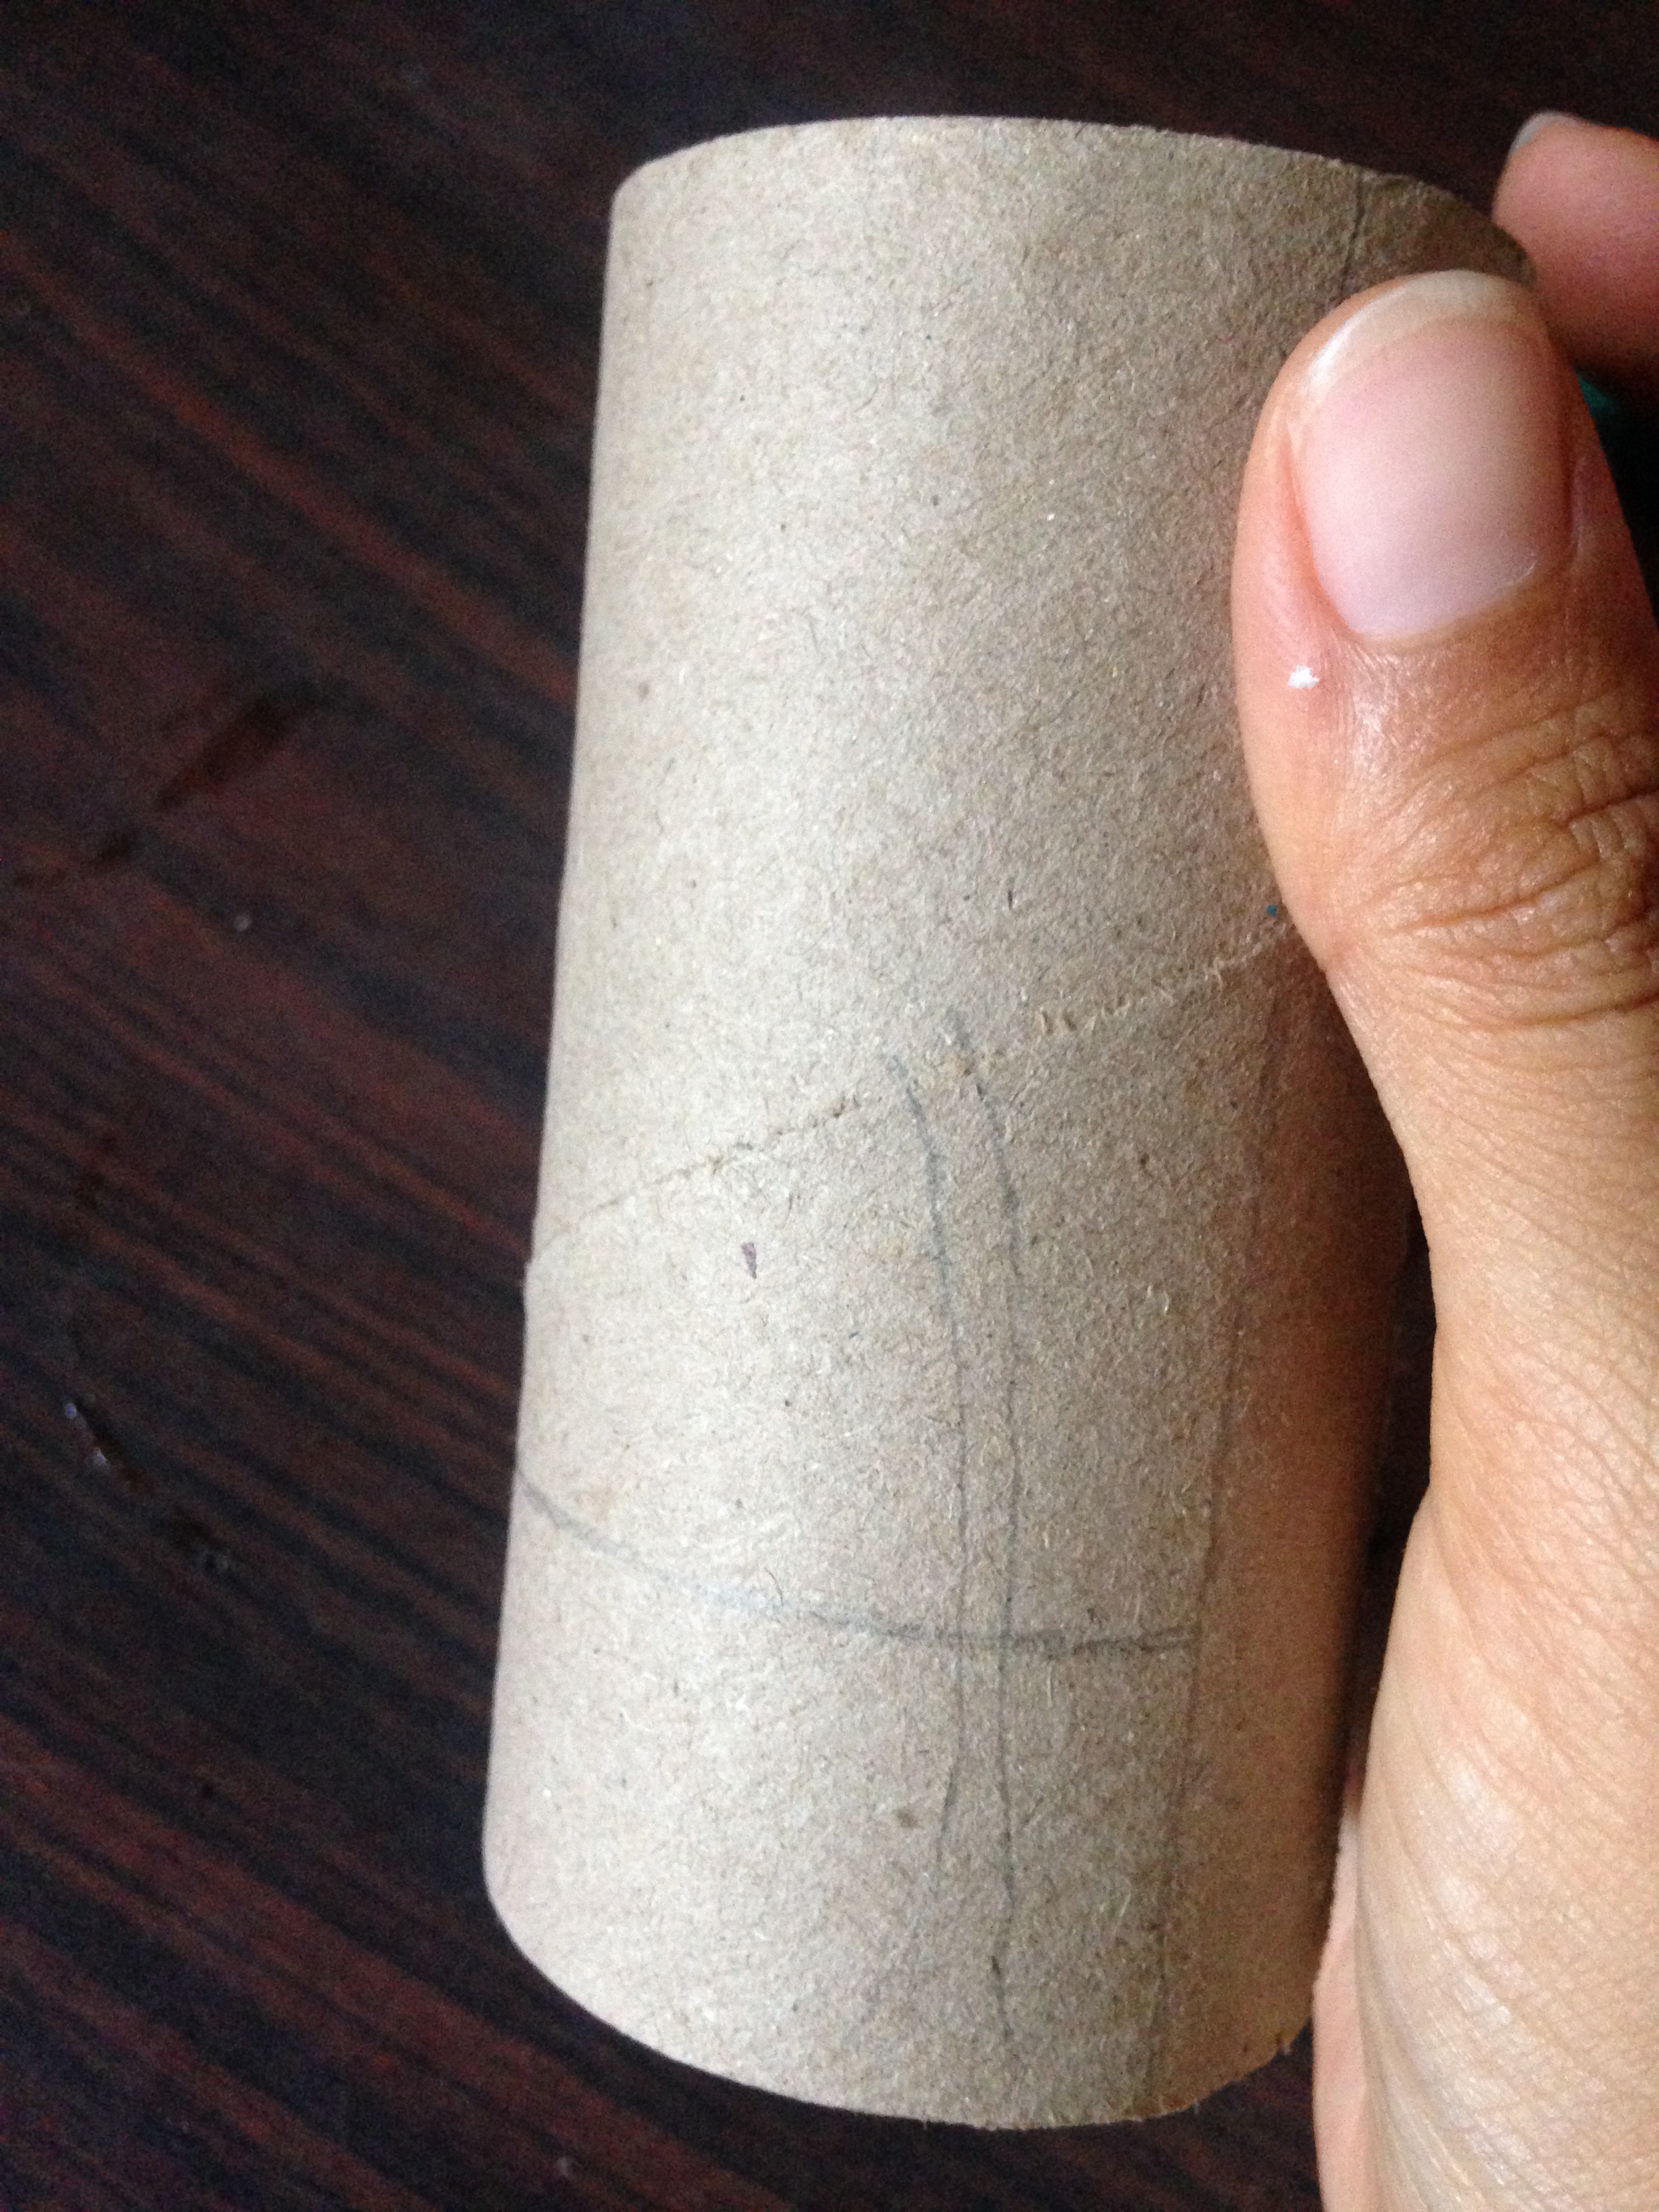
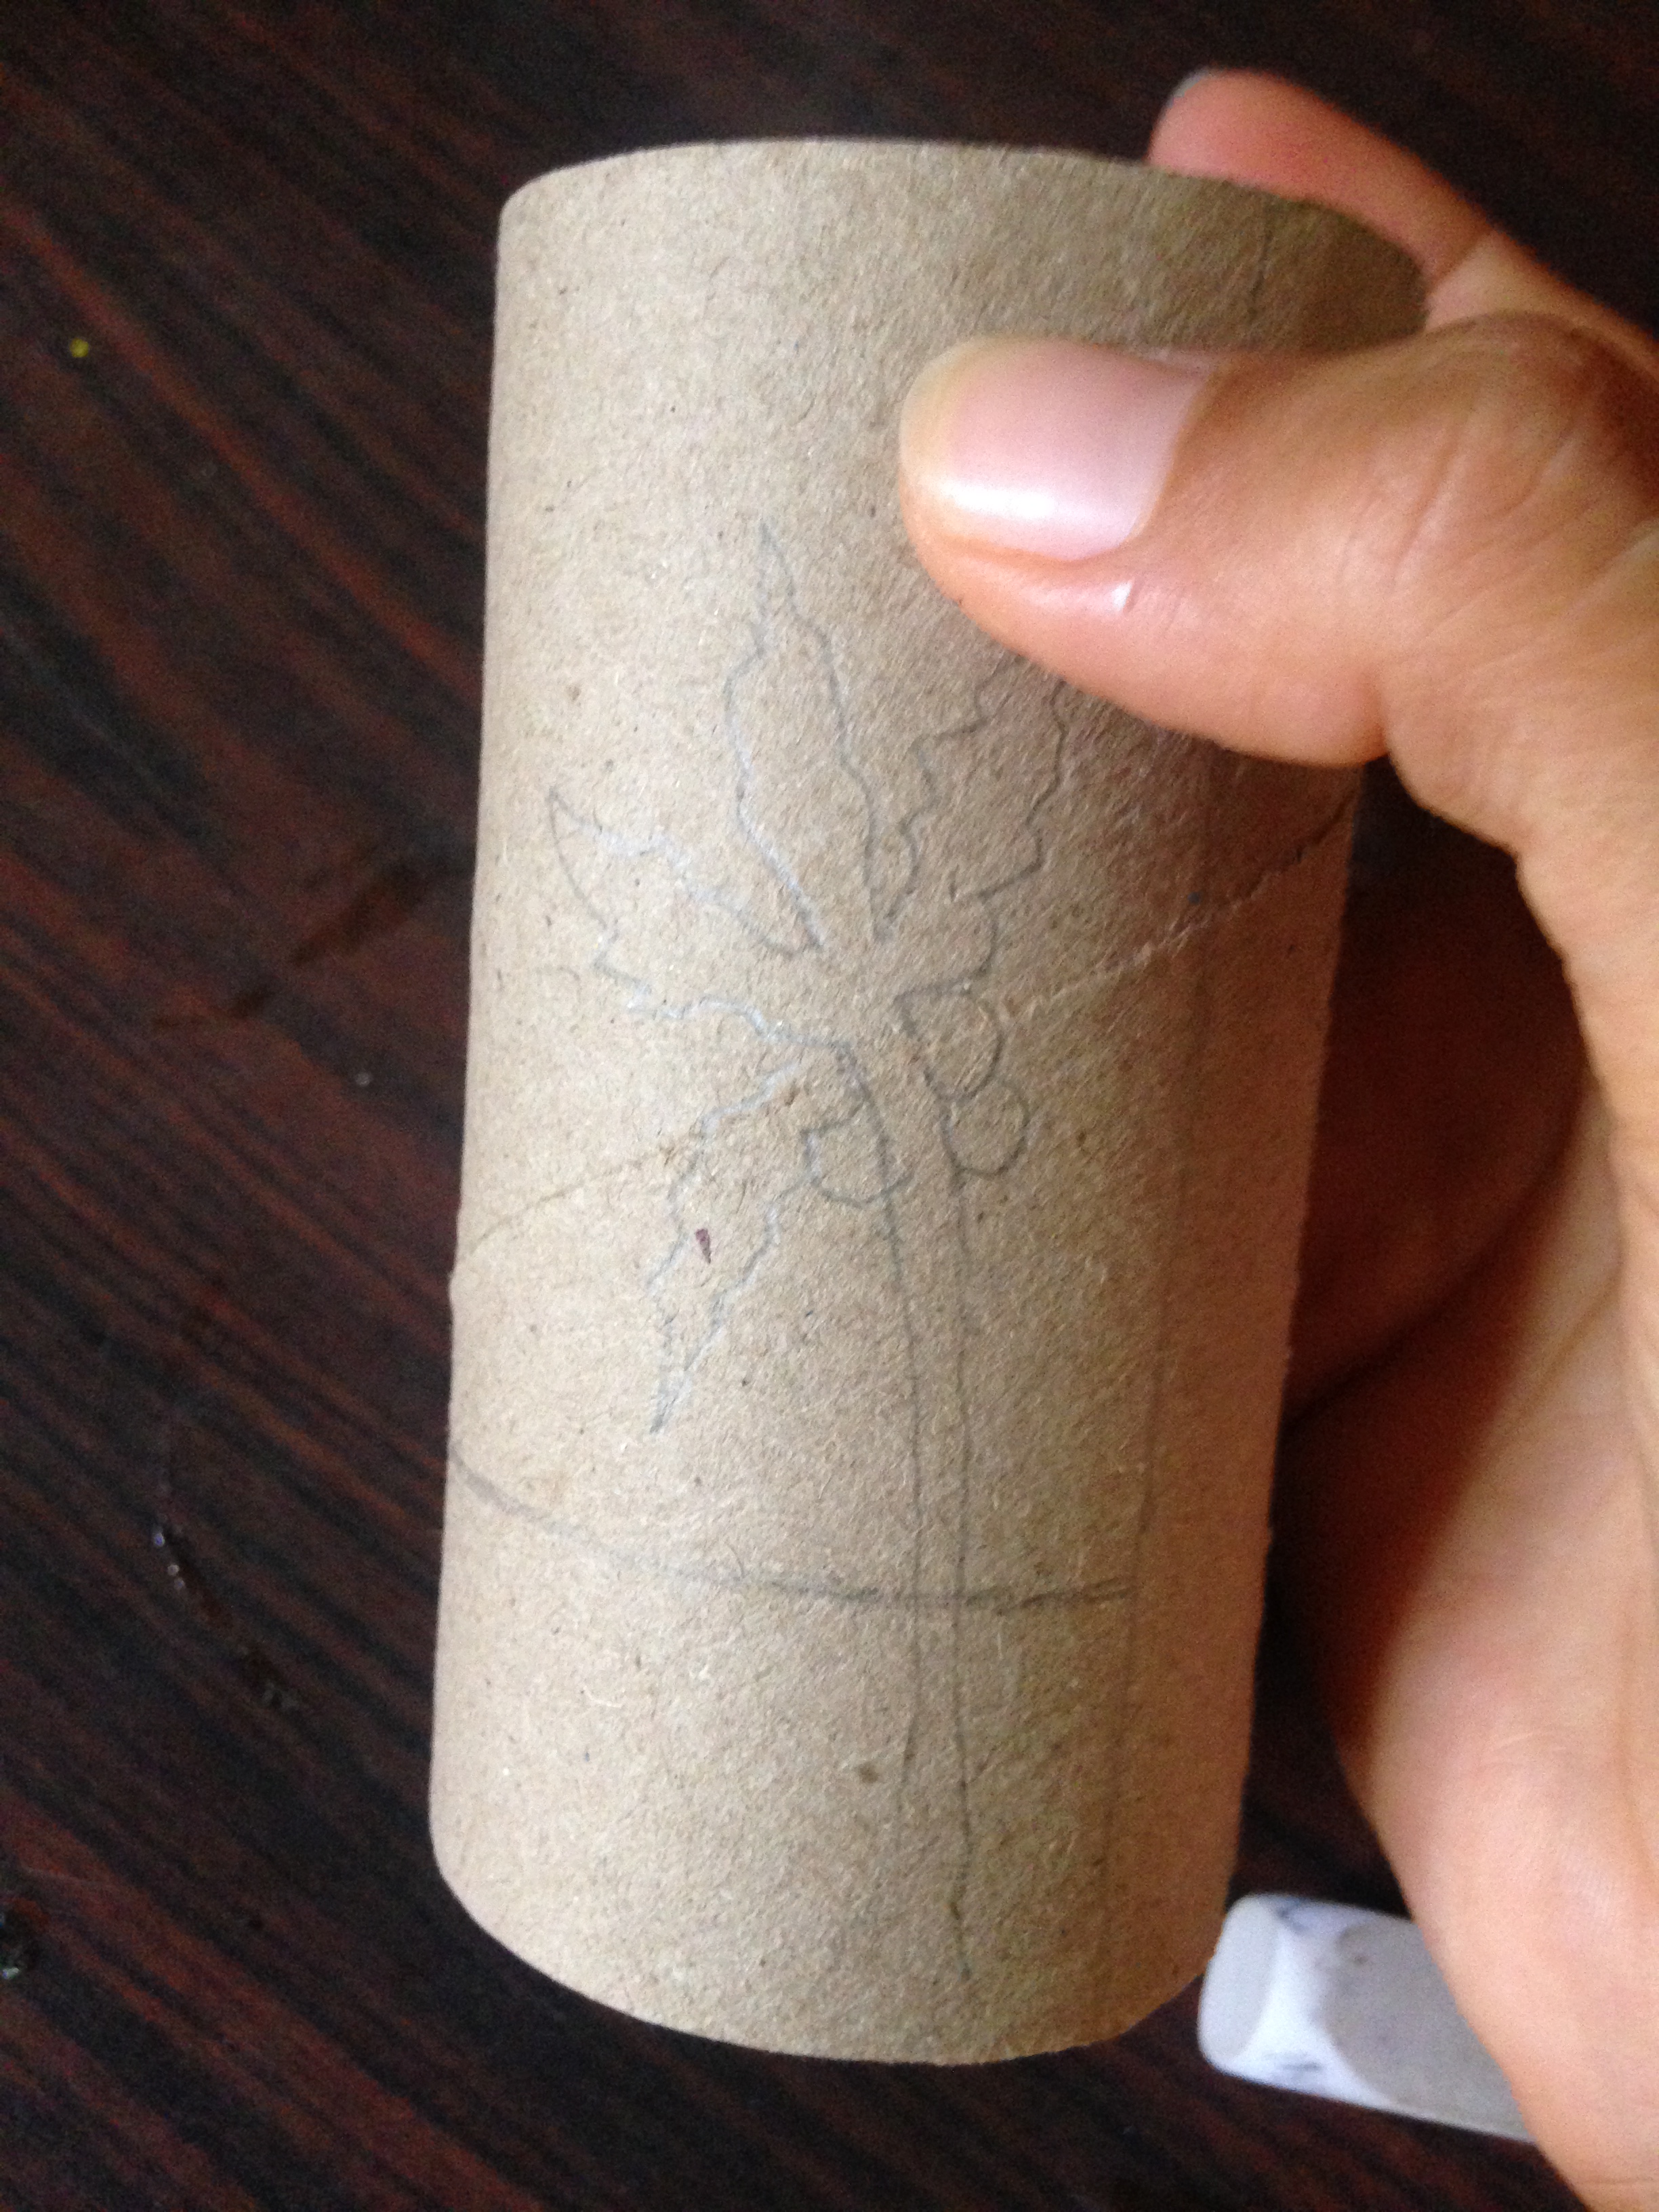
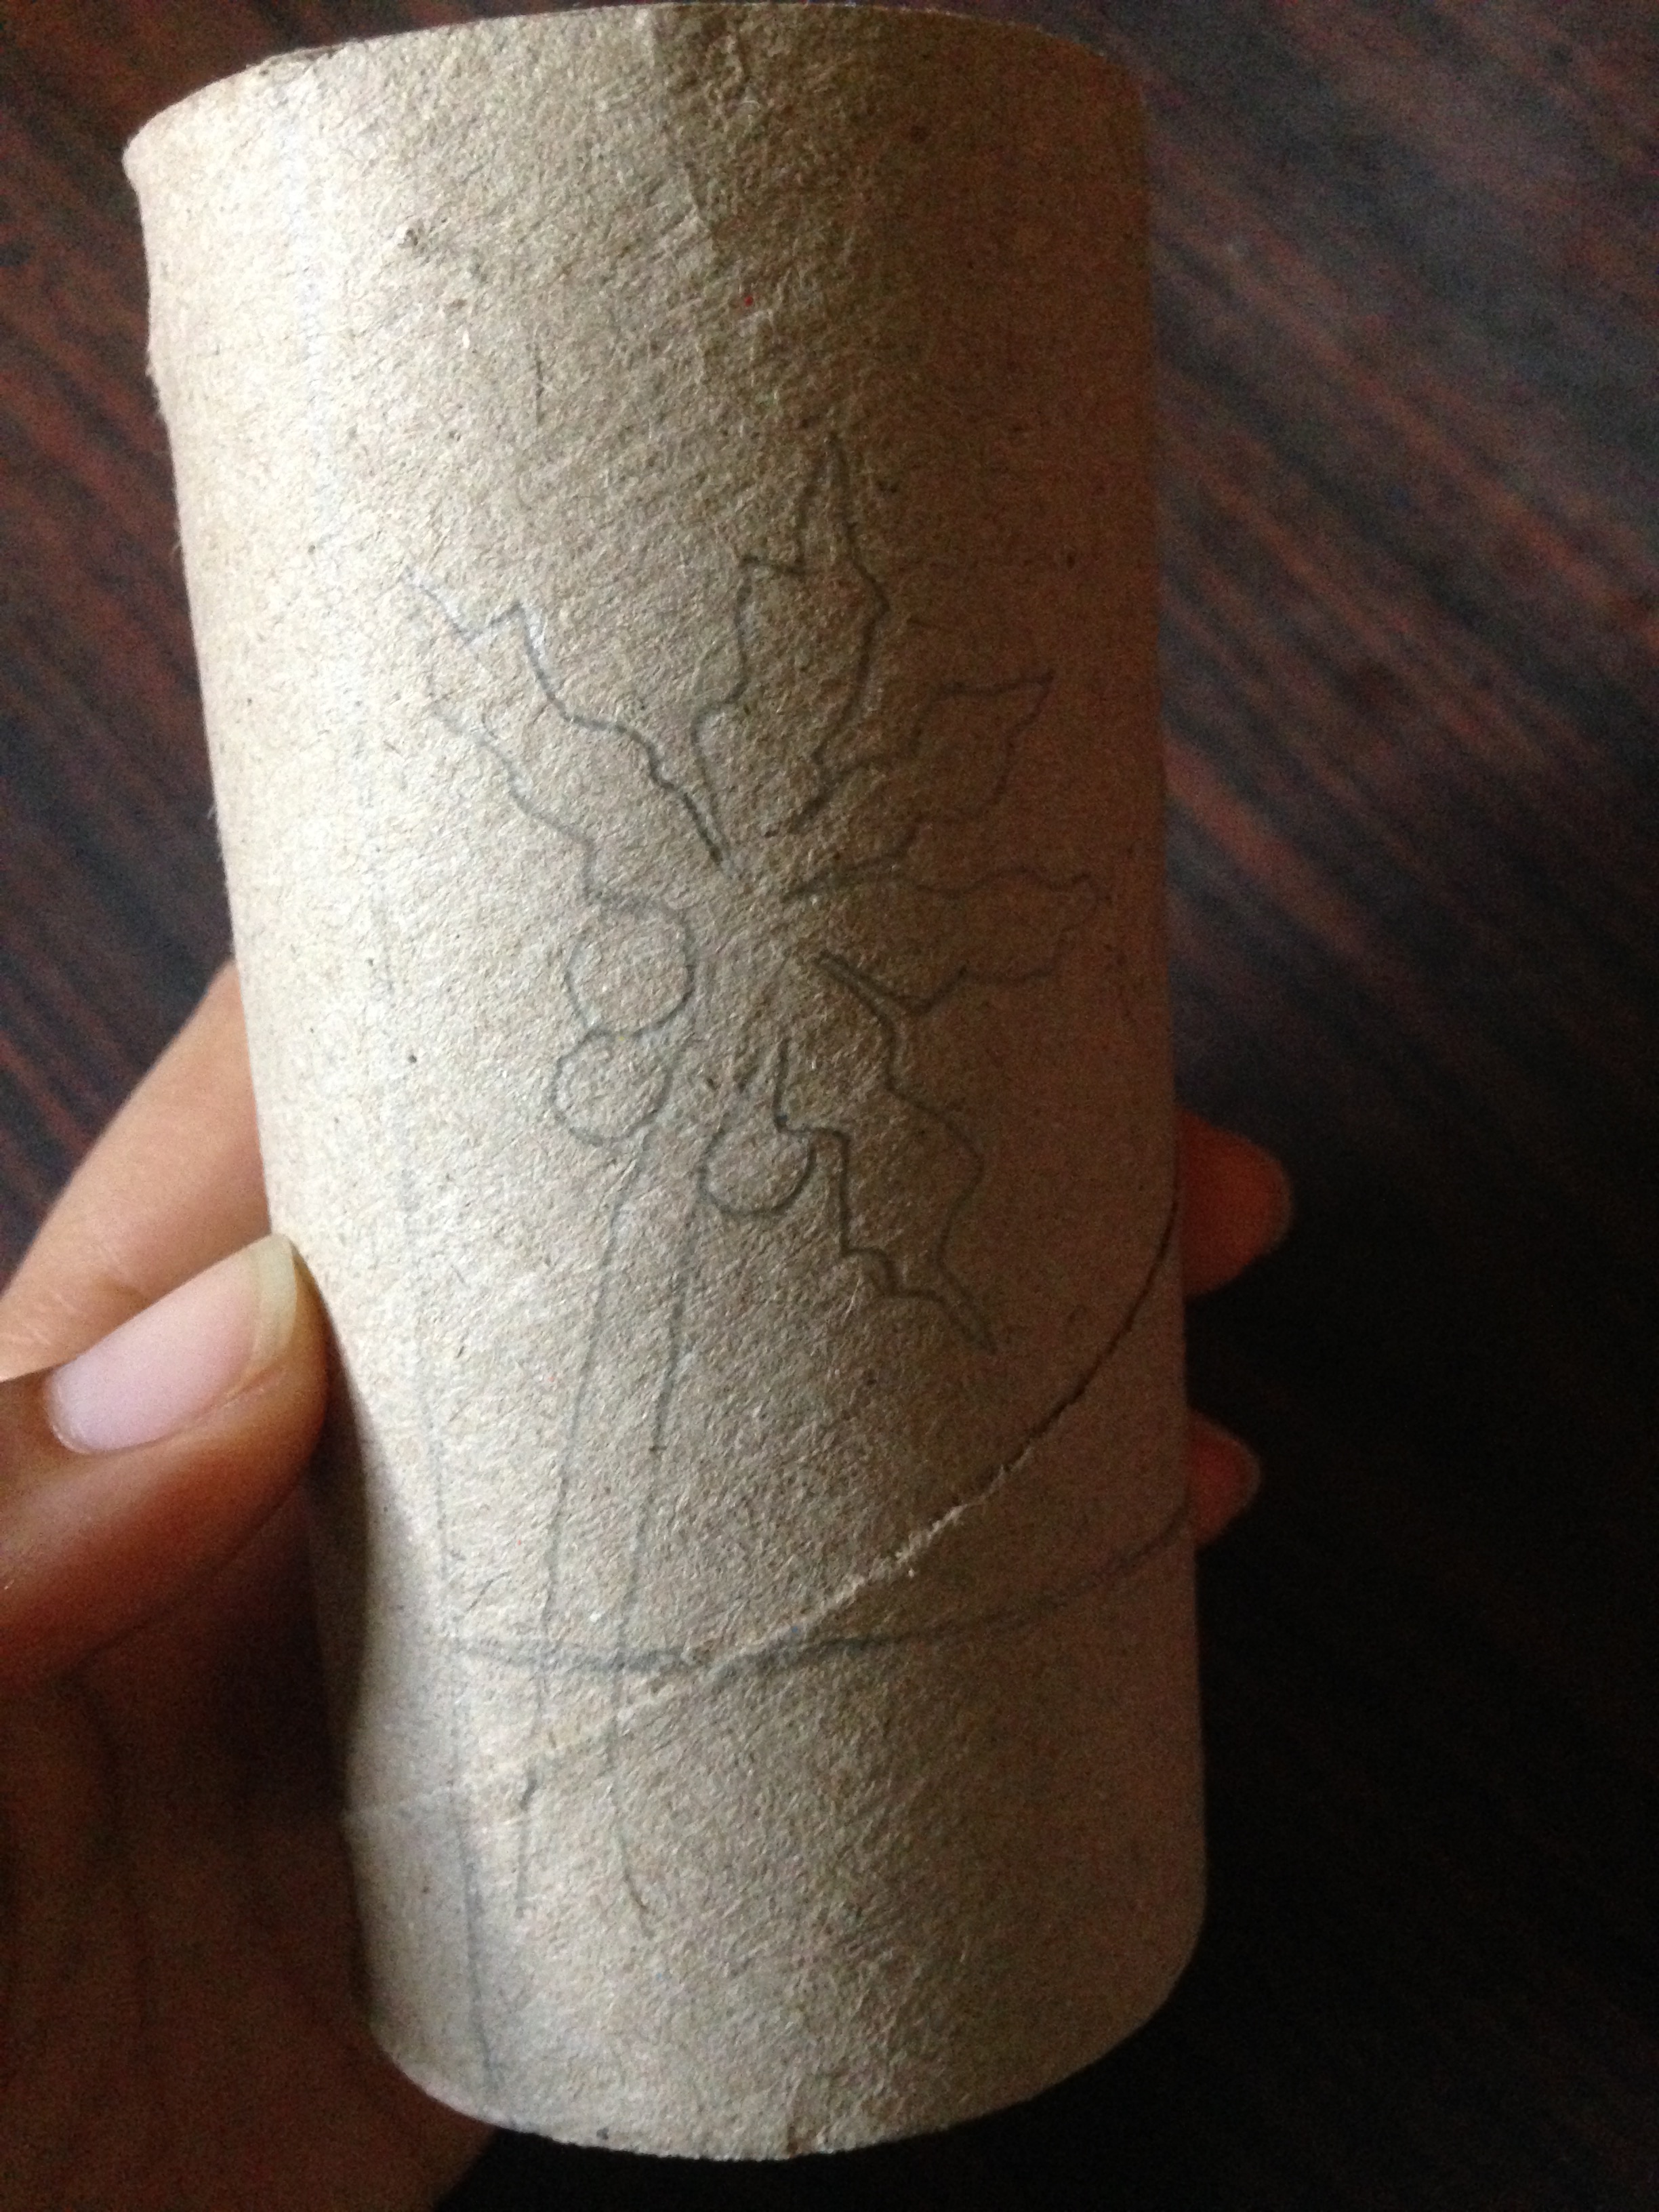
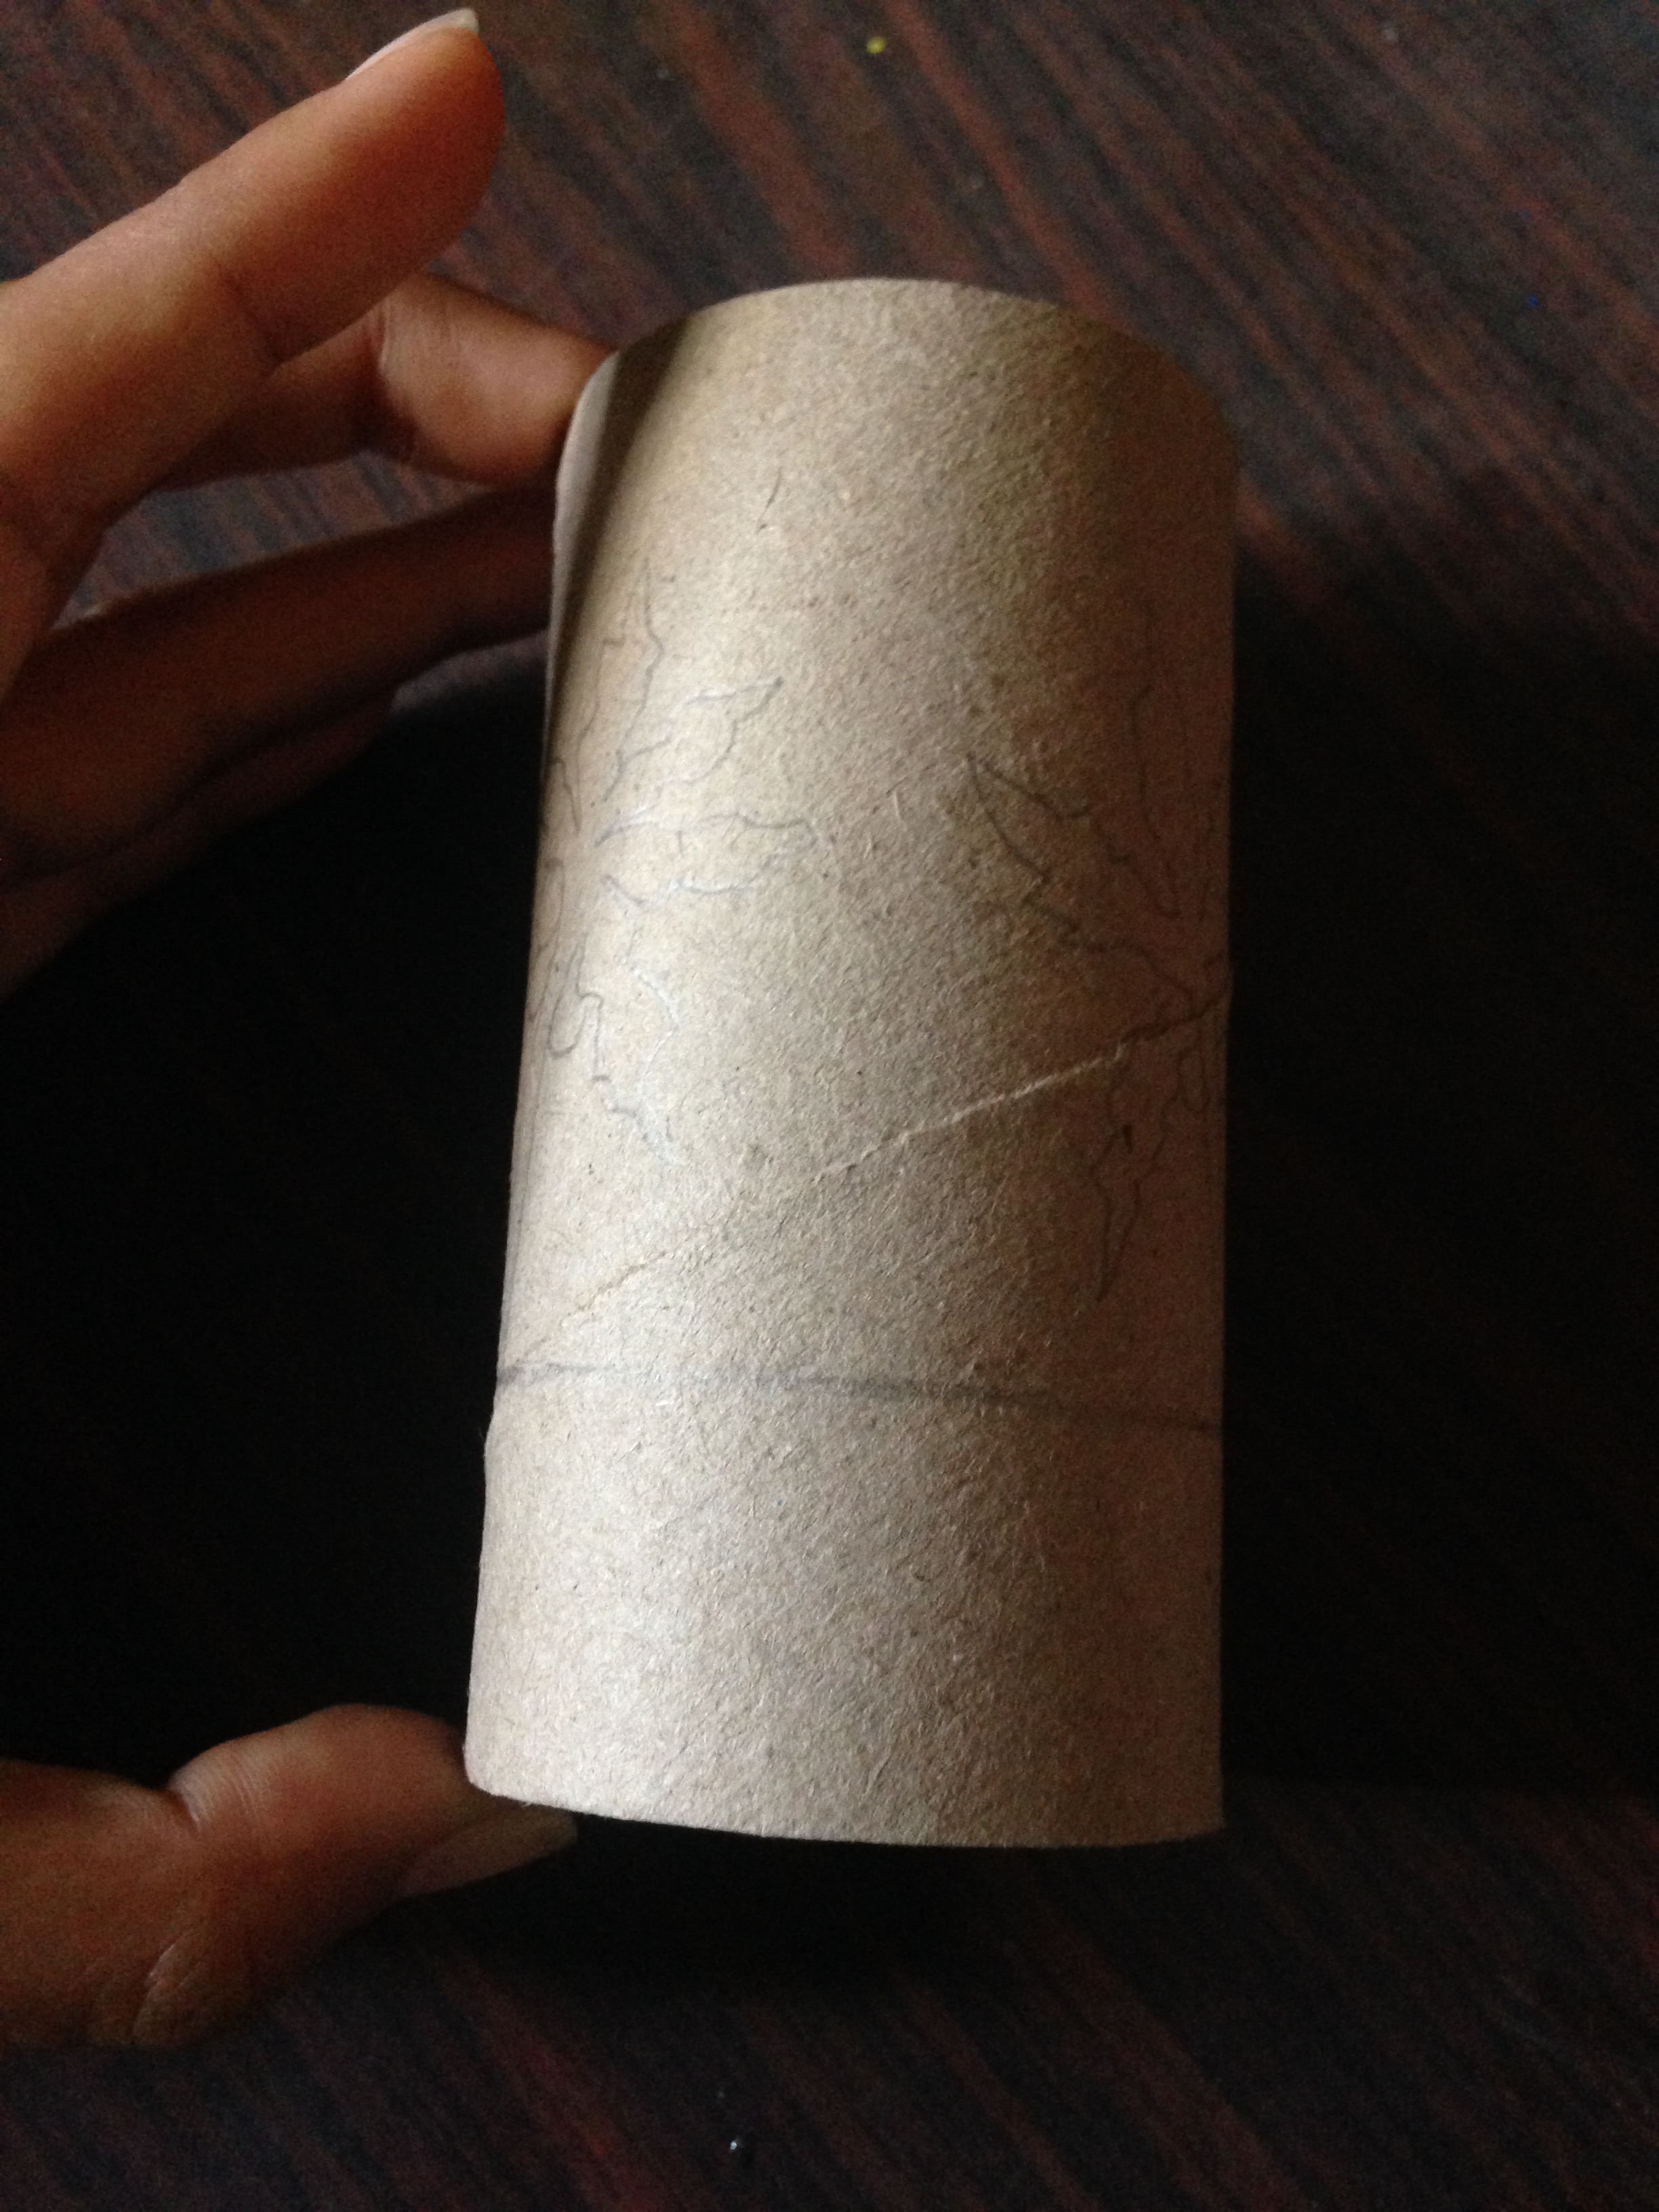
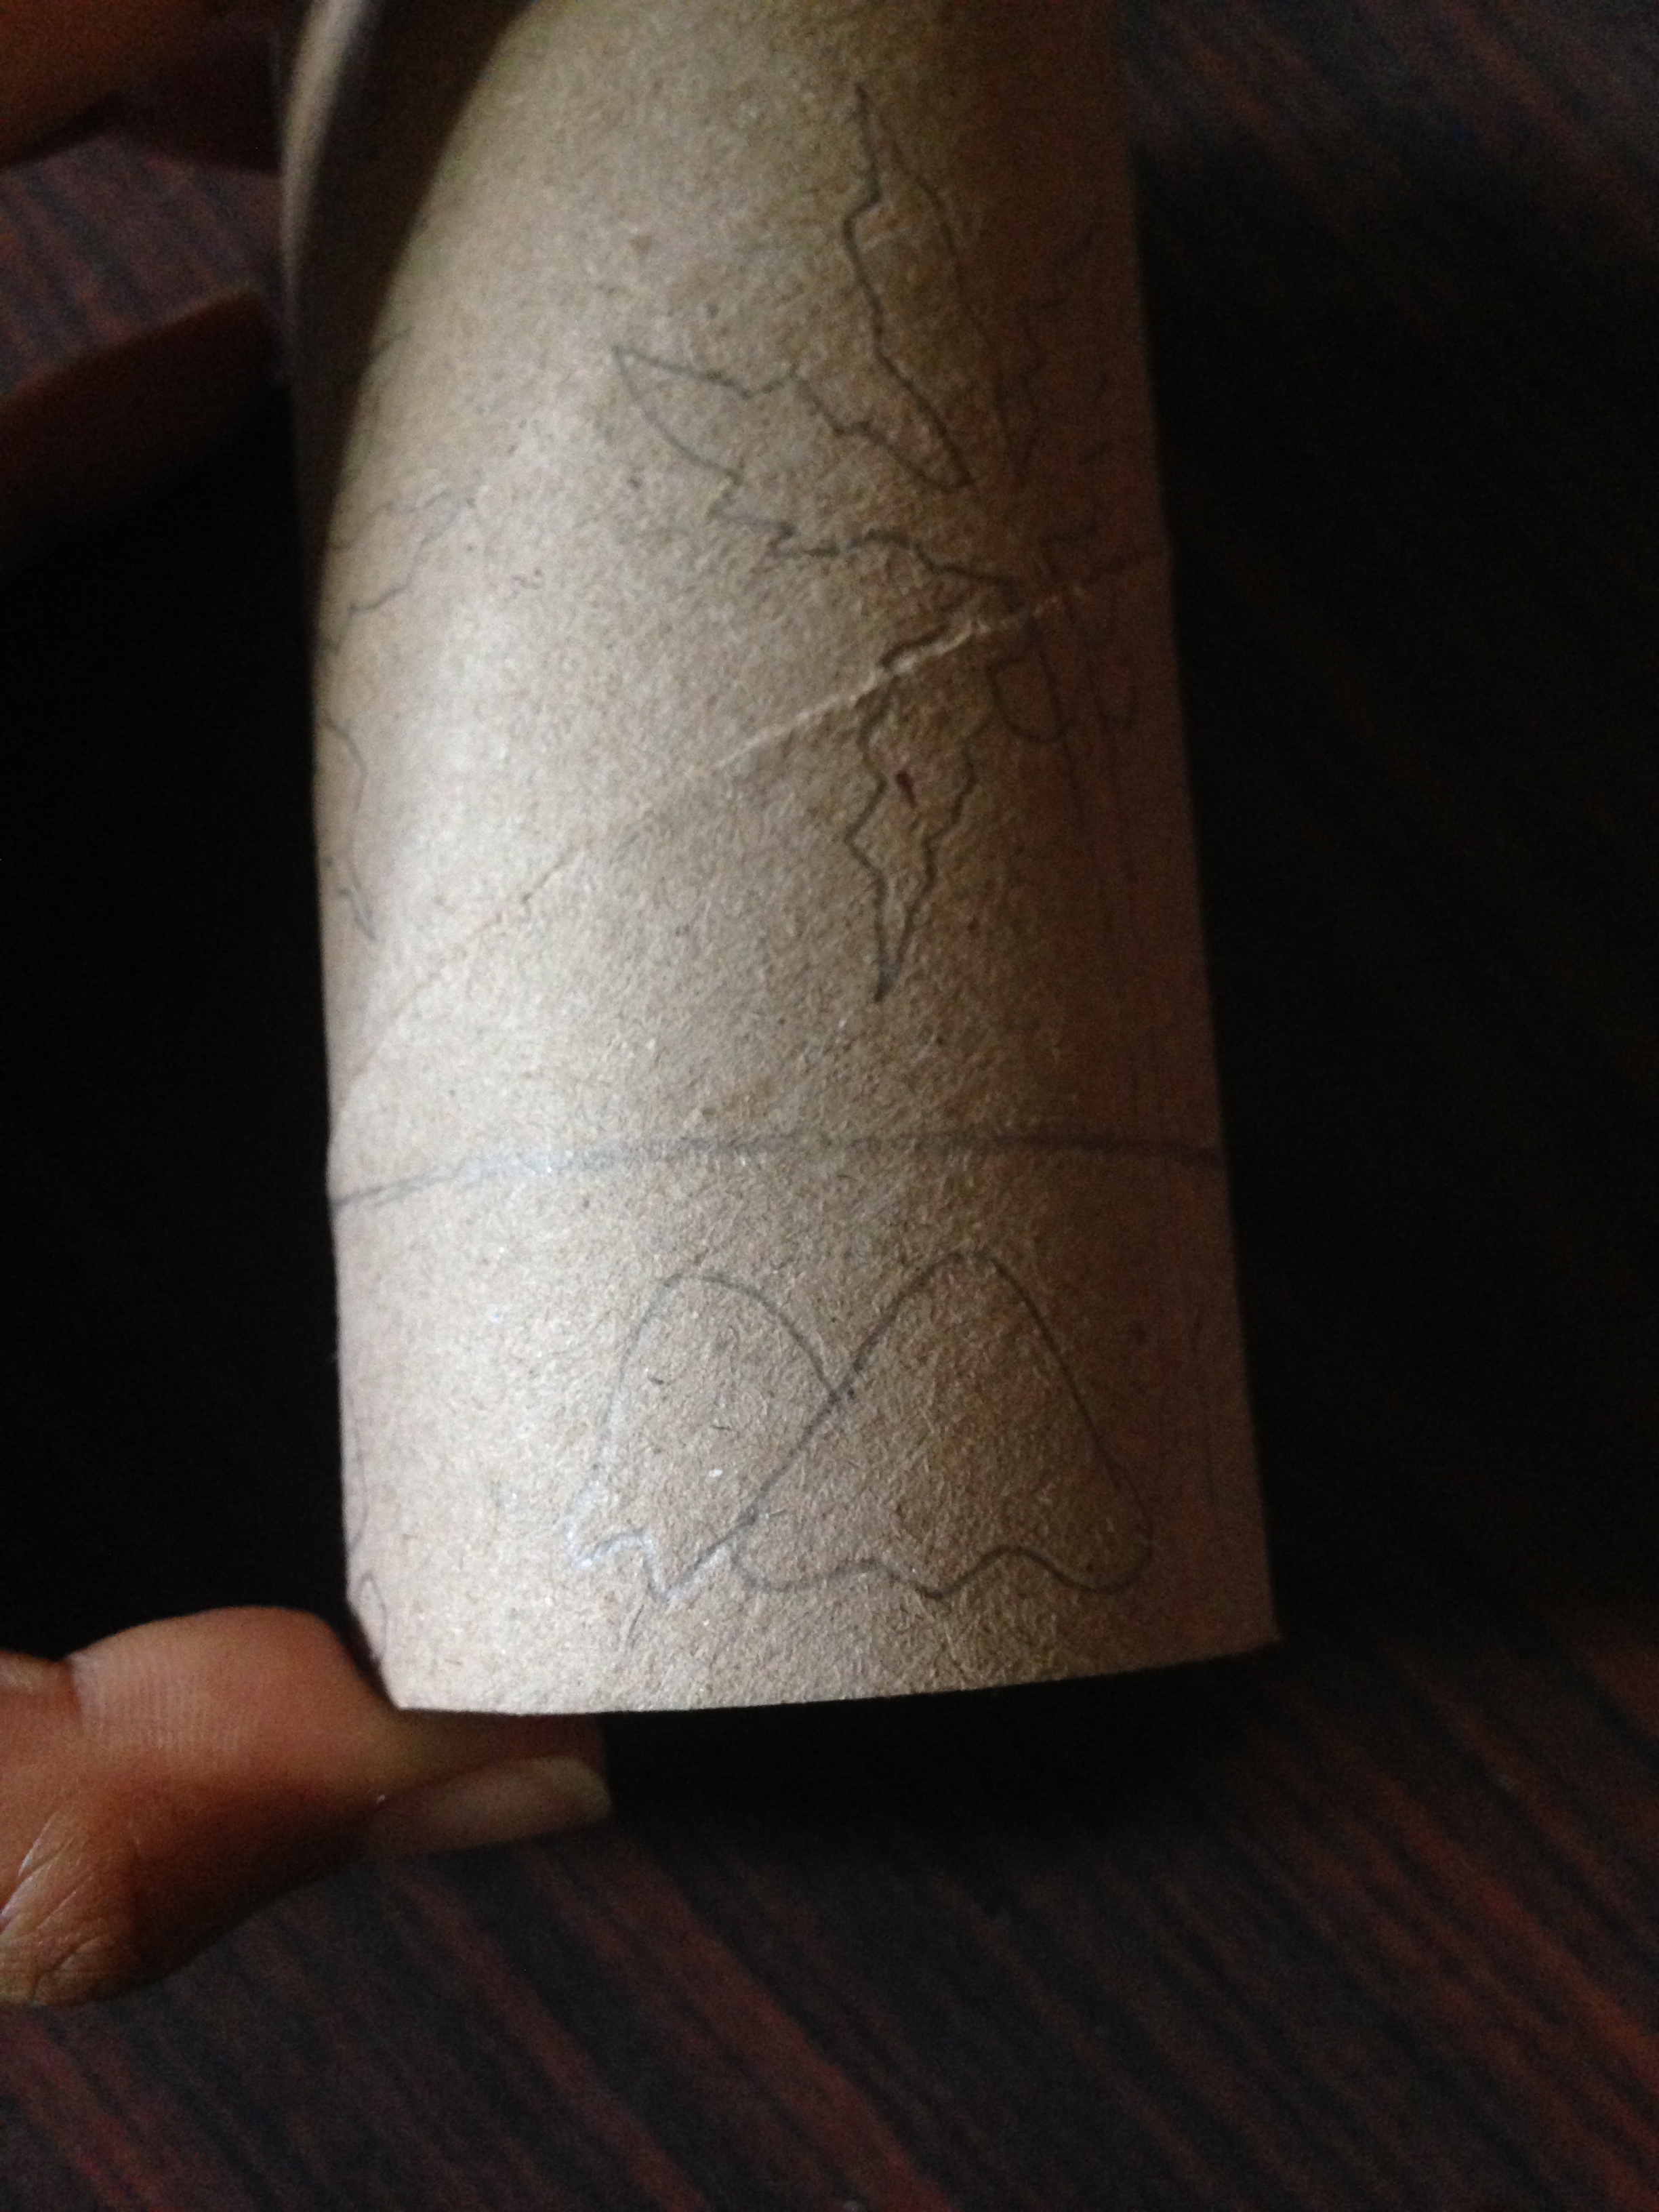
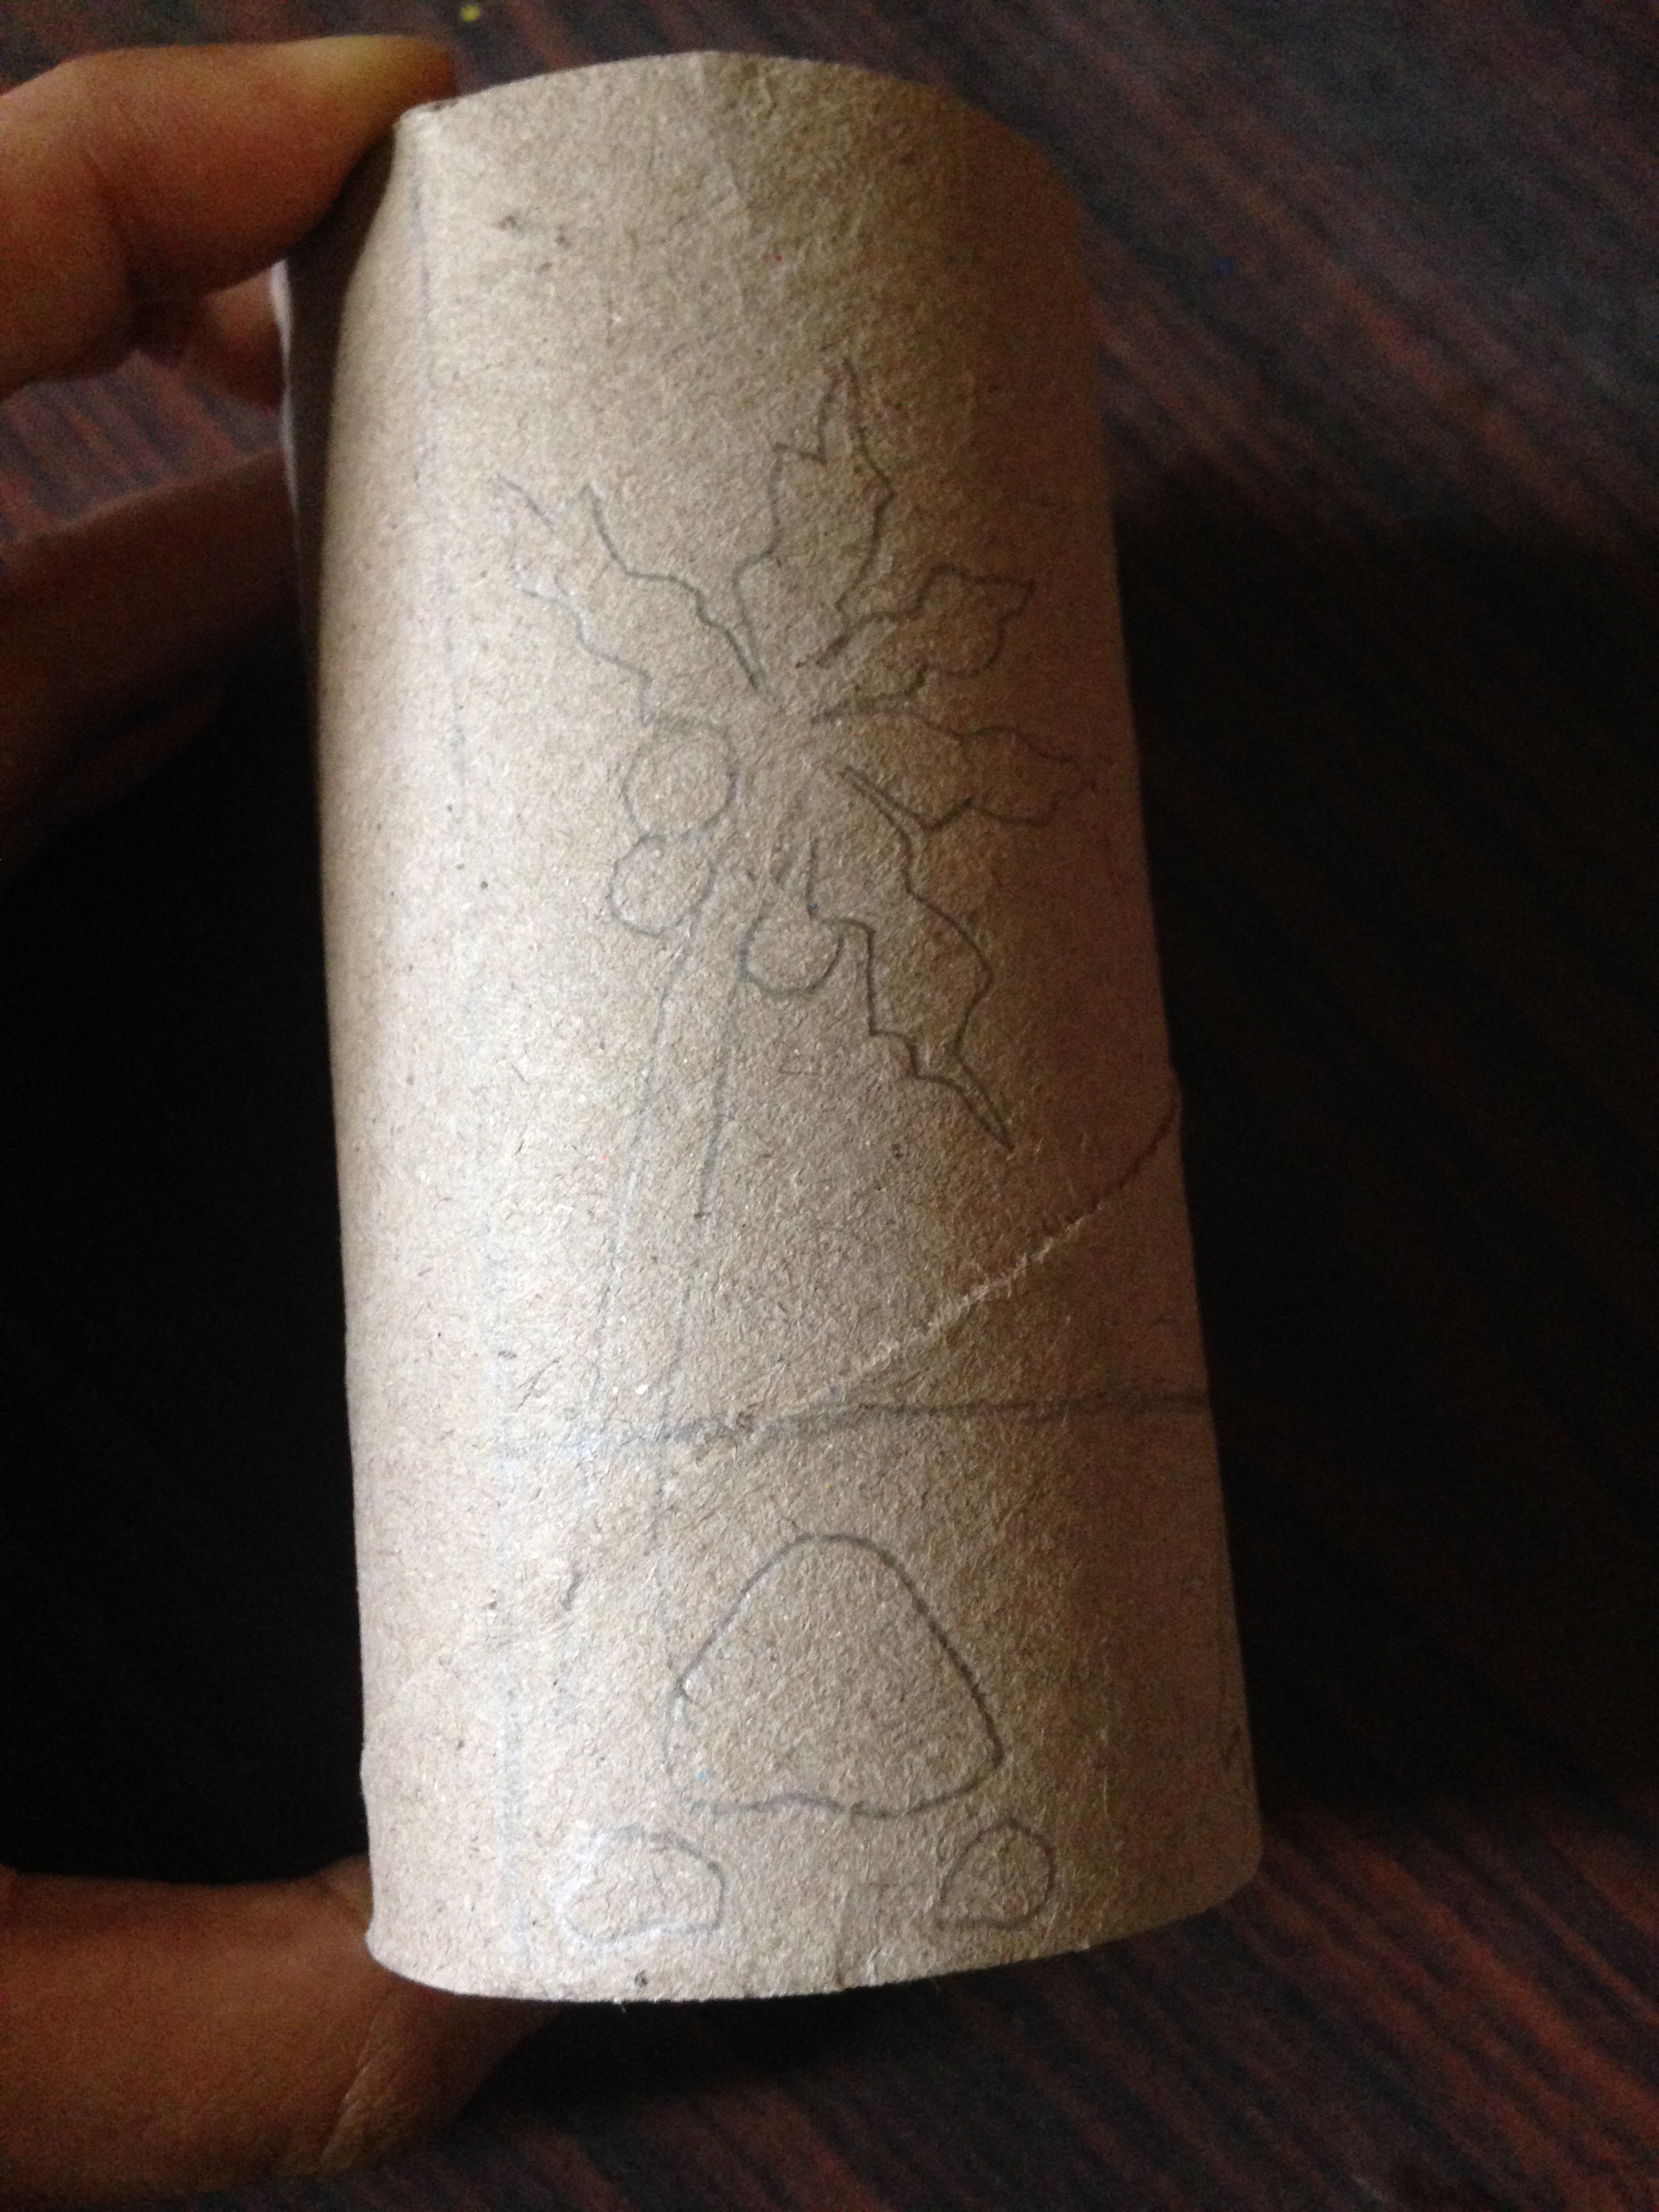
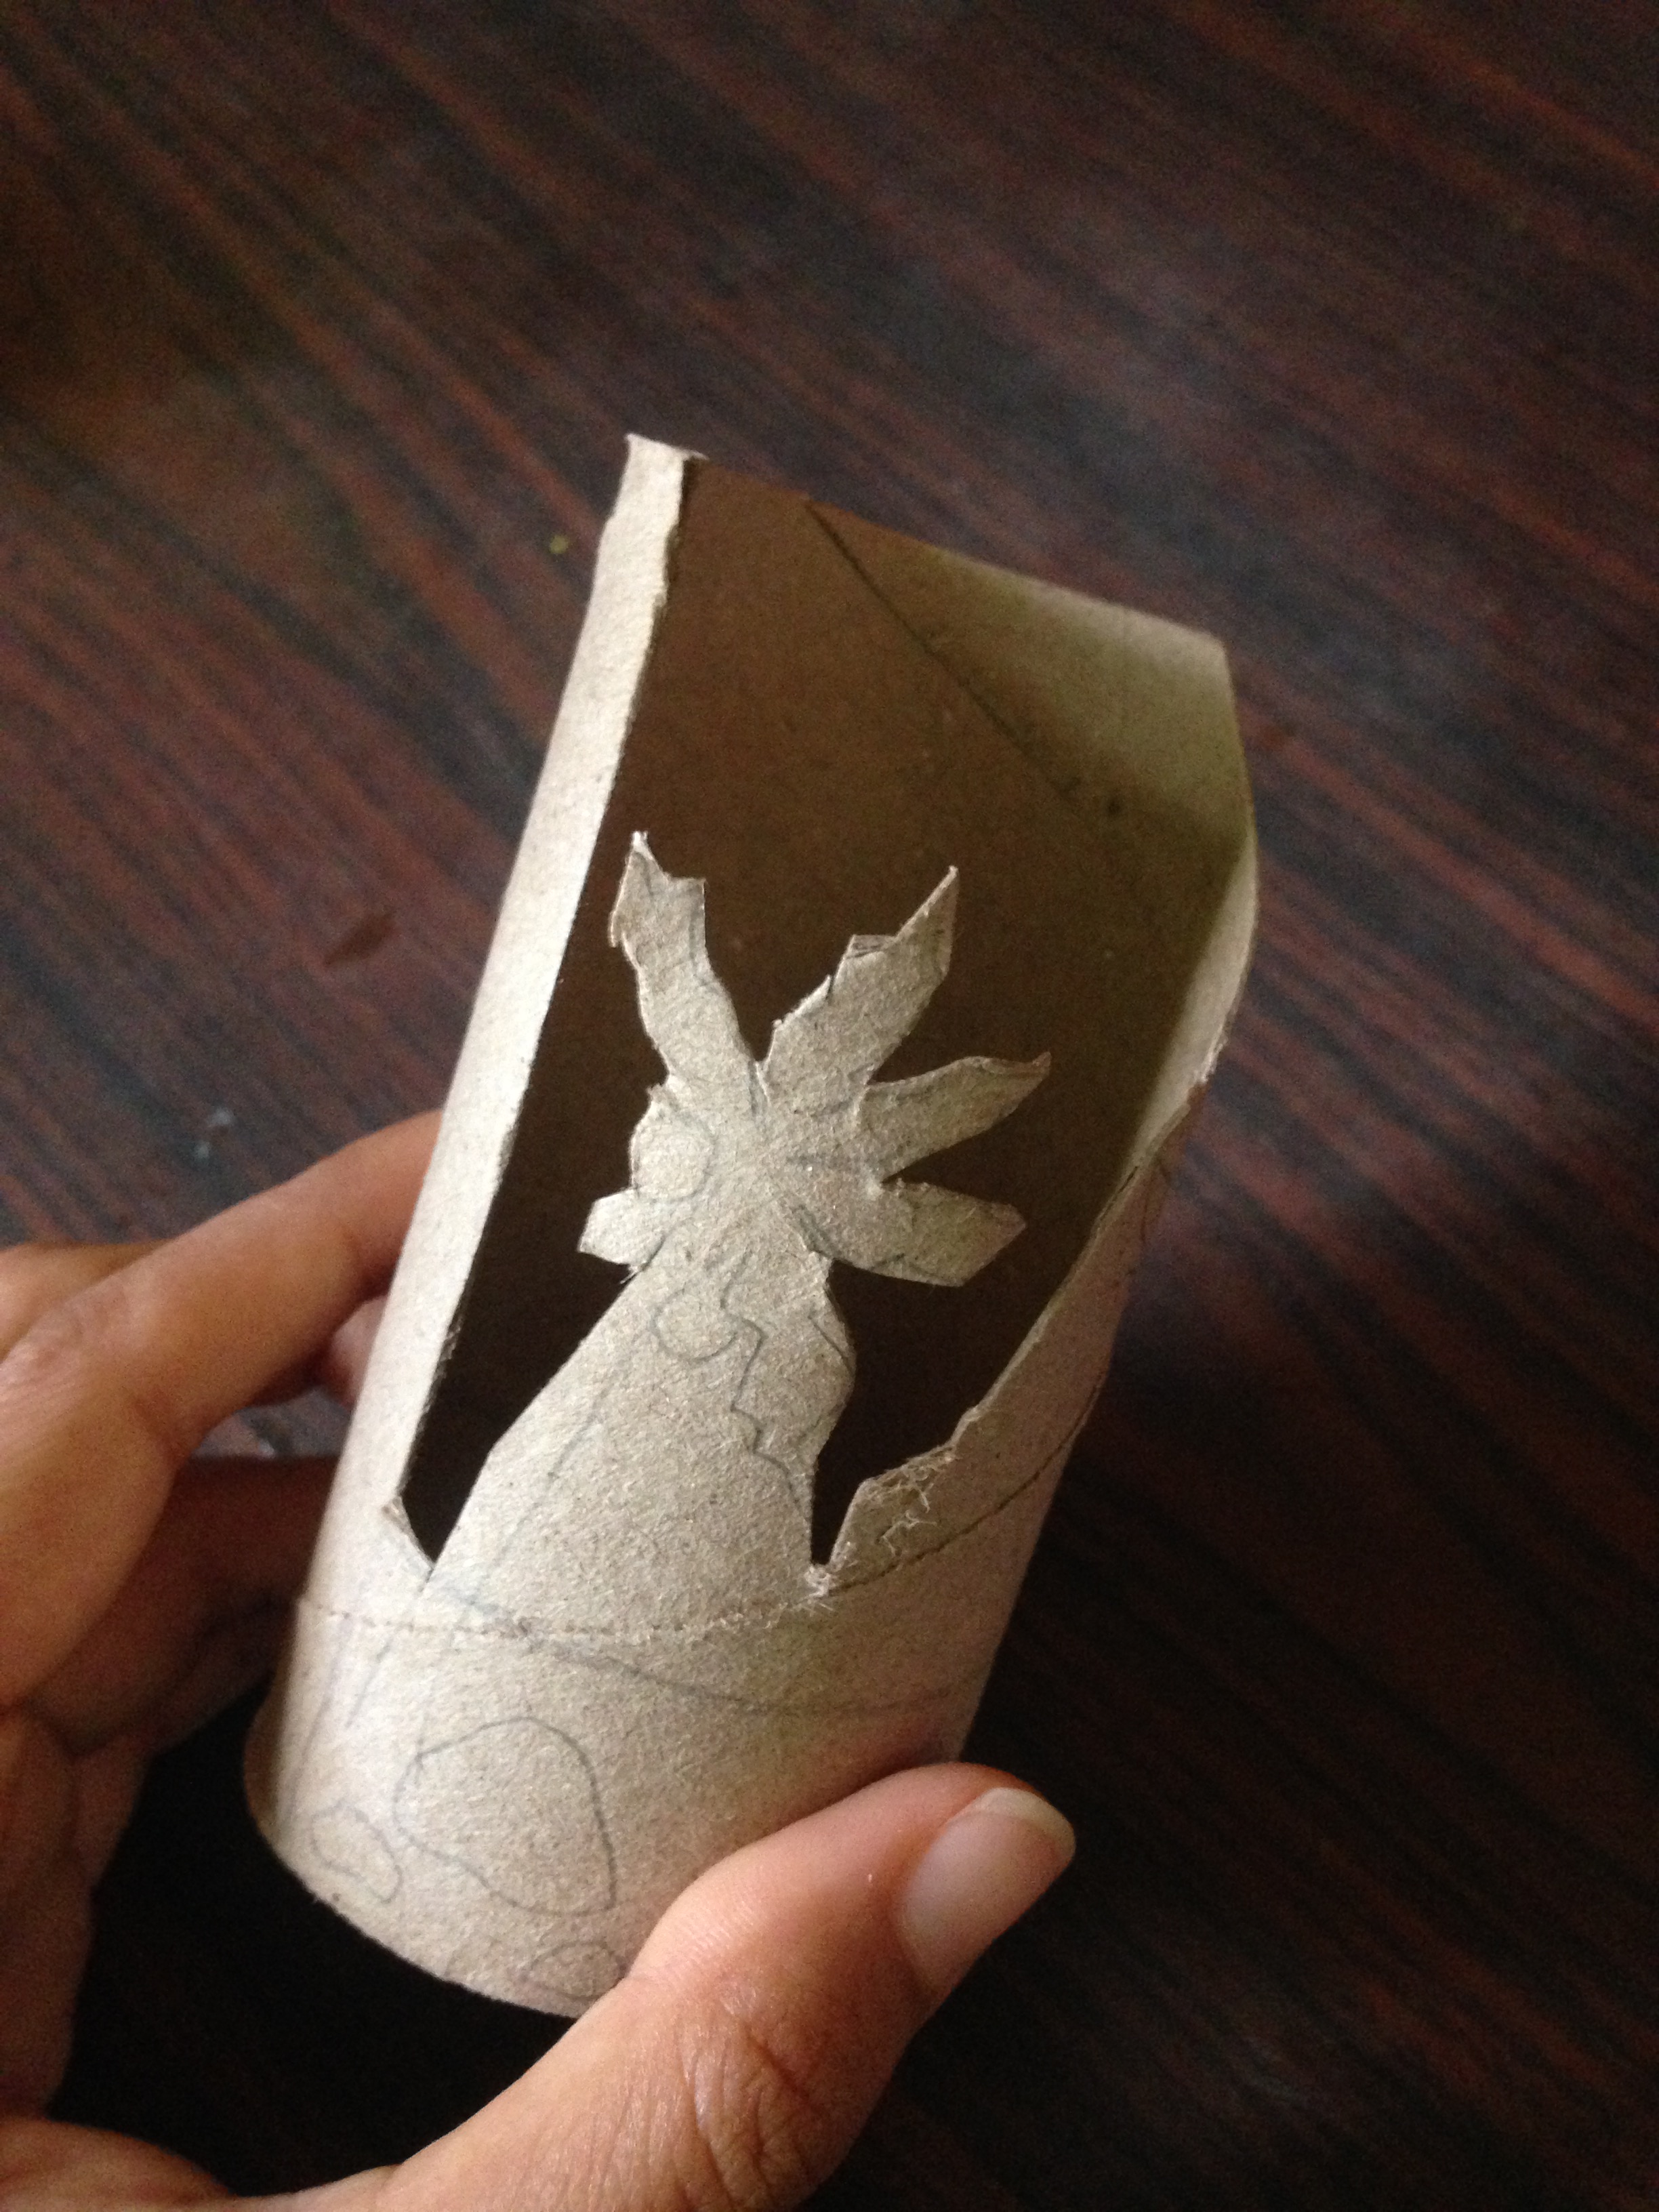
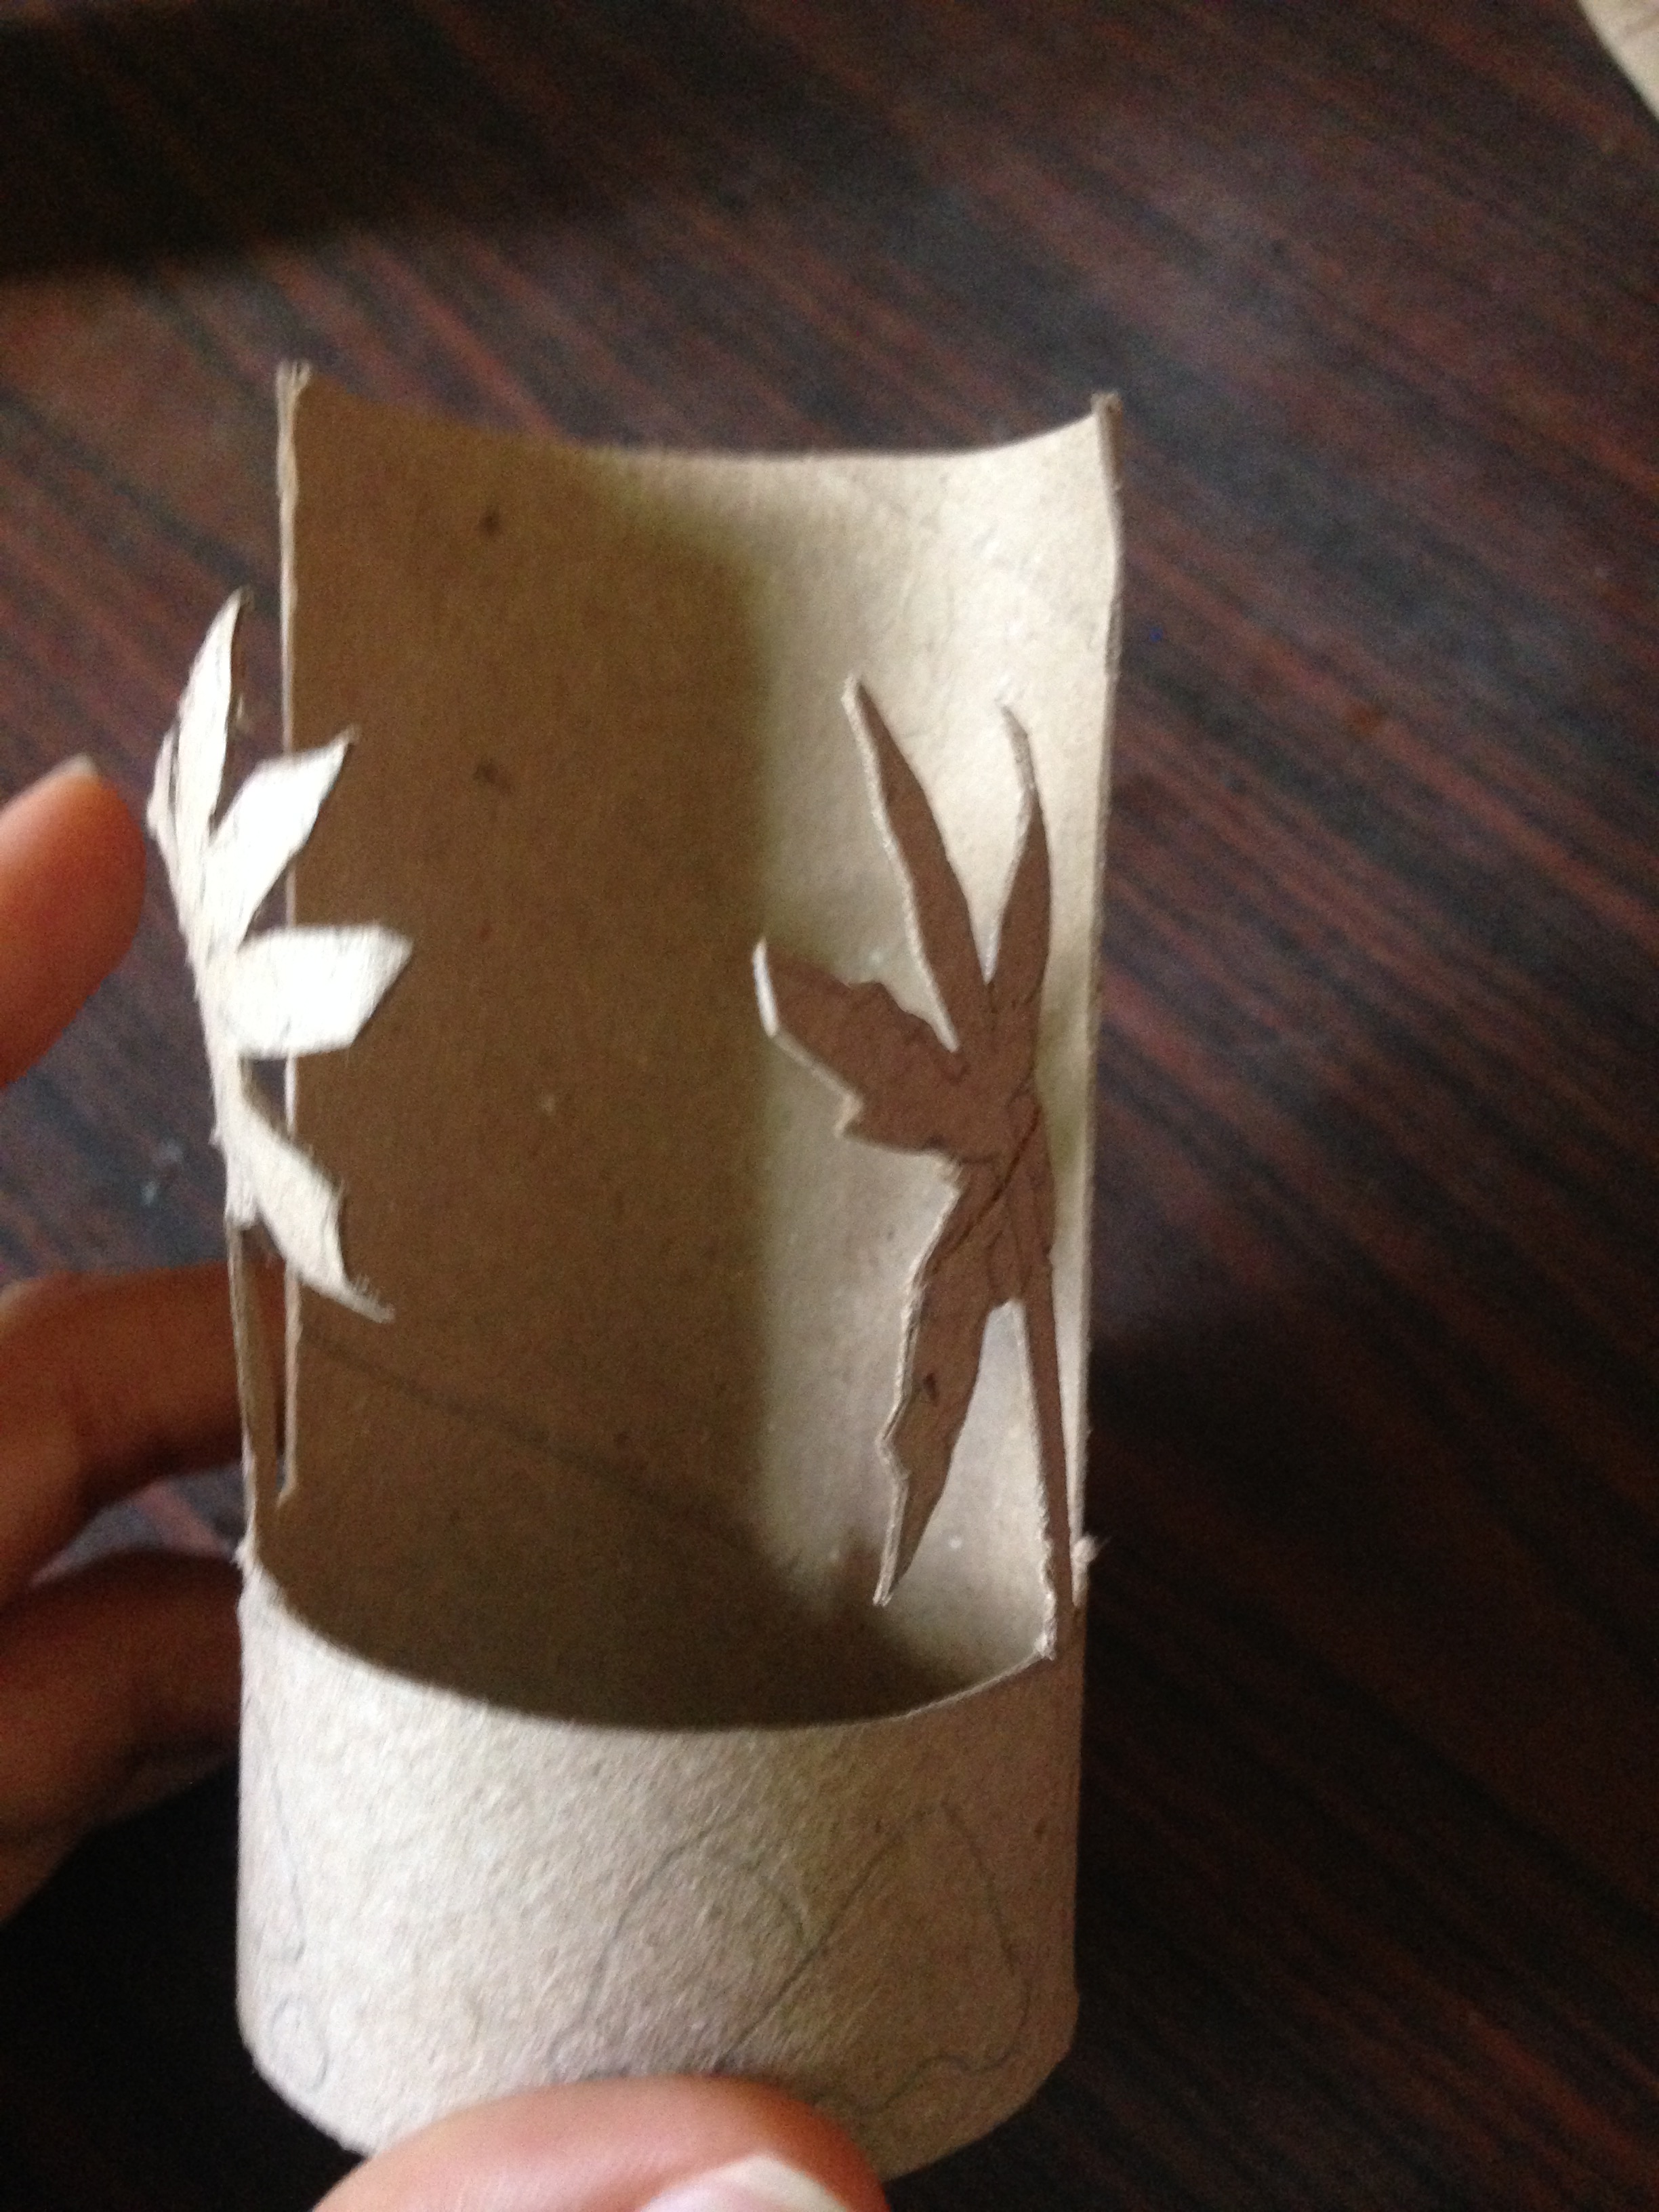
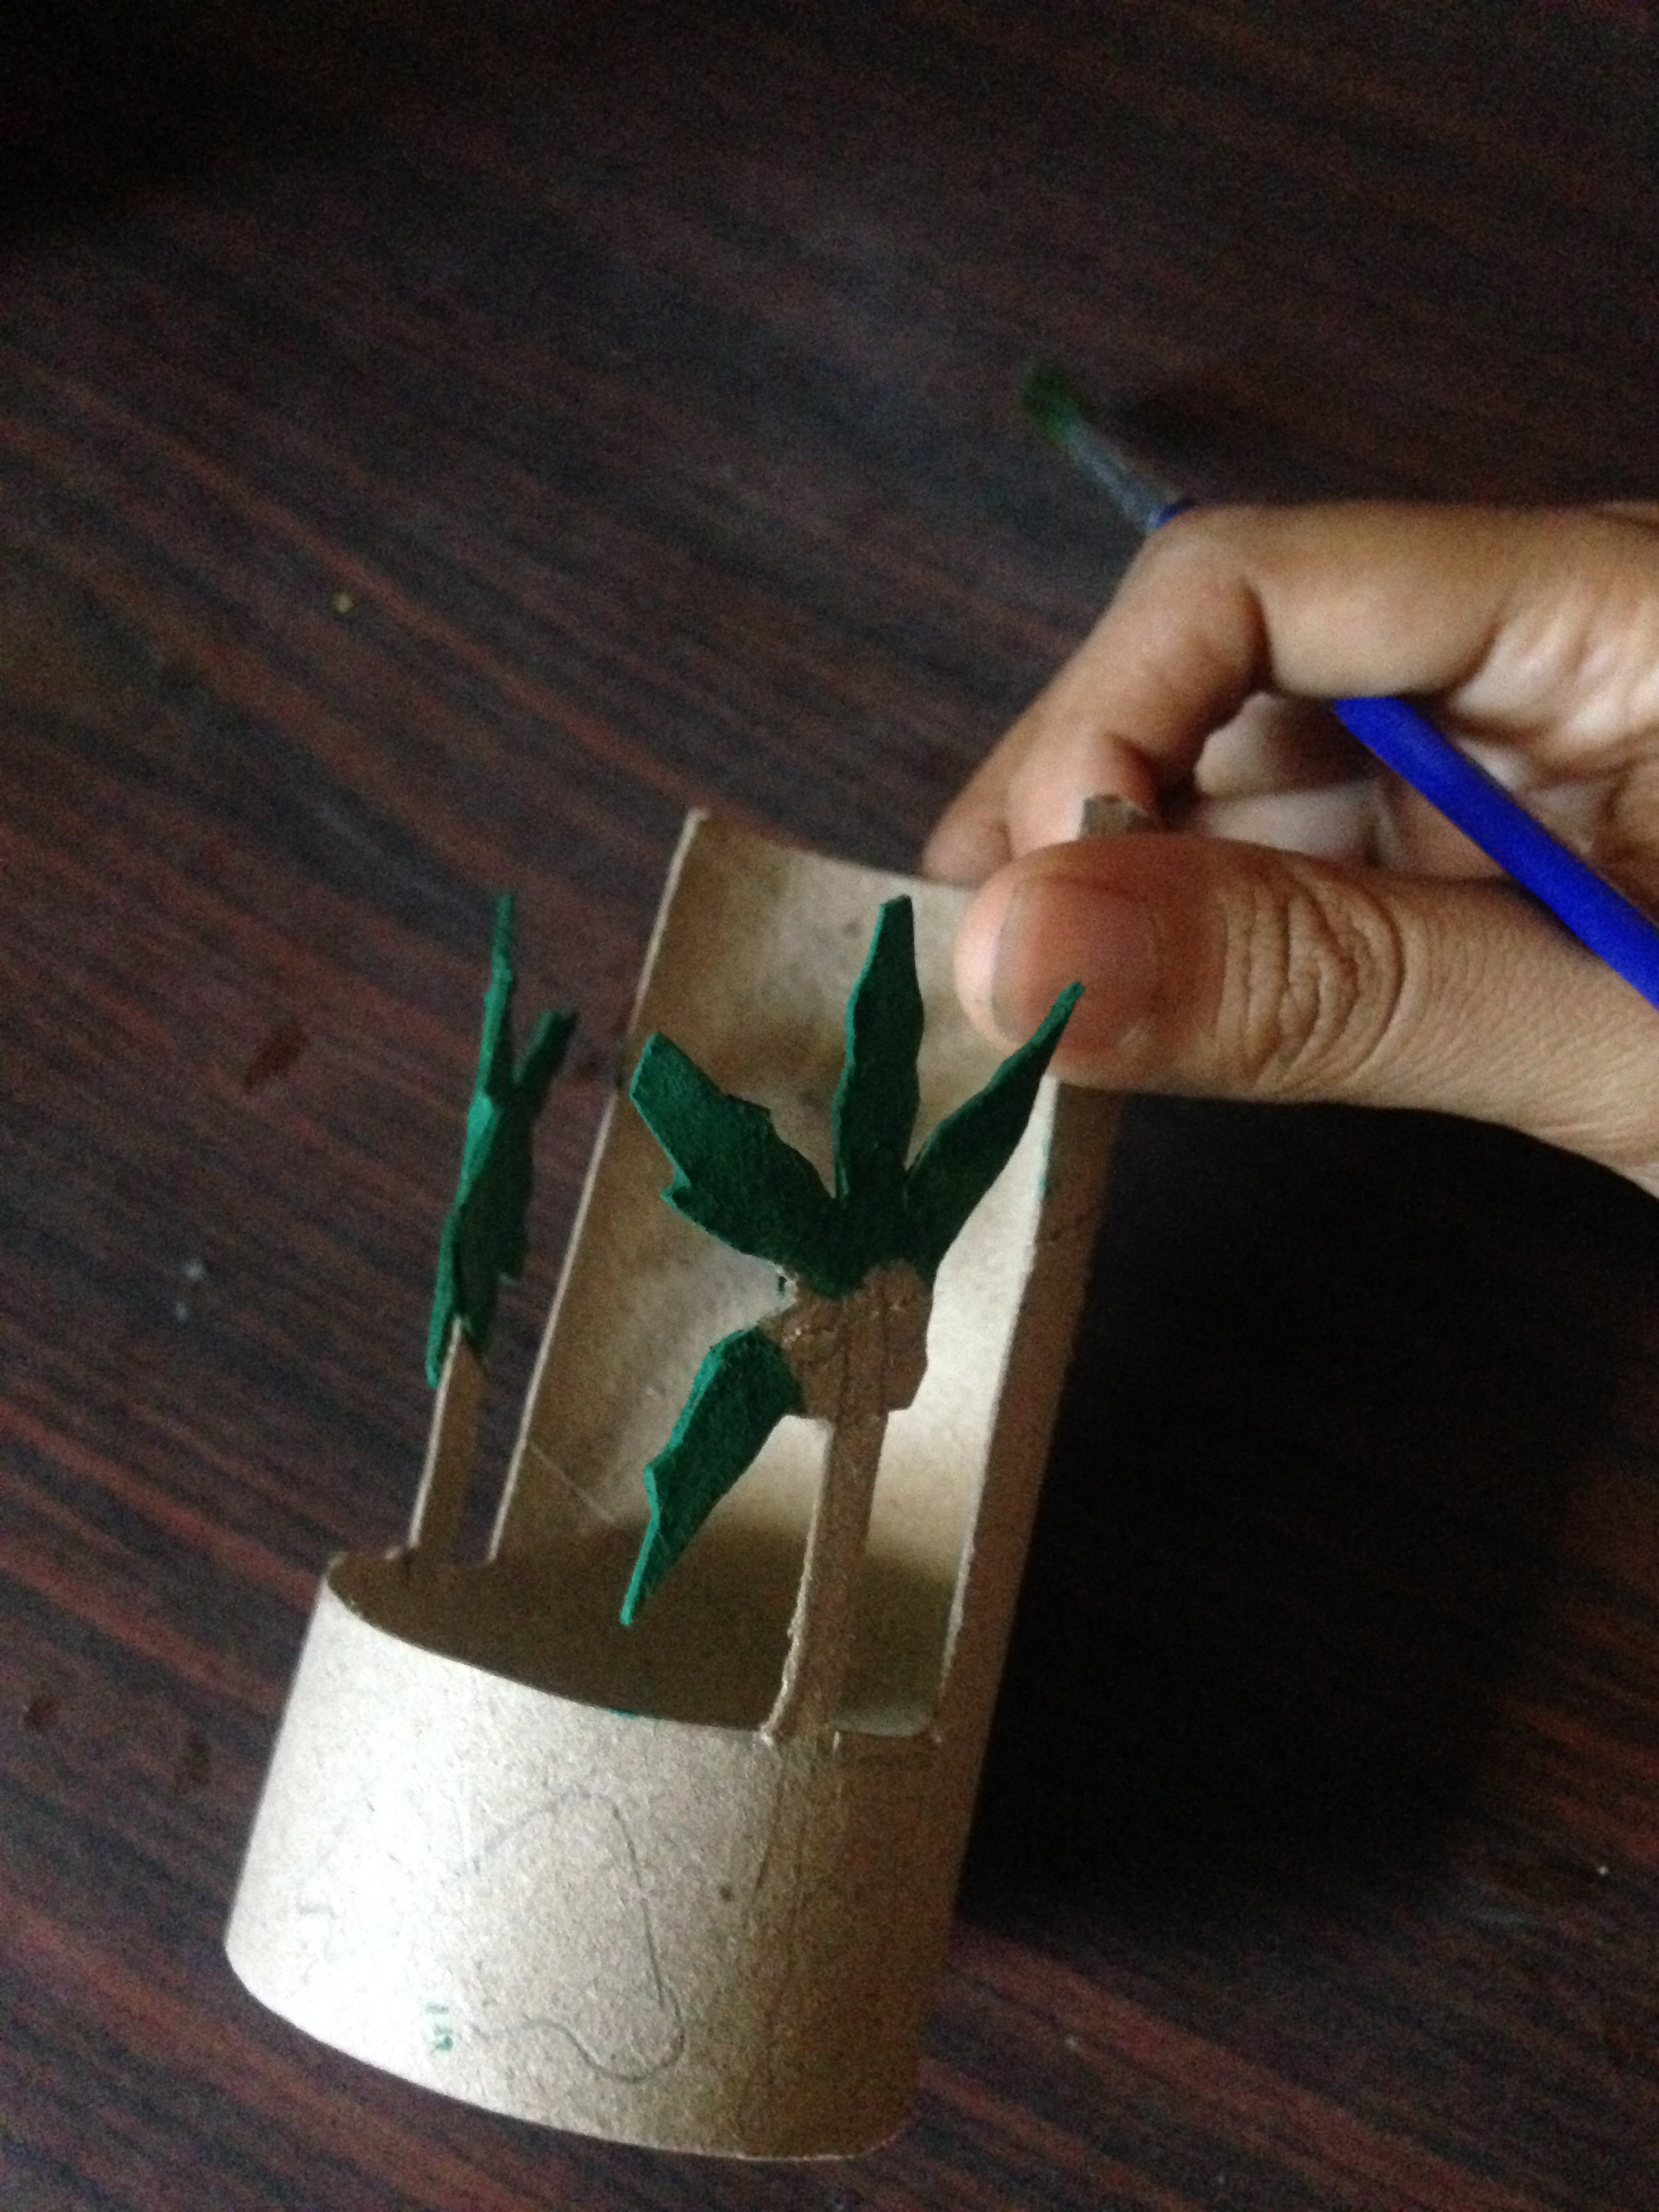
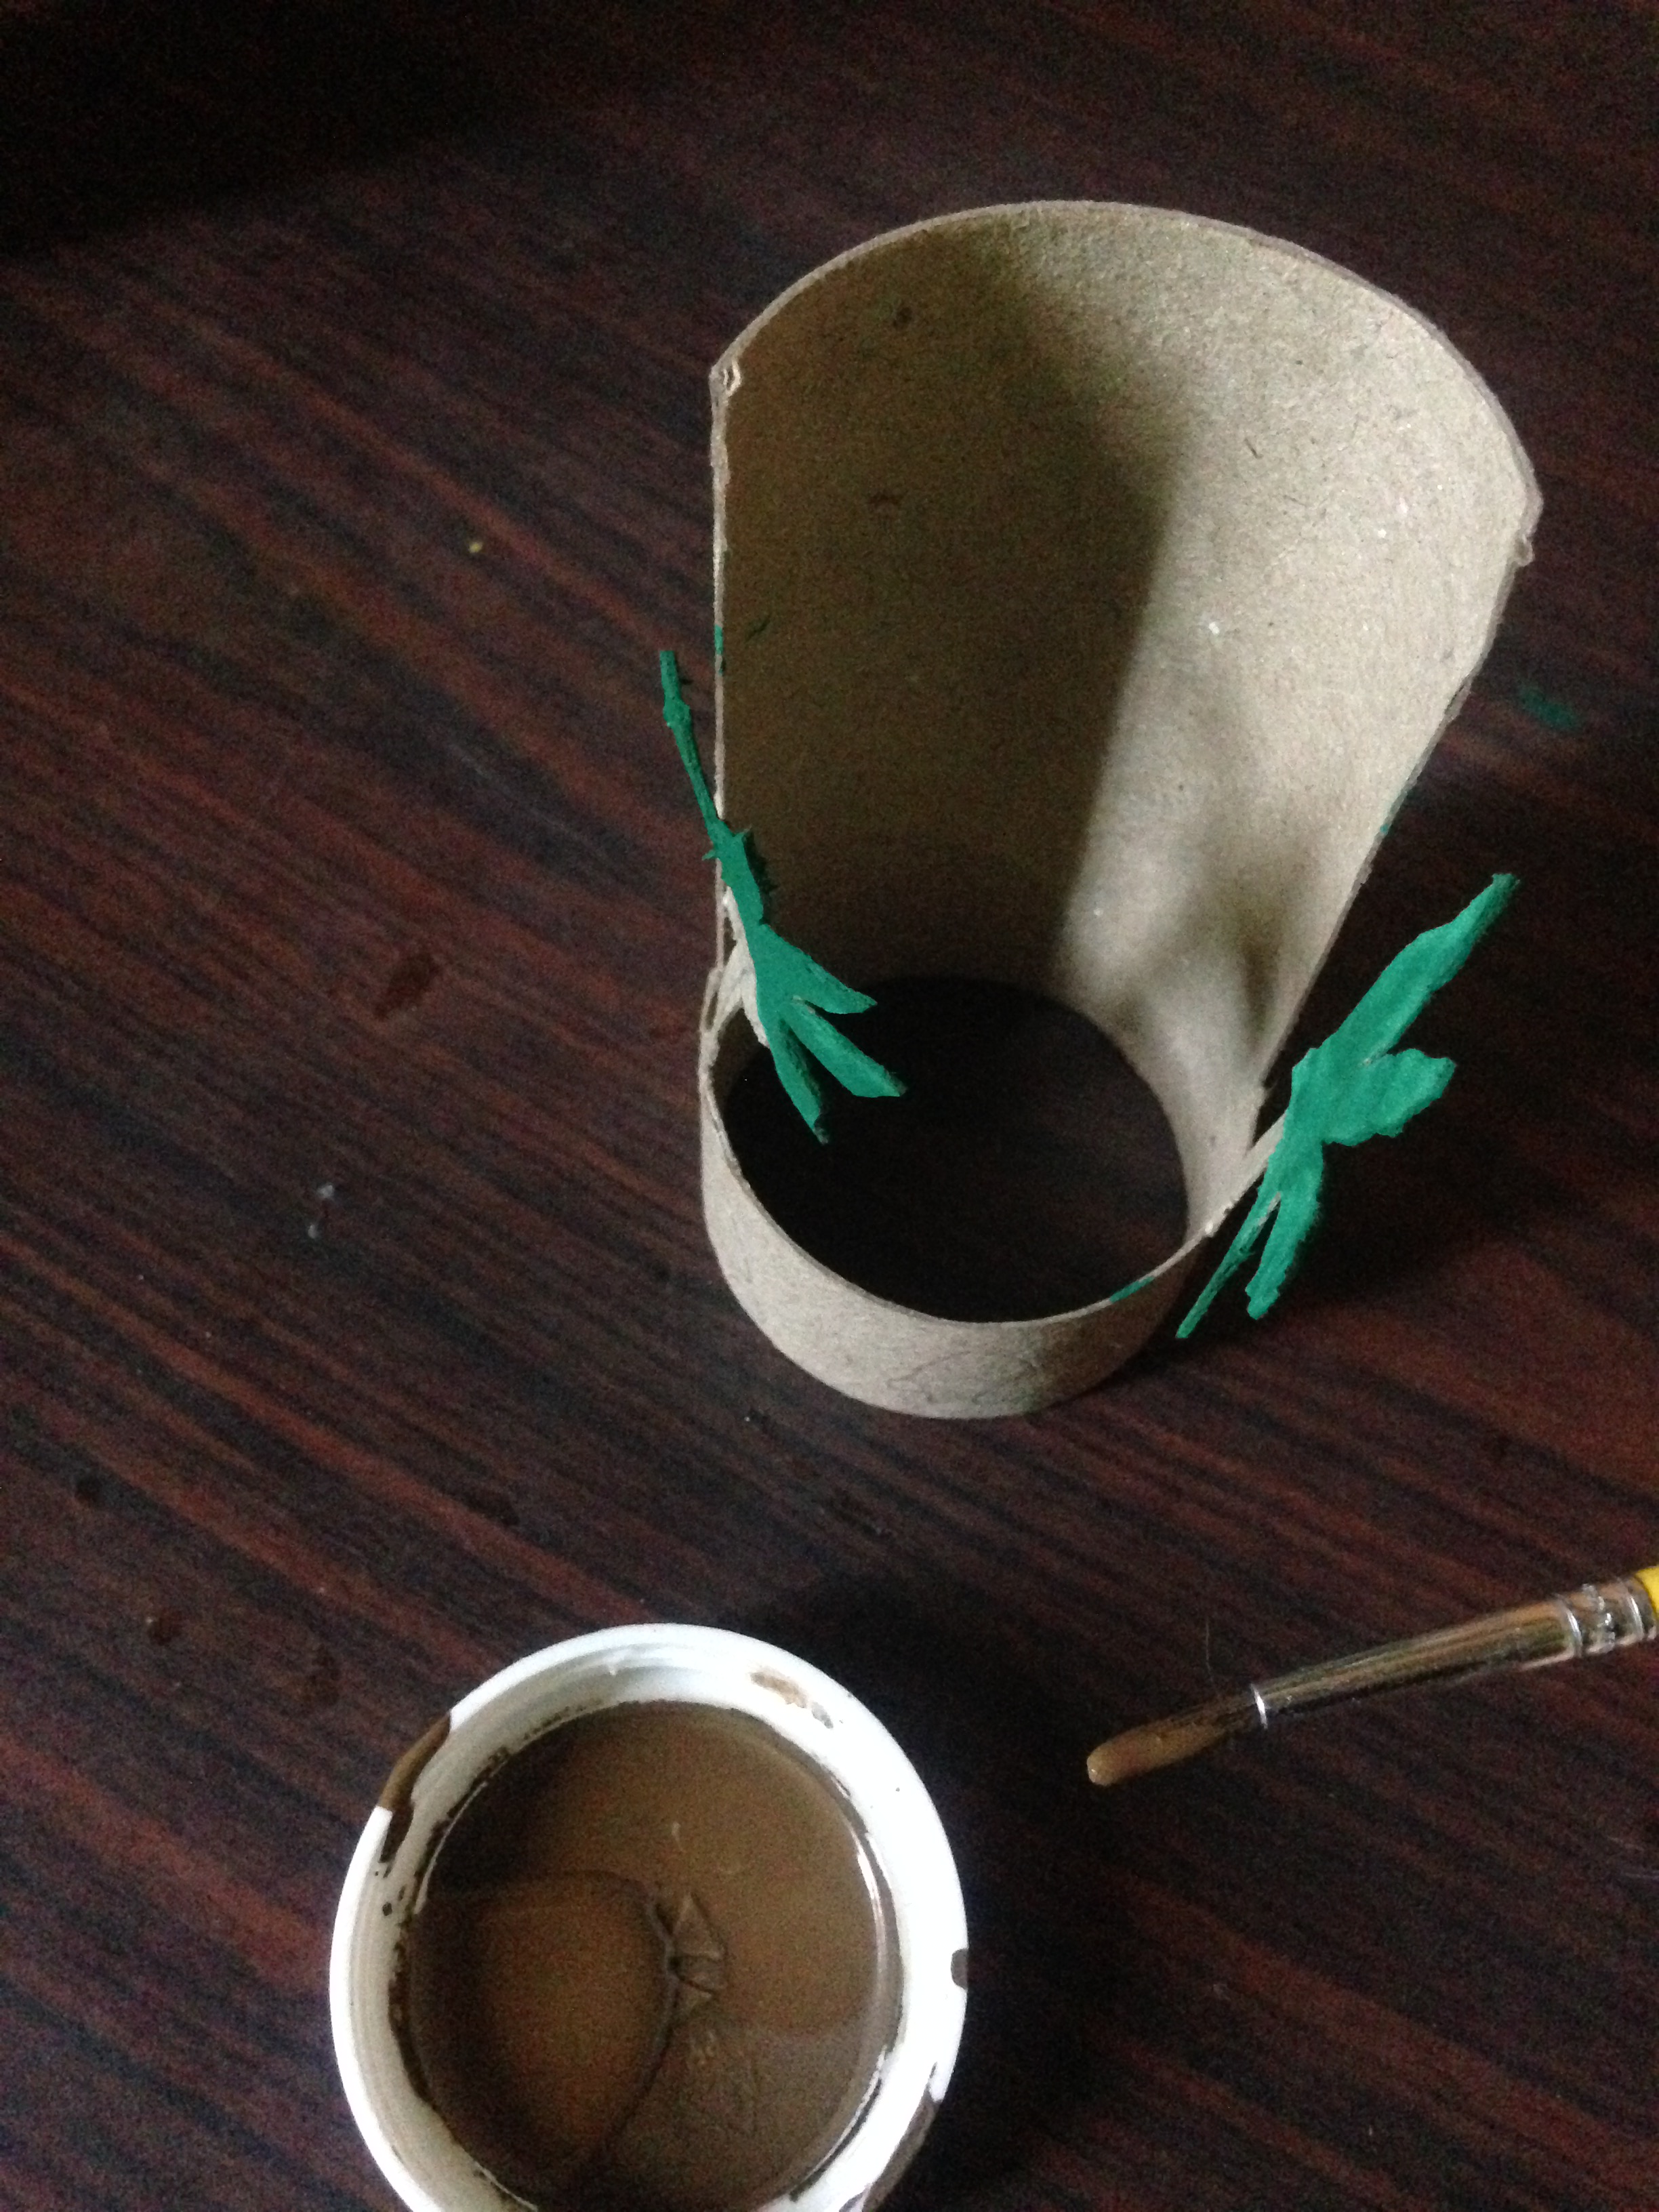
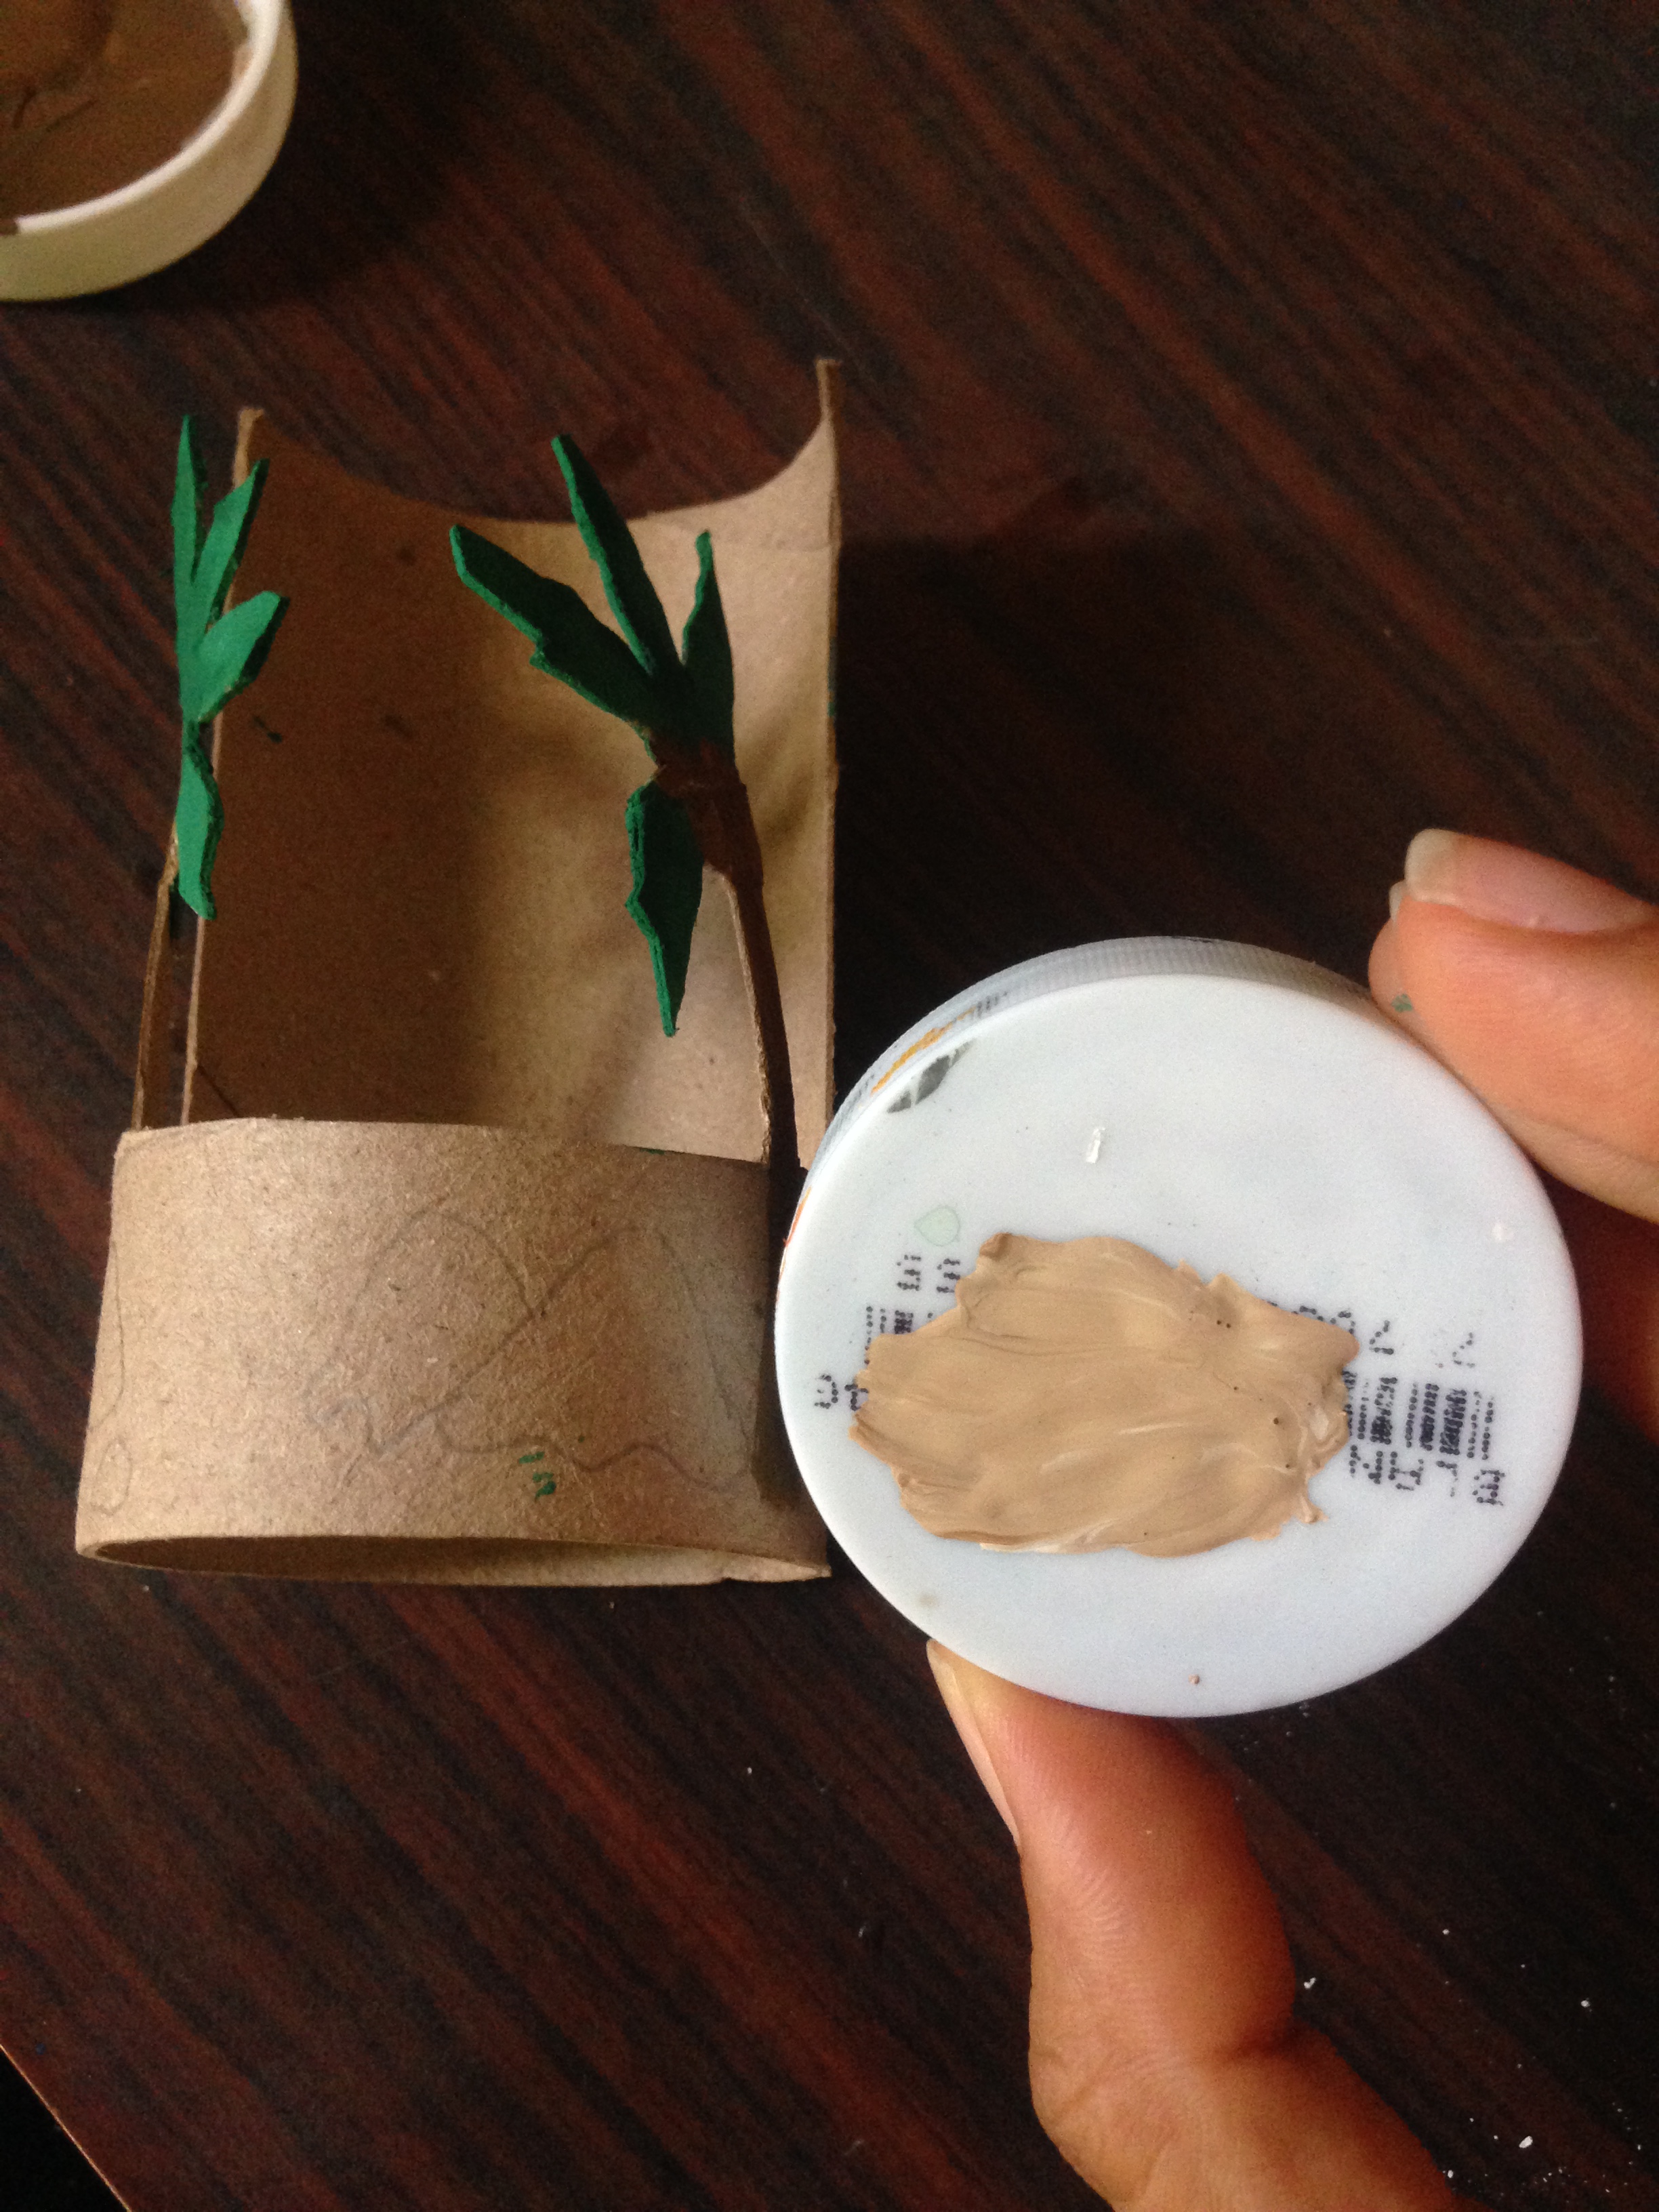
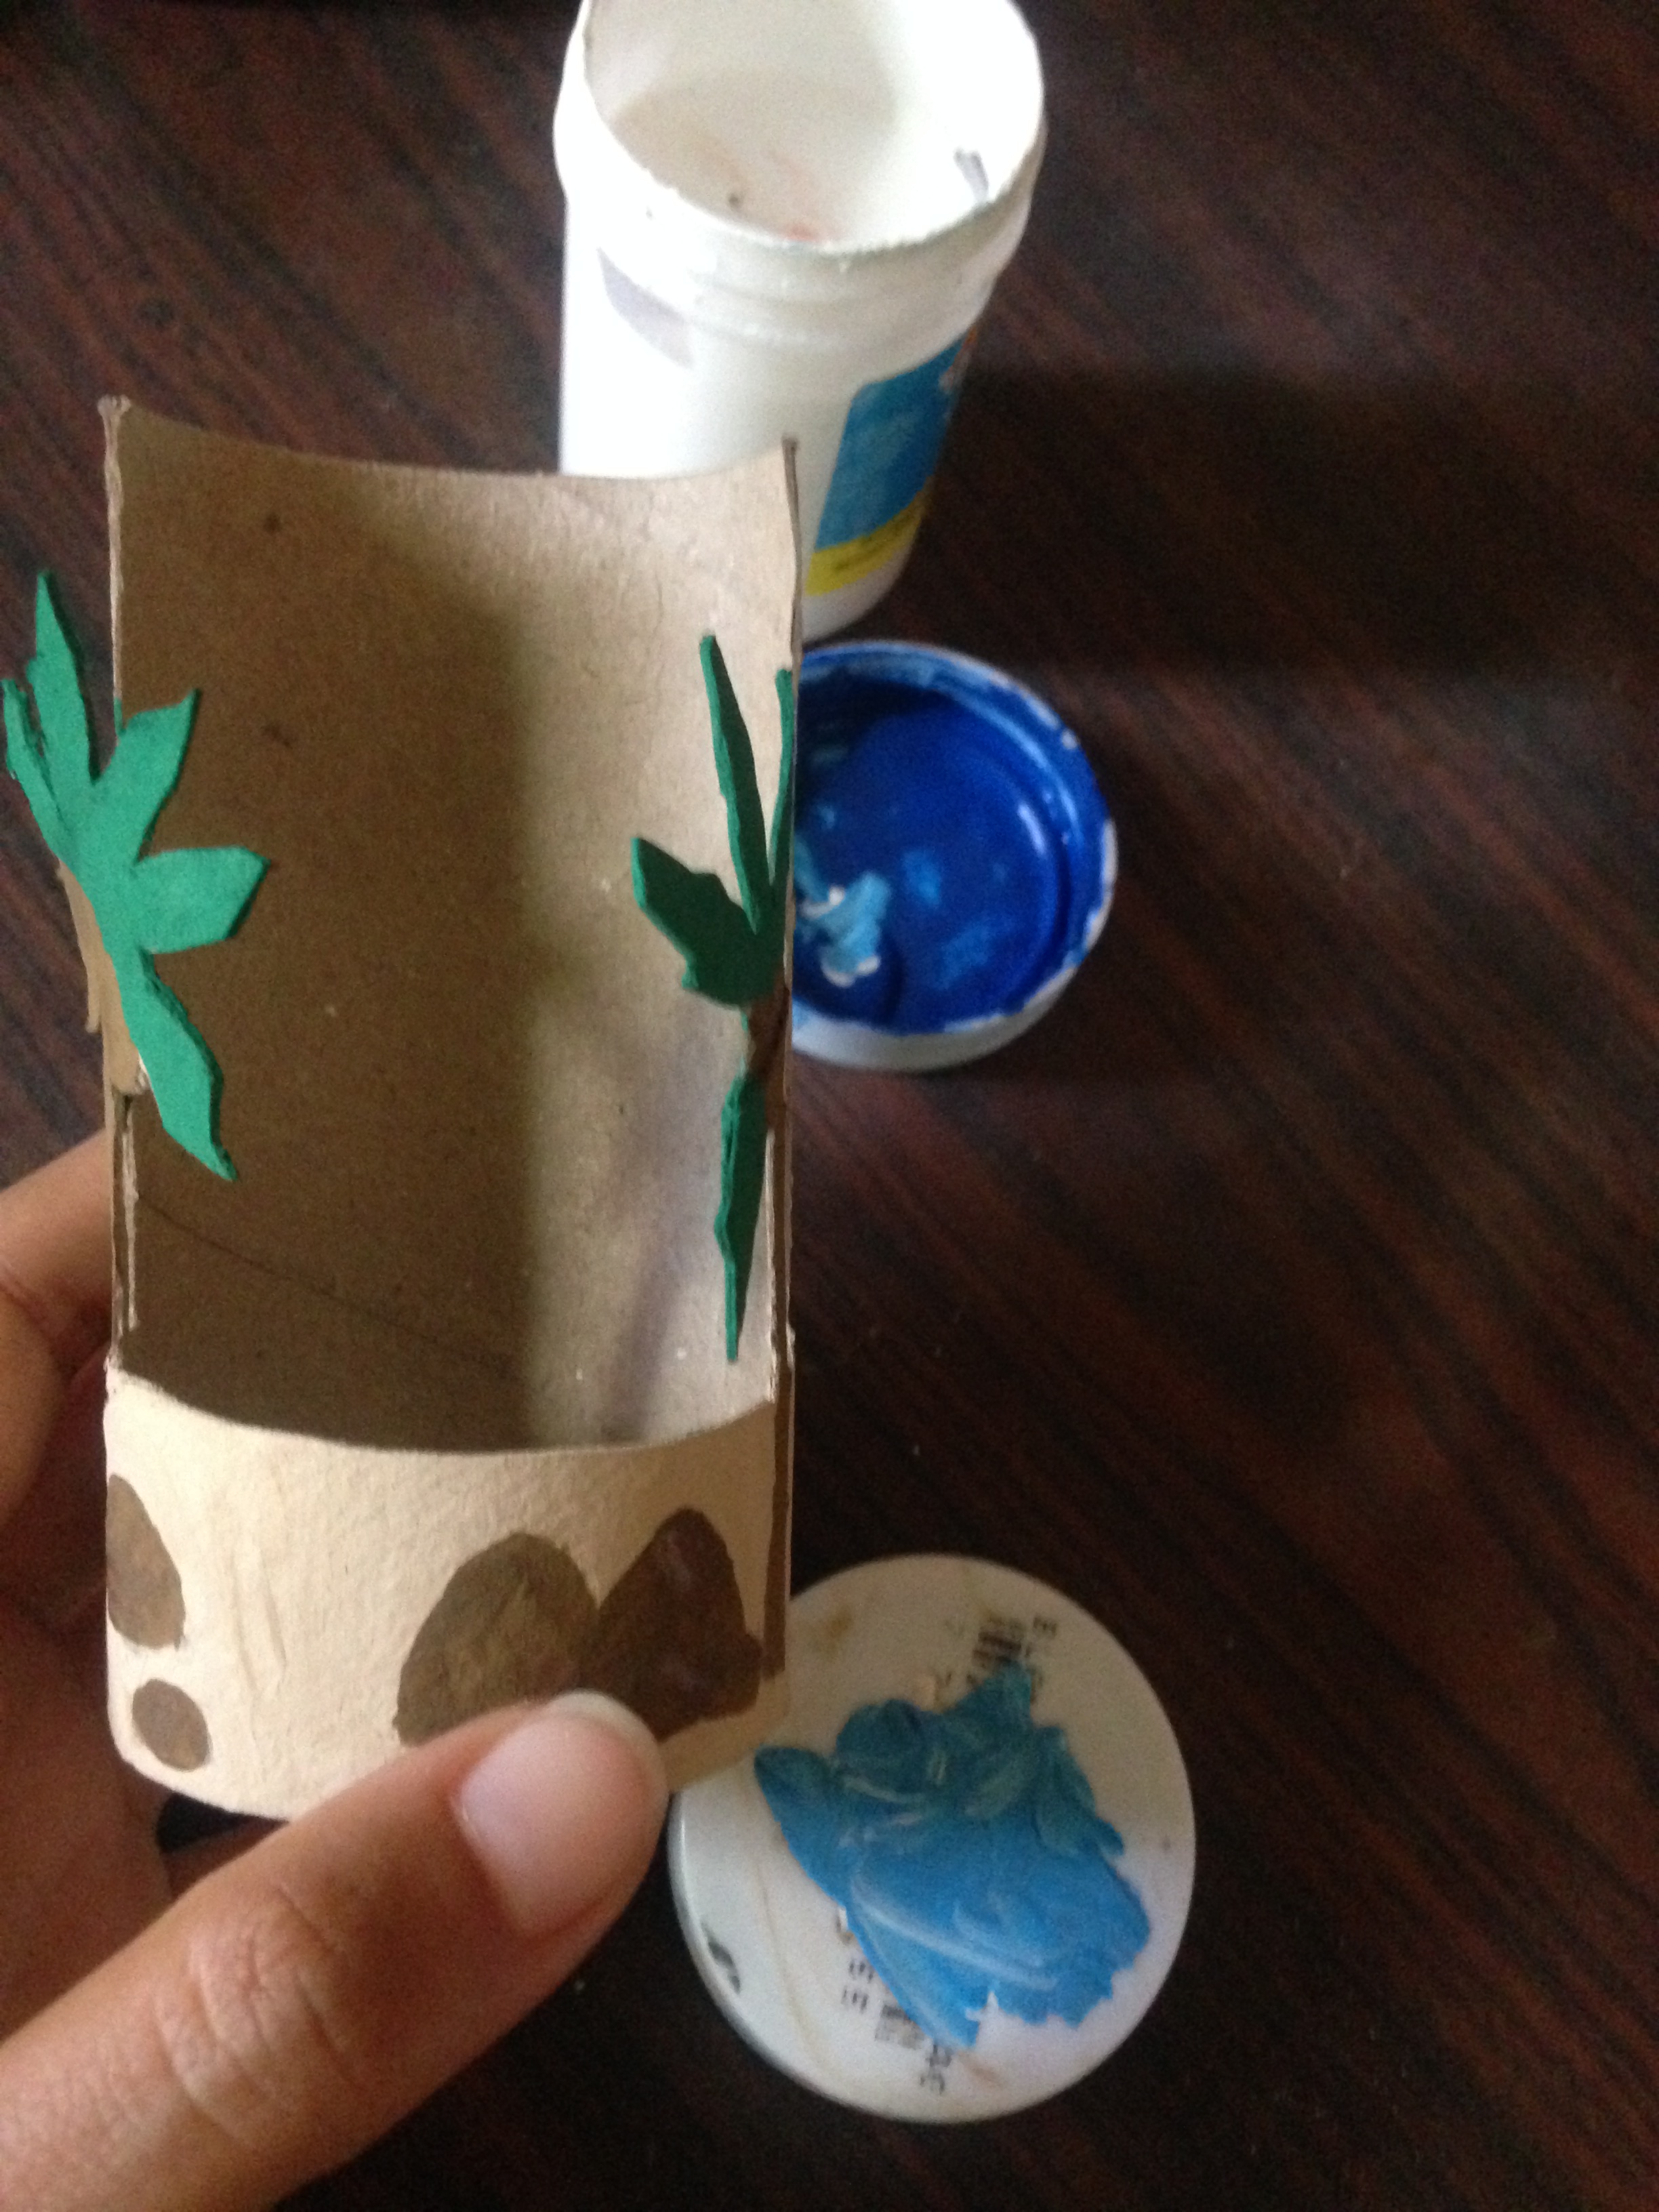
Paso 1
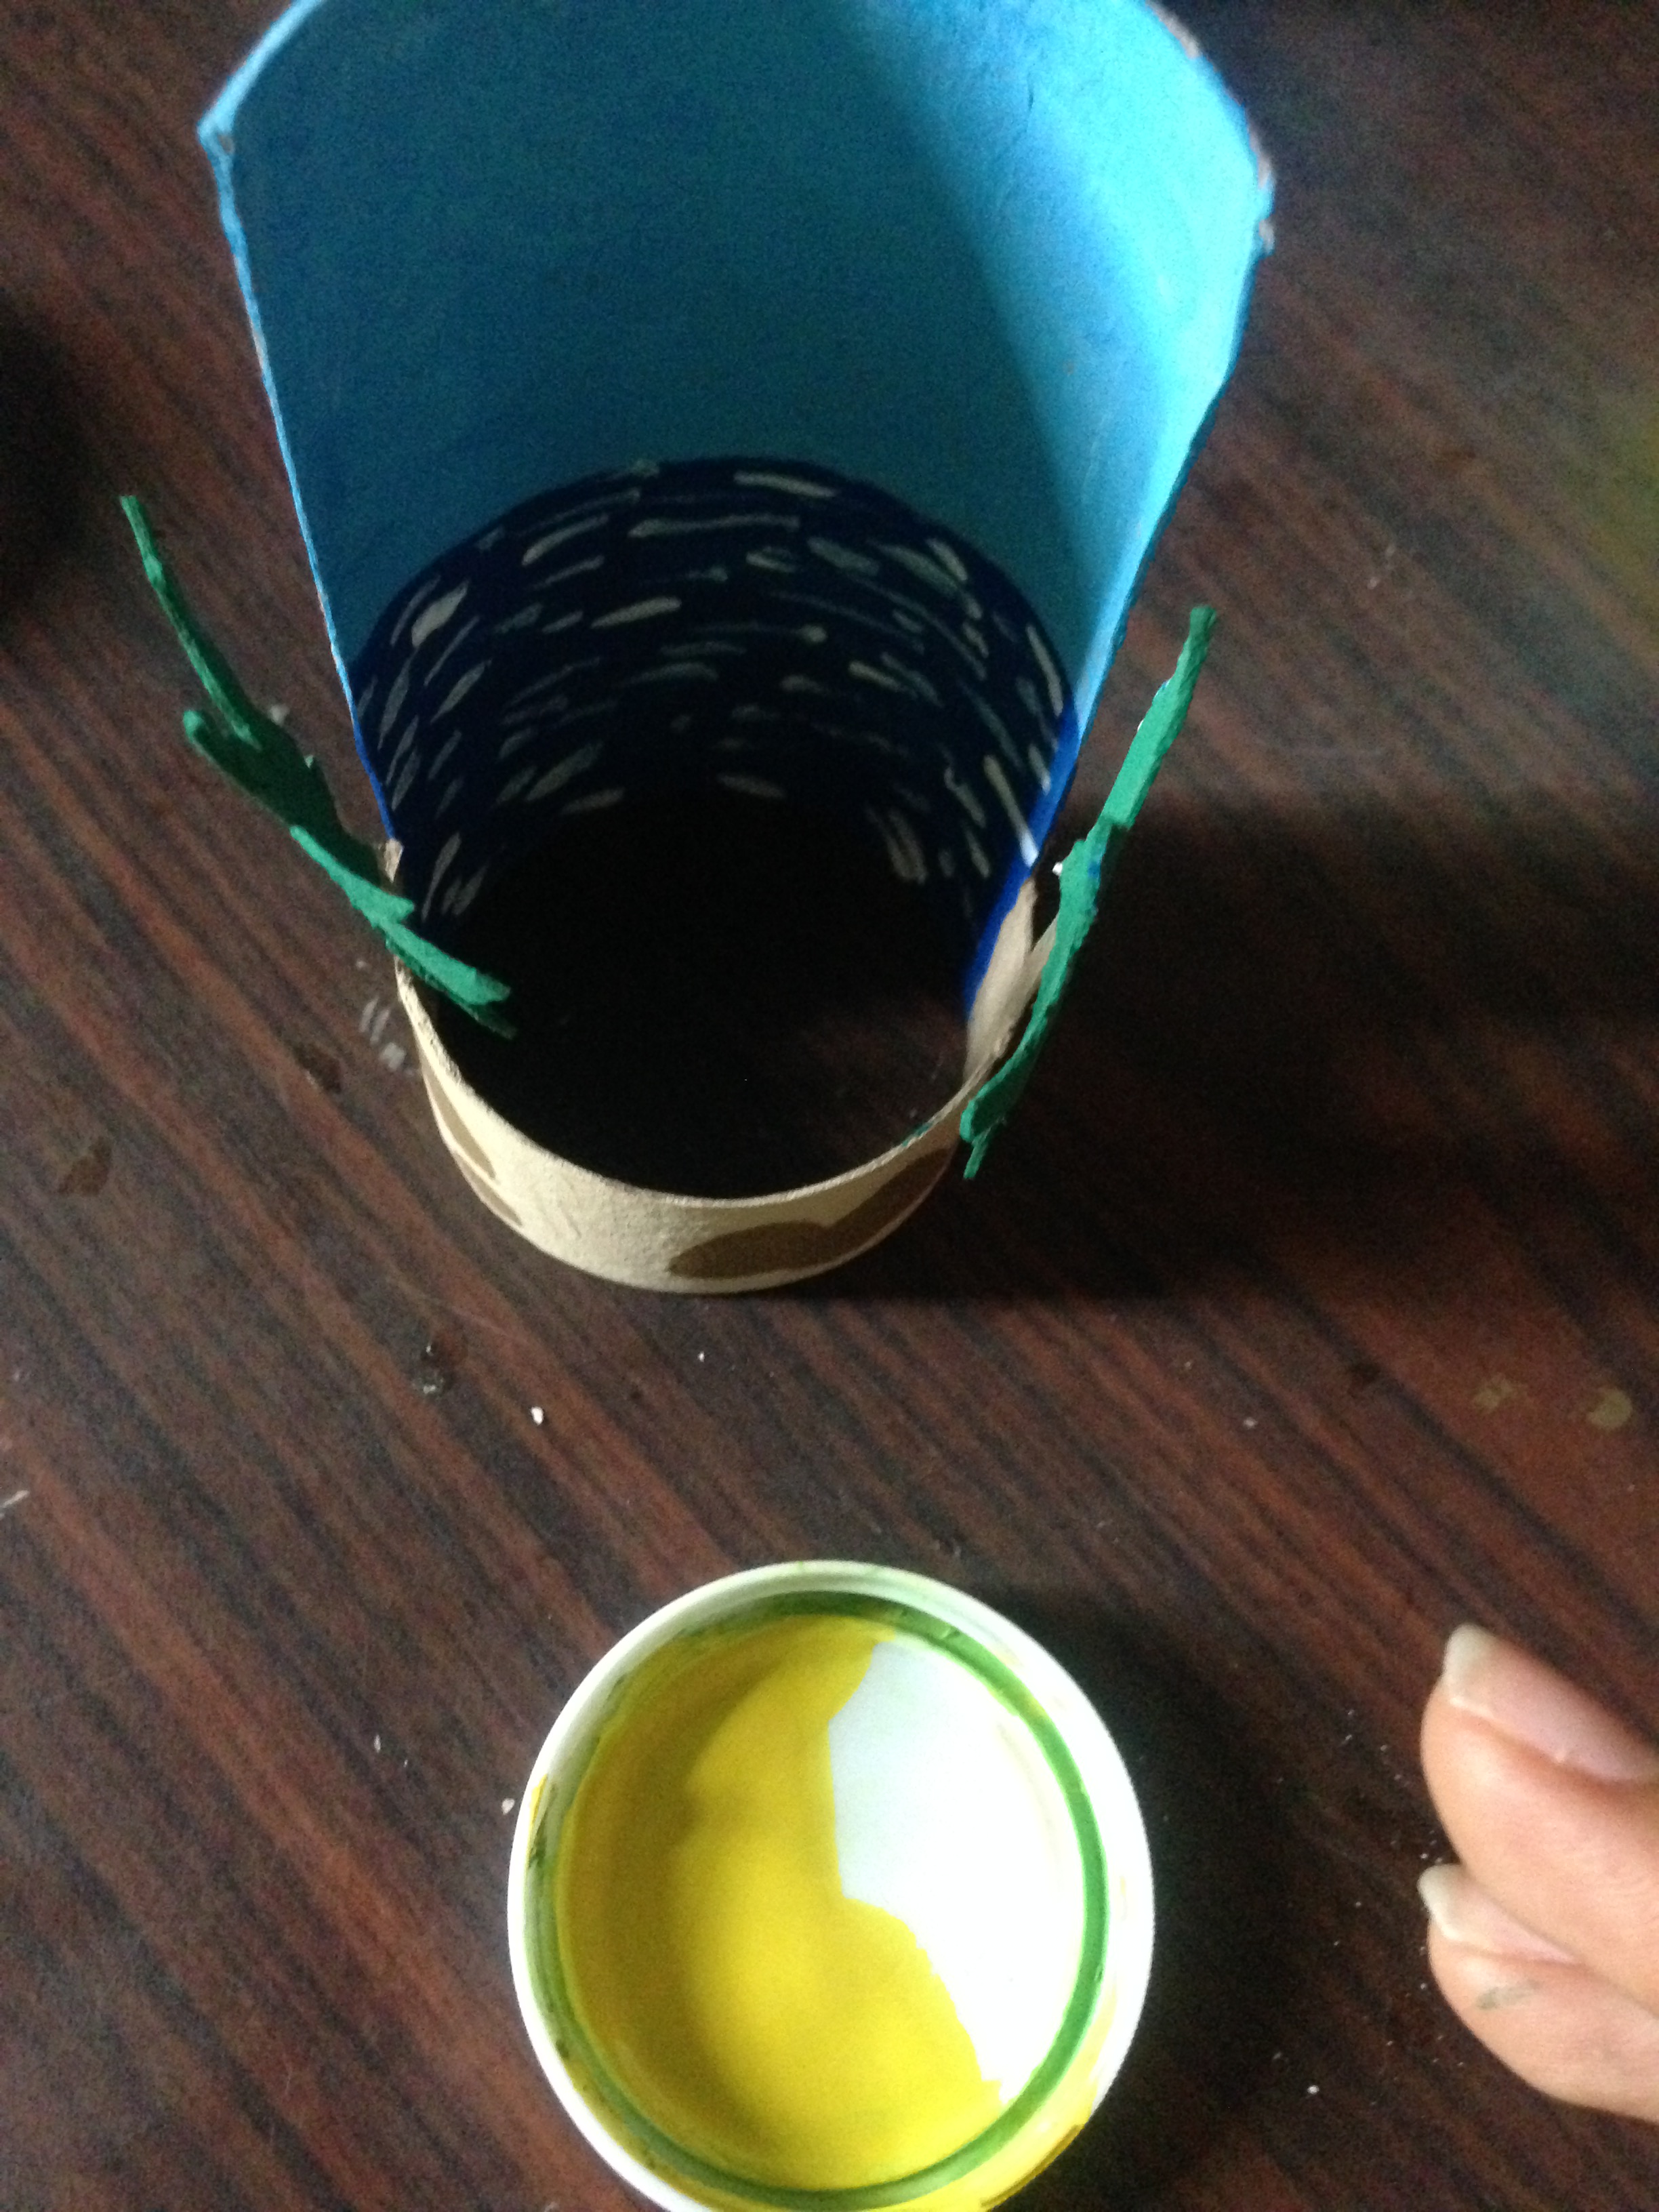
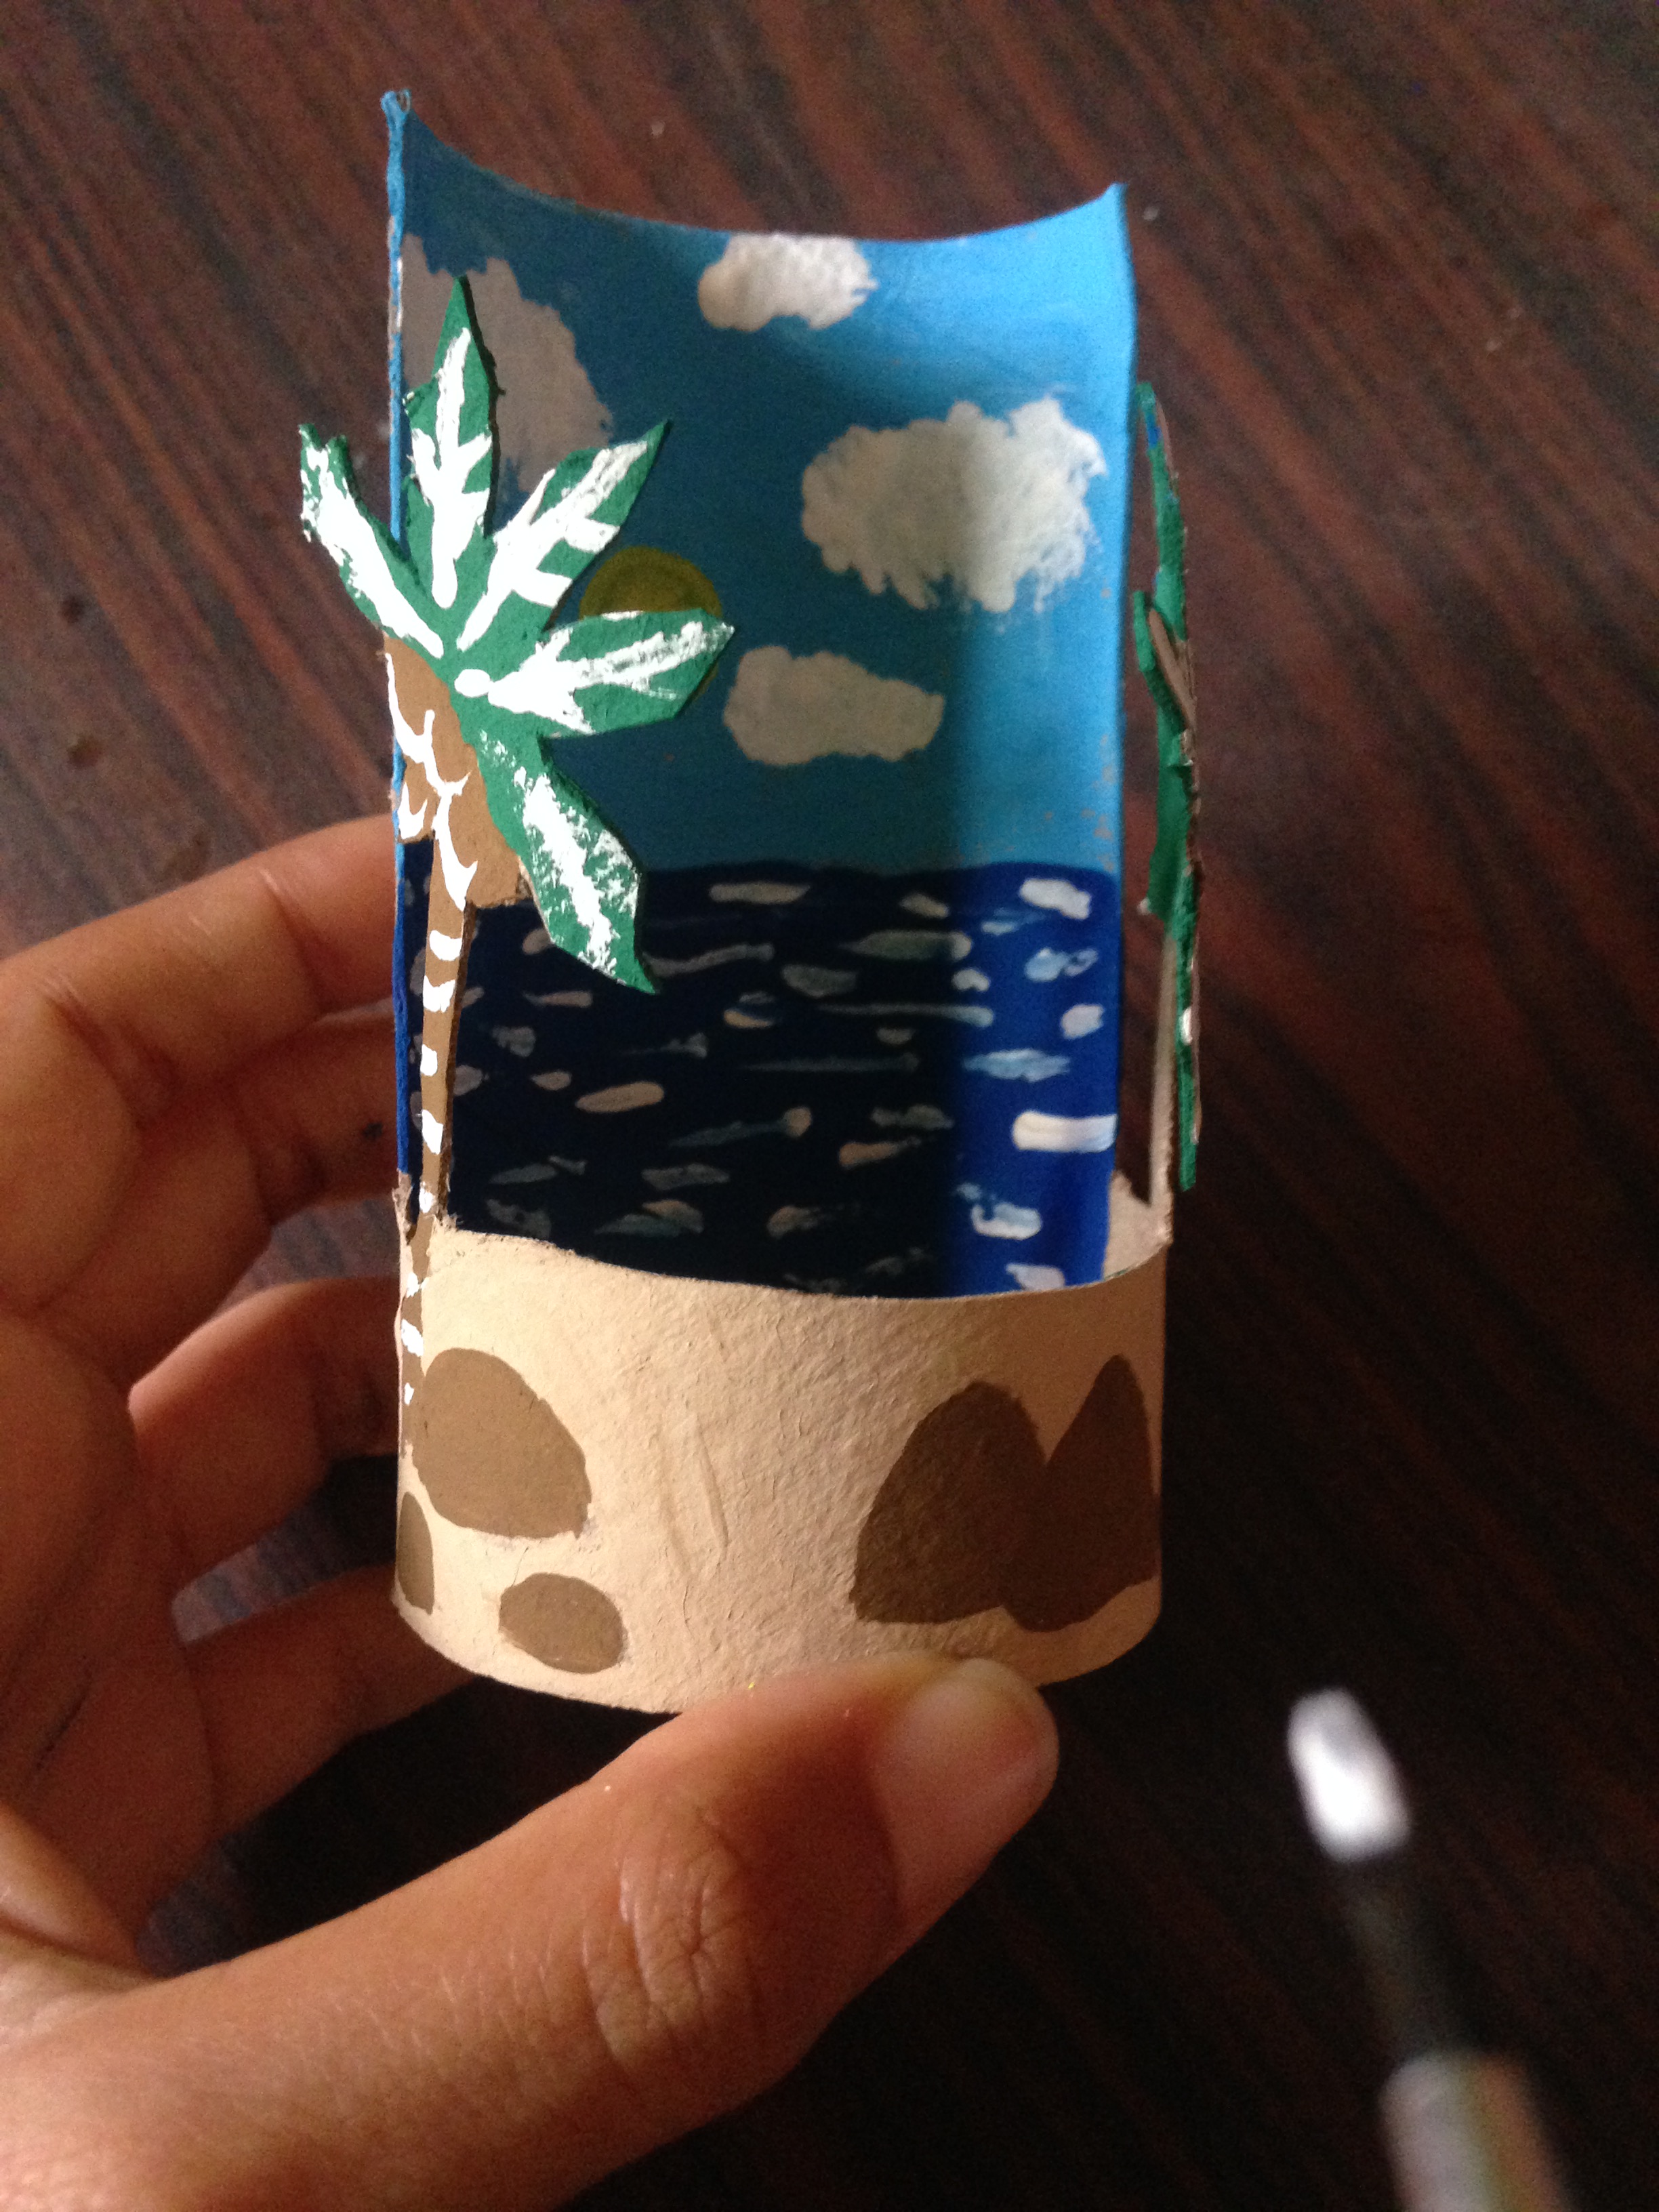
Lo primero que haremos es hacer dos lineas divisorias en cada lado en el tubo de papel higiénico, luego procederemos a dibujar nuestro paisaje, dibujando dos palmeras de cada lado, luego haciendo la parte de la orilla de la playa con unas rocas, y finalmente recortamos con mucho cuidado la parte sobrante interna.
Step 1
The first thing we will do is make two dividing lines on each side in the toilet paper tube, then we will proceed to draw our landscape, drawing two palm trees on each side, then making the part of the shore of the beach with some rocks, and finally we cut out very carefully the internal excess part.


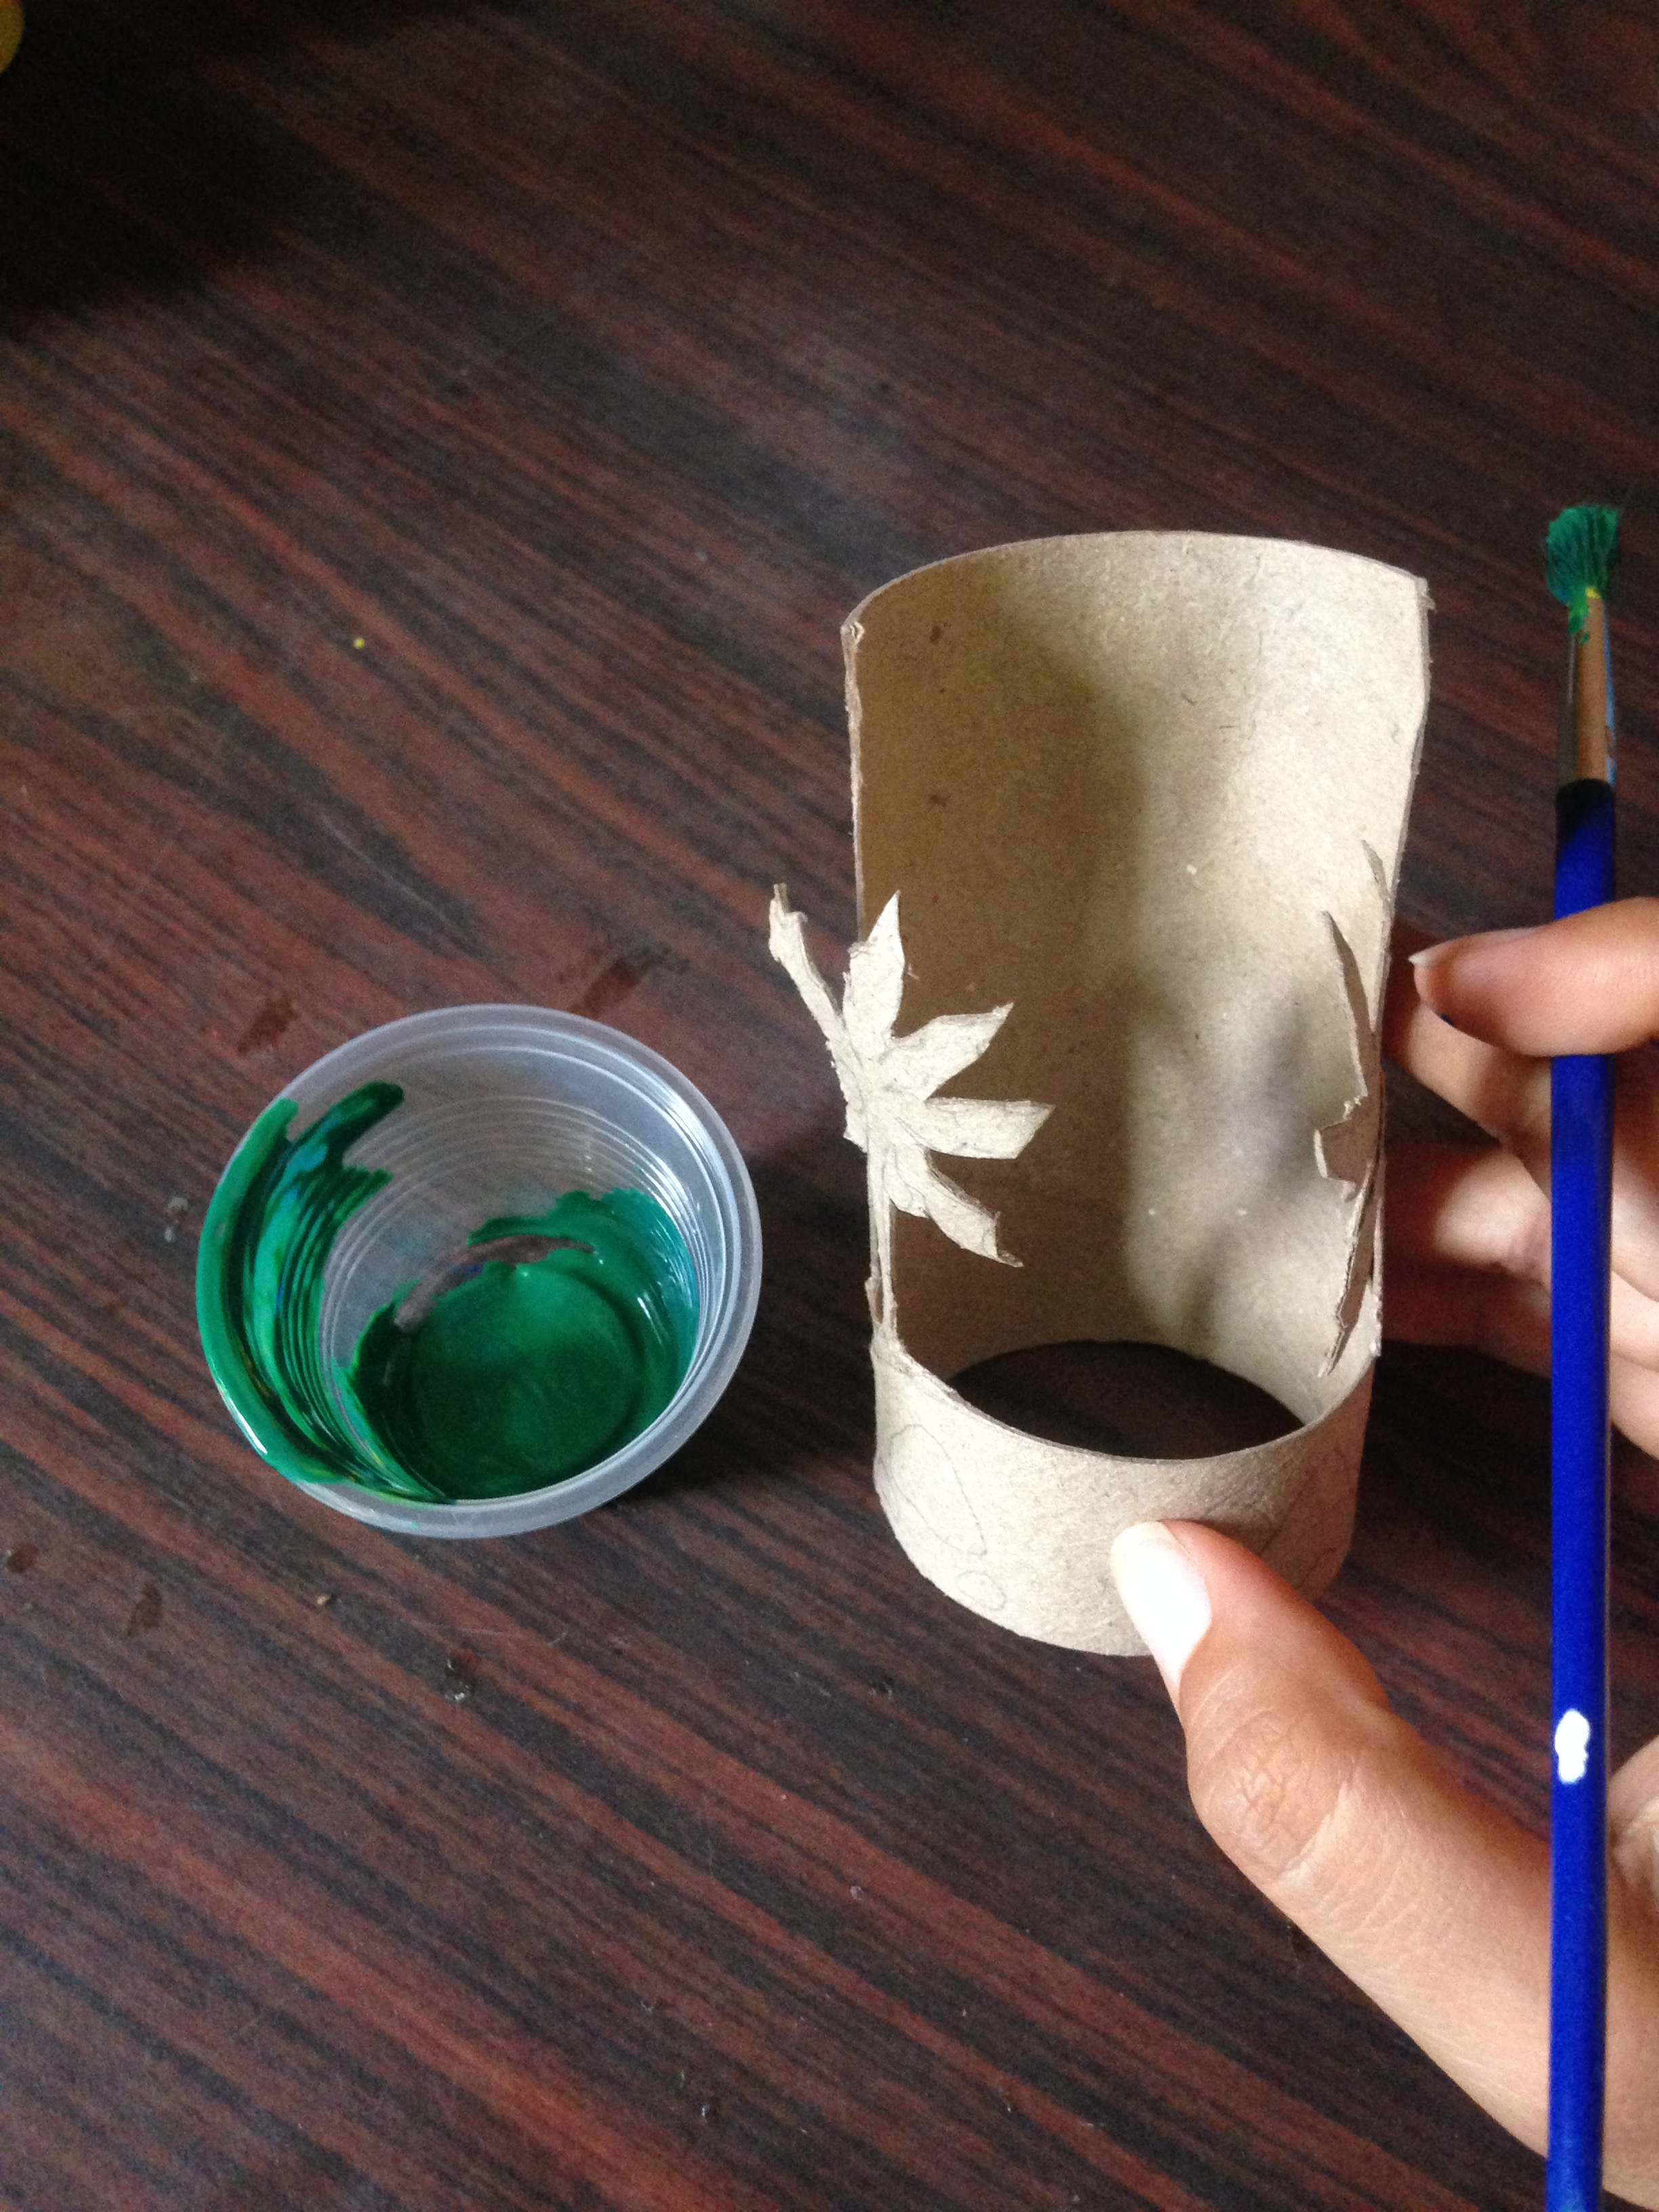
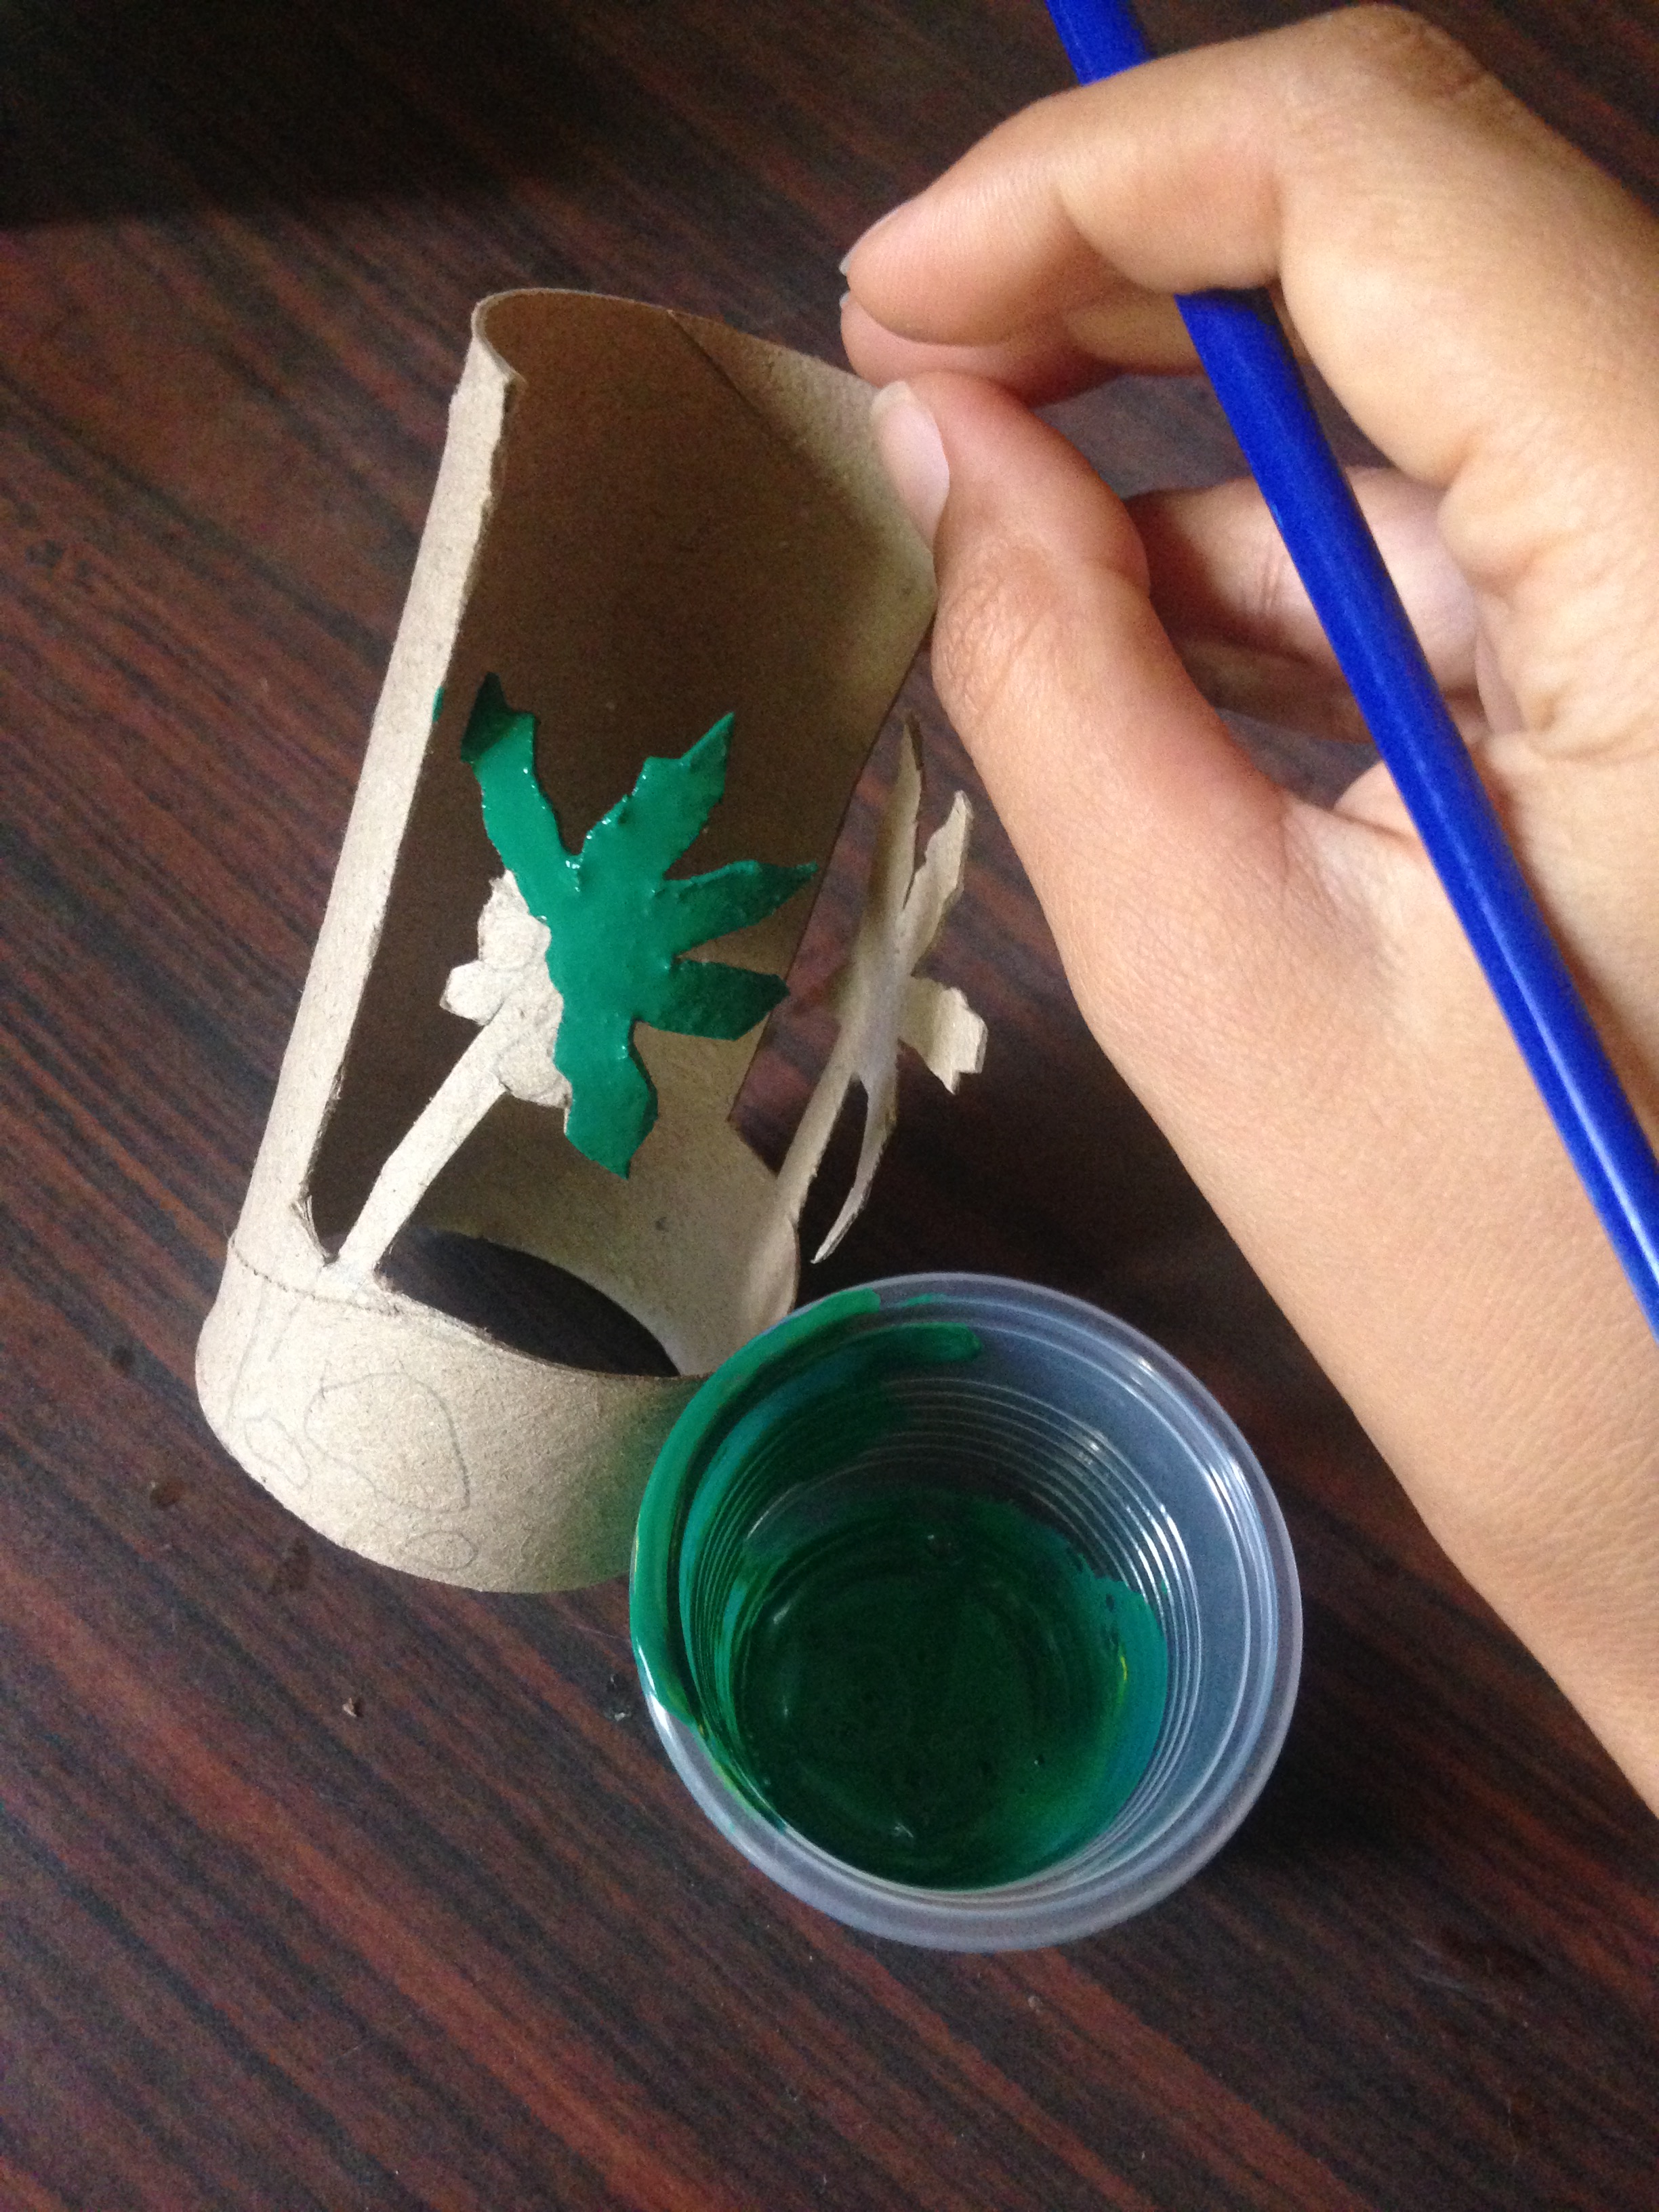
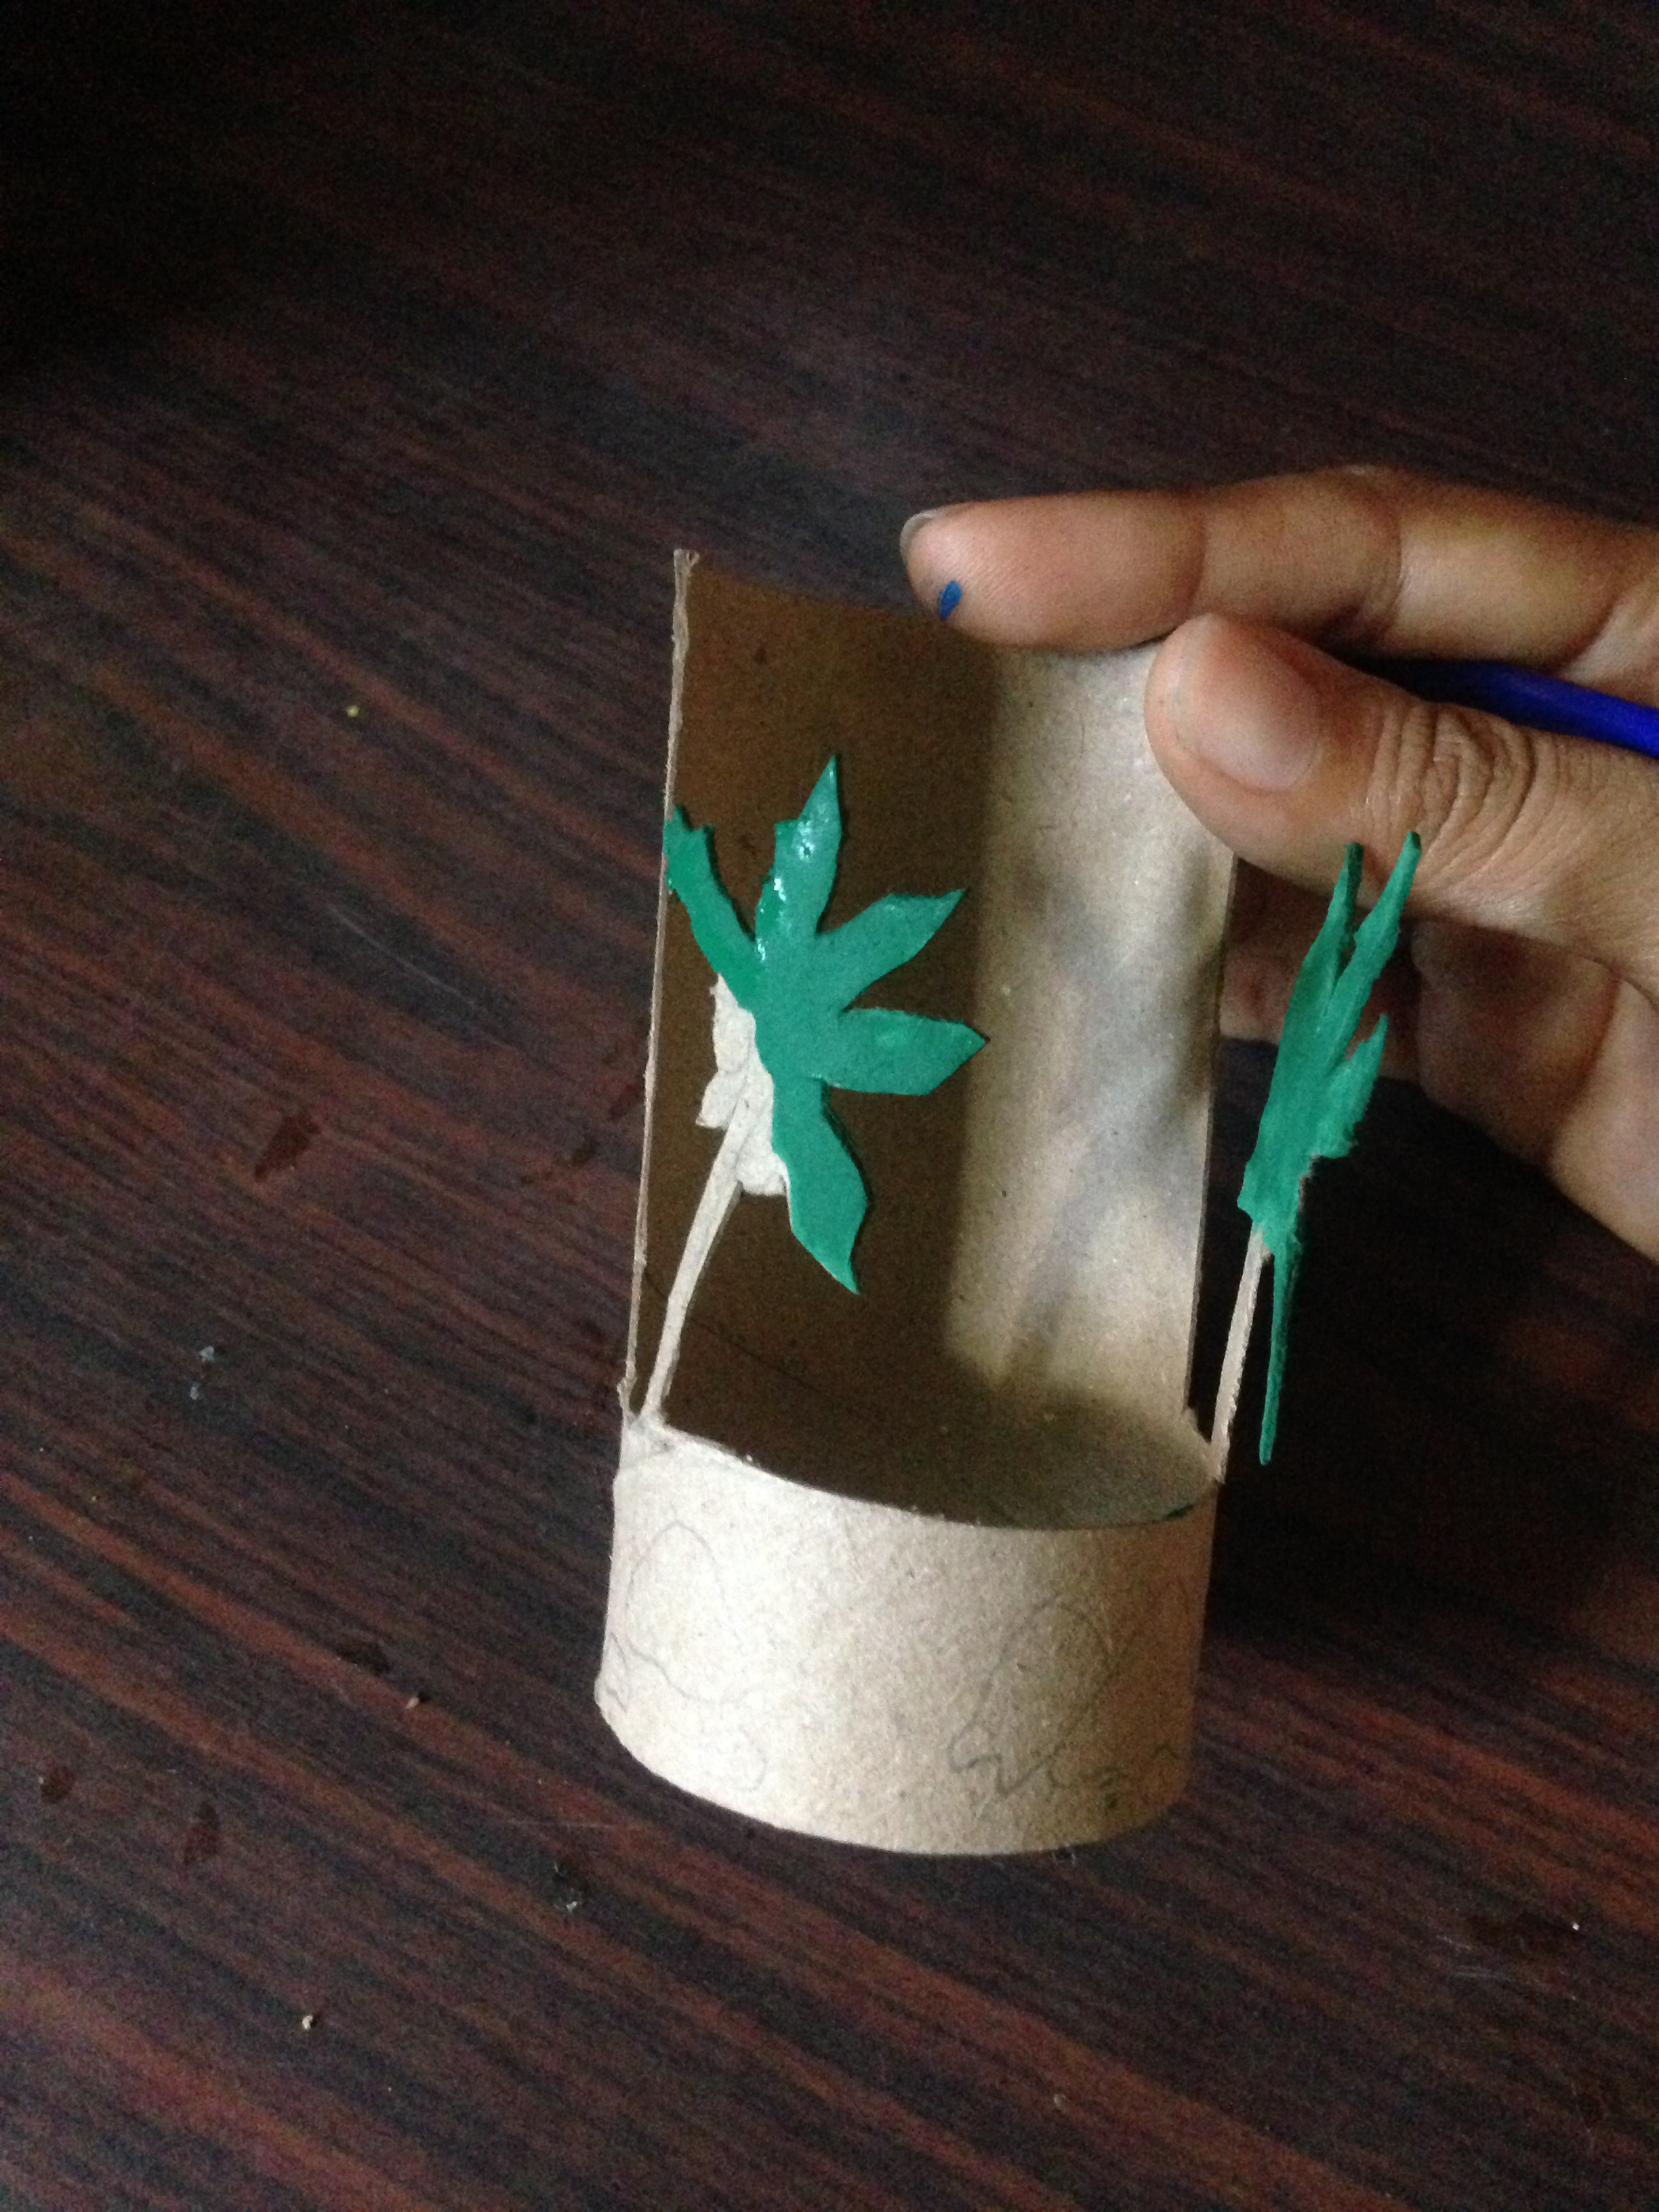
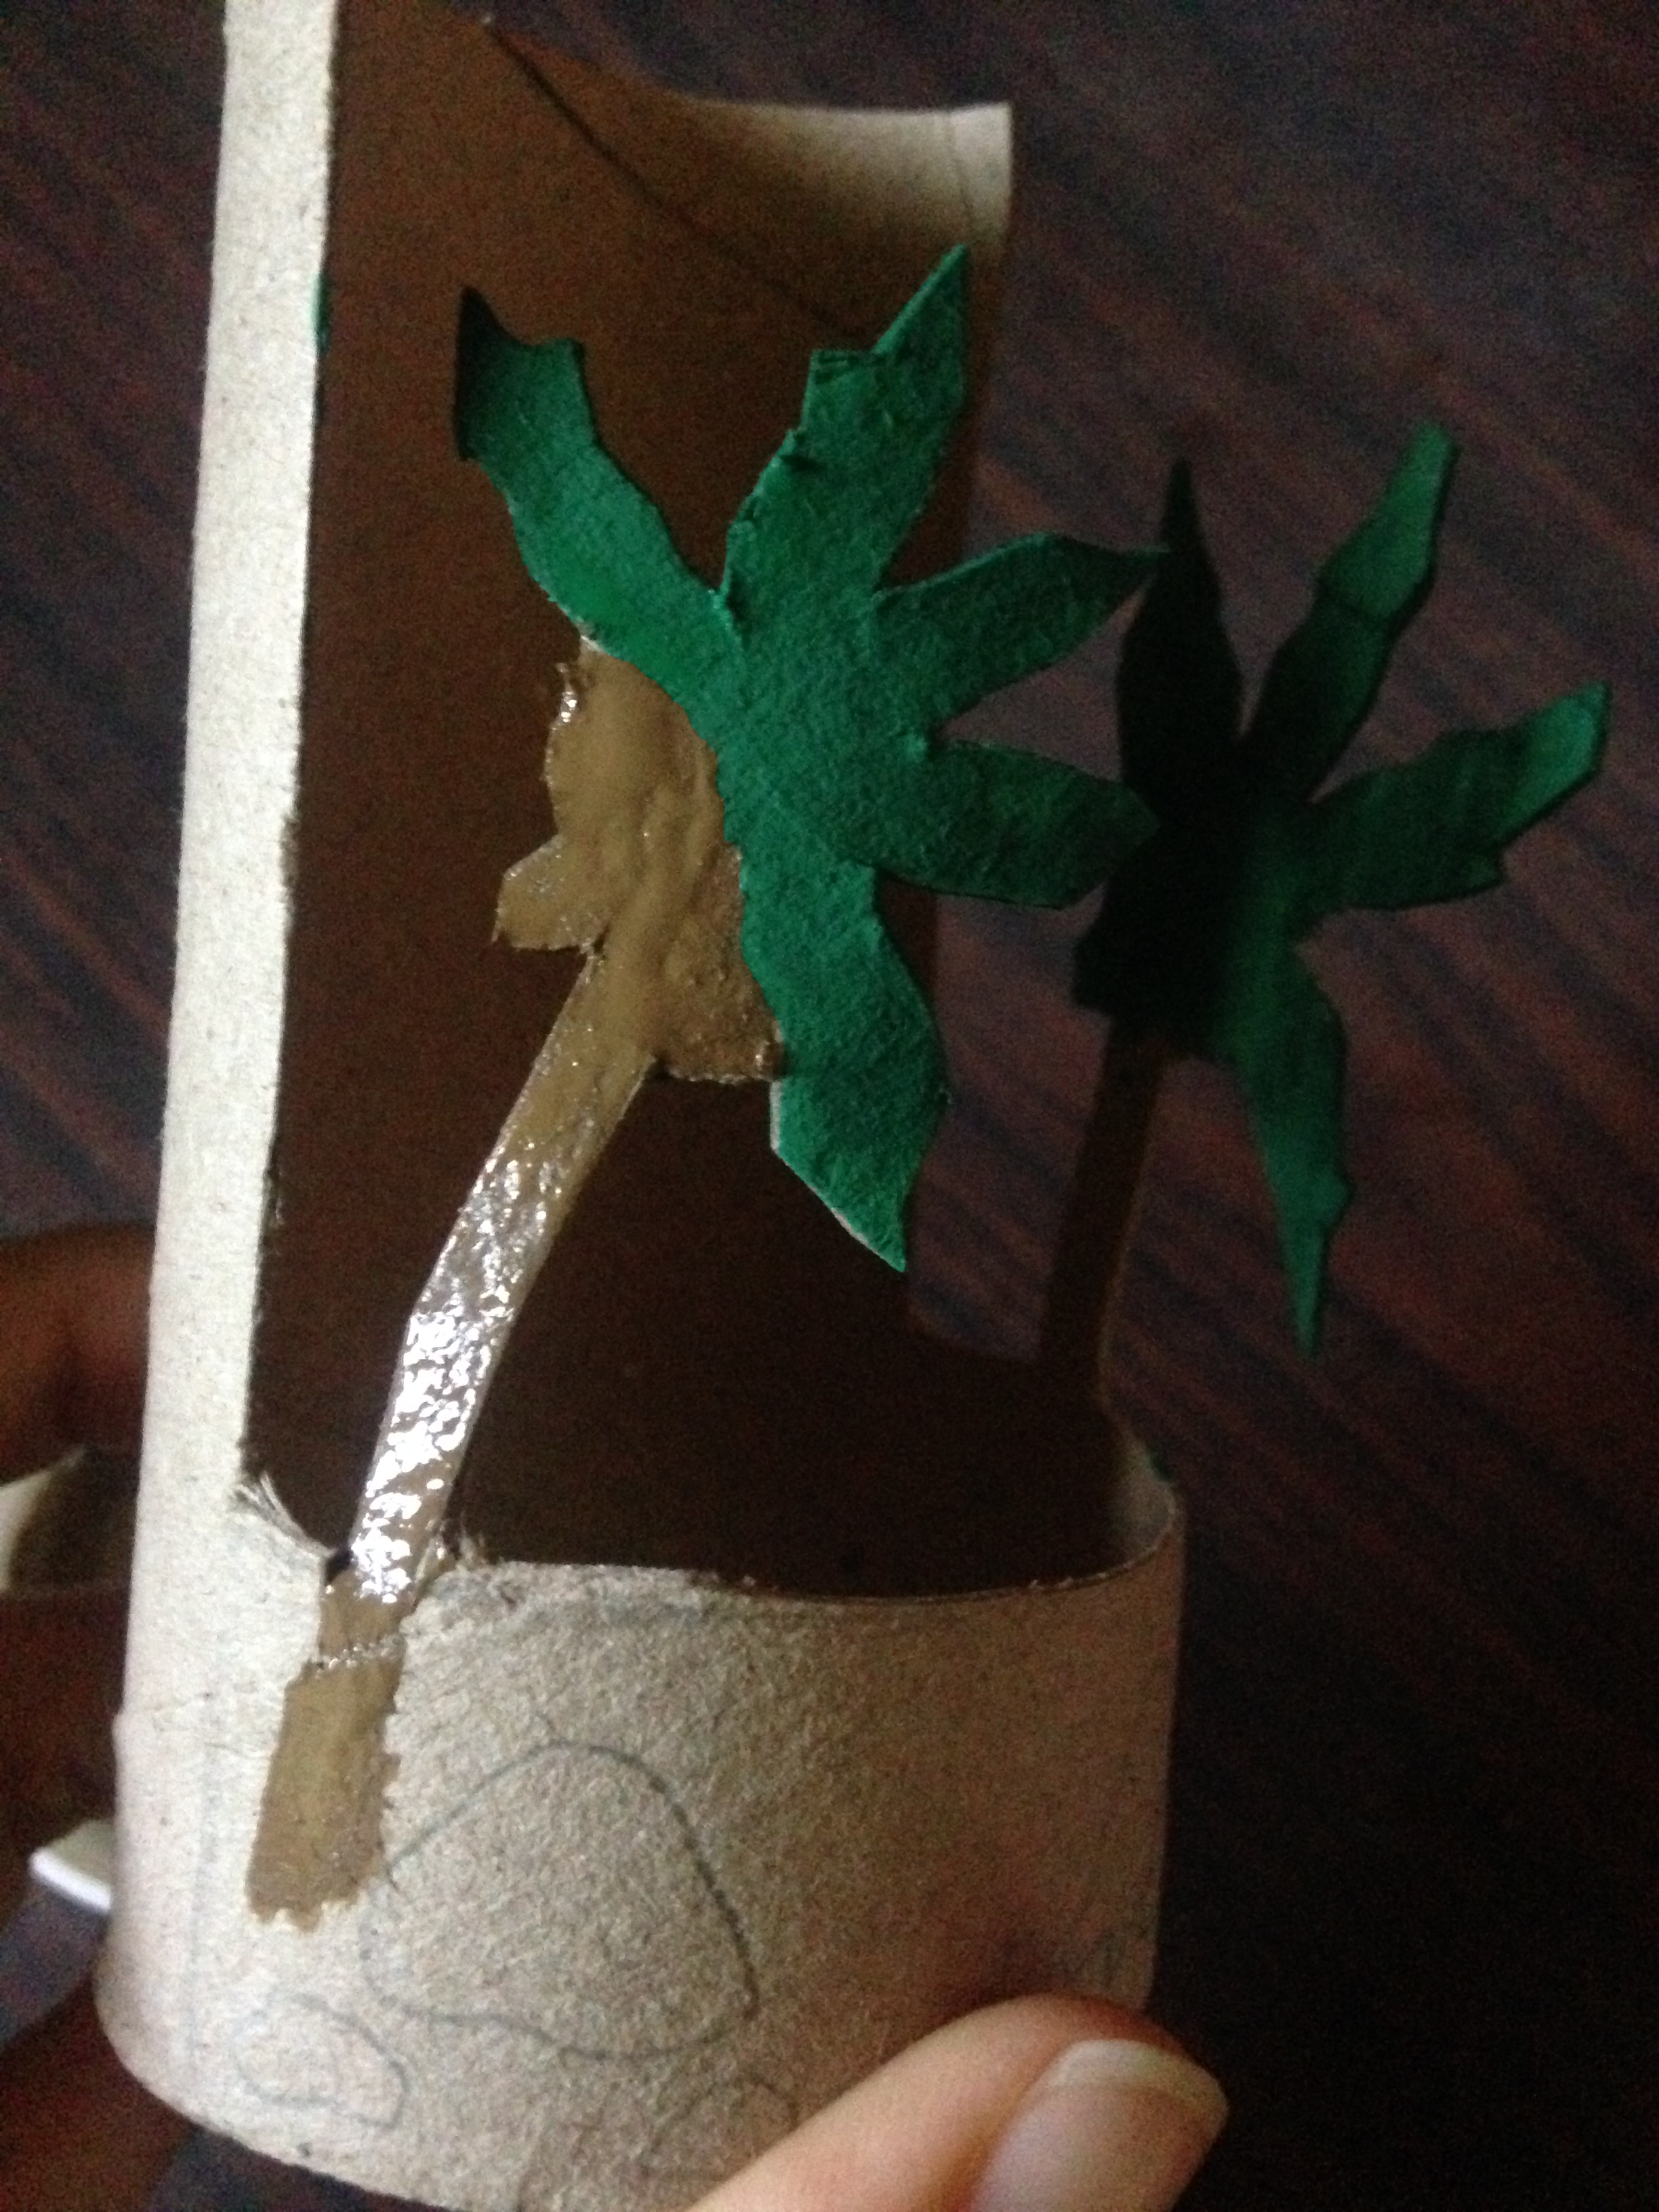
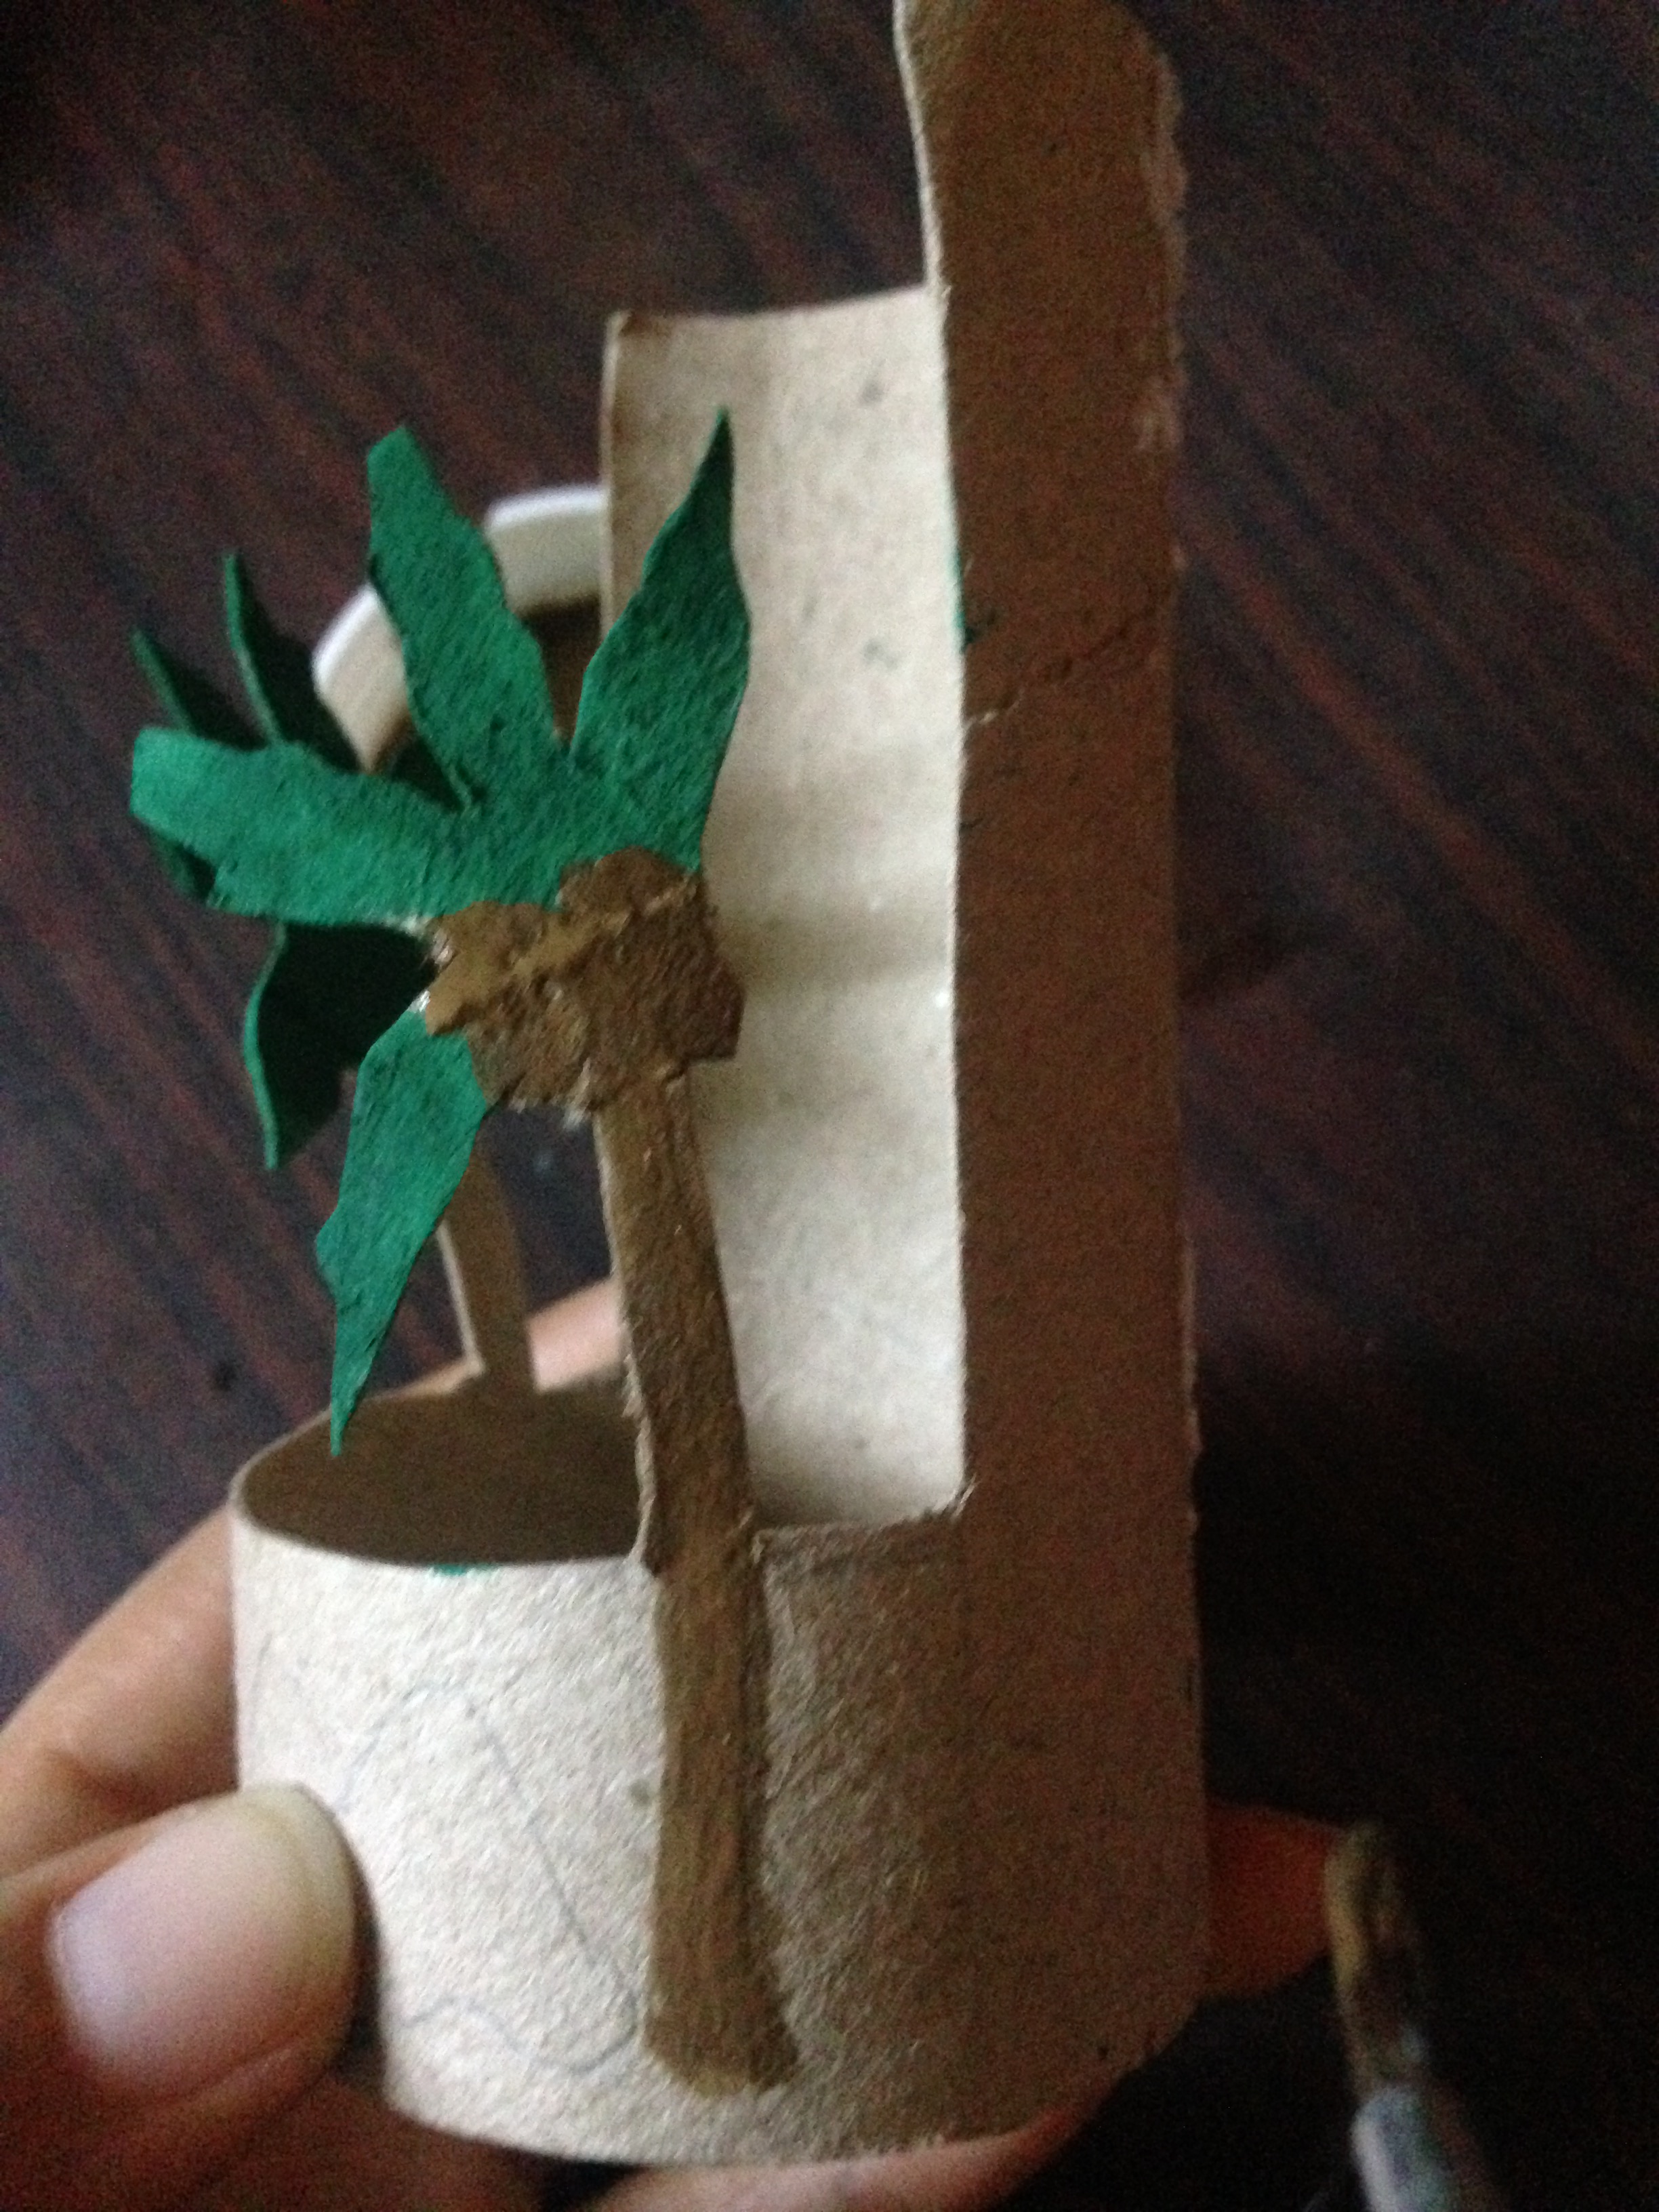
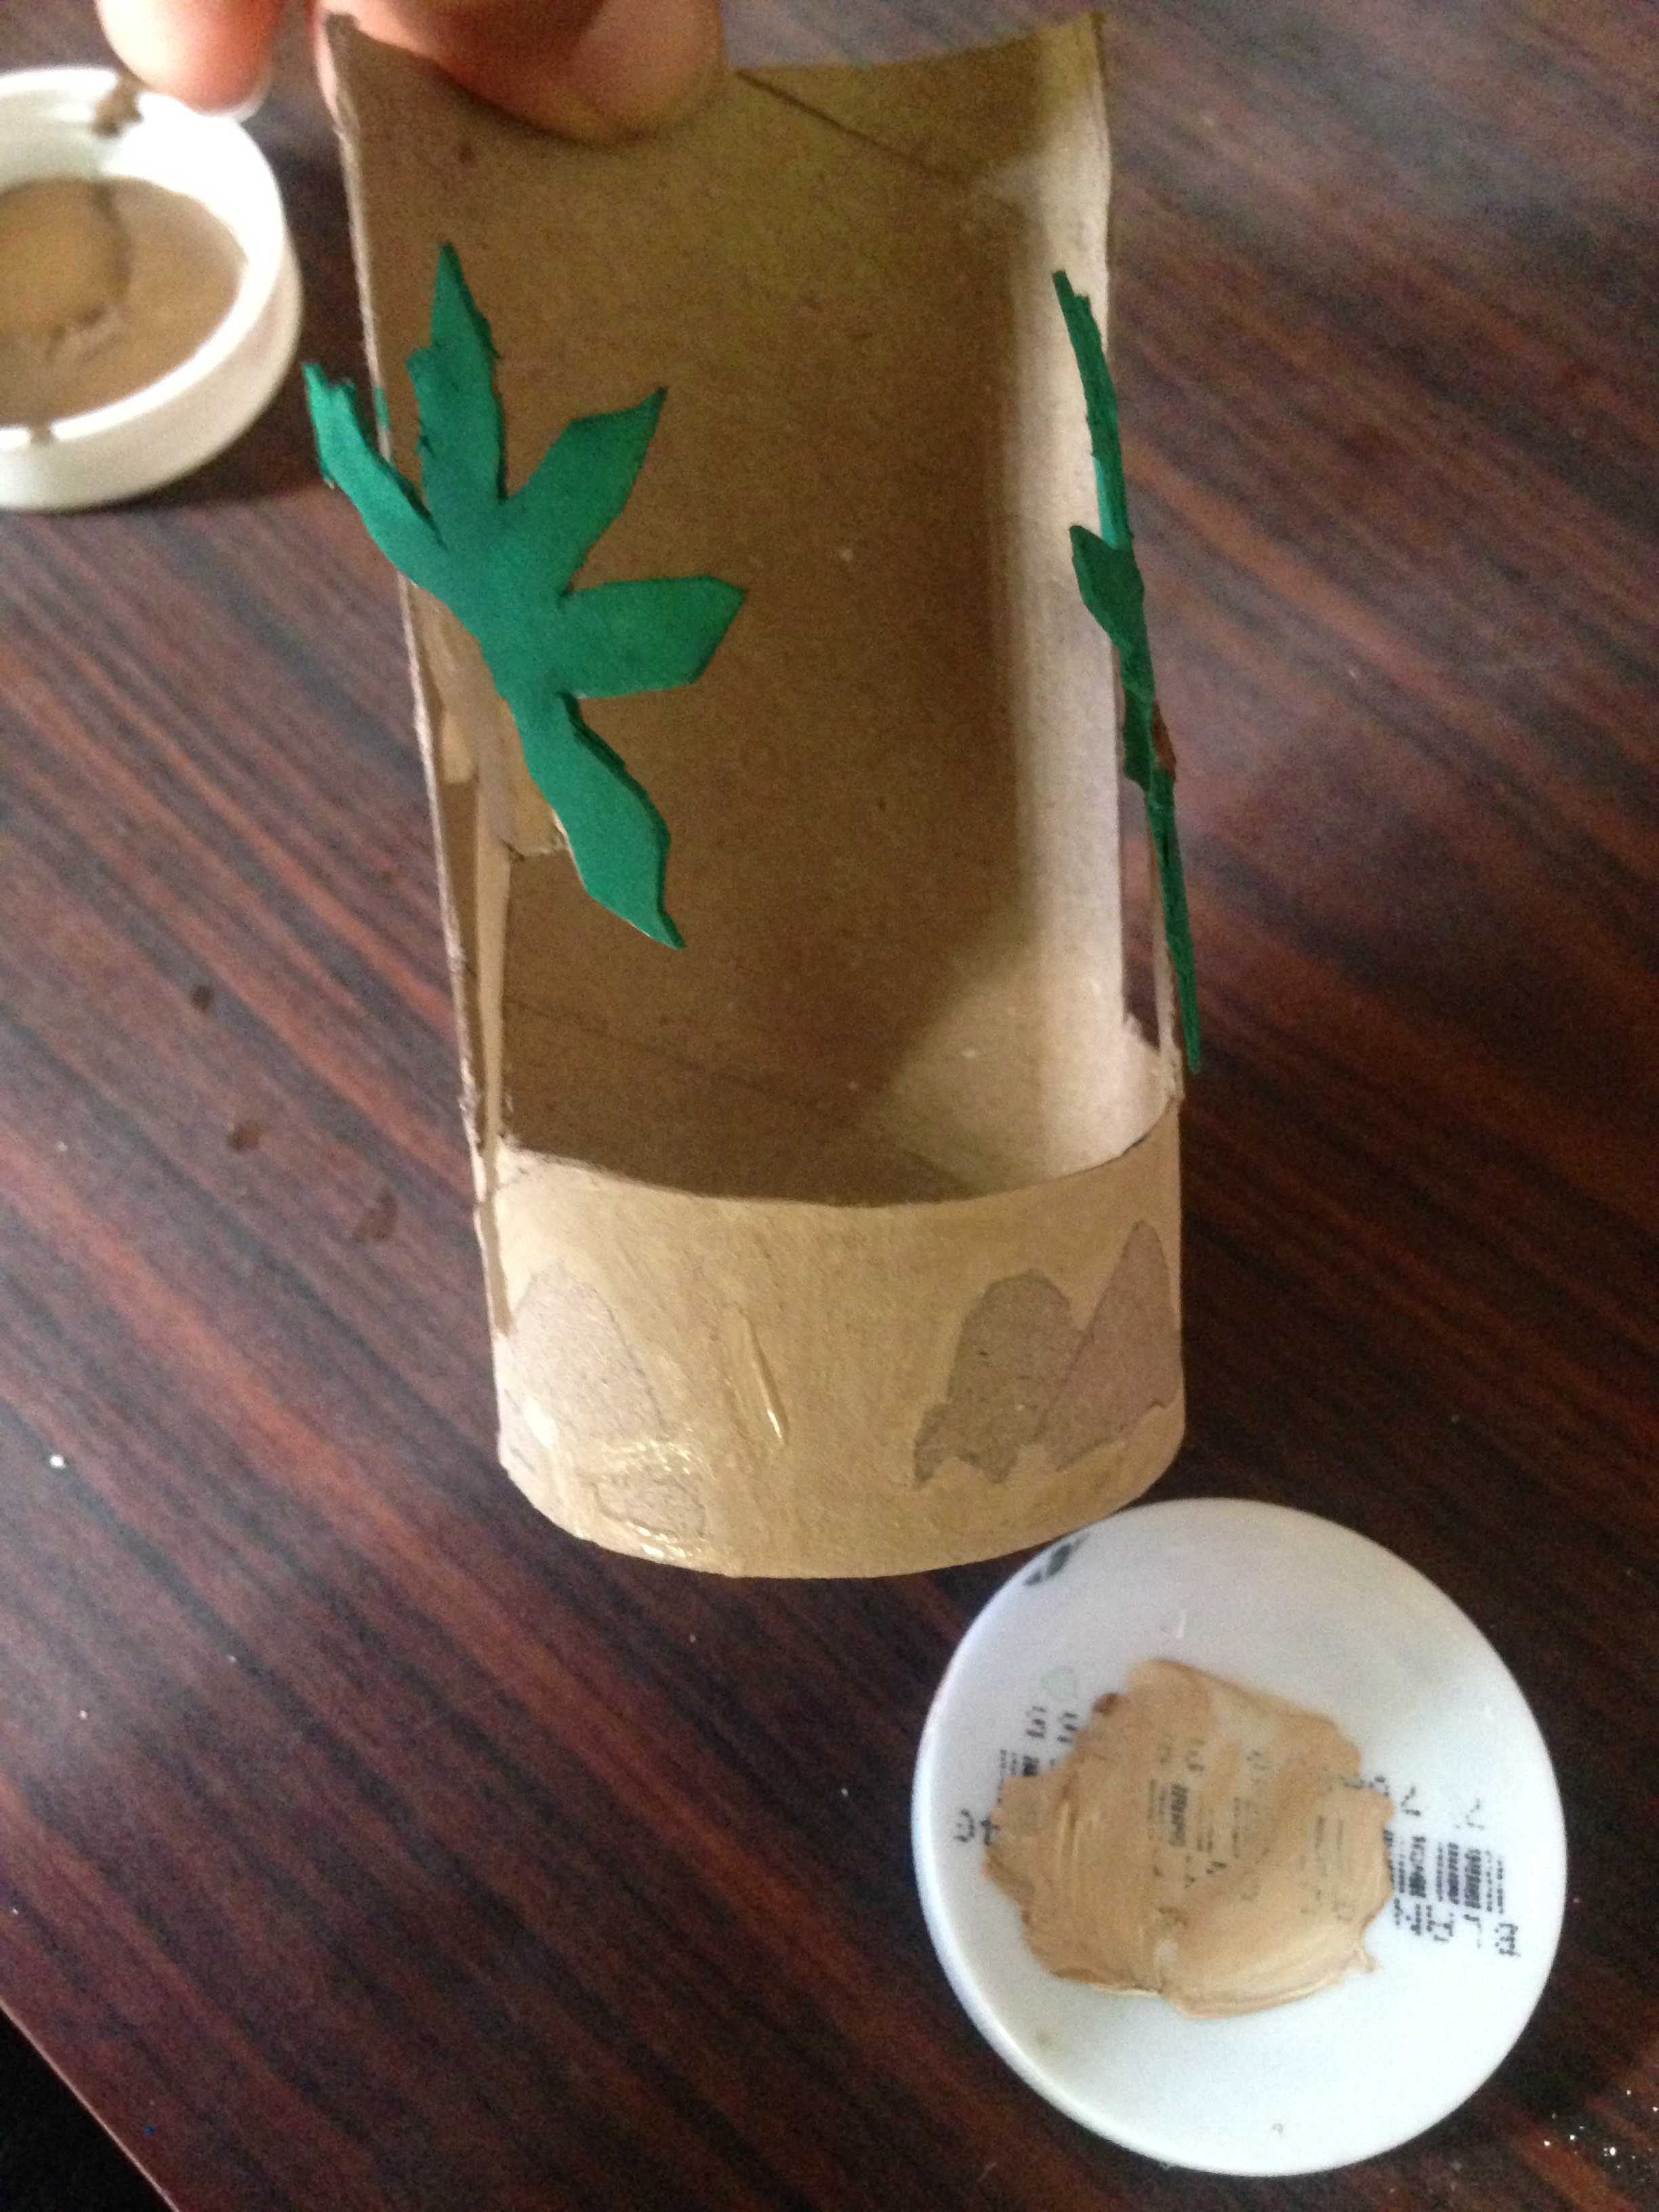
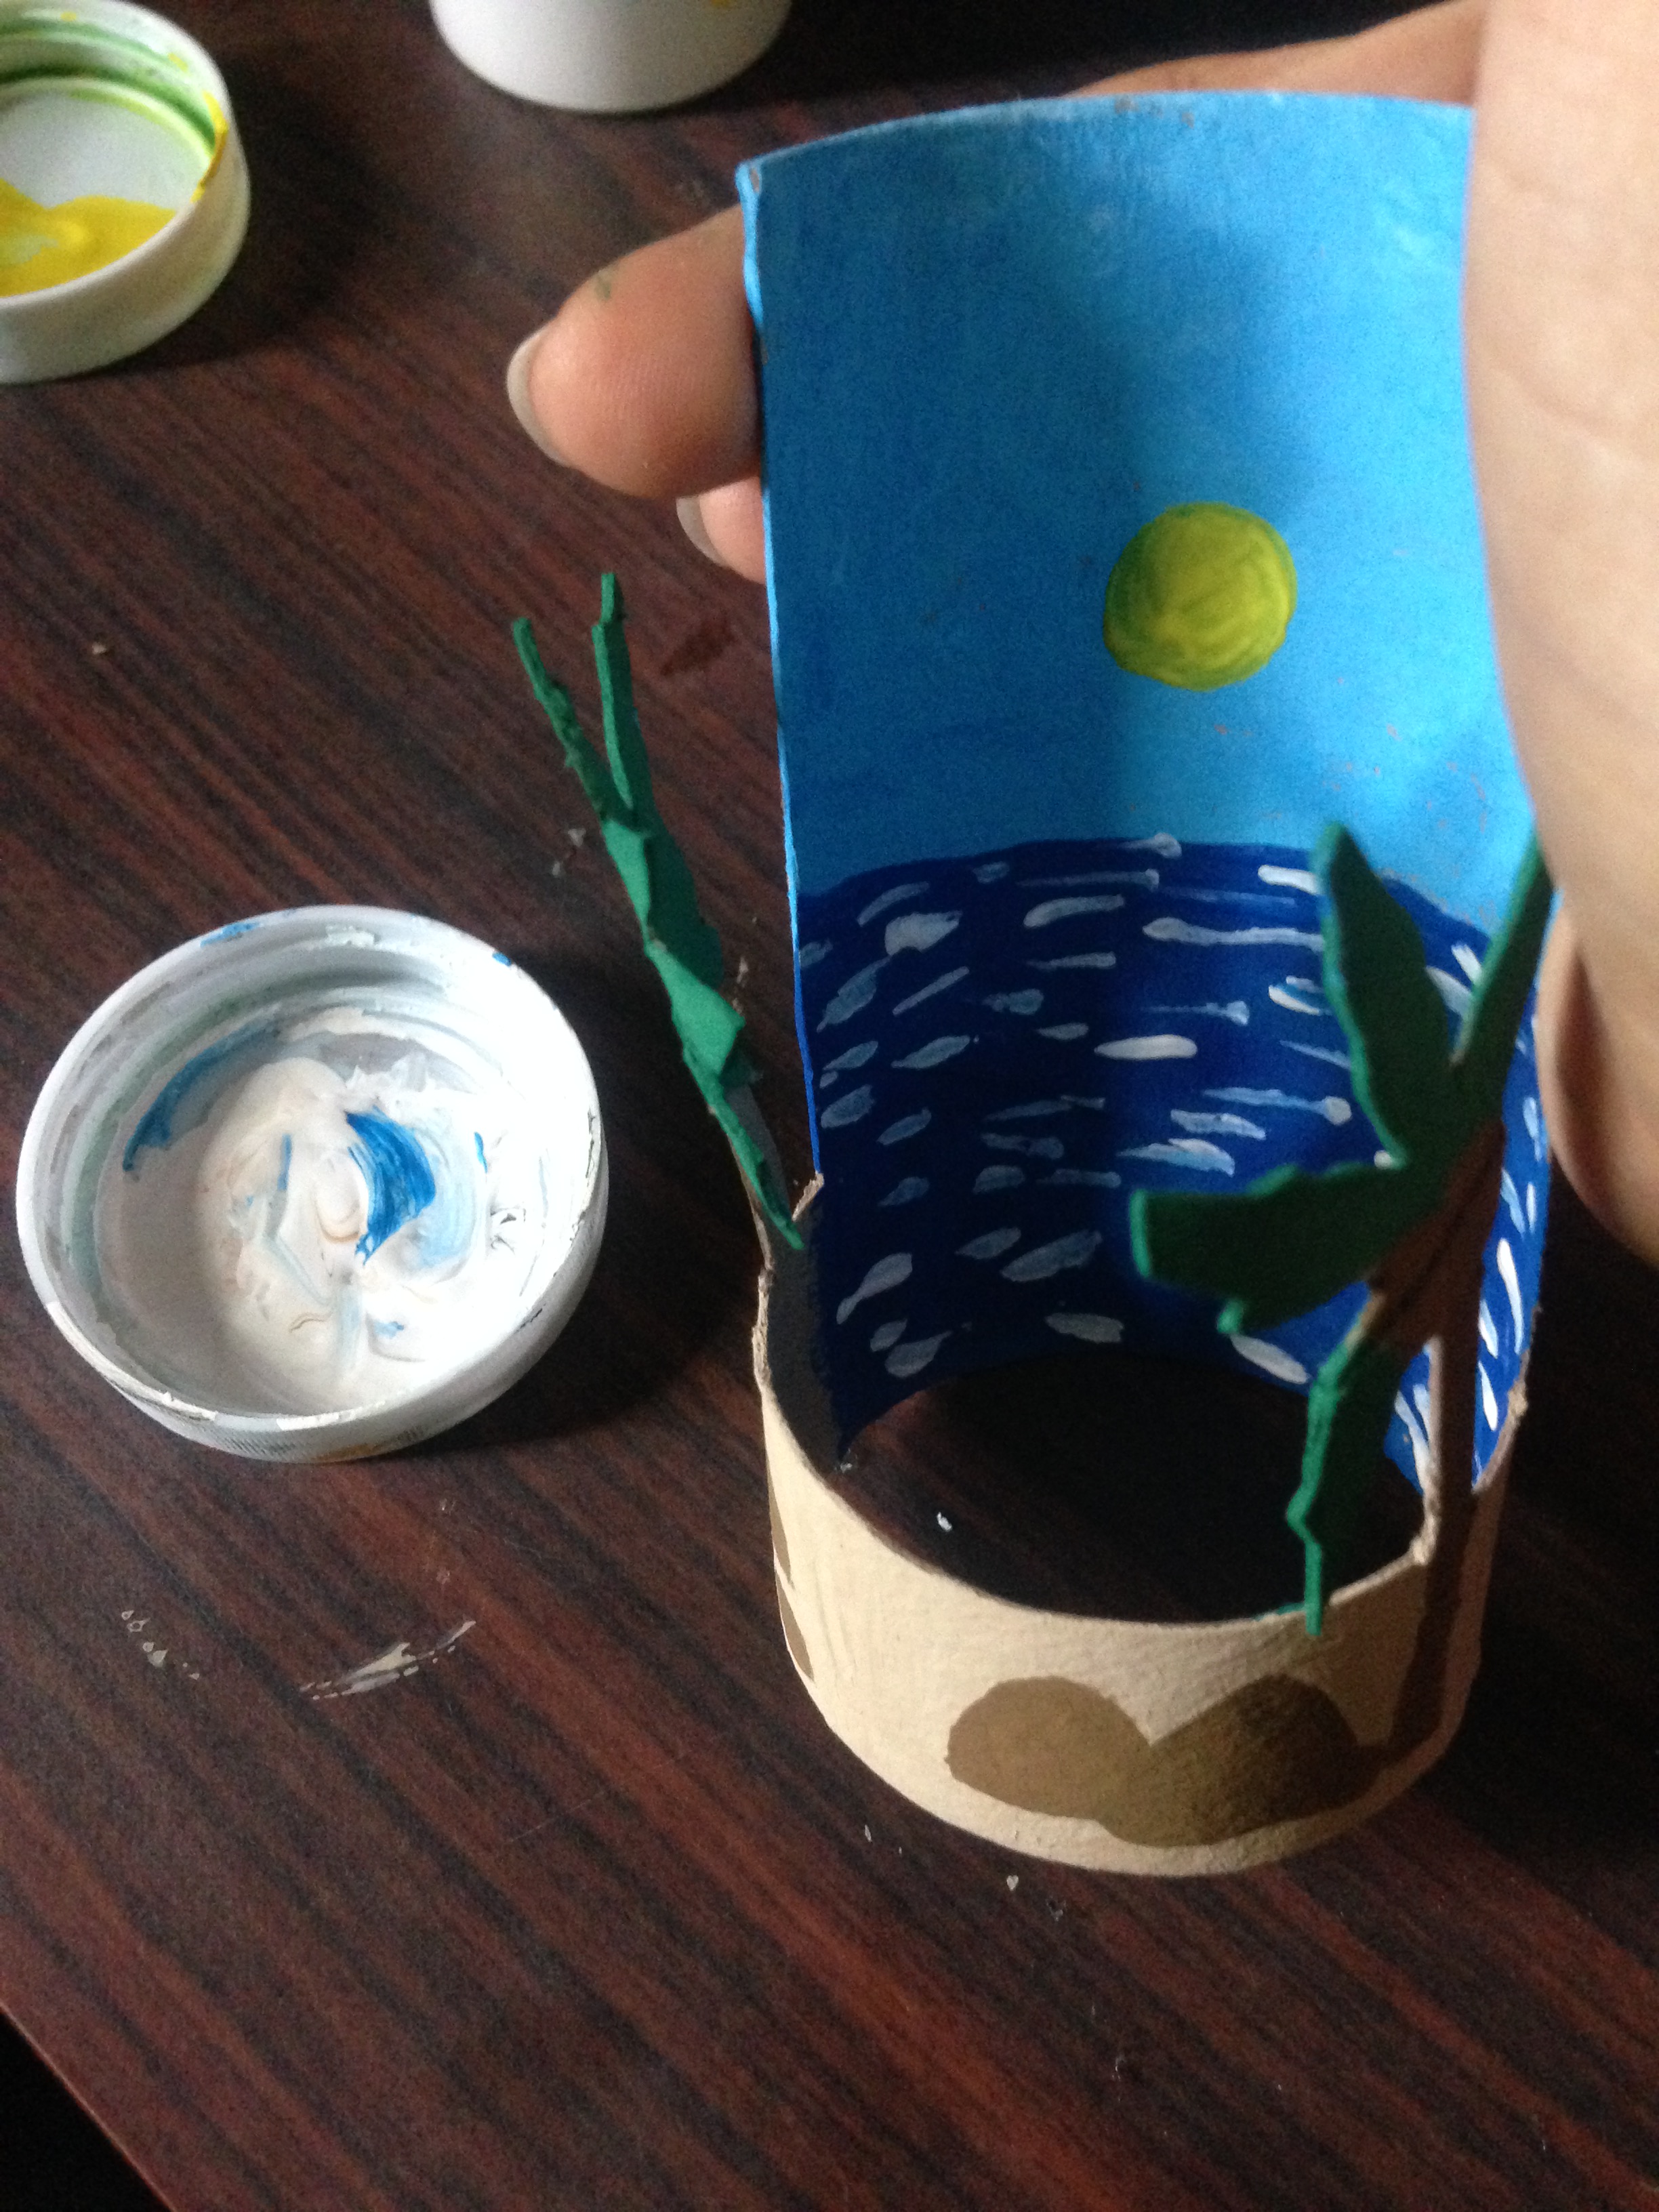
Paso 2
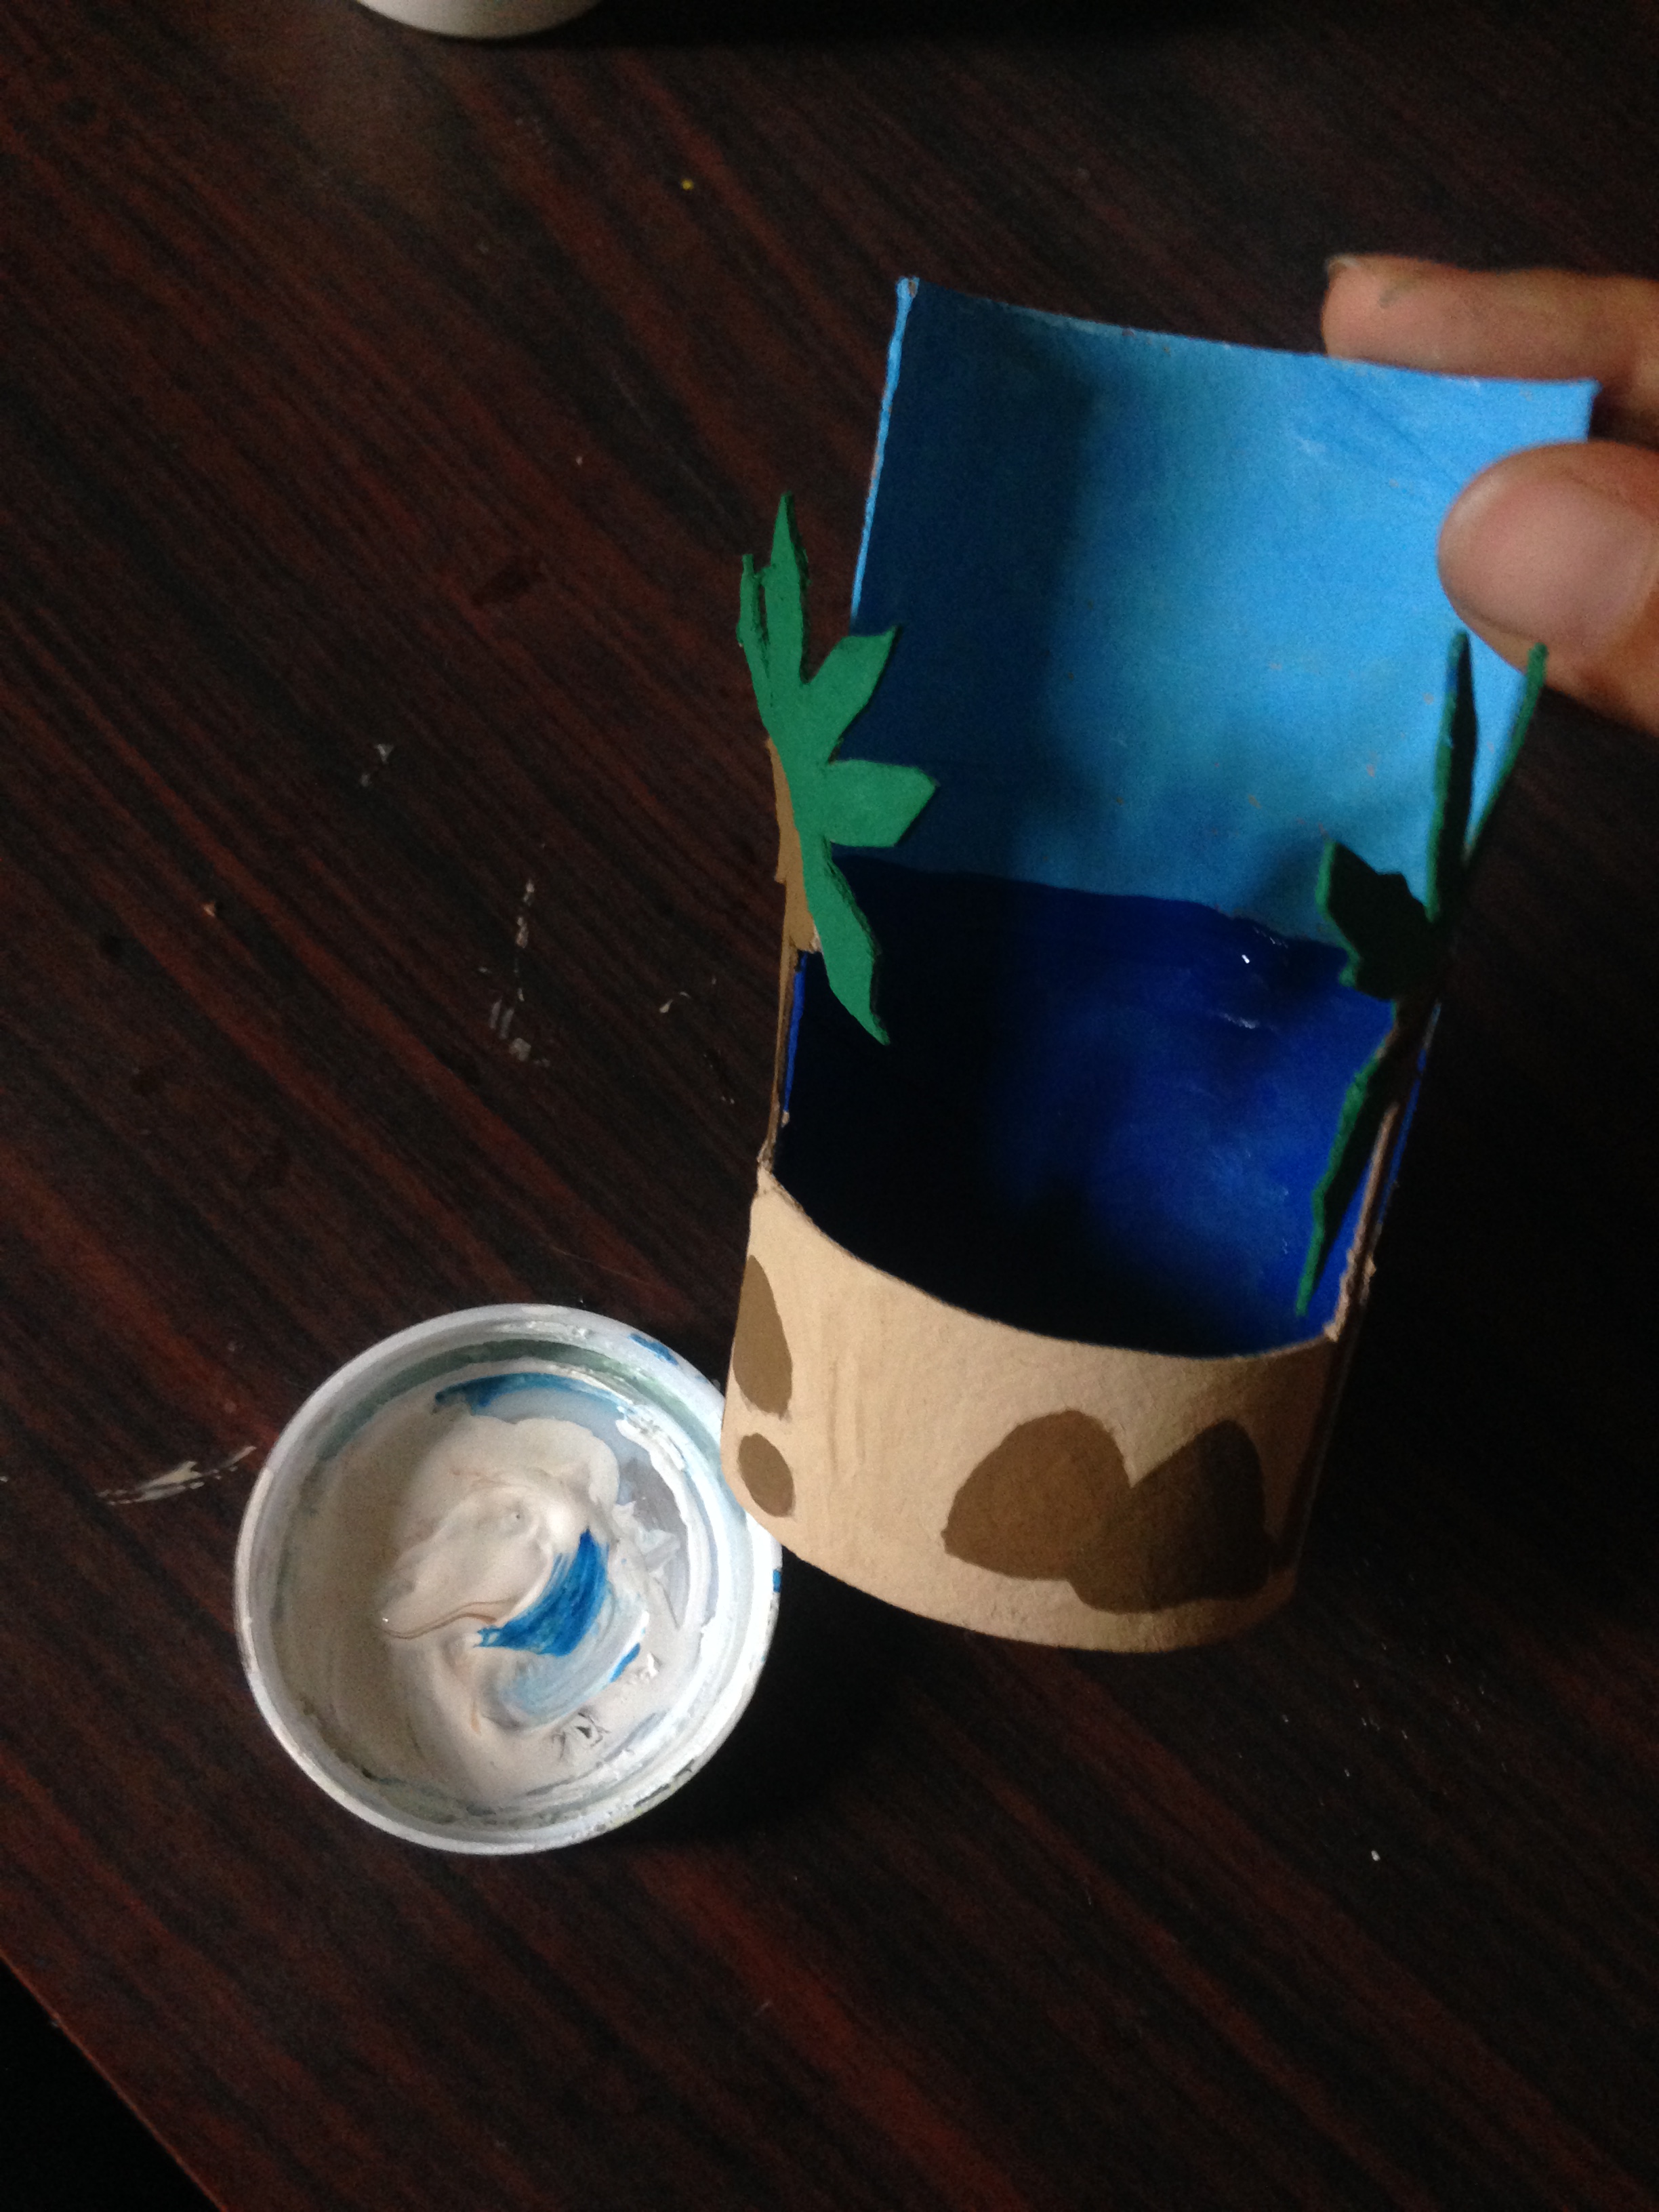
Ahora pintaremos con las pinturas la parte de las palmeras, el tallo de marrón oscuro, las palmas verdes, y luego nos iremos a la parte de la arena,sino cuentas con marrón claro, mezcla marrón oscuro y blanco para obtener una color para la arena de la playa, posteriormente pintaremos las rocas de la playa con marron
Step 2
Now we will paint with the paints the part of the palm trees, the stem of dark brown, the green palms, and then we will go to the part of the sand, if not you have light brown, mix dark brown and white to obtain a color for the sand from the beach, later we will paint the rocks on the beach with brown
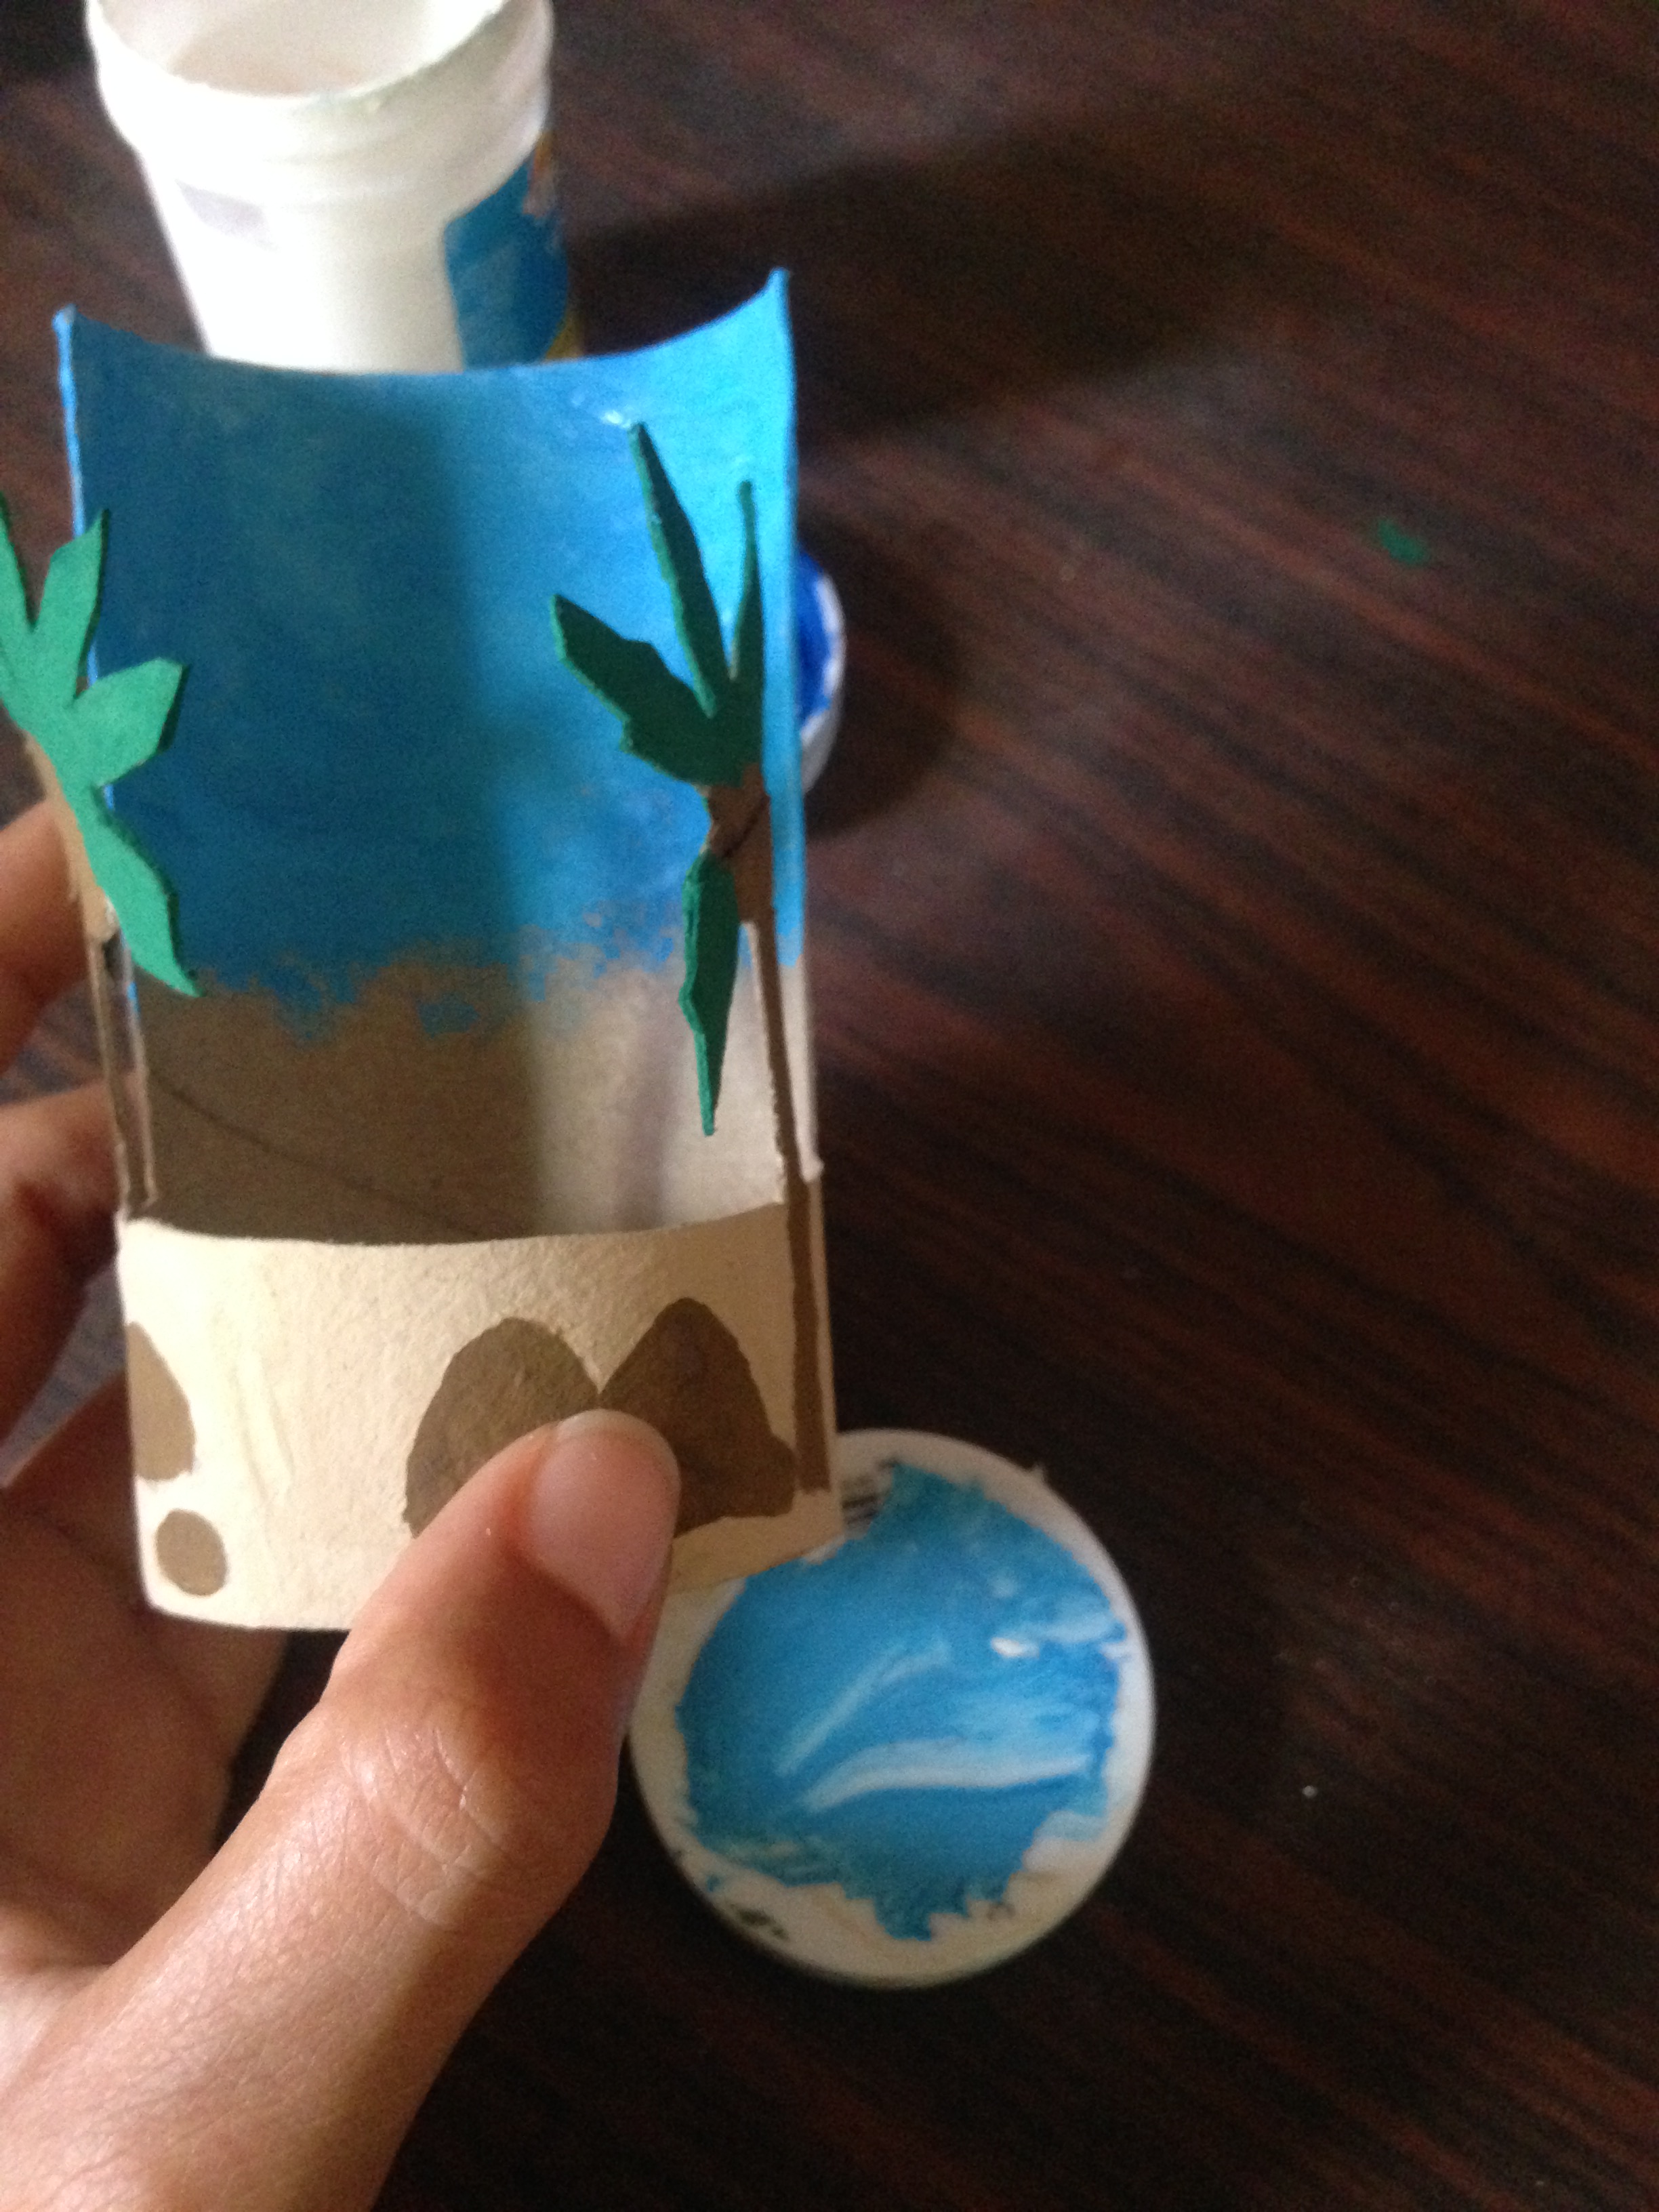
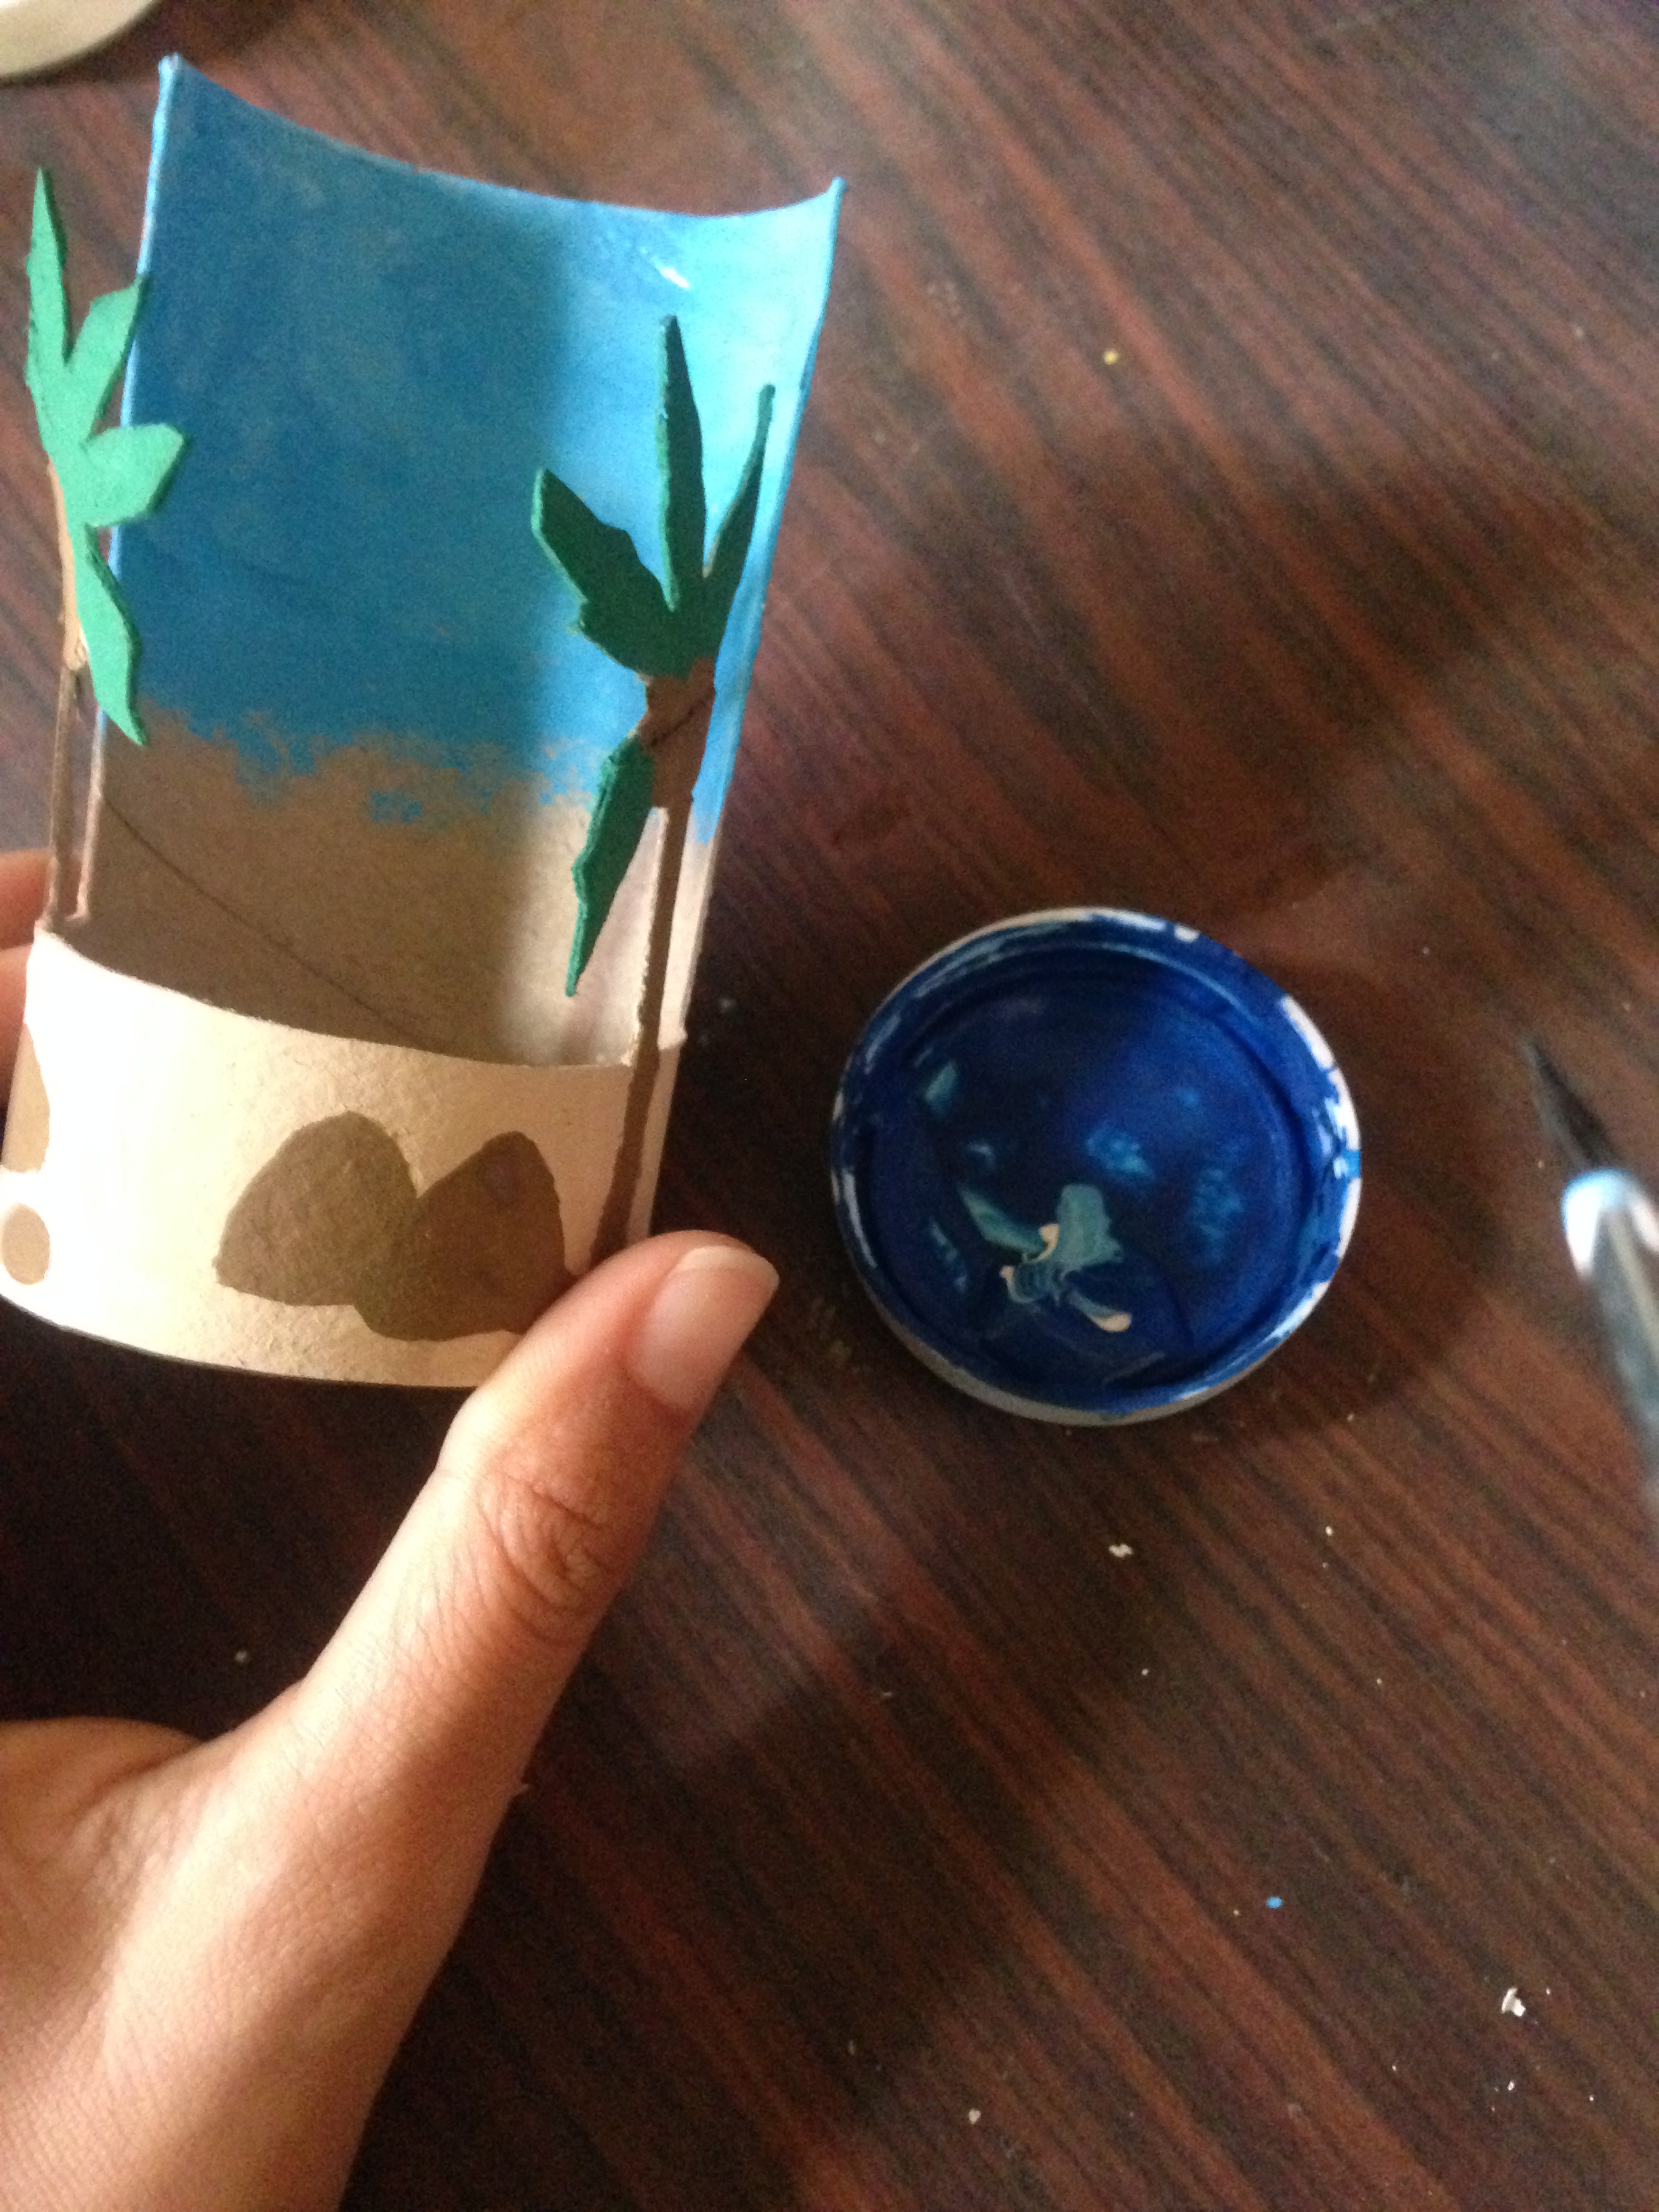
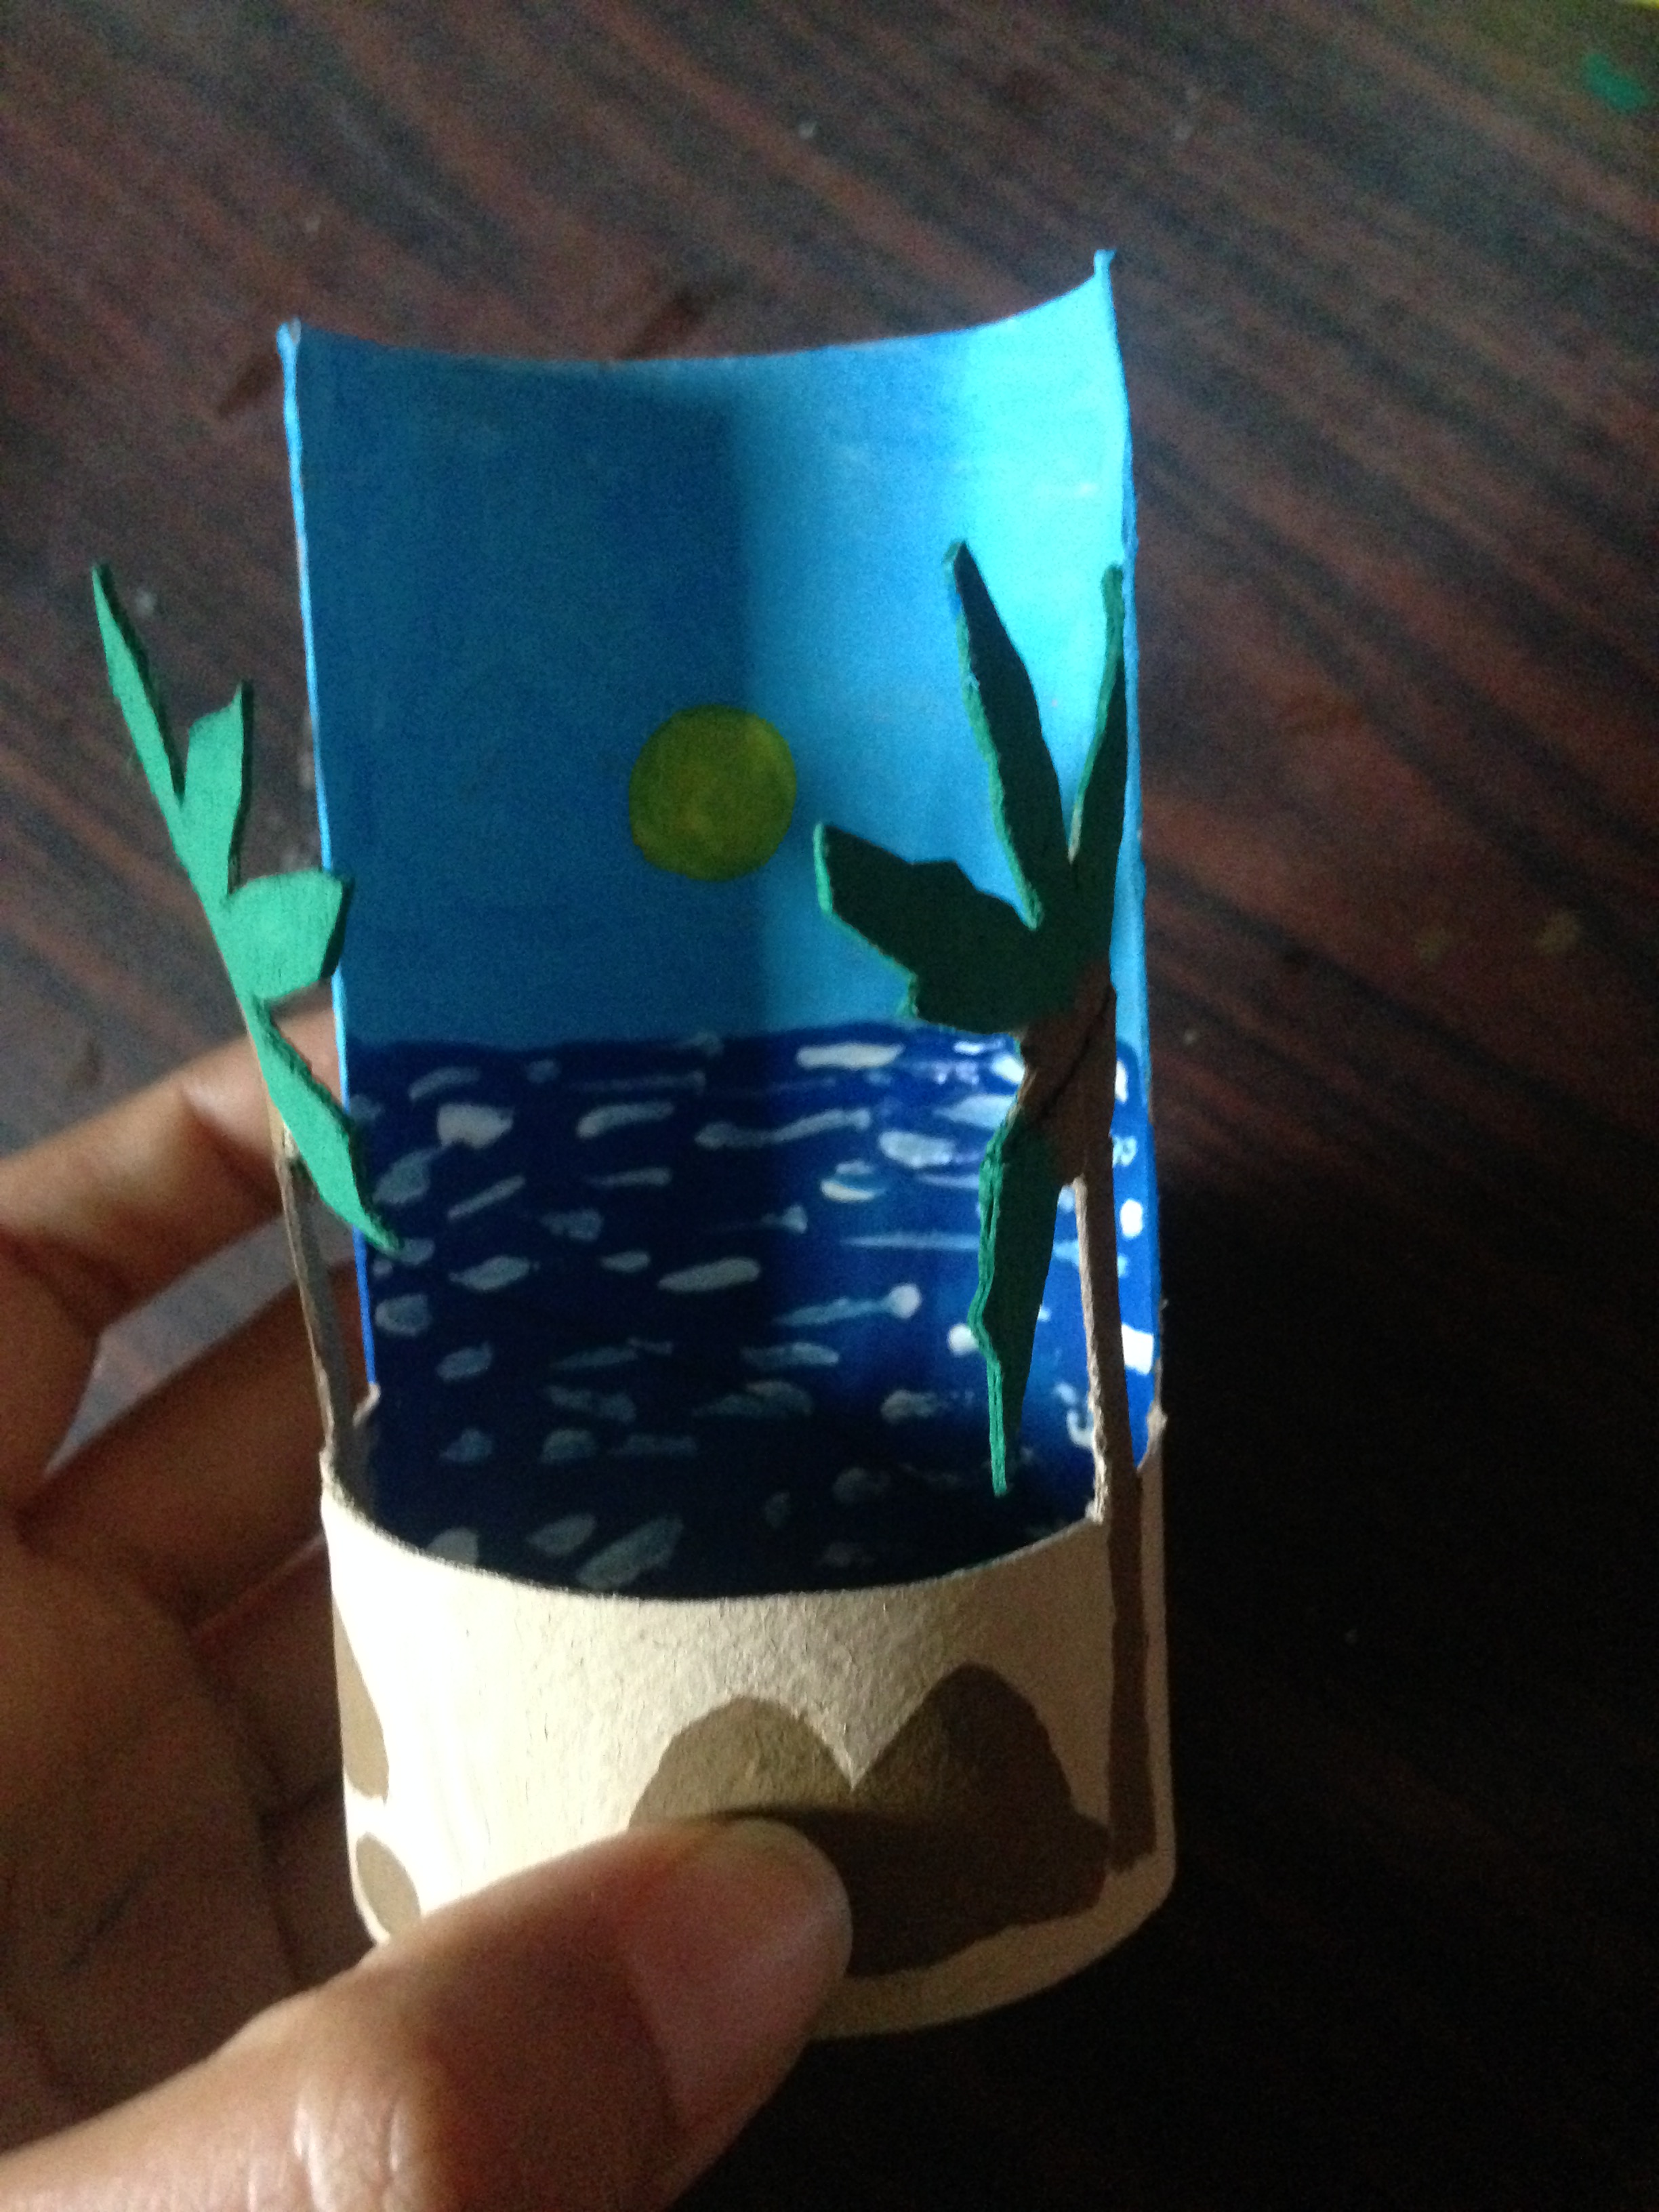
Paso 3
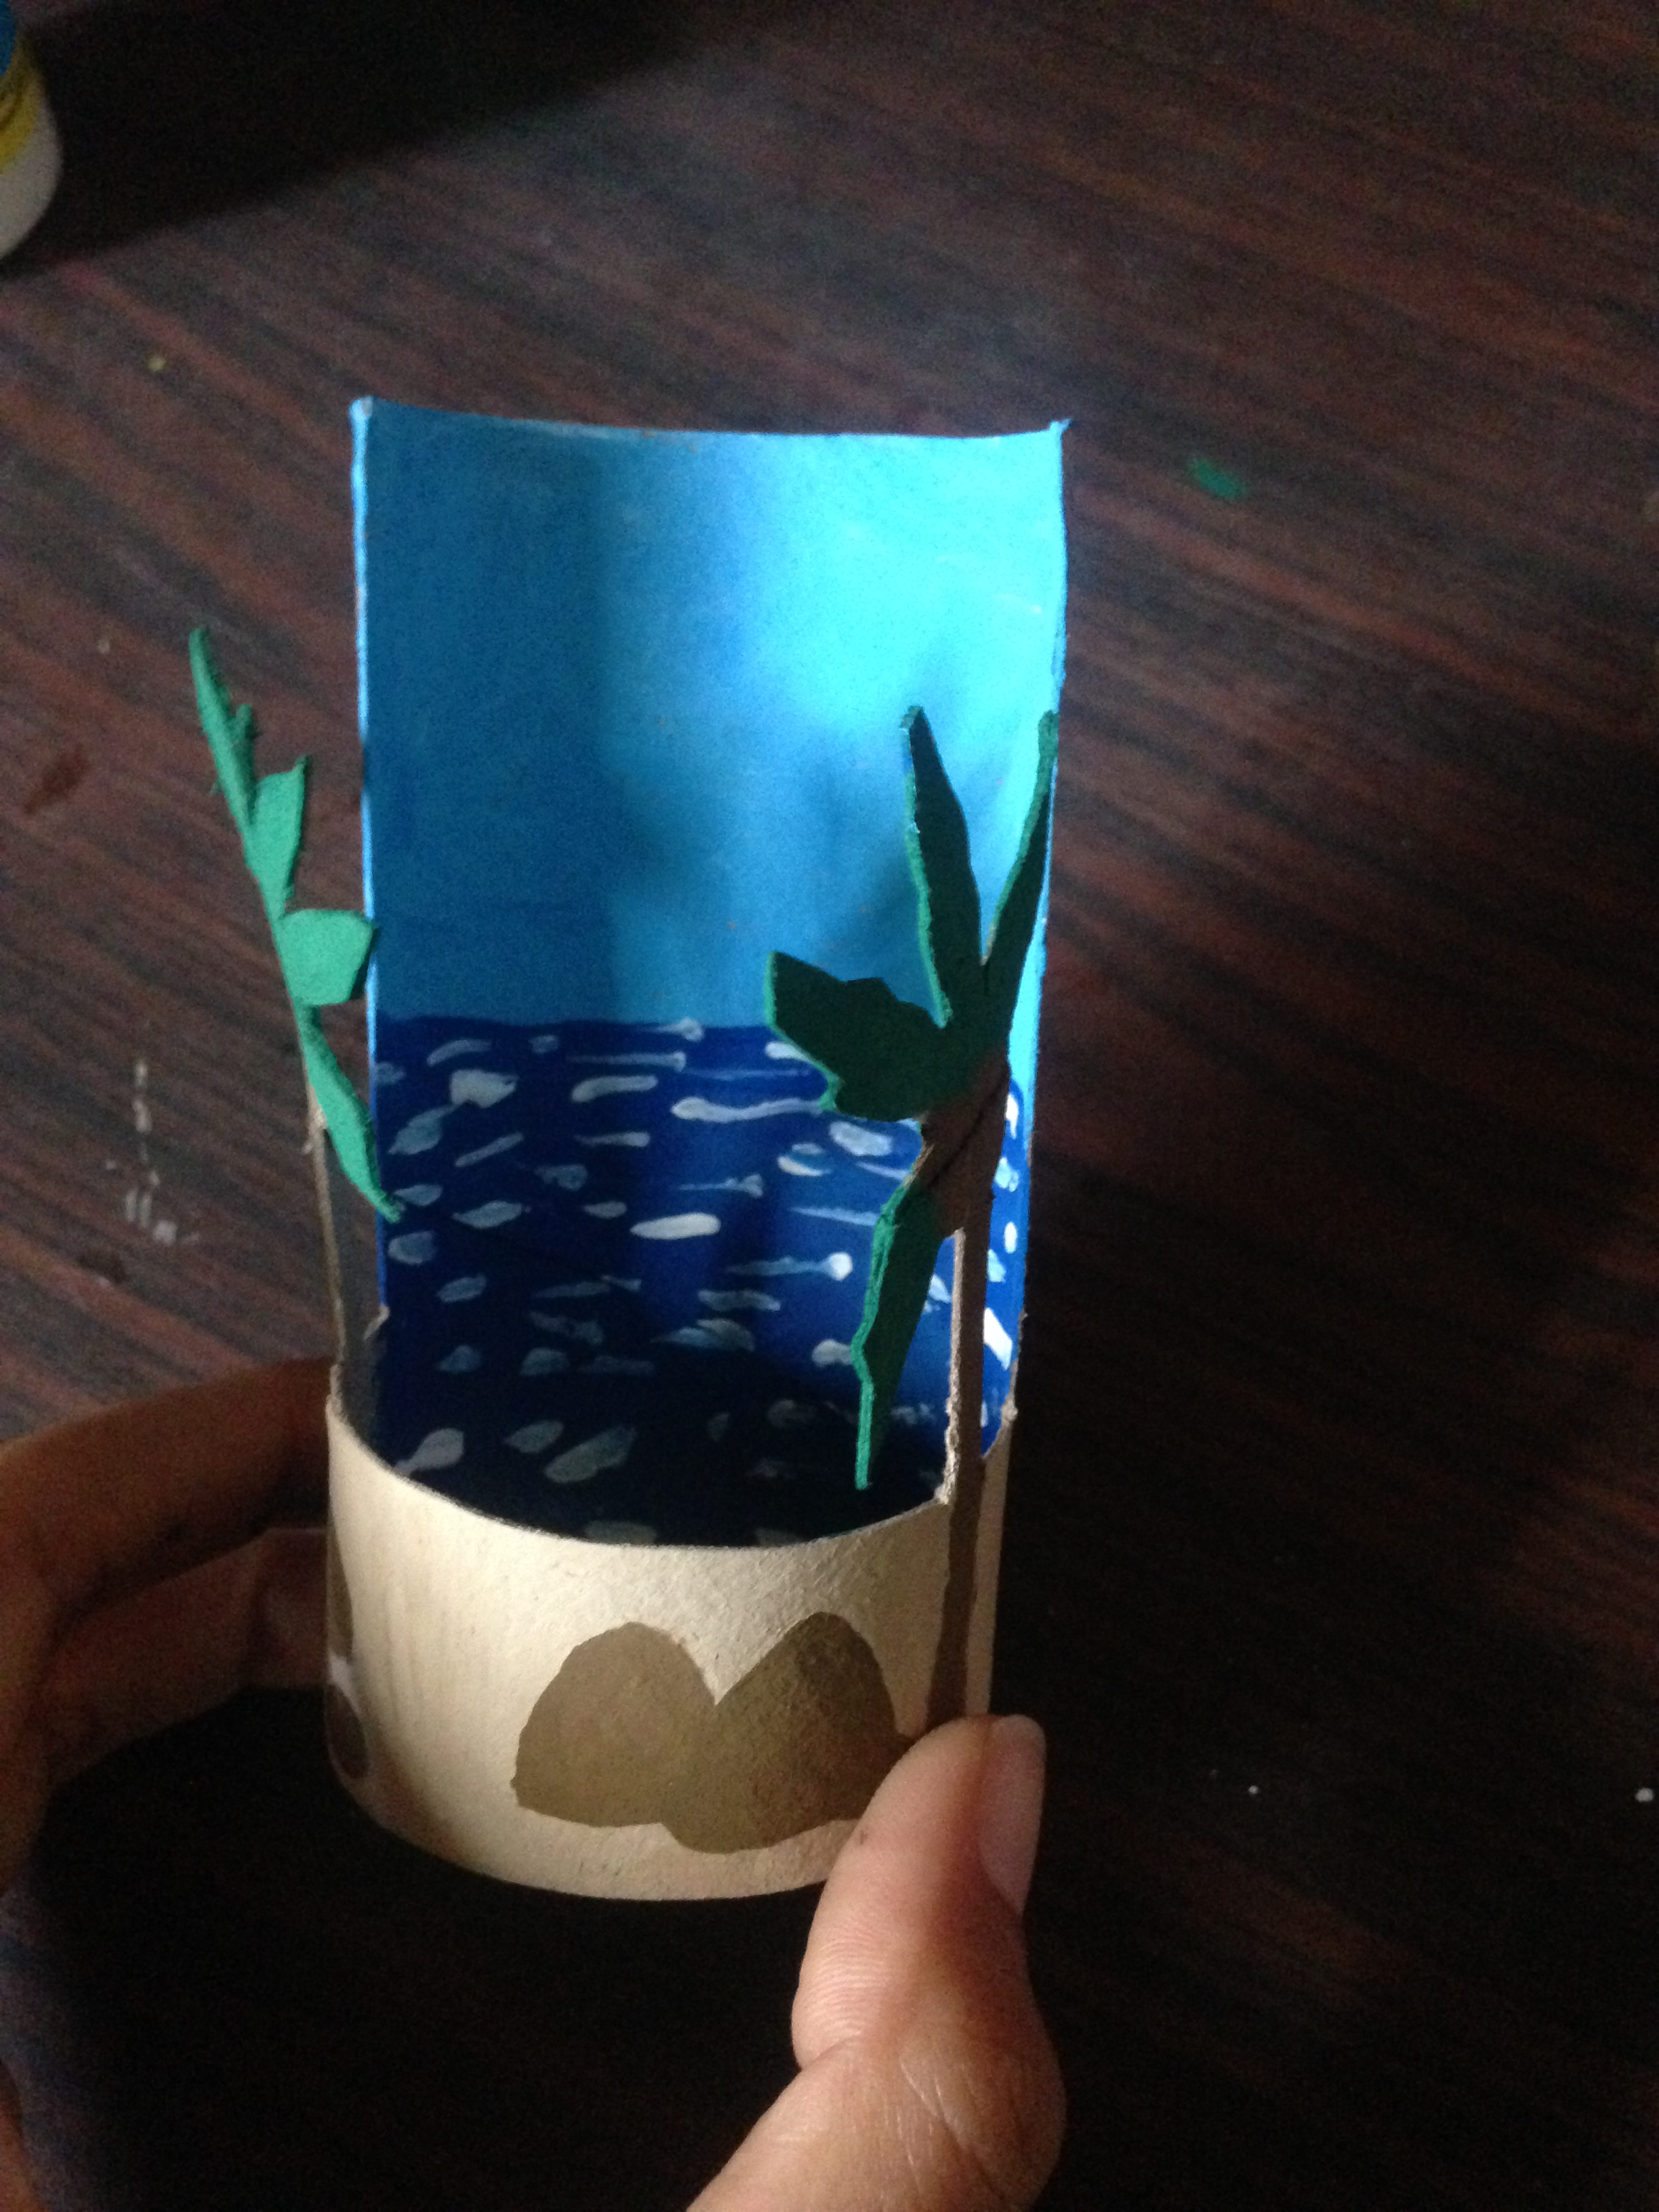
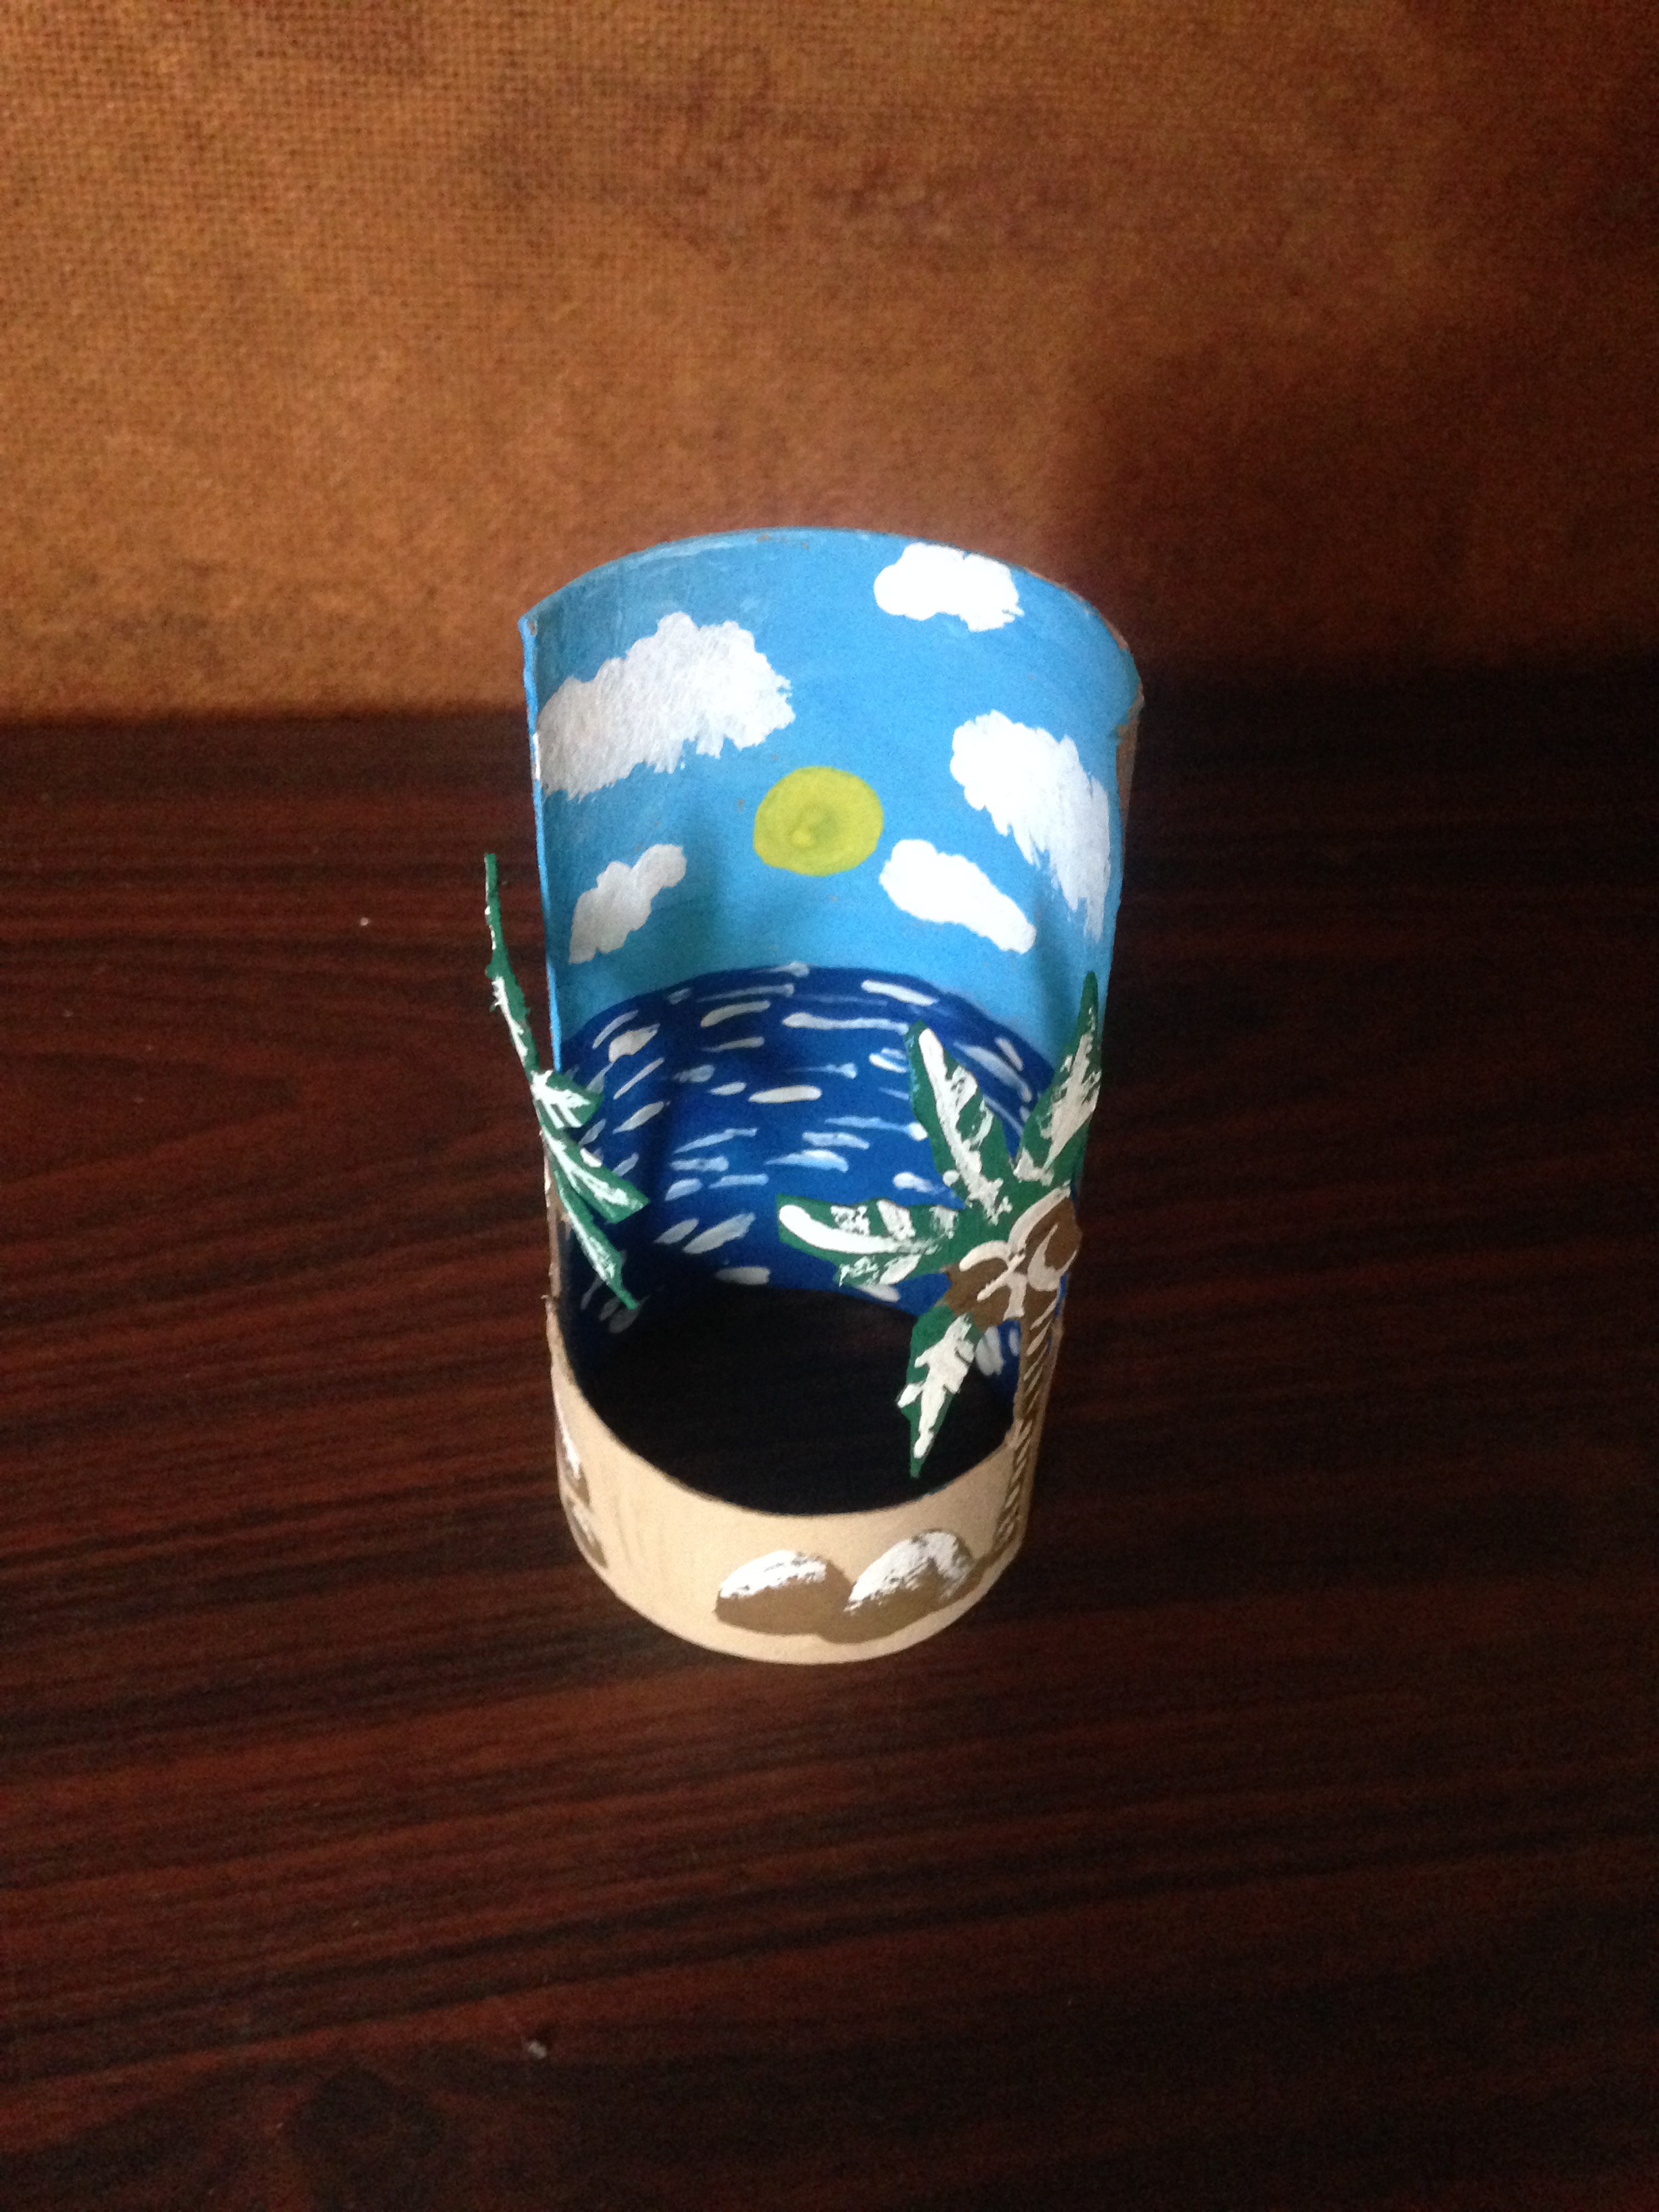
Vamos a pintar el paisaje del fondo, es decir el cielo y el mar, comenzamos por el cielo con un azul claro sino tienes puedes mezclar azul oscuro y blanco, luego pintamos el mar y por ultimo hacemos detalles de olas en el mar y en el cielo las nubes y el sol.
Step 3
We are going to paint the landscape in the background, that is, the sky and the sea, we start with the sky with a light blue if you do not have you can mix dark blue and white, then we paint the sea and finally we make details of waves in the sea and in the sky clouds and sun.
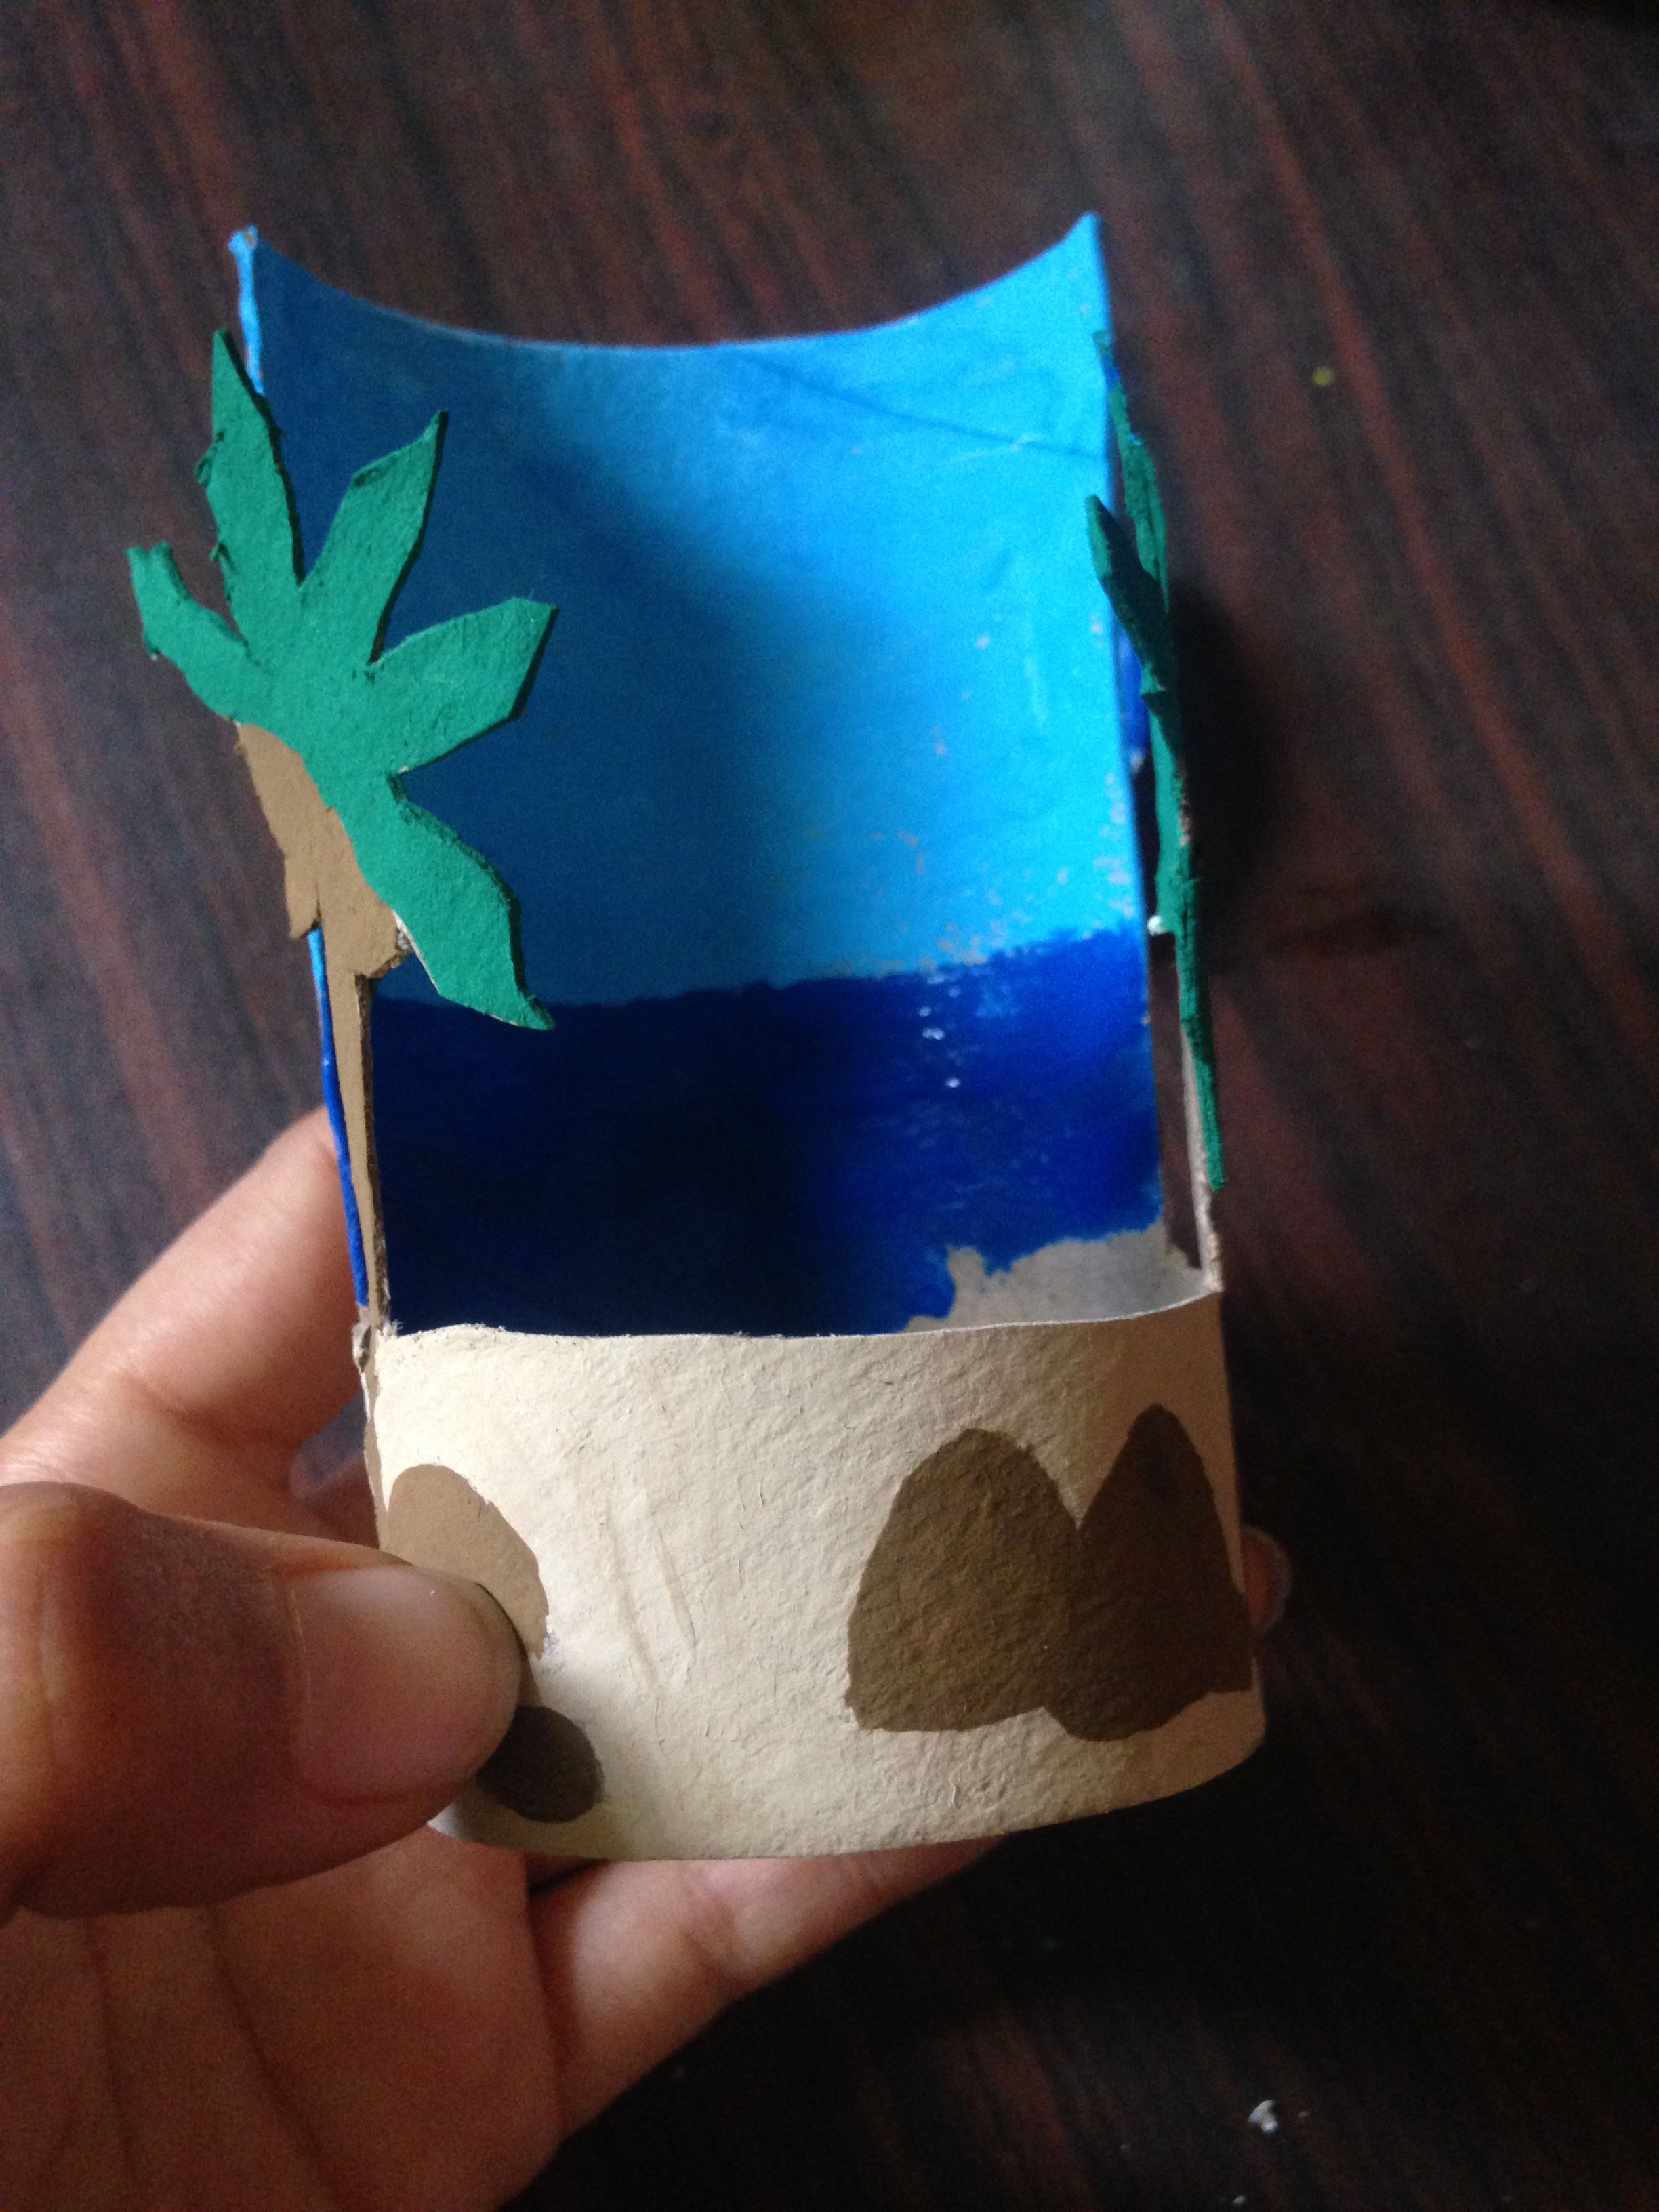
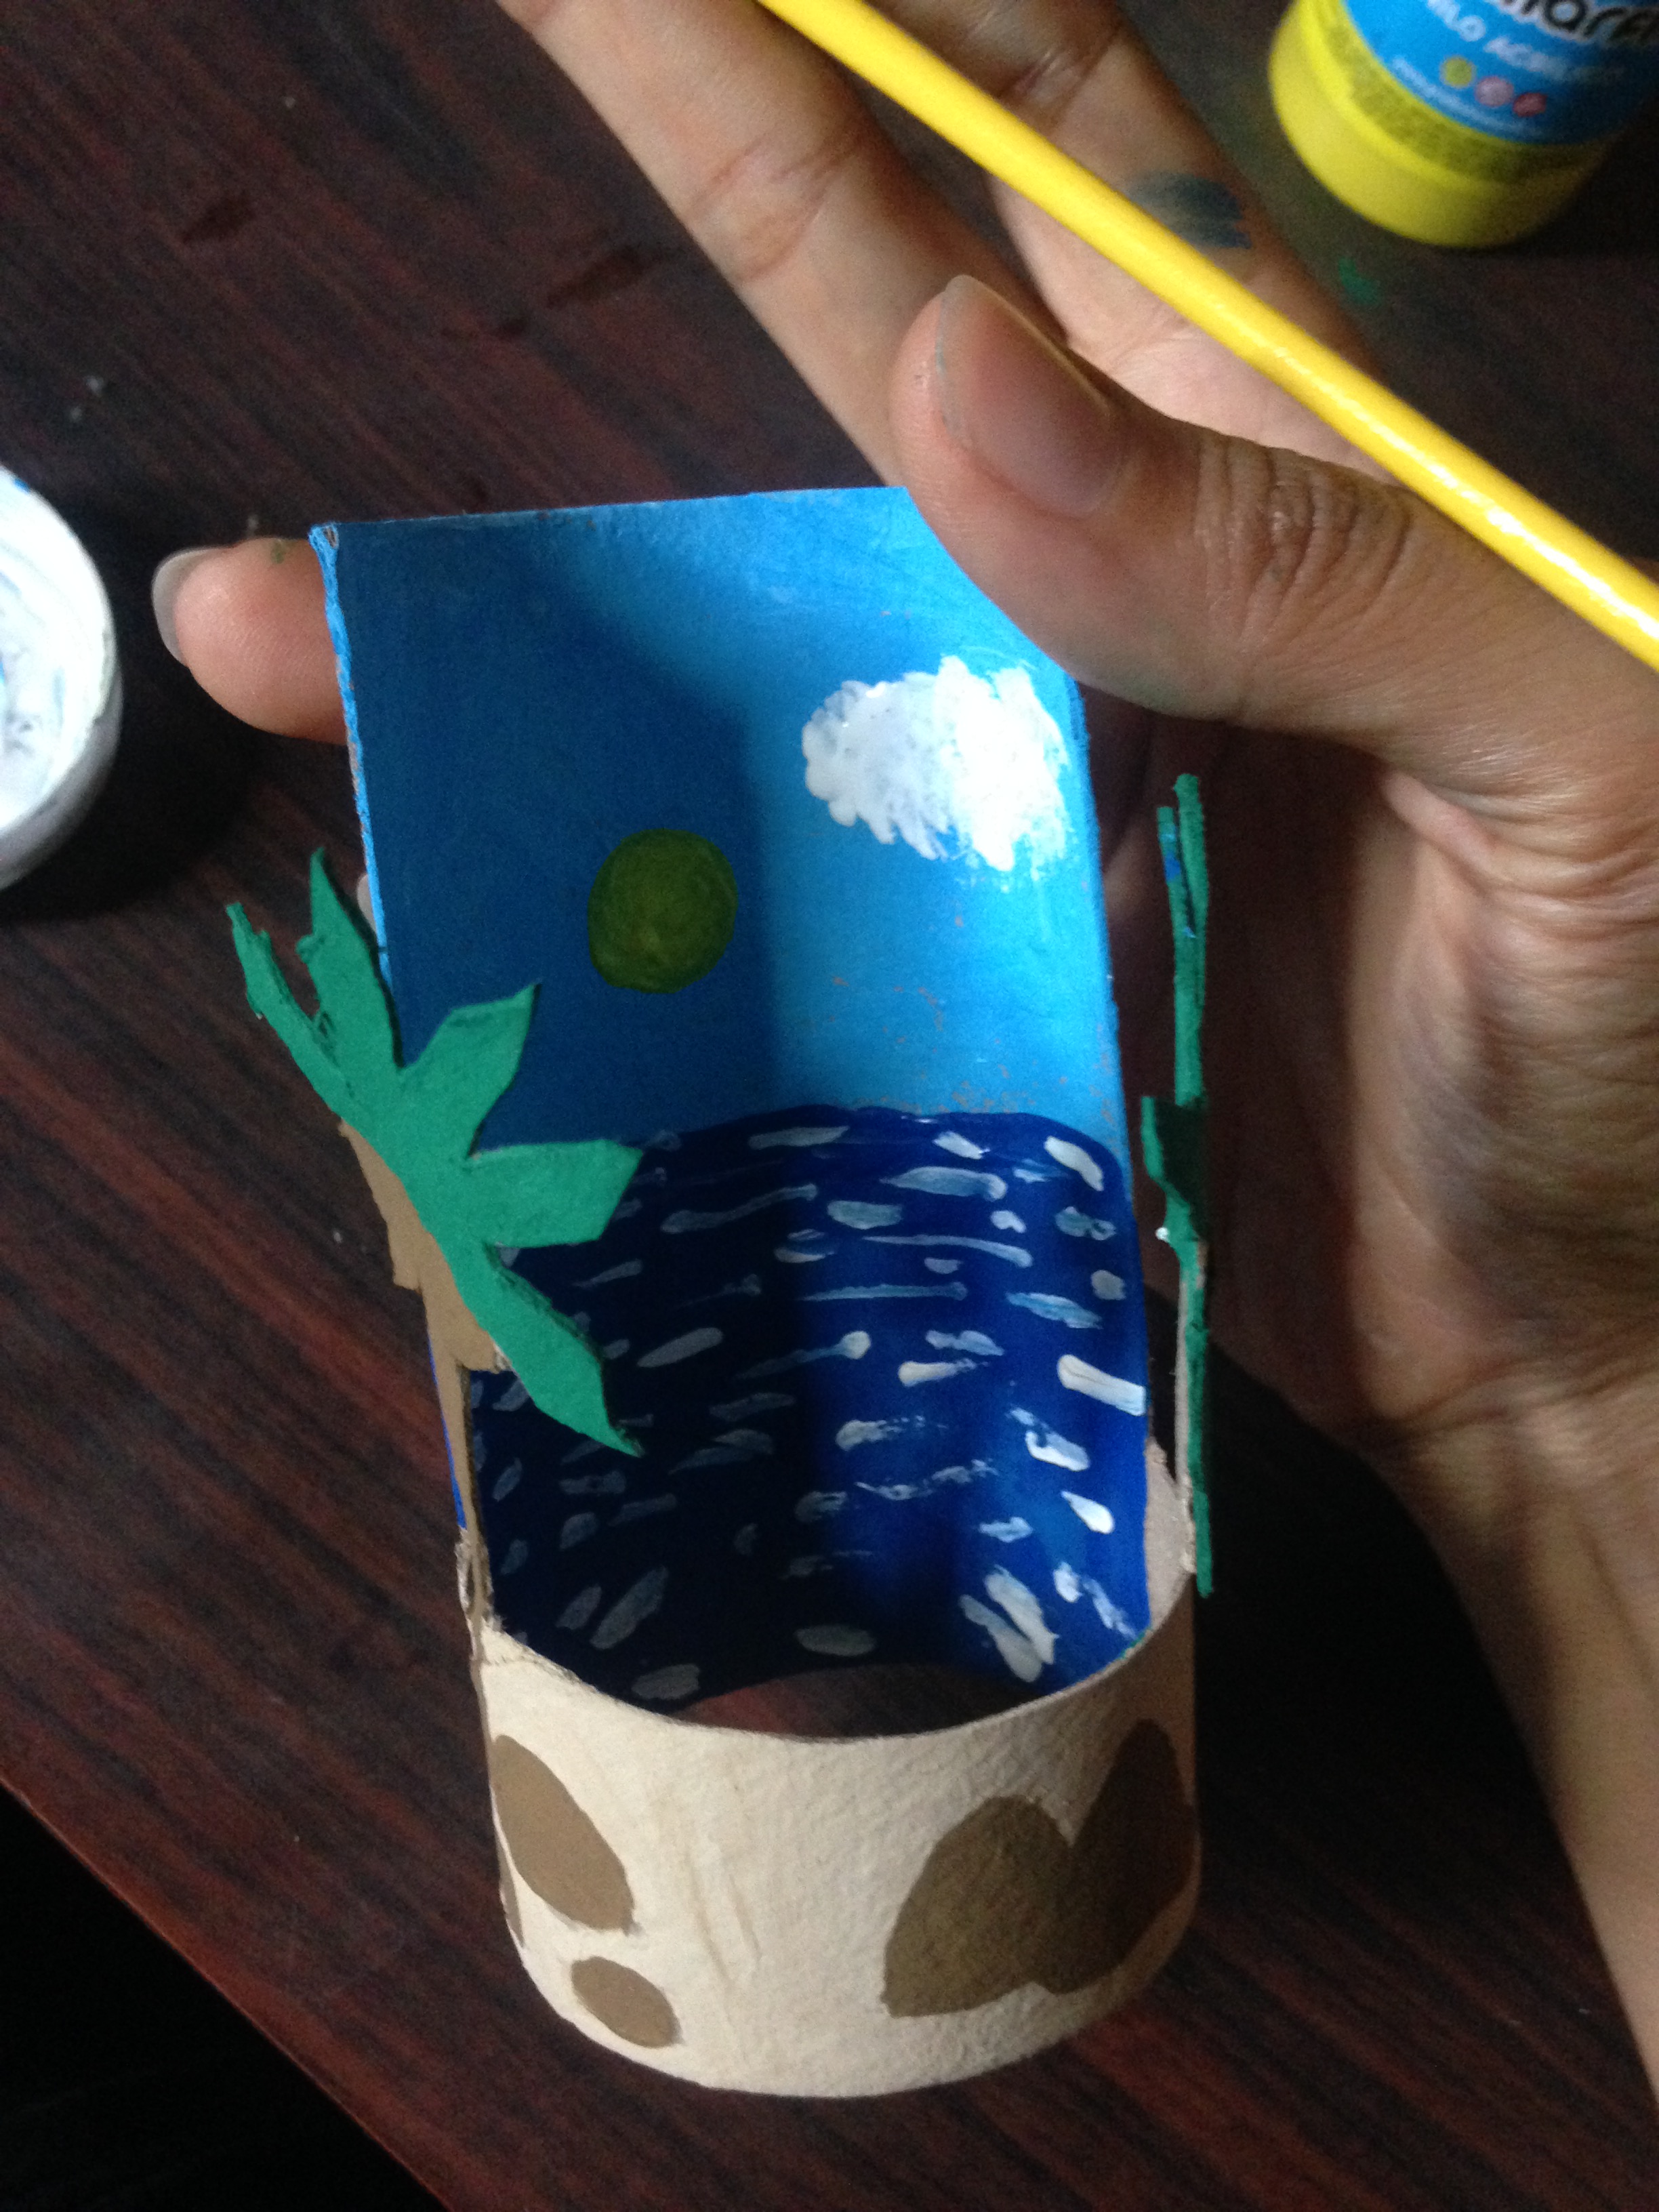
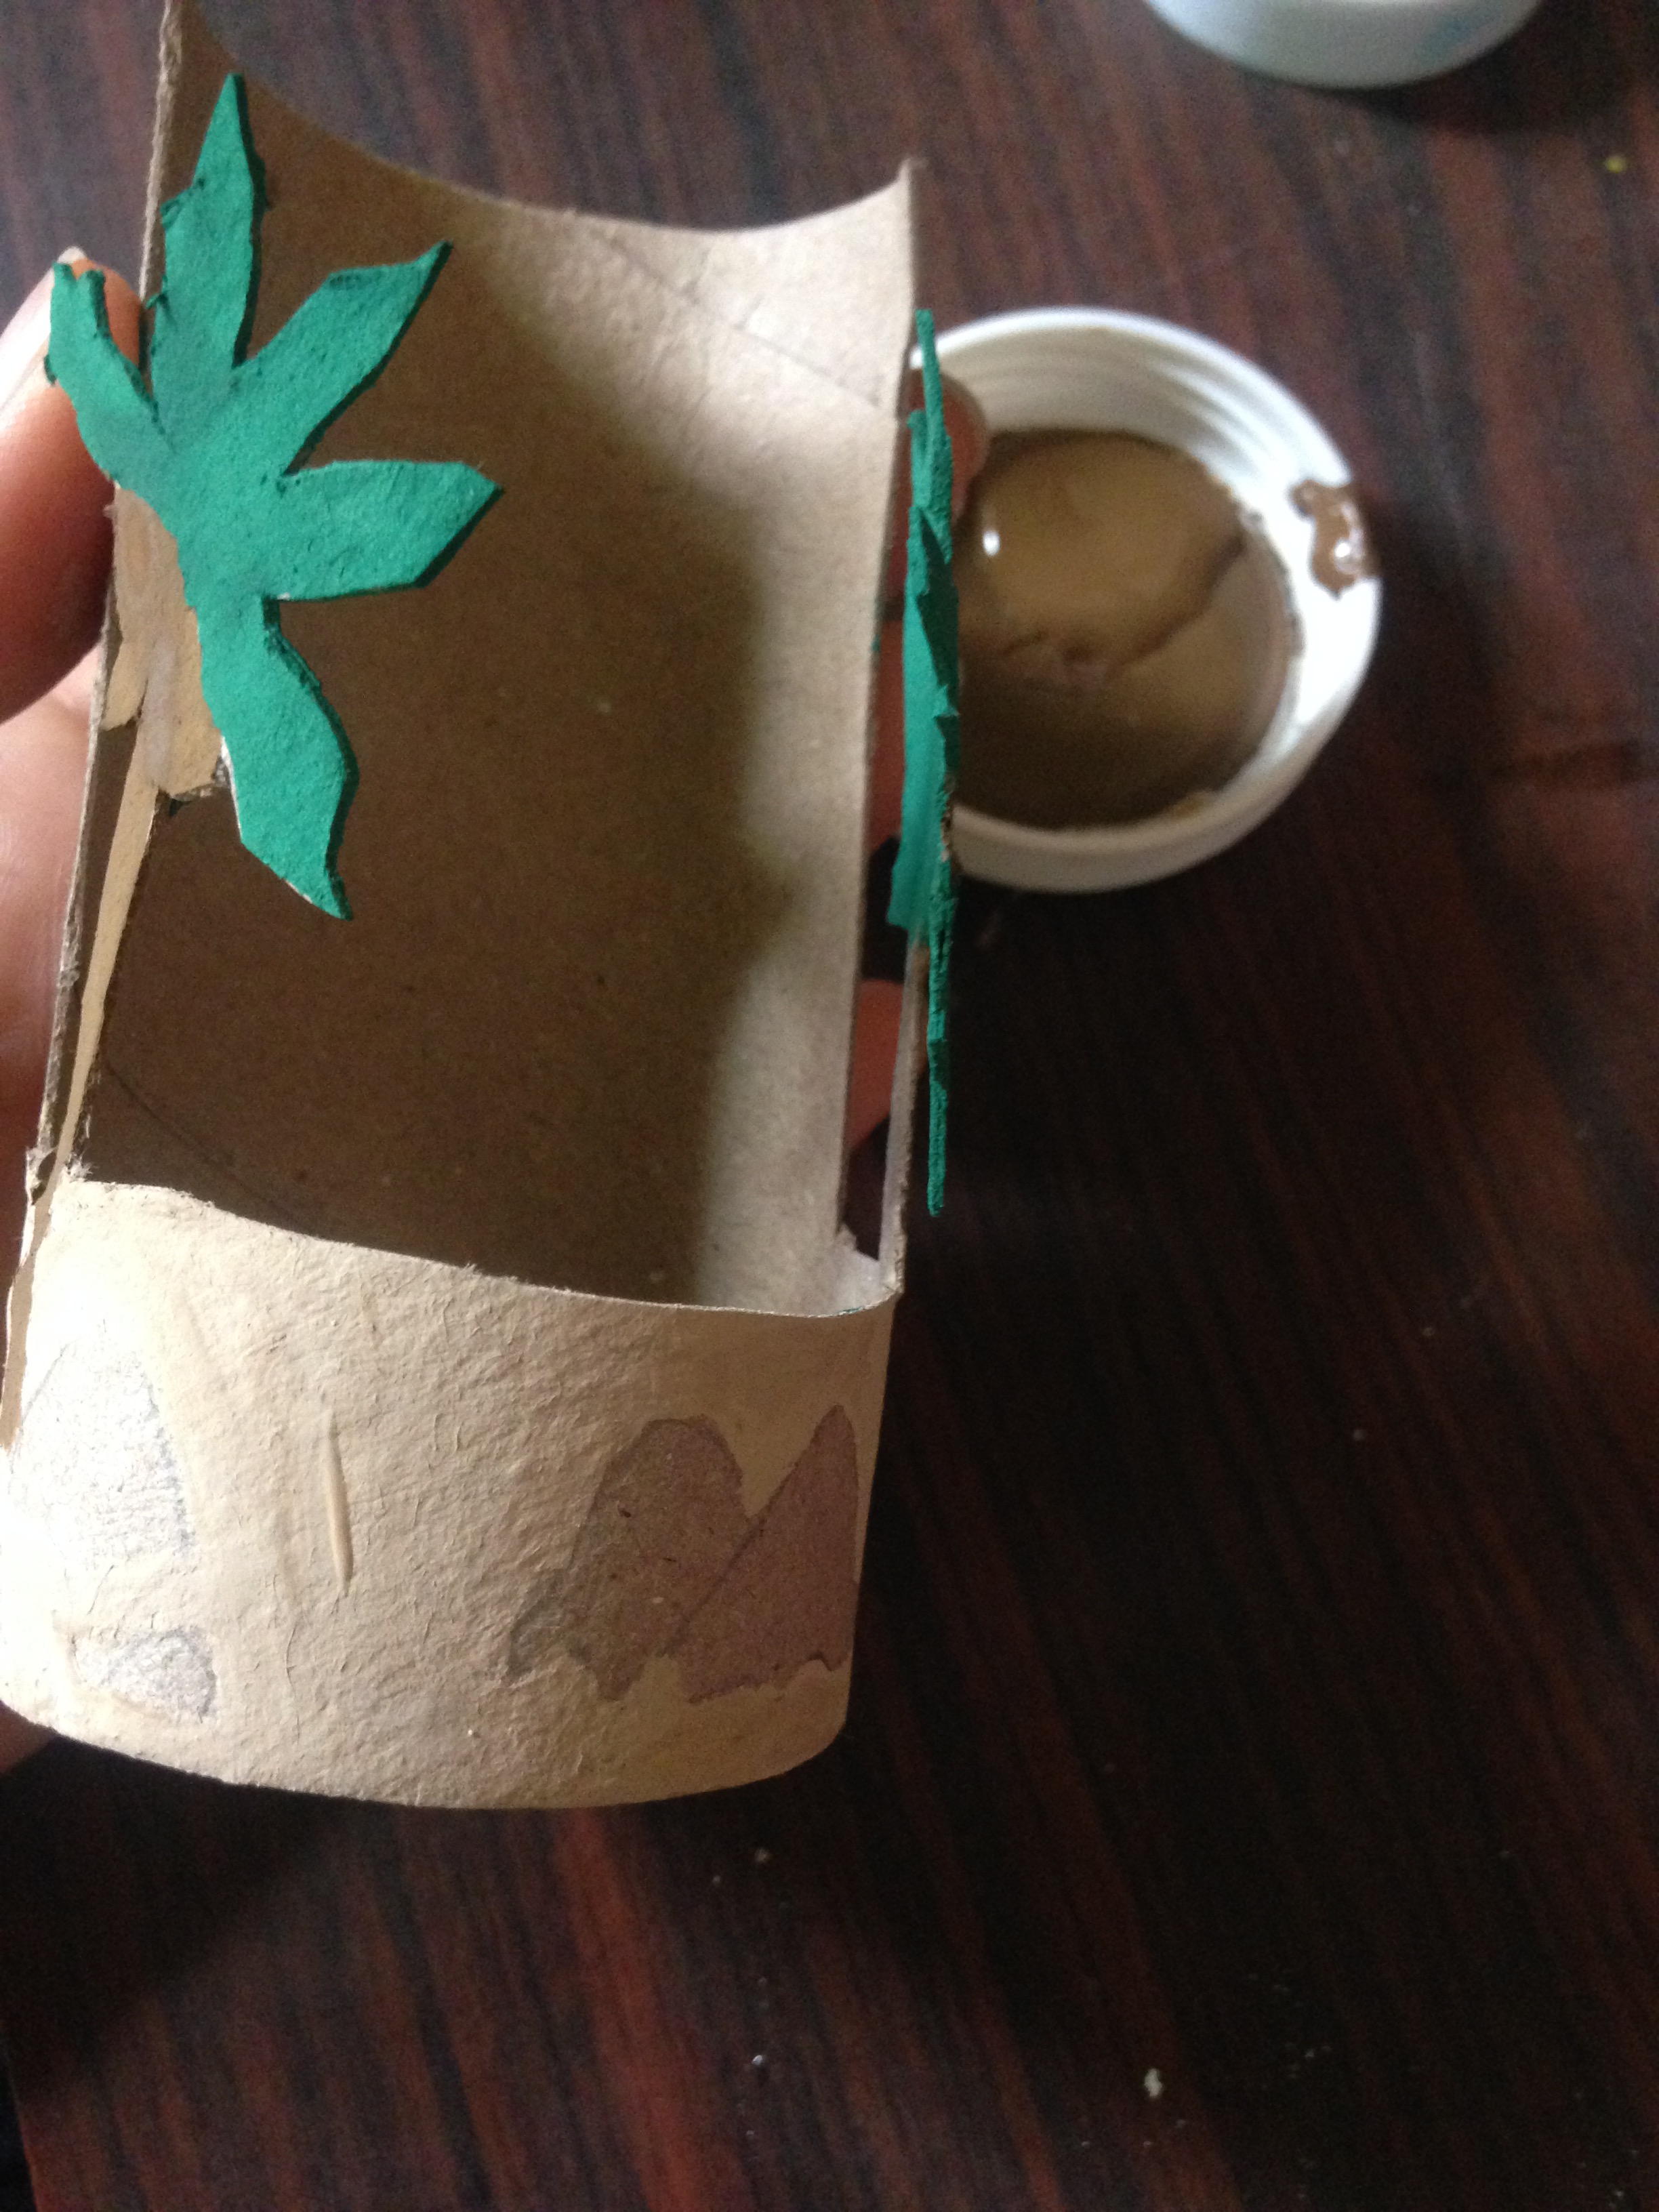
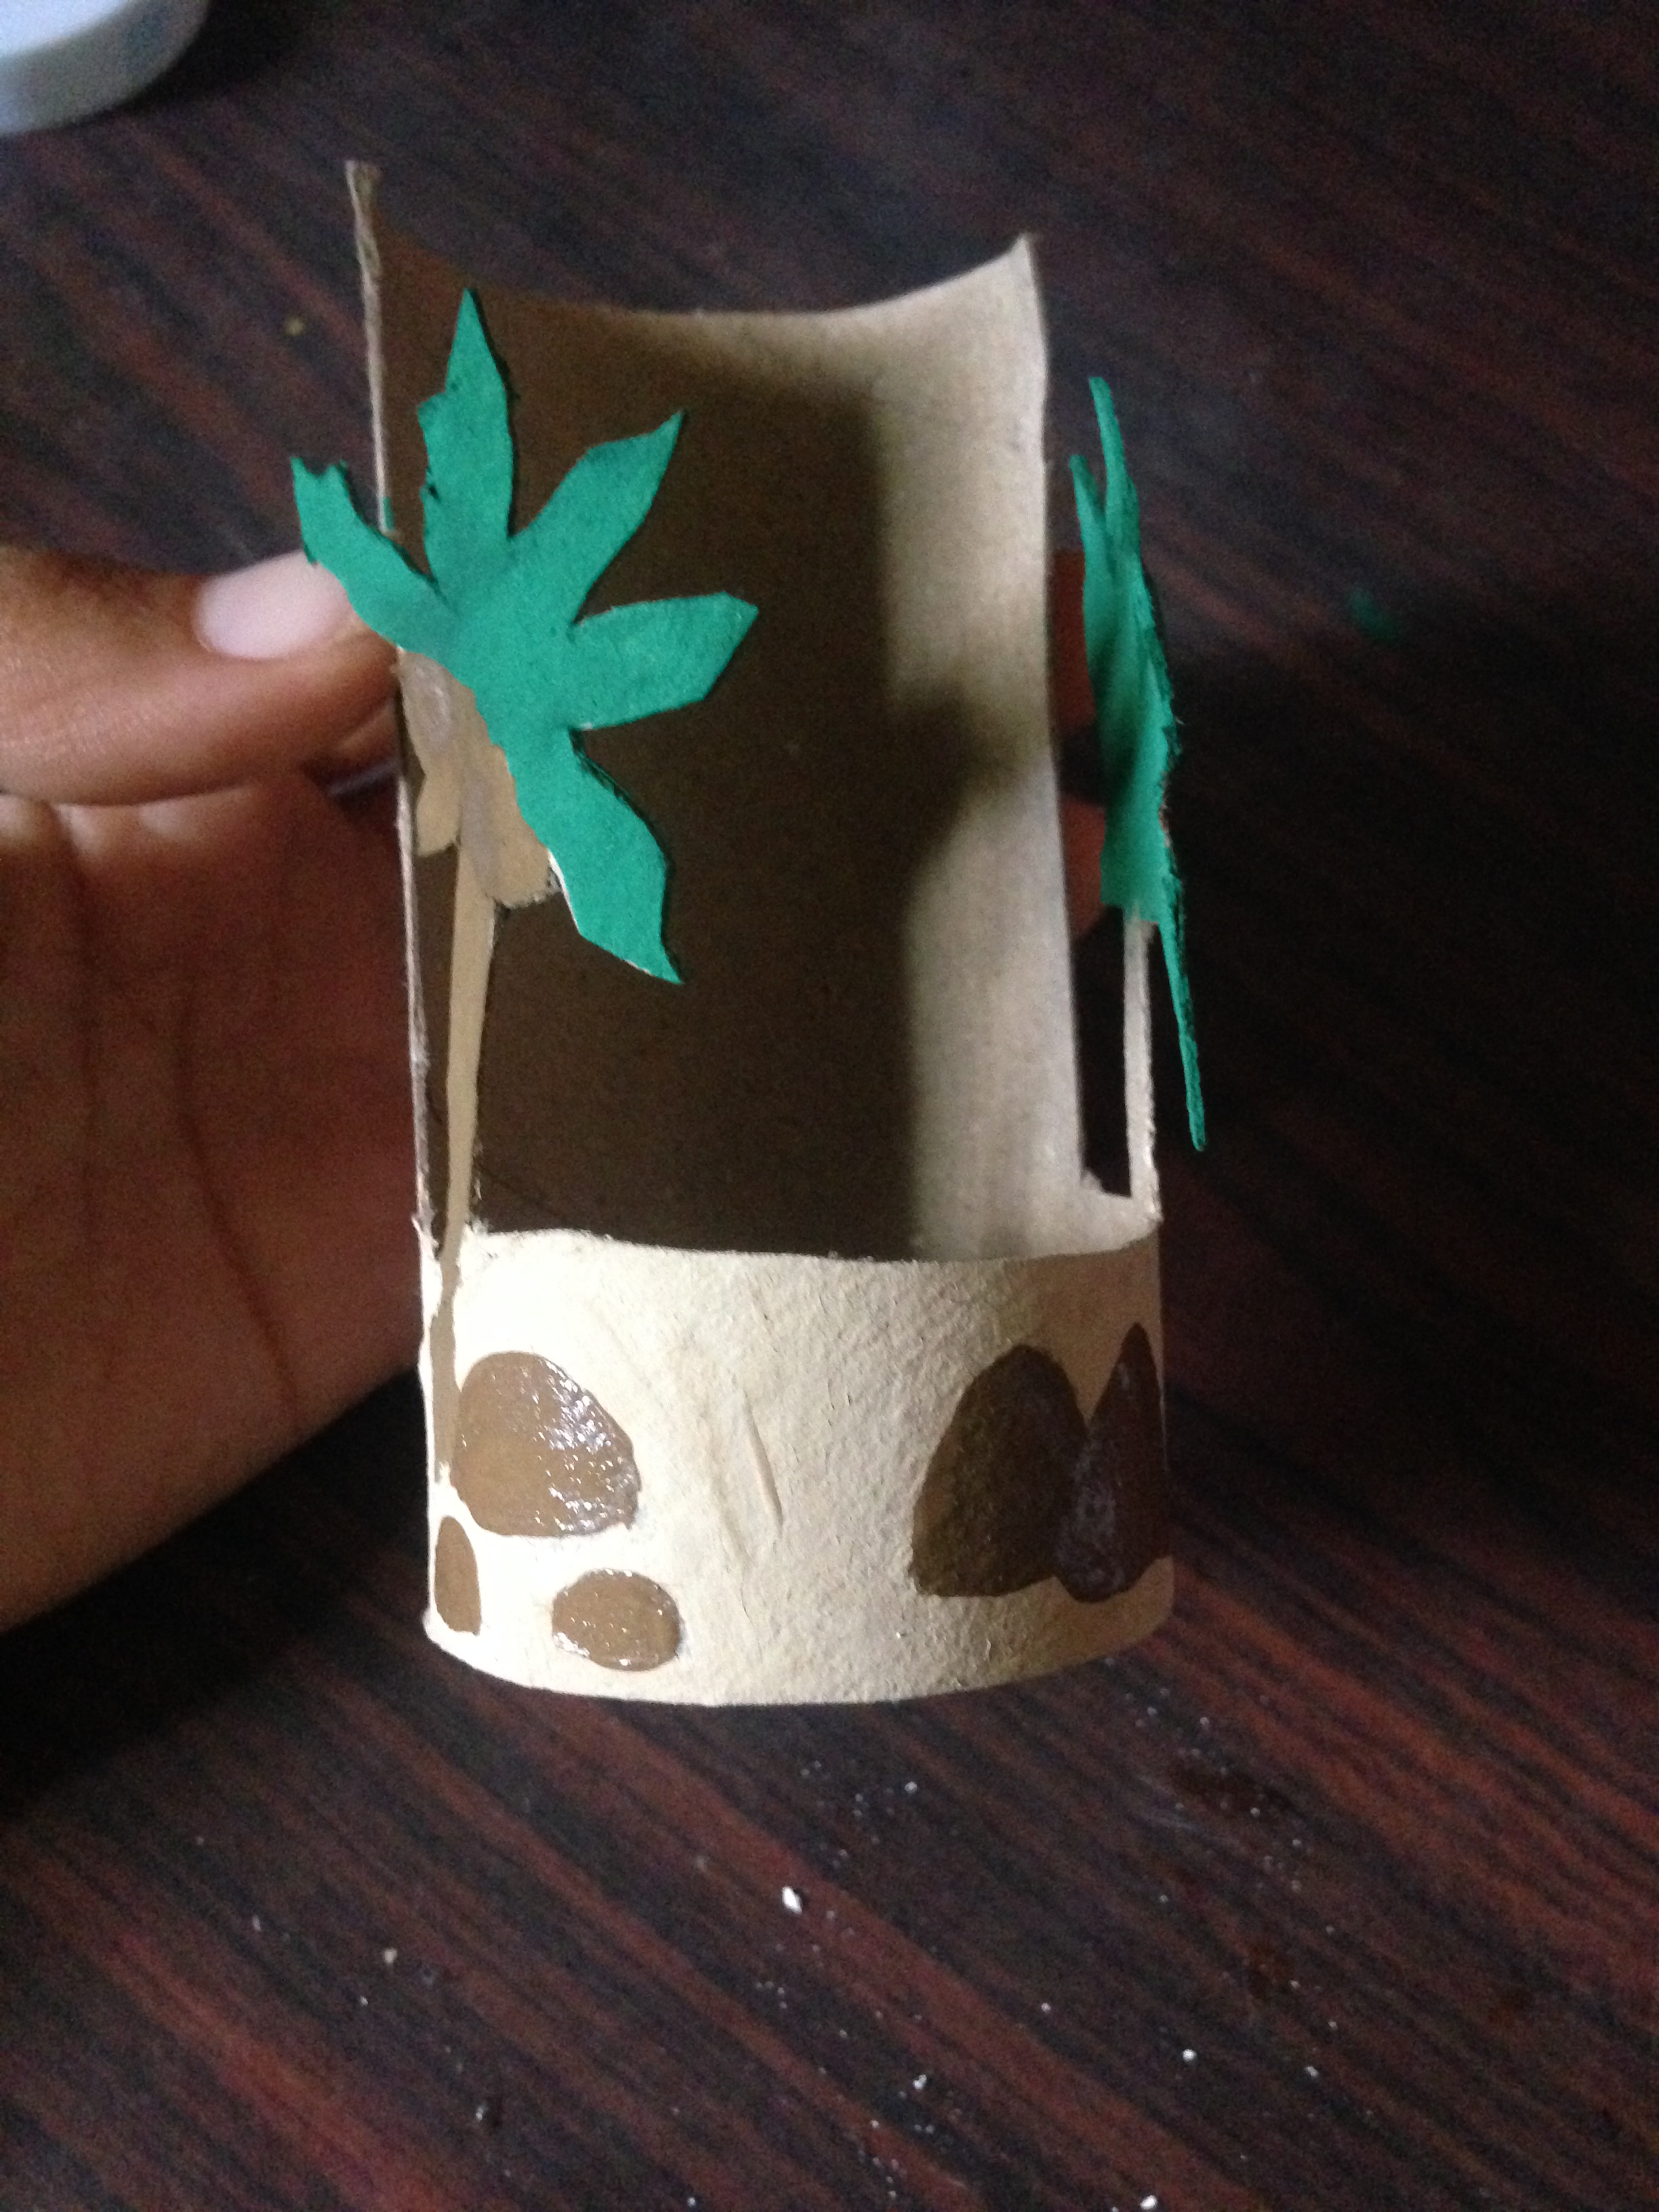
Paso 4
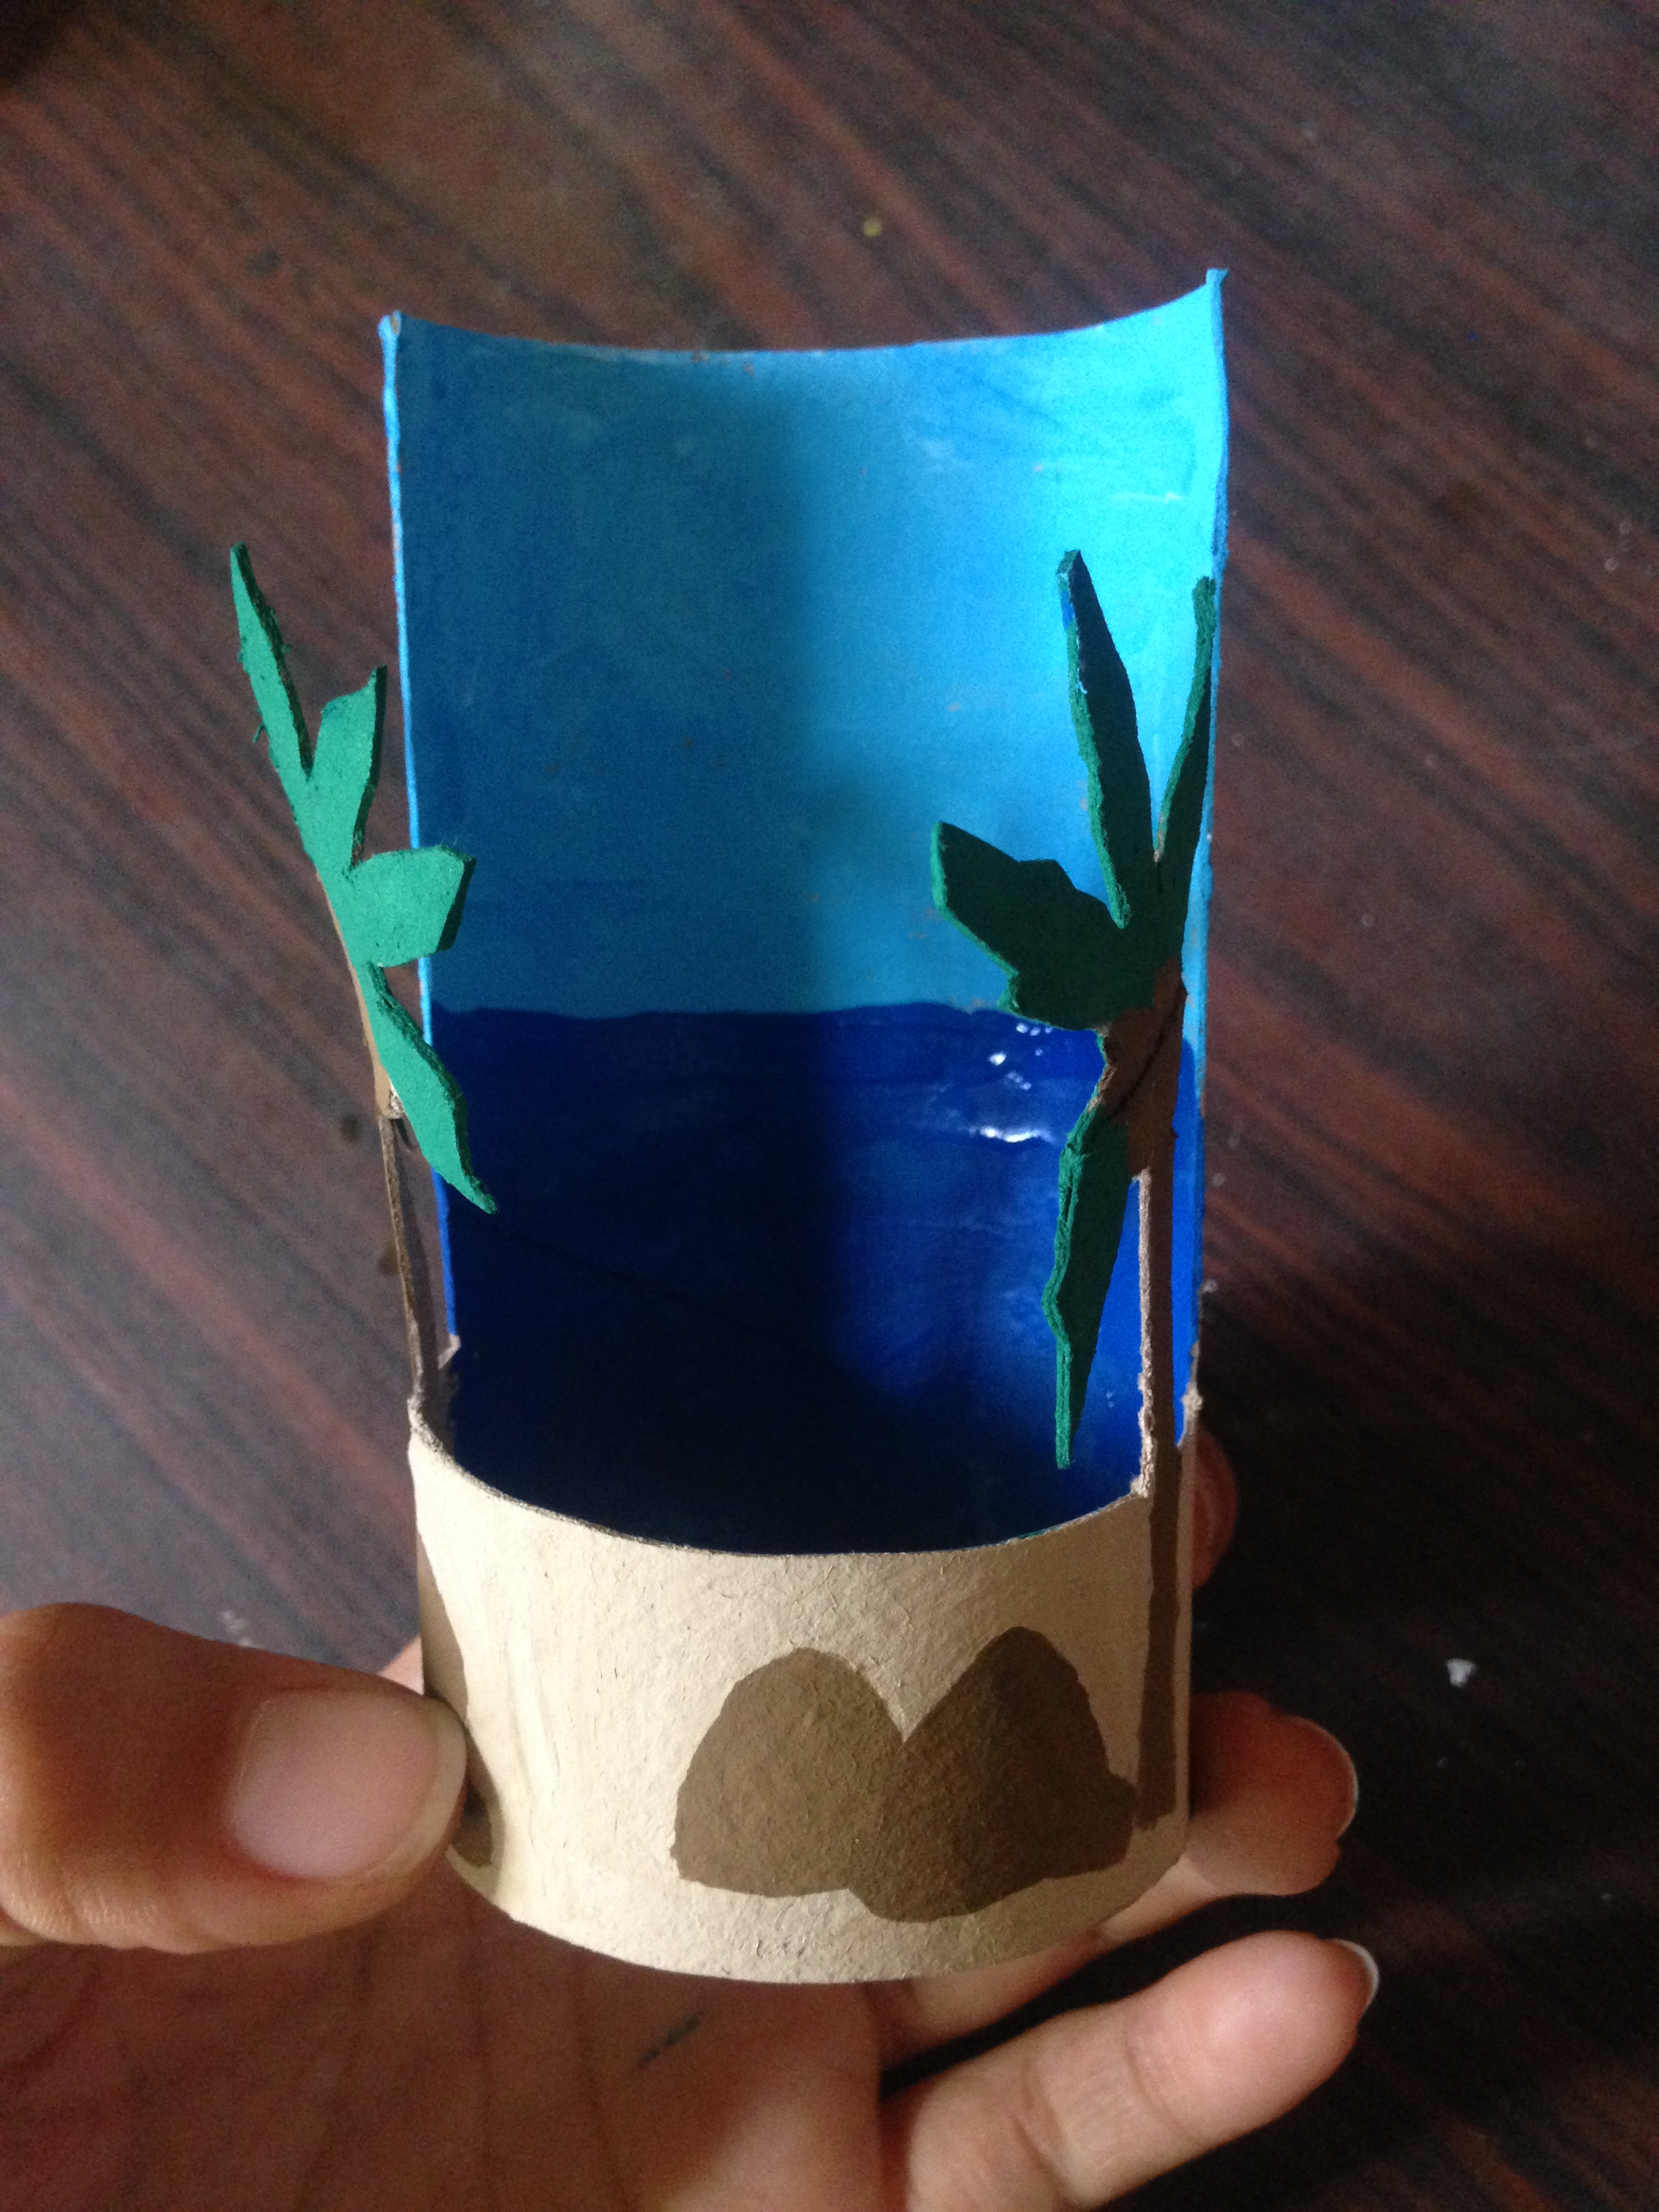
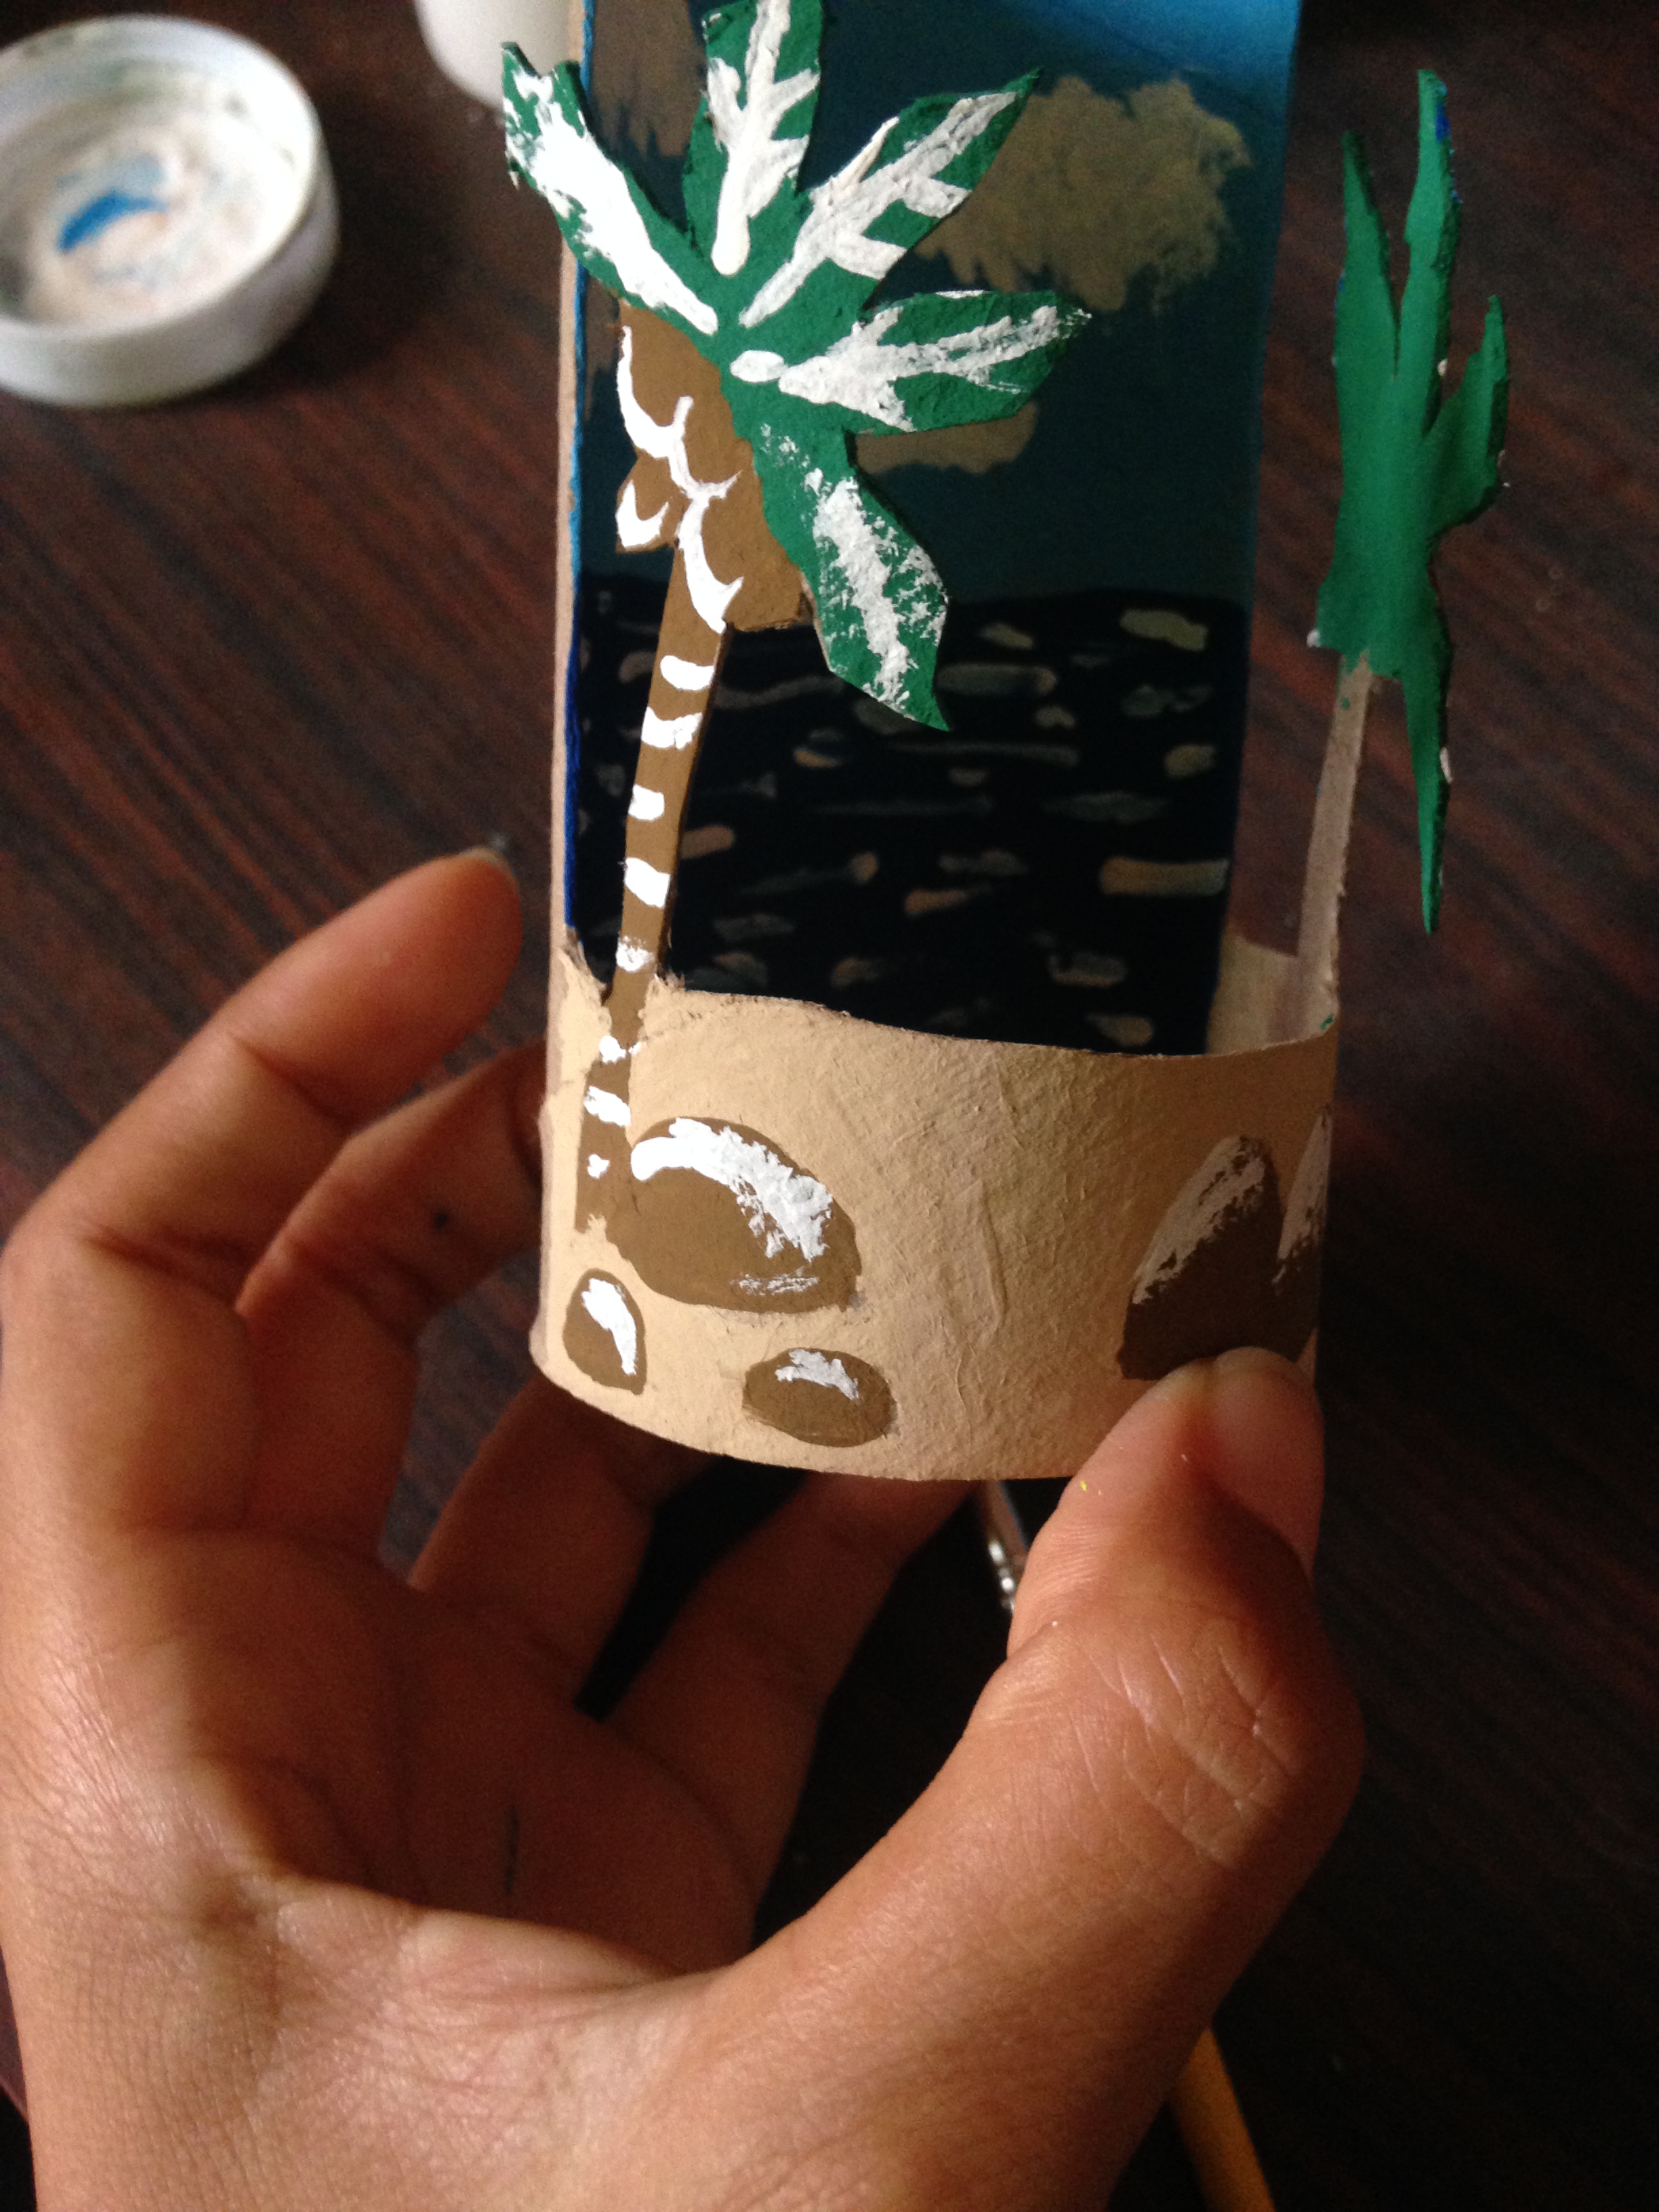
Para finalizar con pequeños trazos de blanco le haremos detalles a las palmeras y luego a las rocas
Step 4
To finish with small strokes of white we will make details to the palm trees and then to the rocks
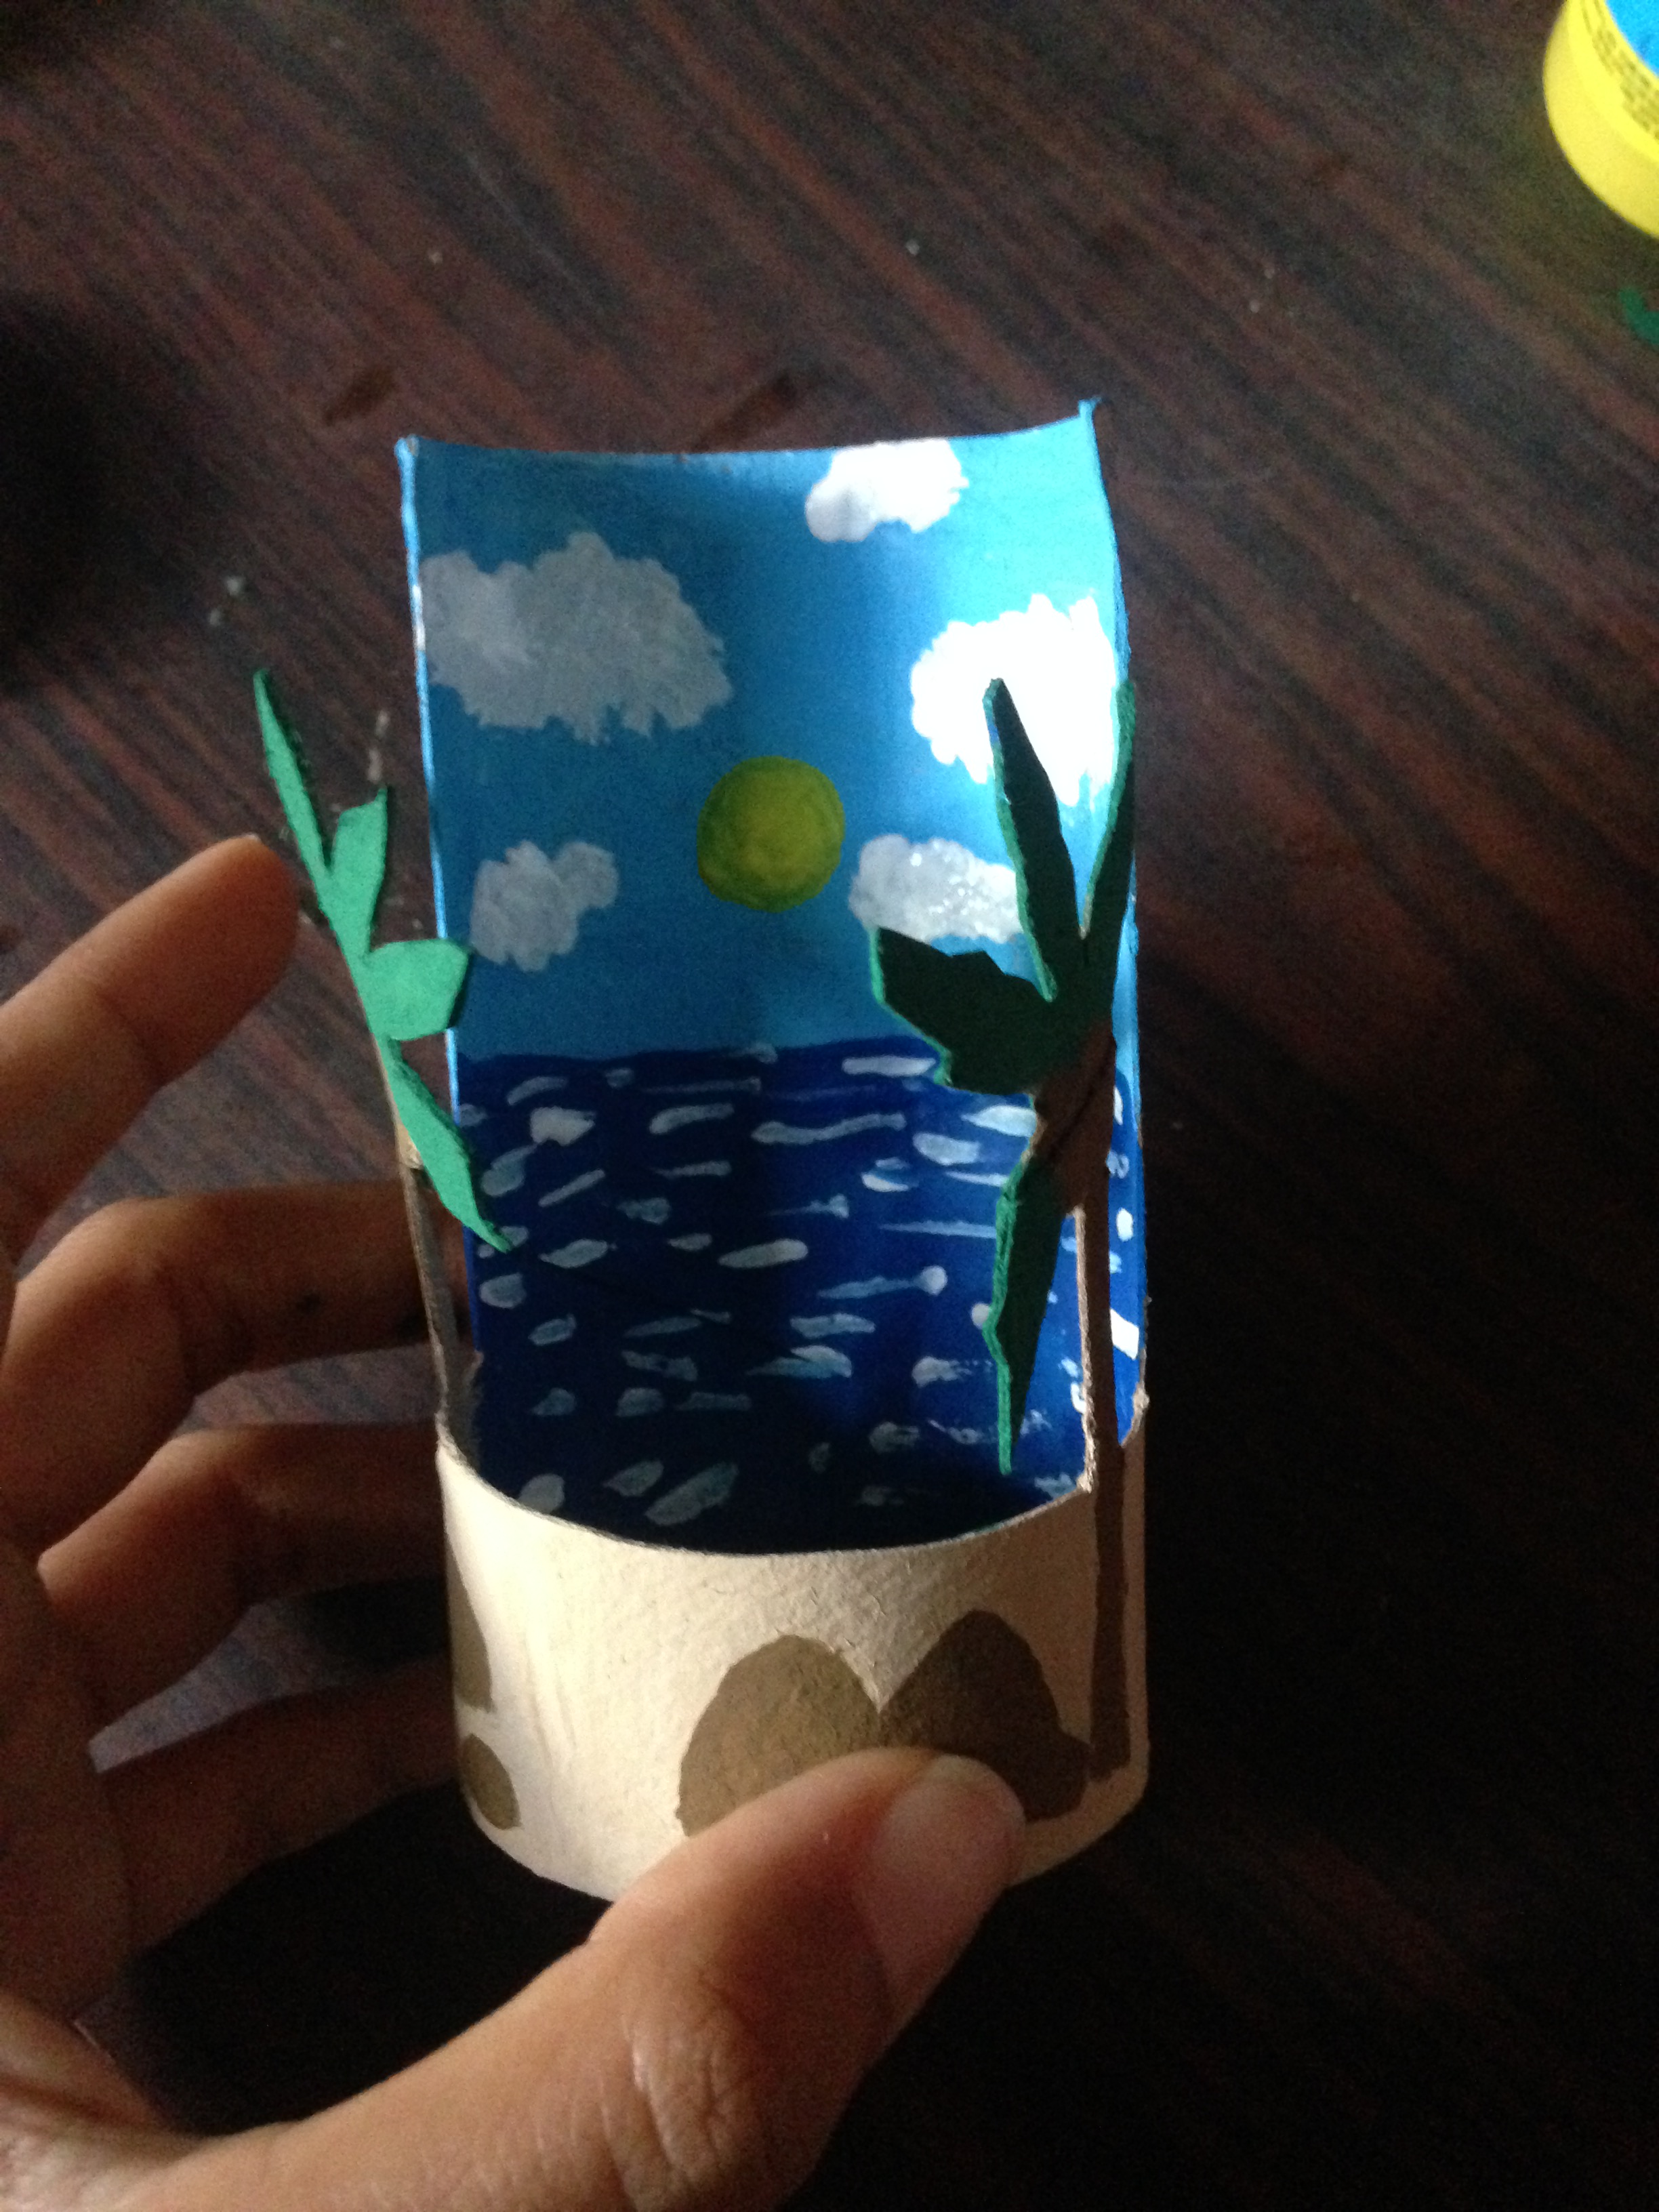
Hemos terminado nuestra hermosa playa, lo mas importante de todo es que es muy fácil de hacer y con materiales que tienes en casa, espero se animen a hacerlo
We have finished our beautiful beach, the most important thing of all is that it is very easy to do and with materials that you have at home, I hope you will be encouraged to do it.
.png)
Bye Bye
Congratulations @grimarygrimont! You have completed the following achievement on the Hive blockchain and have been rewarded with new badge(s):
Your next target is to reach 70 posts.
You can view your badges on your board and compare yourself to others in the Ranking
If you no longer want to receive notifications, reply to this comment with the word
STOPTo support your work, I also upvoted your post!
Check out the last post from @hivebuzz:
Support the HiveBuzz project. Vote for our proposal!