Un saludo a todos los miembros de esta maravillosa comunidad. Un gran abrazo a todos mis seguidores y a los usuarios que siempre apoyan mis publicaciones con un voto positivo e incluso con sus apreciados comentarios.
Hoy quiero compartir con ustedes una figura en Origami que es el arte de crear figuras u objetos con una sola hoja de papel. La figura que realizare hoy es la cara de un Elefante, esta figura la haré inicialmente con papel iris y luego haré otra con papel reciclado para contribuir con el medio ambiente, si tu la deseas hacer la puedes crear con cualquier tipo de papel, aunque recomiendo el iris gracias a su facilidad para hacer los dobleces.
Greetings to all members of this wonderful community. A big hug to all my followers and users who always support my posts with a positive vote and even with their appreciated comments.
Today I want to share with you a figure in Origami that is the art of creating figures or objects with a single sheet of paper. The figure that I will make today is the face of an Elephant, this figure will be made initially with iris paper and then I will make another with recycled paper to contribute to the environment, if you want to make it you can create it with any type of paper, although I recommend the iris thanks to its ease of making folds.
Cara de Elefante en Origami
Origami Elephant Face
Antes de iniciar a hacer la figura debemos disponer de una hoja cuadrada no importa el tamaño, eso va en tu decisión, en este caso haré la cara de un Elefante en Origami con una hoja iris explicando el paso a paso y luego haré la misma figura pero con una hoja reciclada haciendo la figura completa. A continuación el paso a paso de la cara de Elefante en Origami:
Primero debemos tomar la hoja y doblaremos una punta hacia el extremo contrario realizando un corte diagonal, luego deshacemos el doblez y doblamos la otra punta hacia la otra punta realizando el corte diagonal, de esta manera nos quedara un corte en X. A continuación podrás ver los gifs explicativos de como se debe hacer correctamente.
Before starting to make the figure we must have a square sheet no matter the size, that is your decision, in this case I will make the face of an Elephant in Origami with an iris sheet explaining the step by step and then I will make the same figure but with a recycled sheet making the whole figure. Here is the step by step of the face of Elephant in Origami:
First we must take the sheet and fold one end towards the opposite end making a diagonal cut, then we undo the fold and fold the other end towards the other end making the diagonal cut, this way we will have a X cut. Below you will see the gifs explaining how to do it correctly.
Ahora desharemos el dobles anterior y tomaremos una de la puntas y la llevaremos exactamente a la mitad como podrás ver a continuación en el siguiente gif explicativo.
Now we will undo the previous double and take one of the tips and take it exactly half as you can see below in the following explanatory gif.
En este paso tomaremos la punta derecha y la llevaremos hacia el centro sin afectar el corte anterior, repetimos el paso con la punta izquierda. A continuación los gifs explicativos de como se debe hacer correctamente.
In this step we will take the right tip and take it to the center without affecting the previous cut, we repeat the step with the left tip. Below are the explanatory gifs of how to do it correctly.
Ahora llevaremos las puntas del paso anterior y las llevamos hacia afuera de la figura como podrás ver en los siguientes gifs explicativos.
Now we will take the tips of the previous step and take them out of the figure as you can see in the following explanatory gifs.
Ahora debemos tomar la punta inferior y la doblamos hacia el centro maso menos un centímetro como podrás ver en el siguiente gif explicativo.
Now we must take the bottom point and fold it towards the center more or less one centimeter as you can see in the following explanatory gif.
En este paso tomaremos la punta superior derecha y la llevaremos hacia el centro maso menos un centímetro, luego repetimos el paso con la punta izquierda. A continuación los siguientes gifs explicativos de como se debe hacer correctamente.
In this step we will take the upper right point and take it to the center more or less one centimeter, then repeat the step with the left point. Then the following gifs explaining how to do it correctly.
Ahora debemos darle la vuelta a la figura para trabajar por la cara contraria. Tomaremos la punta inferior y la doblamos hacia arriba, luego tomaremos la misma punta y la llevaremos hacia abajo como podrás ver en los siguientes gifs explicativos.
Now we must turn the figure to work on the opposite side. We will take the bottom tip and fold it up, then we will take the same tip and take it down as you can see in the following explanatory gifs.
En este paso tomaremos nuevamente la punta inferior y la doblamos hacia arriba, luego tomaremos la misma punta y la llevaremos hacia abajo como podrás ver en los siguientes gifs explicativos.
In this step we will take the bottom tip again and fold it up, then we will take the same tip and take it down as you can see in the following explanatory gifs.
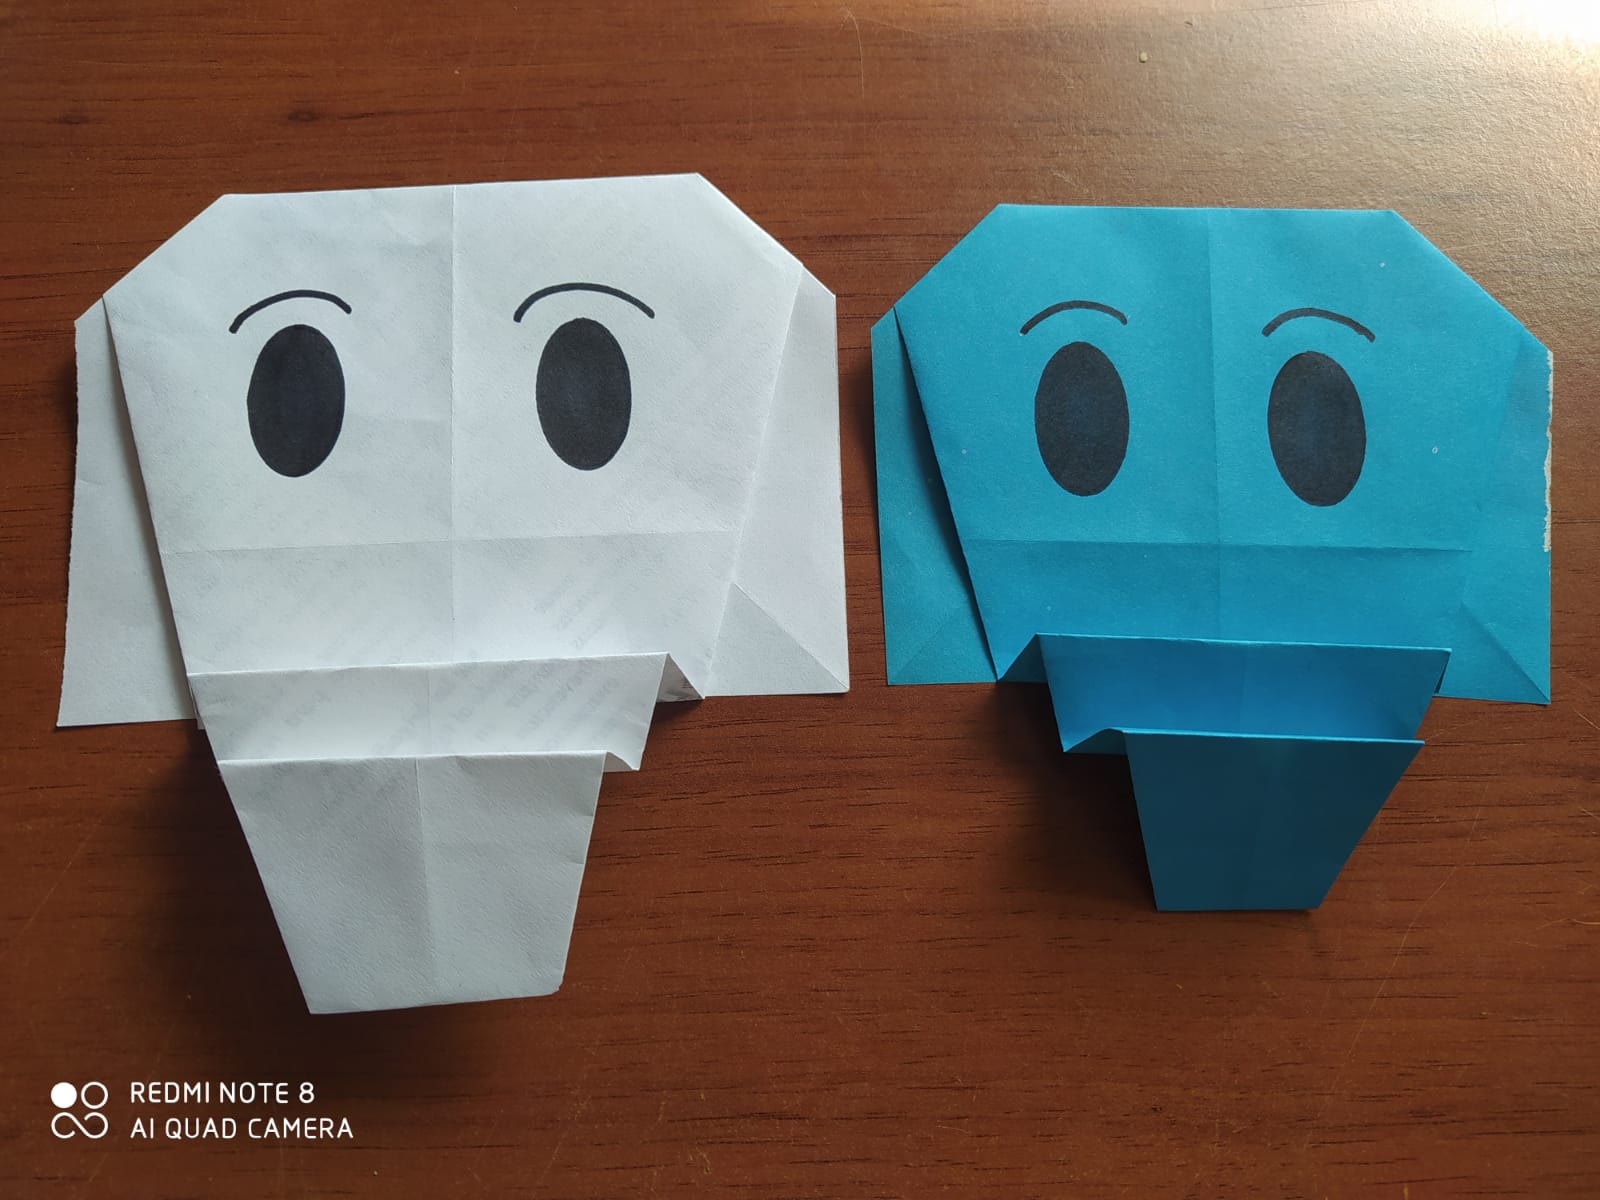
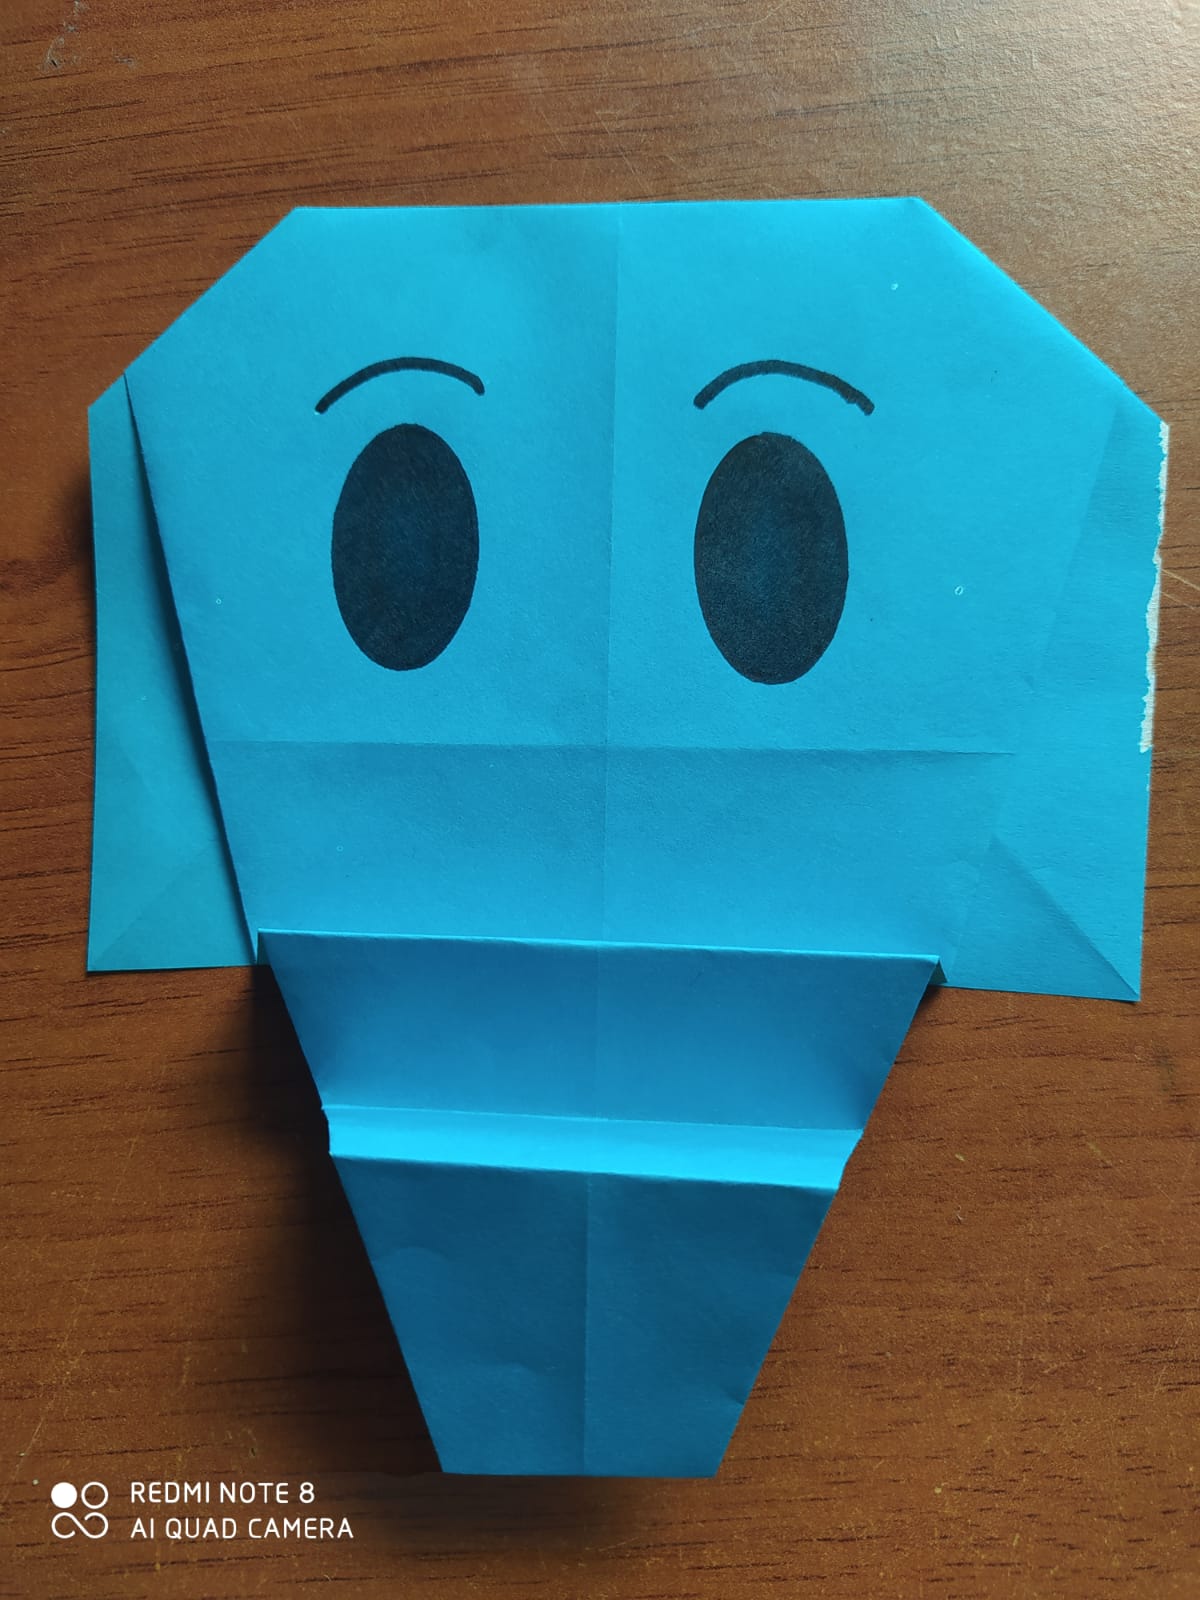
Por ultimo le pintaremos los ojos y las cejas, tu podrás agregarle la decoración que se te ocurra. A continuación podrás ver como quedo finalmente la cara de elefante.
Finally we will paint the eyes and eyebrows, you can add the decoration that occurs to you. Then you can see how the elephant face finally looks.
Aquí podremos ver el proceso completo de la creación de la cara de Elefante en Origami. Espero disfruten el gif.
Here we can see the complete process of creating the face of Elephant in Origami. I hope you enjoy the gif.
Espero les haya gustado la figura del día de hoy, si deseas puedes apoyarme con un voto positivo y un reblogueo. Espero hayan disfrutado el Origami del día de hoy y puedan hacerlo en casa. NO OLVIDES COMENTAR.
Si quieres ver más trabajos como este puedes visitar los siguientes artículos, haz click en la imagen y te redireccionara a la publicación que explica esa figura.
I hope you liked the figure of today, if you want you can support me with a positive vote and a twitter. I hope you enjoyed today's Origami and can do it at home. DON'T FORGET TO COMMENT.
If you want to see more works like this you can visit the following articles, click on the image and you will be redirected to the publication that explains that figure.
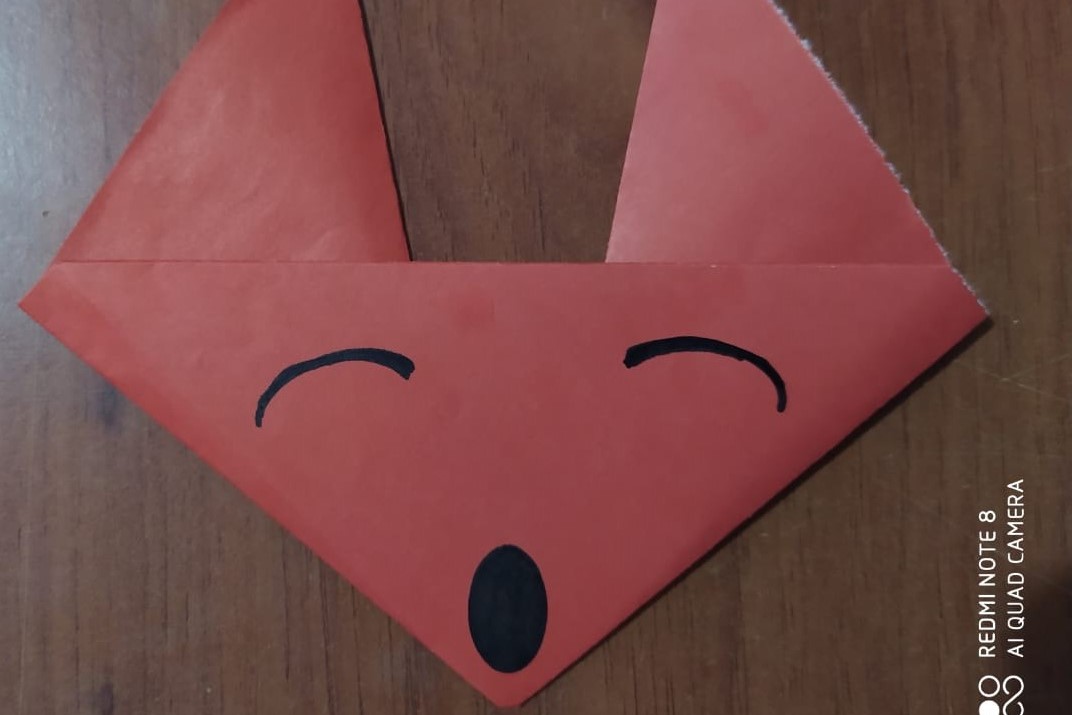
Origami "Fox face" | Origami "Mouse Face" |
|---|
Origami "Cat face" | Origami "Tiger face" |
|---|
.jpeg)
.jpeg)
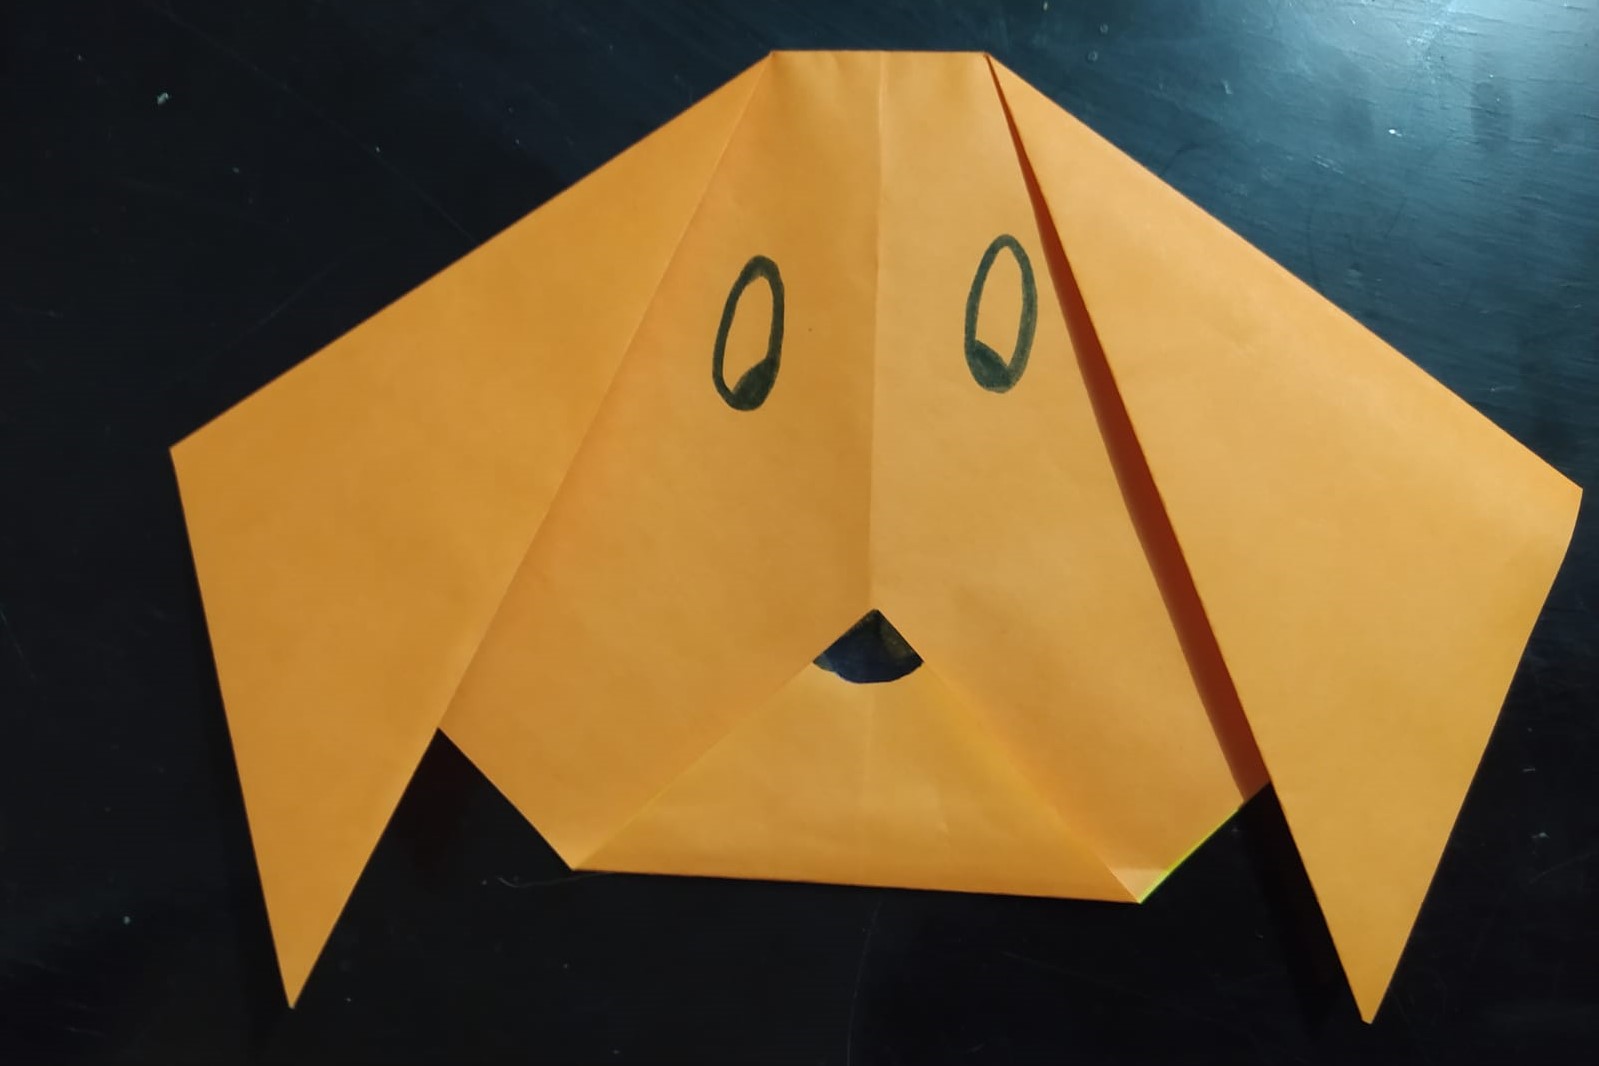
Origami "Dog face" | Origami "koala Face" |
|---|
.jpeg)
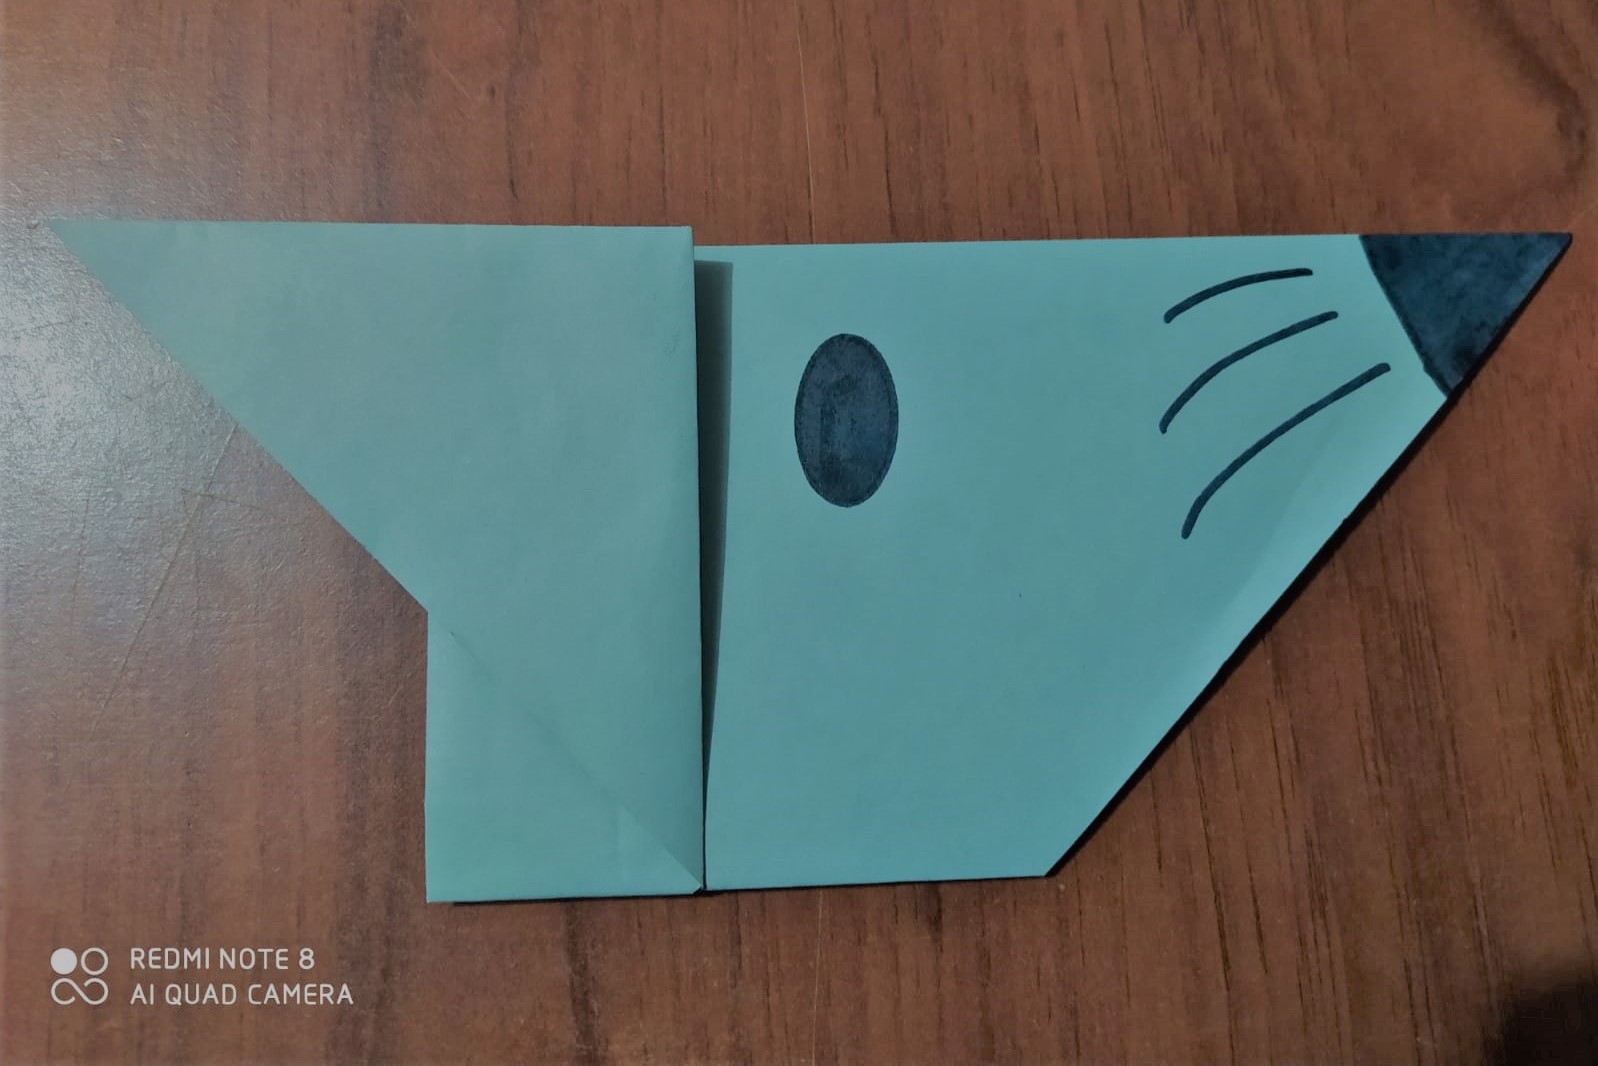
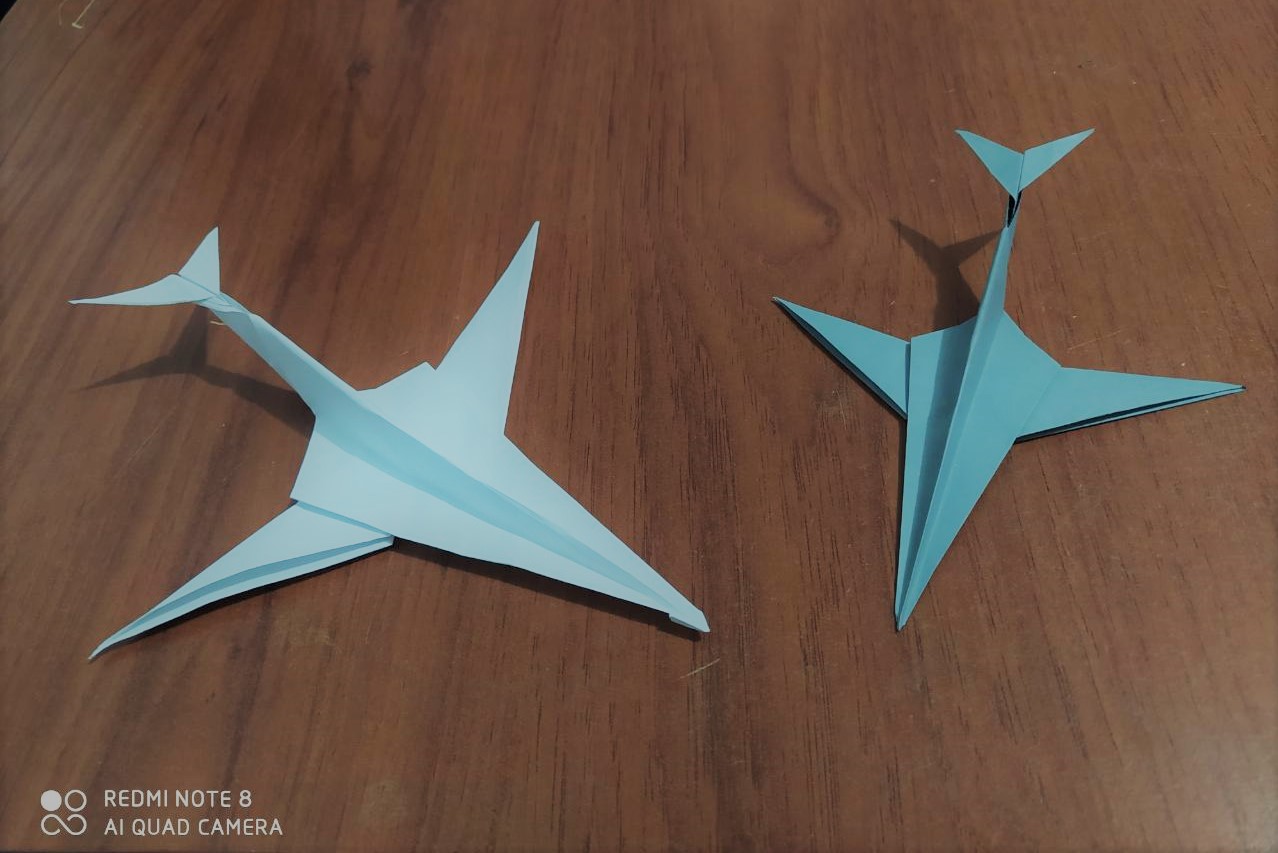
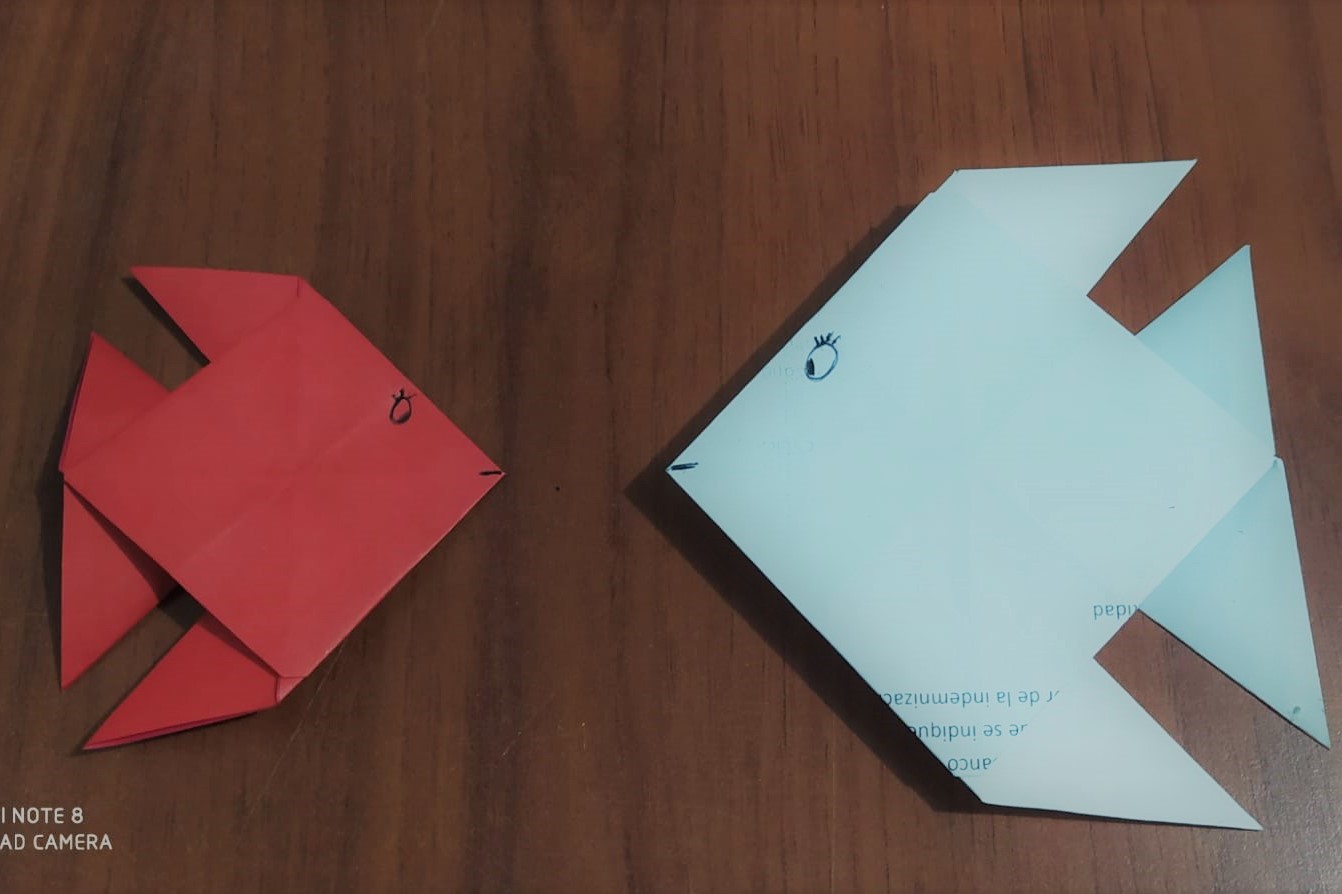
Origami "Airplane" | Origami "Fish" |
|---|
¡Felicidades! Esta publicación obtuvo upvote y fue compartido por @la-colmena, un proyecto de Curación Manual para la comunidad hispana de Hive que cuenta con el respaldo de @curie.
Si te gusta el trabajo que hacemos, te invitamos a darle tu voto a este comentario y a votar como testigo por Curie.
Si quieres saber más sobre nuestro proyecto, acompáñanos en Discord: La Colmena.
Hola @la-colmena. Muchas gracias por el apoyo brindado a mi publicación es de gran ayuda. Saludos desde Colombia.
This post was shared in the #spanish-curation channel in the Curation Collective Discord community for curators, and upvoted and reblogged by the @c2-spanish community account after manual review.
@c-squared runs a community witness. Please consider using one of your witness votes on us here
Hola @c-squared. Muchas gracias por el apoyo a mi publicación es de gran ayuda. Saludos desde Colombia.
Que precioso tu arte, gracias por este aporte. Creo que lo intentaré. Saluditos.
Hola @keritroberts. Ohh!! Muchas gracias por tu lindo comentario, inténtalo es muy fácil y queda muy lindo. Saludos desde Colombia.
Jaja es precioso, gracias. Saludos de Venezuela.
Gracias a ti por la visita. Un abrazo.
Hola. Es un origami muy lindo. Saludos.
Hola @edresrojas.
Me alegra mucho que te haya gustado el Origami. Saludos.