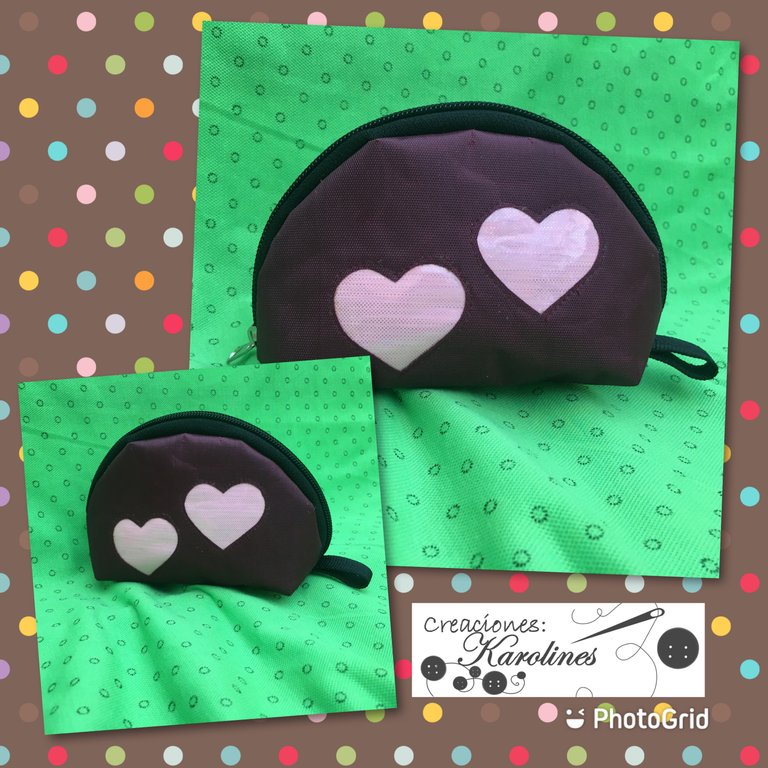

Hola mis lindas abejas 🐝 del panal, Espero que se encuentren bien y que pasaran un tranquilo fin de semana.
Yo como cada día (cuando puedo) les traigo un lindo proyecto de costura.
Sigan leyendo mi publicación para que descubran de que se trata y como hacerlo.
Hello my beautiful bees 🐝 from the hive, I hope you are well and had a peaceful weekend.
I eat every day (when I can) and bring you a nice sewing project.
Keep reading my publication to find out what it is and how to do it.

Les cuento que ayer logré reunir el dinero para comprar una pieza de mí máquina que había estado deseando desde hace mucho, pero que por razones económicas no había logrado comprar.
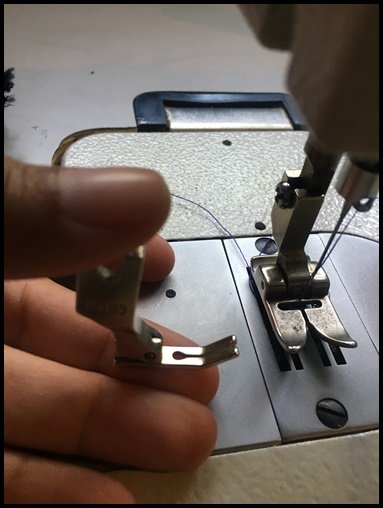
Se trata de un pie especial para coser cierres; mi especialidad es hacer bolsos y cartucheras y esta pieza me facilita mucho el trabajo.
Emocionada cual niña con juguete nuevo decidí hacer un bolso muy sencillo para practicar y así mostrarles a ustedes un hermoso proyecto el día de hoy.
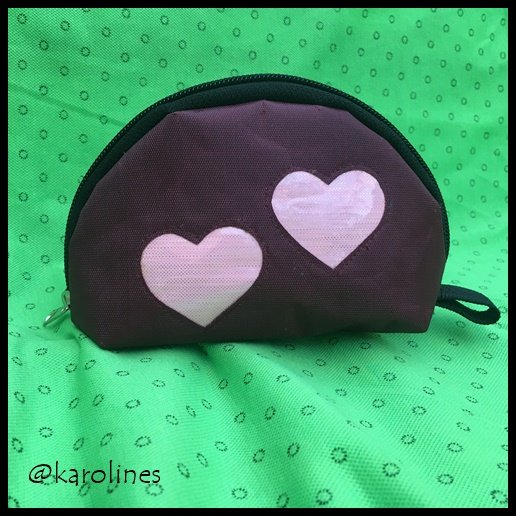
Se trata de un bolso portacosméticos para las más coquetas de la casa.
I tell you that yesterday I managed to raise the money to buy a part of my machine that I had been wanting for a long time, but for economic reasons I had not been able to buy.
It is a special foot for sewing zippers; my specialty is making bags and pouches and this piece makes my job much easier.
Excited as a girl with a new toy I decided to make a very simple bag to practice and thus show you a beautiful project today.
It is a cosmetic bag for the most coquettish of the house.

| |
| |
| |
| |
| |
| |
| |
| |
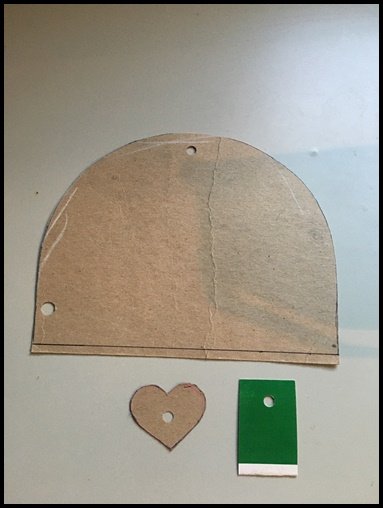
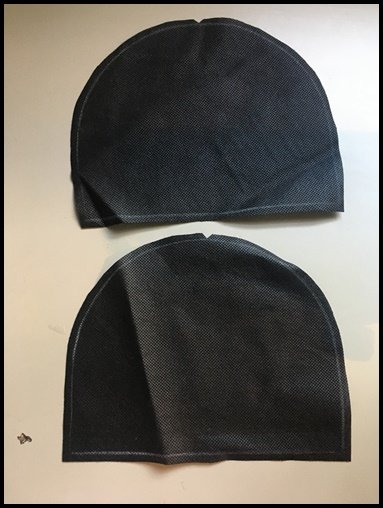
Patrones
Moulds
 |  |  |
|---|
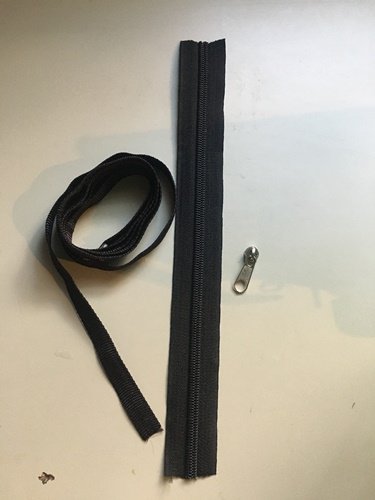

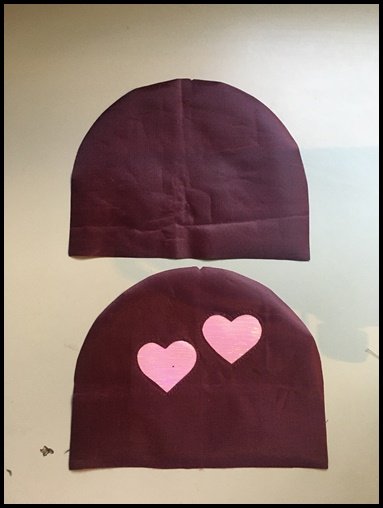
Luego de transferir los moldes a la tela tipo lona, debemos comenzar a trabajar con el cierre.
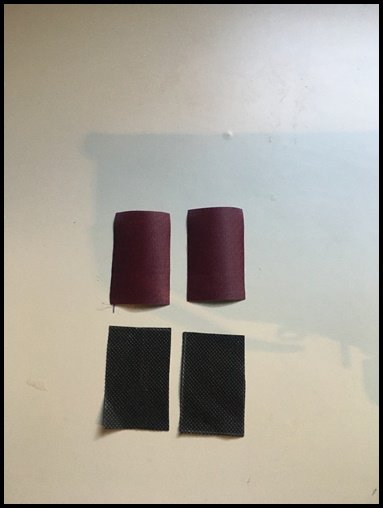
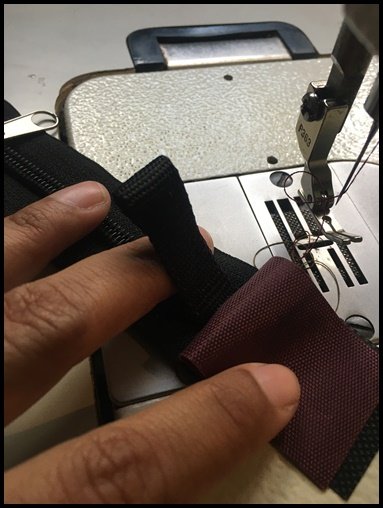
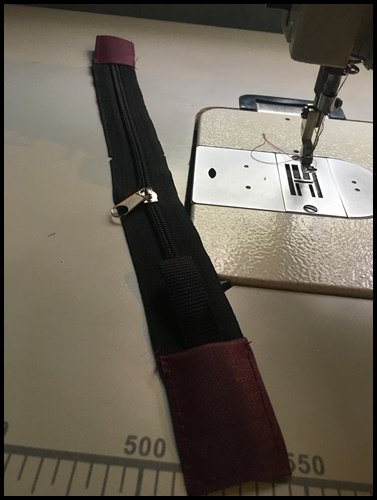
En cada punta colocamos los rectángulos de tela que servirán de terminaciones en el bolso. Por un lado la lona y por el otro el forro. Como se ve en las imágenes.
After transferring the moulds to the canvas, we must start working on the closure.
At each end we place the fabric rectangles that will serve as terminations in the bag. On one side the canvas and on the other the lining. As you can see in the images.
 |  |  |
|---|
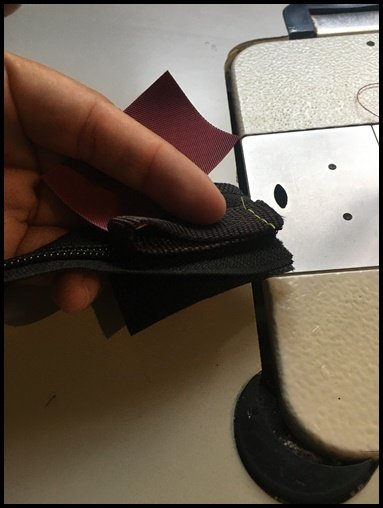
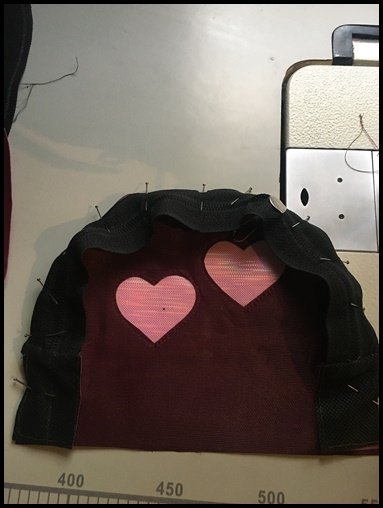
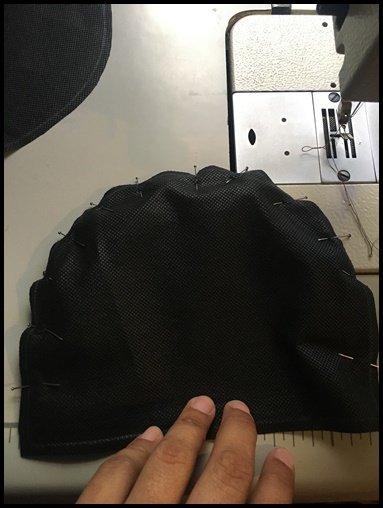
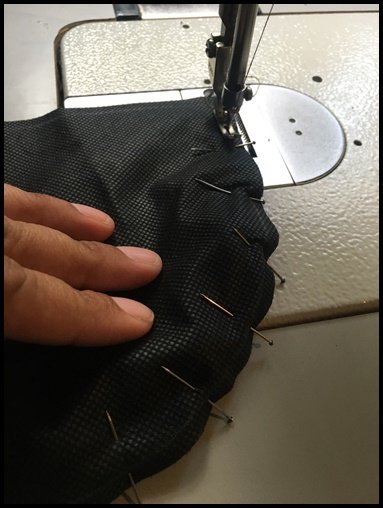
Tomamos el cierre junto con el forro y con ayuda de los alfileres sujetamos a la pieza de lona.
Para que este proceso sea más efectivo y nos quede perfecto, debemos ayudarnos buscando siempre la parte centrar de cada pieza. Yo la doblo y al conseguirla hago un pequeño piquete que me sirve de guía, de este modo la pieza queda bien posicionada.
Cuando ya tenemos ese proceso se realiza una costura recta.
We take the zipper together with the lining and with the help of the pins we hold it to the canvas piece.
For this process to be more effective and to fit perfectly, we must help each other by always looking for the center part of each piece. I fold it and when I get it I make a small pin that serves as a guide, this way the piece is well positioned.
When we have that process, we make a straight seam.
 |  |  |
|---|
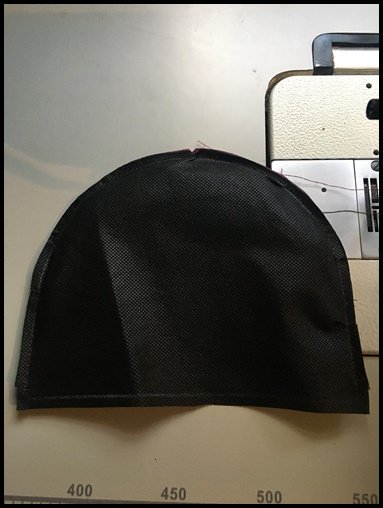
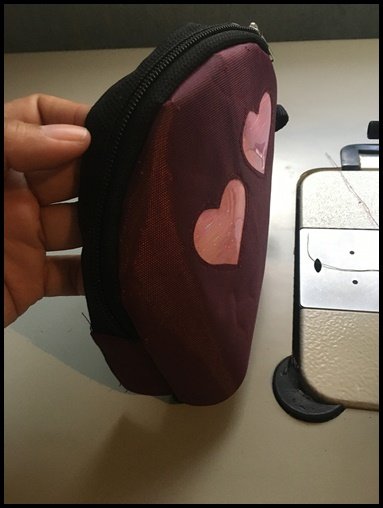
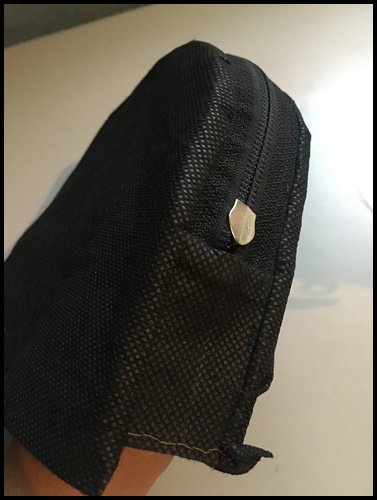
Este proceso lo repetimos por ambas partes para que quede como en la imagen: el bolso casi ya listo.
We repeat this process on both sides so that it looks like the picture: the bag is almost ready.
 |  |  |
|---|
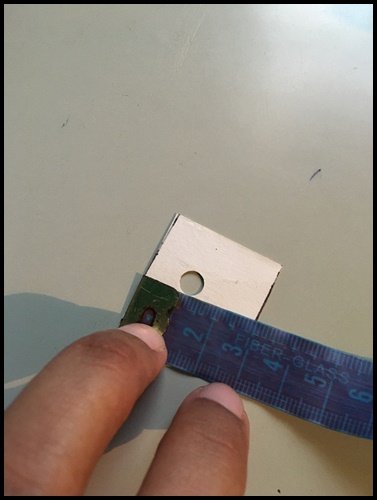
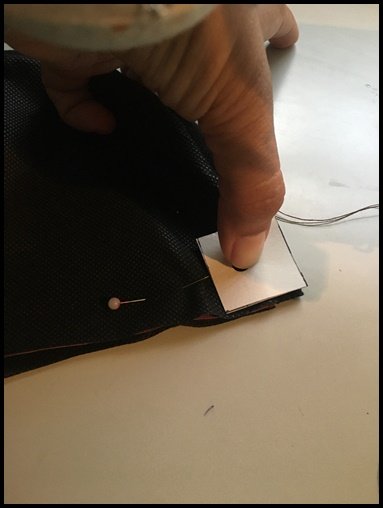
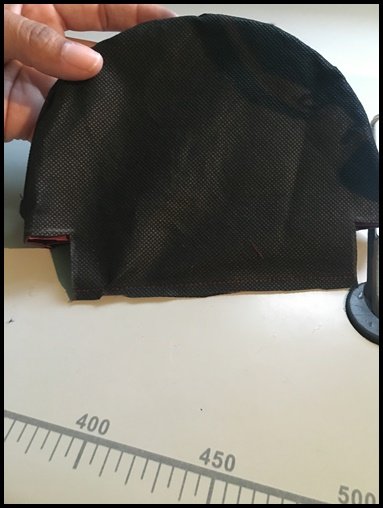
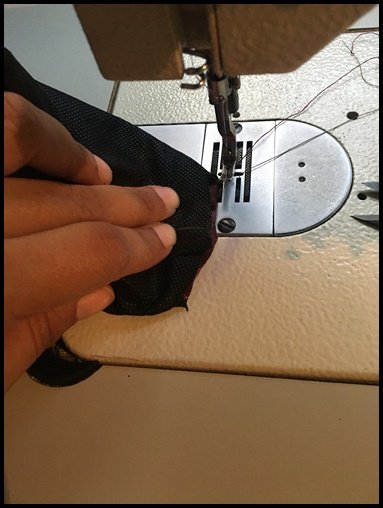
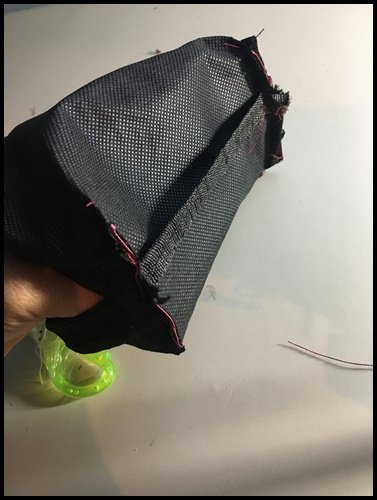
Medimos un trozo de cartón que tenga 3cm X 3cm y lo marcamos en cada extremo de la pieza (estando esta aun al revés)
Cuando la tengamos marcada solo debemos coser de un extremo a otro sin llegar a pasar la costura por dentro del cuadrado.
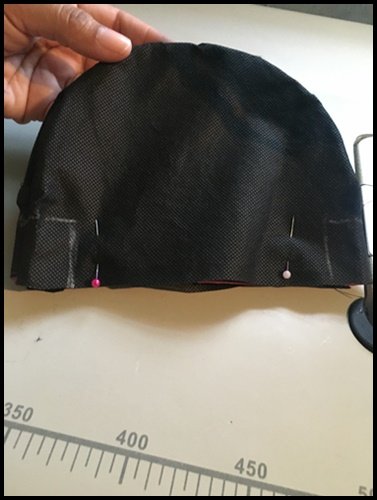
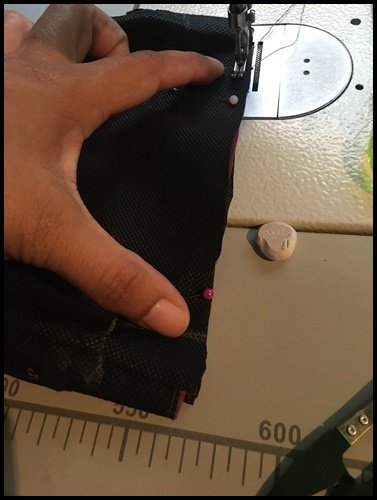
Procedemos luego a cortar los cuadrados y a doblarlos para darles ya el toque final con una costura recta.
Al dar vuelta a la pieza queda con una hermosa forma atractiva.
We measure a piece of cardboard that is 3cm X 3cm and we mark it on each end of the piece (while it is still upside down)
When we have it marked we only have to sew from one end to the other without passing the seam inside the square.
Then we proceed to cut the squares and fold them to give them the final touch with a straight seam.
When we turn the piece, it has a beautiful and attractive shape.
 |  |  |
|---|
 |  |  |
|---|


Soporte fotográfico de mi autoría, editado en PhotoScape - Canva
Photographic support of my authorship, edited in PhotoScape - Canva
@karolines, super lindo el porta cosméticos!!😍
Gracias @corinadiaz, aprecio mucho que te guste. Saludos.
Eso quedó de pelos, me encantó, quiero uno para mi.
Claro amiga, ya el tuyo está listo cuando gustes puedes venir por el
Muy bueno este tutorial, lastima que no tengo maquina de coser. :c
No sufras, los puedes comprar jejeje. Saludos
Congratulations @karolines! You have completed the following achievement on the Hive blockchain and have been rewarded with new badge(s) :
You can view your badges on your board And compare to others on the Ranking
If you no longer want to receive notifications, reply to this comment with the word
STOPTo support your work, I also upvoted your post!
Do not miss the last post from @hivebuzz: