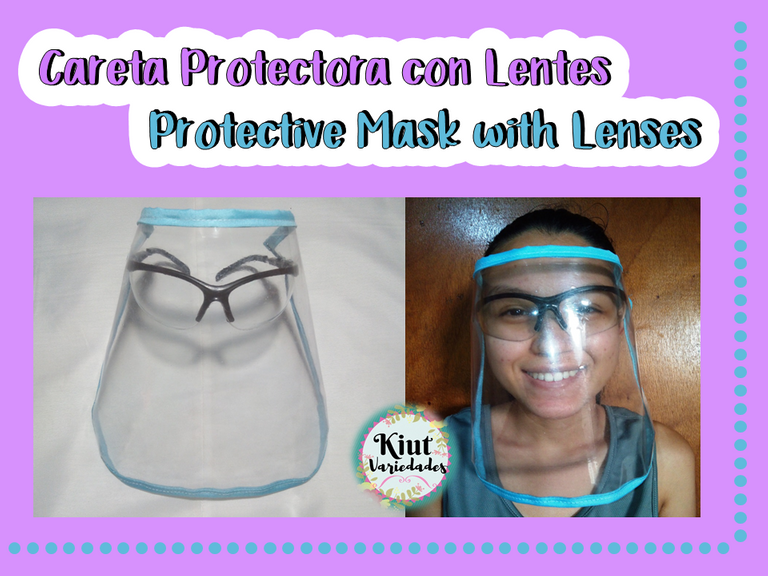
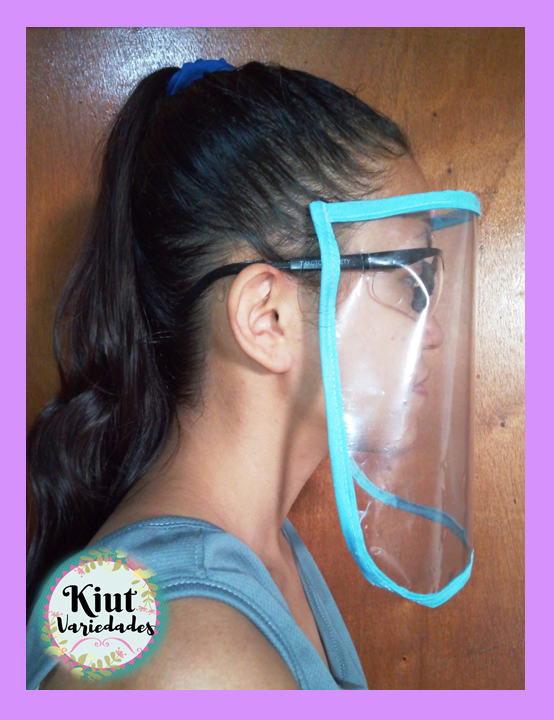
¡¡Hola usuarios de Hive!! ✨ ✨, el día de hoy les estaré mostrando una forma de realizar una careta protectora con lentes 👓, la verdad desde hace tiempo quería hacer una y explicarles el paso a paso 😀, pero no encontraba ningún modelo que me gustara 🤷♀️, hasta hace unos días que salí a realizar unas compras y me encontré este nuevo diseño de caretas, y pensé, ¿qué tan difícil puede ser hacer una de estas caretas 🤔?, así que vamos a descubrir eso 😉.
Hello Hive users!! ✨ ✨, today I will be showing you a way to make a protective mask with glasses 👓, the truth is that for a long time I wanted to make one and explain the step by step 😀, but I could not find any model that I liked 🤷♀️, until a few days ago I went out to do some shopping and found this new design of masks, and I thought, how difficult can be to make one of these masks 🤔?, so let's discover that 😉.

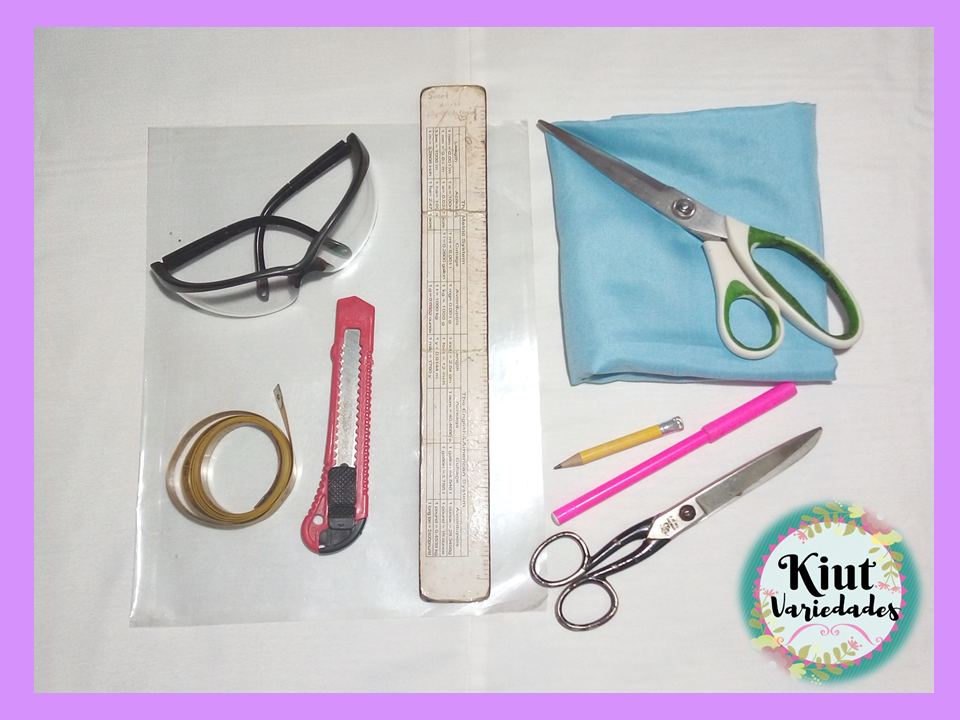
✨ MATERIALES || MATERIALS ✨
- Una montura de lentes que ya no uses (en mi caso tengo unos lentes de seguridad que mi papá me regalo hace un tiempo, pero en realidad funcionan cualquier tipo de montura, incluso si no tienen los cristales).
- Una carpeta de acetato.
- Un retazo de Tela (opcional).
- Tijeras para papel y Tijeras para tela.
- Cinta métrica y regla.
- Cúter.
- Marcador.
- Silicón, (opcional).
- A frame of lenses that you no longer wear (in my case I have some safety lenses that my dad gave me a while ago, but actually any kind of frame works, even if they don't have the lenses).
- An acetate folder.
- A piece of fabric (optional).
- Paper scissors and cloth scissors.
- Tape measure and ruler.
- Cutter.
- Marker.
- Silicone (optional).
✨ MANOS A LA OBRA || LET’S DO IT ✨
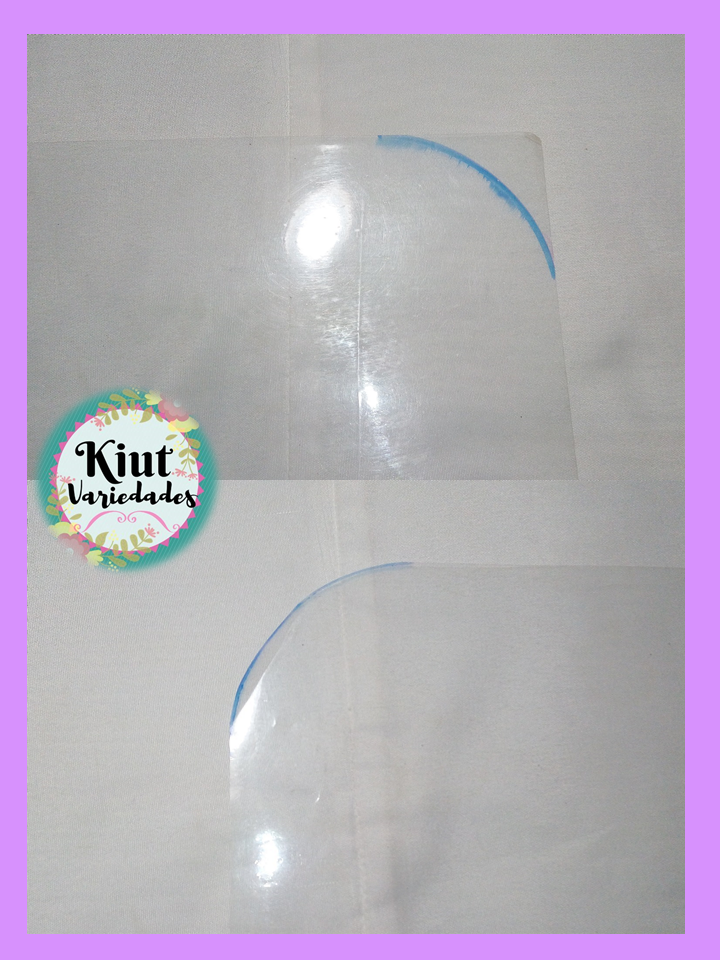
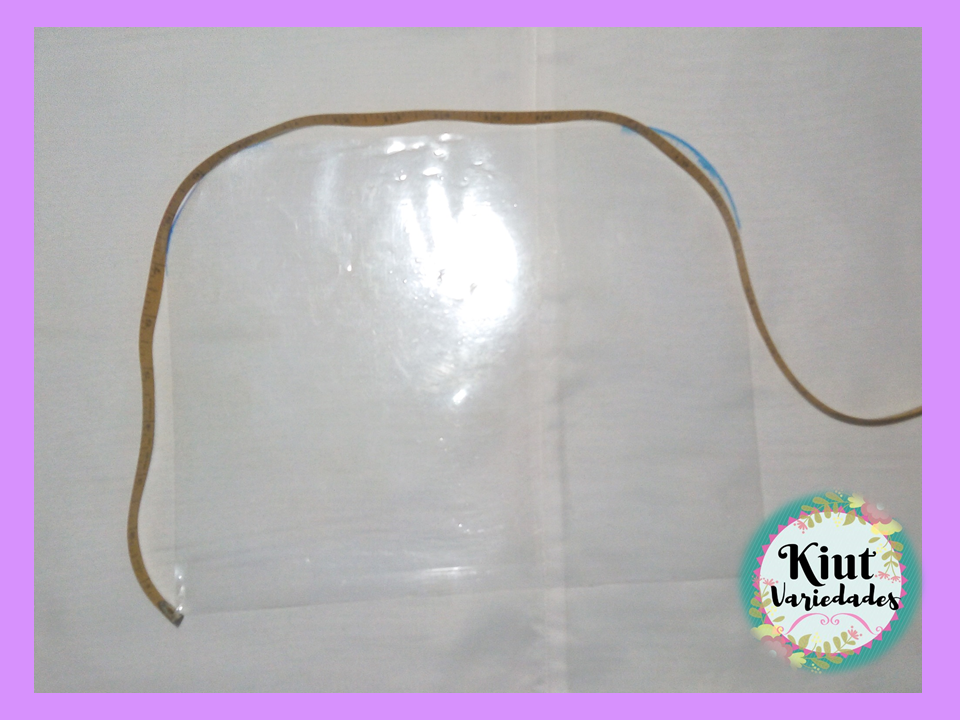
Comenzamos cortando la carpeta por el doblez que ellas traen pues solo estaremos utilizando una lámina de acetato, trabajaremos dicha lamina por el ancho por lo que redondearemos las esquinas inferiores.
We begin by cutting the folder by the fold that they bring because we will only be using a sheet of acetate, work this sheet by the width so we round the bottom corners.
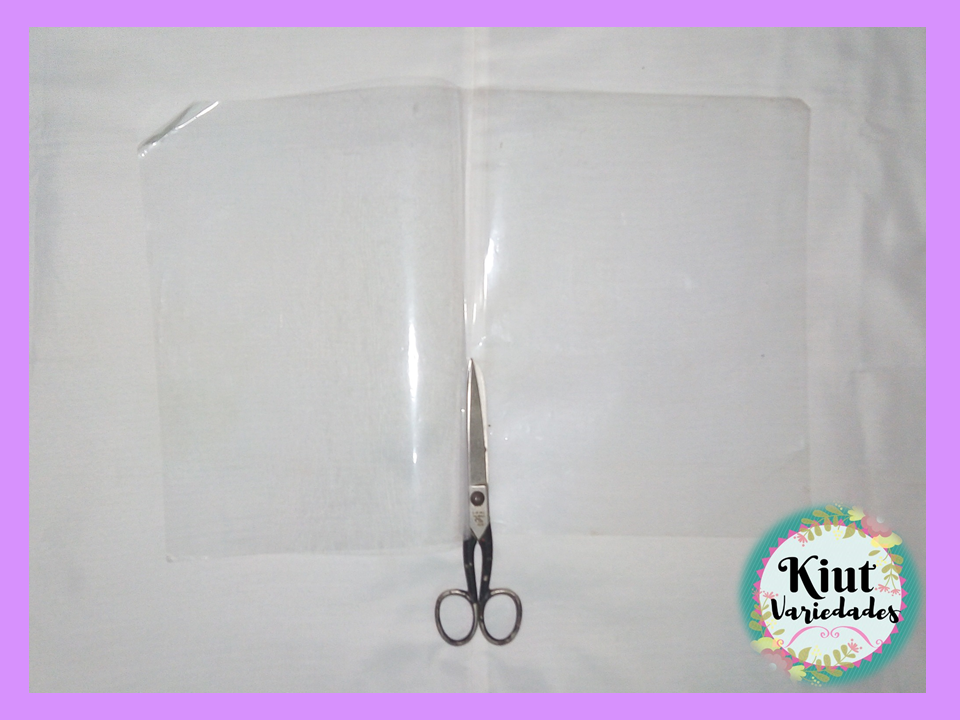
NOTA: Podemos utilizar las dos láminas de acetato que trae la carpeta, pero mientras estaba haciendo la careta, me di cuenta que de por si con una lámina ya se veía demasiado borroso, con dos era demasiado, así que es algo que debemos tener en cuenta a la hora de hacer nuestras caretas.
NOTE: We can use the two acetate sheets that come with the folder, but while I was making the mask, I realized that with one sheet it was already too blurry, with two it was too much, so it is something that we must take into account when making our masks.
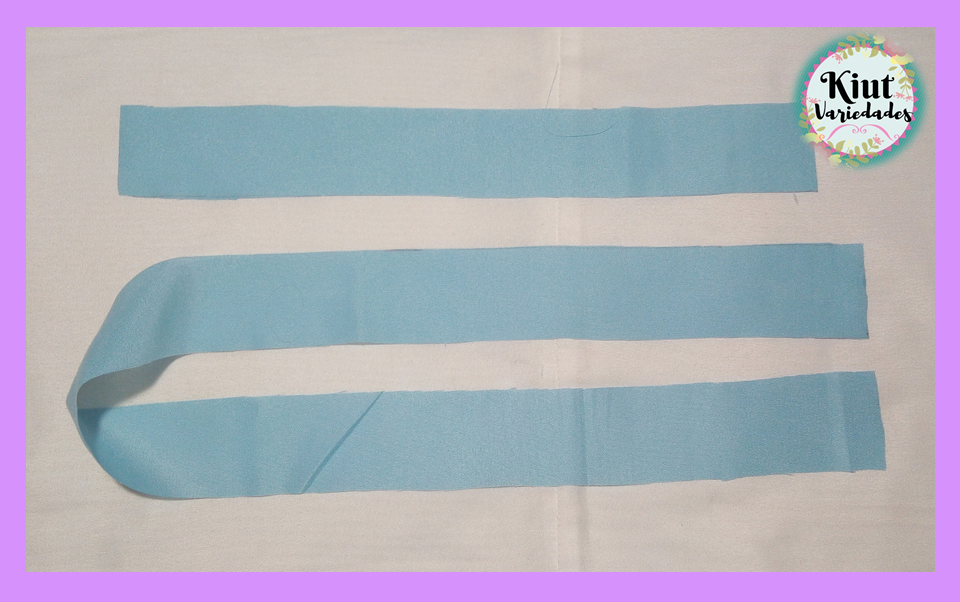
Medimos todo el contorno de la lámina y además medimos la parte superior de la misma, y usamos estas medidas para cortar en la tela dos tiras que tengan 4 cm de ancho.
We measure the entire contour of the sheet and also measure the top of it, and we use these measurements to cut into the fabric two strips that are 4 cm wide.
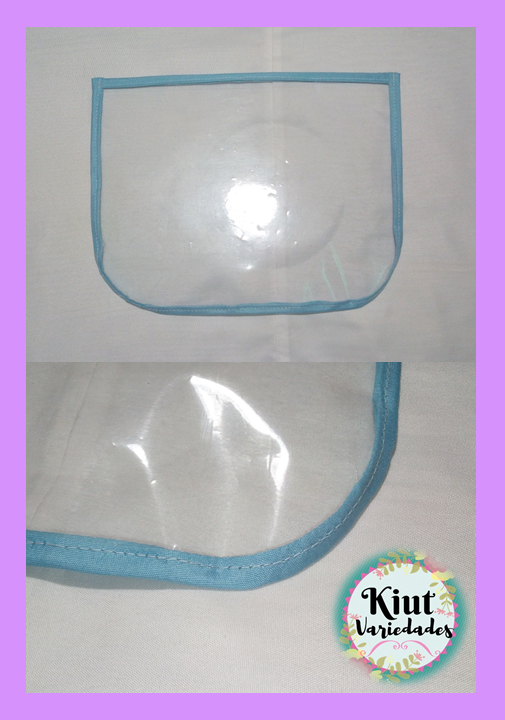
Dichas tiras las coseremos de la misma manera que solemos coser el sesgo, teniendo mucha precaución a la hora de estar haciendo esto, porque aunque el acetato no es demasiado grueso, sí es cierto que a los dientes de la máquina de coser les cuesta moverlo mientras se cose.
We will sew these strips in the same way we usually sew the bias, being very careful when doing this, because although the acetate is not too thick, it is true that the teeth of the sewing machine have trouble moving it while sewing.
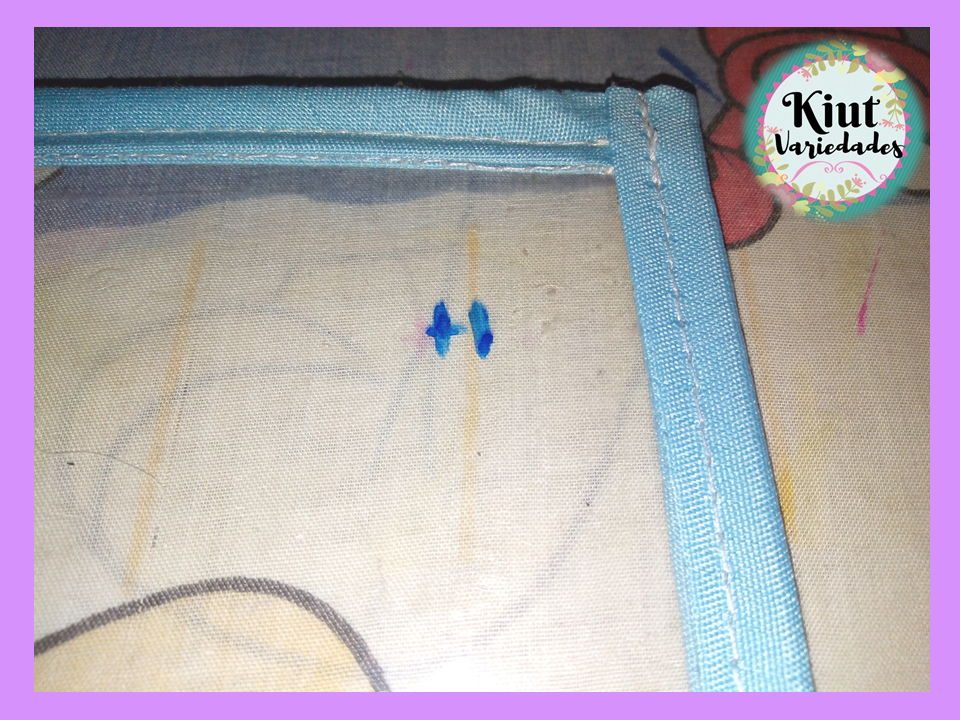
Una vez tengamos este paso listo, marcaremos en las esquinas superiores 3cm desde el borde superior hacia abajo, y desde los laterales hacia el centro marcaremos entre 2 a 3cm, en mi caso marque 3cm pero luego me di cuenta que habría estado mejor marcar 2cm.
Once we have this step ready, we will mark in the upper corners 3cm from the top edge downwards, and from the sides towards the center we will mark between 2 to 3cm, in my case I marked 3cm but then I realized that it would have been better to mark 2cm.
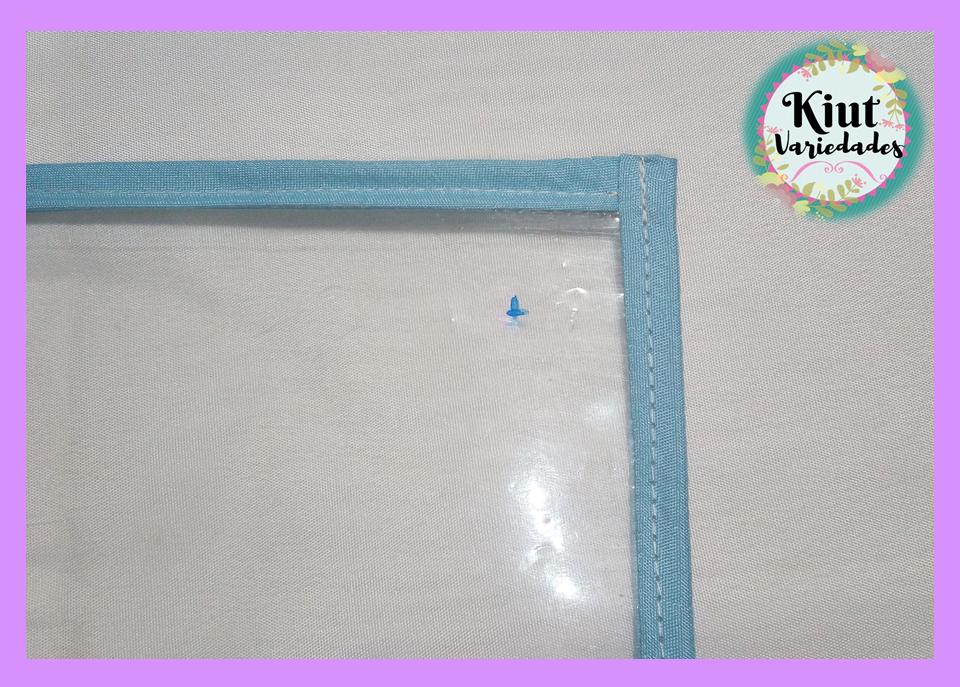
En el punto que nos indican las dos marcas realizadas anteriormente, haremos dos pequeñas líneas paralelas que de separación deben tener 0.5cm y de altura aproximadamente 1cm, pero esto puede variar dependiendo del grosor de las patillas de tu lente.
At the point indicated by the two marks made above, we will make two small parallel lines that should be 0.5cm apart and approximately 1cm high, but this can vary depending on the thickness of the temples of your lens.
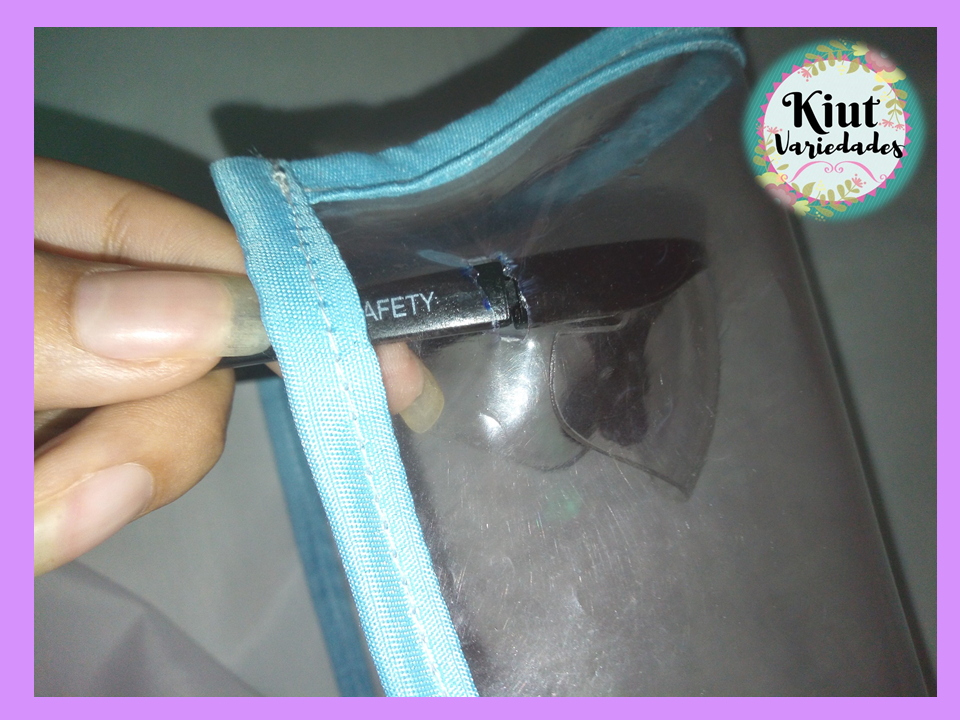
Haremos cortes en estas líneas que acabamos de hacer para formar una pestaña, por donde pasaremos el lente. Si lo creemos necesario, podemos colocar aquí una gota de silicón para fijar mejor el lente al acetato, pero esto es totalmente opcional.
We will make cuts in these lines that we have just made to form an eyelash, through which we will pass the lens. If we think it is necessary, we can place here a drop of silicone to better fix the lens to the acetate, but this is totally optional.
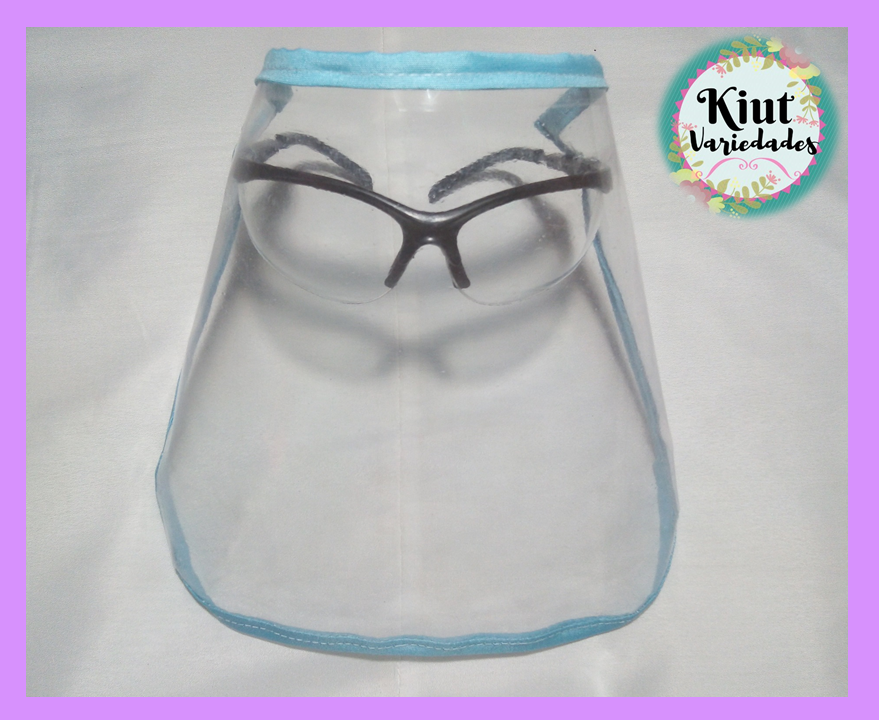
Te invitamos igual que siempre a que intentes este proyecto por tu cuenta y nos cuentes en los comentarios 👇 como es tu experiencia.
As always, we invite you to try this project on your own and tell us in the comments 👇 as is your experience.

Síguenos en todas nuestras redes sociales… || Follow us on all our social networks ...
Facebook:KiutVariedades
Instagram:@Kiut_variedades
Twitter:@Kiut_variedades
Esta es una manualidad muy útil, gran explicación se ve que es simple de realizar.
La verdad es muy fácil de hacer, y sí, como dices es actualmente de mucha utilidad. Gracias por comentar 💕.
De verdad que esta bien creativa y te quedó bonitaa. Lo intentaré en casa.
Si lo intentas, no olvides contarme que tal es tu experiencia y resultado 💕. Saludos!
¡Felicitaciones!
1. Invierte en el PROYECTO ENTROPÍA y recibe ganancias semanalmente. Entra aquí para más información.
3. Suscríbete a nuestra COMUNIDAD, apoya al trail de @Entropia y así podrás ganar recompensas de curación de forma automática. Entra aquí para más información sobre nuestro trail.
4. Creación de cuentas nuevas de Hive aquí.
5. Visita nuestro canal de Youtube.
Atentamente
El equipo de curación del PROYECTO ENTROPÍA
Excelente idea y con materiales accesibles que tenemos en casa, además que te ha quedado de un bello... Ya tengo una idea de cómo hacerla gracias a tu post. Gracias por compartir.
Además de estar elaborada con materiales accesibles, también es de un bajo costo. Muchas gracias a ti por leer y comentar 💕.
Excelente y bonito post! esta careta protectora es muy util, yo tengo uno y siempre que salgo a la calle la uso.
Yo realmente ya necesitaba una, por eso también tuve la iniciativa de hacer este post. Saludos! 💕
Thank you for sharing this amazing post on HIVE!
Your content got selected by our fellow curator @hafizullah & you just received a little thank you via an upvote from our non-profit curation initiative!
You will be featured in one of our recurring curation compilations and on our pinterest boards! Both are aiming to offer you a stage to widen your audience within and outside of the DIY scene of hive.
Join the official DIYHub community on HIVE and show us more of your amazing work and feel free to connect with us and other DIYers via our discord server: https://discord.io/diyhub!
If you want to support our goal to motivate other DIY/art/music/homesteading/... creators just delegate to us and earn 100% of your curation rewards!
Stay creative & hive on!
Congratulations @kiutvariedades! You have completed the following achievement on the Hive blockchain and have been rewarded with new badge(s) :
You can view your badges on your board and compare yourself to others in the Ranking
If you no longer want to receive notifications, reply to this comment with the word
STOP