¡Hola queridos usuarios de Hive ✨💕!
Hi dear Hive users ✨💕!
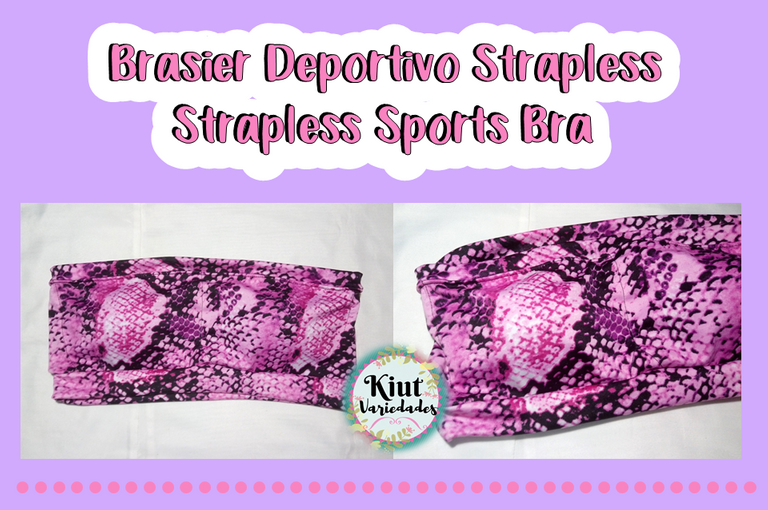
Desde hace un tiempo he tenido la idea de realizar un brasier deportivo strapless, sin embargo por más que he buscado tutoriales que me muestren como hacerlo, no he podido encontrar ninguno, así que decidí hacerlo siguiendo mi intuición y además mostrarles el procedimiento, el cual debo adelantar, es muy sencillo de hacer. Así que espero este post les agrade, y sin más que decir, comencemos.
For some time now I've had the idea of making a strapless sports bra, however, as much as I've looked for tutorials that show me how to do it, I haven't been able to find any, so I decided to do it following my intuition and also to show you the procedure, which I must advance, is very simple to do. So I hope you like this post, and without more to say, let's start.

🧵 MATERIALES || MATERIALS 🧵
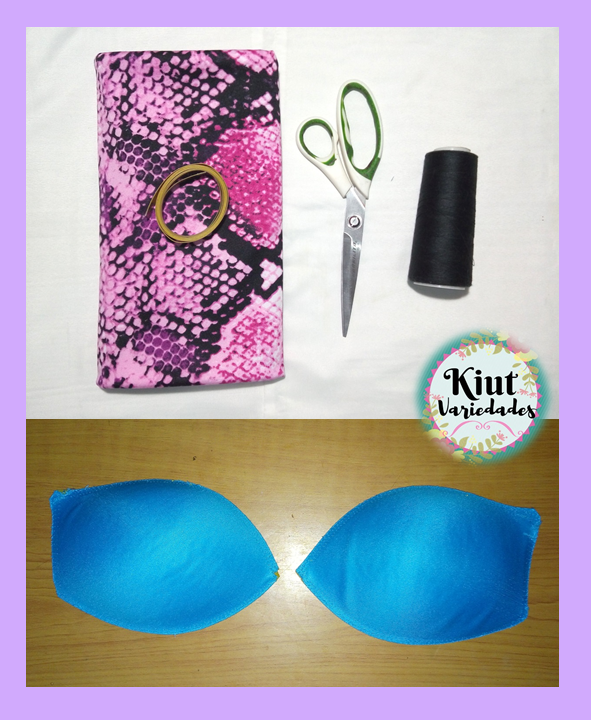
• Tela elástica (en mi caso estoy utilizando tela licrada).
• Patrón Básico de Brasier Deportivo
• Copas de Brasier (esto es totalmente opcional).
• Cinta Métrica.
• Tijera e Hilo.
• Máquina de coser.
• Elastic fabric (in my case I'm using lycra).
• Basic Sports Bra Pattern
• Bra Cups (this is totally optional).
• Measuring tape.
• Scissors and Thread.
• Sewing machine.
🧵 TRANSFORMACIÓN DE PATRONES || PATTERN TRANSFORMATION 🧵
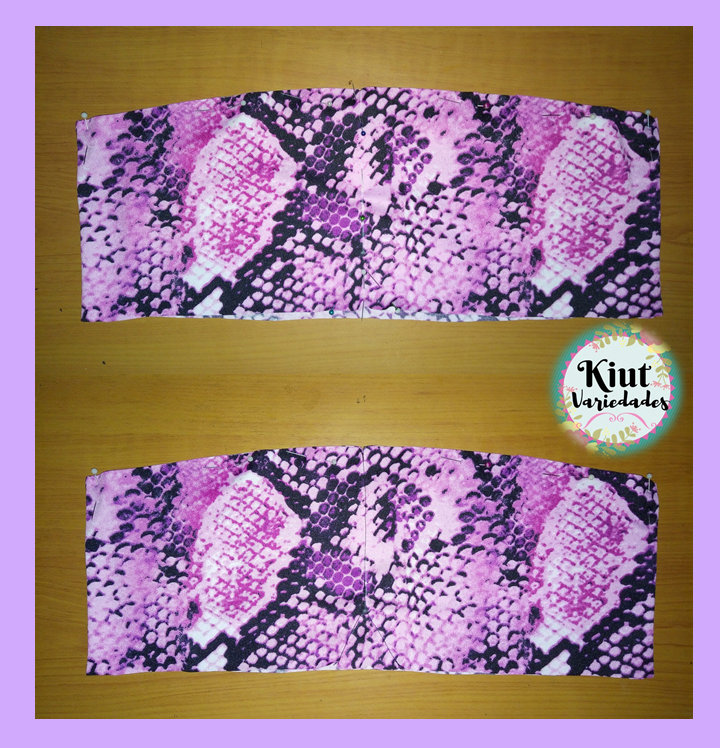
En esta oportunidad vamos a utilizar los patrones realizados en la publicación de Brasier Deportivo, pues ese es el modelo básico. Comenzamos calcando en papel el patrón de la espalda (no es necesario calcarla toda la parte de la tira pues eso se va a eliminar), la transformación será muy sencilla, pues lo que haremos será subir 2cm tanto en el centro del patrón, es decir en el escote, y en el lateral del patrón, en la sisa.
This time we will use the patterns made in the Sports Bra publication, since that is the basic model. We begin by tracing the pattern of the back on paper (it is not necessary to trace all the part of the strip because that will be eliminated), the transformation will be very simple, because what we will do is to raise 2cm both in the center of the pattern, ie at the neckline, and on the side of the pattern, at the armhole.
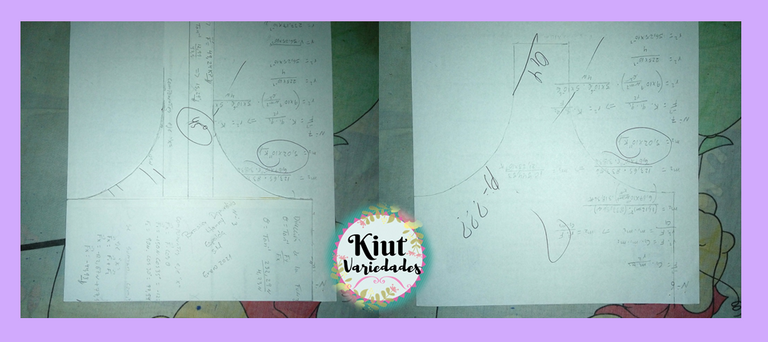

Uniremos estos dos puntos con una línea recta y formaremos así un rectángulo, al cual le añadiremos los respectivos márgenes de costura. Esta será toda la transformación de la espalda.
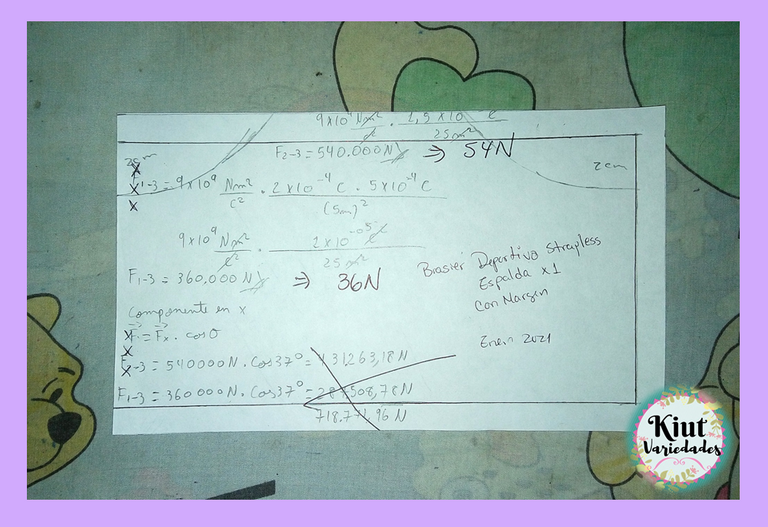
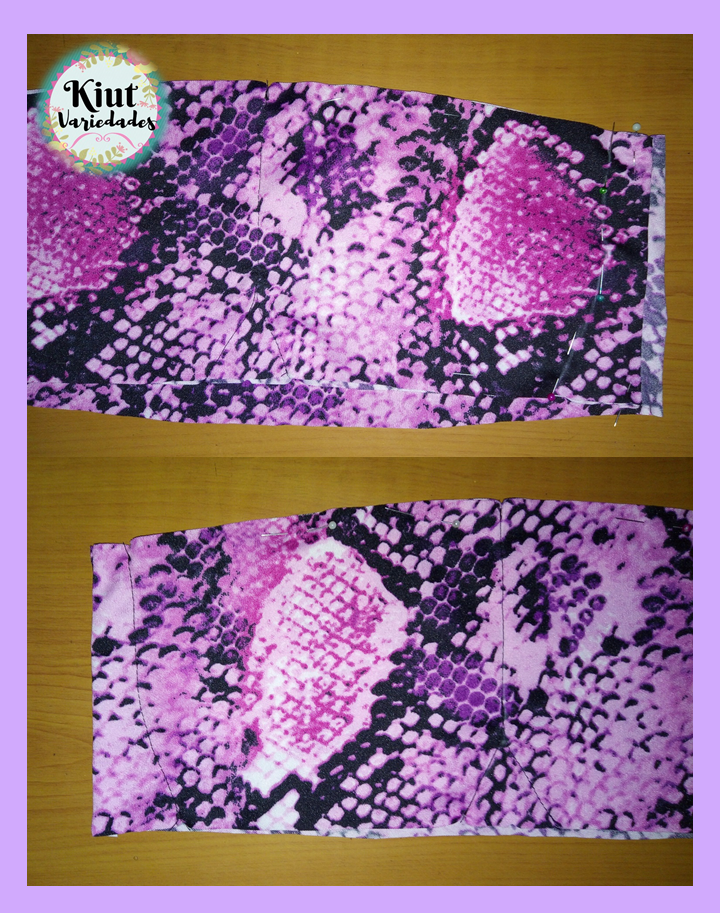
Calcamos el patrón delantero, y lo que haremos será subir 2cm en el lateral del patrón, es decir en la sisa, y uniremos este punto con una ligera curva a la línea del escote. Añadimos el margen de costura correspondiente.
Súper sencillo || Super easy
🧵 CONFECCIÓN DEL BRASIER || MAKING OF THE BRA 🧵
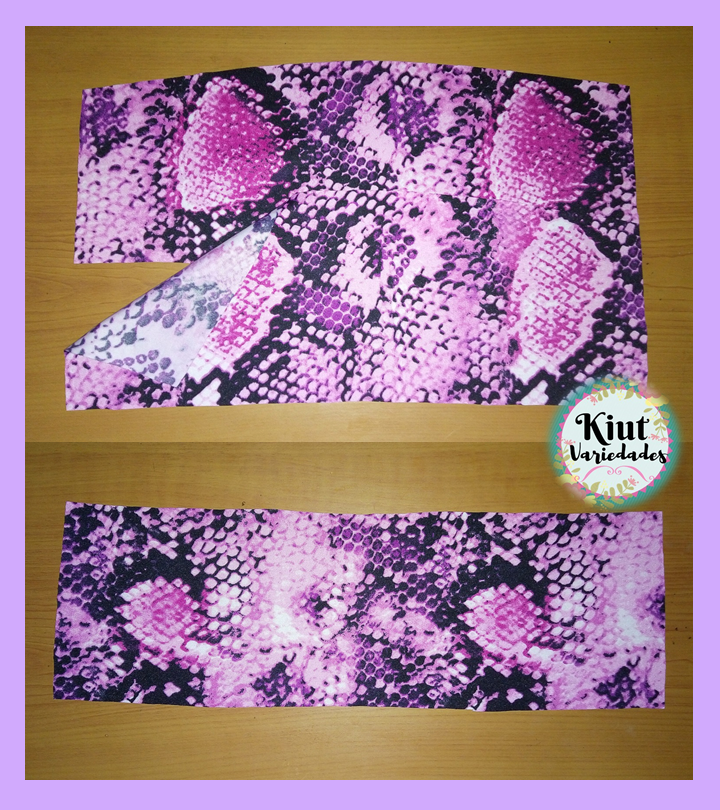
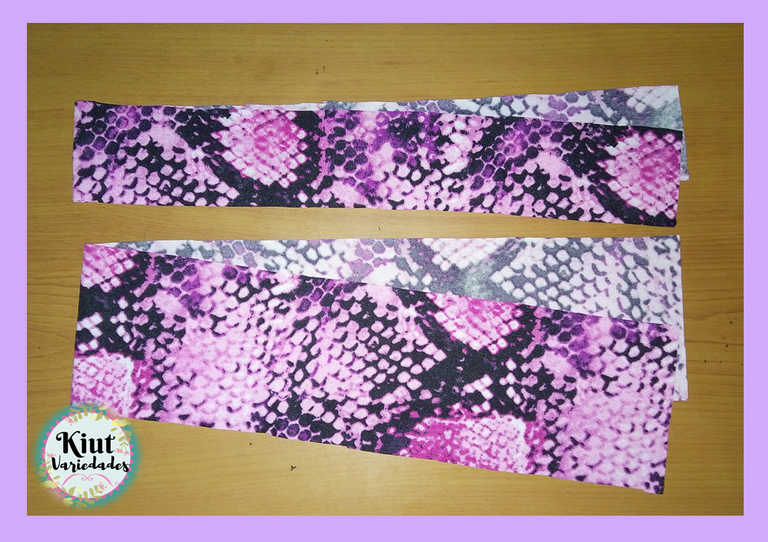
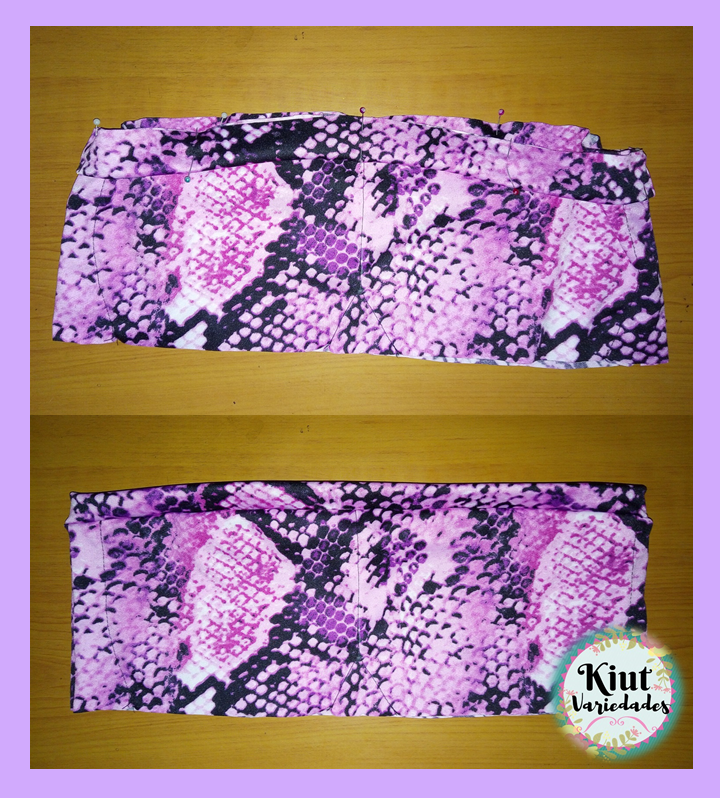
De la pieza delantera vamos a cortar dos piezas, mientras que de la espalda solo cortaremos 1 pieza. Comenzamos uniendo los laterales de esta piezas, para ello haremos coincidir el derecho de una de las piezas delanteras con la pieza de espalda, y encima de esto con el frente hacia abajo, colocaremos la segunda pieza delantera, formando una especie de sándwich.
From the front piece we will cut two pieces, while from the back we will only cut 1 piece. We begin by joining the sides of these pieces, to do this we will match the right of one of the front pieces with the back piece, and on top of this with the front down, we will place the second front piece, forming a kind of sandwich.
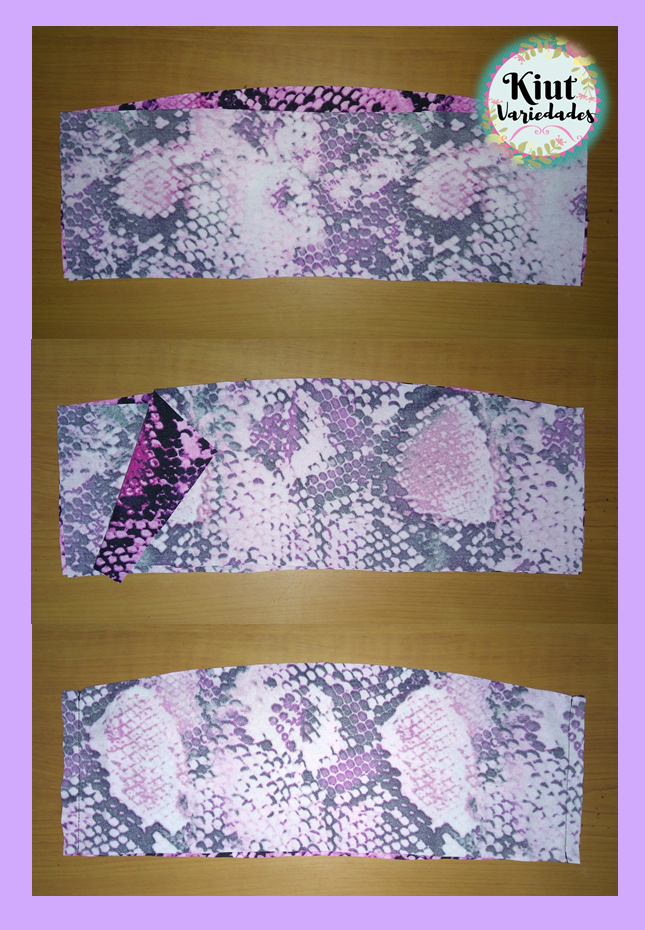
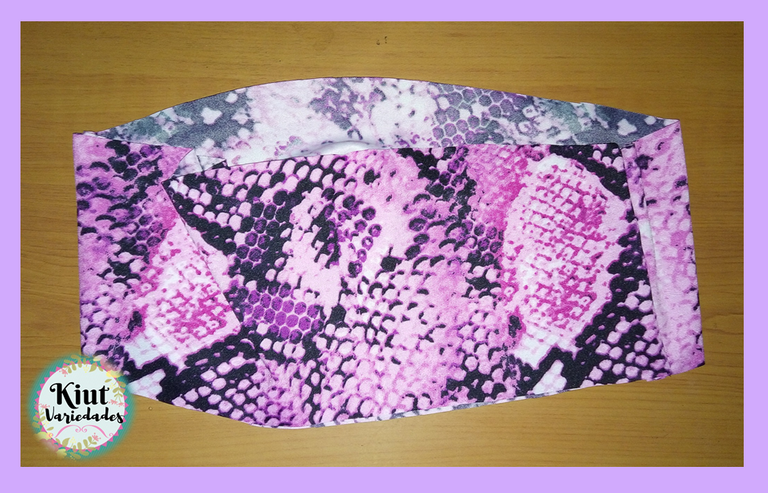
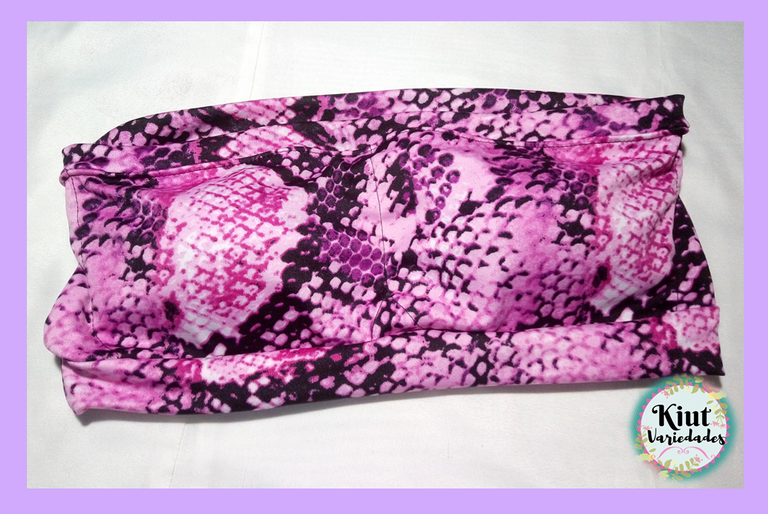
Haremos una costura en centro delantero del brasier, y formaremos una Y en la parte inferior. De igual forma haremos una costura curveada en los laterales del brasier, esto nos servirá para que las copas no se muevan en el interior.
We will make a seam in the front center of the bra, and form a Y at the bottom. In the same way we will make a curved seam in the sides of the bra, this will serve us so that the cups do not move inside.
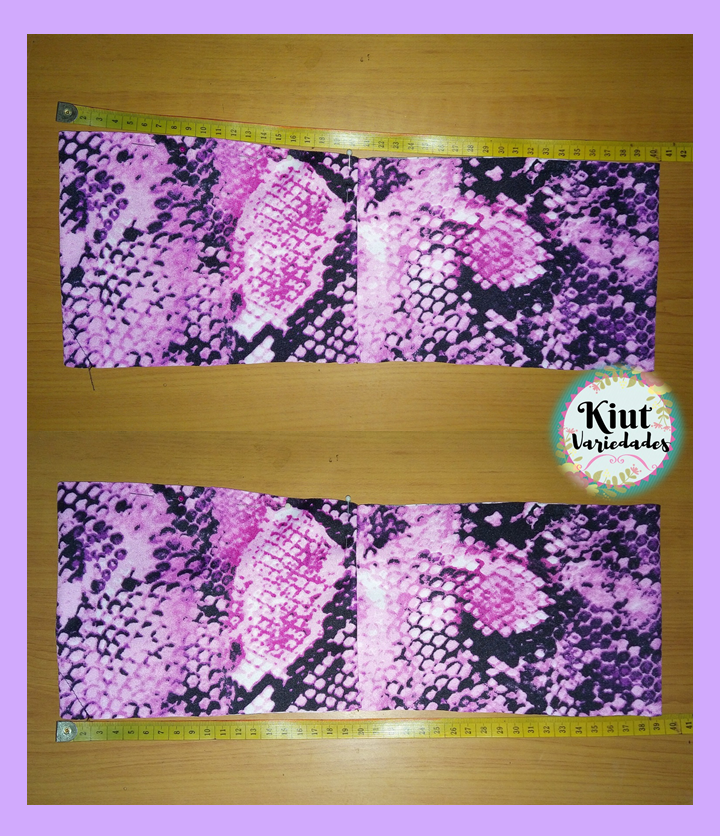
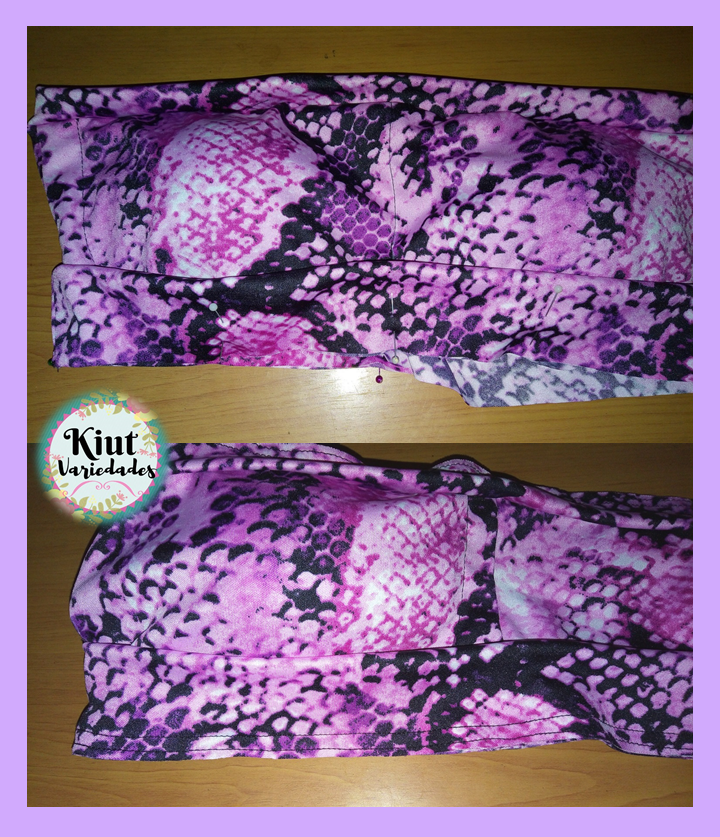
Medimos el contorno superior e inferior del brasier y a las medidas obtenida les vamos a restar aproximadamente 6cm. Cortamos una tira que tenga de largo la medida obtenida en la parte superior y de ancho 6cm, igualmente cortamos una tira que de ancho tenga de 8 a 10cm y de largo la medida obtenida en la parte inferior del brasier.
We measure the upper and lower contour of the bra and to the measurements obtained we will subtract approximately 6cm. We cut a strip that has the length of the measure obtained in the superior part and of width 6cm, equally we cut a strip that of width has of 8 to 10cm and of length the measure obtained in the inferior part of the bra.
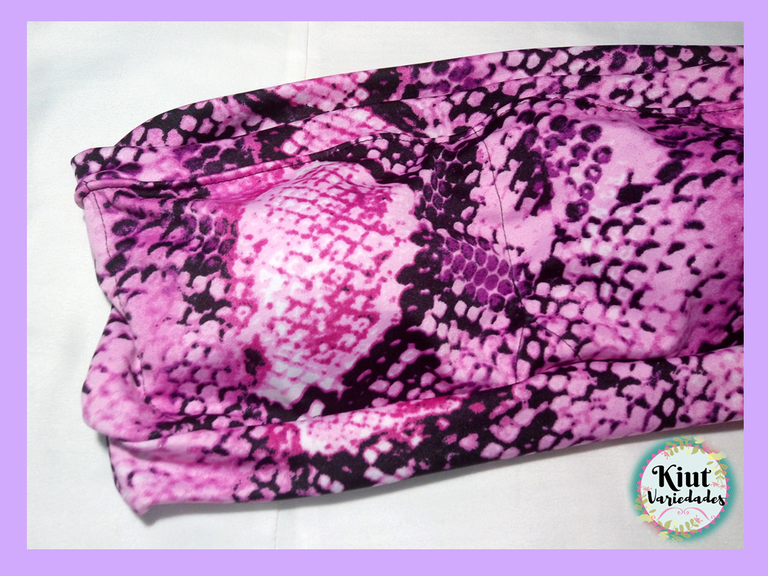
Cosemos las tiras para cerrarlas, las volteamos y doblamos a la mitad. Cosemos la tira superior asegurándonos de estirar lo suficiente la tela, si queremos luego podemos realizar una costura de asentamiento, pero esto es opcional.
We sew the strips to close them, turn them over and fold them in half. We sew the top strip making sure to stretch the fabric enough, if we want we can then make a settlement seam, but this is optional.

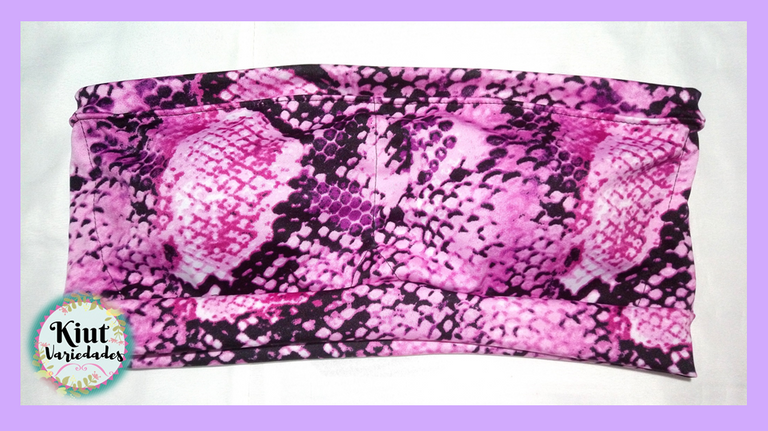
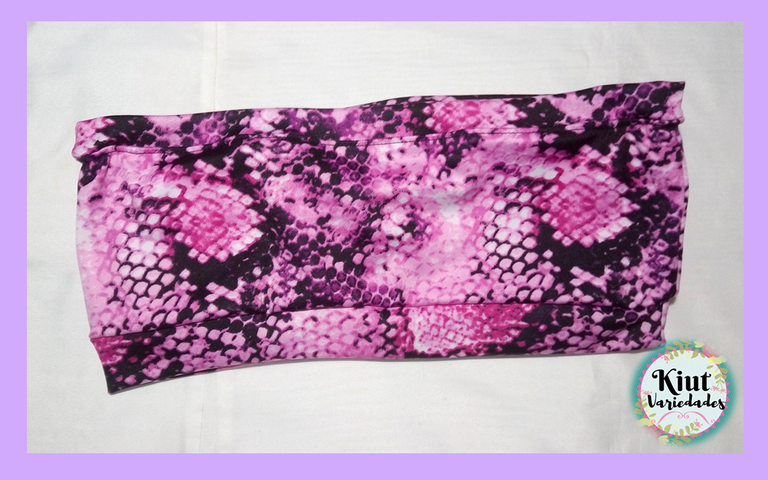
Introducimos las copas asegurándonos de que queden bien ubicadas, y cosemos la pretina, nuevamente estirando los suficiente la tela mientras cosemos.
We introduce the cups making sure they are well placed, and sew the waistband, again stretching the fabric enough while sewing.

Te invitamos igual que siempre a que intentes este proyecto por tu cuenta y nos cuentes en los comentarios 👇 como es tu experiencia.
We invite you as always to try this project on your own and tell us in the comments 👇 as is your experience..


Síguenos en todas nuestras redes sociales… || Follow us on all our social networks ...
Facebook:KiutVariedades
Instagram:@Kiut_variedades
Twitter:@Kiut_variedades
Quedó bello!!
Me contenta mucho que te haya gustado, muchas gracias por tu comentario 💕.