Es un placer para mi saludarlos nuevamente, mis amigos Hivers, feliz inicio de semana y espero se encuentren excelente💛
It is a pleasure for me to greet you again, my Hivers friends, happy beginning of the week and I hope you are feeling great💛
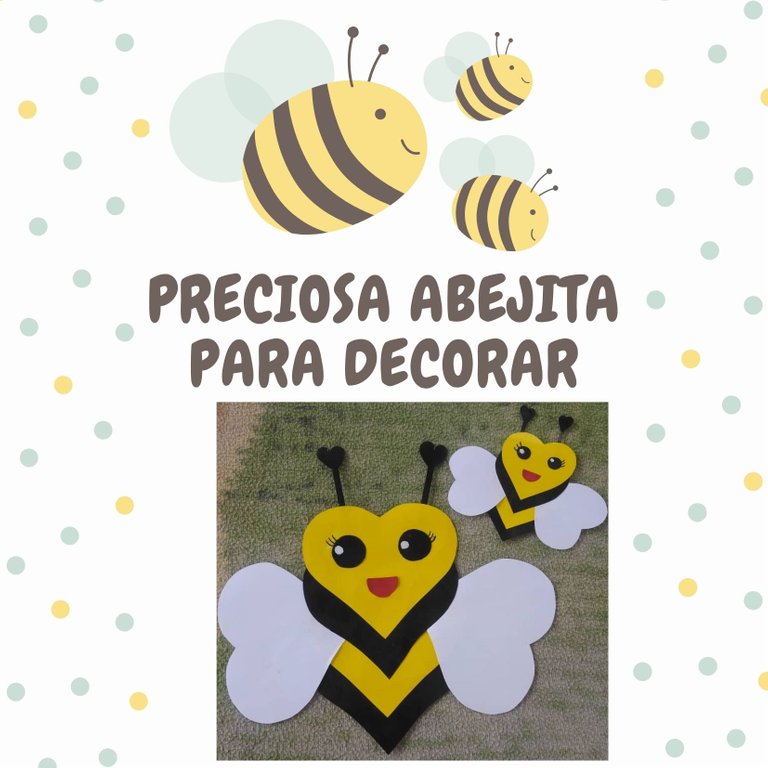

En este nuevo post les voy a enseñar a realizar un linda abejita decorativa con materiales que probablemente todos tenemos en nuestras casas, super fácil y económica de hacer. Sé que como a mi, aquí hay muchísimas personas que nos gusta guardar cualquier cosita que "nos servirá más adelante" y bueno, partiendo desde allí es que me motivé a realizar esta ternura de manualidad y así poderla compartir con todos ustedes, sin más que decir ¡Empecemos!
In this new post I am going to show you how to make a cute little decorative bee with materials that we probably all have in our homes, super easy and inexpensive to make. I know that like me, there are many people here who like to save any little thing that "will serve us later" and well, starting from there is that I was motivated to make this cute craft and so I can share it with all of you, without more to say, let's start!

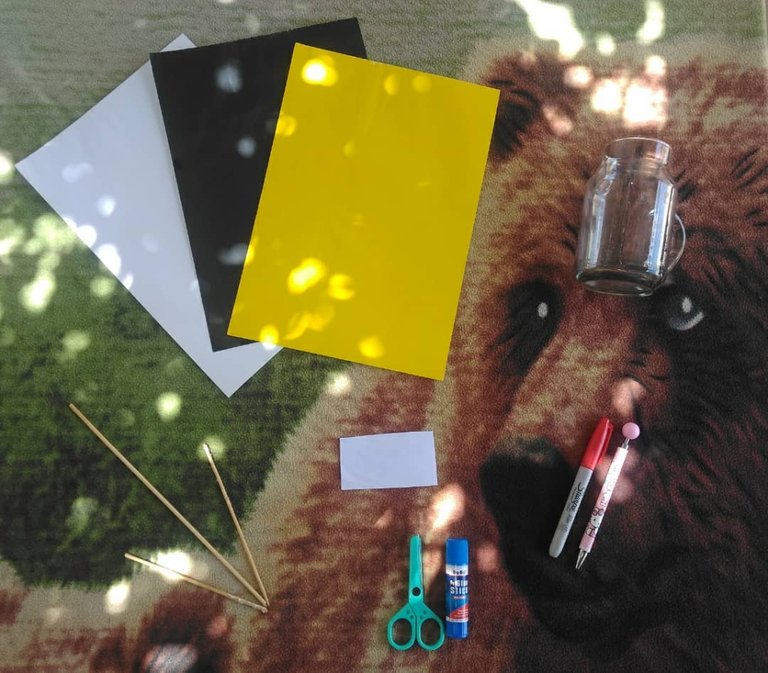
Materiales que vamos a necesitar:
Materials we will need:
✂ 1.) Papel lustrillo amarillo, negro y blanco (en dado caso de que no tengan este tipo de papel, también se puede utilizar cartulina o foami)
✂ 2.) Pega en barra o silicon.
✂ 3.) Tijeras.
✂ 4.) Lápiz.
✂ 5.) Una hoja blanca.
✂ 6.) Palitos de altura.
✂ 7.) Marcador rojo.
✂ 8.) Corrector (opcional)
✂ 1.) Yellow, black and white glossy paper (if you do not have this type of paper, you can also use cardboard or foami).✂ 2.) Glue stick or silicone.
✂ 3.) Scissors.
✂ 4.) Pencil.
✂ 5.) A white sheet of paper.
✂ 6.) High sticks.
✂ 7.) Red marker.
✂ 8.) Corrector (optional)
Paso a paso para realizar nuestra abejita🐝:Step by step to make our little bee🐝:
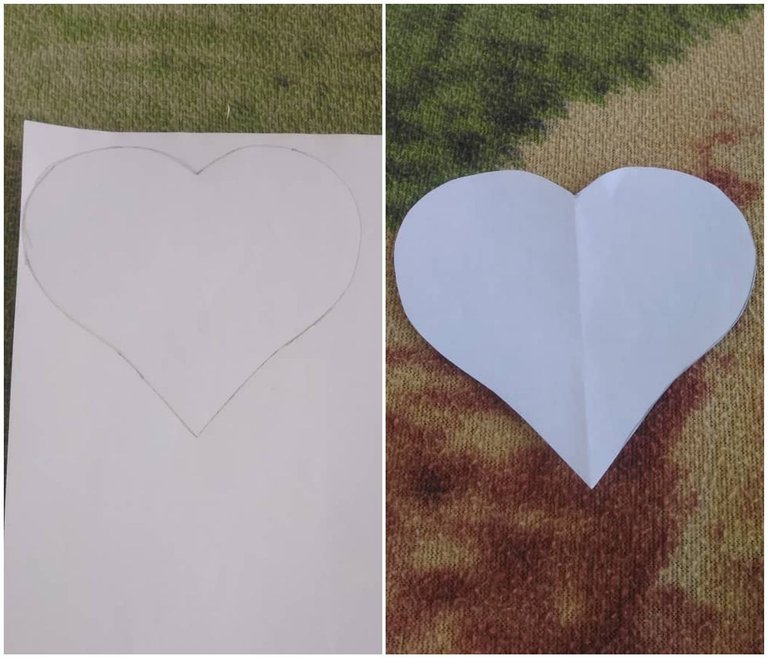
1.) Lo primero que vamos a hacer es crear un molde corazón en una hoja blanca.1.) The first thing we are going to do is to create a heart shape on a white sheet of paper.
2.) Luego de ya haberlo hecho, lo colocamos encima de nuestro papel lustrillo y creamos nuestros corazones.2.) After we have done this, we place it on top of our lustrillo paper and create our hearts.
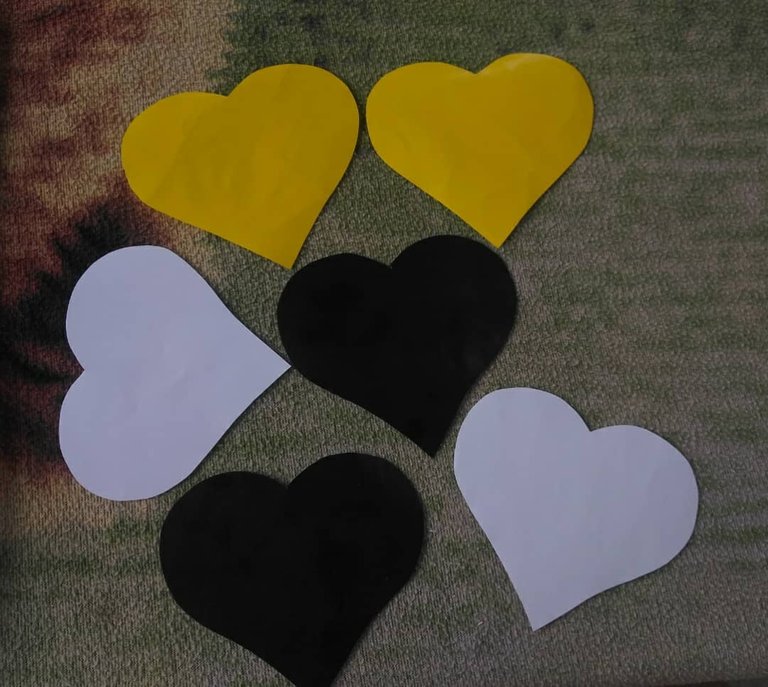
3.) Nos quedarían de esta forma (serían 2 de cada color)3.) We would be left with the following (2 of each color)
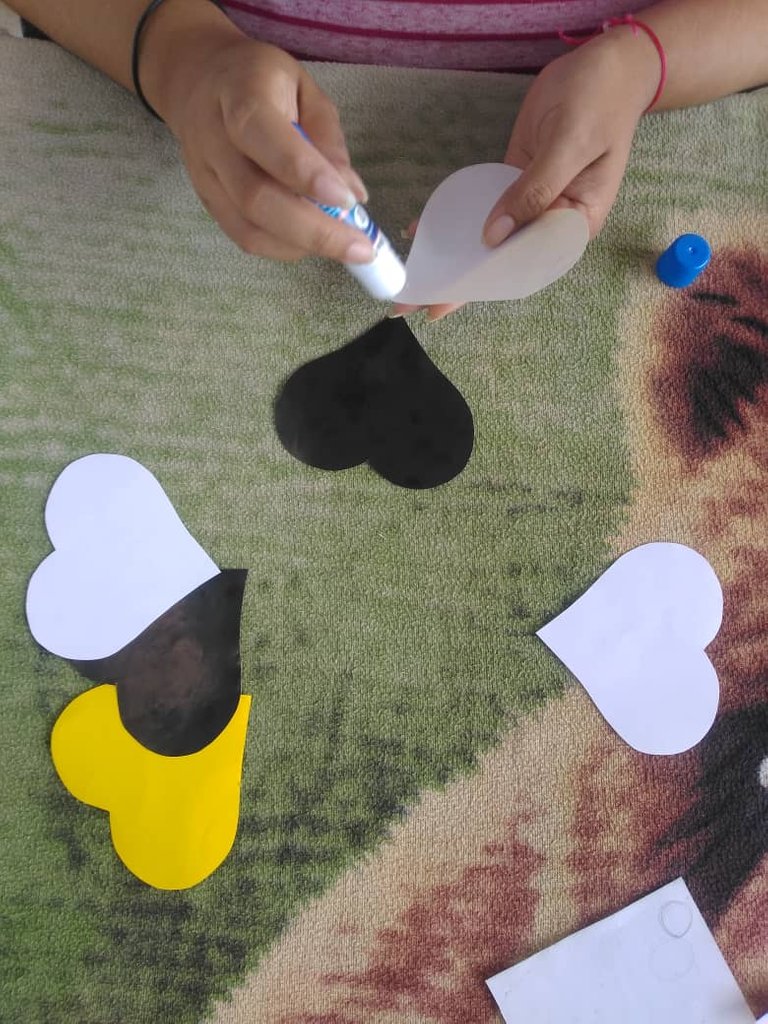
4.) Tomamos nuestros corazones, le colocamos un poco de pega en la parte inferior y procedemos a pegarlos uno encima de otro, lo que nos daría la siguiente forma.4.) We take our hearts, put some glue on the bottom and proceed to glue them one on top of the other, which would give us the following shape.
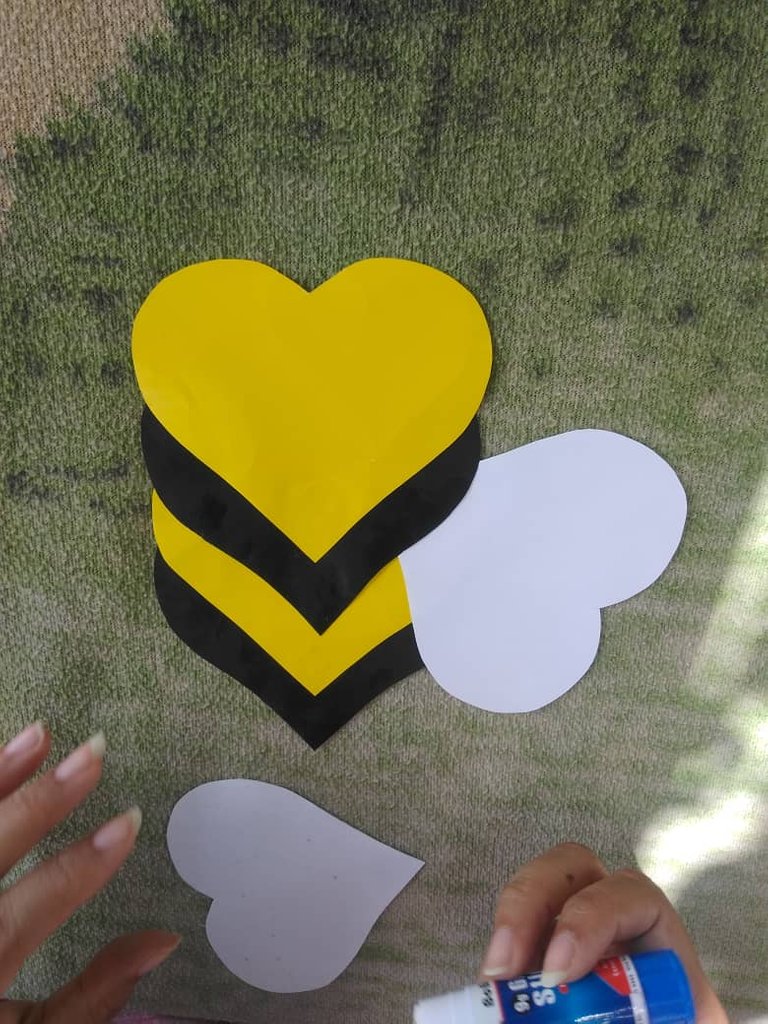
5.) Los corazones blancos que vendrían siendo las alitas, las vamos a pegar a los lados, debajo del corazón negro como se observa en la fotografía.5.) The white hearts that would be the wings, we are going to glue them to the sides, under the black heart as shown in the picture.
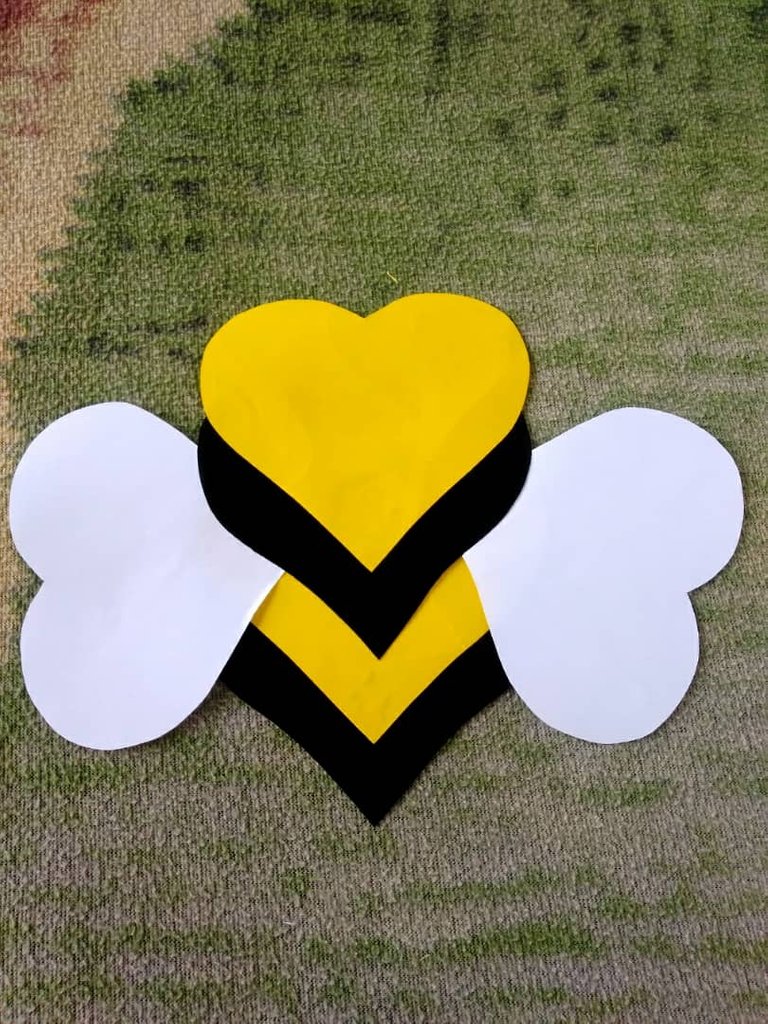
6.) Así nos irá quedando nuestra abejita🐝.6.) This is how our little bee will look like🐝.
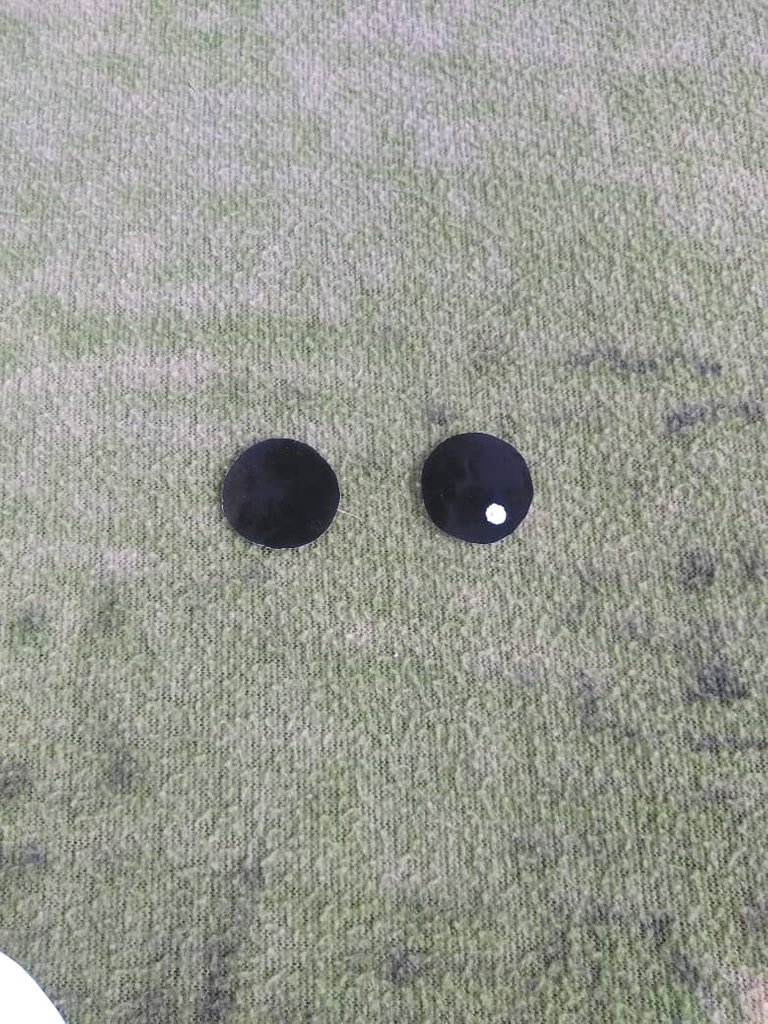
7.) Dibujamos unos pequeños circulos en el papel negro, los cuales vendrían siendo nuestros ojitos. Para la pupila yo utilicé un poco de corrector, pero si no tienen de esto en casa, pueden hacer un círculo muy pequeñito en una hoja blanca y pegarselo encima.7.) Draw some small circles on the black paper, which would be our eyes. For the pupil I used a little bit of concealer, but if you don't have this at home, you can make a very small circle on a white sheet of paper and paste it on top.
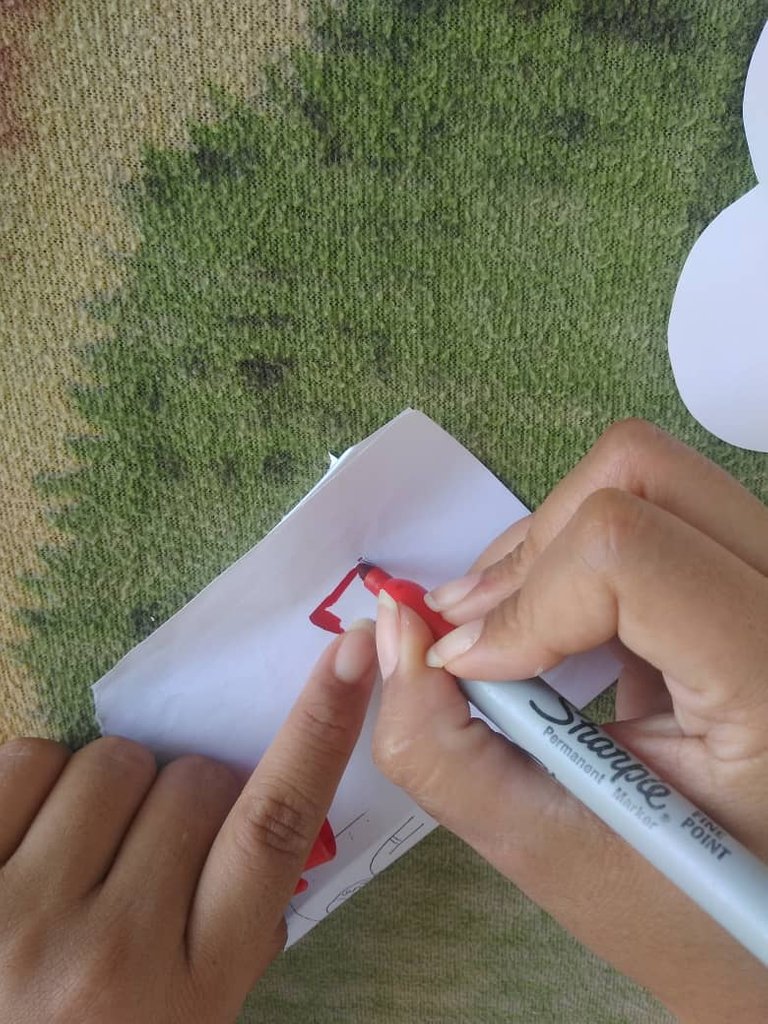
8.) Para la boquita, tomamos un trozo de hoja blanca, la dibujamos y la pintamos de rojo con nuestro marcador. Luego de ya haber hecho esto, procedemos a pegarla.8.) For the mouth, we take a piece of white paper, draw it and paint it red with our marker. After we have done this, we proceed to glue it.
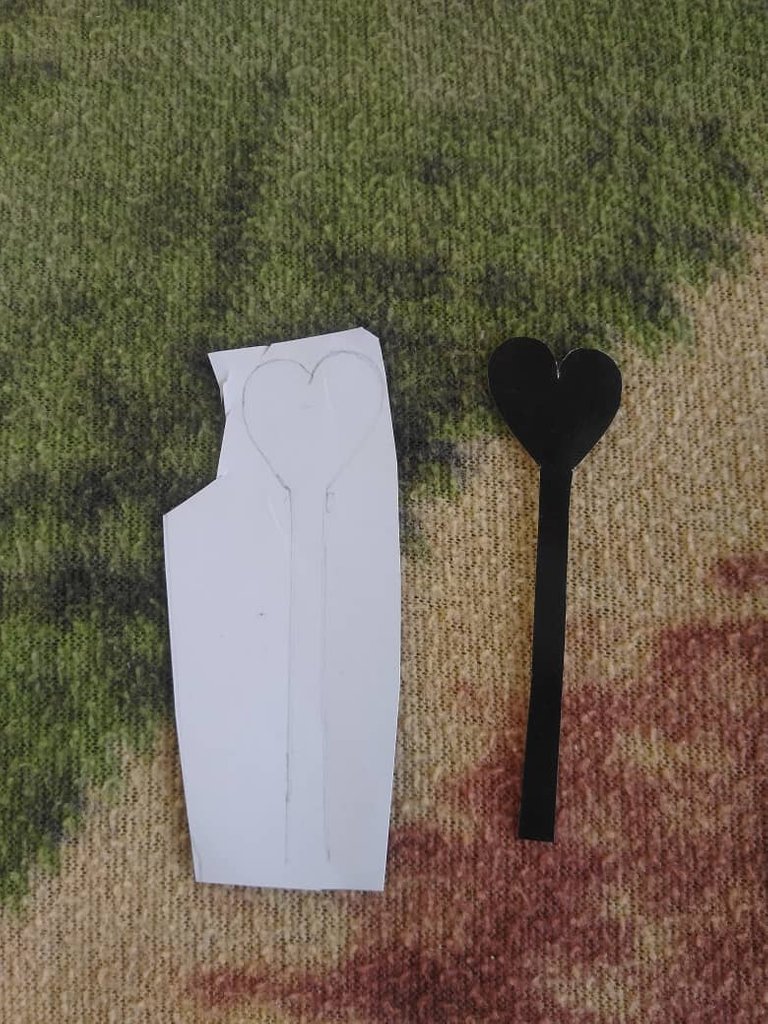
9.) Para las antenitas, dibujamos el siguiente molde por la parte trasera de nuestro papel negro, lo recortamos e inmediatamente procedemos a pegarla por la parte posterior de nuestra abejita.9.) For the antennae, we draw the following mold on the back of our black paper, cut it out and immediately proceed to glue it on the back of our little bee.
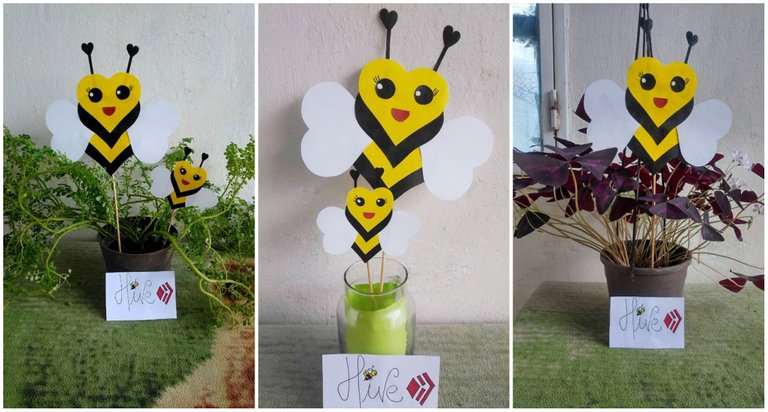
¡Y listo! Es así como concluimos con nuestra adorable abejita, la cual tiene múltiples funciones, podemos colocarla como adorno en nuestro jardín, en la cocina o en lugar de nuestra preferencia, donde sea se verá linda. Aprendí a crear esta manualidad para compartirla con todos ustedes, ya que me gustó bastante y bueno este fue el resultado de la misma en honor a nuestra colmena.And that's it! This is how we conclude with our adorable little bee, which has multiple functions, we can place it as an ornament in our garden, in the kitchen or in a place of our preference, wherever we want, it will look cute. I learned to create this craft to share it with all of you, since I liked it a lot and well this was the result of it in honor of our beehive.
Muchas gracias por leer mi nuevo post espero haya sido de su agrado y si deciden en algún momento realizarla no duden en mostrármela, será hasta una próxima oportunidad mis queridos Hivers, cuidense mucho, un fuerte abrazo💛Thank you very much for reading my new post I hope you liked it and if you decide to make it at some point do not hesitate to show it to me, it will be until a next time my dear Hivers, take care of yourselves, a big hug💛
📸Todas las fotografías son de mi autoría.
📝Traducido en: https://www.deepl.com/es/translator
📌Separador: https://www.tutorialesteemit.com/recomendaciones/separadores-de-texto-para-blog/

vaya ,muy bonito la verdad con solo dibujar corazones y los trasformas en esa bella abejita.
Siii, eso fue lo que más me gustó, gracias por tu lindo comentario💚
jajjaja buena idea de ponerla en el matero, se ve bonito y le da vida :) Aprovecho a darle amor a tu post #malomilove
Muchas gracias por su apoyo y si, se ve re lindo por eso decidí colocarla allí♥
Saludos 😃 Feliz día :)
Me encantaaaa
The rewards earned on this comment will go directly to the person sharing the post on Twitter as long as they are registered with @poshtoken. Sign up at https://hiveposh.com.