Hello lovely friends!
Having fun with our children is one of the way to "kill the time". It can do with a simple way. We can make activities cheaply. In other hand we can remember our childhood too. As I do with my children to make Dinosaurs from paper. If you want to try it you can follow this paper folding art step by step.
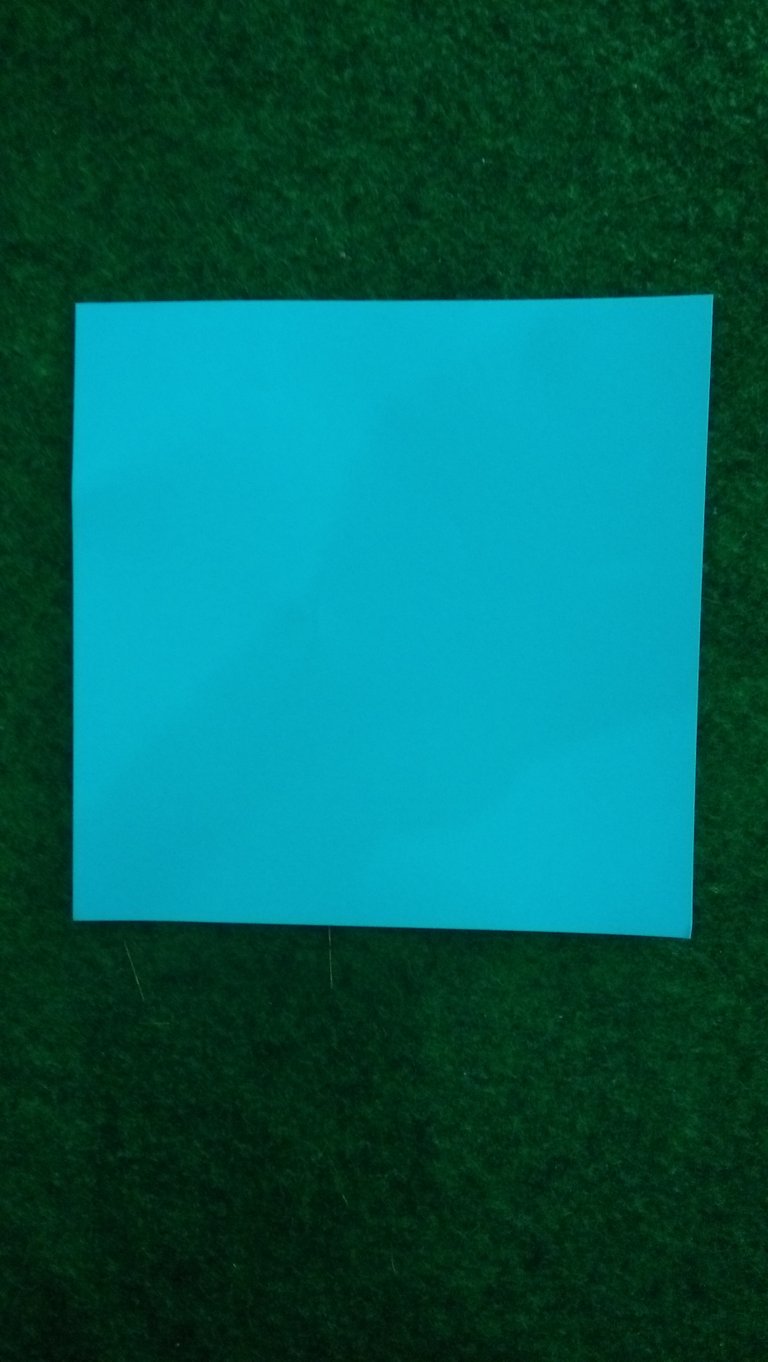
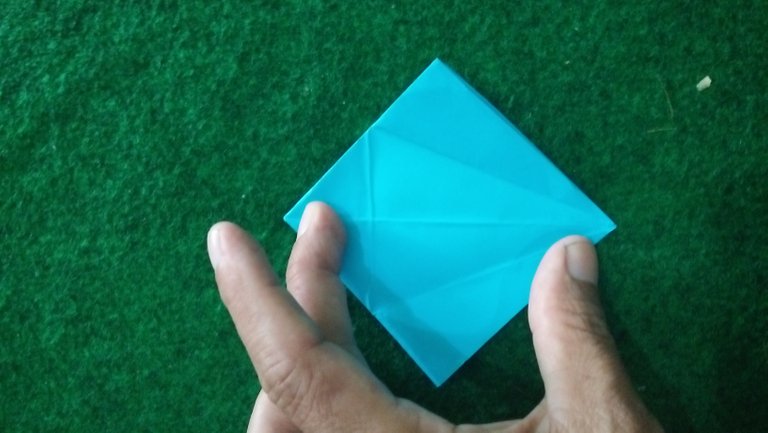
1. Choose paper
We can use various types of paper that are around us. we can even choose origami paper as I used.
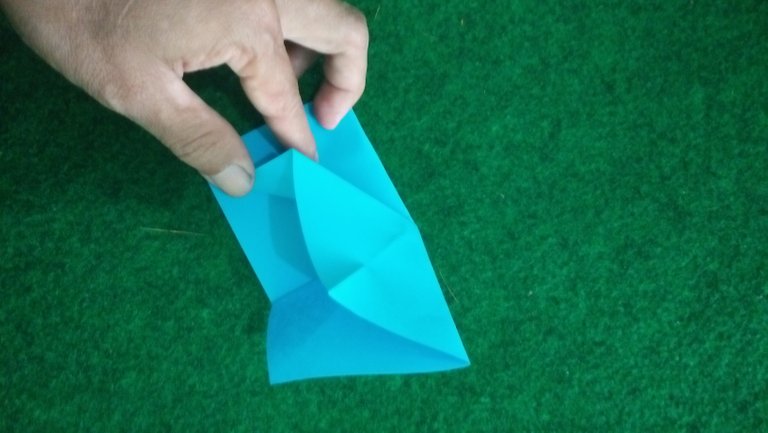
2. Create horizontal, vertical and diagonal symmetry lines as shown in the following image.
![IMG20200628145139[1].jpg](https://images.hive.blog/768x0/https://images.ecency.com/DQmUVZRVAWSAz8B4pBt4iG9pKNkNn2T6Lpae82SivL3pHa8/IMG20200628145139[1].jpg)
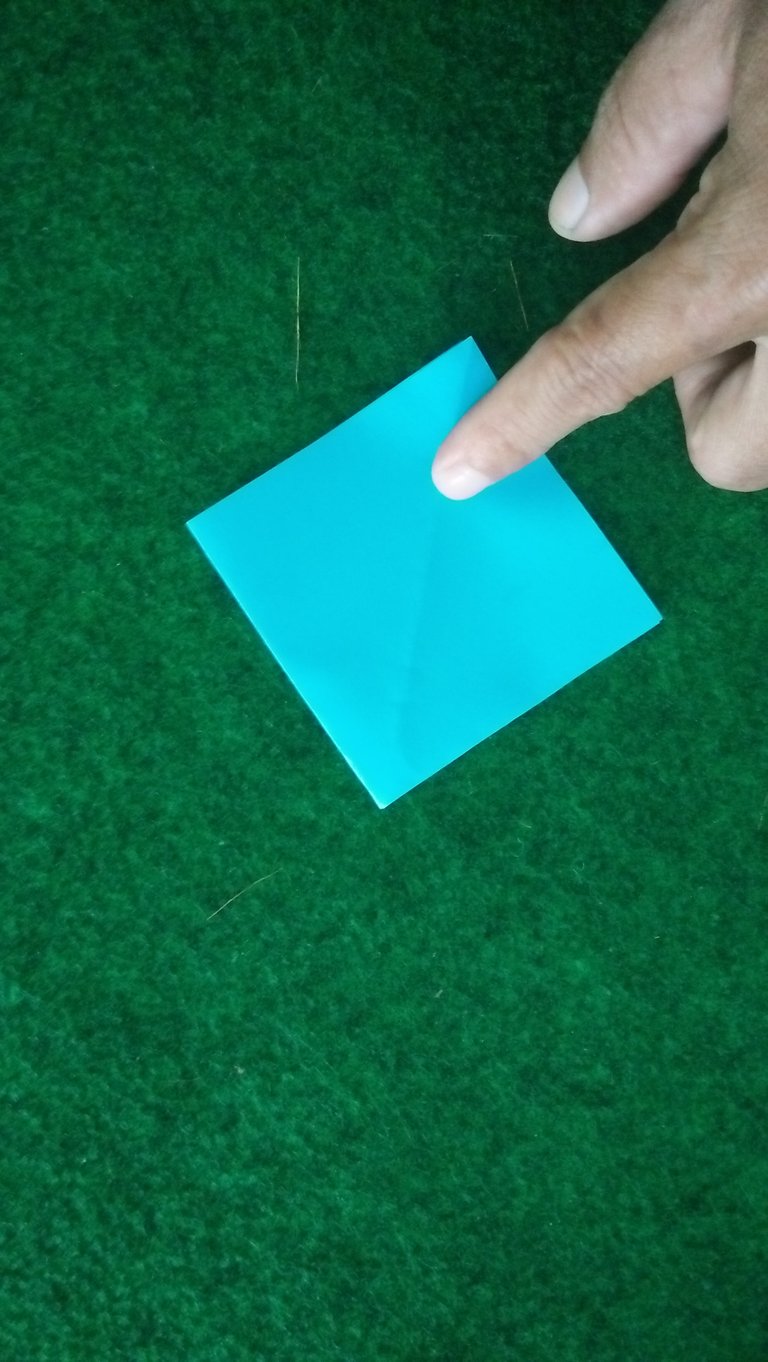
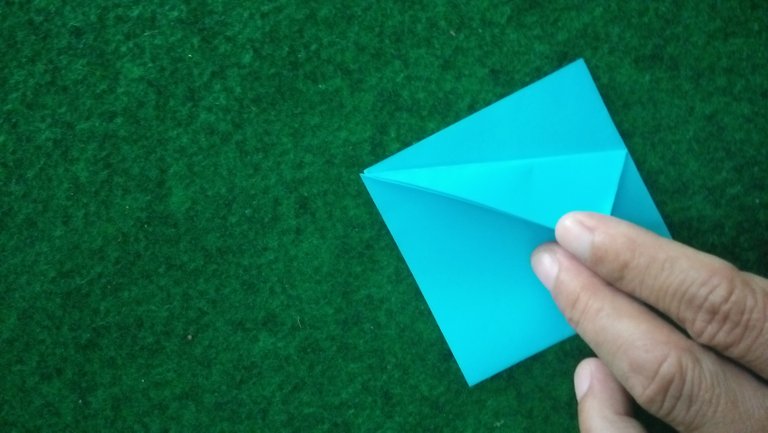
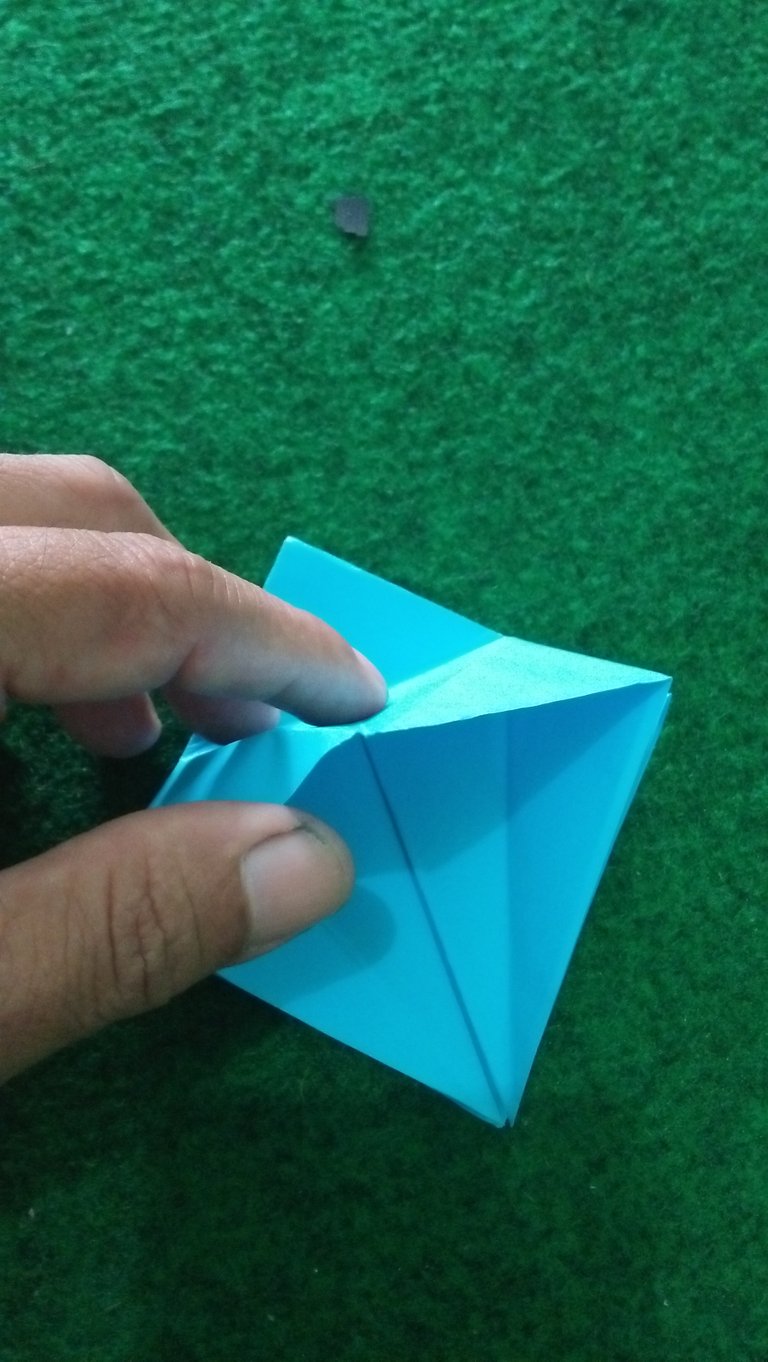
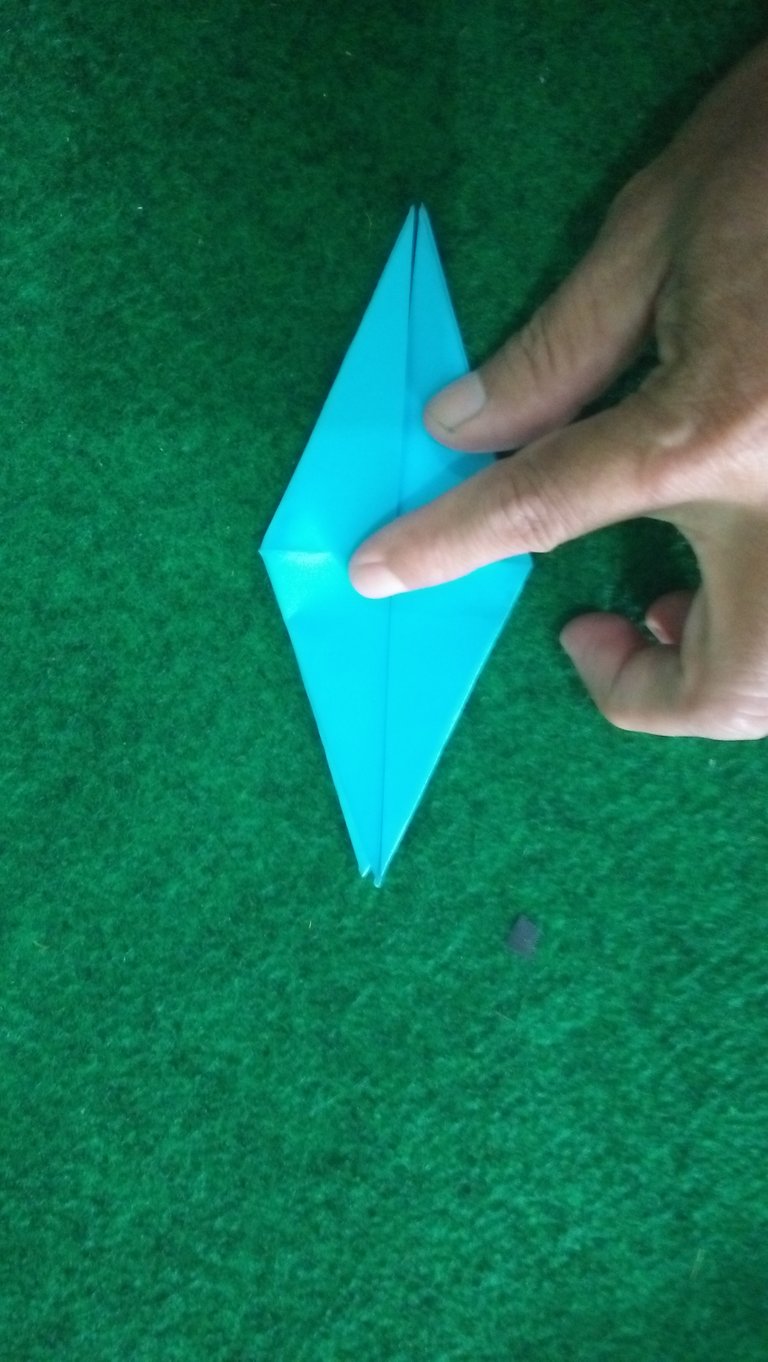
3. Make a rhombus
Press the left and right sides to the center so that it will form a rhombus shape. Make up.
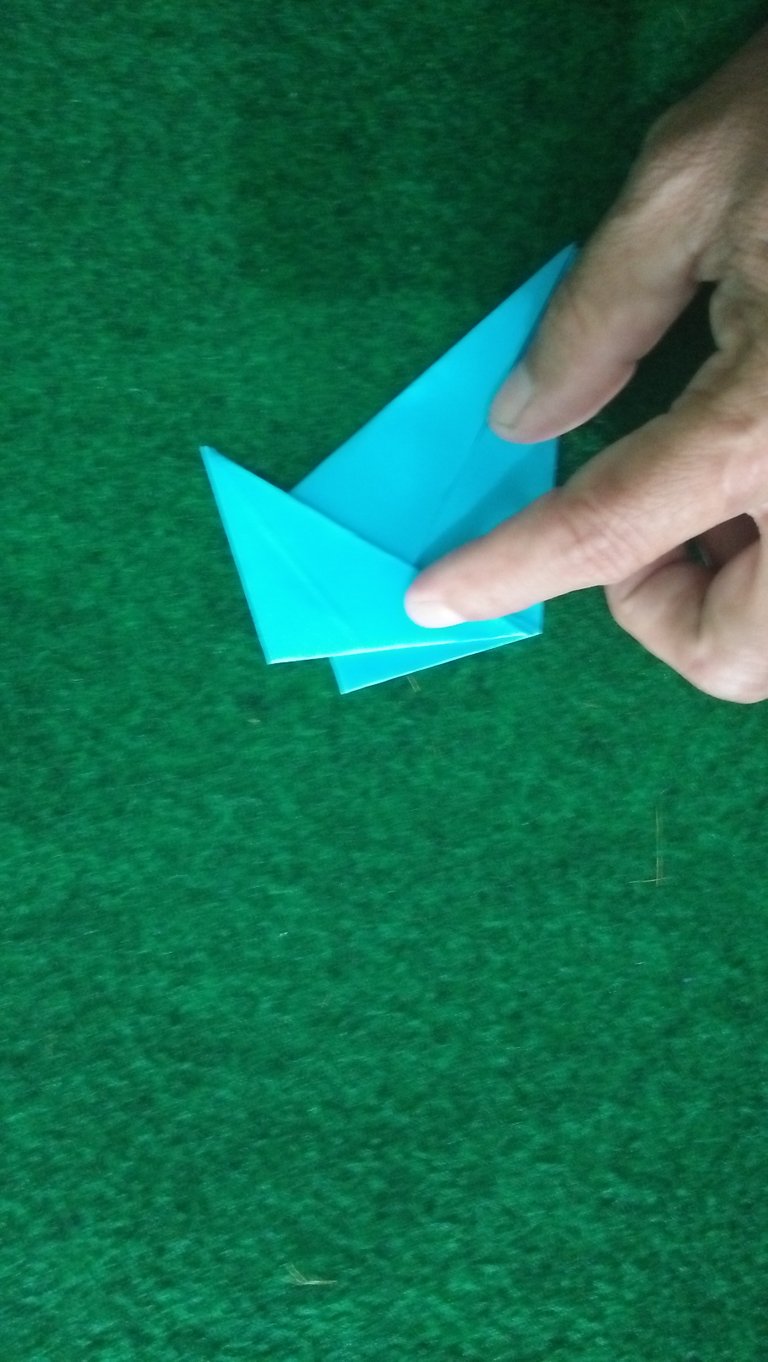
4. Making kite shape
Fold the left and right corners with the top of the loose edge of the diamond so that it looks like the picture.
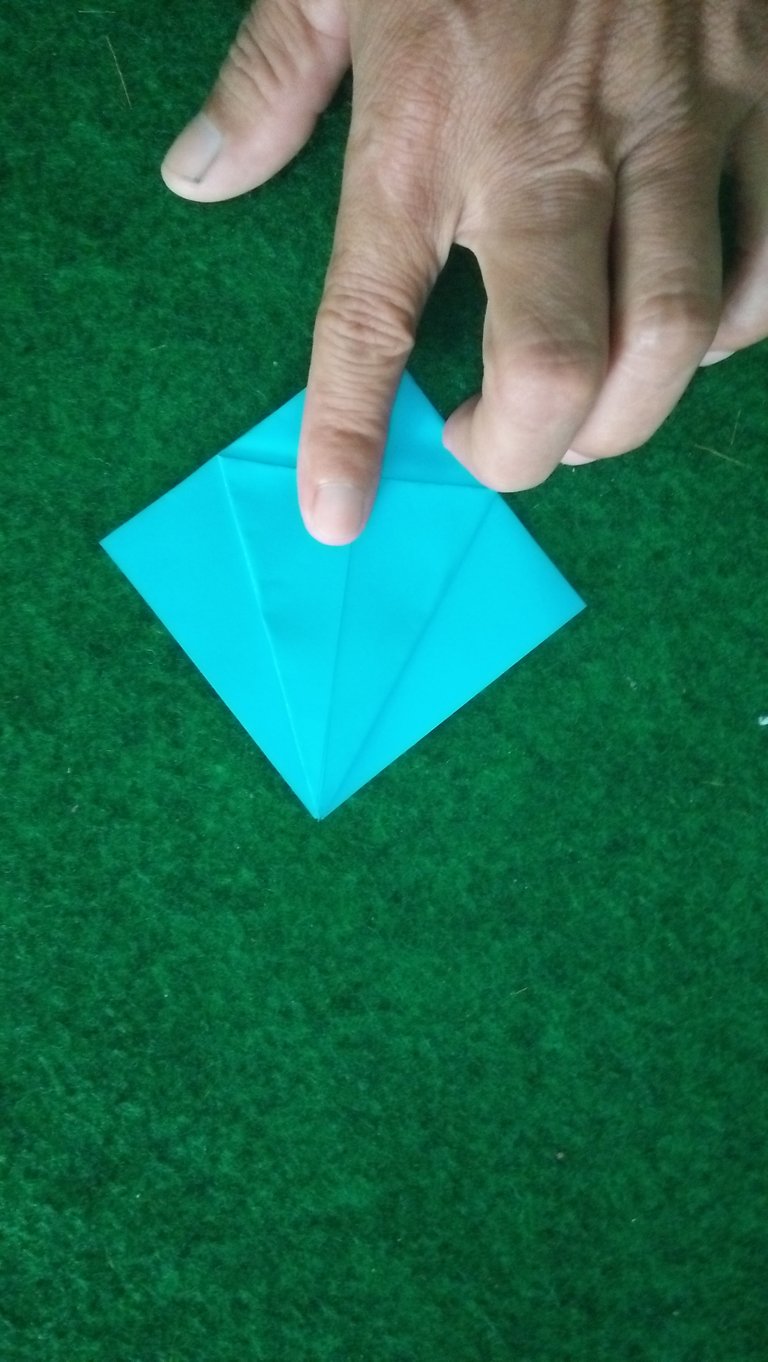
Do the same thing on the opposite hemisphere so that the kite is formed as shown in the picture. Make up.
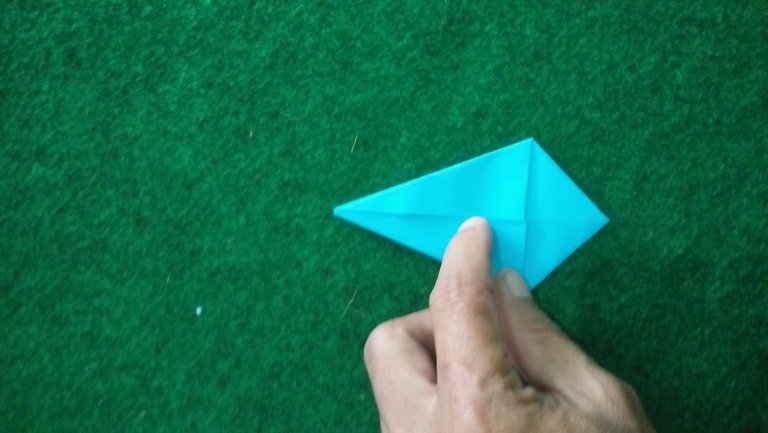
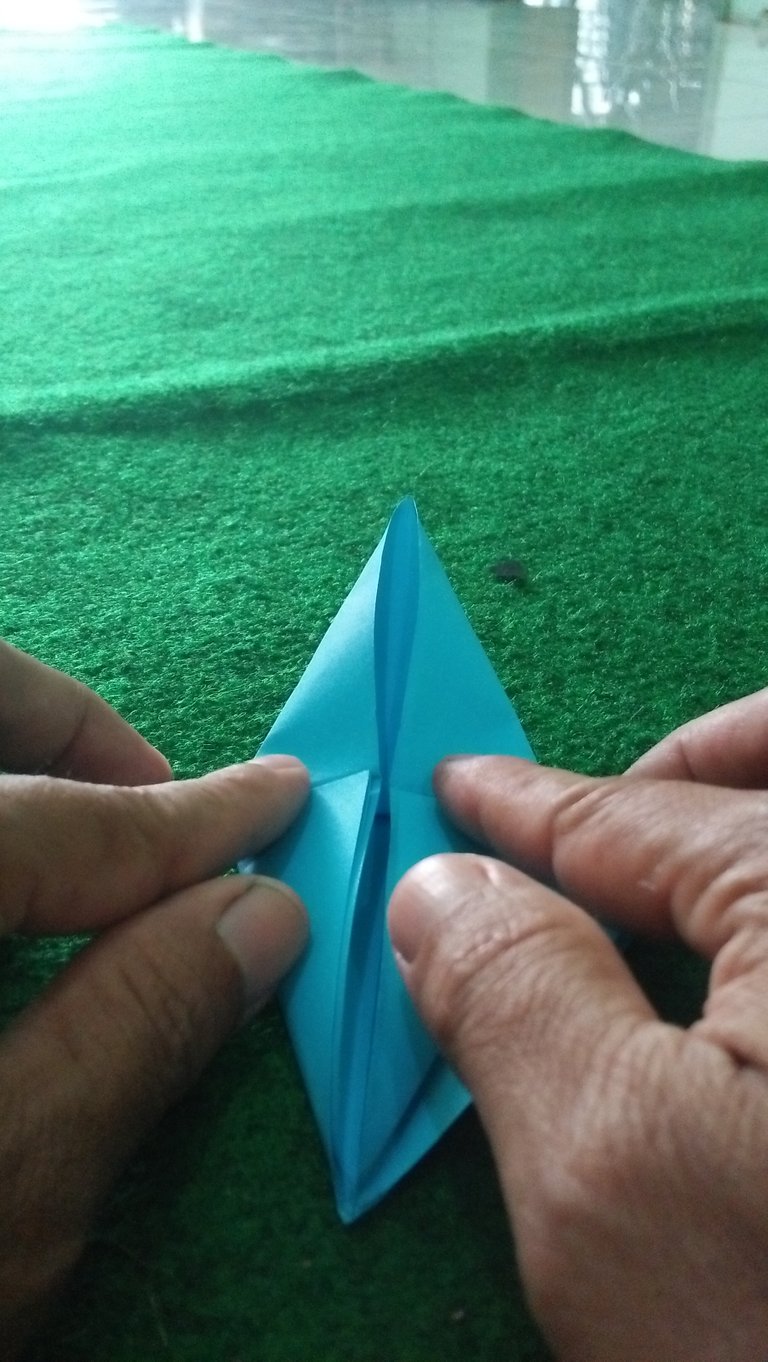
5. Fold the short diagonals forward and back so they will form a line as shown in the picture
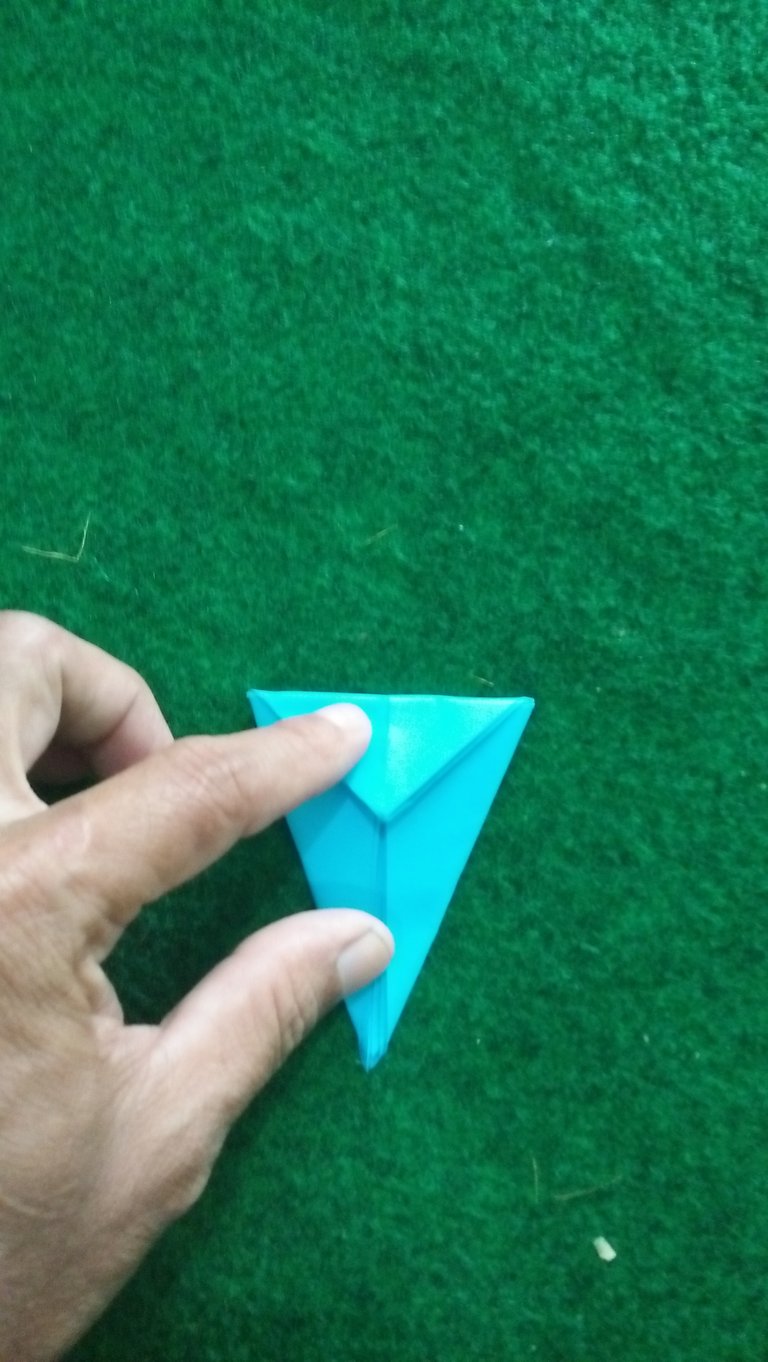
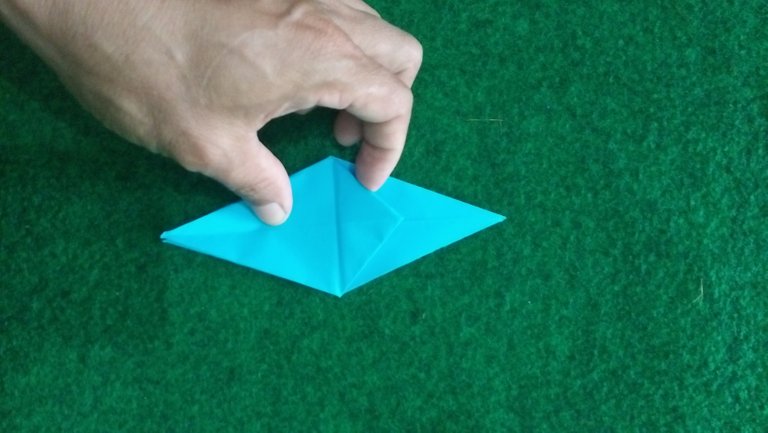
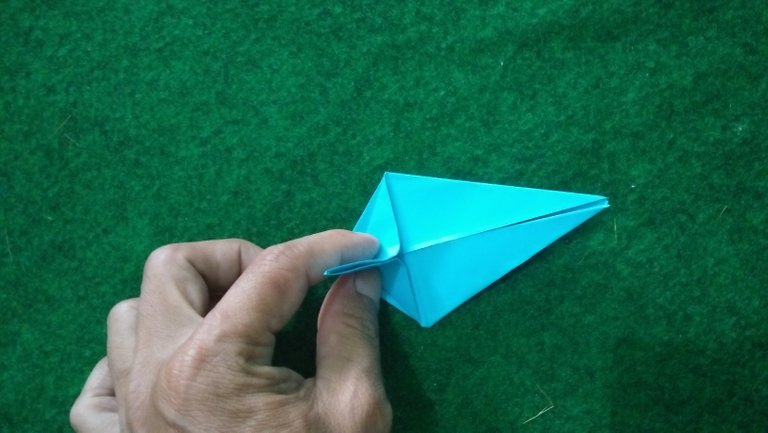
6. Form a long rhombus shape
Open the kite so that it becomes a rhombus. Fold the top sheet backwards according to the kite line pattern, press the right and left sides inward and trim it so that it will look like the picture.
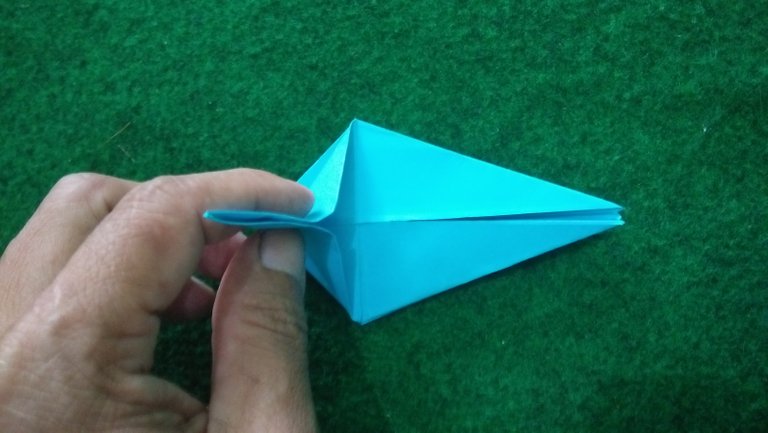
Fold the bottom up so that it forms a rhombus with a longer side and a triangle in the middle as shown in the picture.
Do the same thing on the other side by flipping the origami paper so it looks like the picture.
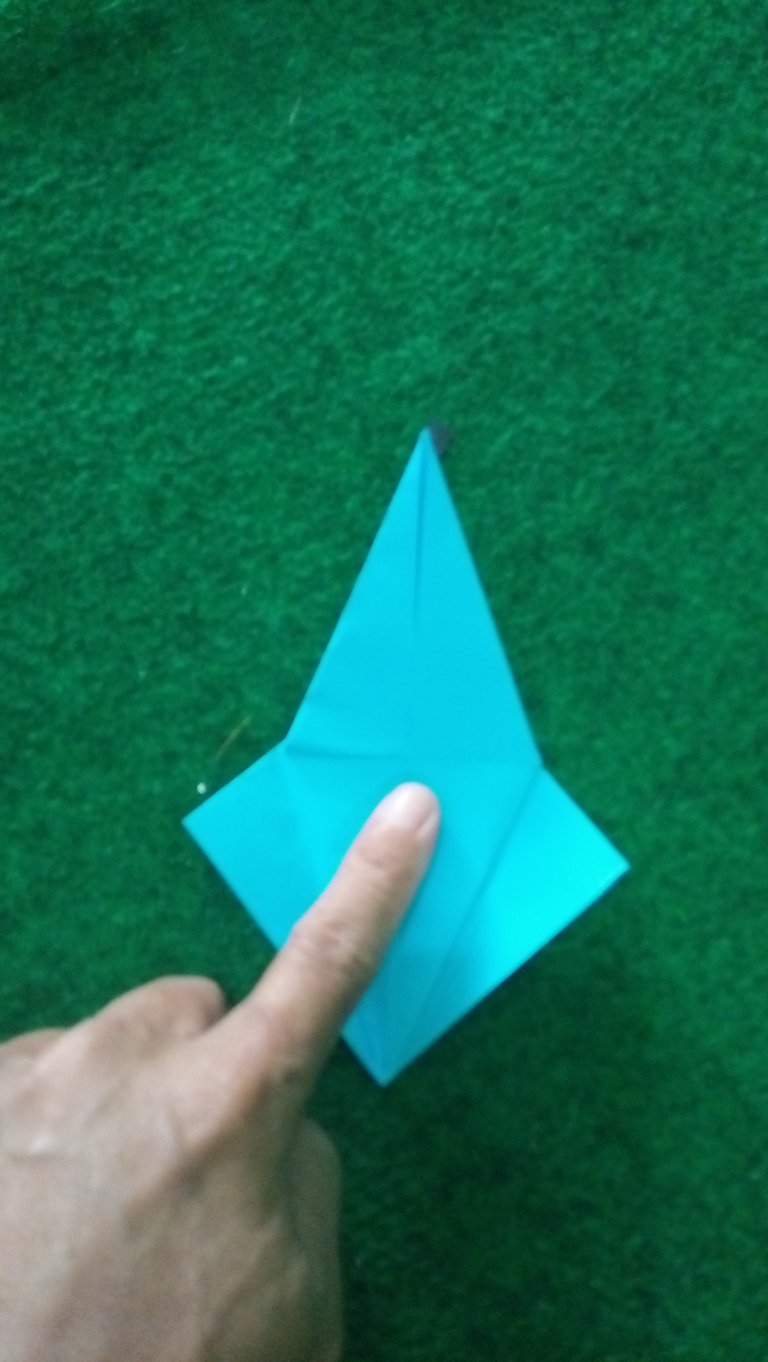
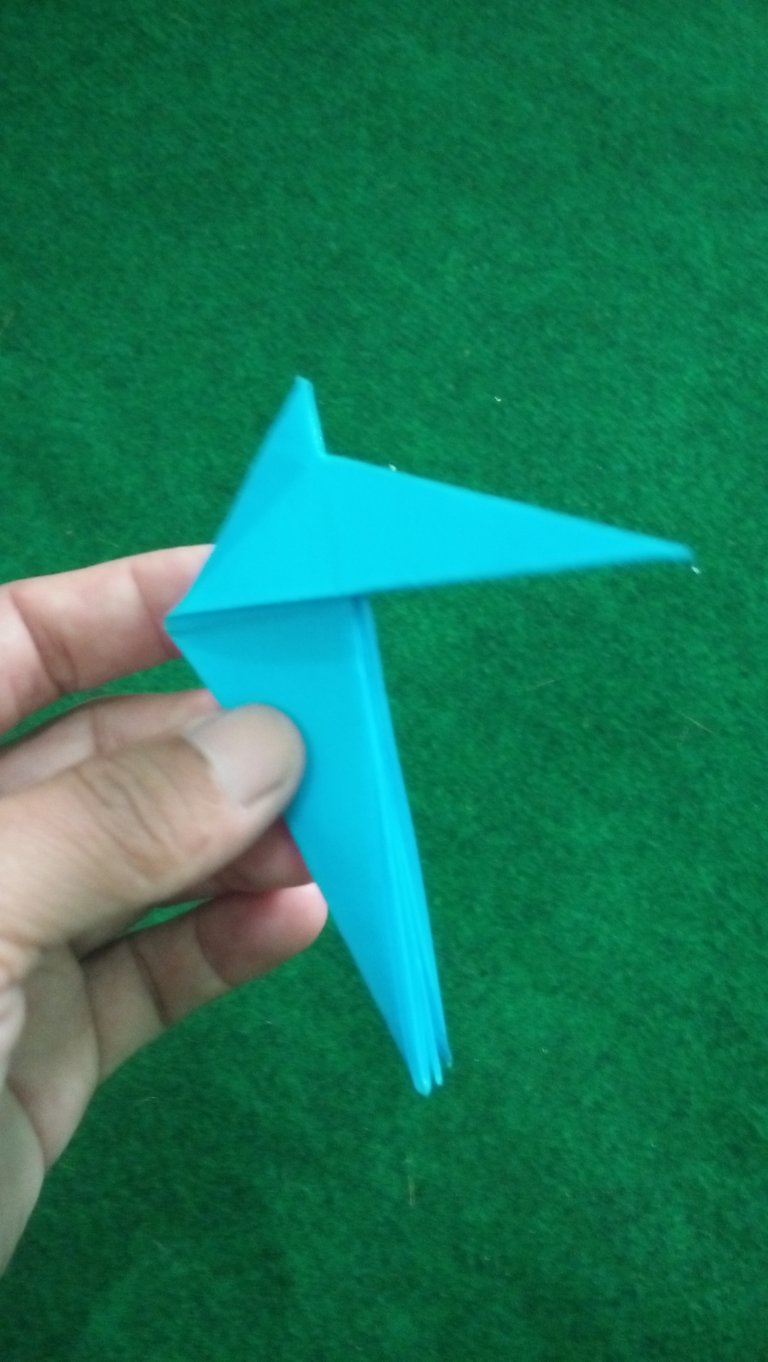
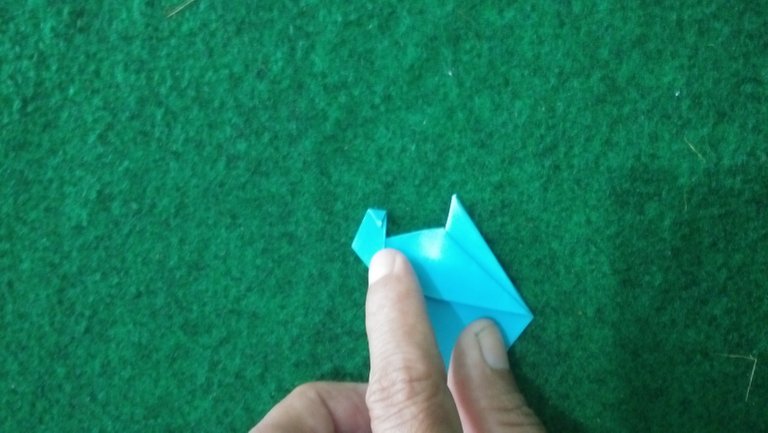
7. Making dinosaur heads
Place the origami paper with a small triangle below. Fold the rhombic part above the triangle to the right and left as shown in the picture
Fold with the center of the triangle symmetry in accordance with the fold pattern that has been made as shown in the picture.
Fold the rhombus hemisphere out so that it looks like the picture.
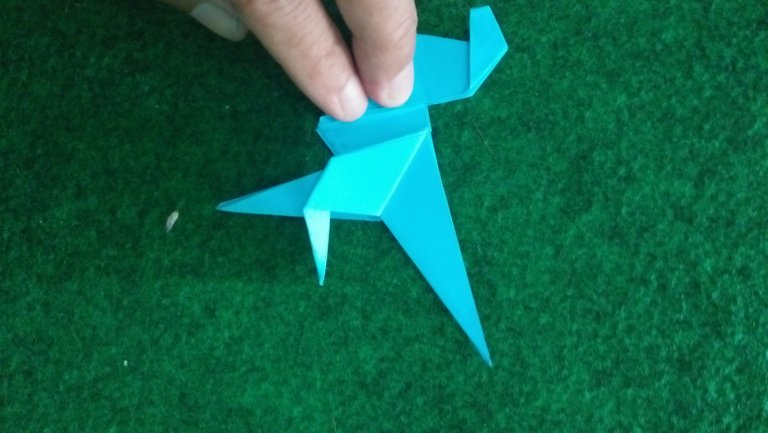
Fold the end of the dinosaur's head into the middle of the fold, as shown in the picture.
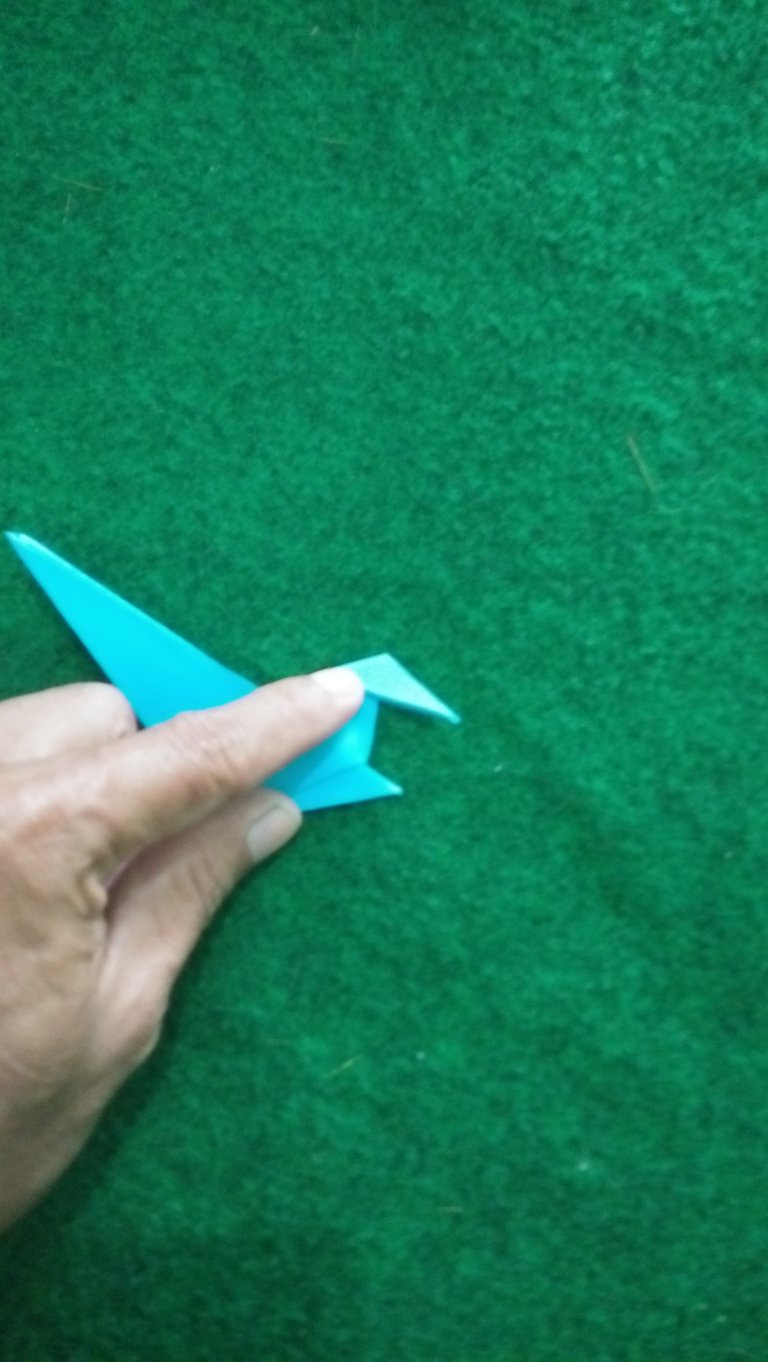
To tidy the head, fold the ends then insert them so they look like the picture. Also trim the bottom of the neck by folding inward.
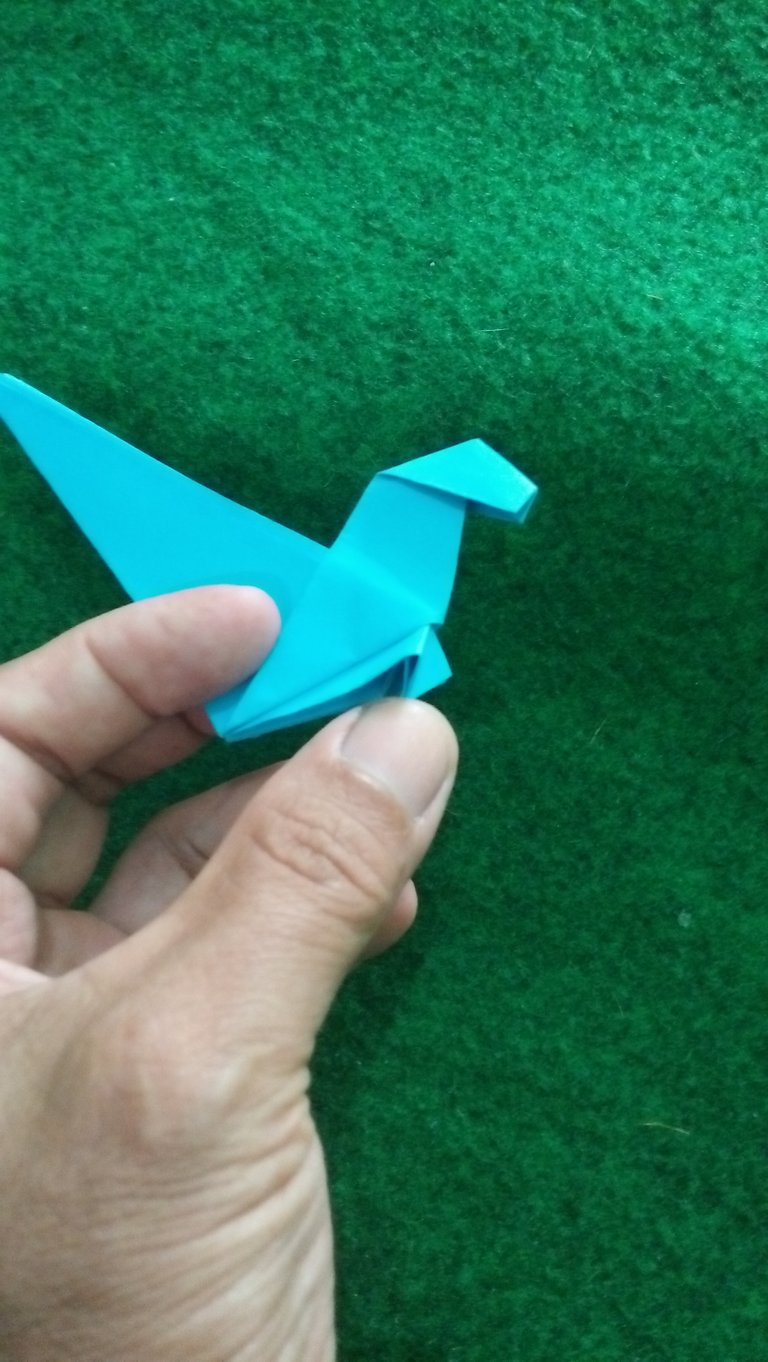
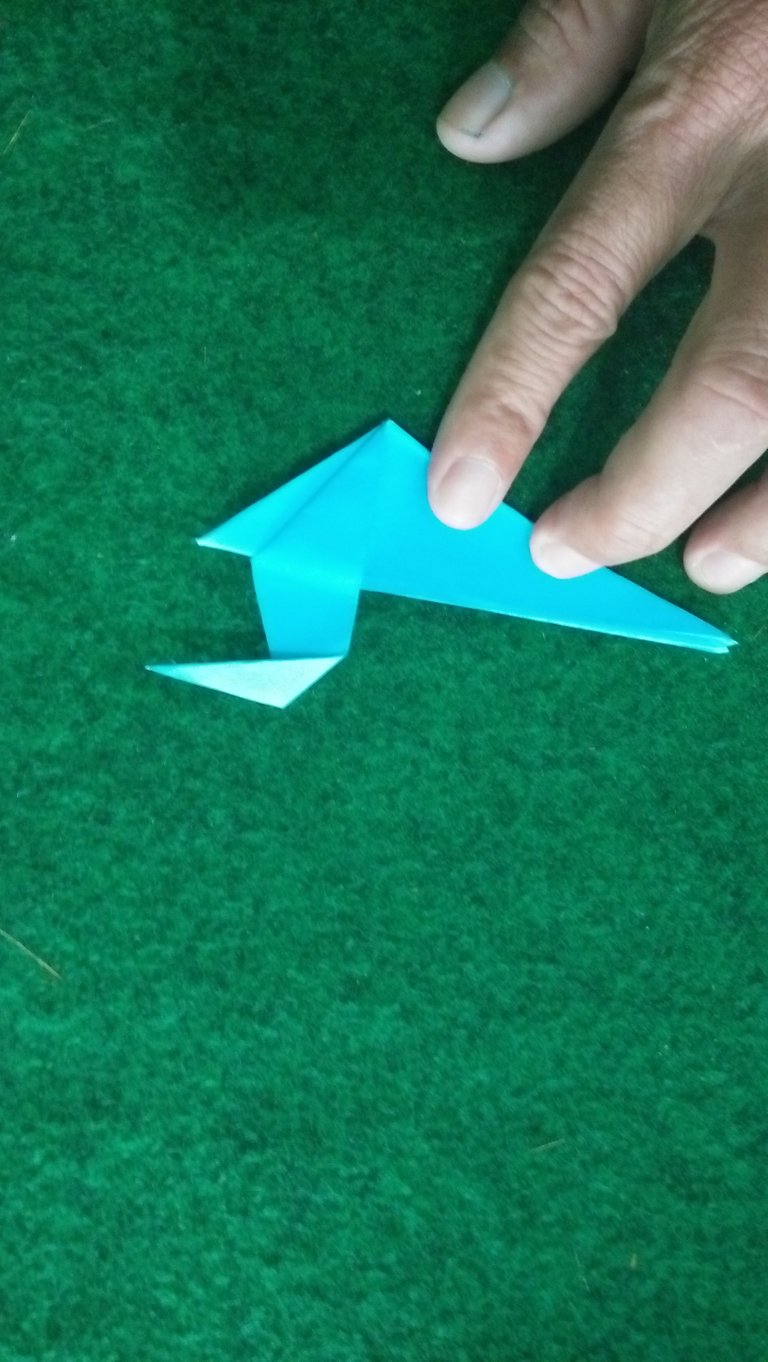
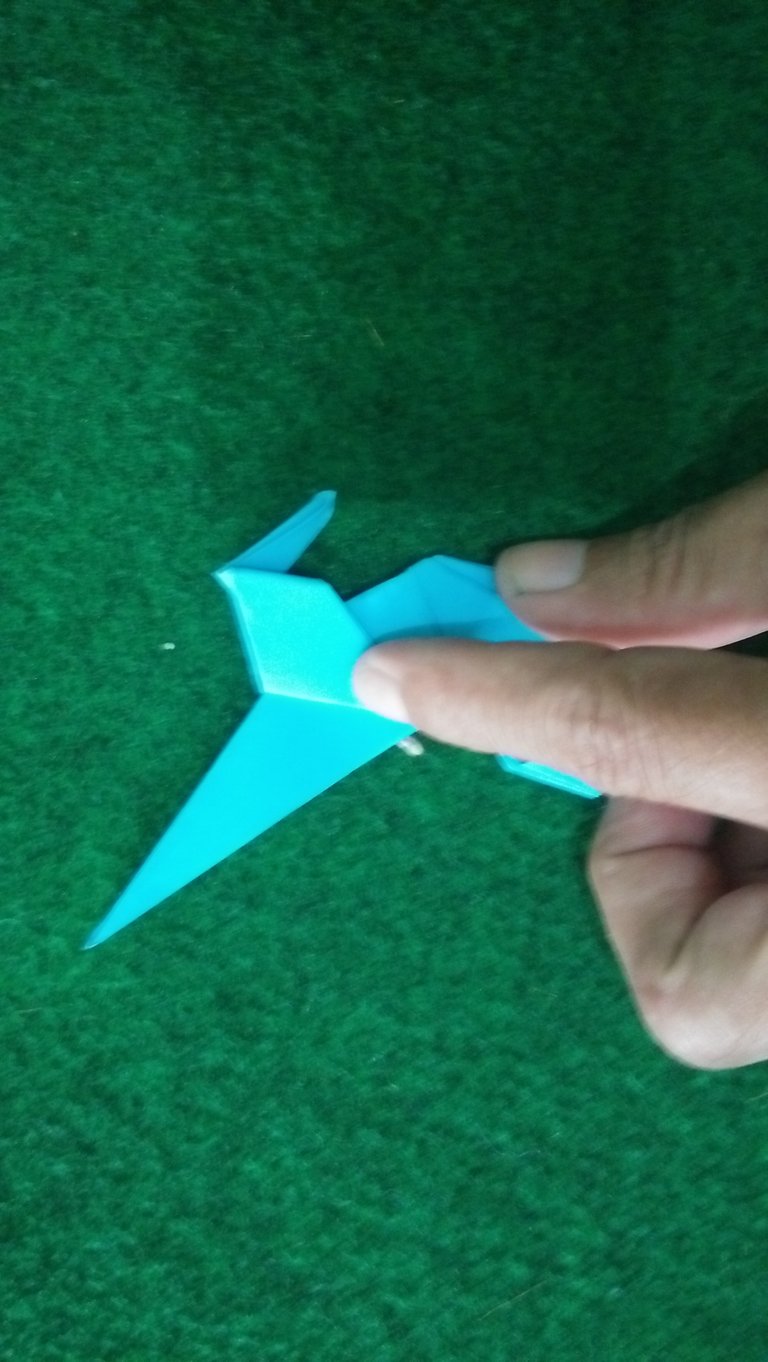
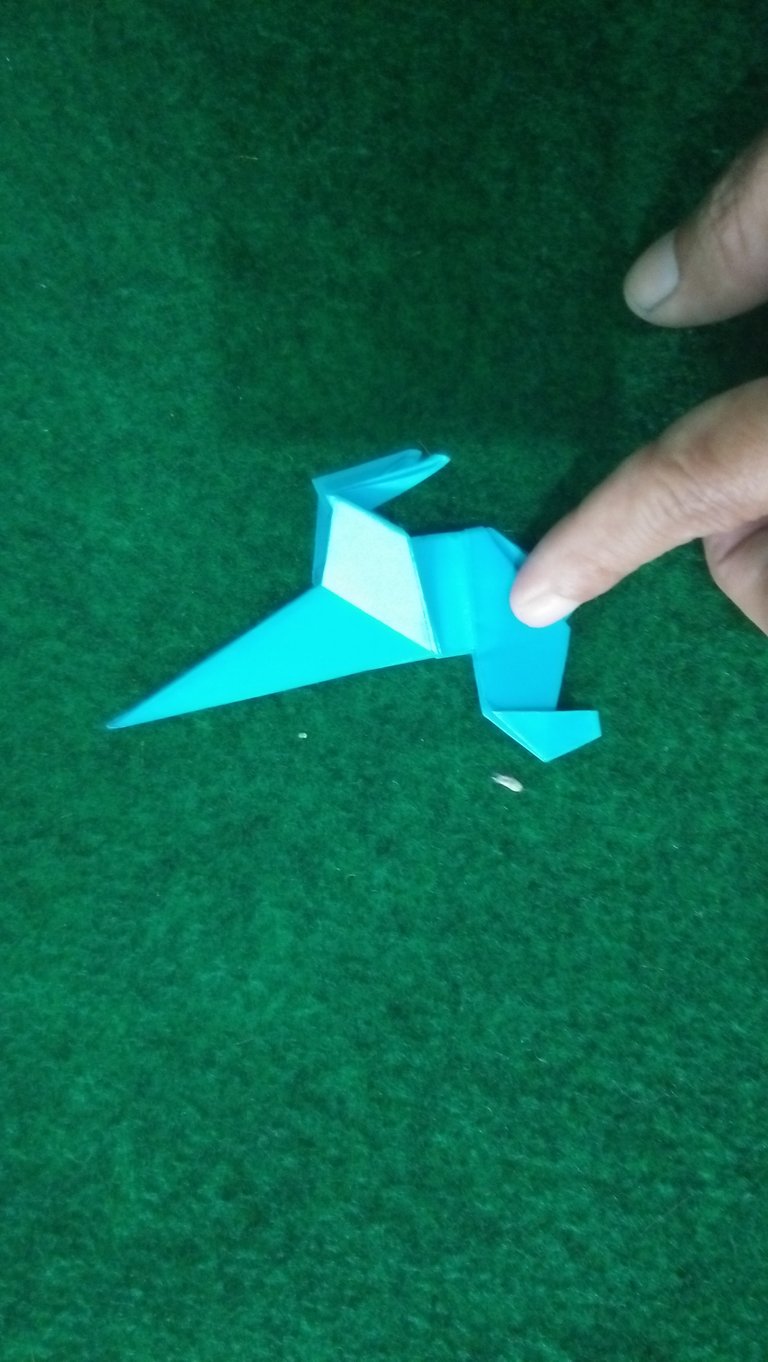
8. Make legs
Fold the front and back layers down so they look like the picture.
Fold your legs back and then fold them forward so they look like the picture.
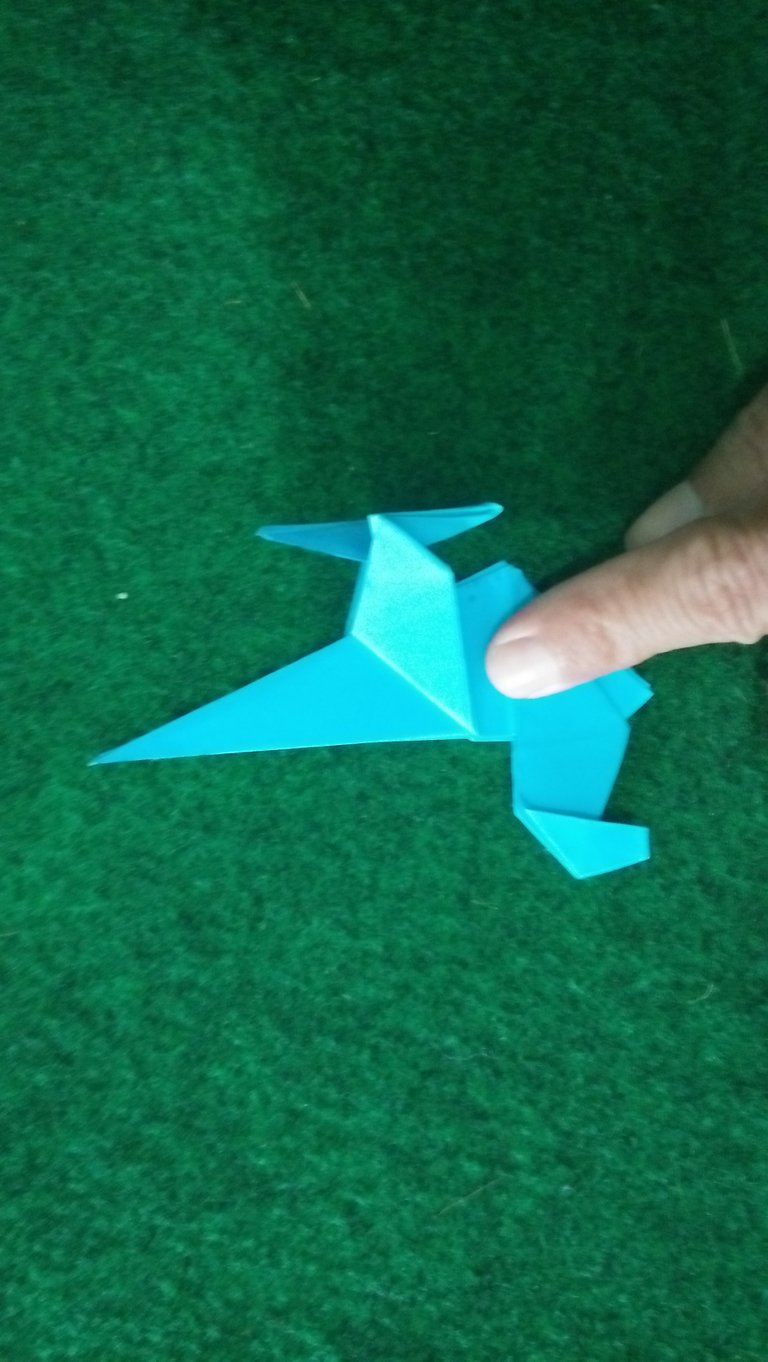
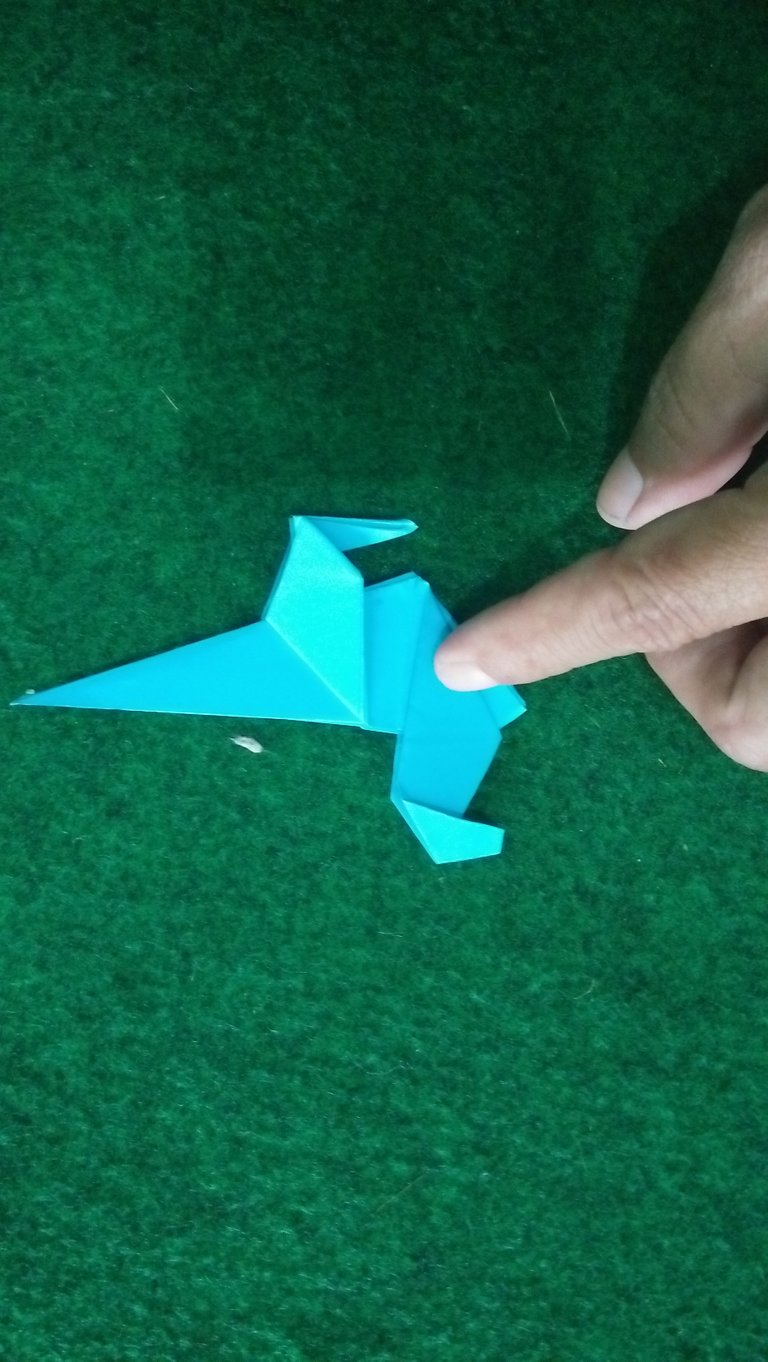
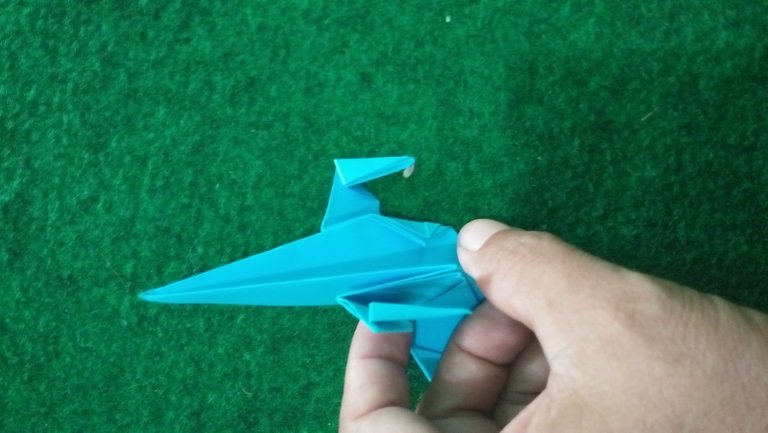
9.Add eye picture
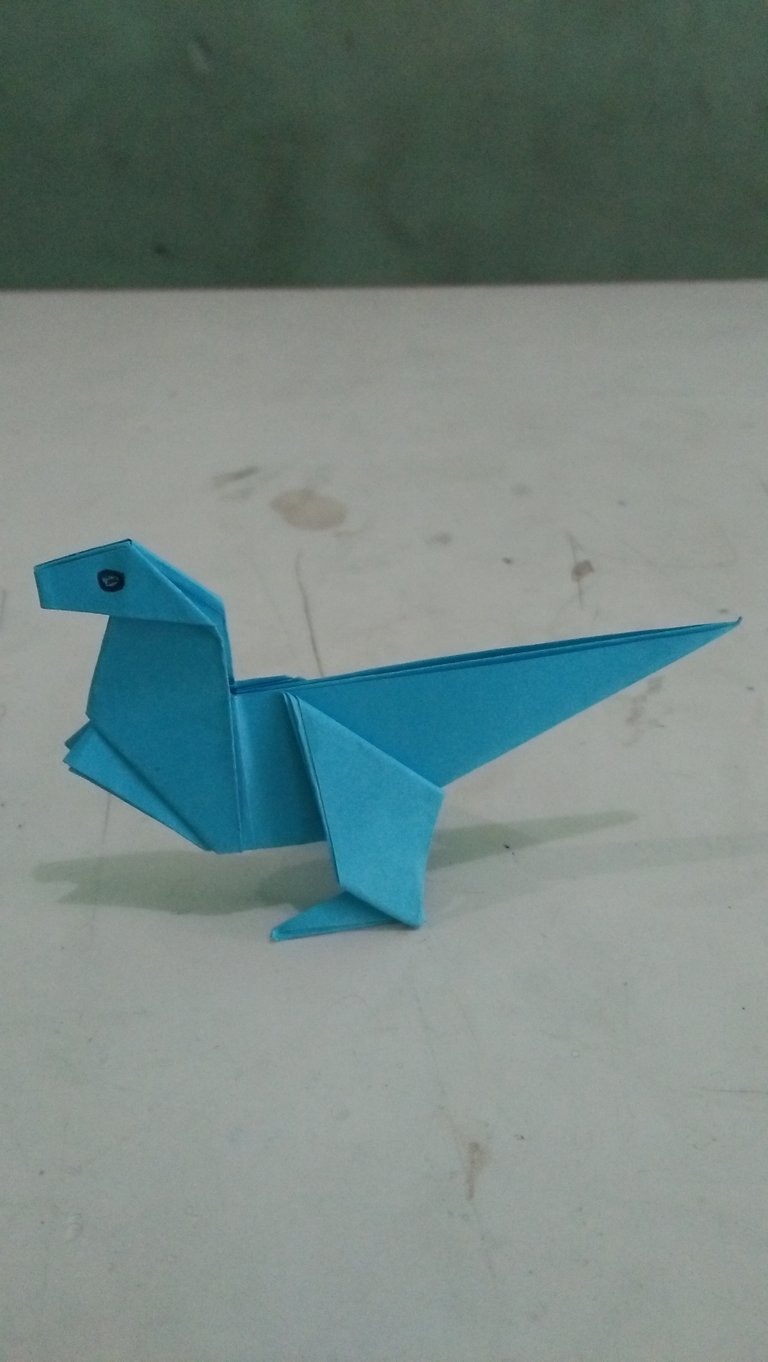
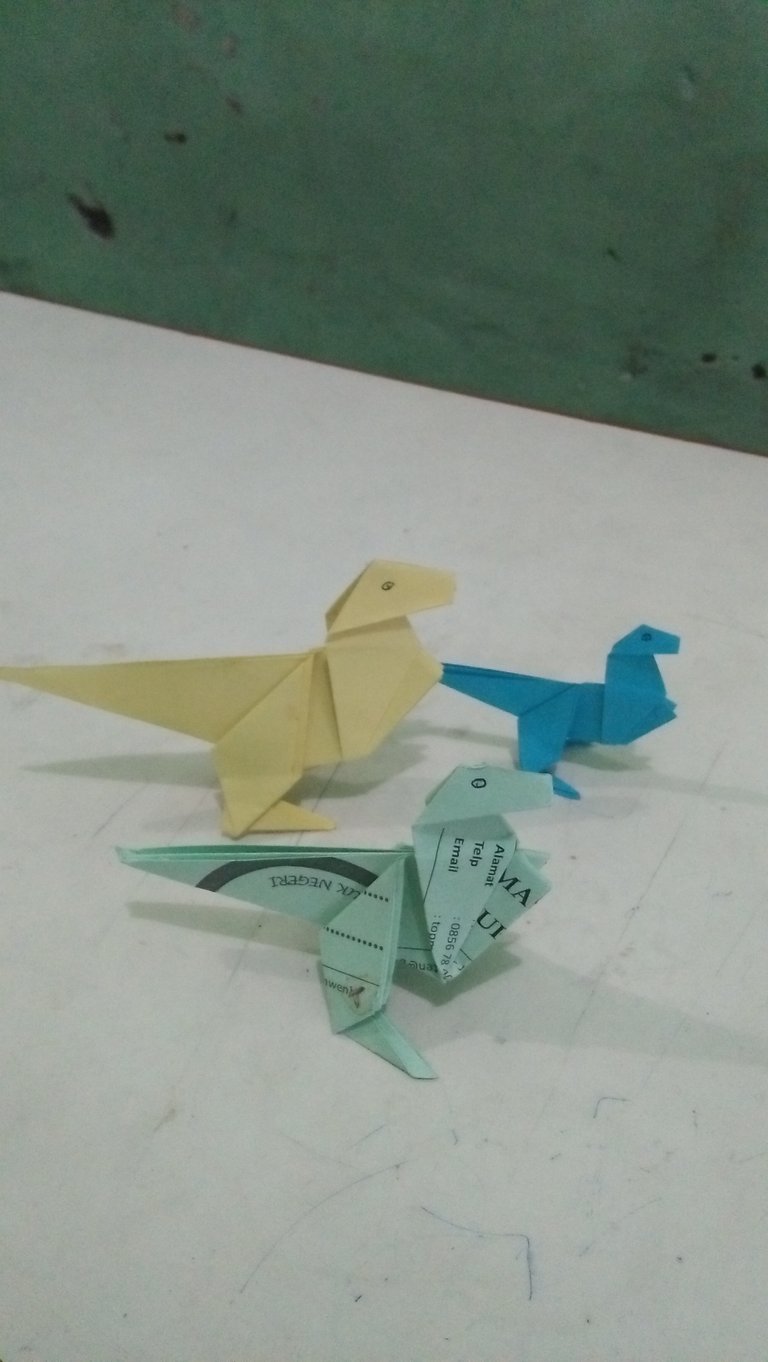
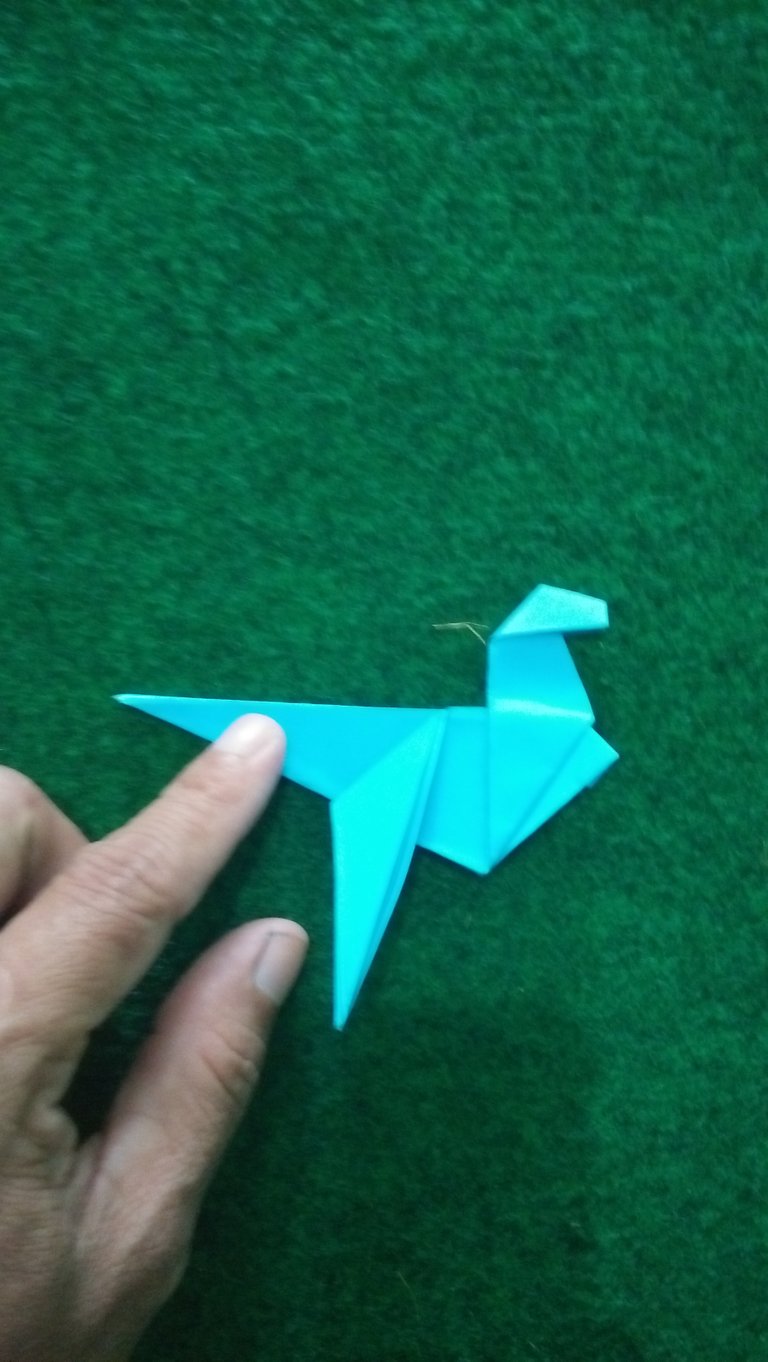
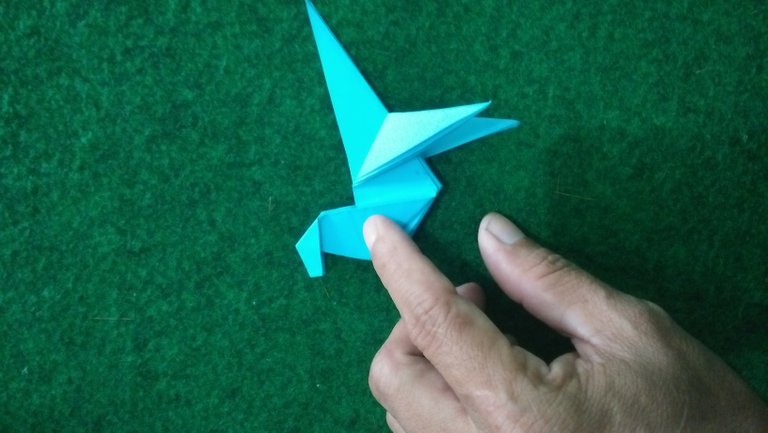
Dinosaurs are done.
Here are some variations of dinosaurs that I made.
Jd inget masa kecil dulu nih hehe
Ya sambil mengrnang masa kecil dari membuat pesawat kapal ata baling baling.
Mengingat hal yang menggembirakan membuat kota bisa bangkit lebih semangat