The art of paper folding, how to make Tulip flower - Step by step
Hello lovely friends.
We can make fun with children. We can make them happy. One thing that we must guard so that during this pandemic they can feel our presence as parents. We have role as teachers, brothers and even their friends. So we must provide excitement with just simple things such making paper crafts. If you are interested please follow the steps that we will explain how to make a Tulip Flower from paper.
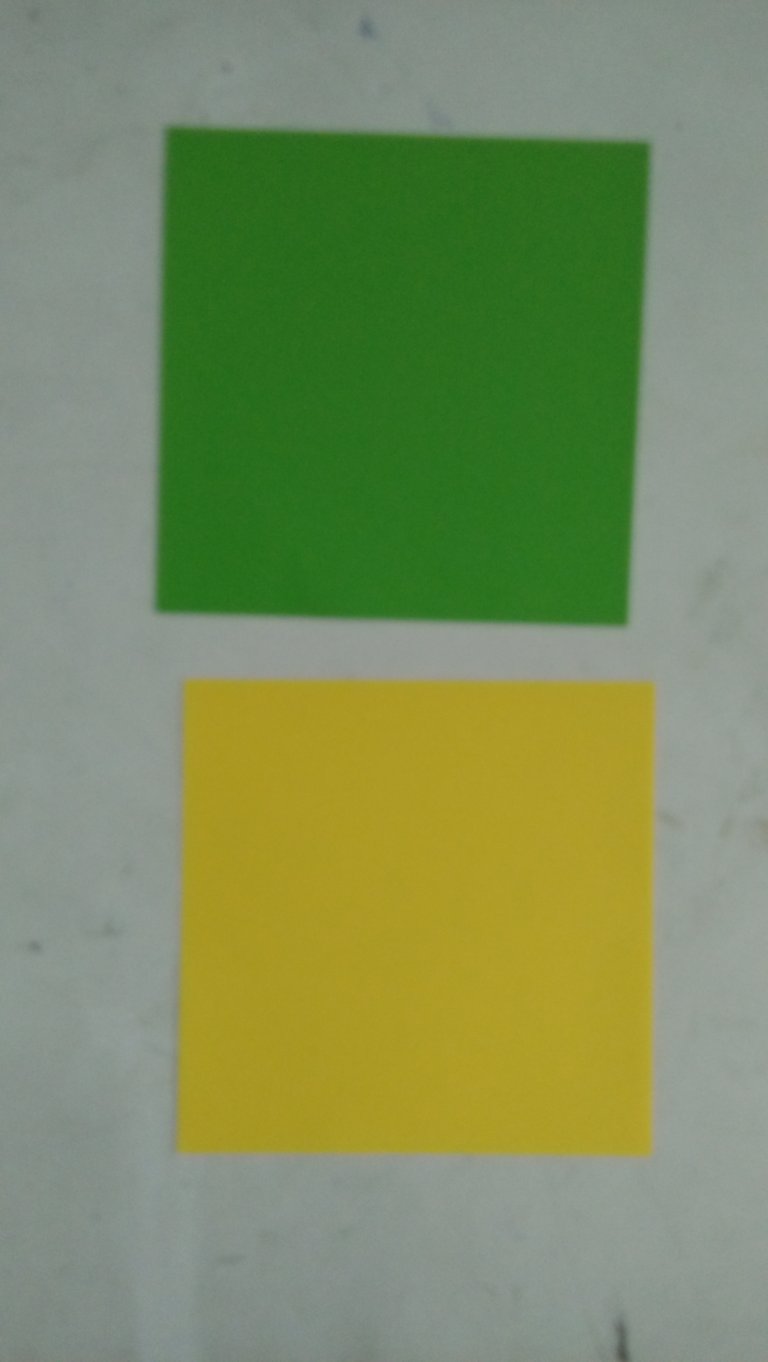
1. Use Origami paper
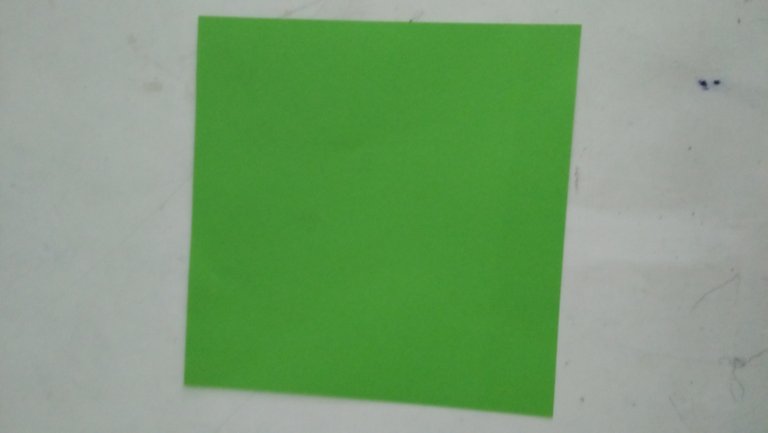
The art of paper folding is greatly helped by the existence of origami paper. however, I prefer to make use of the rest of the unused paper such as newspapers, magazines, brochures or other papers but you must make it has square shape. In this occasion I use origami paper too.
We need two sheet of origami paper to make a flower and a stalk. We can use different color.
2. Make Tulip flower.
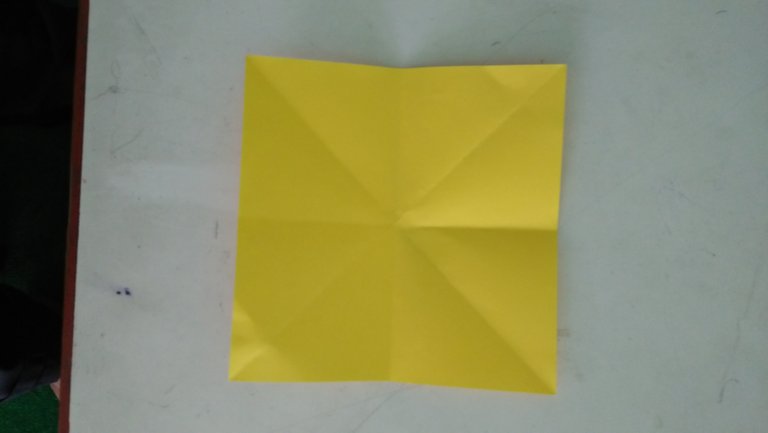
Make lines of symmetry fold horizontally, vertically and two diagonally so that you see traces of folds like in the following image.
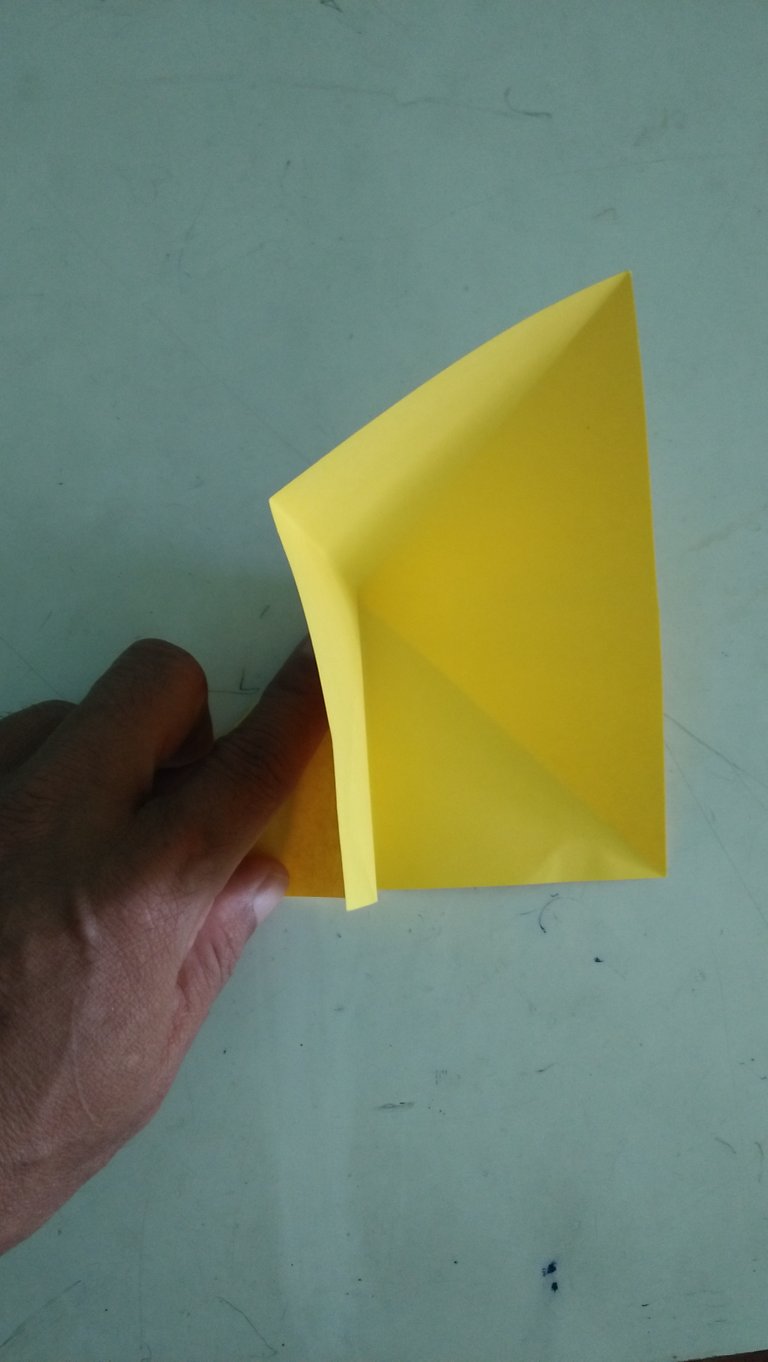
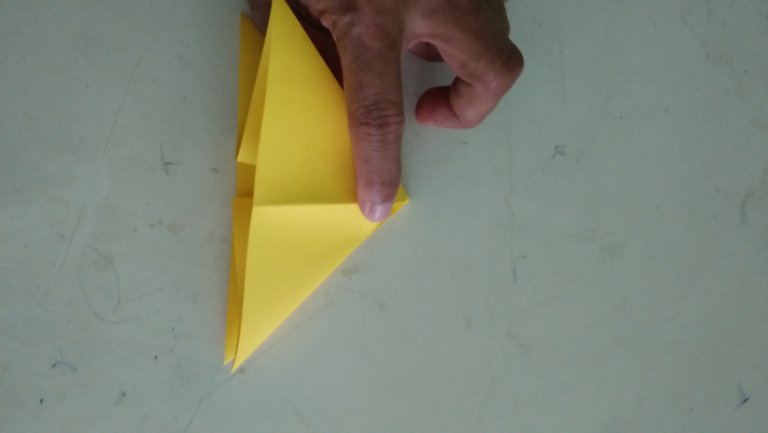
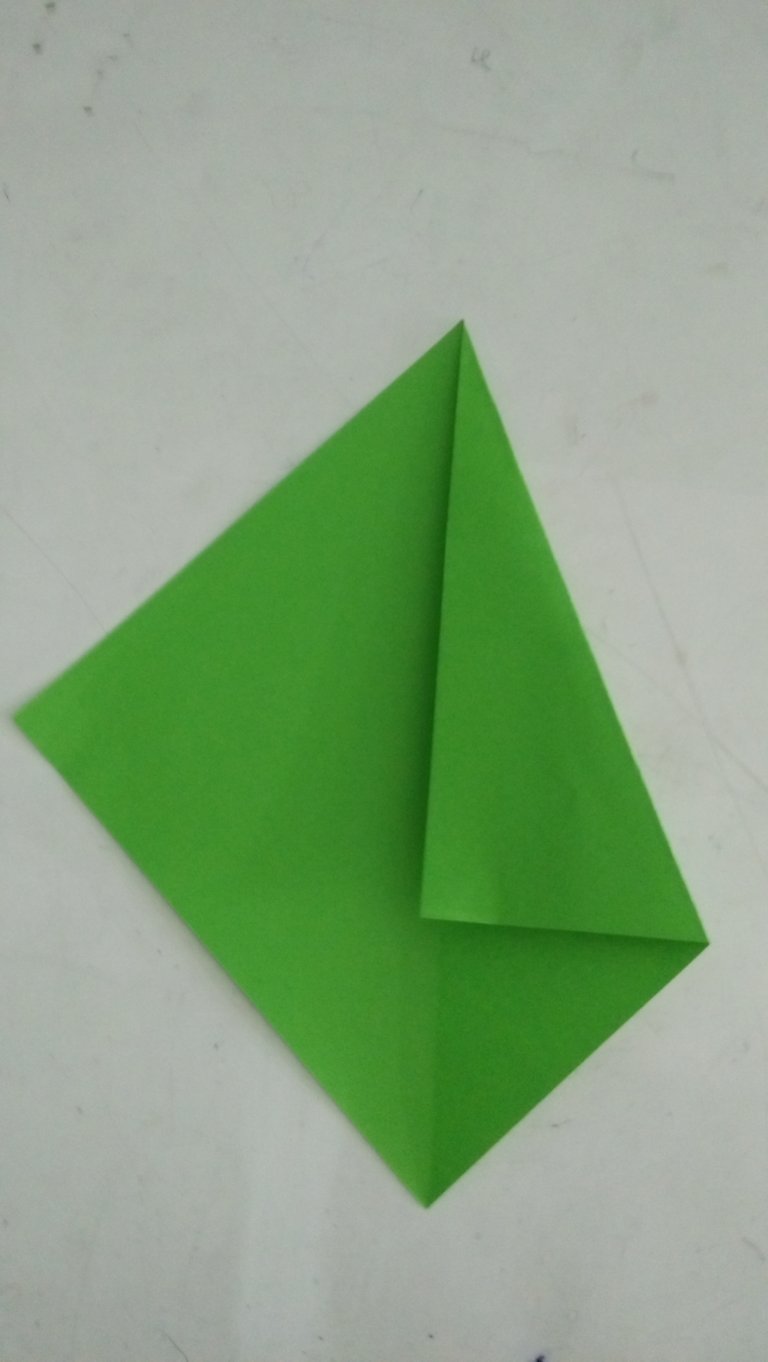
Form two triangles
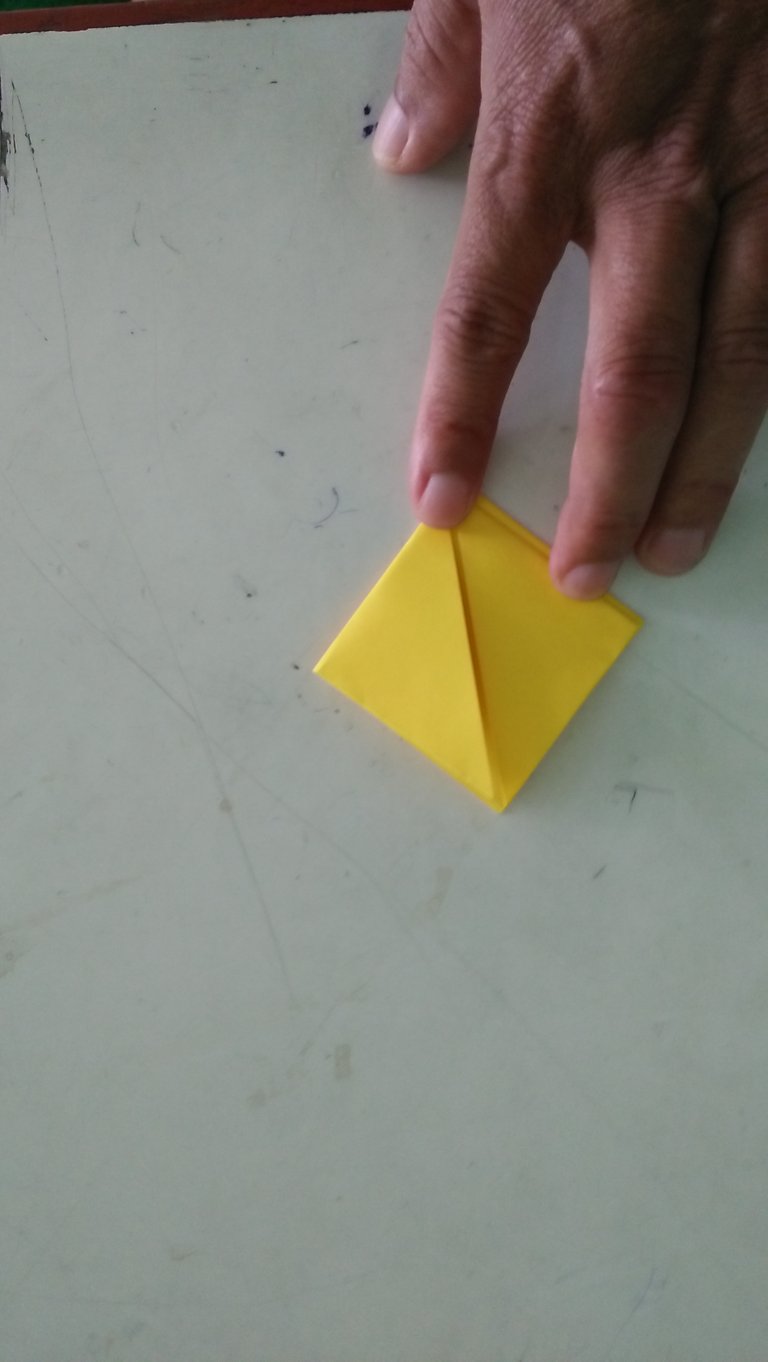
Place the origami paper with folded lines on the diagonals in front of us. Press into the right and left sides so that the upper left corner meets the lower left corner and the upper right corner meets the lower right corner as shown below.
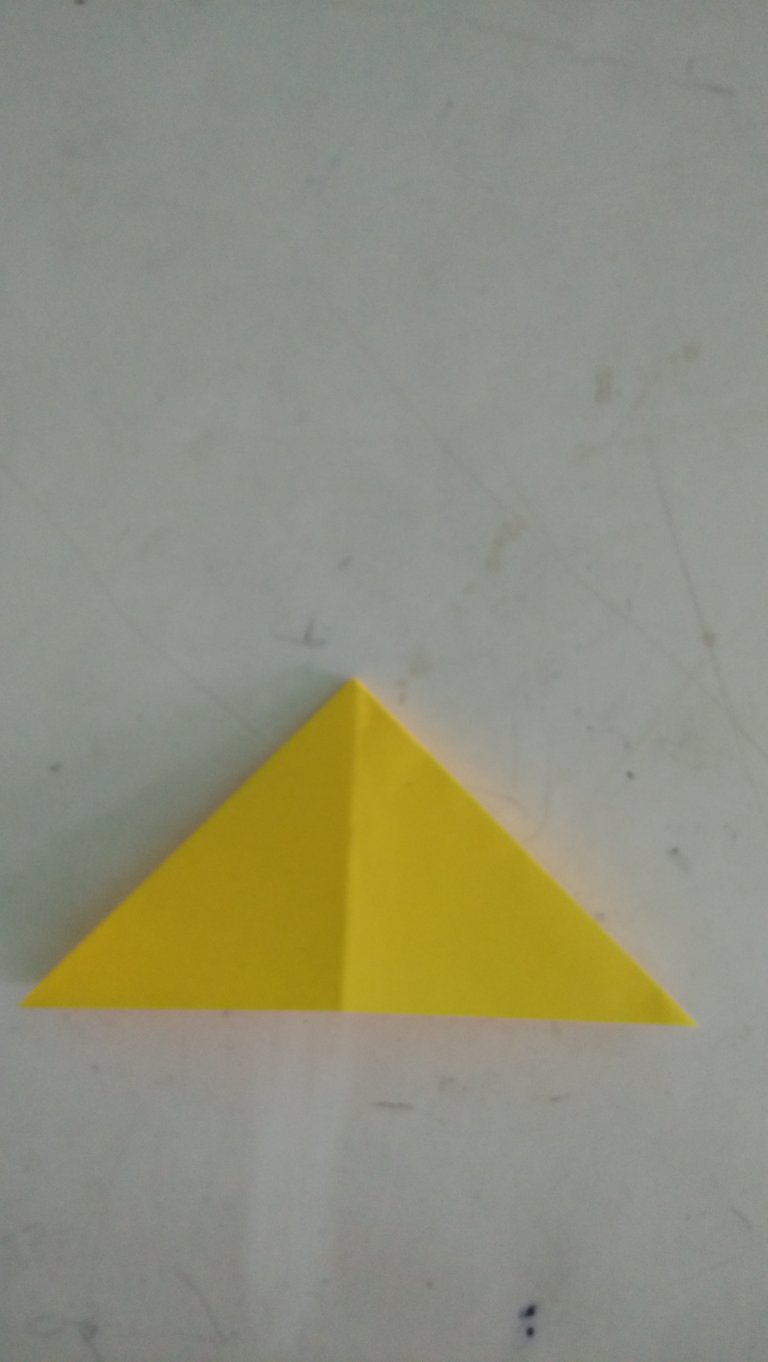
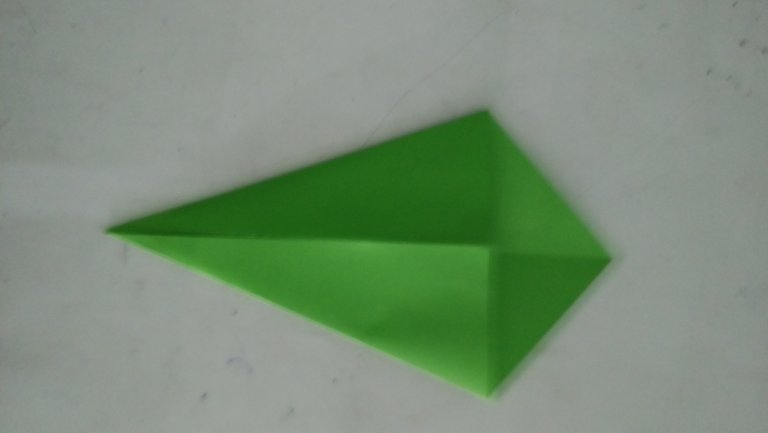
- Make rhombus
Pull the right and left ends of the triangle above up so that there are rhombic shapes. Make up.
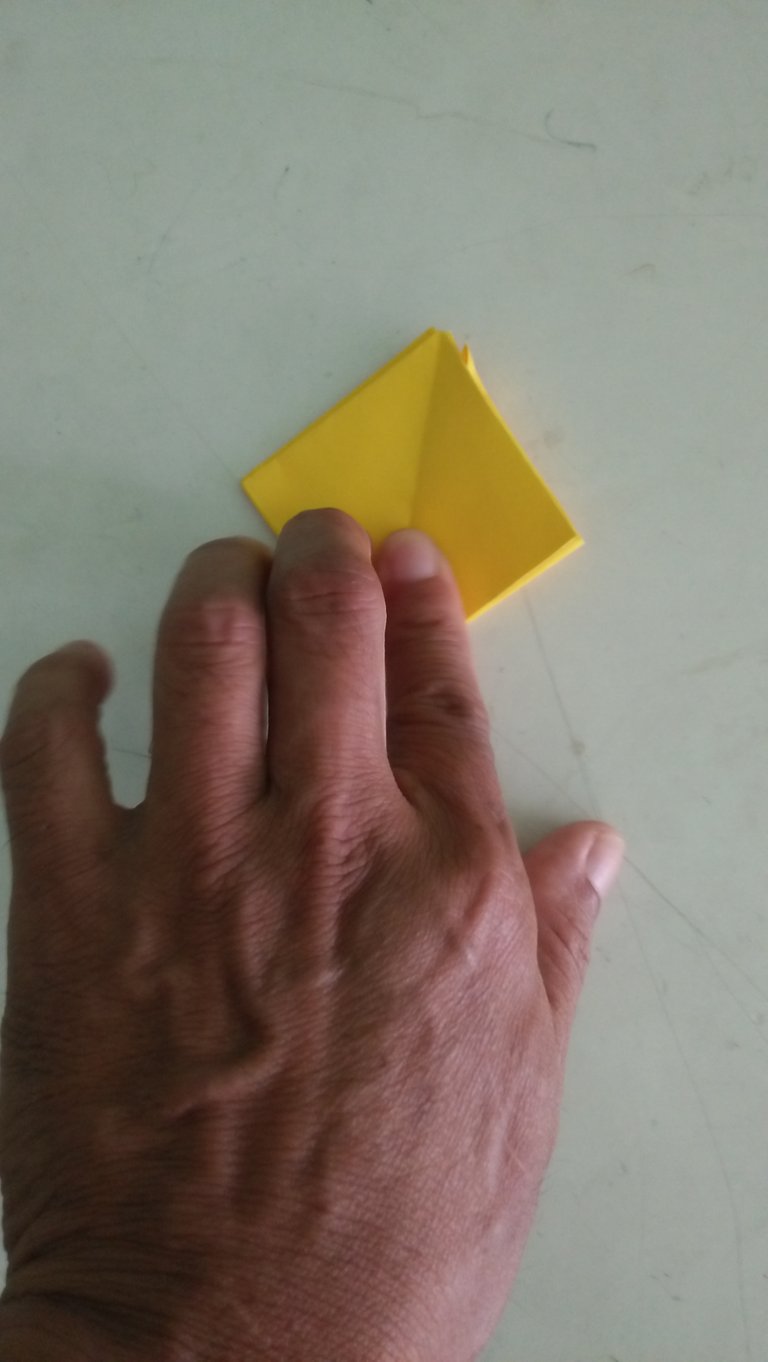
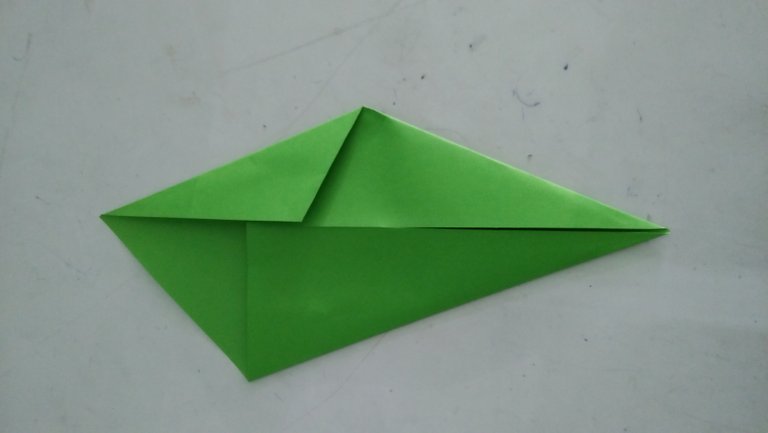
- Also do the triangle on the reverse so that it will look like the following picture
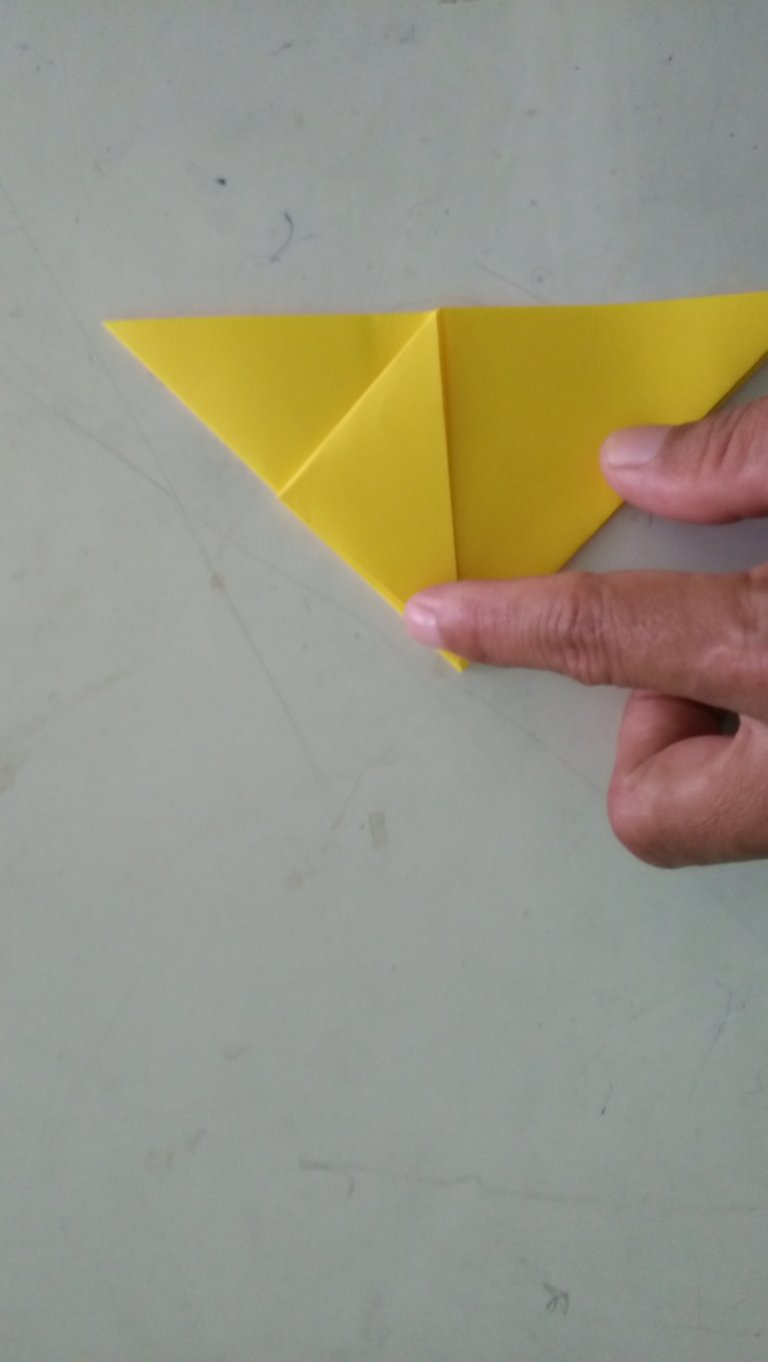
- The locking stage
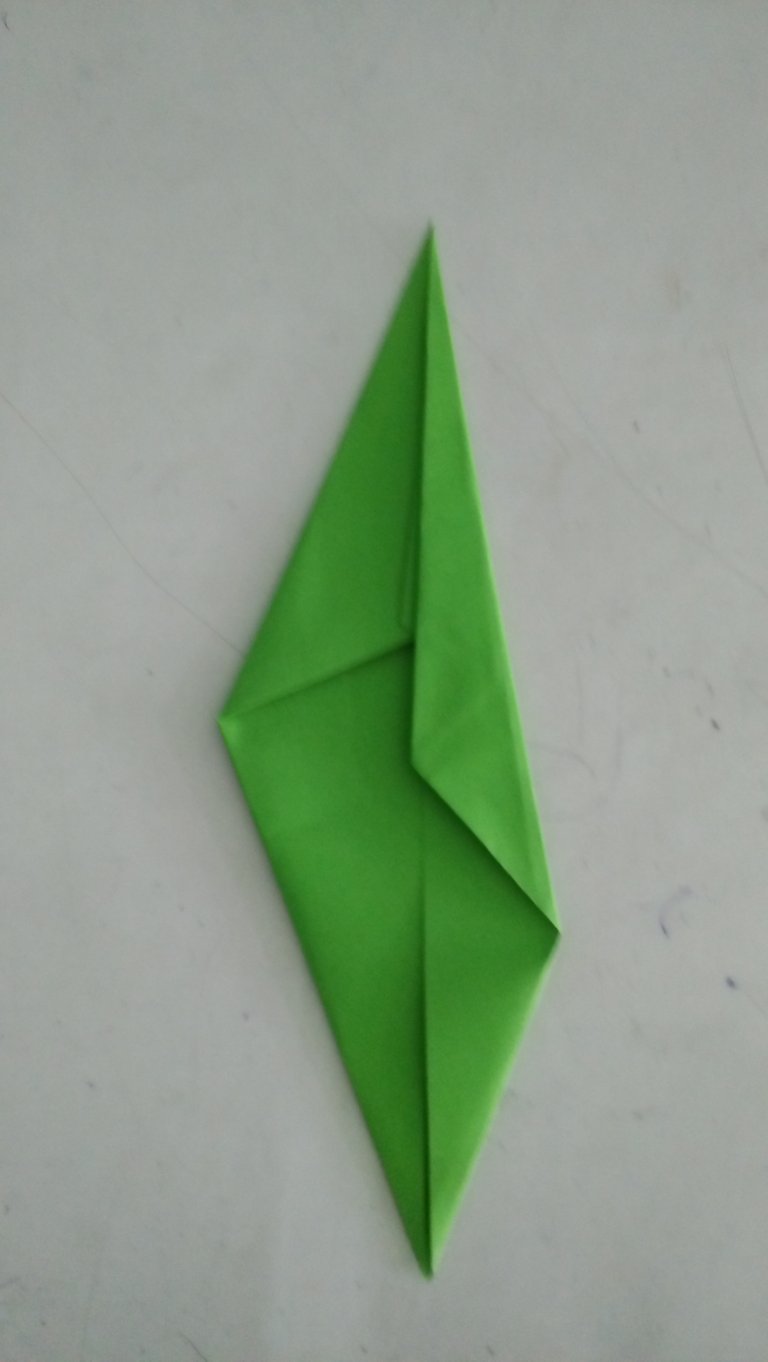
Now fold the left hemisphere of the rhombus in front to the right while the right hemisphere is behind to the left so that the one in front of us is the rhombus without the cleavage like in the following image
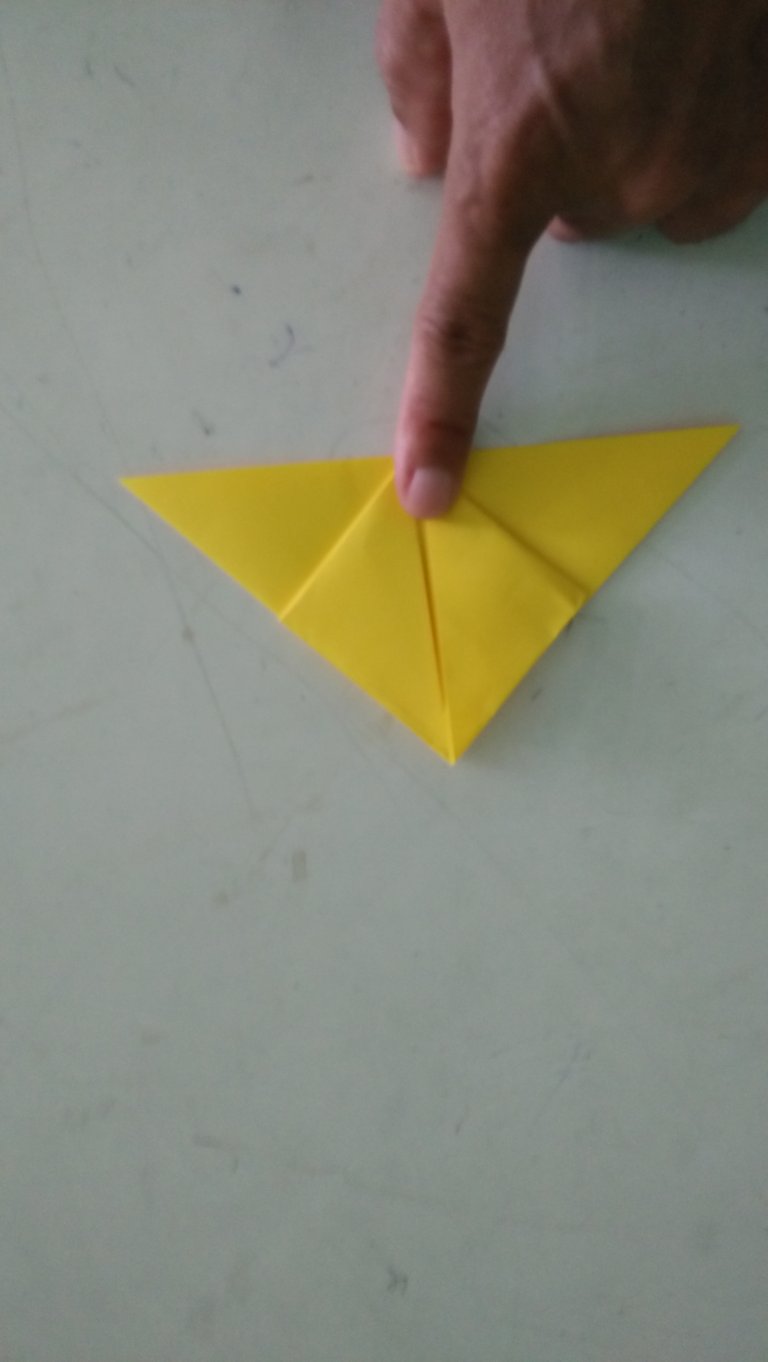
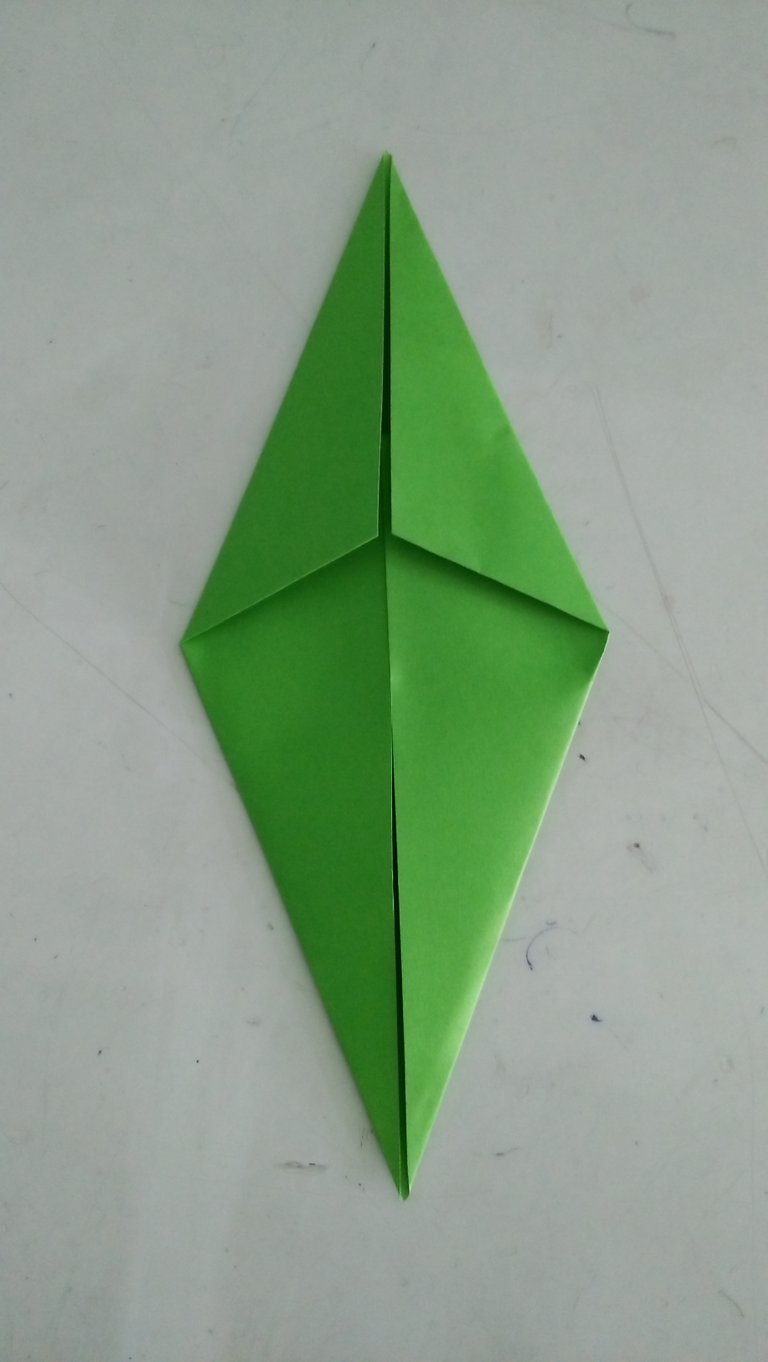
- Place the rhombus with the free ends on top. Fold the right hemisphere to the middle and do the previous side more towards the center so it looks like the picture.
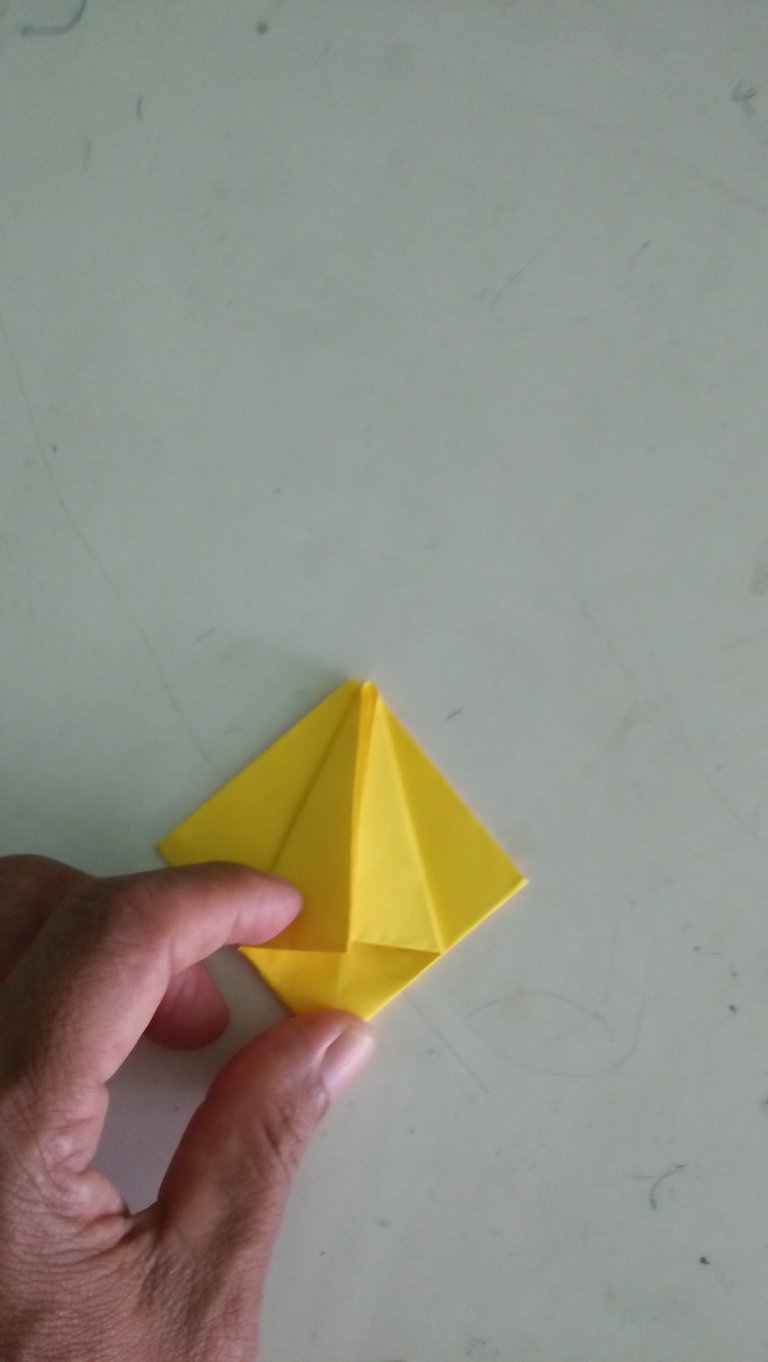
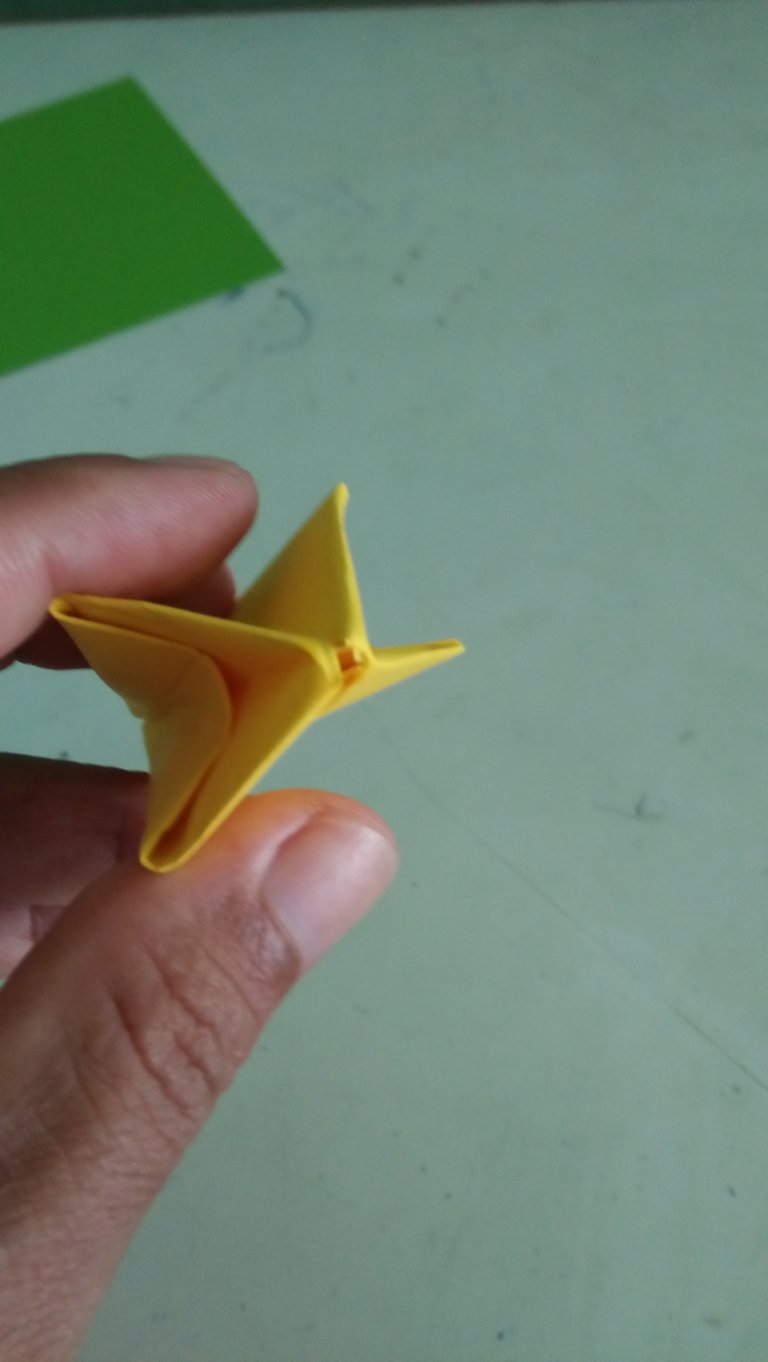
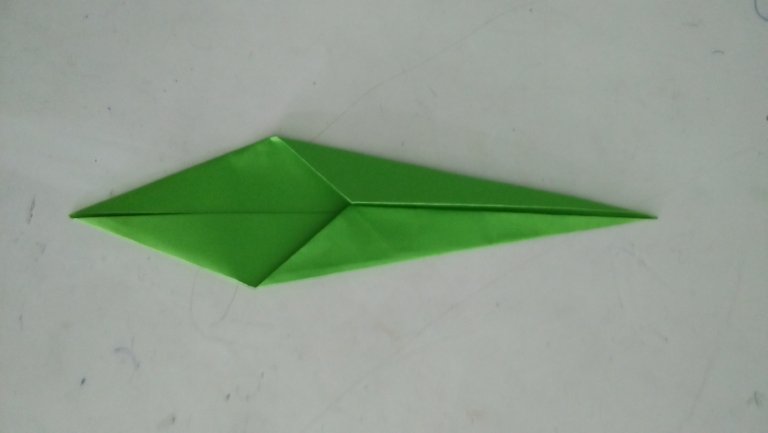
- Blow
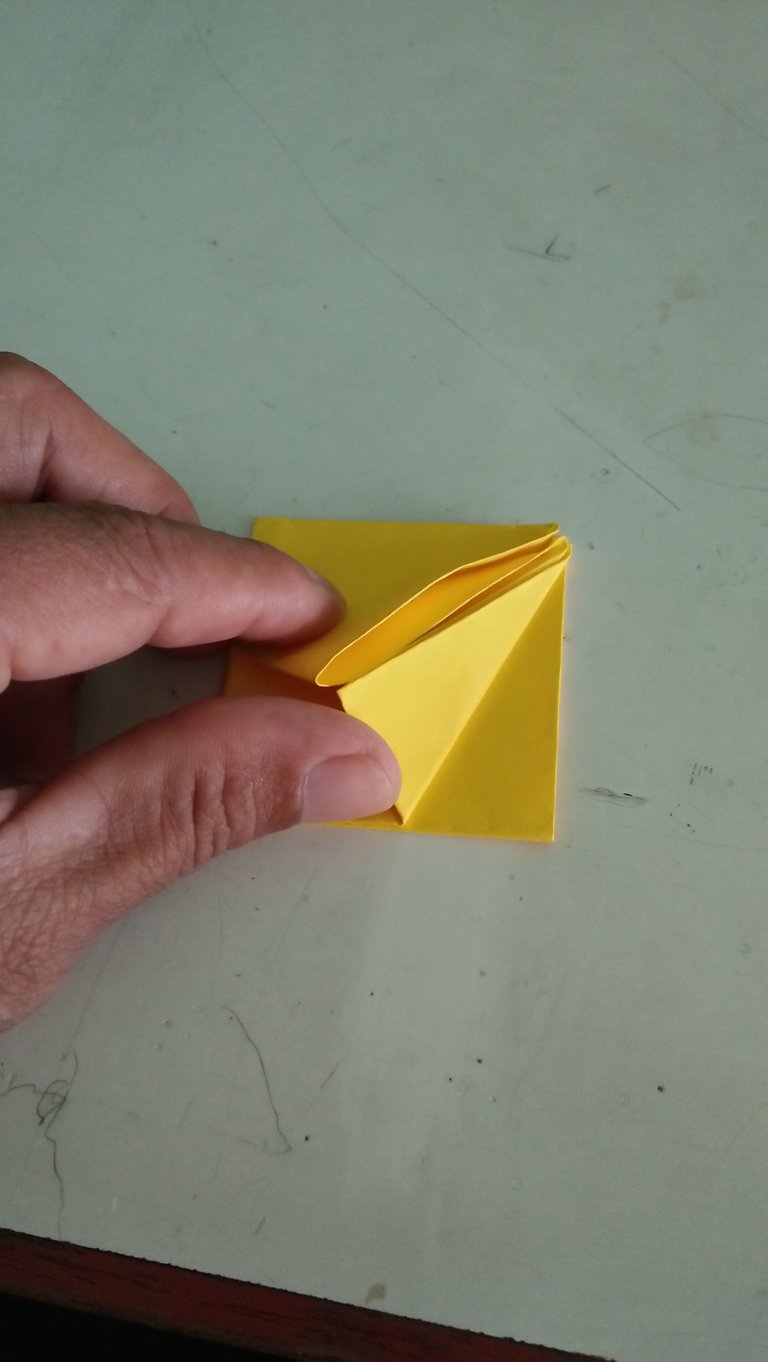
Look at the hole at one end. Blow this hole so that the tulips are visible.
Pull the free edges so that the petals will look like in the picture. If when pulling the base of the lid there is a release of the lid back to the locking position by inserting it into the original gap.
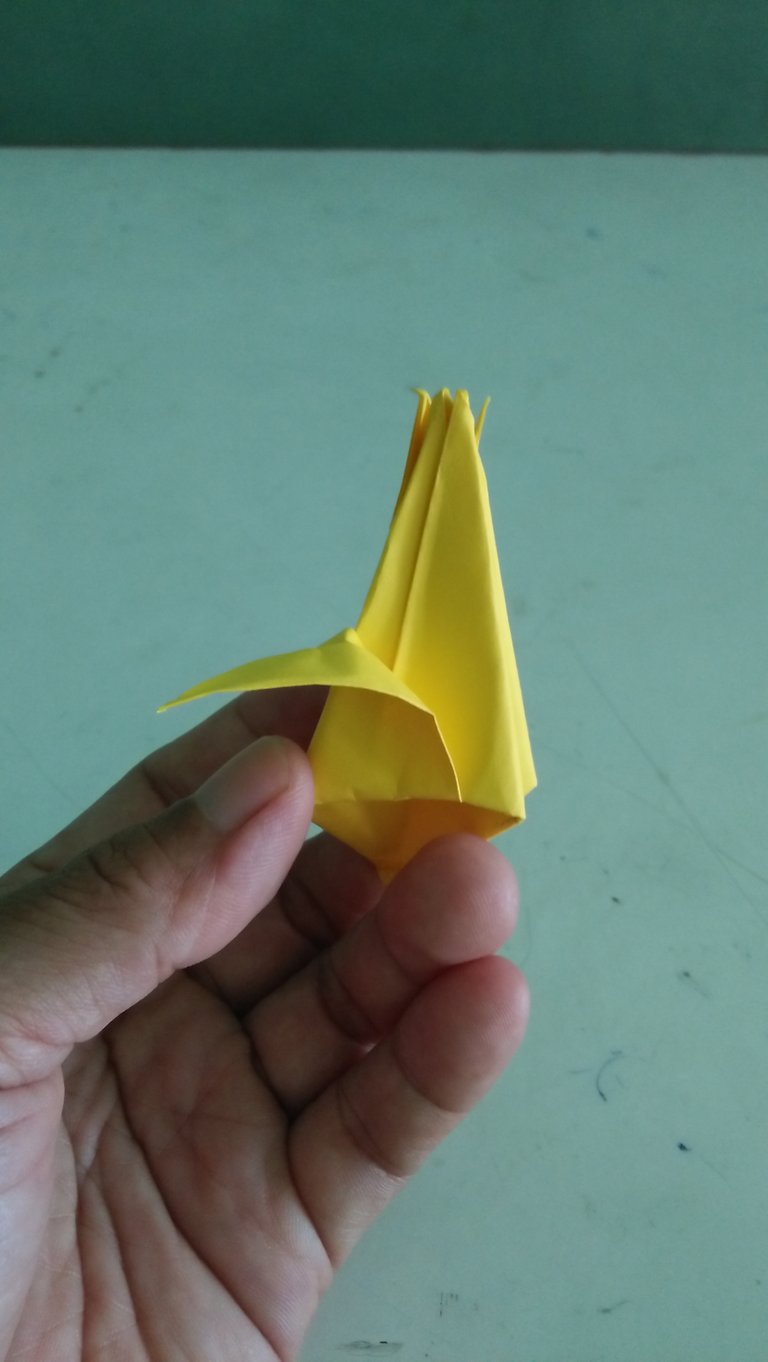
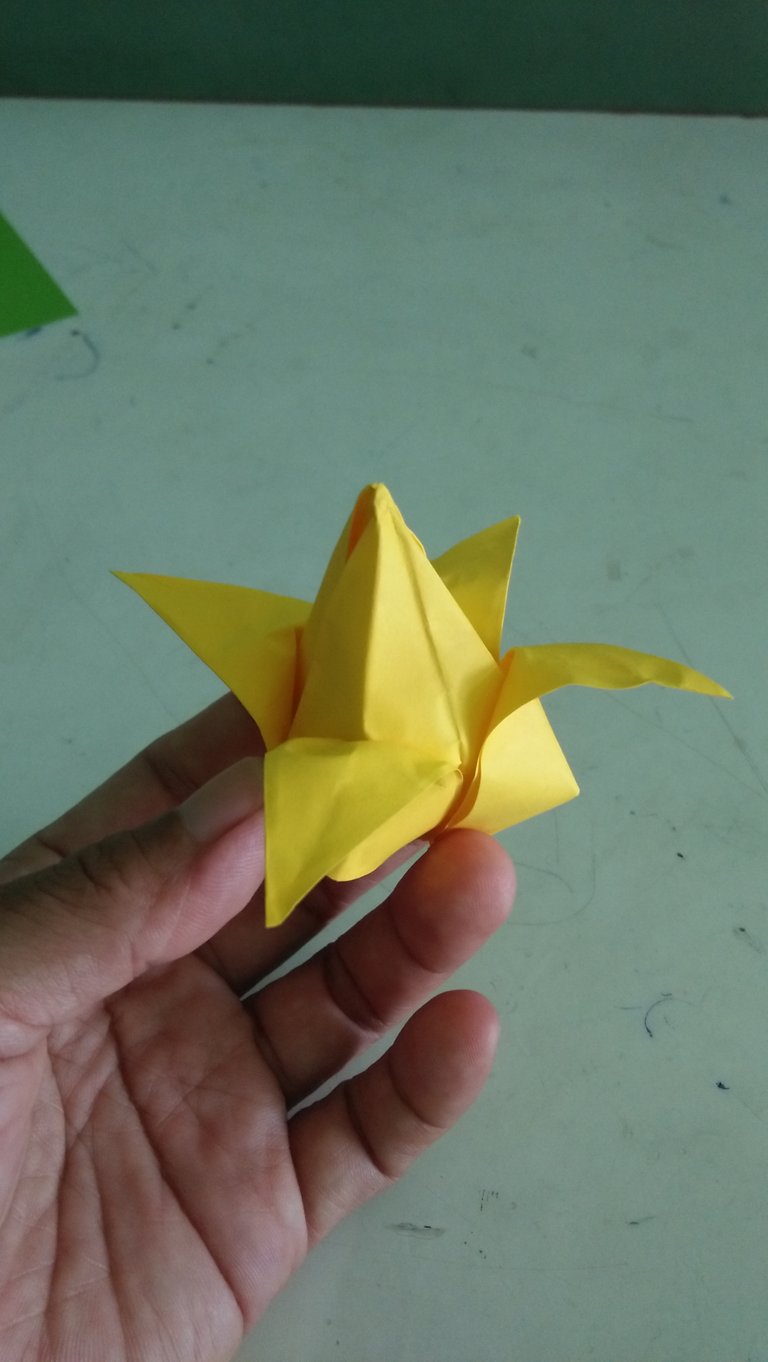
- Tulips are ready and set aside
2. Make stems
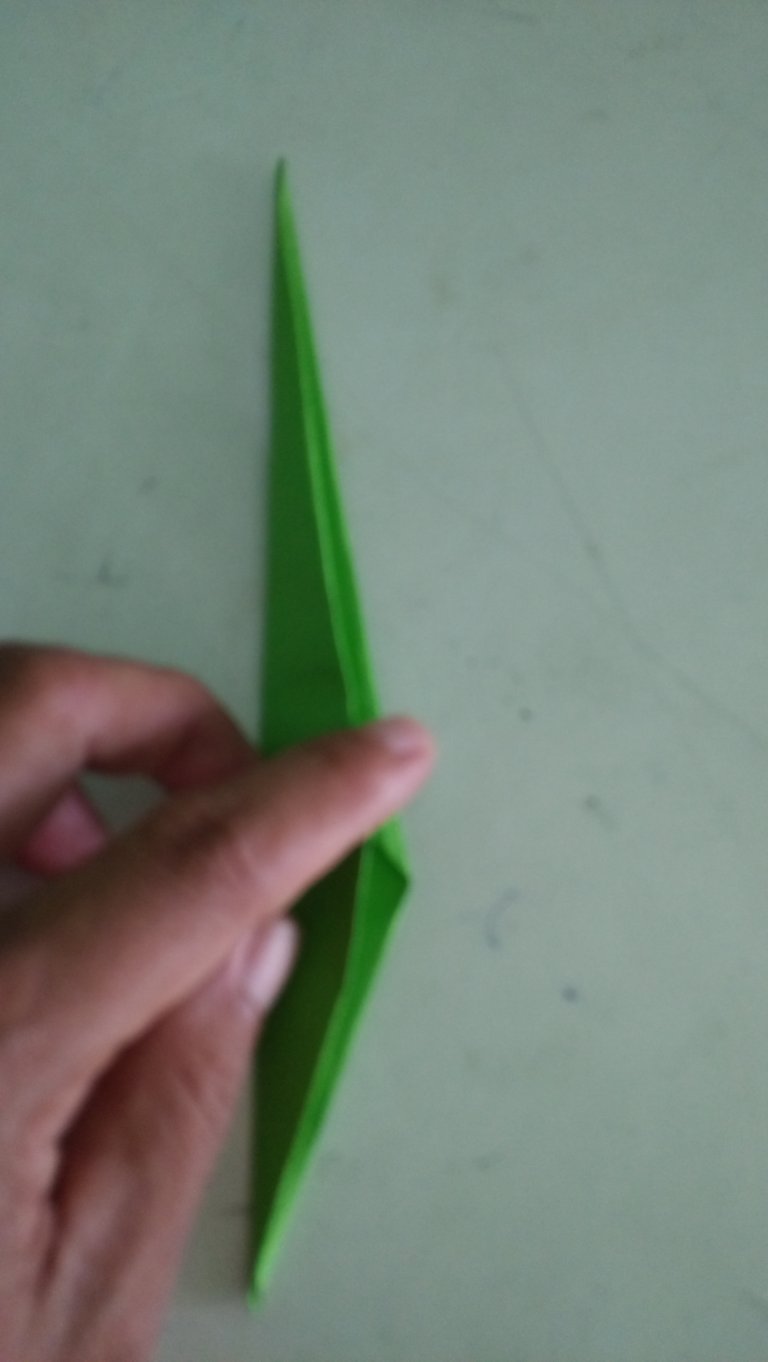
- Take one origami paper. Fold it diagonally so that the footprint looks like this.
- Fold the right and left sides so they will look like the picture
- Now do the same thing at the other end so that it will look like in the following image
- Fold the right and left sides to the center again as shown in the next section
- Fold inward like in the following image
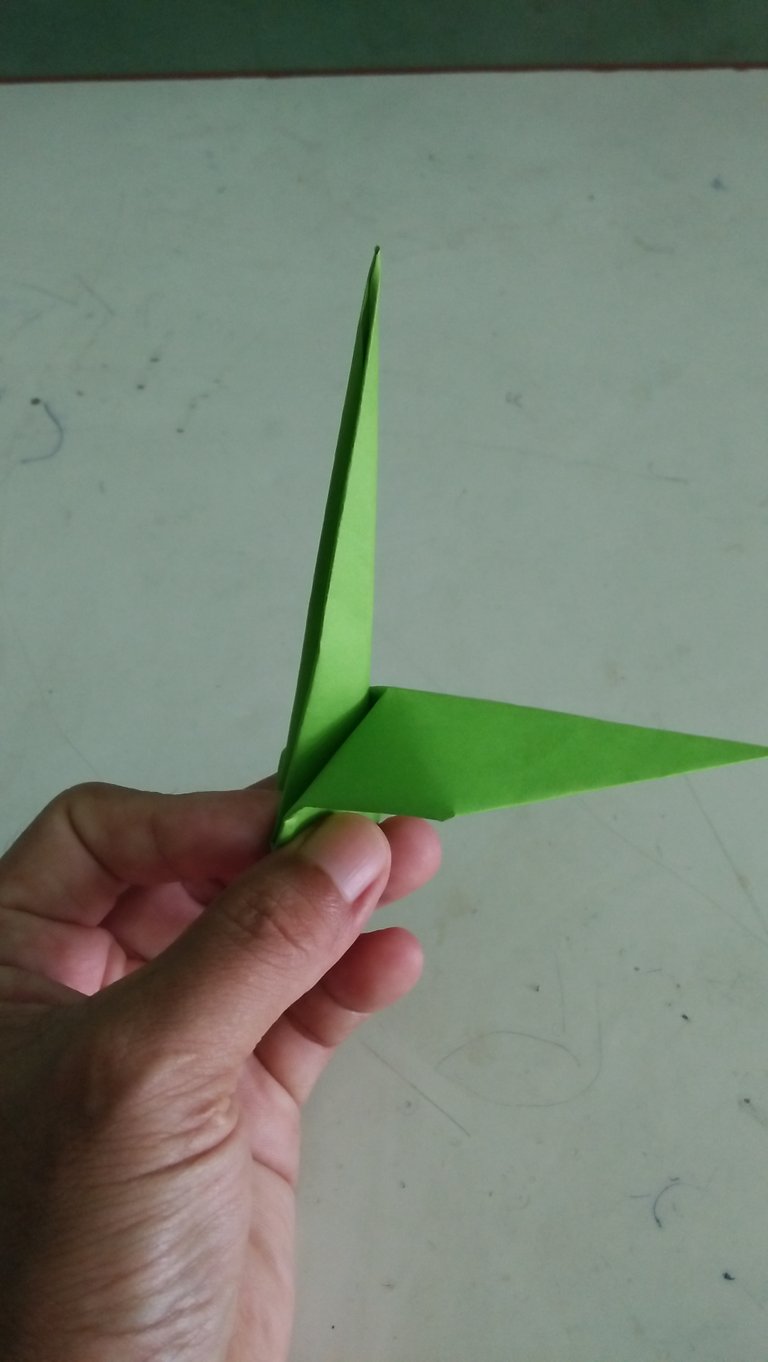
- Bend out as shown below
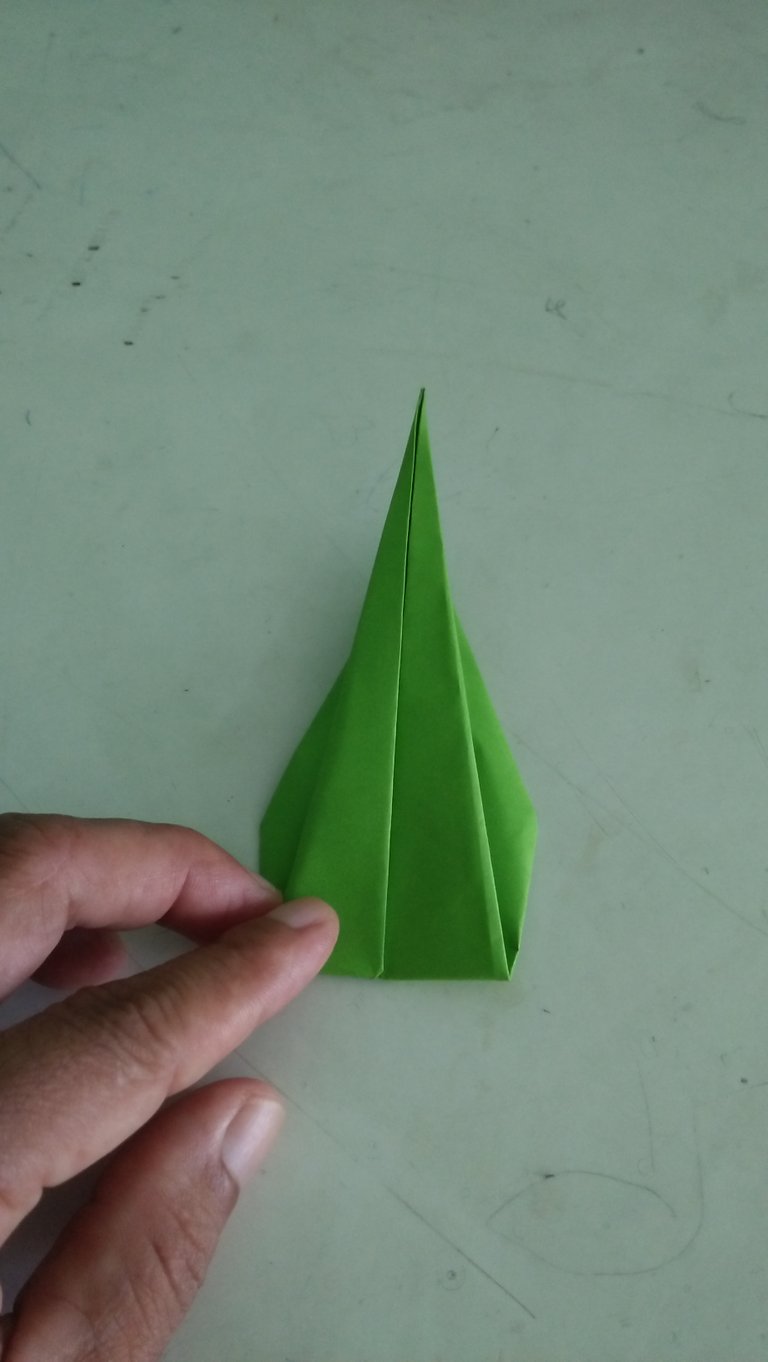
- Pull the tip behind then bend inwards to form the stems and leaves
3. Putting flowers and stems together
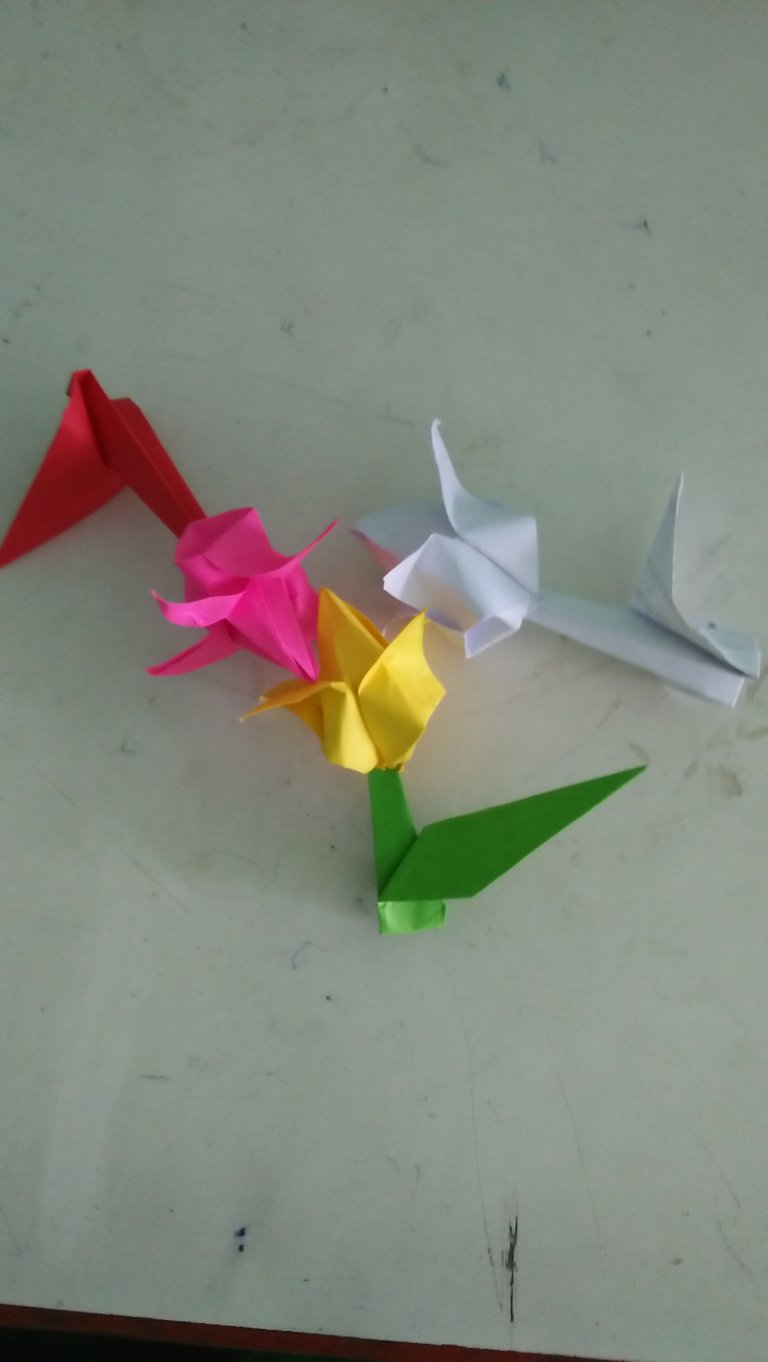
Insert the tip of the stem into the hole in the tulip flower that we made earlier. Now the tulip flower making is done.
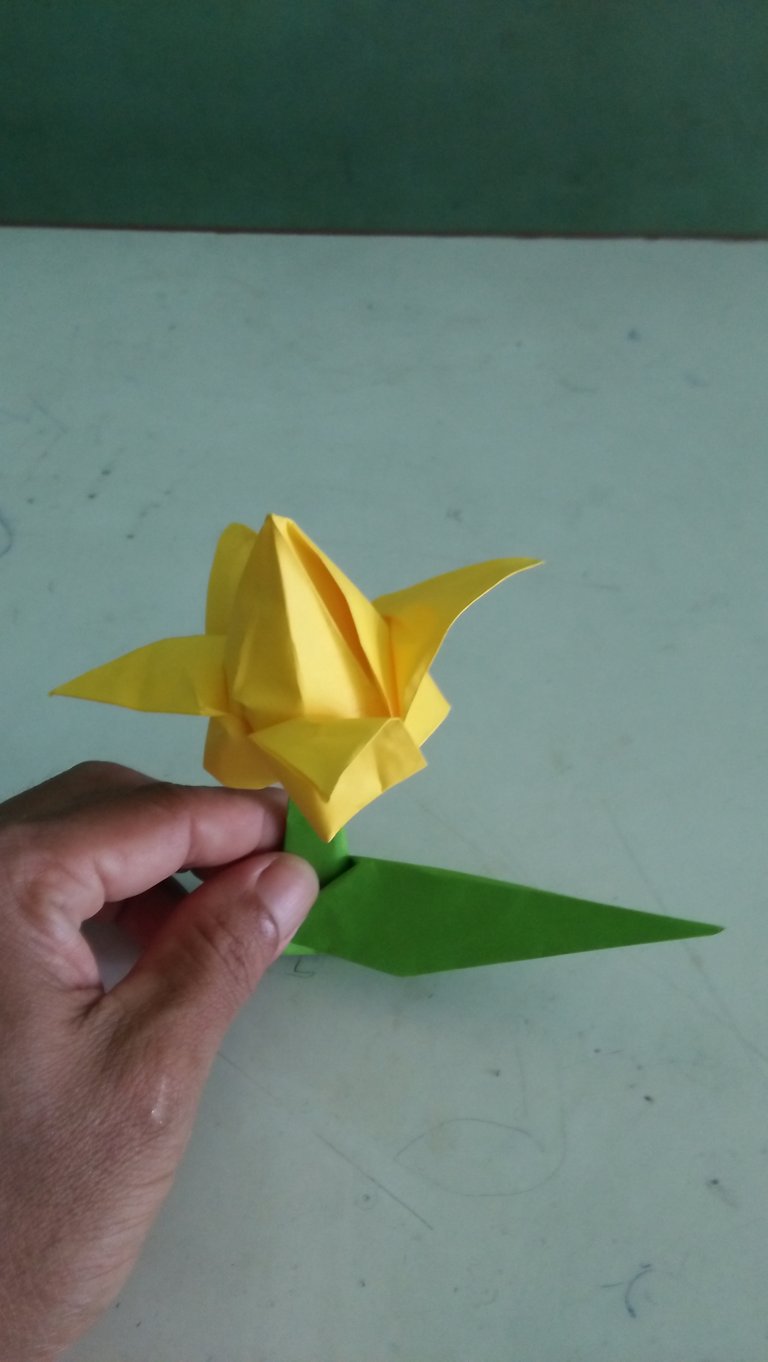
This is the appearance of paper tulip flowers that we have made.
Thus all my writing how to make Tulip flower.
Amazing, I love this paper art.
Thank you