Hello everyone ✨
There are certain accessories that every lady has to possess and scarfs(bandanas) are part of these accessories. Today, I would be sharing with you a video tutorial on #howto make a scarf.
Edited on canva
Bandanas come in very handy especially for ladies who like to wear their hair down. There are days when I do not feel like styling my hair;bad hair days. On such days, I tie a scarf over my hair and I'm good to go. I made this scarf using red yarn some time ago. I wasn't really satisfied with the outcome and so I decided to make a better version.

Materials Used
- Yarn
- Crocheting pin
- Yarn needle
- A pair of scissors
Procedure.
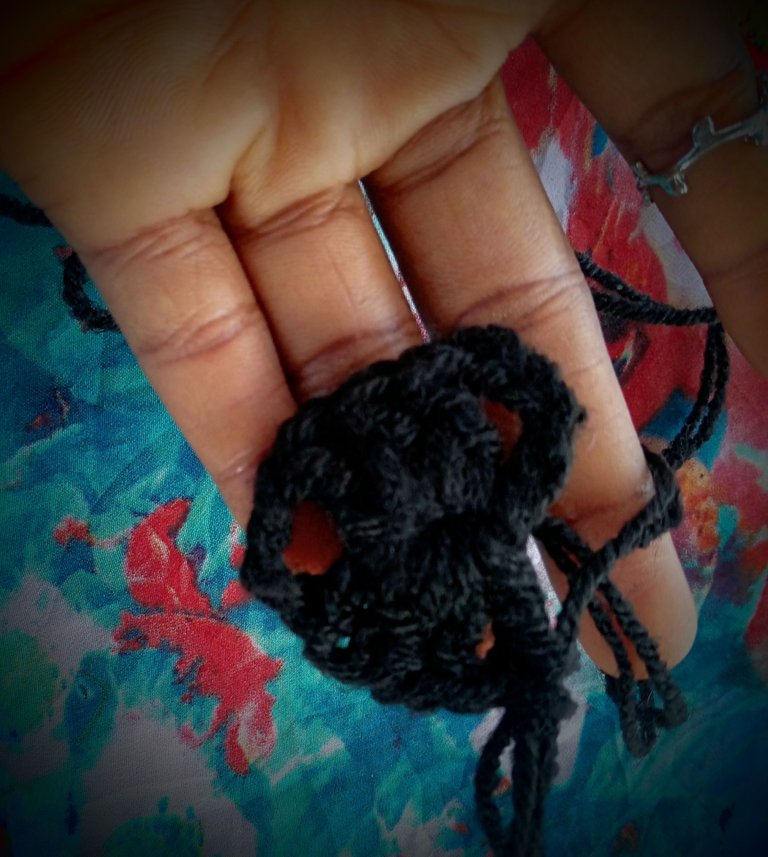
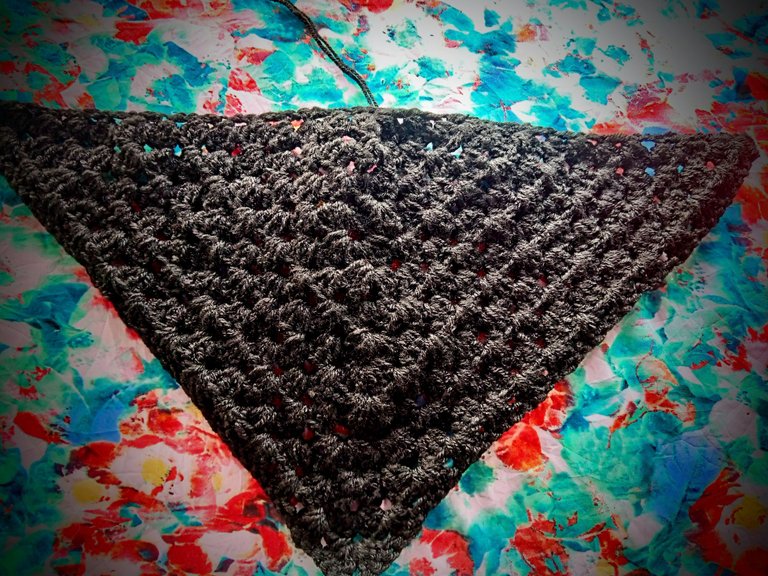
This scarf was made to look like a granny triangle. To make a granny triangle, I started by making a magic circle. There are two ways of making magic circles and I have shown one method in the video.
After making that magic circle, I made a chain of four and with the four chains, I made three double crochet into the circle. After the first three double crochets, I made another chain of three and again I made three double crochets into the same circle. This gives me my first row.
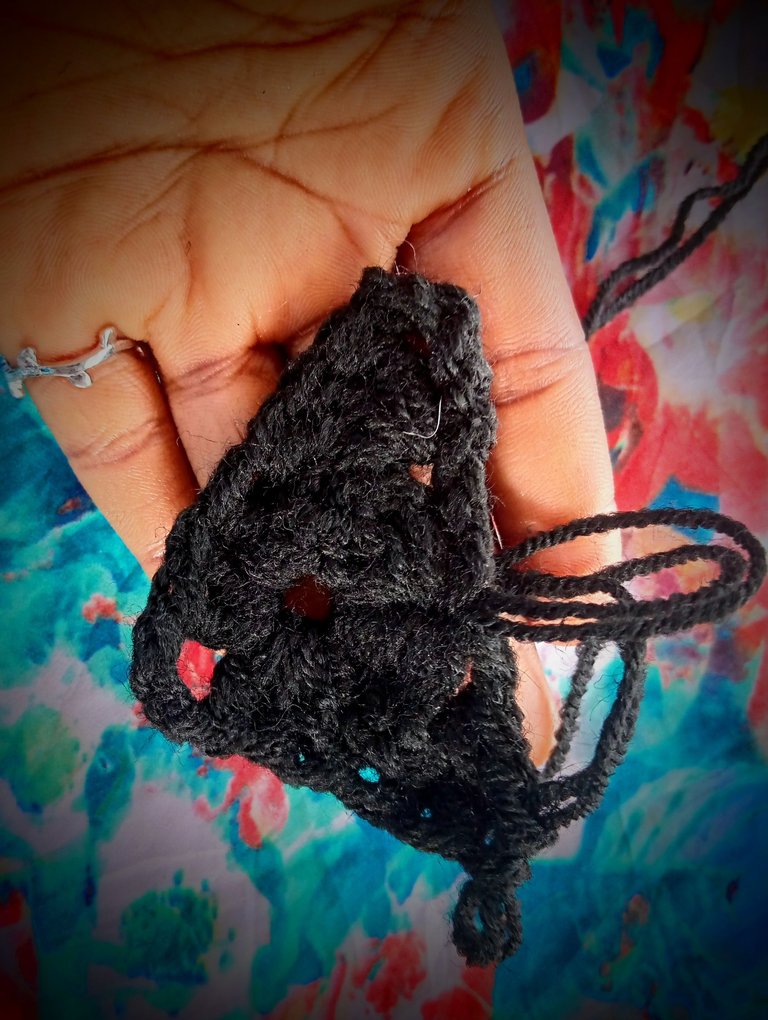
For the second row, I made a chain of four and this time I made double crochets into the spaces only.
For the spine(tip) of the triangle, I repeat the three double crochets, three chains and another three double crochet patterns.
Another very technical part is the end of the triangles. I made four double crochets at the end of each side. This helps to give the edges a pointed look.
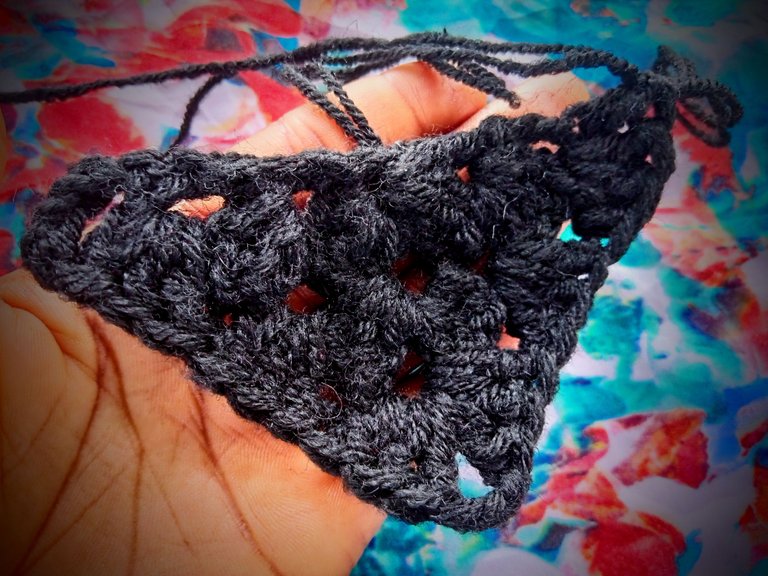
I repeated this pattern till I got to the fourteenth row. I decided to stop at row fourteen Because I do not want my scarf too long. If you want yours shorter or longer, you can decrease or increase the number of rows respectively.

At the end of row fourteen, the body of my scarf Is ready. One can decide to leave the scarf this way. I, however, decided to beautify the side a bit more. To beautify the sides, I used picot stitches.
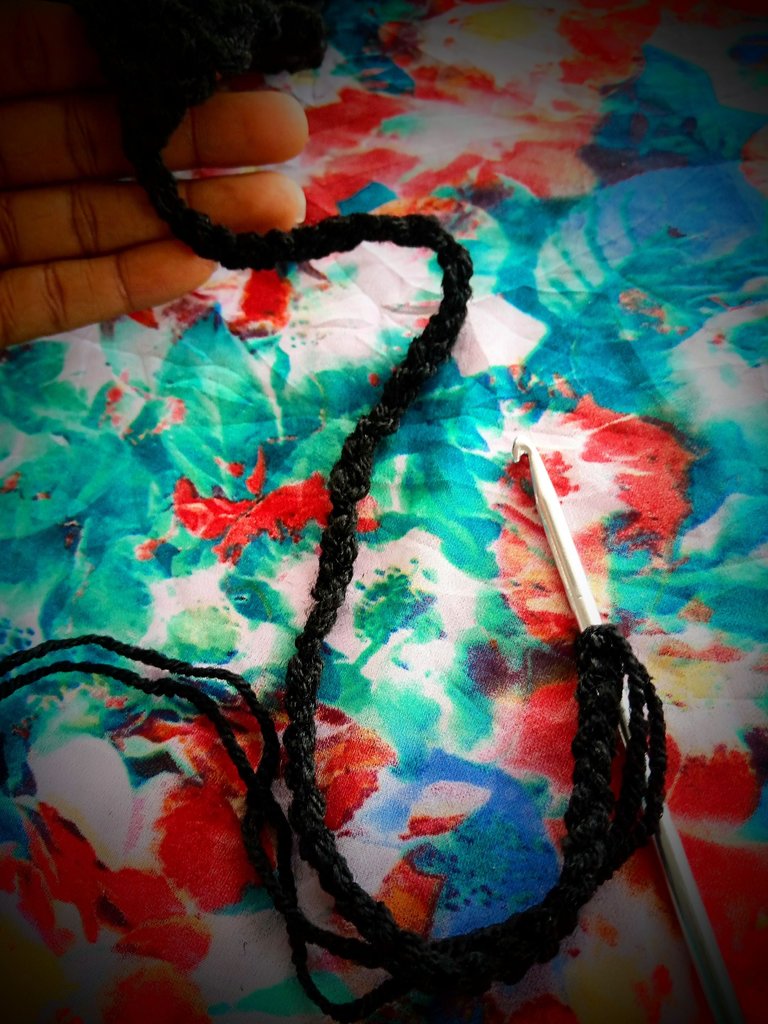
After making the picot stitches, it was time to make the straps. I made a chain of fifty-five stitches and I went down through the chain using a single crochet stitch. Following this method, I made two straps to aid tieing of the scarf.
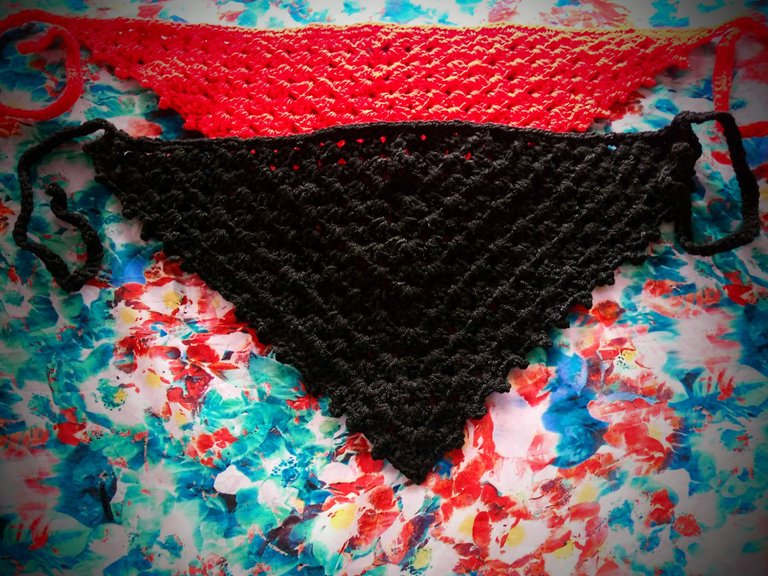
With that, my scarf is ready. This is a really easy and fun crochet project to make. Certainly, I am going to make scarfs with other colours as I seem to always have bad hair days.
What do you think of the scarf? How about my video tutorial? I would love to hear your suggestions and corrections in the comment section. Have a lovely day.
All images used belong to me and were taken with my mobile device except stated otherwise.
Love, Wongi
▶️ 3Speak
@wongi, @pixresteemer(5/10) sent LUV. | connect | community | HiveWiki | NFT | <>< daily
! help(no space) to get help on Hive. InfoThank you @pixresteemer ✨
Thank so much for making this pattern. It's awesome! I really need to put my best in crocheting, Currently learning from friends. Guess it's perfect with the mini spool of yarn. Or isn't that a mini spool?
Amazing you're now taking advantage of the 3speak short.
It's a mini spool. They are more accessible over here.
Thank you so much for stopping by 😊
Quite amazing.....you're welcome, mama