Before I start, I would like to apologize for the differences in picture qualities/appearances in the post (Some pictures may appear brighter while some are darker).
The pictures were taken at different times and places that's why this happened.
Hello everyone!
Today, I'll be continuing another episode of learning to draw.
In a previous post, I learnt how to draw heads and faces using the Loomis method, and just as I said in that post, I will be learning how to draw the full body now and sharing my experience and knowledge of what I learnt.
When it comes to the anatomy of the human body, there are a lot of
complex muscles and underlying structures that builds it up. Here, I am going to learn about the basic 3D forms of the body and learn how they interact with each other.
I guess I could say that this is one of my favorite aspects of drawing - being able to come up with impressive works from extremely basic components.
If I wanted to divide the body in an art-wise manner, I would divide it into two sections which are gesture and anatomy.
Gesture
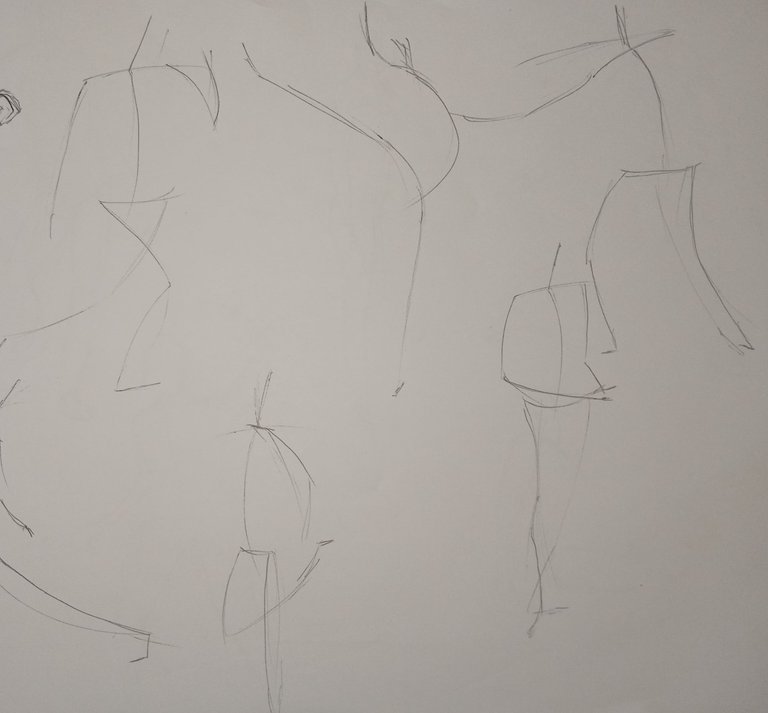
If I were to define gesture, I would call it the main "flow" of an object. Like the direction the object is bending or appears to be moving towards.
For instance, lets take this image:

If I were to identify the gesture, it would be something like this:

This "flow" is also known as the line of action. It is the main starting point when drawing a figure and it really helps in preventing stiff looking figures.
Just like in the example shown above, I will be doing this some more times for several other poses.

This is the simplest method used in portraying gesture, but it has a setback.
While it is kind of easy to execute, it can get a bit difficult to tell what the gesture is doing sometimes. Either it becomes difficult to tell the direction the figure could be facing or there could be a problem in portraying perspective (Or both).
So what I will do next is to add some basic forms to the gesture so that it becomes (a bit) easier to identify what the model is doing.

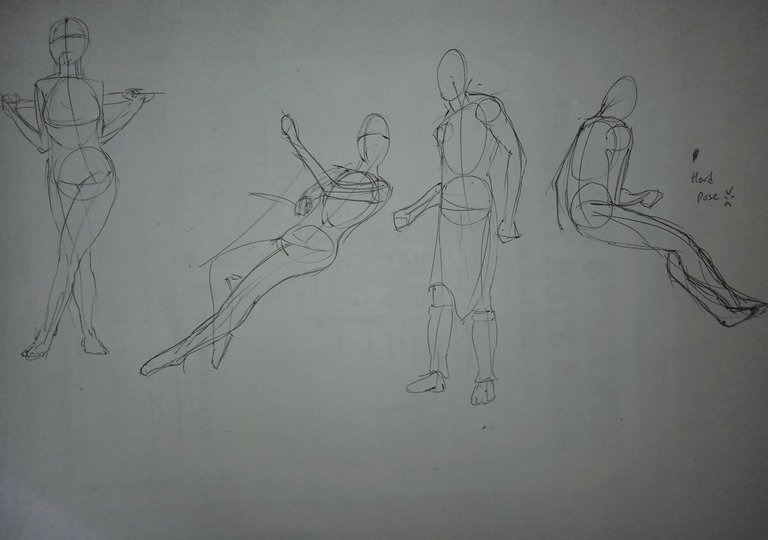
I do like to think of this stick figure as the skeleton of the model I'm drawing. Things become a bit easier to understand that way.
Now that this is out of the way, it's time to work on the basic structure of the body.
Anatomy
For this step, I'm going to be simplifying the body into simple shapes.
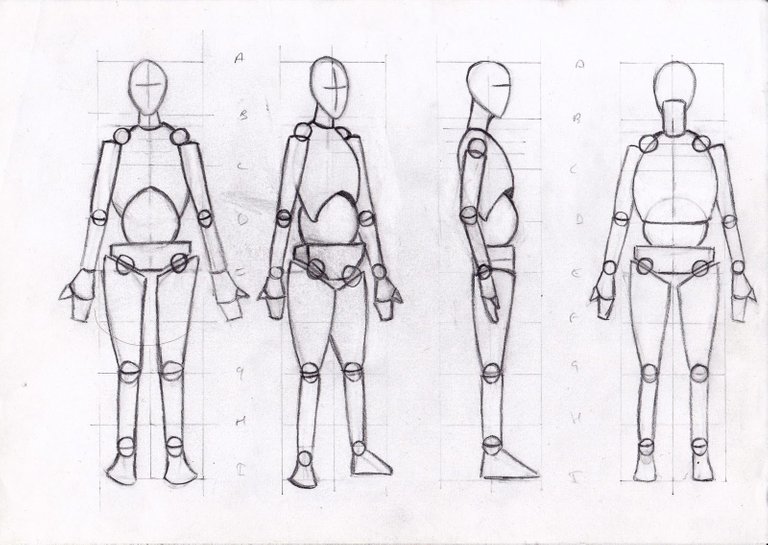
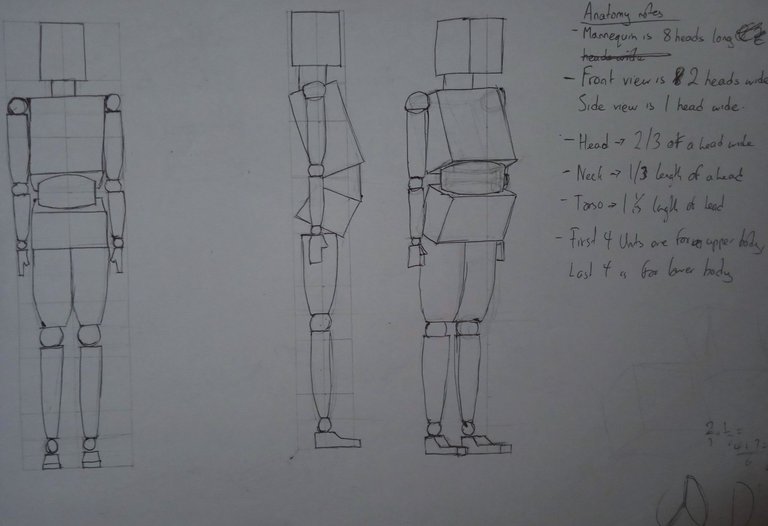
Looking at the body, I could say that the body is divided into several main parts - the head, neck, chest, abdomen, hips, hands and legs.
Now in order to simplify them, you will need to be familiar with drawing the basic 3D shapes (cubes, spheres and cylinders) since they will be needed to simplify the body. So I decided to spend some time drawing them to get very familiar with the 3D shapes.
Together with that, I also tried drawing the cylinders in bent forms and applied some perspective on the cubes (Mostly because I got bored).
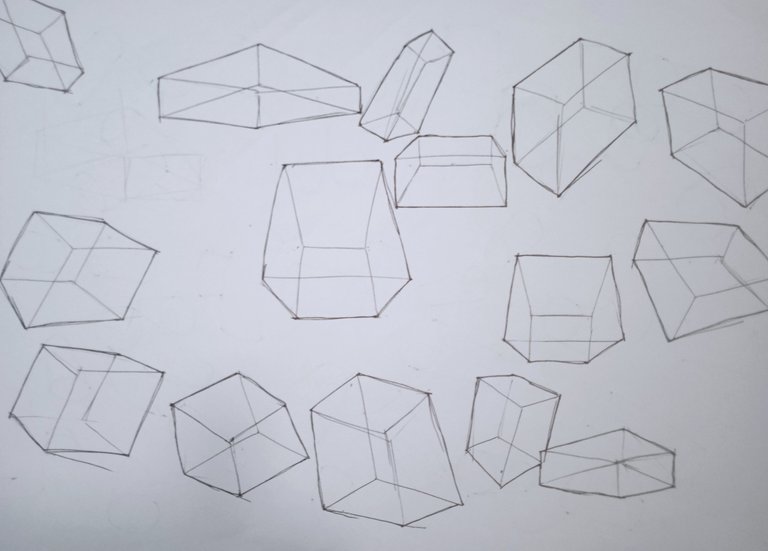
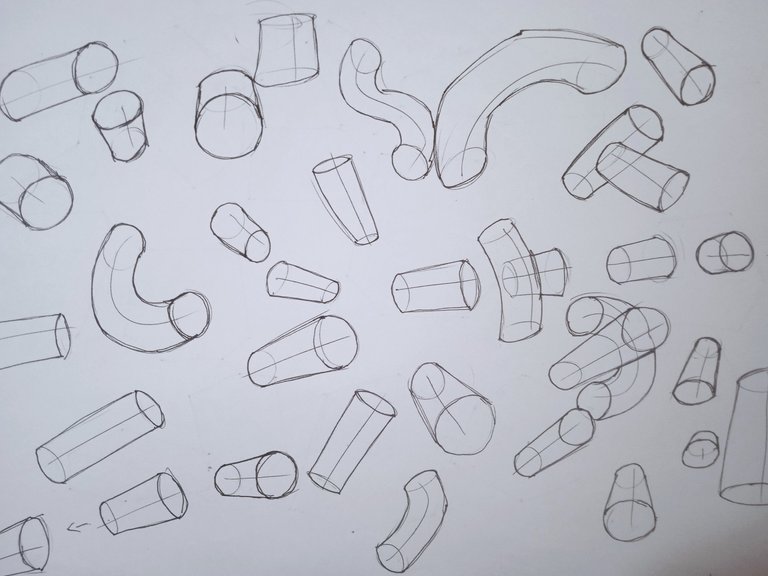

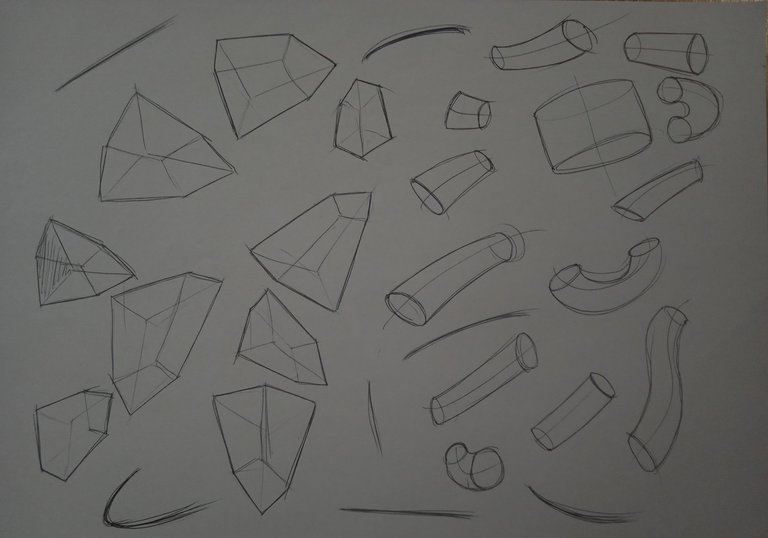
I drew through the shapes so that I can imagine how the unseen part of the shape would look like. I also did this so that I can build a better understanding of these shapes in 3D space.
Now that's enough of drawing 3D shapes. Time to head back to the main gist of the matter - breaking down the body.
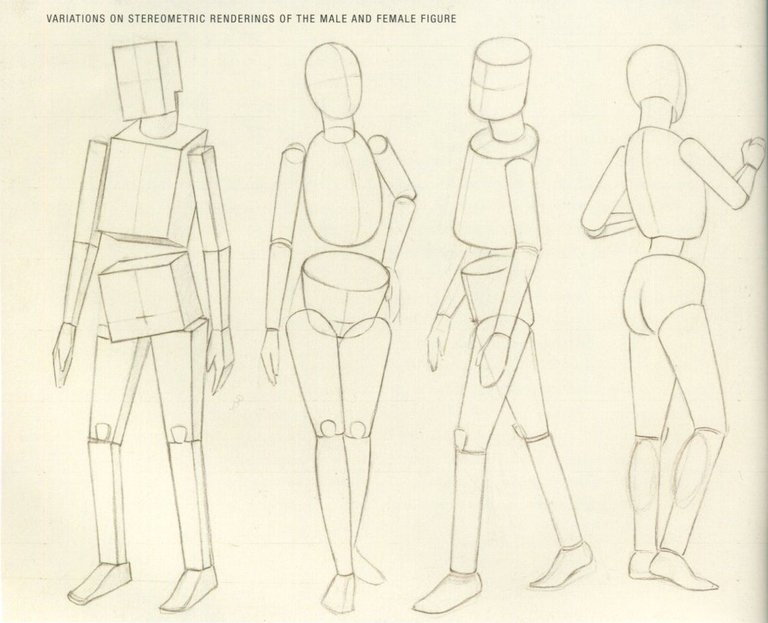
For this, I will use a box for the head, chest and hips. It is also acceptable to use a sphere for these parts, but when dealing with 3D, boxes are regarded as easy mode while spheres (and ovals) are a bit more difficult to use and rotate.
Next, I will use cylinders to represent the neck and limbs.
As for the joints like the elbows, knees and shoulders, a simple sphere will be enough.
I would have also liked to use a box to represent the abdomen, but that would make things look confusing since the torso and hips are also boxes; plus I want to represent them as different individual parts, not as a single form. So I will also be using another cylinder for this.
Now to put everything together...
To be honest, this step was actually quite difficult.
When I started off, realized that my shapes weren't actually shaping. So, I decided to slow down and practice drawing some more 3D shapes.
And then things started to get better, slowly.
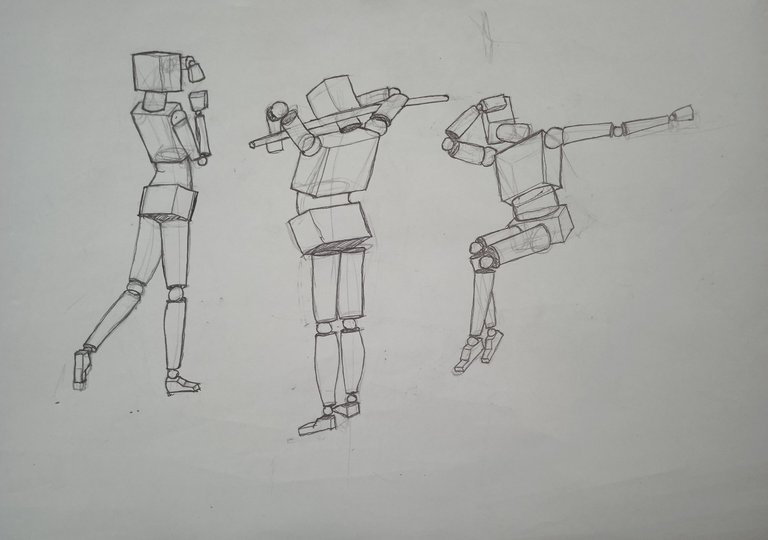
Here, I present some of my final results:
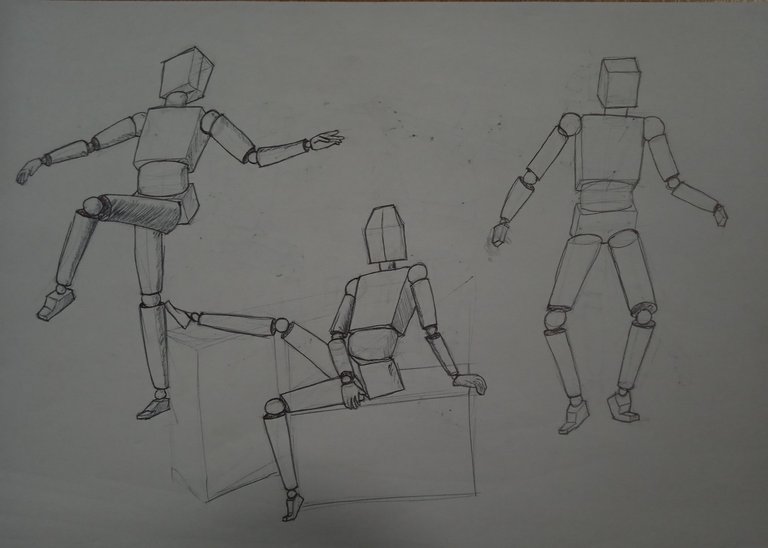
Even though this exercise was quite challenging, I really enjoyed the experience that it gave at times. Sometimes, I would just get really annoyed and sad, wondering if I'm even getting it right. Other times, I would be feeling pretty good after the exercise.
One thing that I've noticed about gesture drawing exercise is that it makes me not to worry about minor details, especially in short durations like 30 seconds.
When there's only 30 seconds on the clock, I get forced to focus only on major details and forget about getting things perfectly, which is nice because having a perfectionist mindset while drawing is pretty draining.
In this exercise, I didn't do much of the short duration drawings; most of them took about 2 minutes to complete (Except for the mannequins. Those took more than 15 minutes each).
Well, that's all for this post. Maybe I'll learn how to draw muscles next time.