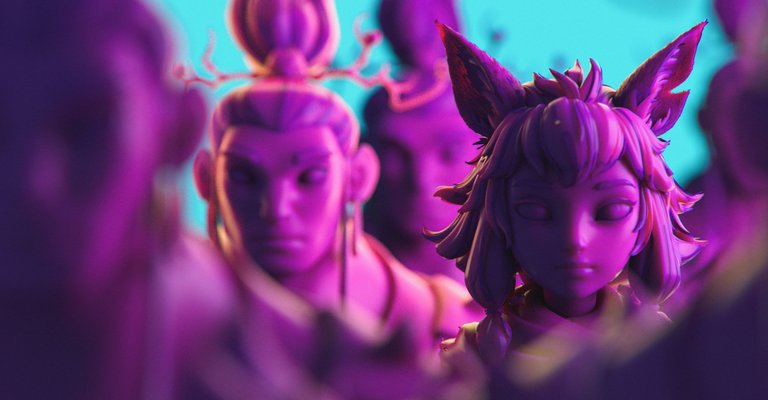
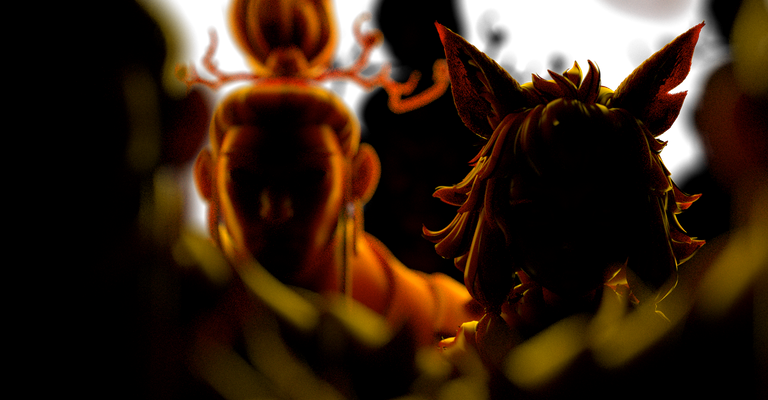
Hello #hive @onchainart , Sharing a colorful artwork !, Based on the character's from the latest Feature film i worked on Jiang Ziya | 姜子牙 , So i wanted to do something different, So instead of spending lots of time texture and do shade i wanted to create a waxy material with some mixed lights for a fresh look !
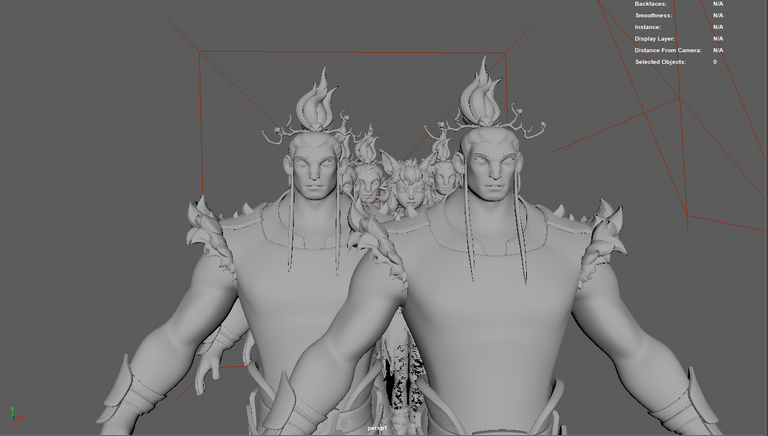
Model
I started by setting up and laying out the characters in front of the camera, I wanted to focus on the girls since shes the unique one, And by adding depth of field on my camera helped setting up my focus point ! I used camera focal length of 90mm for a better perspective look .
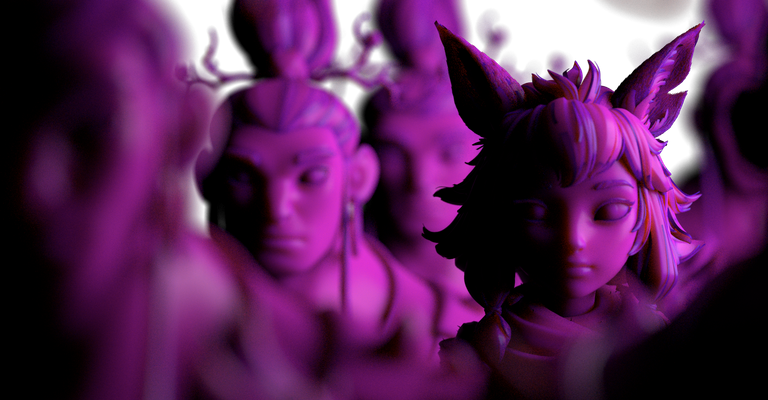
Key Light
Started with a simple keylight to get a balanced Light/Shadows, Usually for my art works i like to have 60% light and 40% shadows for all elements, Keeping a bit dramatic style and gives me more freedom for my rim and fill lights to kick in !
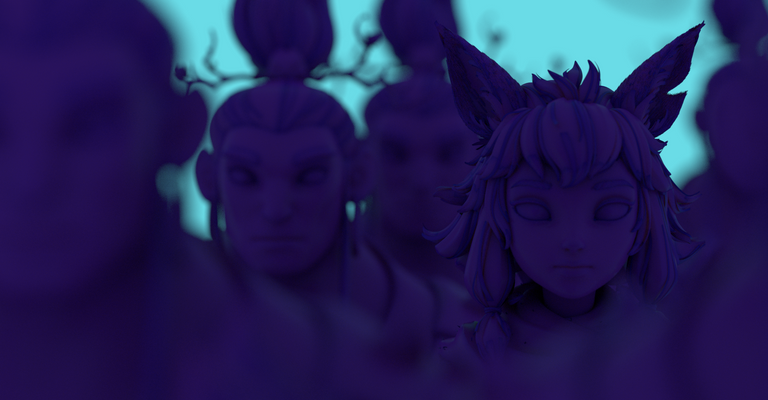
Fill Light
For my bg and fillers i have decided to go with Tiffany's color, A nice mix with the purple elements in the scene.
Rim Light
As for the last touches in lighting i have created a orannge/yellow rim light for a better balance between purple and Tiffany's, At the same time adding more details for my 3D elements .
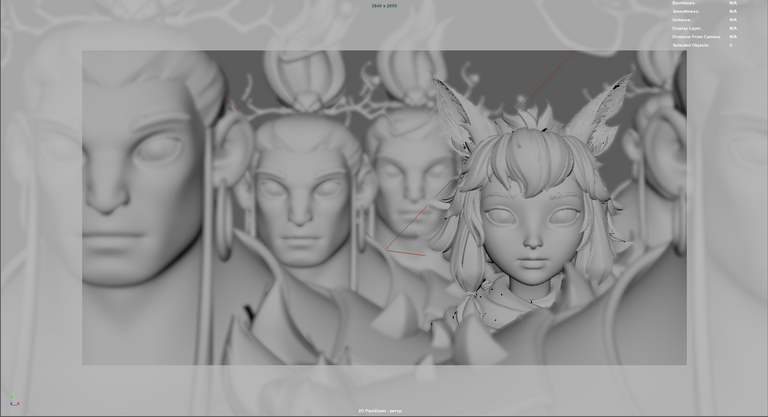
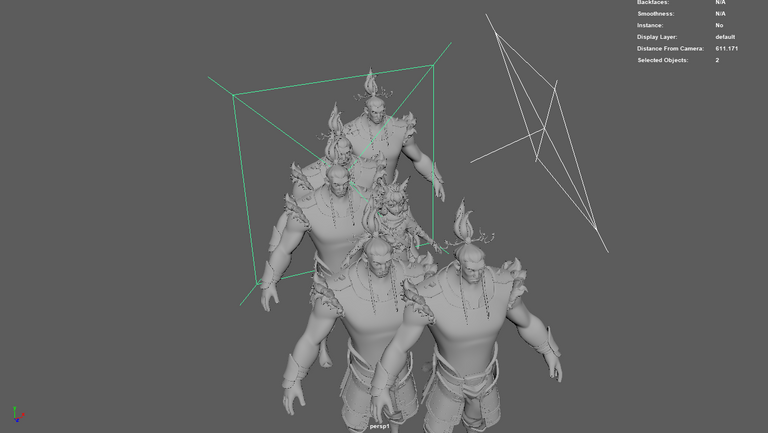
Scene Setup
Just a simple layout for the Characters. and the lights .
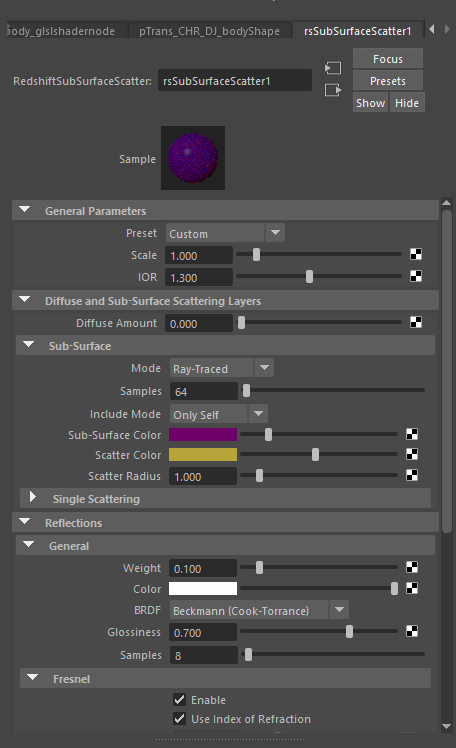
Material
I used Sub Surface Scatter material in Redshift, Adjusting the values based on the lights i got in my scene.
MAYA | Redshift | Photoshop
Let me know if you like it !
https://vimeo.com/ahmadturki
artstation
https://www.artstation.com/ahmadturki

thank you :)
!discovery 40
<3 <3
This post was shared and voted inside the discord by the curators team of discovery-it
Join our community! hive-193212
Discovery-it is also a Witness, vote for us here
Delegate to us for passive income. Check our 80% fee-back Program
thanks thanks :)
Nice!
thanks my friend :)
Loved how you managed to make the rimlight work really well. When I do them, I usually blow them up to x10 times the key light just to make them work well, and I have no idea why it doesn't work.. maybe because of the limitations of raster technology. How do you get such an awesome rim on BOTH sides of the geometry?
Also, nice to see you use Redshift. One day I will use that engine again, probably from Blender though. Keep up the awesome work, and also.. great modeling!
ah thanks my friend :) , mm Usually for rim lights its all about placements, I usually keep them as same value as the key light and just arrange them around the shadow area's, I think if you building your lights try to use Area lights as it seems got better cover than strong lights such as ( Directional ) . can try create your frim first and then add in the Key and Fill see how it goes :)
Blender is nice btww, I think all render engines can give u nice results you just need to understand how to connect your shaders with the light
Wait... Connecting shaders to lights? Like linking in a lamp to a material for an extra pop?
Thanks for the excellent tip. I will definitely give it a go. The idea of first key then run the shadow of do from only then key is a good one.
When you create your lights your shades will react accordingly. Its about balancing your lights values with your shades. So nothing gets over or under exposed with lights.
No worries :) can try out and let me know !
Posted using Dapplr