¡Hola amigos de Hive! Feliz día a todos y espero que se encuentren muy bien, hoy les traigo un dibujo digital que hice hace unos días. Este es uno de los primeros dibujos digitales que hago, ya que, mayormente me dedico a hacer dibujos a lápiz, ese es mi fuerte. Pero últimamente tengo muchas ganas de hacer este tipo de dibujo porque me parece fascinante, tiene muchas cosas de las que aprender y todavía estoy aprendiendo cómo hacerlo; Sigo buscando mi propio estilo de dibujo, así que les estaré mostrando varios dibujos probando diferentes estilos hasta encontrar mi propio estilo.
Hello friends of Hive! Happy day to all and I hope you are very well, today I bring you a digital drawing which I made a few days ago. This is one of the first digital drawings that I do, since, mostly I dedicate myself to making pencil drawings, that is my forte. But lately I've been wanting to do this type of drawing because I find it fascinating, it has a lot of things to learn from and I'm still learning how to do it; I'm still looking for my own style of drawing, so I'll be showing you several drawings trying different styles until I find my own style.
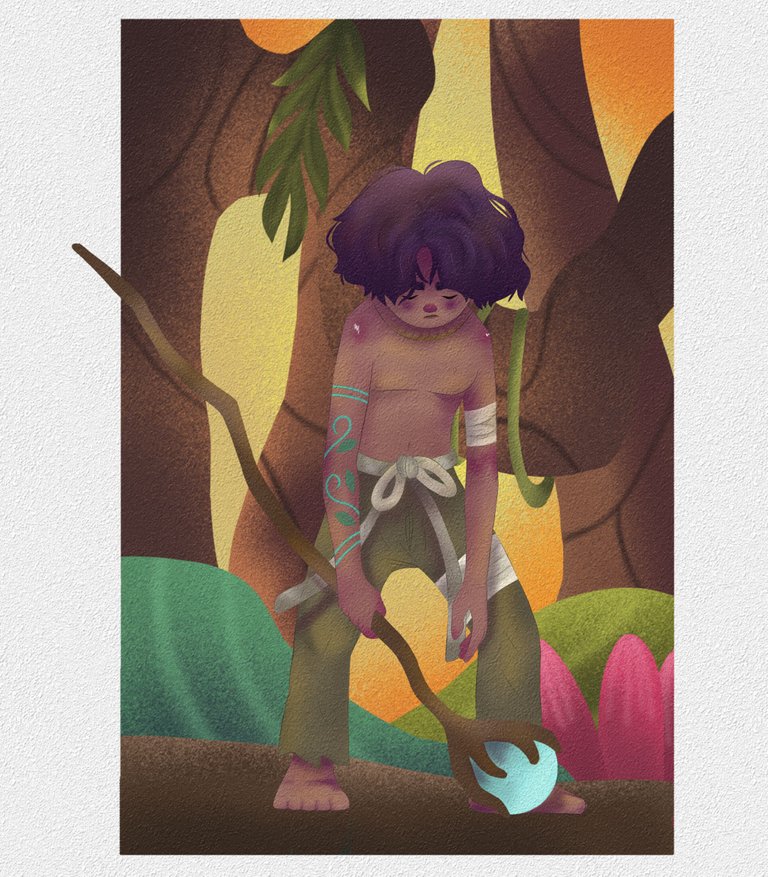
En esta ocasión les quiero compartir un personaje creado por mi; Es un personaje que me gusta mucho ya que me llama la atención el estilo fantasía, por eso le agregué un bastón mágico y unas rayas azules que son como sus tatuajes. Ahora veamos el paso a paso:
On this occasion I want to share a character created by me; He is a character that I like a lot since the fantasy style catches my attention, that's why I added a magic cane and some blue stripes that are like his tattoos. Now let's go through the step by step:
✏️ PROCESO | ✏️ PROCESS
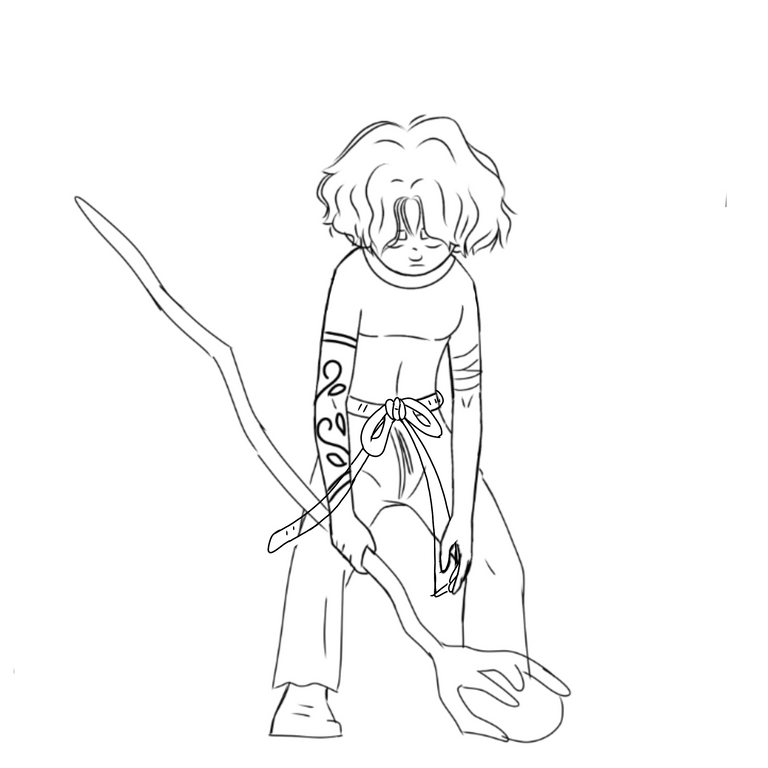
- Lo primero que hice fue hacer el boceto; Los bocetos los hago siempre en tradicional usando un lápiz normal y una hoja en blanco, una vez que tengo el boceto que más me gusta le saco una foto e importo la foto a la aplicación de dibujo que uso, utilizó la aplicación en mi caso es infinite painter.
- The first thing I did was make the sketch; I always make traditional sketches using a normal pencil and a blank sheet of paper, once I have the sketch that I like the most, I take a photo of it and import the photo into the drawing application that I use, I use the application in my case infinite painter.
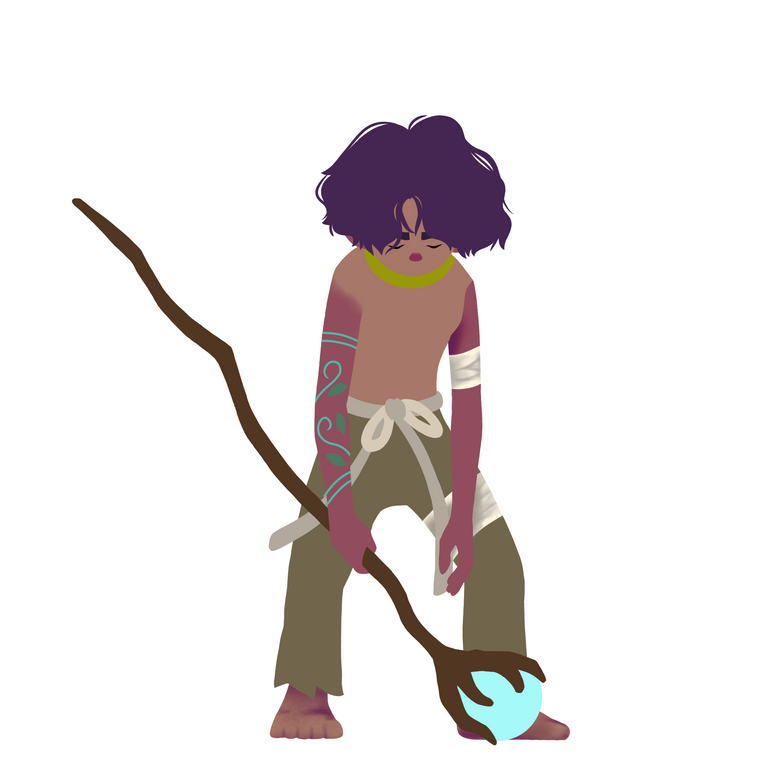
- Una vez realizado el boceto empiezo a colocar los colores base en cada zona; todos los colores base los aplicó en una capa distinta para que se me facilite el trabajo, por ejemplo: la base de la cara la hago en una capa, las manos en otra, el torso en otra y así sucesivamente, hacerlo de esta manera te permite tener más controlado lo que haces y así si te equivocas o quieres cambiar algo puedes hacerlo sin afectar todo el dibujo.
- Once the sketch is done, I begin to place the base colors in each area; He applied all the base colors on a different layer to make my job easier, for example: I do the base of the face on one layer, the hands on another, the torso on another and so on, doing it this way will It allows you to have more control over what you do and so if you make a mistake or want to change something you can do it without affecting the entire drawing.

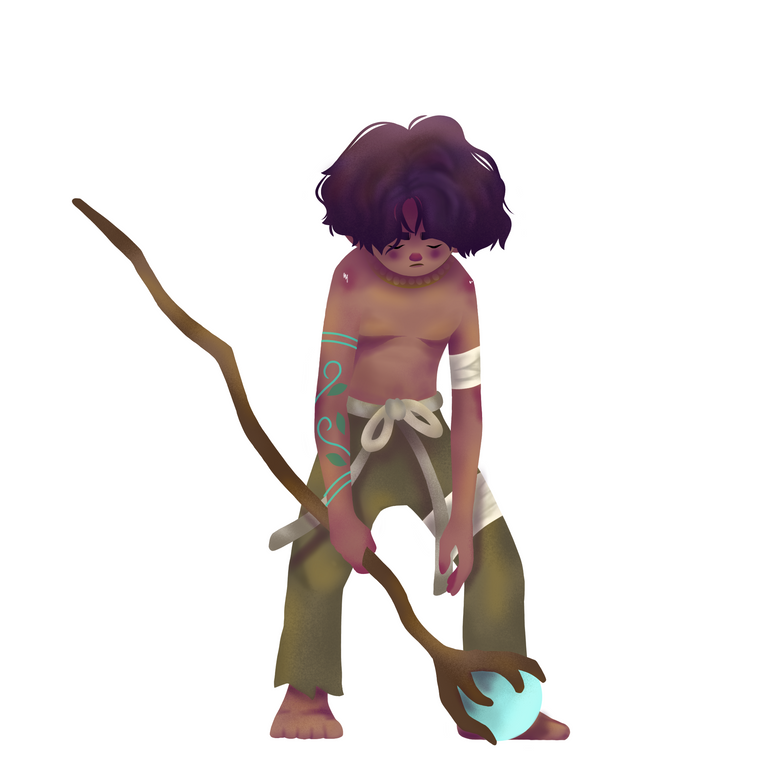
- Ya habiendo hecho la base del dibujo empezaremos a sombrearlo, para ello utilizaremos los pinceles de estilo aerógrafos; usé este estilo de pincel porque me gusta que la sombra quede suave y que se integre al dibujo, también agregué detalles de brillo en los hombros y unos pequeños detalles en el collar del personaje.
- Having already made the base of the drawing we will begin to shade it, for this we will use the airbrush style brushes; I used this brush style because I like the shadow to be soft and blend into the drawing, I also added glitter details on the shoulders and a few small details on the character's necklace.
- Una vez que tenemos listas las sombras del dibujo y estoy contento de cómo va quedando le empecé a hacer las sombras e iluminaciones , cada una de ellas las hice en dos capas diferentes; las sombras las realicé con un color negro, con el tipo de capa en multiplicar y con la opacidad al 20%, y la iluminación la hice con un color amarillo , con e tipo de capa en luz suave y con la opacidad al 20% también.
- Once we have the shadows of the drawing ready and I am happy with how it turns out, I began to make the shadows and highlights, each of them I did in two different layers; I made the shadows with a black color, with the type of layer in multiply and with the opacity at 20%, and I did the lighting with a yellow color, with the type of layer in soft light and with the opacity at 20% as well .
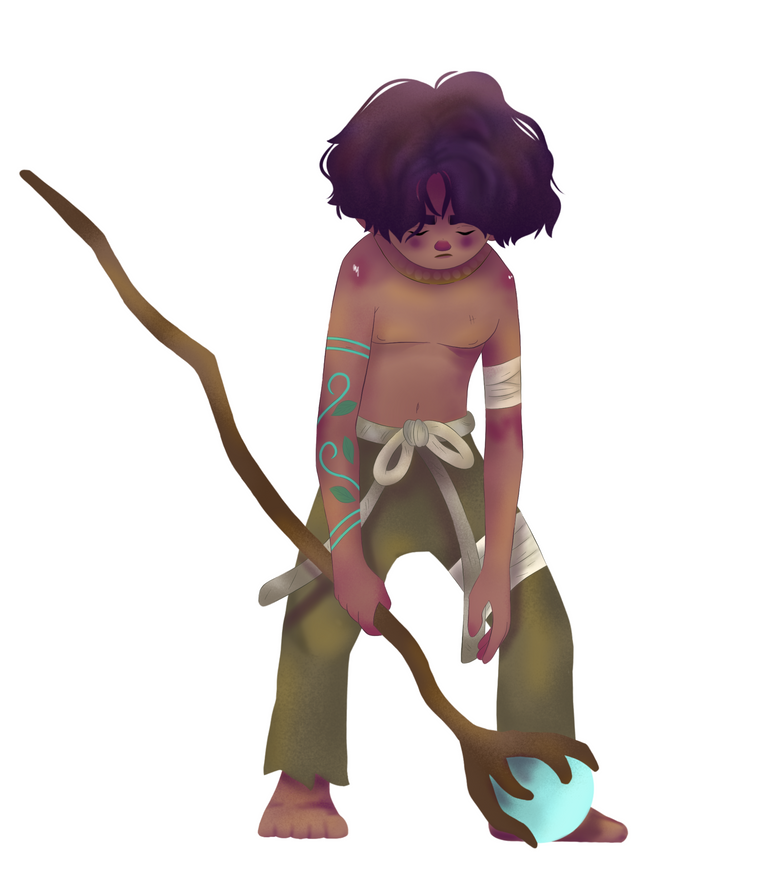
- Para terminar el dibujo, lo que hice fue hacer un pequeño Lineart, usando los colores de referencia de cada zona para que no chocara con el dibujo y se viera mucho más armonioso.
- To finish the drawing, what I did was make a small LineArt, using the reference colors of each area so that it would not collide with the drawing and it would look much more harmonious.
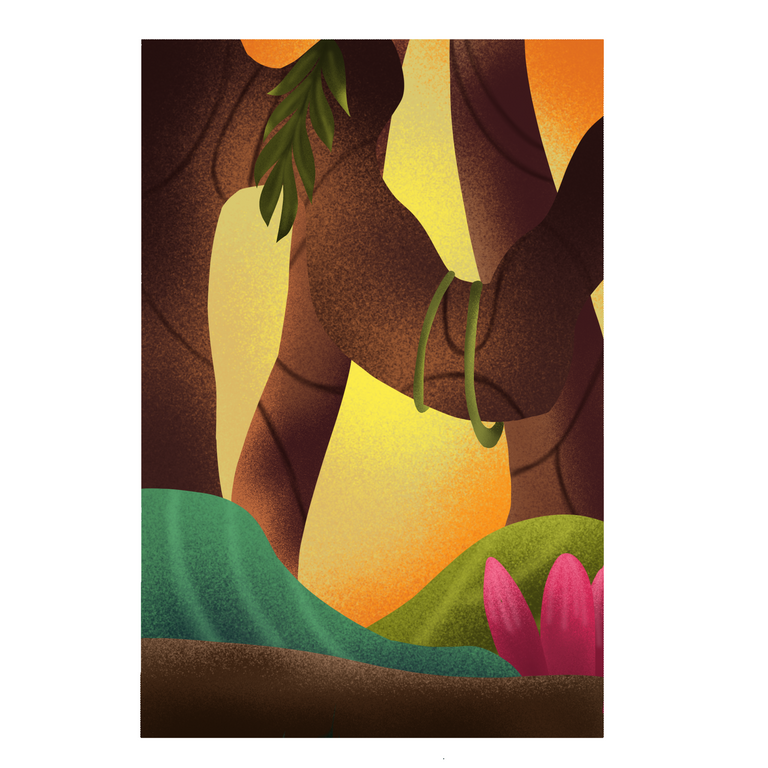
Para hacer el fondo realicé el mismo procedimiento que hice con el personaje, cada objeto a colorear lo hice en capas diferentes, puse las sombras correspondientes, le agregué iluminaciones y sombras y le hice el LineArt usando los mismos colores de referencia.
To finish the drawing, what I did was make a small Line Art, using the reference colors of each area so that it would not collide with the drawing and it would look much more harmonious.
¡Y eso fue todo! Espero que les haya gustado el proceso y hayan aprendido un poco acerca de cómo realizar un dibujo en digital. No soy un experto pero voy aprendiendo cada día y seguiré compartiendo el conocimiento que vaya adquiriendo con ustedes para que podamos aprender al mismo tiempo, un saludo y nos vemos en el próximo post.
And that was it! I hope you enjoyed the process and learned a bit about how to make a digital drawing. I am not an expert but I am learning every day and I will continue to share the knowledge that I acquire with you so that we can learn at the same time, greetings and see you in the next post.

love it! Its a cute piece, but it also like, kinda sad?
@tipu curate
Upvoted 👌 (Mana: 25/55) Liquid rewards.
¡Muchas gracias! Quise representar el personaje de esa manera, desilucionado y cansado.
Te quedó genial! Me gustó mucho como hiciste los sobreados y el fondo está muy bien hecho! Hay un trasfondo para ese personaje? O sea, una historia o algo? O se te ocurrió hacerlo así? Es que me pareció curioso que no solo le hayas dado forma al personaje sino hasta un rol (hechicero) y un estado de animo evidente.
¡Muchas gracias! Es un personaje en el cual llevo trabajando bastante tiempo! Se supone que tiene alas pero esta ves no se las hice, quise hacerlo con una expresión de cansancio, como si hubiera peleado con alguien y estuviera exhausto y desilusionado
Congratulations @vicente99! You have completed the following achievement on the Hive blockchain and have been rewarded with new badge(s):
Your next target is to reach 50 replies.
You can view your badges on your board and compare yourself to others in the Ranking
If you no longer want to receive notifications, reply to this comment with the word
STOPCheck out the last post from @hivebuzz:
Support the HiveBuzz project. Vote for our proposal!
Muy buena ilustración, me ha gustado mucho como te ha quedado el fondo , tiene mucho aire a videojuego indie