Hello everyone. This tutorial on Django Imagefield will focus on how to render the images dynamically to the Django template and how you can actually view images in your Django admin dashboard instead of the images URL. Because the default admin dashboard page always show the URL of the image and not the image itself. Only after clicking that URL, you can see the image.
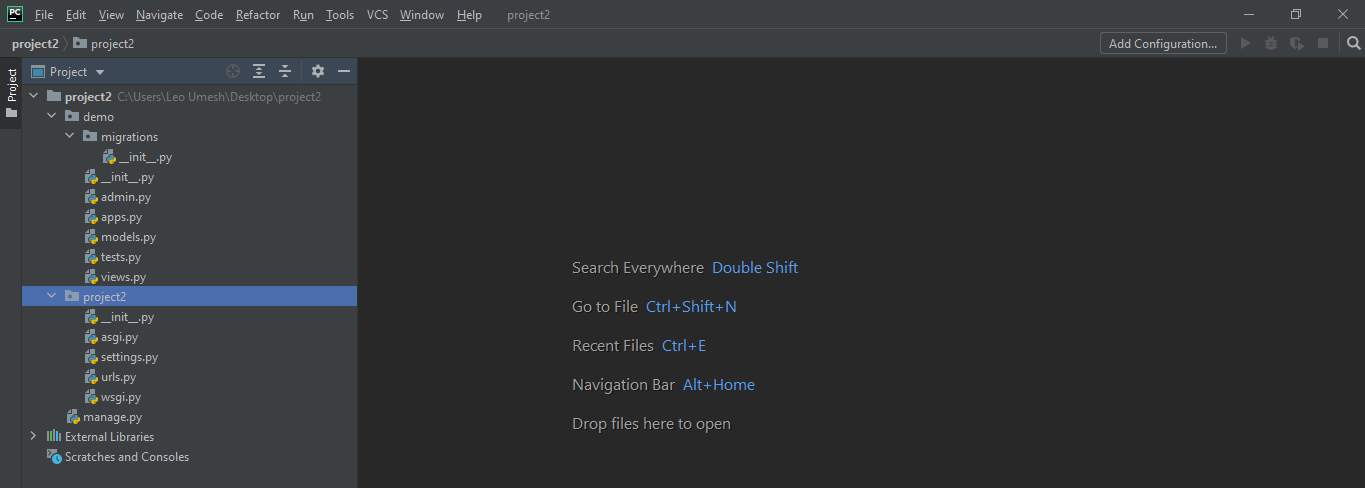
First I will be creating a project directory in my desktop. For this I will open my Command Prompt and go to desktop typing cd desktop. Then type django-admin startproject project2 to create our project directory. Now we need to go inside our project directory. So type cd project2. Now lets create our app called demo just for the demo purposes using this command python manage.py startapp demo. Your project structure should look like this when you are opening it in PyCharm.
Now lets run our server to see if our project has been configured properly. For this go to the cmd and type python manage.py runserver. This is the overview of what I have done so far in Command Prompt.
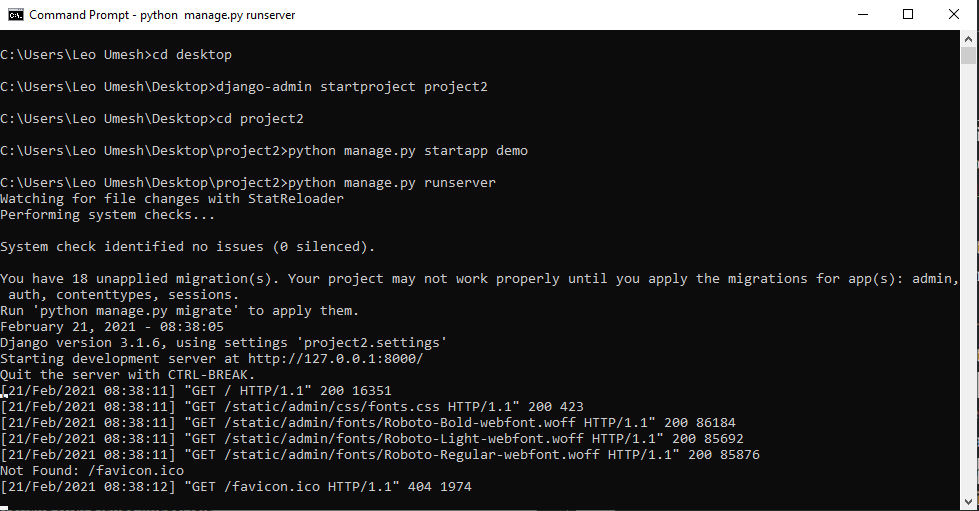
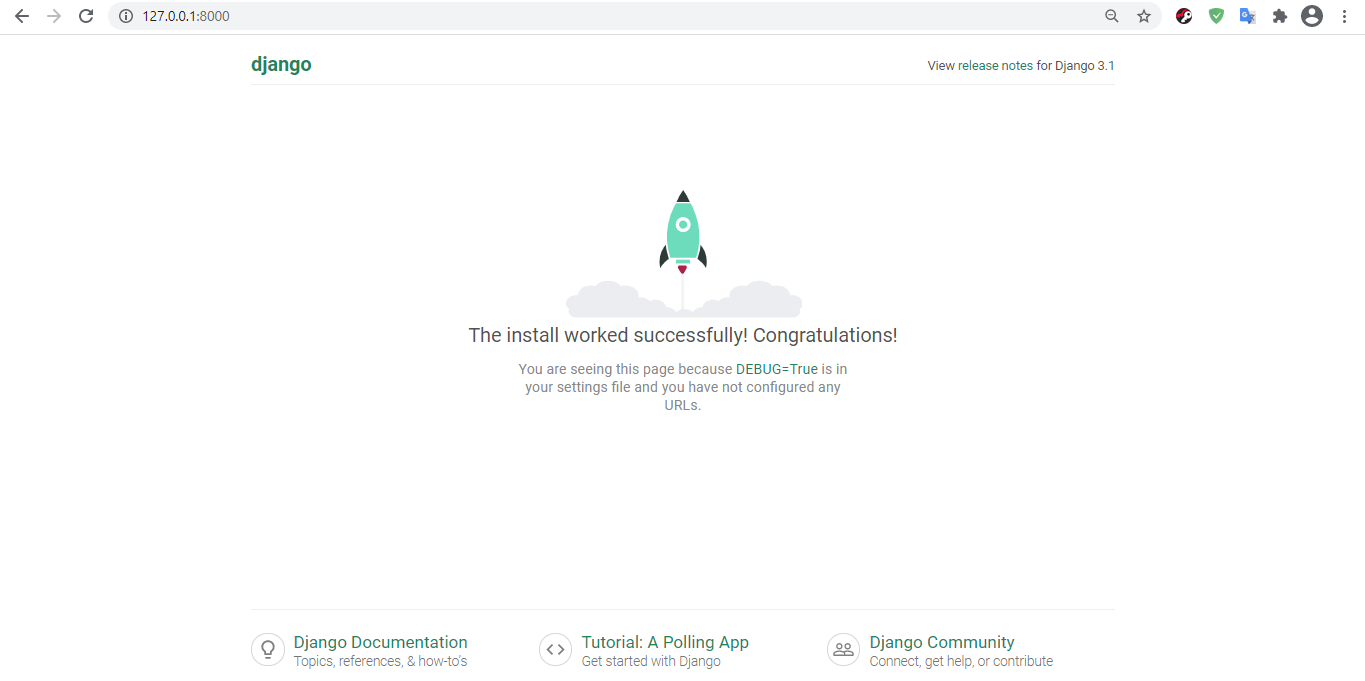
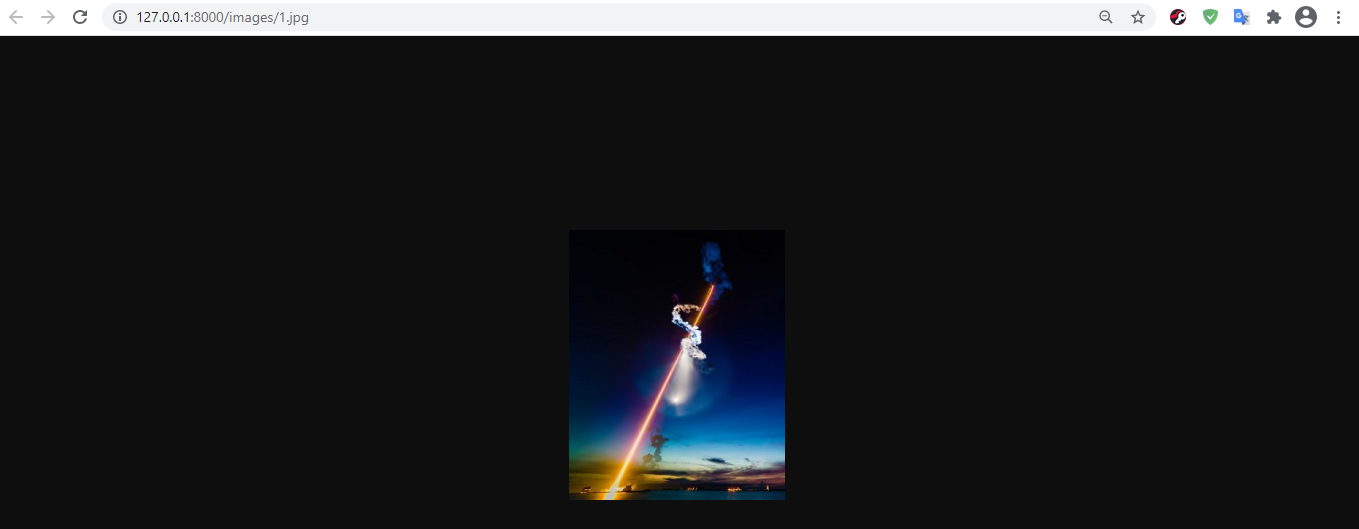
If there's no error, you can see this message Starting development server at http://127.0.0.1:8000/. Go to browser and put this link in address bar and you should see the following.
You can use the terminal of your IDEs to run various python commands. The reason I am doing this on CMD is that my laptop screen is small and opening the terminal on Pycharm will take up my screen and it makes me difficult to code in small screen.
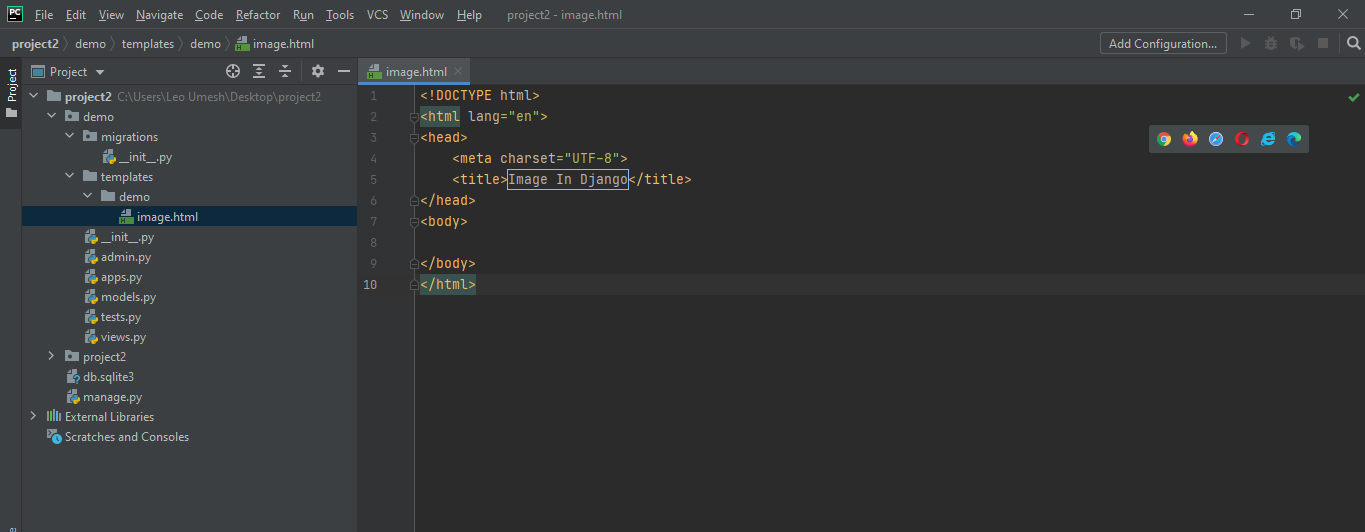
Now lets actually begin to work on our project with ImageField. First of all lets create our template. So to do this, according to Django Convention lets create a directory named templates inside our app directory demo. Inside templates lets create another directory named demo. And inside the newly created demo directory, lets create a HTML file called image.html. Our project structure now looks like this.
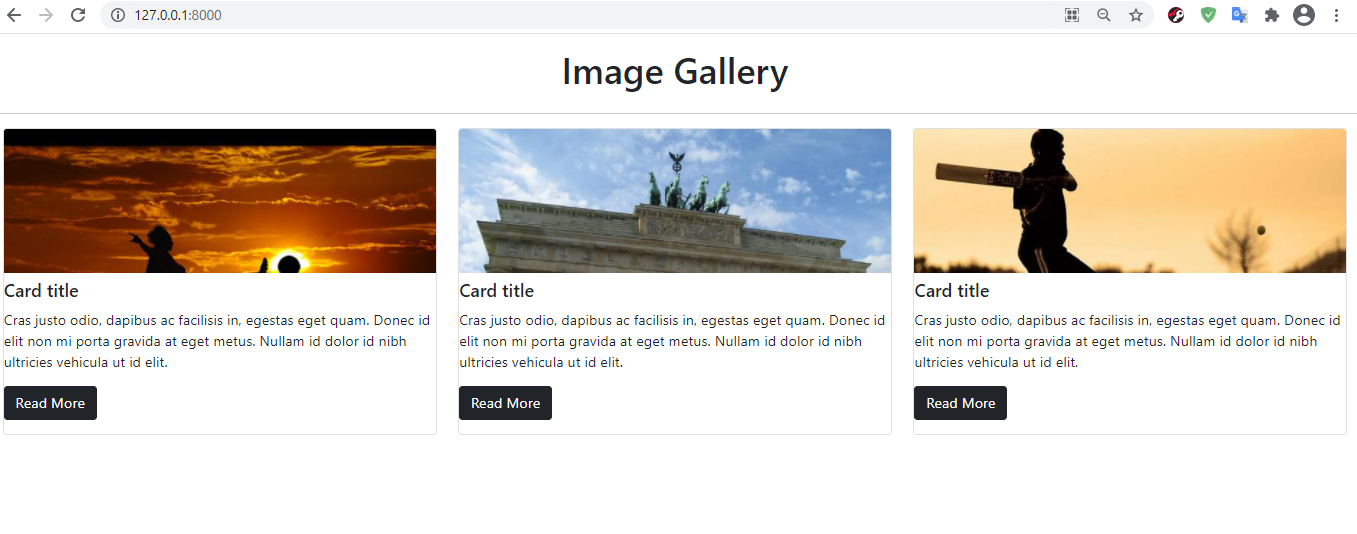
I would be adding simple bootstrap Thumbnail for the demo purposes only. This html code goes inside your image.html file.
<!doctype html>
<html lang="en">
<head>
    (html comment removed:  Required meta tags )
    <meta charset="utf-8">
    <meta name="viewport" content="width=device-width, initial-scale=1">

    (html comment removed:  Bootstrap CSS )
    <link href="https://cdn.jsdelivr.net/npm/[email protected]/dist/css/bootstrap.min.css" rel="stylesheet" integrity="sha384-BmbxuPwQa2lc/FVzBcNJ7UAyJxM6wuqIj61tLrc4wSX0szH/Ev+nYRRuWlolflfl" crossorigin="anonymous">

    <title>Image in Django</title>
</head>
<body>
<h1 class="text-center mt-3">Image Gallery</h1>
<hr class="mt-4">

<div class="container-fluid">
    <div class="row">
        <div class="col-md-12">
            <div class="row">
                <div class="col-md-4">
                    <div class="card">
                        <img class="card-img-top" alt="Bootstrap Thumbnail First" src="https://www.layoutit.com/img/people-q-c-600-200-1.jpg" />
                        <div class="card-block">
                            <h5 class="card-title mt-2">
                                Card title
                            </h5>
                            <p class="card-text">
                                Cras justo odio, dapibus ac facilisis in, egestas eget quam. Donec id elit non mi porta gravida at eget metus. Nullam id dolor id nibh ultricies vehicula ut id elit.
                            </p>
                            <p>
                                <a class="btn btn-dark" href="#">Read More</a>
                            </p>
                        </div>
                    </div>
                </div>
                <div class="col-md-4">
                    <div class="card">
                        <img class="card-img-top" alt="Bootstrap Thumbnail Second" src="https://www.layoutit.com/img/city-q-c-600-200-1.jpg" />
                        <div class="card-block">
                            <h5 class="card-title mt-2">
                                Card title
                            </h5>
                            <p class="card-text">
                                Cras justo odio, dapibus ac facilisis in, egestas eget quam. Donec id elit non mi porta gravida at eget metus. Nullam id dolor id nibh ultricies vehicula ut id elit.
                            </p>
                            <p>
                                <a class="btn btn-dark" href="#">Read More</a>
                            </p>
                        </div>
                    </div>
                </div>
                <div class="col-md-4">
                    <div class="card">
                        <img class="card-img-top" alt="Bootstrap Thumbnail Third" src="https://www.layoutit.com/img/sports-q-c-600-200-1.jpg" />
                        <div class="card-block">
                            <h5 class="card-title mt-2">
                                Card title
                            </h5>
                            <p class="card-text">
                                Cras justo odio, dapibus ac facilisis in, egestas eget quam. Donec id elit non mi porta gravida at eget metus. Nullam id dolor id nibh ultricies vehicula ut id elit.
                            </p>
                            <p>
                                <a class="btn btn-dark" href="#">Read More</a>
                            </p>
                        </div>
                    </div>
                </div>
            </div>
        </div>
    </div>
</div>

<script src="https://cdn.jsdelivr.net/npm/[email protected]/dist/js/bootstrap.bundle.min.js" integrity="sha384-b5kHyXgcpbZJO/tY9Ul7kGkf1S0CWuKcCD38l8YkeH8z8QjE0GmW1gYU5S9FOnJ0" crossorigin="anonymous"></script>
</body>
</html>
This code is too long. That's why backend code is really powerful. I will show you in a while how this code can be shortened by using python for loop logic. Now lets view this file in our development server to see how it looks like. So to do that, first let's create a view inside our demo/views.py.
from django.shortcuts import render

def home(request):
    return render(request, "demo/image.html")
Inside our project2/urls.py, we need to specify the URLs routing. First we need to import include and then add the following.
from django.contrib import admin
from django.urls import path, include

urlpatterns = [
    path('', include('demo.urls')),
    path('admin/', admin.site.urls),
]
Inside our app directory demo, create a new python file called urls.py and we only import path from django.urls and our views.
from django.urls import path
from . import views

urlpatterns = [
    path('', views.home),
]
This is how URL works in our case. When you type only http://127.0.0.1:8000/, then you are not typing anything after that, so it means you are not passing anything so include chops off that part and your remaining string is ''. So it goes to demo.urls to match this empty string. In our demo/urls.py, we have specified that when someone puts empty string then we show home view to them.
Now go to your project2/settings.py, and under the list of INSTALLED_APPS, add your app name demo.
Lets run our server using python manage.py runserver and go to our browser. We now should see our template.
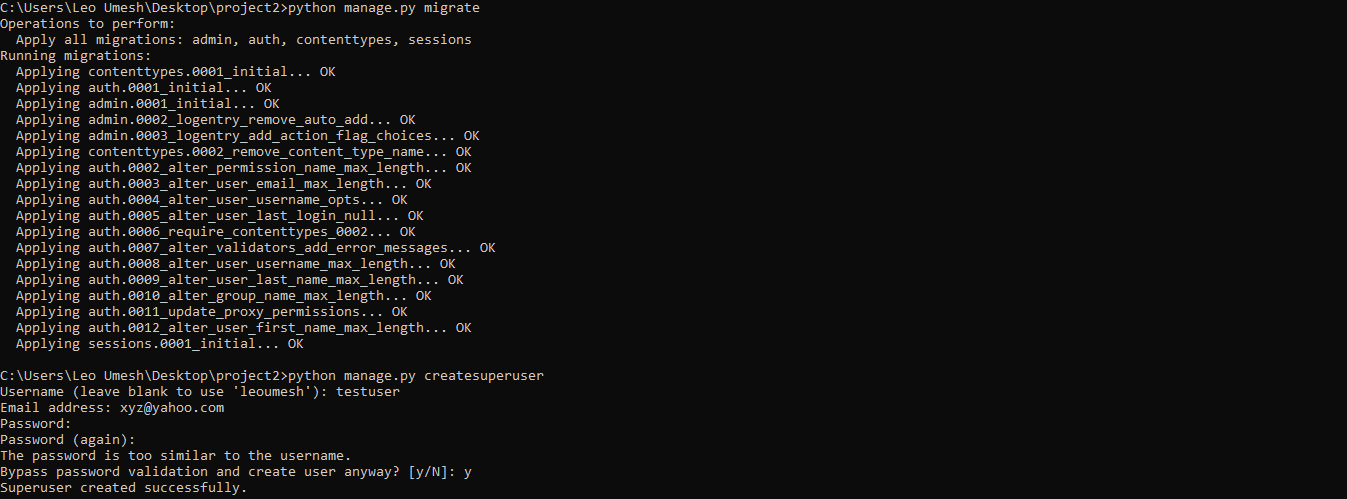
First of lets create superuser for our Django admin. Go to your terminal and type python manage.py migrate. And then type python manage.py createsuperuser then choose your username and password for your Django admin. Your terminal will not show you anything while typing password. So remember your password is being typed while hidden.
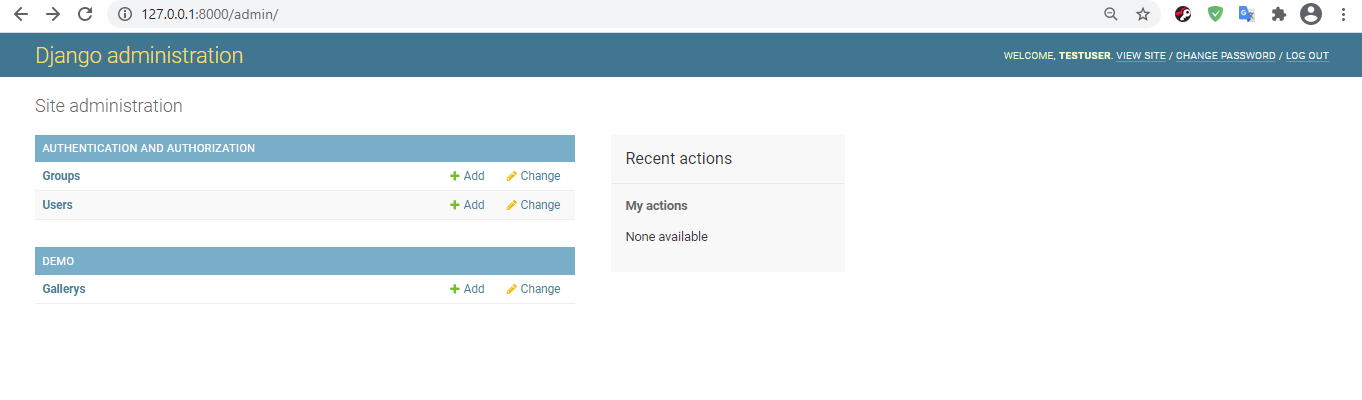
Now lets run our server and go to the admin page with this url http://127.0.0.1:8000/admin/. You should see following.
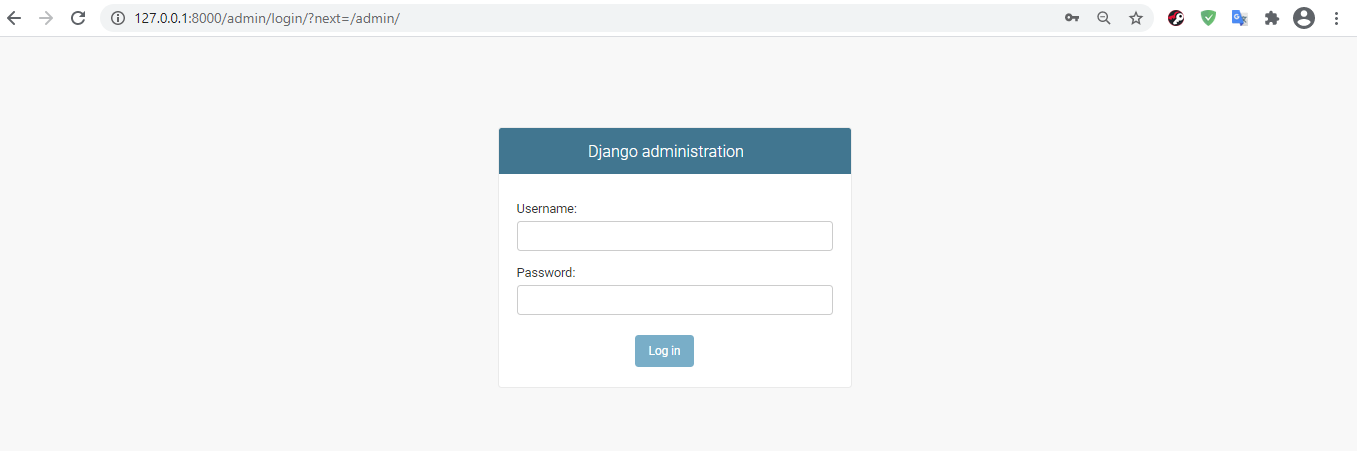
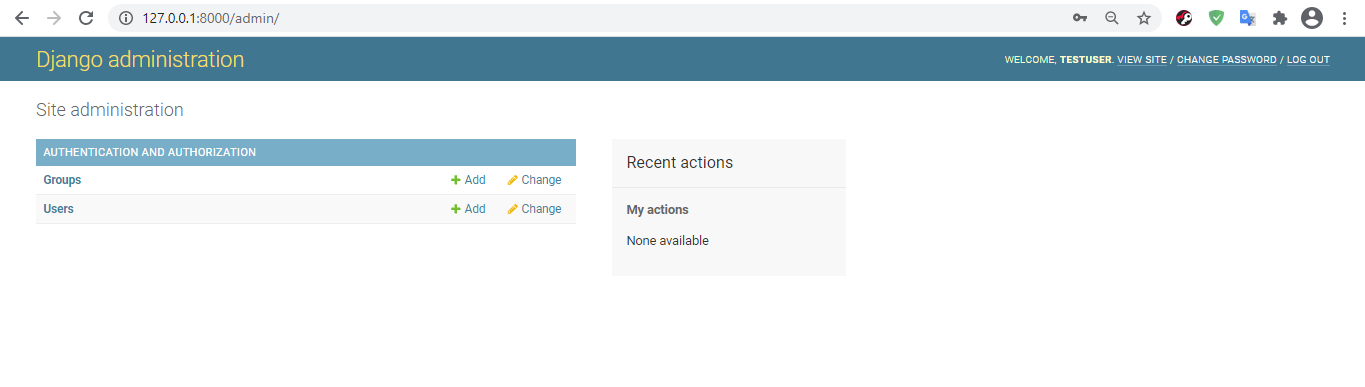
In the form, fill up the same username and password you have created in the terminal before. After you hit login, this should appear.
Now lets create our Image model. In the thumbnail class above we have an image, title and its short description. So we will create a model with those attributes. Furthermore, I will be adding one more attribute called 'name' so that it would be easier convention to view image name in dashboard. Go to our demo/models.py and then type the following.
class Gallery(models.Model):
    name = models.CharField(max_length=200)
    caption = models.CharField(max_length=200)
    description = models.TextField(max_length=400)
    image = models.ImageField()

    def __str__(self):
        return self.name
The reason I am using dunder method is because Django returns object name in the dashboard. So for the easier naming convention, I am using this method. Now go to your demo/admin.py to register your model. First you need to import your model and then register it. Type in the following to your admin.py.
from django.contrib import admin
from .models import *

admin.site.register(Gallery)
Whenever you create any model in python, you need to migrate it. Now go to your terminal to prepare the database using command python manage.py makemigrations and migrate actually using python manage.py migrate. You may encounter this error while migrating (this is not the case in mine, I already had the required library, so I am using other photo from the internet to show you the error type).
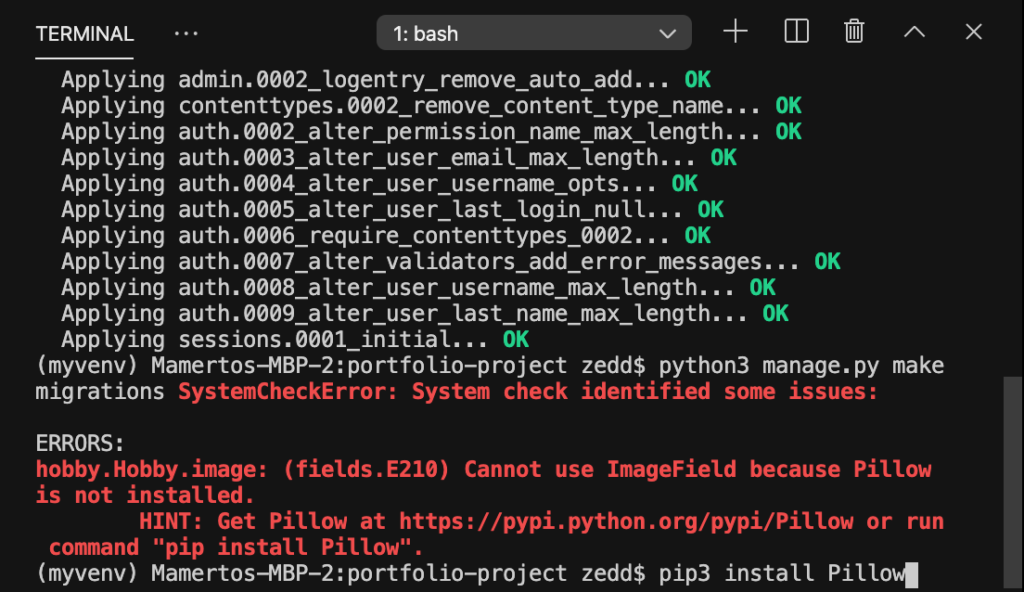
Pillow is the python library that helps to work with the ImageField in Django. So if you encounter this error, you already have the command there in the error message on how to install that pillow. Simply type pip install pillow and wait till it is being dowloaded. It takes just a matter of second.
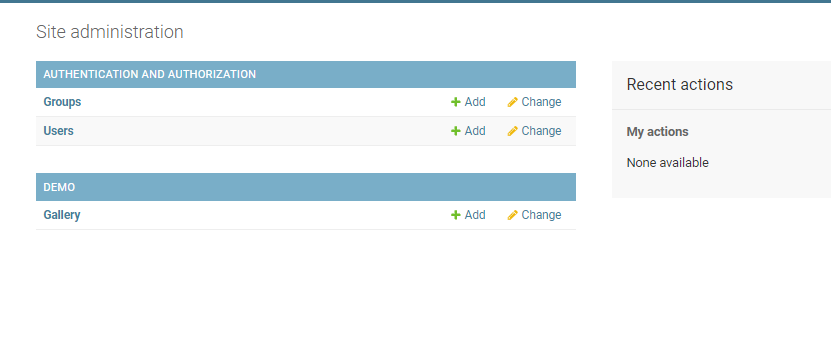
Now run the server, go to your dashboard and you can see the following.
Damn we named our model as Gallery but the dashboard is showing Gallerys. By default, Django tries to pluralize the model with its own rule. To avoid this inside our Gallery Model and just before our name field we can add the following code.
    class Meta:
        verbose_name_plural = "Gallery"
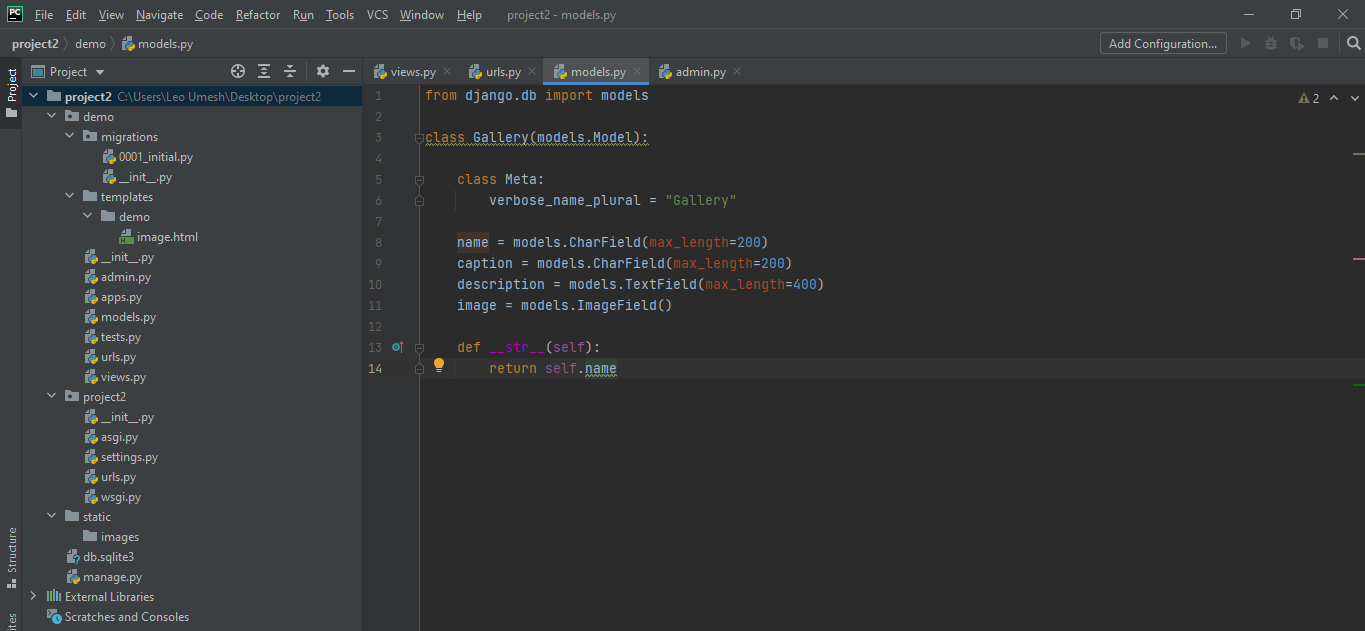
So our final models.py will look like this:
from django.db import models

class Gallery(models.Model):

    class Meta:
        verbose_name_plural = "Gallery"

    name = models.CharField(max_length=200)
    caption = models.CharField(max_length=200)
    description = models.TextField(max_length=400)
    image = models.ImageField()

    def __str__(self):
        return self.name
If you refresh now you can see "Gallery" in the dashboard.
Now before we add pictures and text to our admin dashboard, we need to specify few settings like where to store the image files. First of all lets create a directory called static inside project1. And inside static create another directory called images. We will use it to store our image files locally to our own machine.
Now your project structure should look something like this:
Now go to your project2/settings.py, first of all import os at the top and type in the following settings at the end.
MEDIA_URL = '/images/'

STATICFILES_DIRS = [
    os.path.join(BASE_DIR, 'static'),
]

MEDIA_ROOT = os.path.join(BASE_DIR, 'static/images')
STATICFILES_DIRS is basically used to specify a folder where you wants all your static files into. MEDIA_ROOT is basically a root directory used to specify where are we looking into for any kinds of media files like images, video and so on. Now a little things remain for our configuration- adding a URL configuration for media in our project directory. So go to project2/urls.py and import static and settings and finally add this one at the end.
urlpatterns += static(settings.MEDIA_URL, document_root=settings.MEDIA_ROOT)
Now our final project2/urls.py code will be this:
from django.contrib import admin
from django.urls import path, include
from django.conf.urls.static import static
from django.conf import settings

urlpatterns = [
    path('', include('demo.urls')),
    path('admin/', admin.site.urls),
]

urlpatterns += static(settings.MEDIA_URL, document_root=settings.MEDIA_ROOT)
Now run the server and lets go to our dashboard and add few images to it.
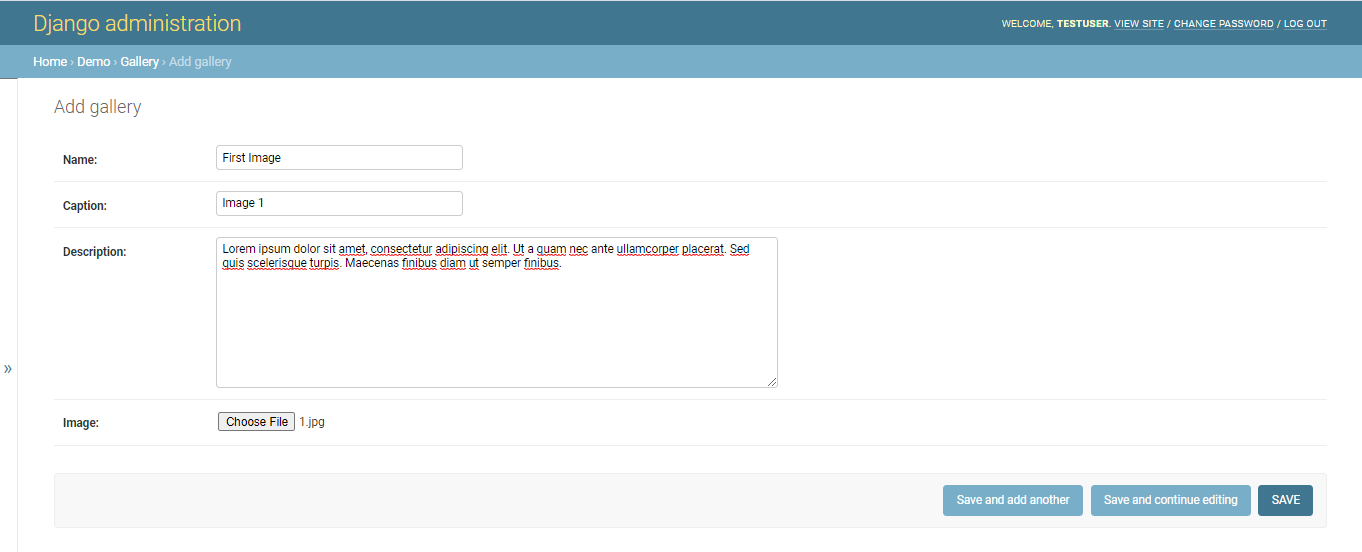
Lets put at least 3 contents into our Gallery Field. Use any image, text, title you like.
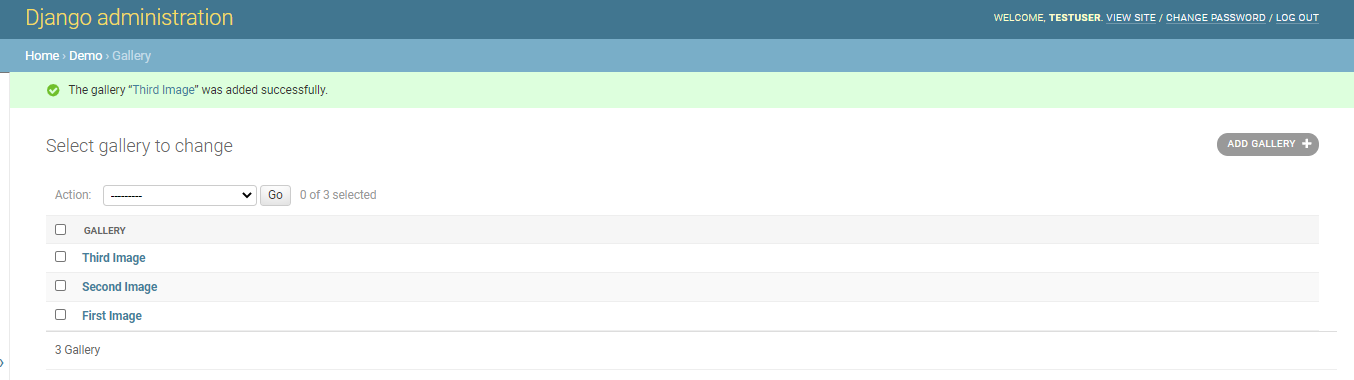
Our Gallery Model will look like this at the end. Now first lets fetch this dynamically into our template. So lets go to our demo/views.py and import our Gallery model there to query the database objects. We then pass the query to our context dictionary. A dictionary holds key-value pair so we can fetch many data to our template using dictionary. Our final demo/views.py will have this code.
from django.shortcuts import render
from .models import Gallery

def home(request):
    images = Gallery.objects.all()
    context = {'images': images}
    return render(request, "demo/image.html", context)
Now go to our image.html file. Now we can shorten our code by using for loop logic. Lets delete two image thumbnails and keep the first one as it is. Delete two div class that starts with <div class="col-md-4">. The syntax to use for-loop logic in Django is:
{% for i in images %}
{% endfor %}
We will use the same from one of our <div class="col-md-4"> that we haven't deleted and close the loop after its ending <div> class. This is your final image.html.
<!doctype html>
<html lang="en">
<head>
    (html comment removed:  Required meta tags )
    <meta charset="utf-8">
    <meta name="viewport" content="width=device-width, initial-scale=1">

    (html comment removed:  Bootstrap CSS )
    <link href="https://cdn.jsdelivr.net/npm/[email protected]/dist/css/bootstrap.min.css" rel="stylesheet" integrity="sha384-BmbxuPwQa2lc/FVzBcNJ7UAyJxM6wuqIj61tLrc4wSX0szH/Ev+nYRRuWlolflfl" crossorigin="anonymous">

    <title>Image in Django</title>
</head>
<body>
<h1 class="text-center mt-3">Image Gallery</h1>
<hr class="mt-4">

<div class="container-fluid">
    <div class="row">
        <div class="col-md-12">
            <div class="row">
                {% for i in images %}
                <div class="col-md-4">
                    <div class="card">
                        <img class="card-img-top img-responsive" alt="Bootstrap Thumbnail First" src="{{i.image.url}}" height="450px" width="450px">
                        <div class="card-block">
                            <h5 class="card-title mt-2">
                                {{i.caption}}
                            </h5>
                            <p class="card-text">
                                 {{i.description}}
                            </p>
                            <p>
                                <a class="btn btn-dark" href="#">Read More</a>
                            </p>
                        </div>
                    </div>
                </div>
                {% endfor %}
            </div>
        </div>
    </div>
</div>

<script src="https://cdn.jsdelivr.net/npm/[email protected]/dist/js/bootstrap.bundle.min.js" integrity="sha384-b5kHyXgcpbZJO/tY9Ul7kGkf1S0CWuKcCD38l8YkeH8z8QjE0GmW1gYU5S9FOnJ0" crossorigin="anonymous"></script>
</body>
</html>
I had to add few style to the <img> class because the image was too large and I had to scroll down. I want to show the output without ever being to have it scrolled down. Now run your server and see what your page looks like. You should see something like this:
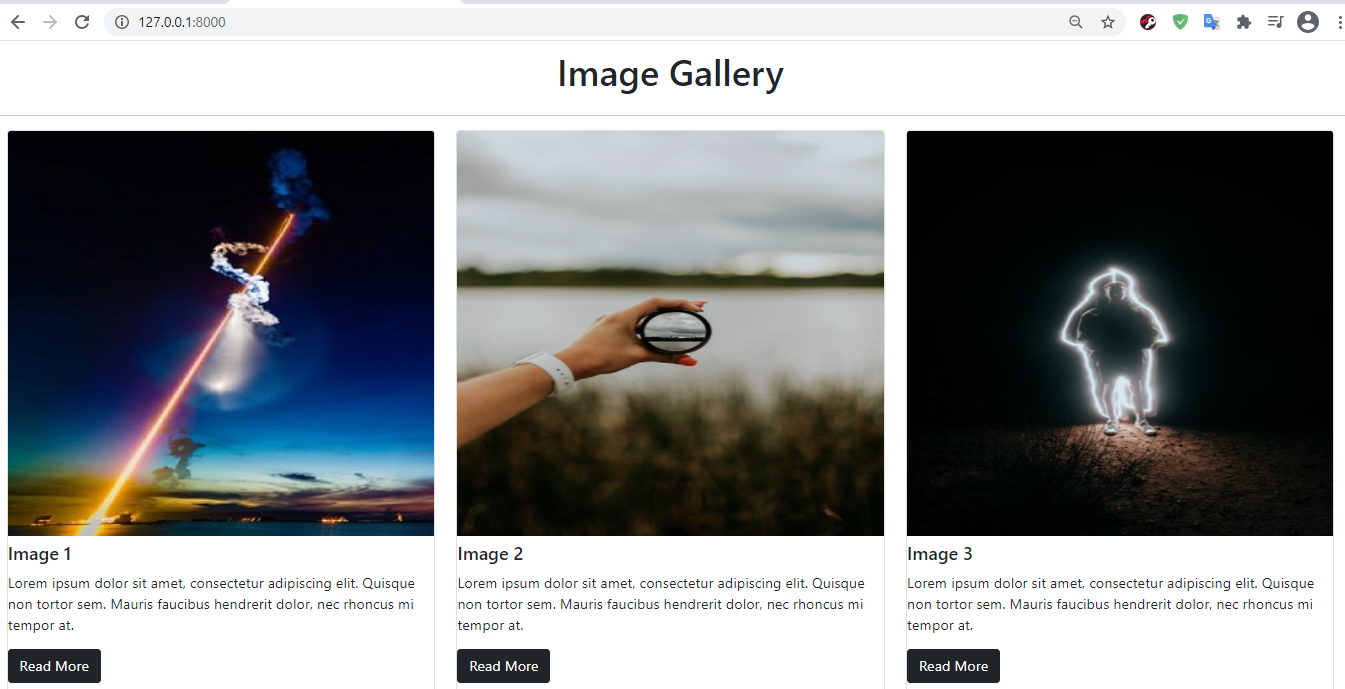
Now we have successfully rendered image, text and content to our template, our first task is completed. Now lets move over to what I have promised to show you. If you open one of your image in dashboard, you should see something like this:
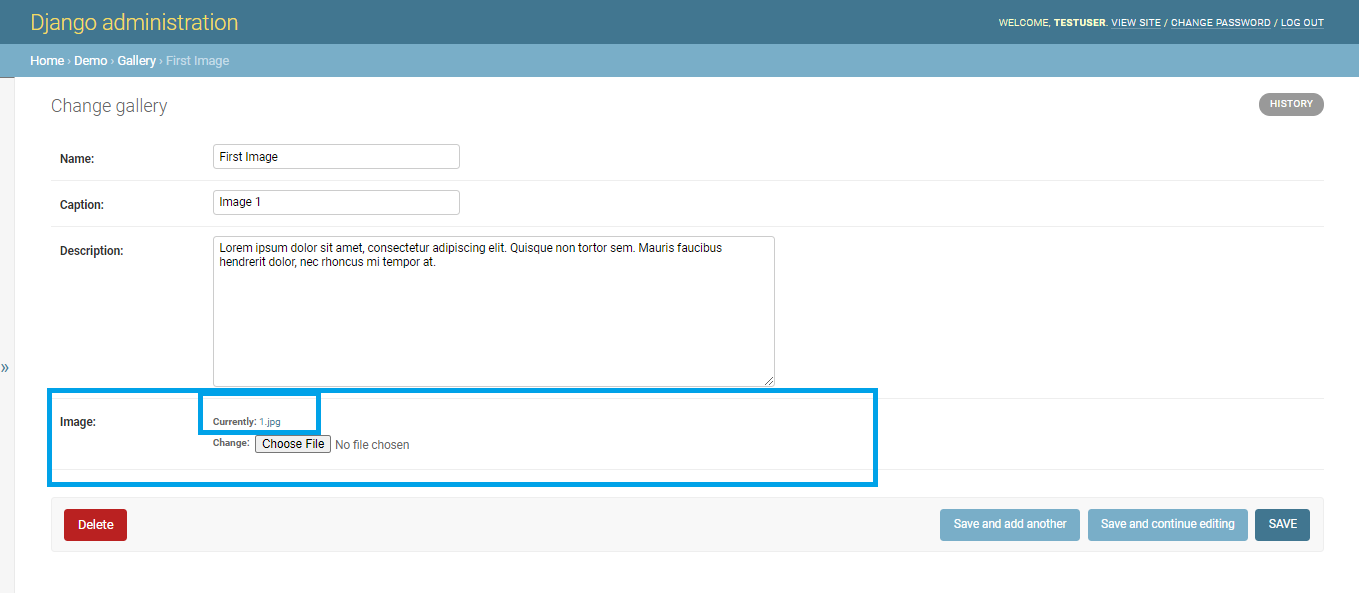
You can see its showing image URL. And you can see image only after clicking that URL.
Your client says that this is a bad design for him/her to view image and also told you that s/he wanted to view the images s/he has uploaded in the same page. I also personally don't like this Django default way of showing image with its URL. Now lets work on how you can view the image in the same dashboard page.
Its just a little work. Go to your demo/admin.py and first import format_html from django.utils.html. format_html is a function that helps to return HTML content. Then type in the following code:
class GalleryAdmin(admin.ModelAdmin):
    def image_tag(self, obj):
        return format_html('<img src="{}" width="auto" height="200px" />'.format(obj.image.url))

    image_tag.short_description = 'Image Preview'
    # list_display = ['image_tag']-> This will show image in your dashboard instead of First Image, Second Image and Third Image
    readonly_fields = ['image_tag']
And then you can see we have register our Gallery model in the same page. Now we are modifying our Gallery page to view the image instead of its URL. So you need to pass the GalleryAdmin class to your admin.site.register(Gallery). So the final code inside admin.py will look like this.
from django.contrib import admin
from .models import *
from django.utils.html import format_html

class GalleryAdmin(admin.ModelAdmin):
    def image_tag(self, obj):
        return format_html('<img src="{}" width="auto" height="200px" />'.format(obj.image.url))

    image_tag.short_description = 'Image Preview'
    readonly_fields = ['image_tag']

admin.site.register(Gallery, GalleryAdmin)
If you save it and run your development server and check the dashboard, you can finally see something like this:
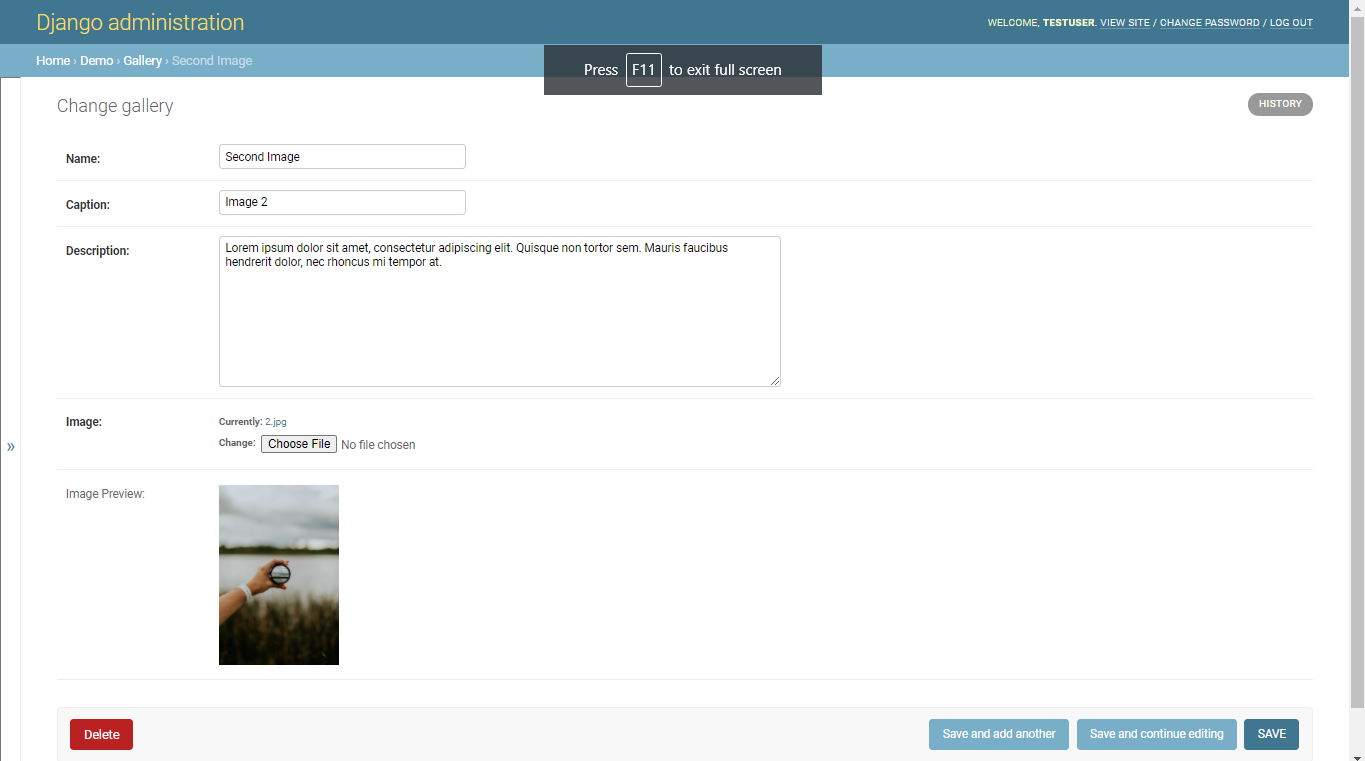
We have finally achieve our goal of showing image instead of default Django image URL. This looks like a perfect design for your client dashboard. As a beginner myself, I find this way very satisfying. If any of you have another design like showing the image inline to the "Image" field, I would really appreciate your help. Let me know in the comment if you know how to achieve this design in Django Admin.
Download the project source code files here.
Getting Started
Username: testuser
Password: testuser321