.jpeg)

Español
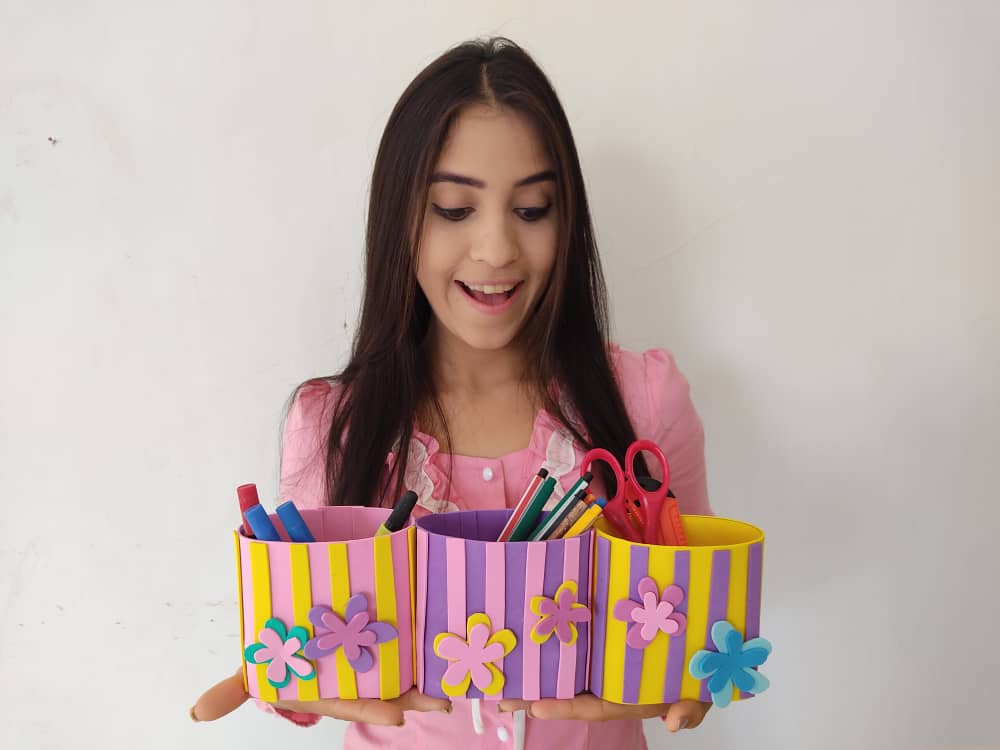
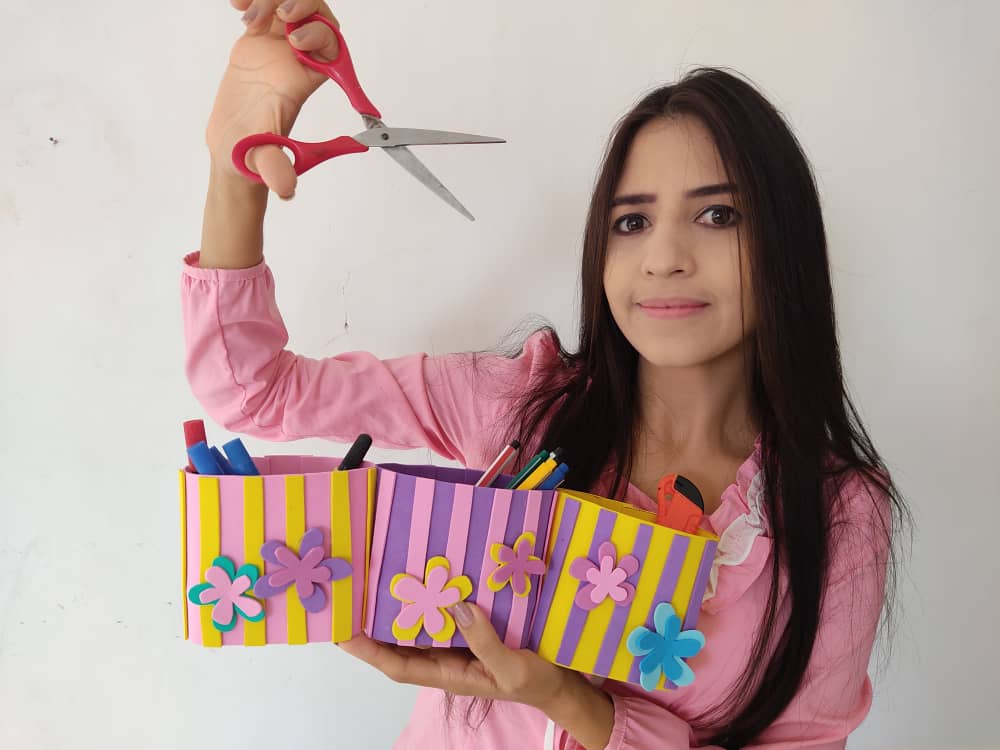
Hola querido amigos 💋 En esta linda ocasión traigo para ustedes un nuevo y divertido paso a paso, en dónde les mostrare como elaborar un organizador triple, el cual mantendrá a salvó todos nuestros materiales, herramientas o accesorios favoritos. Este lindo perrito está hecho de materiales muy económicos y fáciles de conseguir, y además de ser muy hermoso es bastante útil, así que no dejen de intentar en casa este increíble tutorial, y verán que felices se pondrán los más pequeños de la casa desarrollando está actividad tan genial. Además es una idea perfecta para pasar un rato agradable con nuestros pequeños en casa e incentivarlos, ya que, pueden ir, de a poco, desarrollando su ingenio y acercándose un poco más al trabajo artístico.
English
Hello dear friends 👄 On this beautiful occasion, I bring you a new and fun step by step, where I will show you how to make a triple organizer, which will keep all our favorite materials, tools, or accessories safe. This cute puppy is made of very cheap materials and easy to get, and in addition to being very beautiful it is quite useful, so do not stop trying this incredible tutorial at home, and you will see how happy the little ones of the house will be developing this such a great activity. It is also a perfect idea to spend a pleasant time with our little ones at home and encourage them, since, they can go, little by little, developing their ingenuity and getting a little closer to artistic work.
¿Qué están esperando?
Utilizar estos hermosos materiales para transformarlos en un hermoso organizador es una idea muy original y económica para decorar nuestro entorno y mantener a salvo nuestras cositas. Antes de comenzar no olvidemos lavarnos nuestras manos.
What are they waiting for?
Using these beautiful materials to transform them into a beautiful organizer is a very original and cheap idea to decorate our environment and keep our little things safe. Before we start, let's not forget to wash our hands.
[Materiales | Materials]
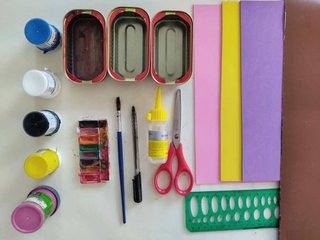
Para hacer este hermoso organizador necesitaremos:
- Foami o goma eva.
- Latas desechables.
- Lápiz.
- Tijera.
- Regla.
- Pegamento o silicón liquido.
To make this beautiful organizer will need:
- Foamiy or EVA foam.
- Disposable cans.
- Pencil.
- Scissors.
- Rule.
- Glue or liquid silicone.
Procedimiento (paso a paso)
Process (step by step)
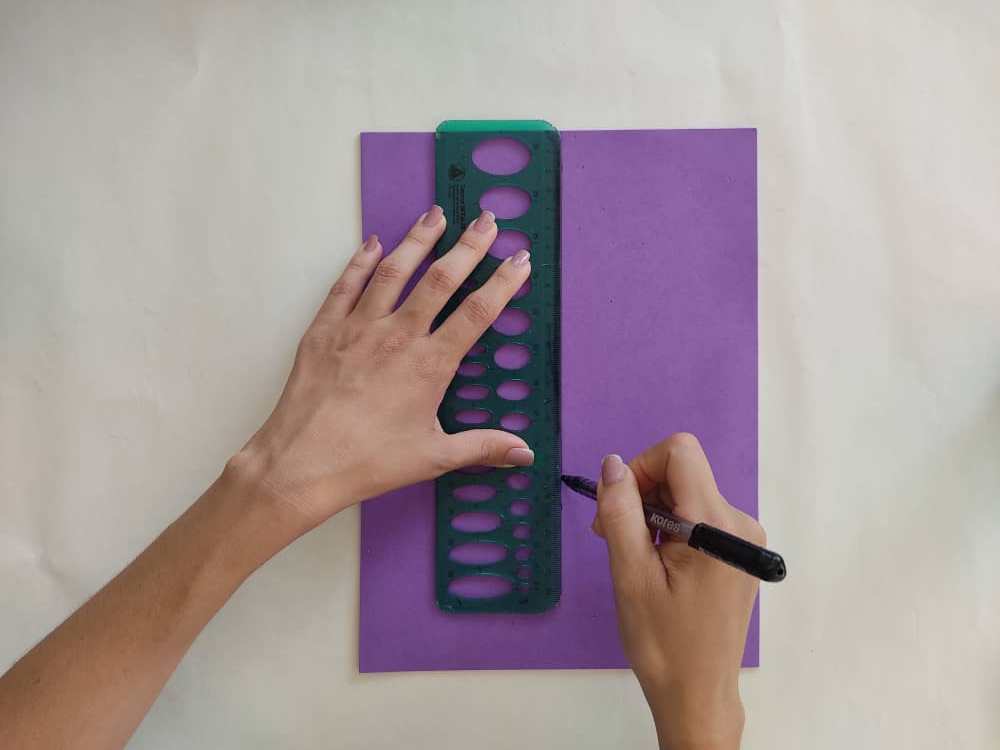
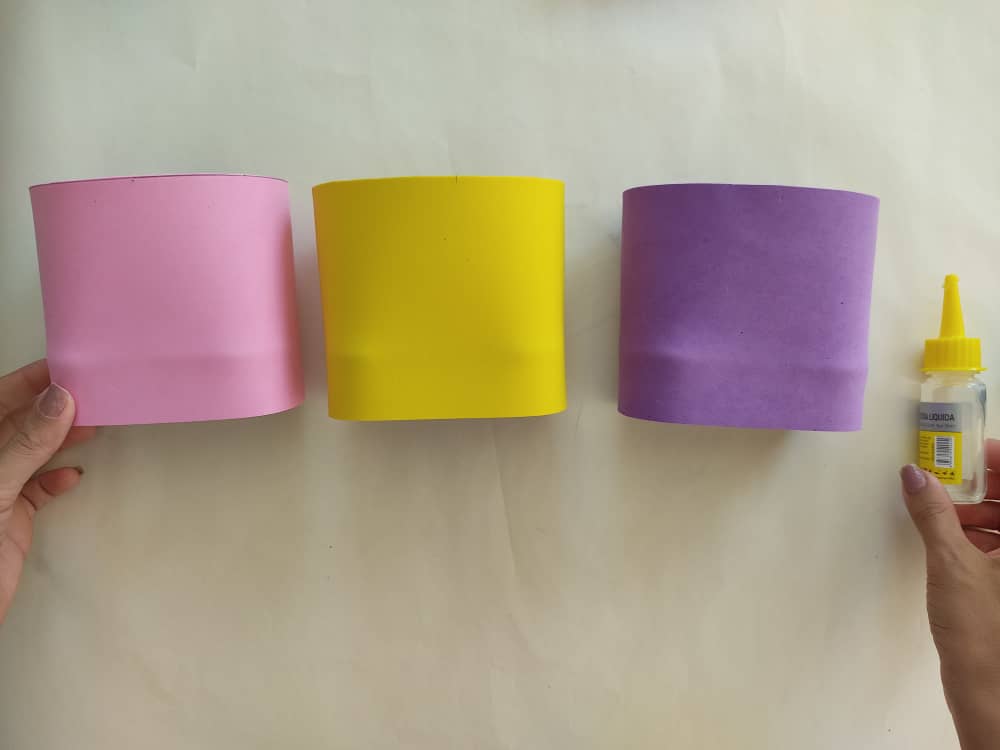
Primero, recortamos tres tiras rectangulares de foami de los colores que más nos gusten, cada tira debe tener 27 cm x 10 cm. Dicha tiras será el cuerpo de nuestro nuevo organizador.
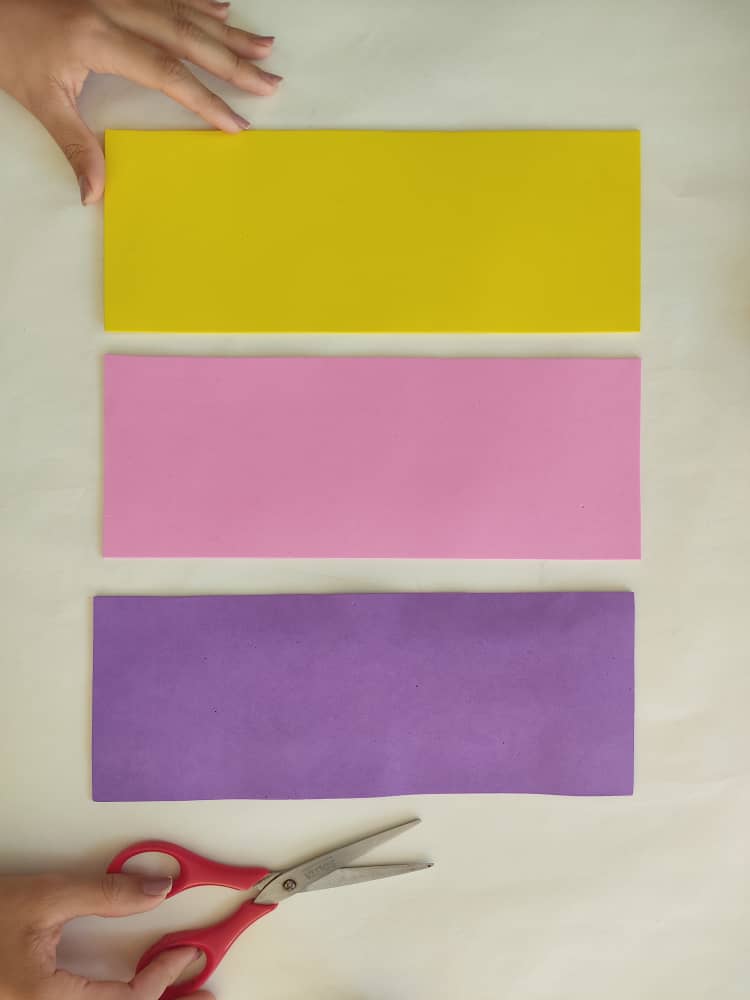
First, we cut three rectangular foamy strips in the colors that we like the most, each strip should be 27 cm x 10 cm. These strips will be the body of our new organizer.
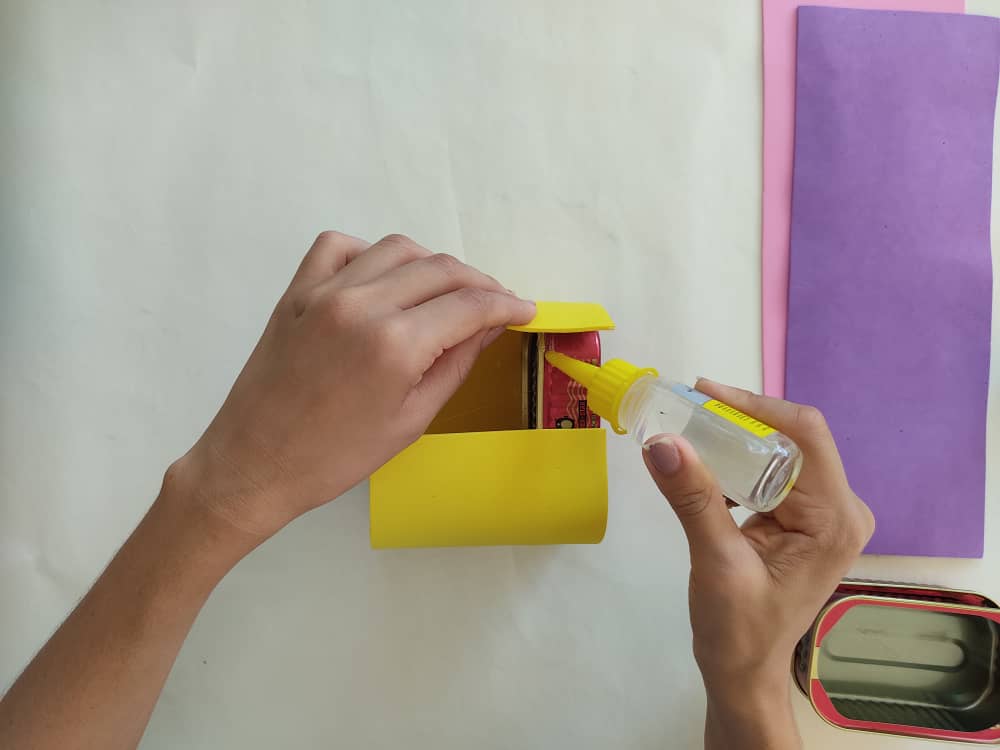
Ahora, aplicamos un poco de pegamento sobre las latas, y las cubrimos con las tiras obtenidas en el paso anterior, es necesario hacer un poco de presión para que el foami quede bien adherido a las latas. De esta manera obtendremos el cuerpo de nuestro organizador.
Now, we apply a little glue on the cans, and cover them with the strips obtained in the previous step, it is necessary to apply a little pressure so that the foamy has well adhered to the cans. In this way, we will obtain the body of our organizer.
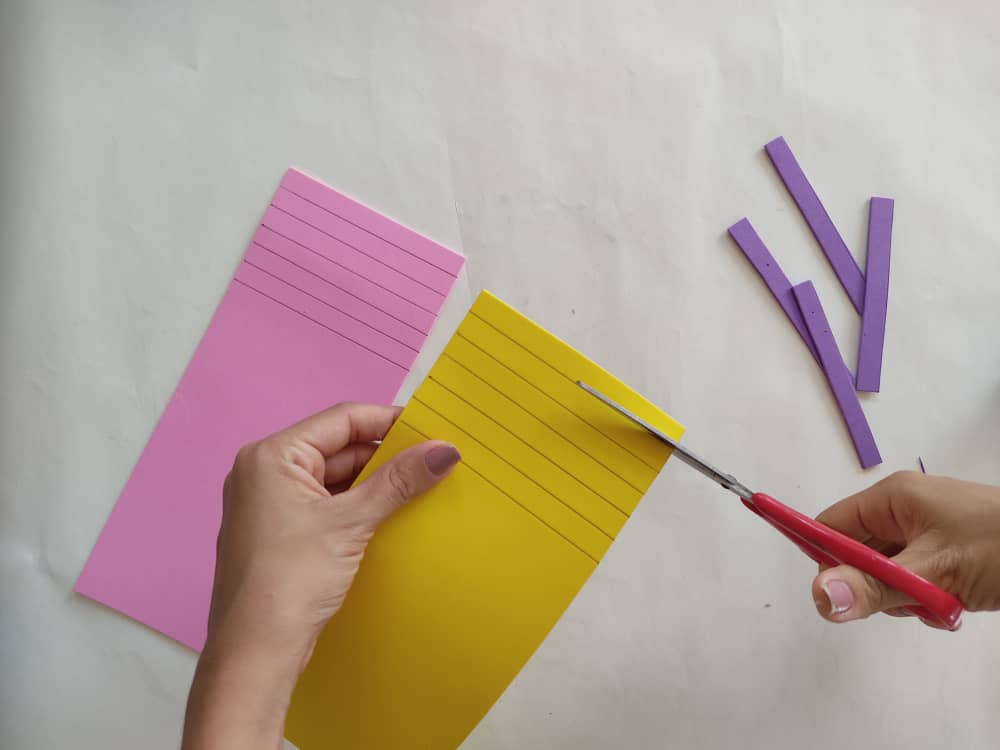
Luego, elaboramos varias tiras pequeñas, de los mismos colores de los cuerpos, y recortamos cuidadosamente de manera que queden bien rectas.
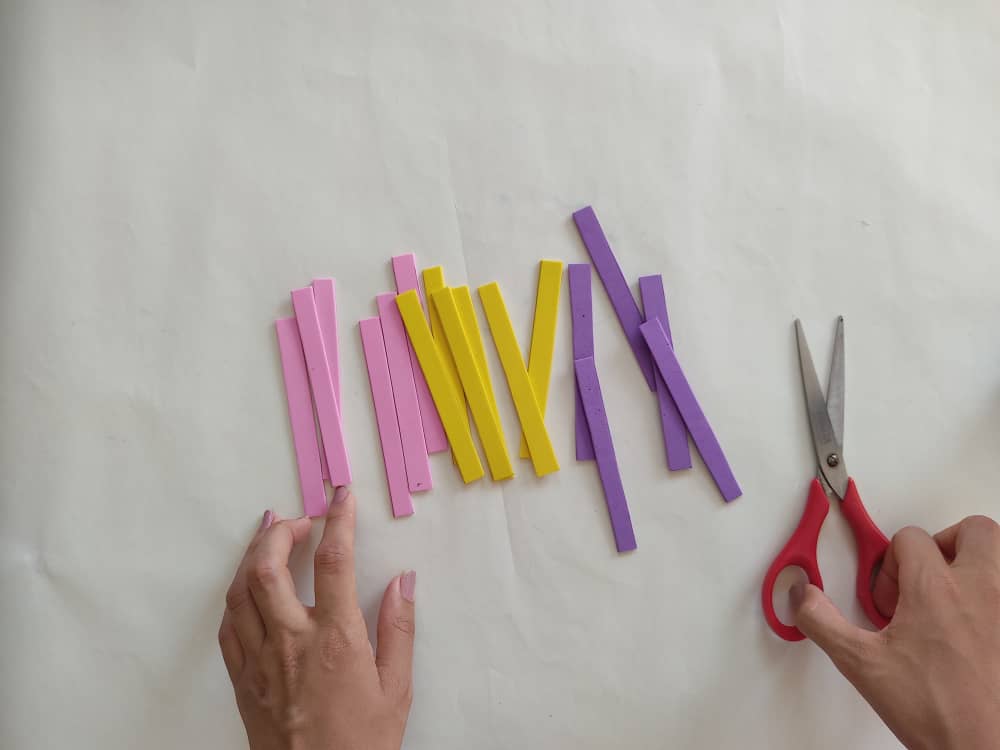
Then we make several small strips, the same colors as the bodies, and carefully cut them so that they are perfectly straight.
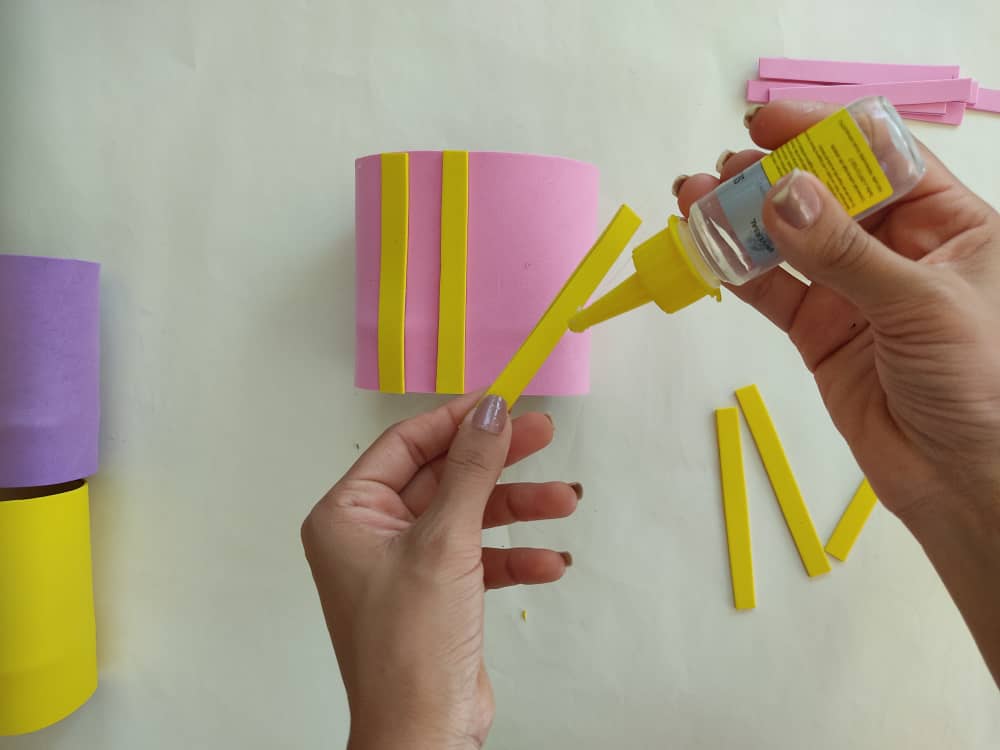
Seguidamente, pegamos las pequeñas tiras en los cuerpos, y haciendo hermosas combinaciones o invirtiendo los colores.
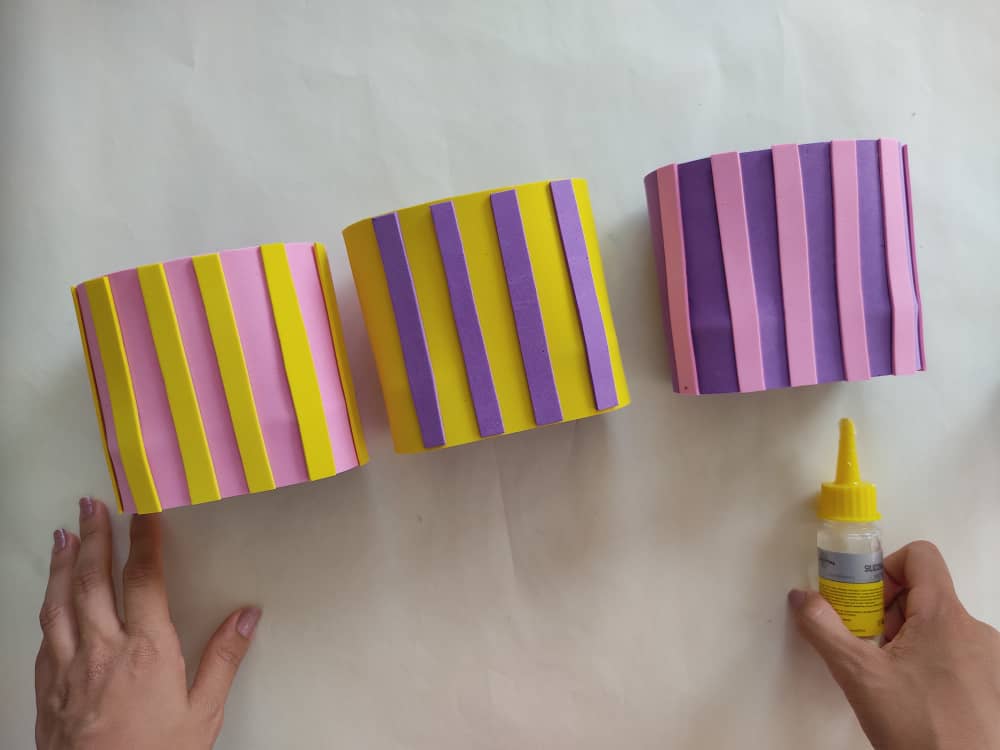
Next, we paste the small strips on the bodies, making beautiful combinations or inverting the colors.
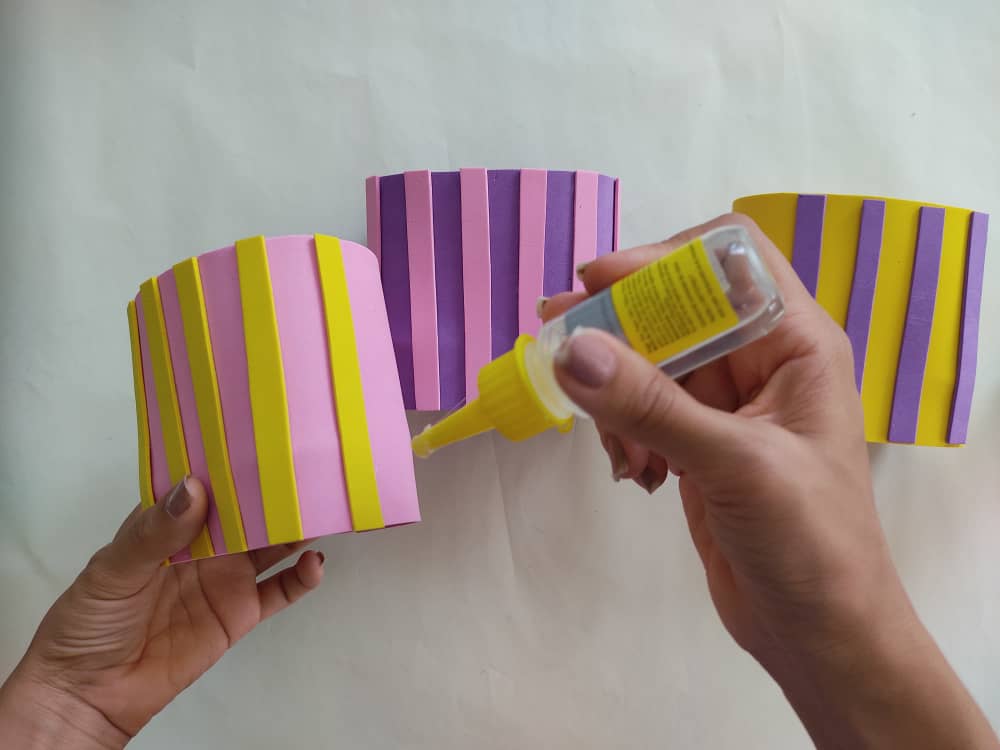
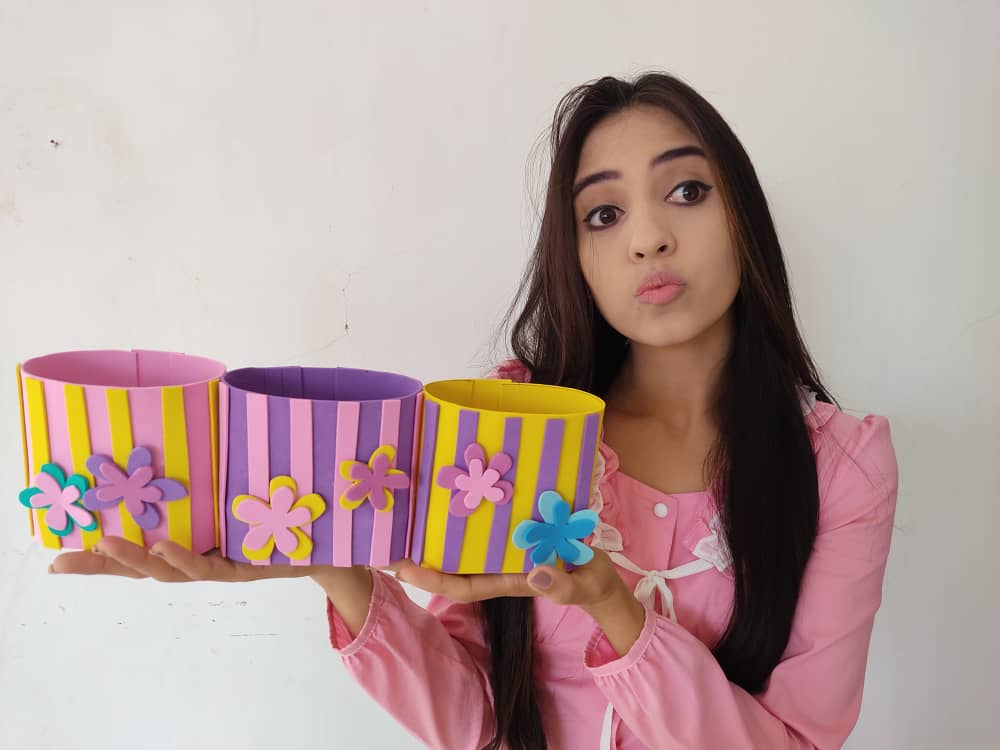
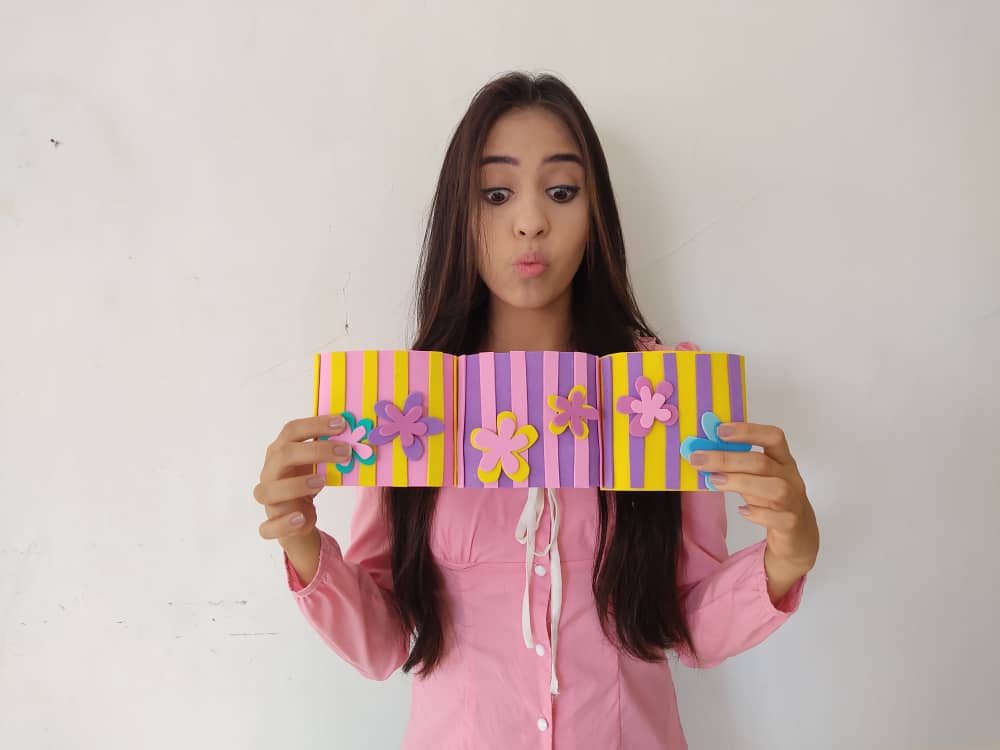
Ahora, unimos los tres cuerpos utilizando pegamento o silicón liquido. Debemos hacer un poco de presión para asegurarnos que nuestro organizador triple quede bien pegado.
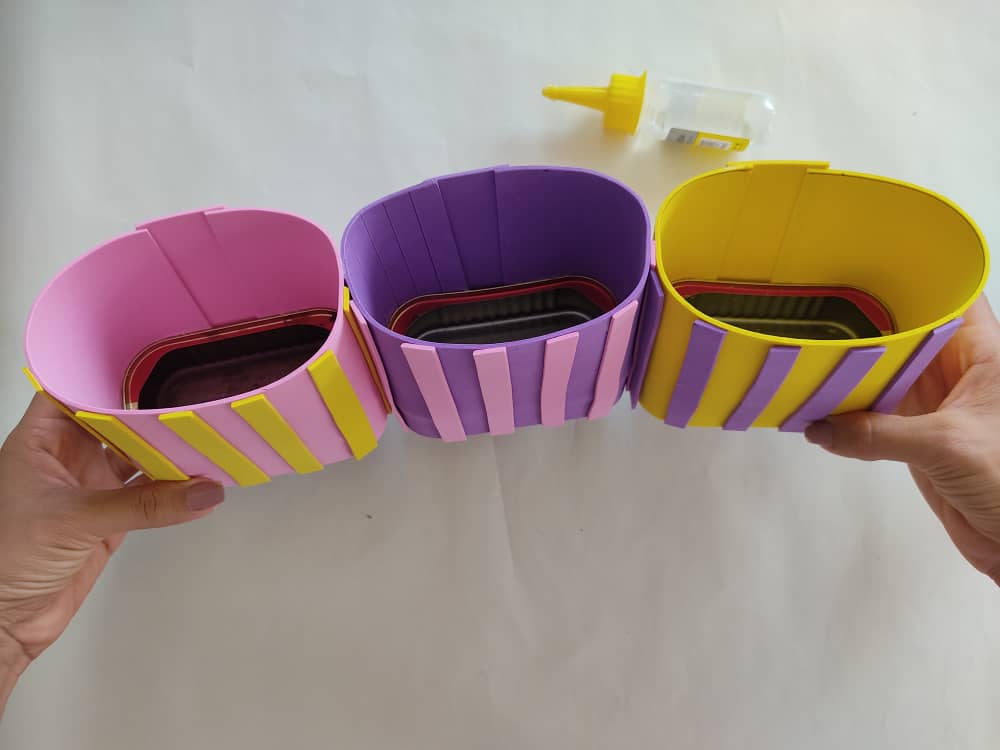
Now, we join the three bodies using glue or liquid silicone. We have to do a little pressure to make sure that our triple organizer is well attached.
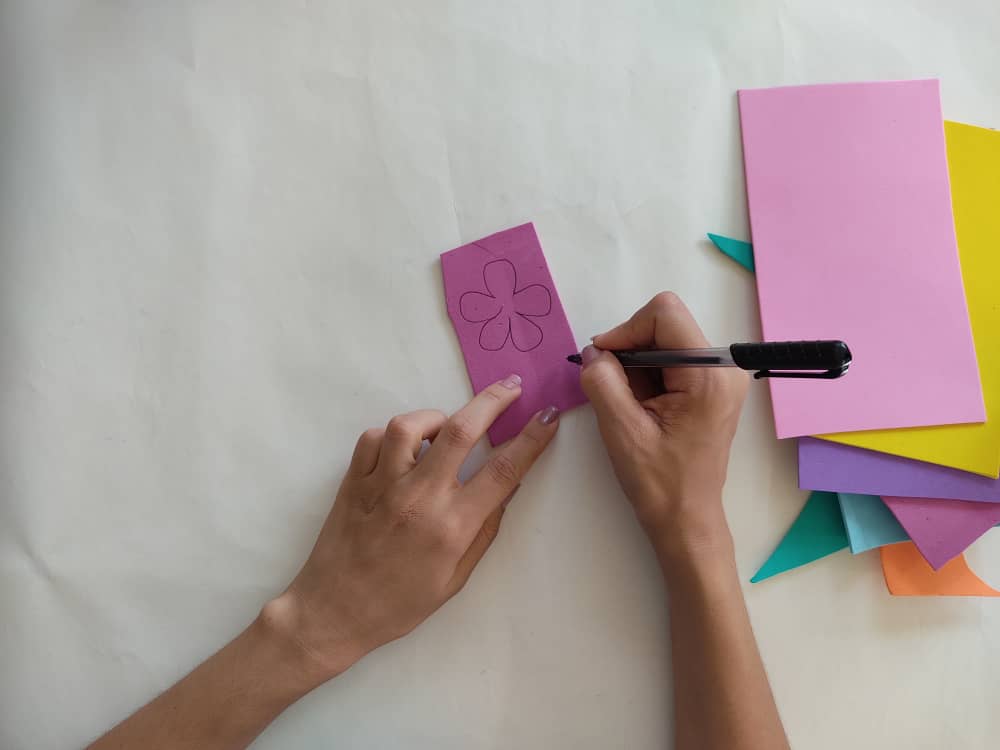
Luego, fabricamos lindas florecitas de distintos colores y tamaños, para decorar nuestro organizador.
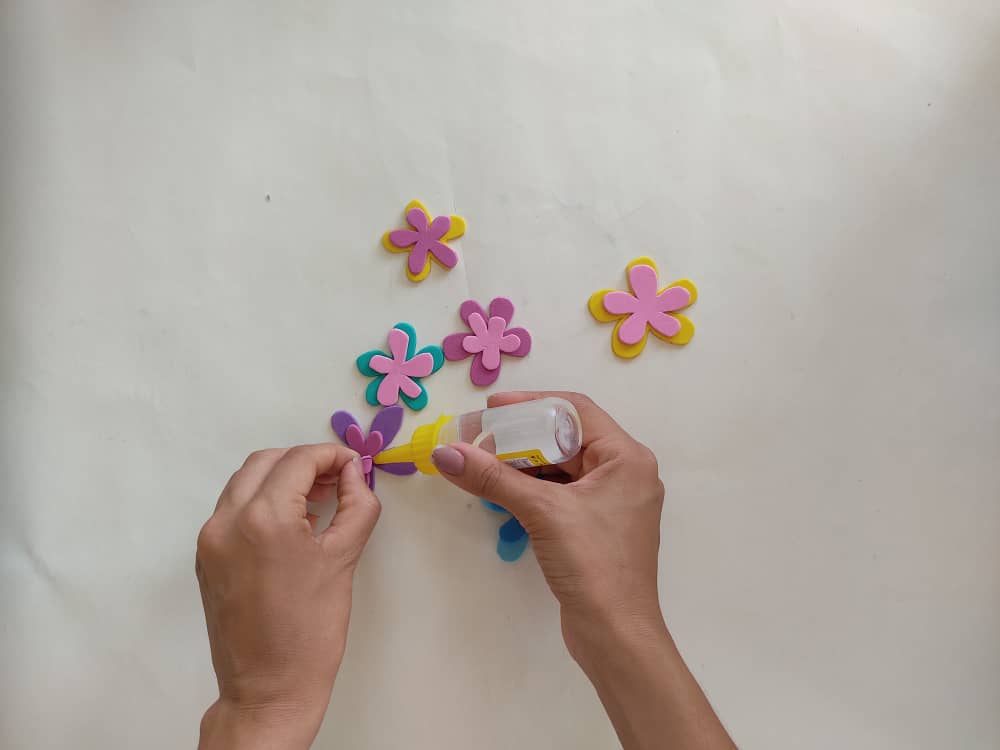
Then, we make beautiful little flowers of different colors and sizes, to decorate our organizer.
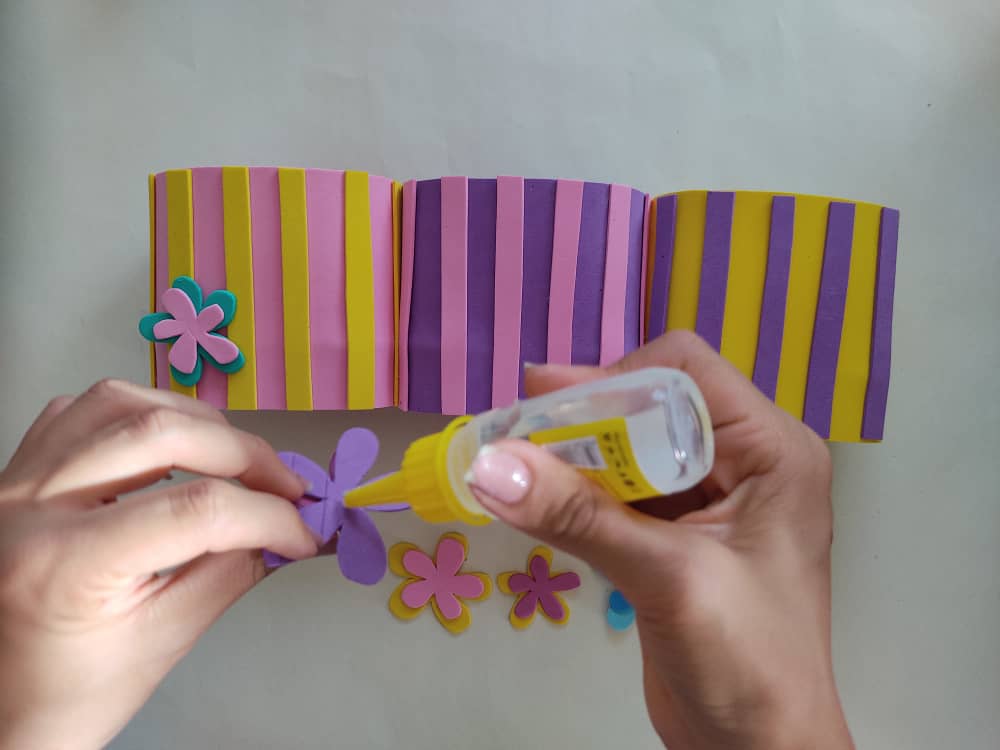
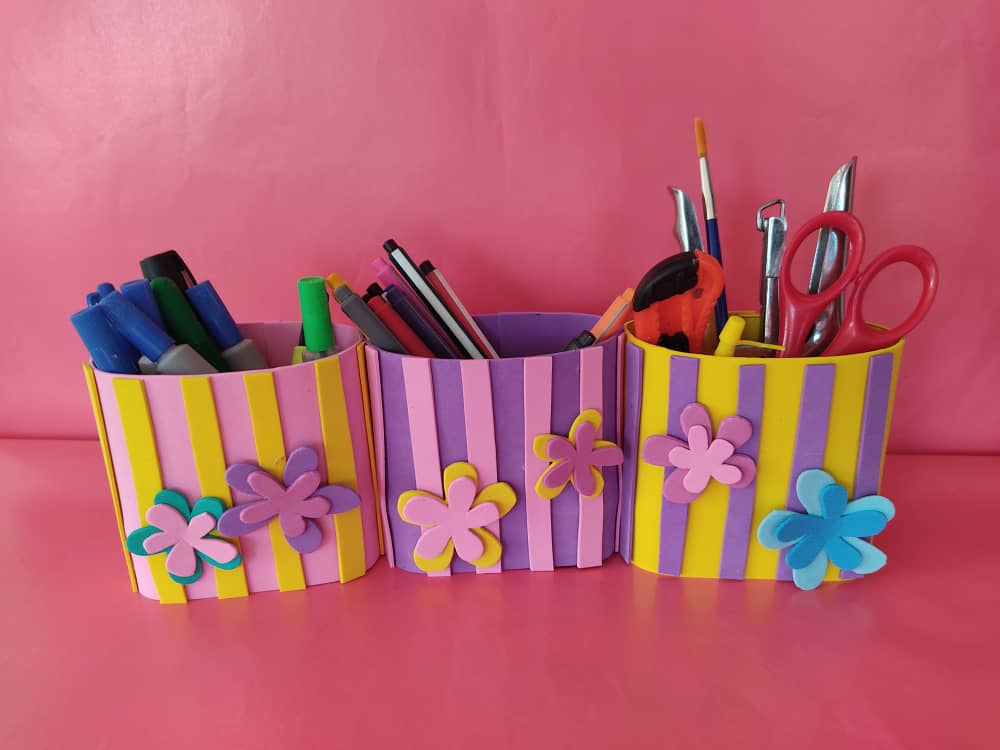
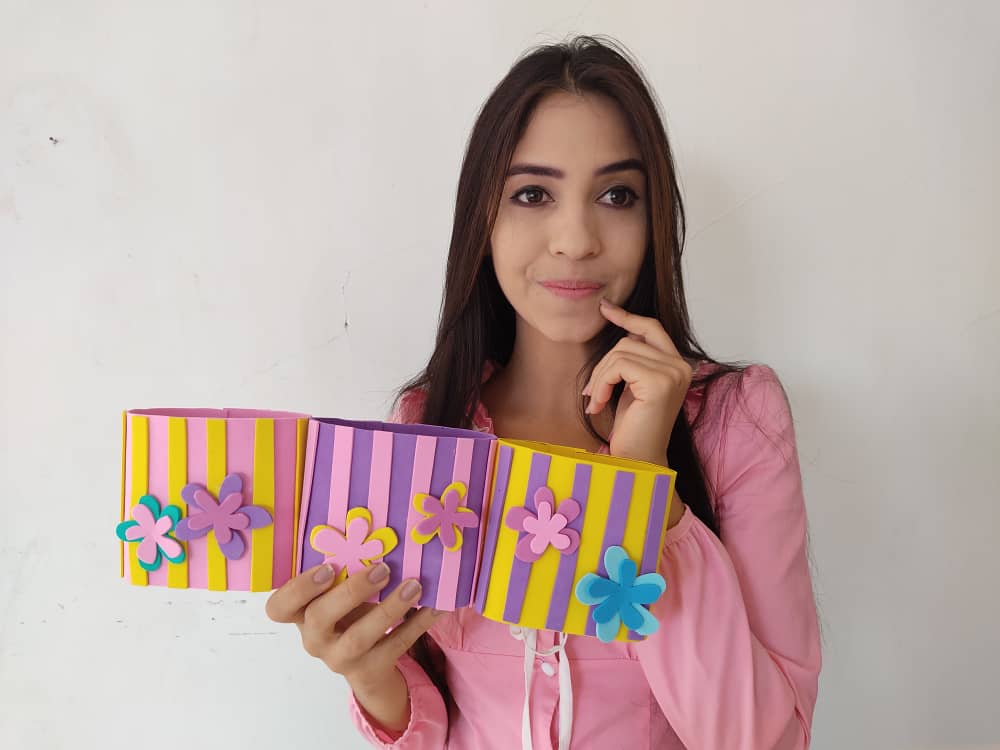
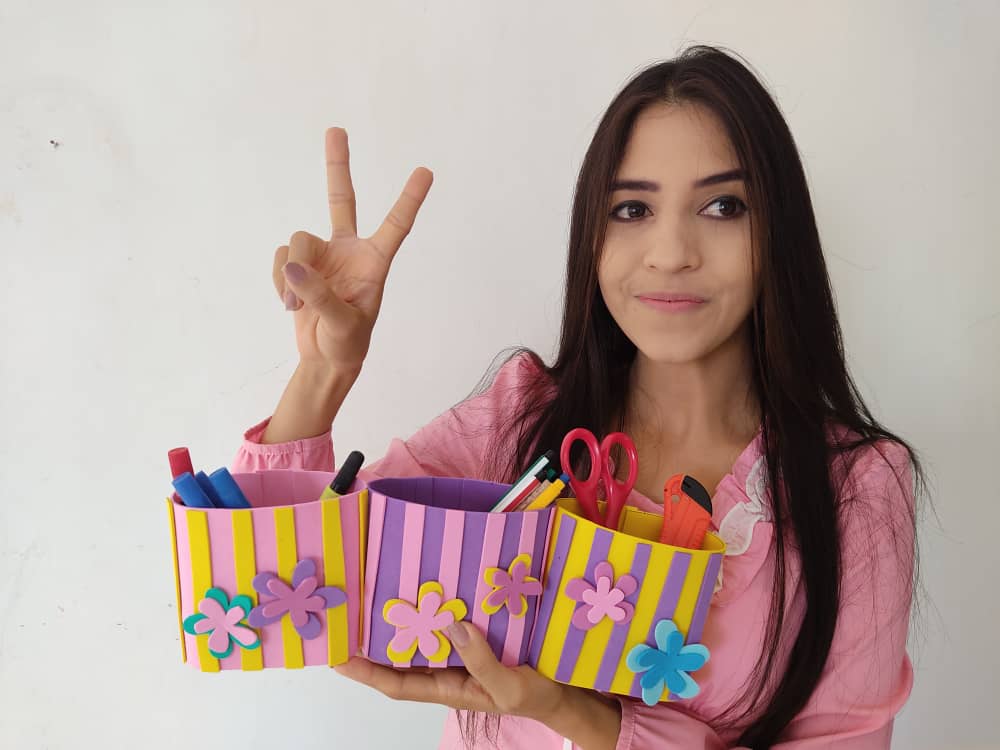
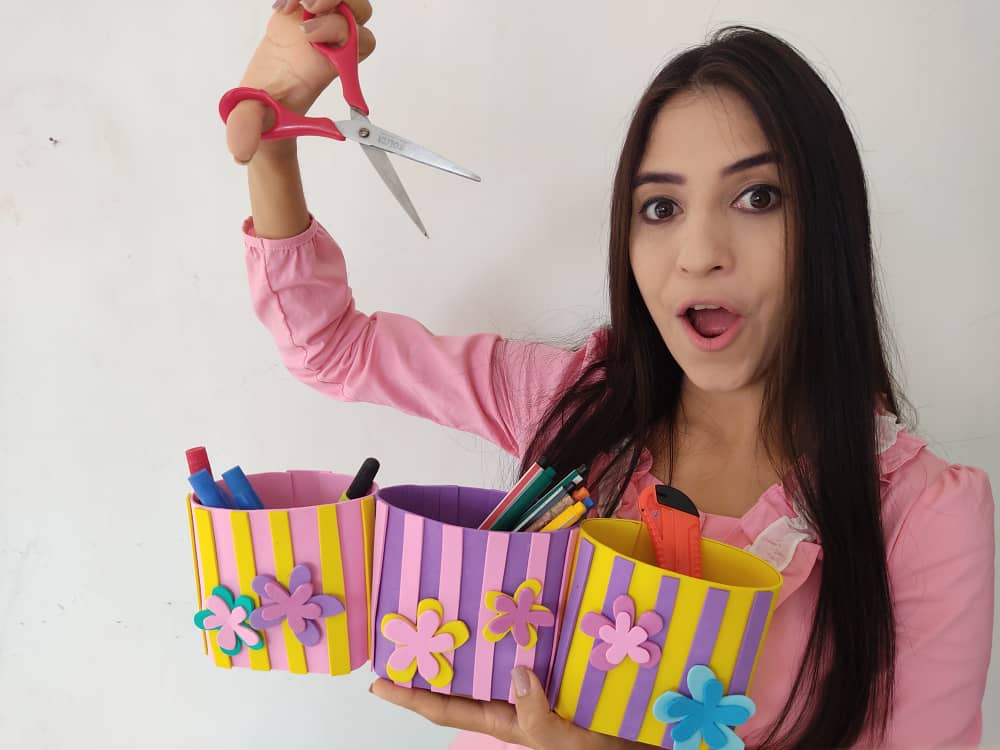
Finalmente, decoramos este increíble organizador triple, pegando lindas florecitas sobre sus tres compartimientos, para darle ese toque de magia.
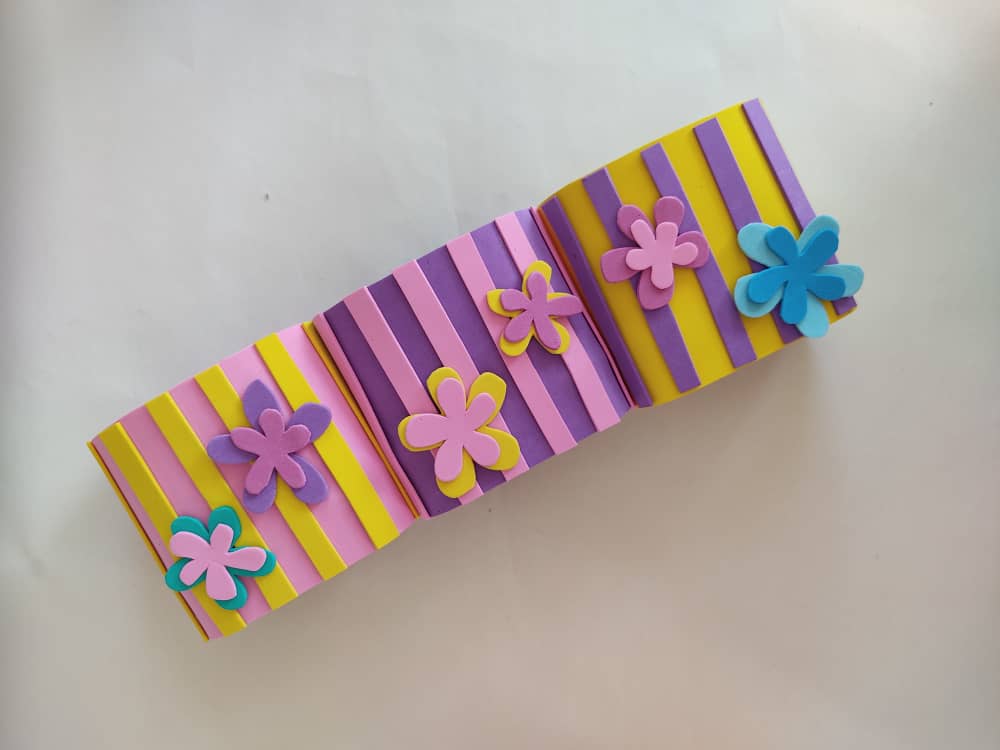
Finally, we decorate this incredible triple organizer, gluing cute little flowers on its three compartments, to give it that touch of magic.
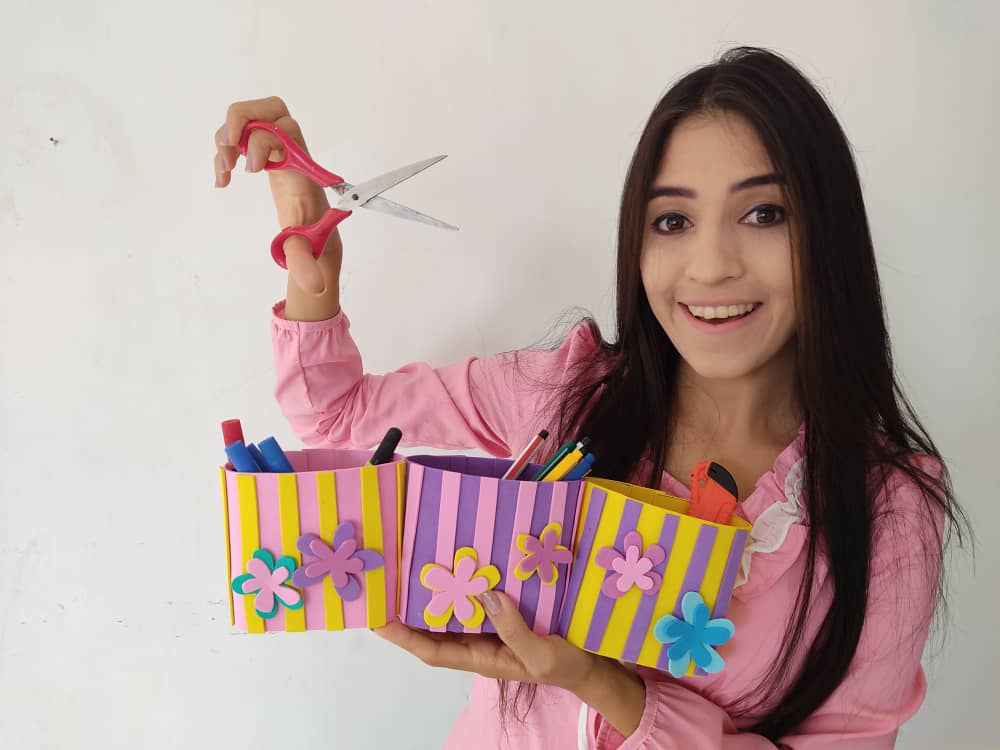
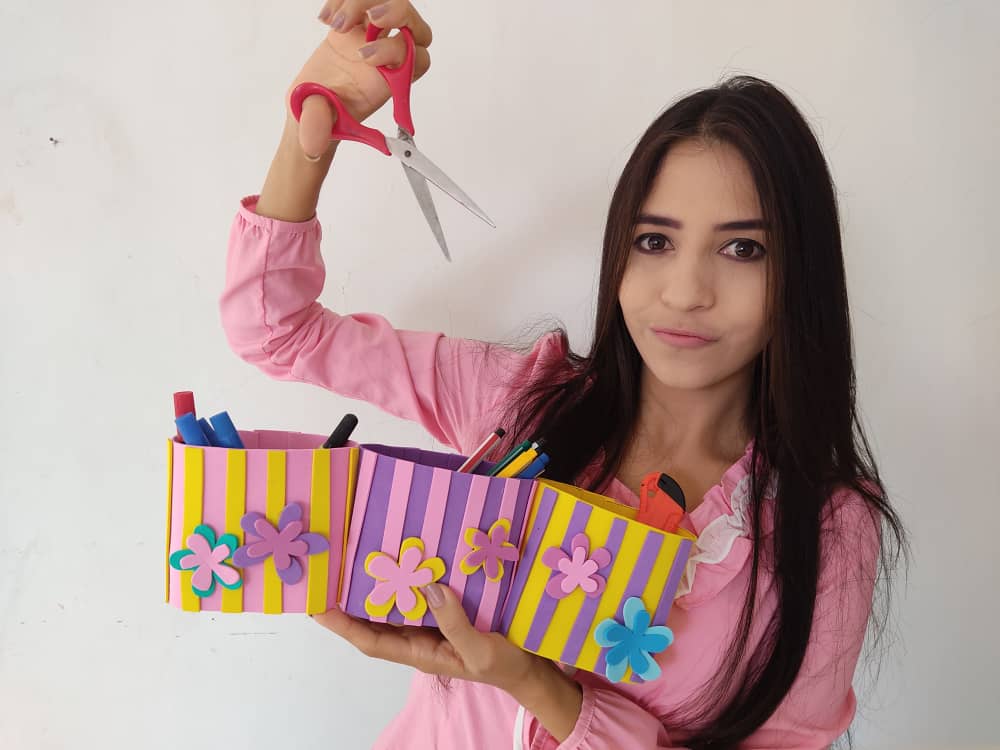
Gracias por acompañarme y espero que lo hayan disfrutado. ❤️
Thanks for joining and I hope you enjoyed it.❤️
.jpeg)
.jpeg)
.jpeg)
.jpeg)
.jpeg)
.jpeg)
.jpeg)
.jpeg)
.jpeg)
Clic para ver trabajos anteriores | Click to see previous works


My twt #posh
Dios Sarita cuanta creatividad!! Felicitaciones y muchas bendiciones.
Muchimas gracias Sra! :D Me alegra que se haya tomado el tiempo para ver mi trabajo. Saludos!
Beautiful works dear
Very much dear friend!
Very cool and functional work, Sara!
By the way, what do you do with all these pieces after you finish? I can't imagine you having the space to store them all. It would be a huge mountain by now! 😆
If the space in my room is not finished yet, though, most of the things I give them away.
Thanks for sharing your creative and inspirational post on HIVE!
This post got curated by our fellow curator @priyanarc and you received a 100% upvote from our non-profit curation service!
Join the official DIYHub community on HIVE and show us more of your amazing work!
very much dear @priyanarc
Congratulations, your post has been upvoted by @dsc-r2cornell, which is the curating account for @R2cornell's Discord Community.
Enhorabuena, su "post" ha sido "up-voted" por @dsc-r2cornell, que es la "cuenta curating" de la Comunidad de la Discordia de @R2cornell.