.jpeg)

Español
Hola queridos amigos, este hermoso día les presento un nuevo y muy práctico paso a paso, lleno de creatividad donde les mostrare como hacer un lindo portaretrato de graduación, pues para nadie es un secreto que hay muchos de nuestros pequeños que se han graduado en casa, y que mas valioso que un lindo recuerdo de alguna ocasión especial de nuestra vida? , por eso quiero invitarles a disfrutar de este increíble paso a paso para que decoren sus espacios de una manera muy original llenos de color.
English
Hello dear friends, this beautiful day I present a new and very practical step by step, full of creativity where I will show you how to make a nice graduation photo frame because for no one it is a secret that there are many of our little ones who have graduated at home, And what is more valuable than a nice memory of some special occasion of our life? That is why I want to invite you to enjoy this incredible step by step to decorate your spaces in a very original way full of color.
¿Qué están esperando?
Utilizar estos hermosos materiales para transformarlos en un hermoso portaretrato es una idea muy original, perfecta y económica para decorar nuestras mesas preferidas. Antes de comenzar no olvidemos lavarnos nuestras manos.
What are they waiting for?
Using these beautiful materials to transform them into a beautiful photo frame is a very original, perfect, and cheap idea to decorate our favorite tables. Before we start, let's not forget to wash our hands.

[Materiales | Materials]
Para hacer este hermoso portaretrato necesitaremos:
- Moldes.
- Foami o goma eva.
- Cúter.
- Fotografía.
- Pincel.
- Pinturas.
- Tijera.
- Pegamento o silicón liquido.
To make this beautiful photo frame will need:
- Molds.
- Foamy or EVA foam.
- Cutter.
- Photography.
- Brush.
- Paintings.
- Scissors.
- Glue or liquid silicone.
Procedimiento (paso a paso)
Process (step by step)
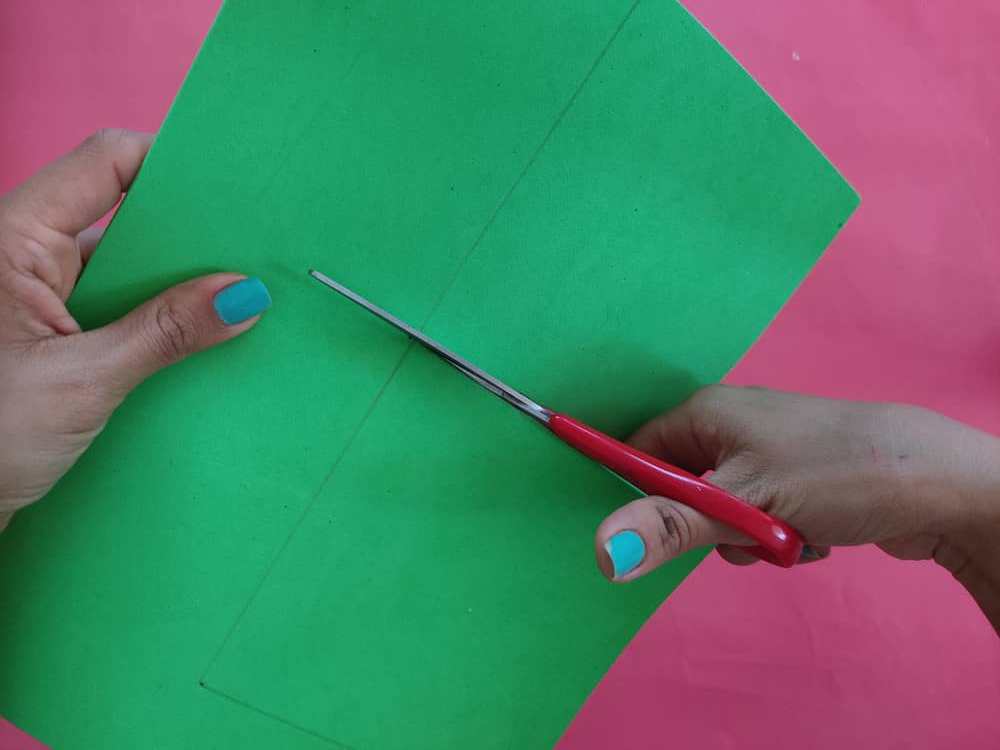
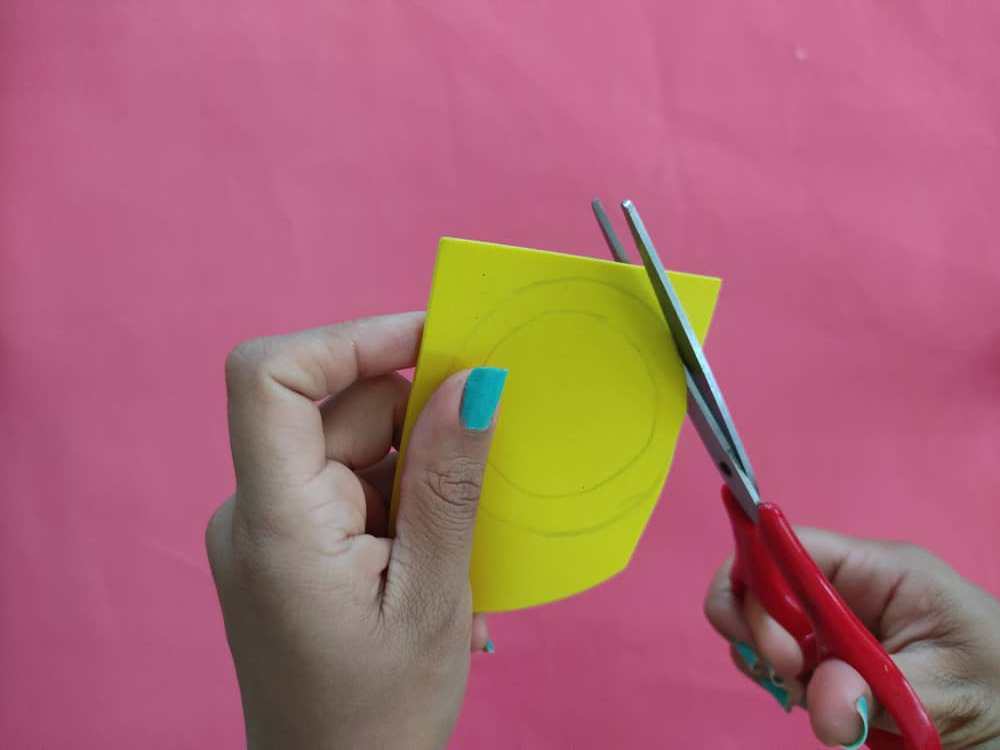
Primero, marcamos con la regla 2 cuadrados sobre el foami del color que deseamos, de aproximadamente 12 x 12cm, y recortamos cuidadosamente para que queden exactamente iguales.
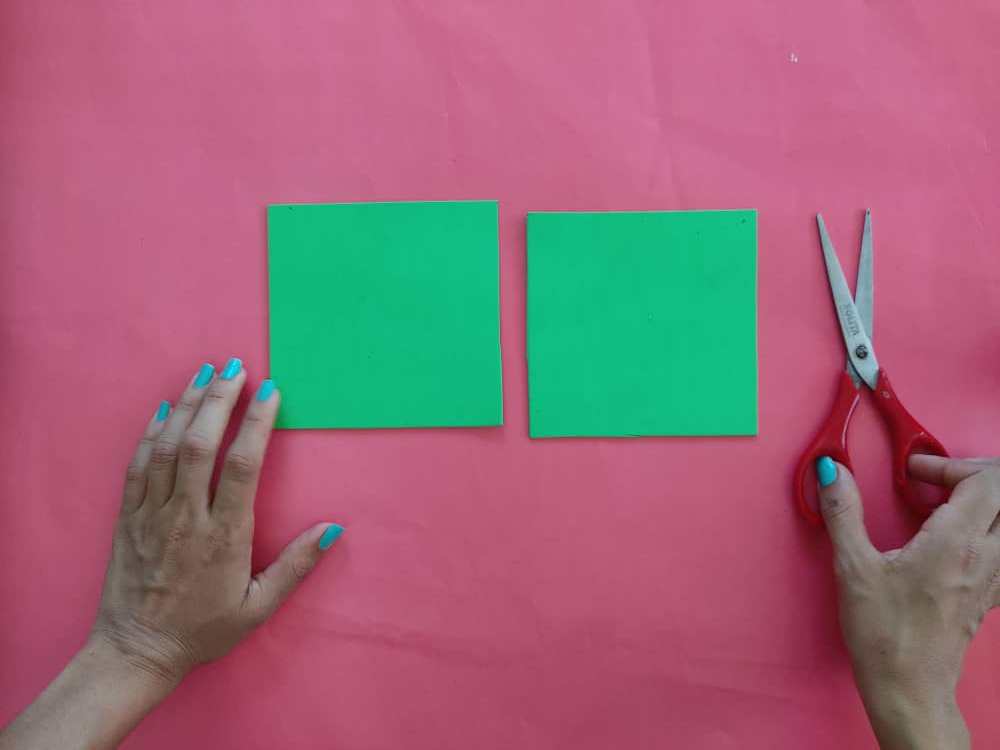
First, we mark with the ruler 2 squares on the foamy of the color that we want, approximately 12 x 12cm, and carefully cut so that they are exactly the same.
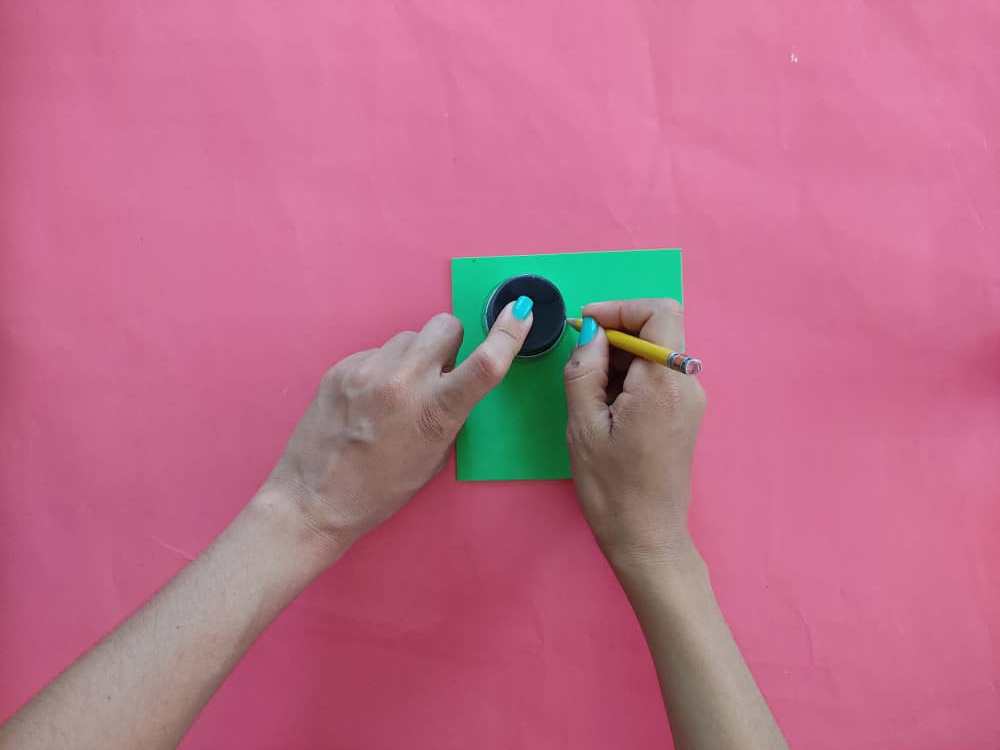
Ahora, marcamos un pequeño círculo en uno de los cuadrados, y sacamos su forma con el cúter, en este círculo irá la foto.
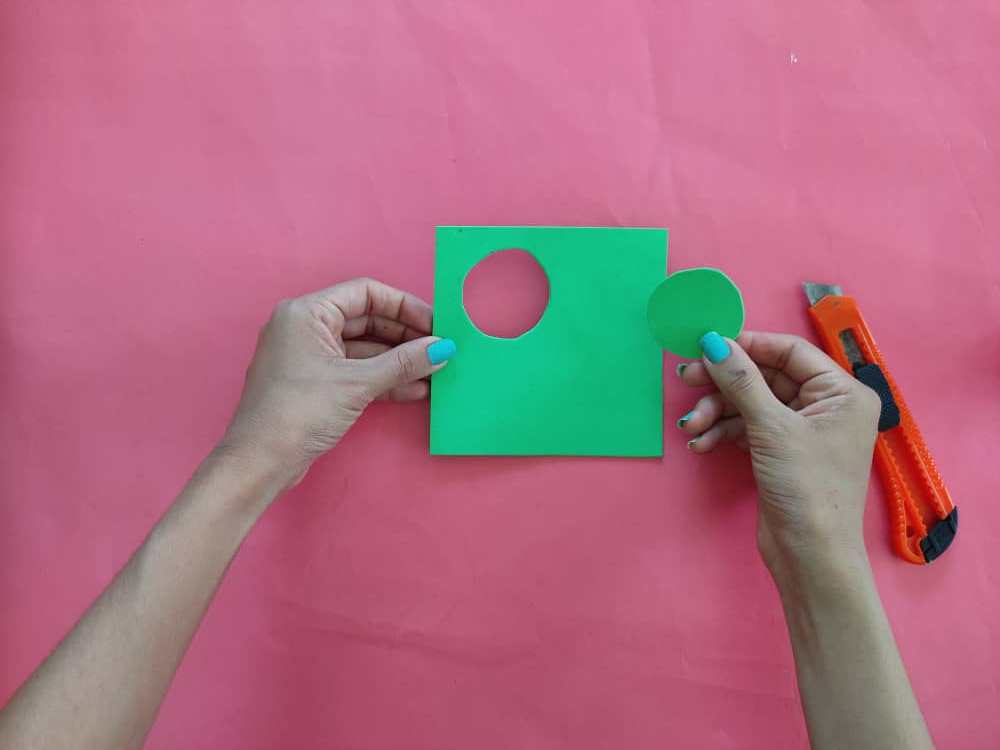
Now, we mark a small circle in one of the squares, and we take out its shape with the cutter, in this circle the photo will go.
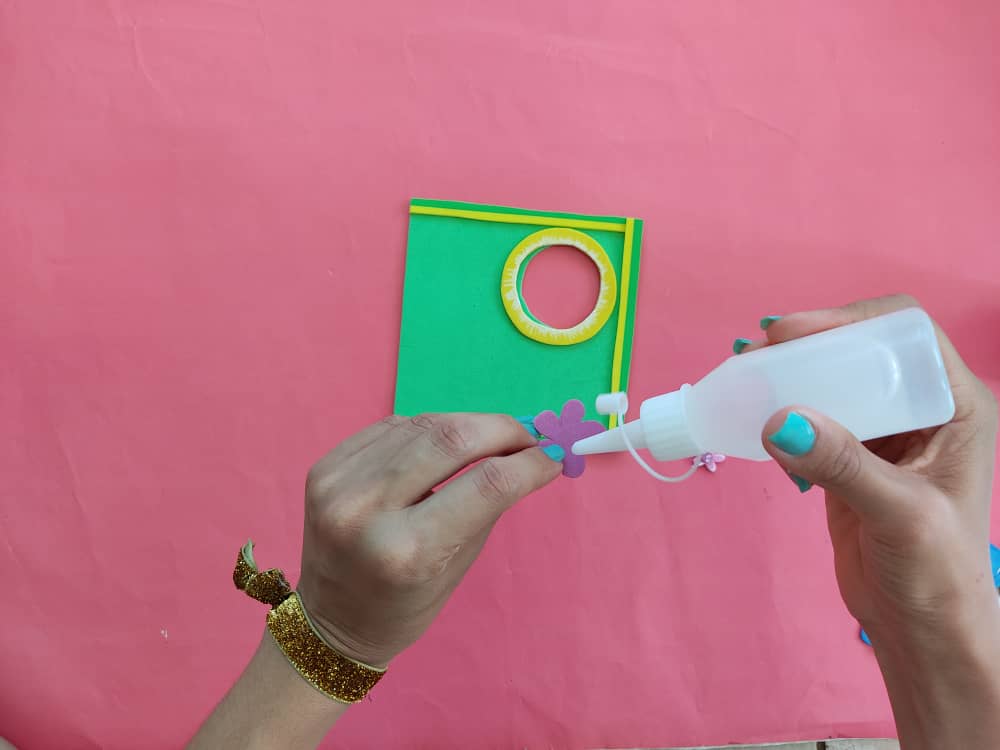
Adicionalmente y para darle pequeños toques decorativos y a la vez mágicos a este hermoso y sencillo portaretrato, elaboramos un marco para el círculo, y pequeñas florecitas con foamy de distintos colores, mientras más pequeñas y delicadas mejor lucirá este hermoso recuerdo.
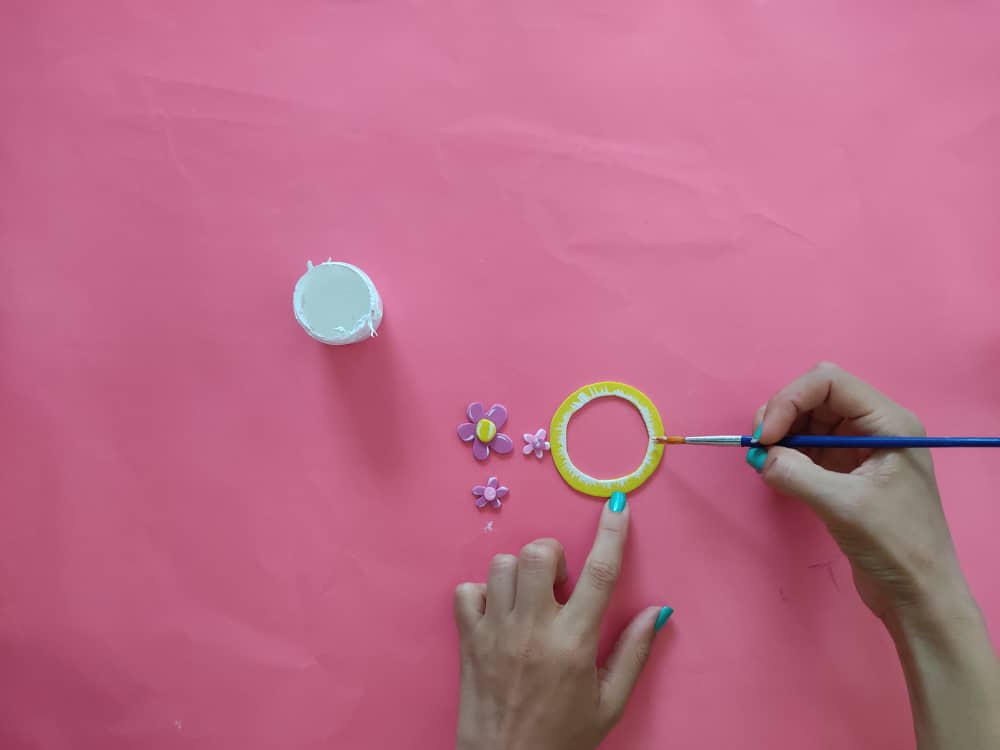
Additionally and to give small decorative and at the same time magic touches to this beautiful and simple photo frame, we made a frame for the circle, and small flowers with foamy of different colors, the smaller and more delicate the better this beautiful memory will look.

Luego, dibujamos un niño que lleve puesto toga y birrete (vestimenta de graduación), podemos hacerlo del color que más nos guste, y recuerden, que podemos agregarle los detalles que nos vengan a la mente. Seguidamente recortamos con mucho para facilitar la transferencia al foami, y no perder las medidas.
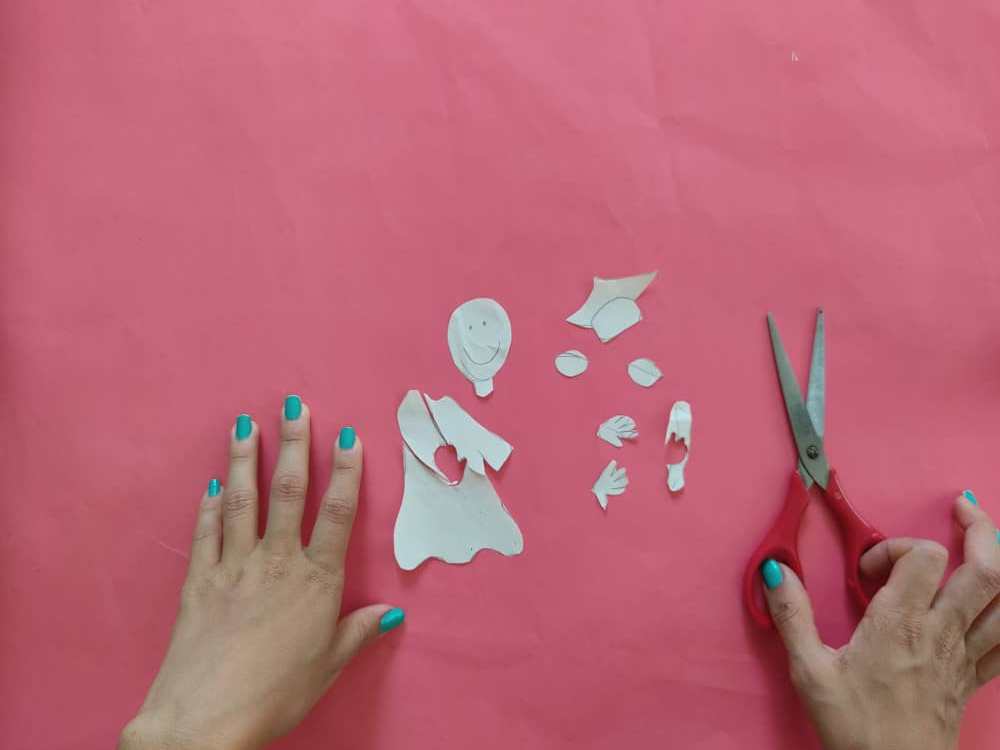
Then, we draw a child wearing a cap and gown (graduation gown), we can do it in the color that we like the most, and remember, we can add the details that come to mind. Then we cut a lot to facilitate the transfer to the foamy, and not lose the measurements.

Una vez obtenidas las figuras deseadas, comenzamos a transferir cada figura al foami de distintos colores, y seguido de esto recortamos estás con cuidado manteniendo sus medidas intactas para que todo quede en su debido lugar y a la medida.
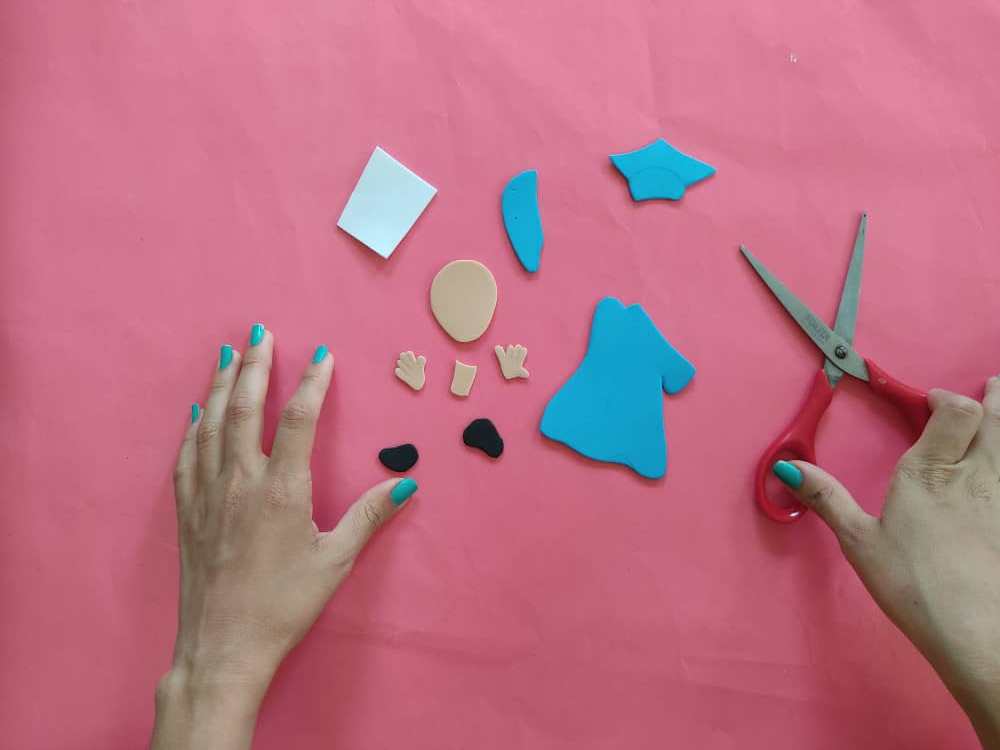
Once the desired figures are obtained, we begin to transfer each figure to the foamy of different colors, and followed by this we cut carefully, keeping their measurements intact so that everything is in its proper place and to the measure.
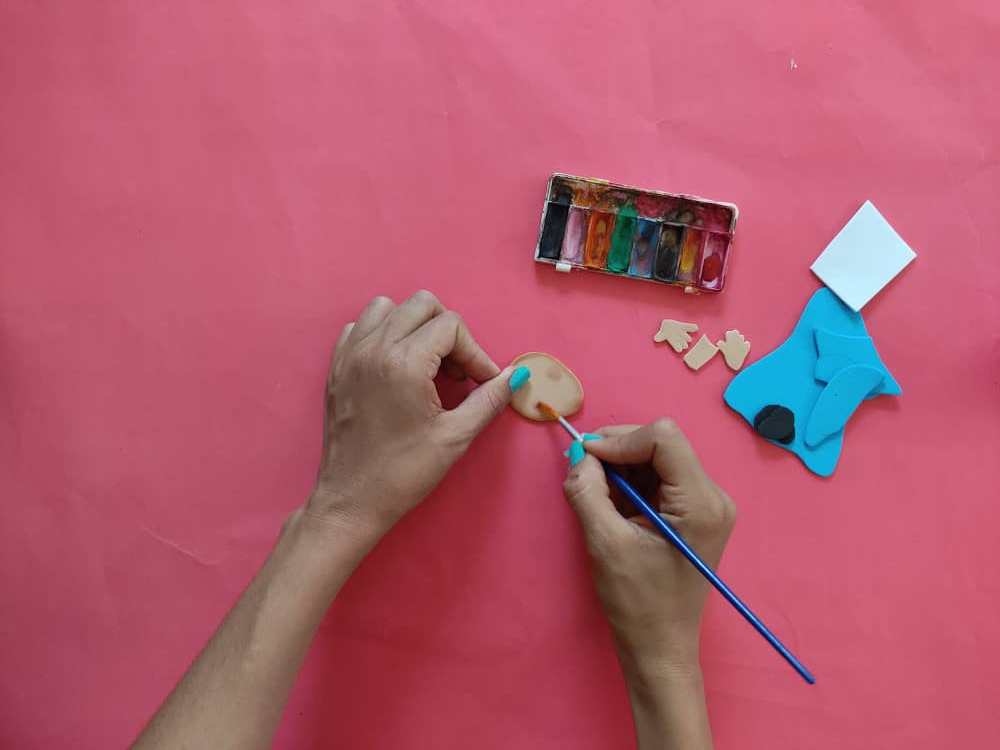
Ahora, llenamos de vida a estas figuras con toques mágicos de pintura, para que nuestro graduando se vea súper feliz por su haber cumplido su meta.
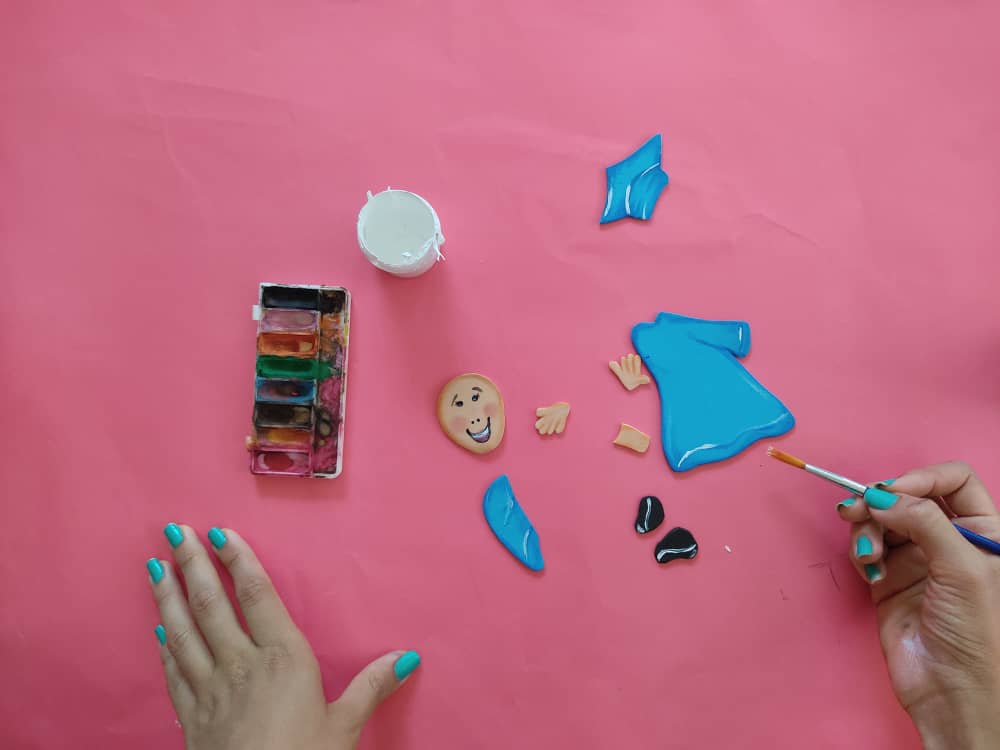
Now, we bring these figures to life with magical touches of paint, so that our graduate looks super happy for having accomplished his goal.
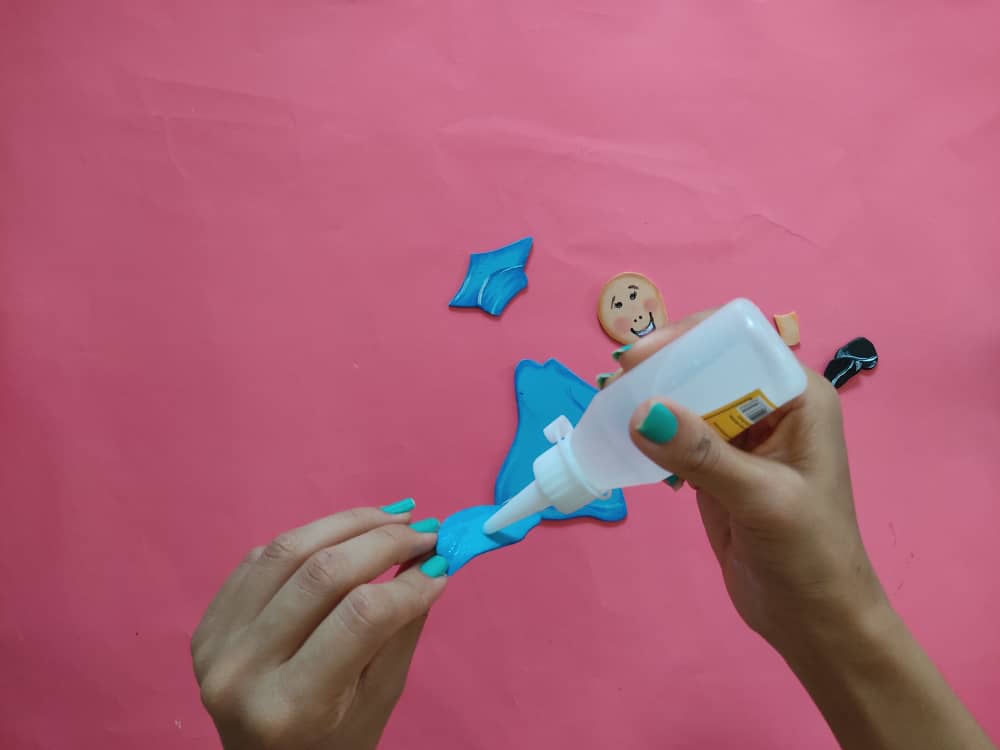
Luego, armamos al graduando utilizando pegamento o silicón líquido, y hacemos un poco presión durante unos segundos, para que quede bien pegado.
Then, we arm the graduating using glue or liquid silicone and apply a little pressure for a few seconds, so that it is well glued.
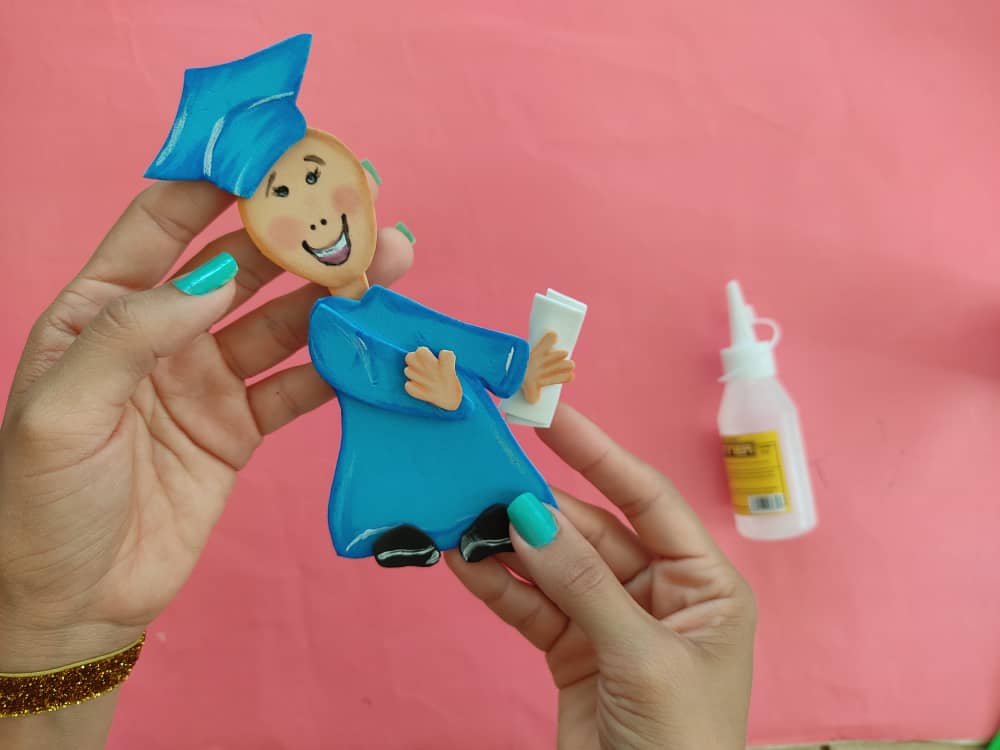
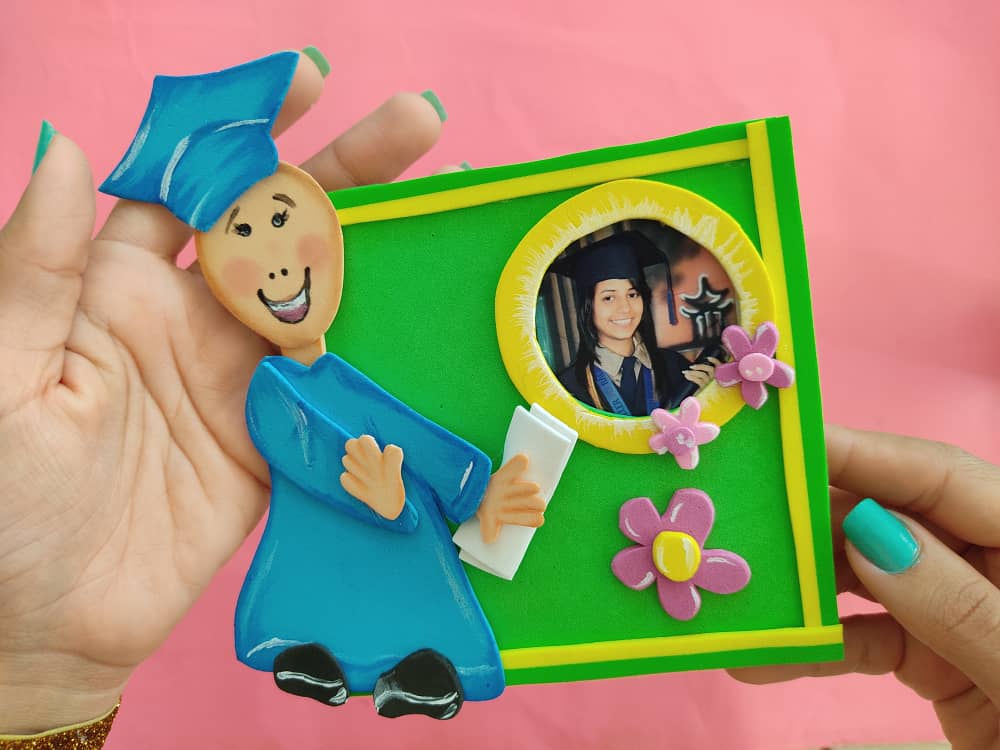
Luego, decoramos el frente de nuestro portaretrato, pegando los detalles que creamos, en este caso un marco muy delgado, el niño graduando, el marco del círculo y las flores.
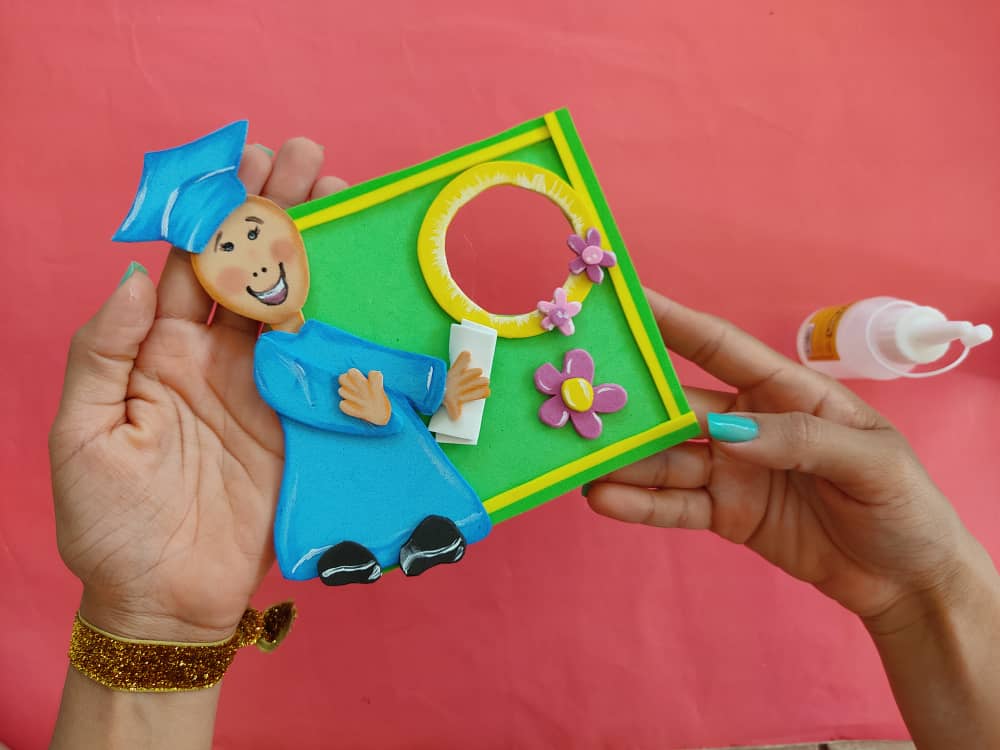
Then, we decorate the front of our photo frame, pasting the details that we created, in this case, a very thin frame, the graduating child, the circle frame and the flowers.
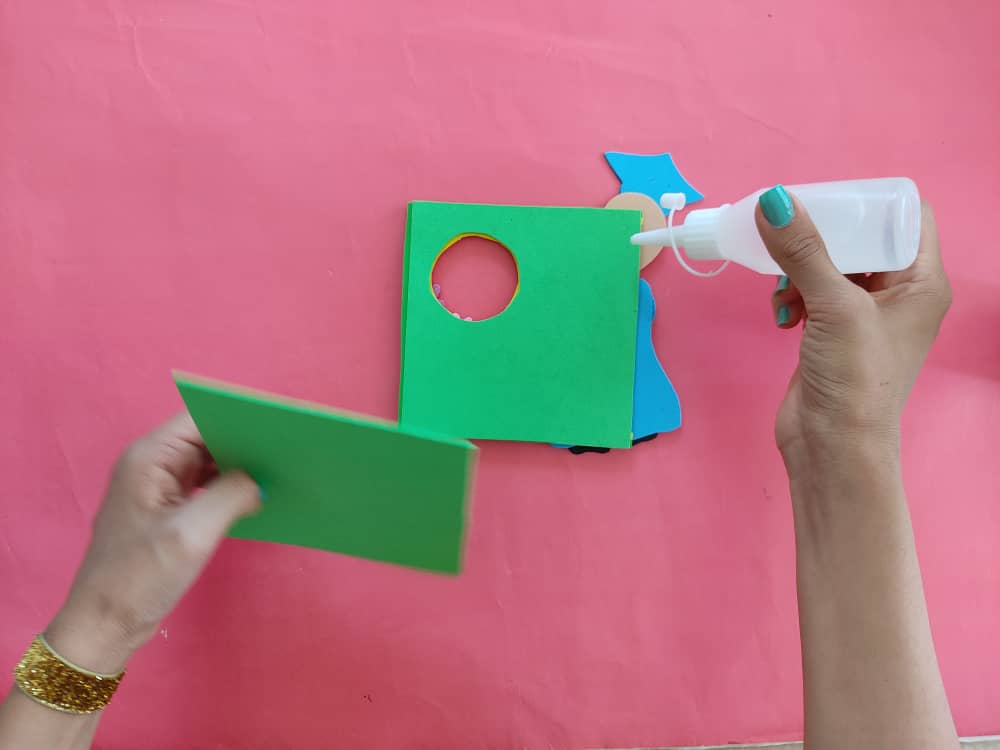
Seguidamente, pegamos el cuadrado restante en la parte trasera del portaretrato aplicando silicón en sus bordes internos, dejando libre el extremo superior.

Next, we glue the remaining square to the back of the photo frame by applying silicone to its inner edges, leaving the upper end free.
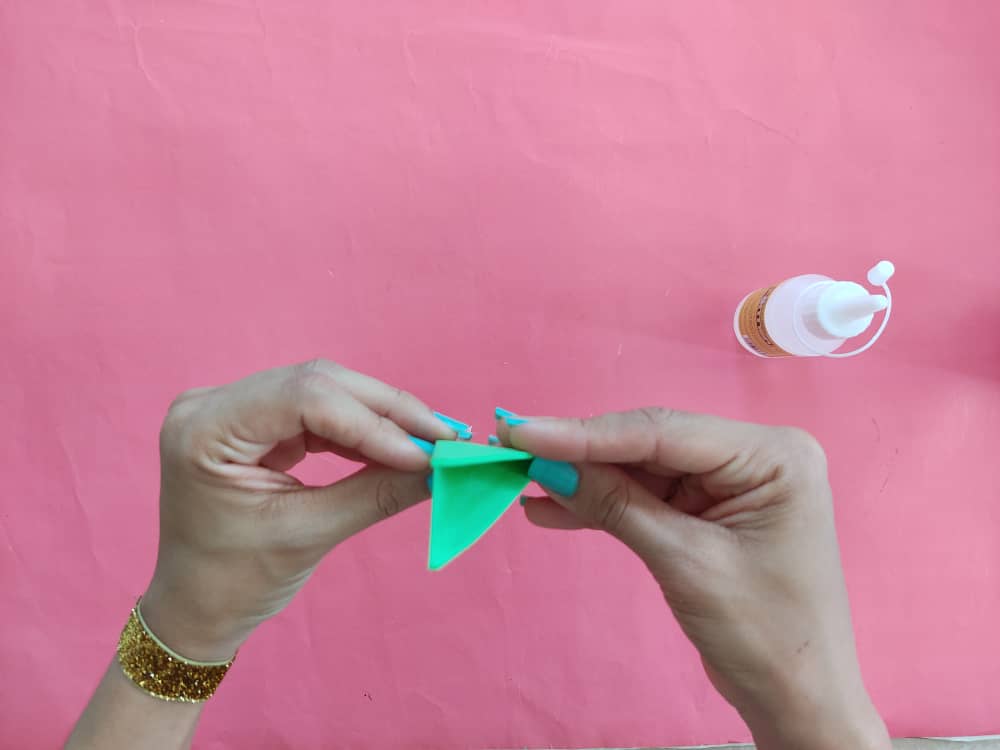
Ahora, elaboramos un triángulo y lo pegamos en la parte trasera, para que sea el soporte que mantendrá de pie este lindo y original recuerdo.
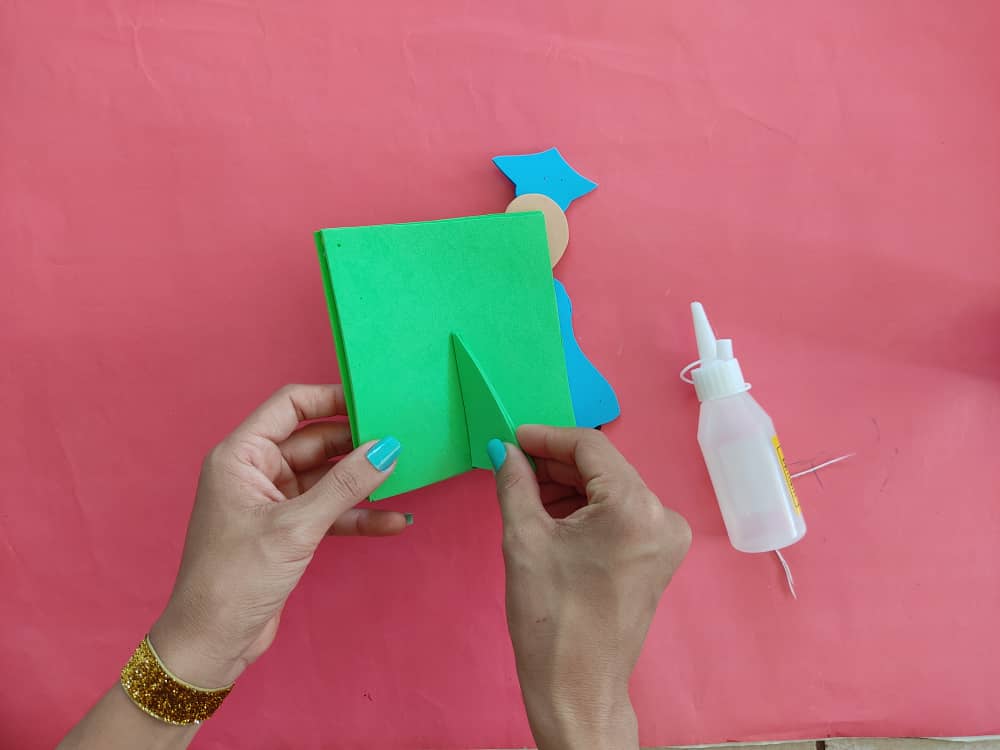
Now, we make a triangle and stick it on the back, so that it is the support that will keep this cute and original memory standing.

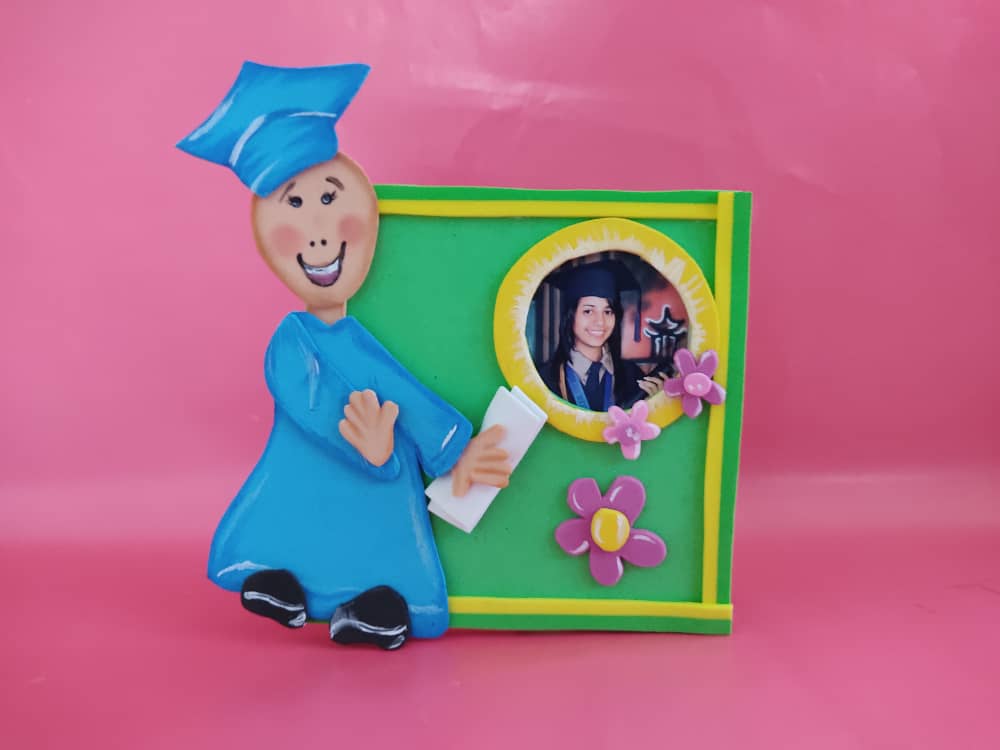
Finalmente, monta tu foto de graduación y exhibimos este hermoso adorno en el lugar que deseemos.
Finally, assemble your graduation photo and we display this beautiful ornament in the place we want.
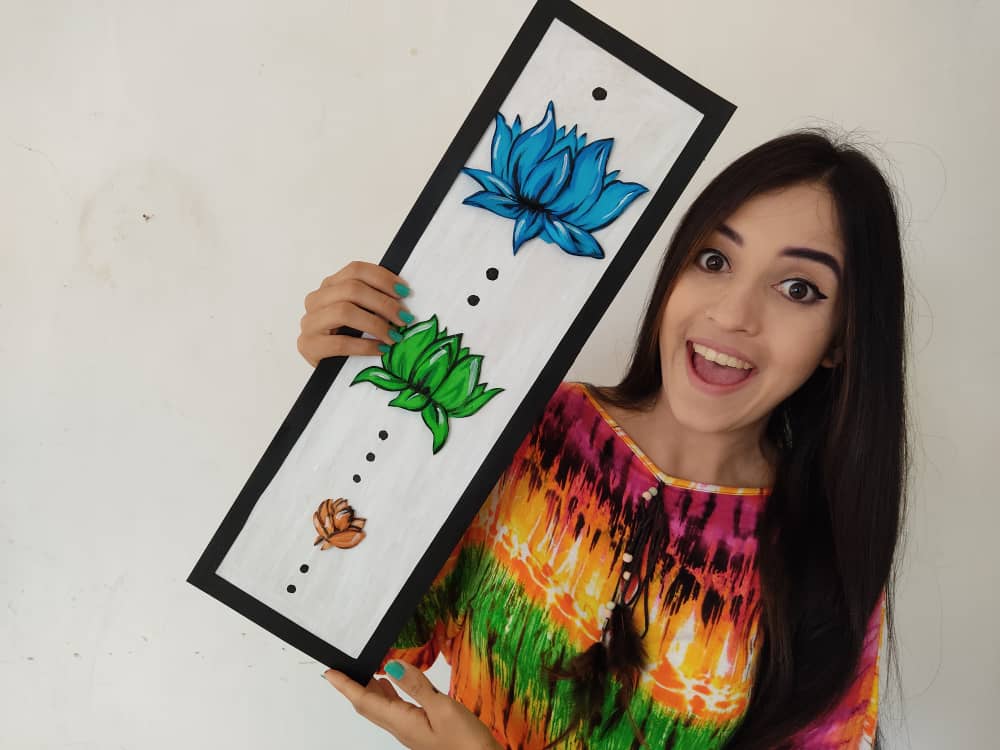
Gracias por acompañarme y espero que lo hayan disfrutado. ❤️
Thanks for joining and I hope you enjoyed it.❤️
.jpeg)
.jpeg)
.jpeg)
.jpeg)
.jpeg)
.jpeg)
.jpeg)
.jpeg)
.jpeg)
Clic para ver trabajos anteriores | Click to see previous works
.jpeg)


My twt #posh
Que bonito, @saracampero. Un lindo detalle para los niños que celebran sus promociones, y más en un año escolar complejo por el tema de la pandemia. Me encantó. Un abrazo.
Posted using Dapplr
muy bonitas las manualidades amiga, me alegra que la gente apoye post como estos ;)
Wow ... Very creative. Would you like to make something art from my image? I am very happy if you make it.
Congratulations, your post has been upvoted by @dsc-r2cornell, which is the curating account for @R2cornell's Discord Community.
Thanks for sharing your creative and inspirational post on HIVE!
This post got curated by our fellow curator @priyanarc and you received a 100% upvote from our non-profit curation service!
Join the official DIYHub community on HIVE and show us more of your amazing work!
Perfecto para esta temporada de graduación, me diste buenas ideas para realizarle uno a mi pequeño sobrino que acaba de graduarse.
¡Saludos!
Te felicito mi amiga, me encanta tu trabajo. Dios bendiga tu talento.