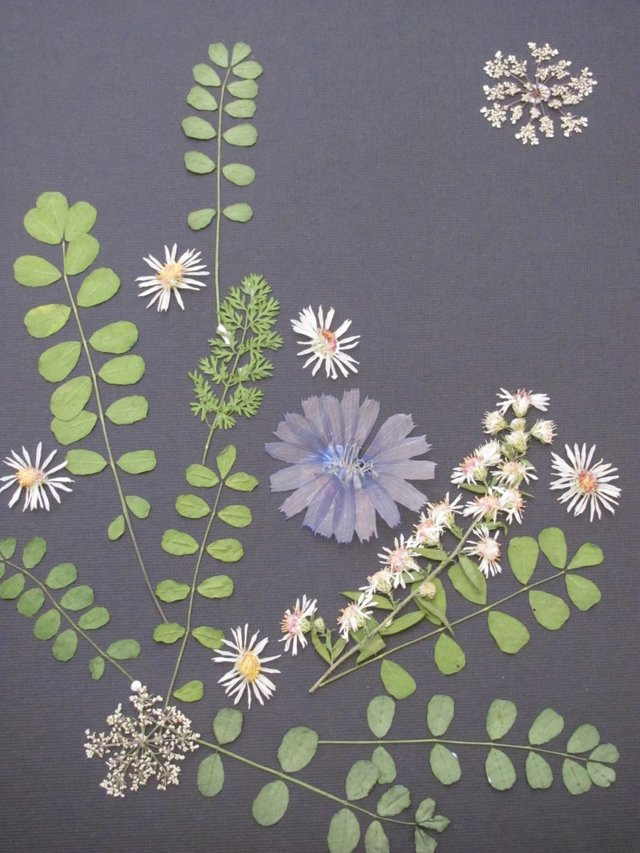
This was my mother’s birthday present. I picked the wildflowers and leaves from my parents property, which makes it even more special!
Here’s how to make your own.

What you’ll need:
- a picture frame
- a piece of paper
- Modge Podge
- a small, cheap paintbrush
- tweezers
- flowers and leaves
- paper towels
Steps:
- Pick or purchase the flowers and leaves (note that pink and red flowers tend to brown some when dried).
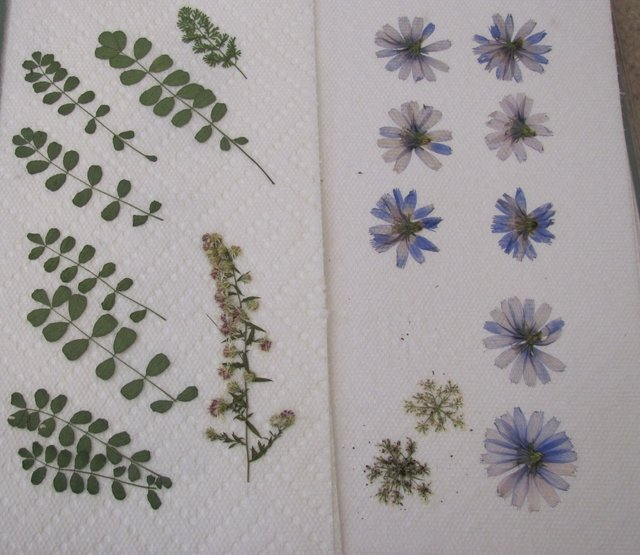
- Remove petals from thick flowers and press petals, flatter flowers and leaves between paper towels. Use books or magazines to weigh them down.
- Check after a few weeks and replace paper towels if there is still moisture.
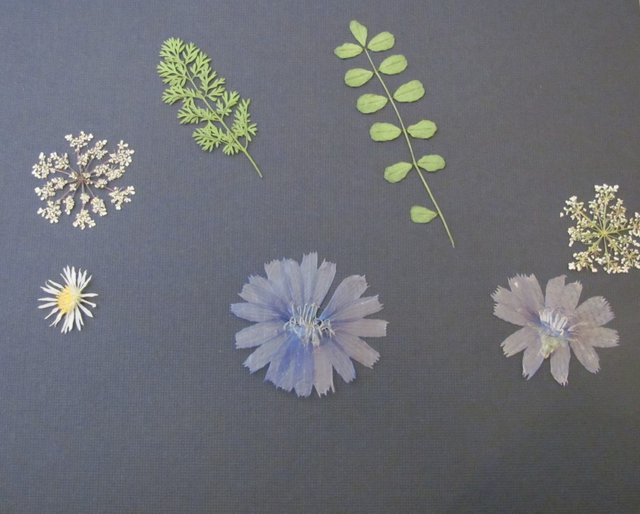
- Once the flowers and leaves are dry, arrange them on the paper (use the tweezers to make it easier) and take a picture of your design for reference.
If you’re not happy with it, rearrange them until you like it! You can overlap them some, but do be sure not to layer them too thickly or they will create too much of a bump. - Put the leaves and flowers back on the paper towels.
- Starting with the leaves and flowers that are further “back”, put small dots of Modge Podge on them using the paintbrush and gently place them on the paper. Work your way from top to bottom and back to front.
- Once the glue is dry, gently dust off any broken bits and very carefully put the paper in the frame.
I chose textured black paper, but you could use any color. I’m even planning to try doing some on fabric, at some point!