![IMG_6605[1].JPG](https://images.hive.blog/DQmWbqjDtiFnhFhkdpo381ZCkQuDXvezyn6UXweZe5E8fha/IMG_6605[1].JPG)

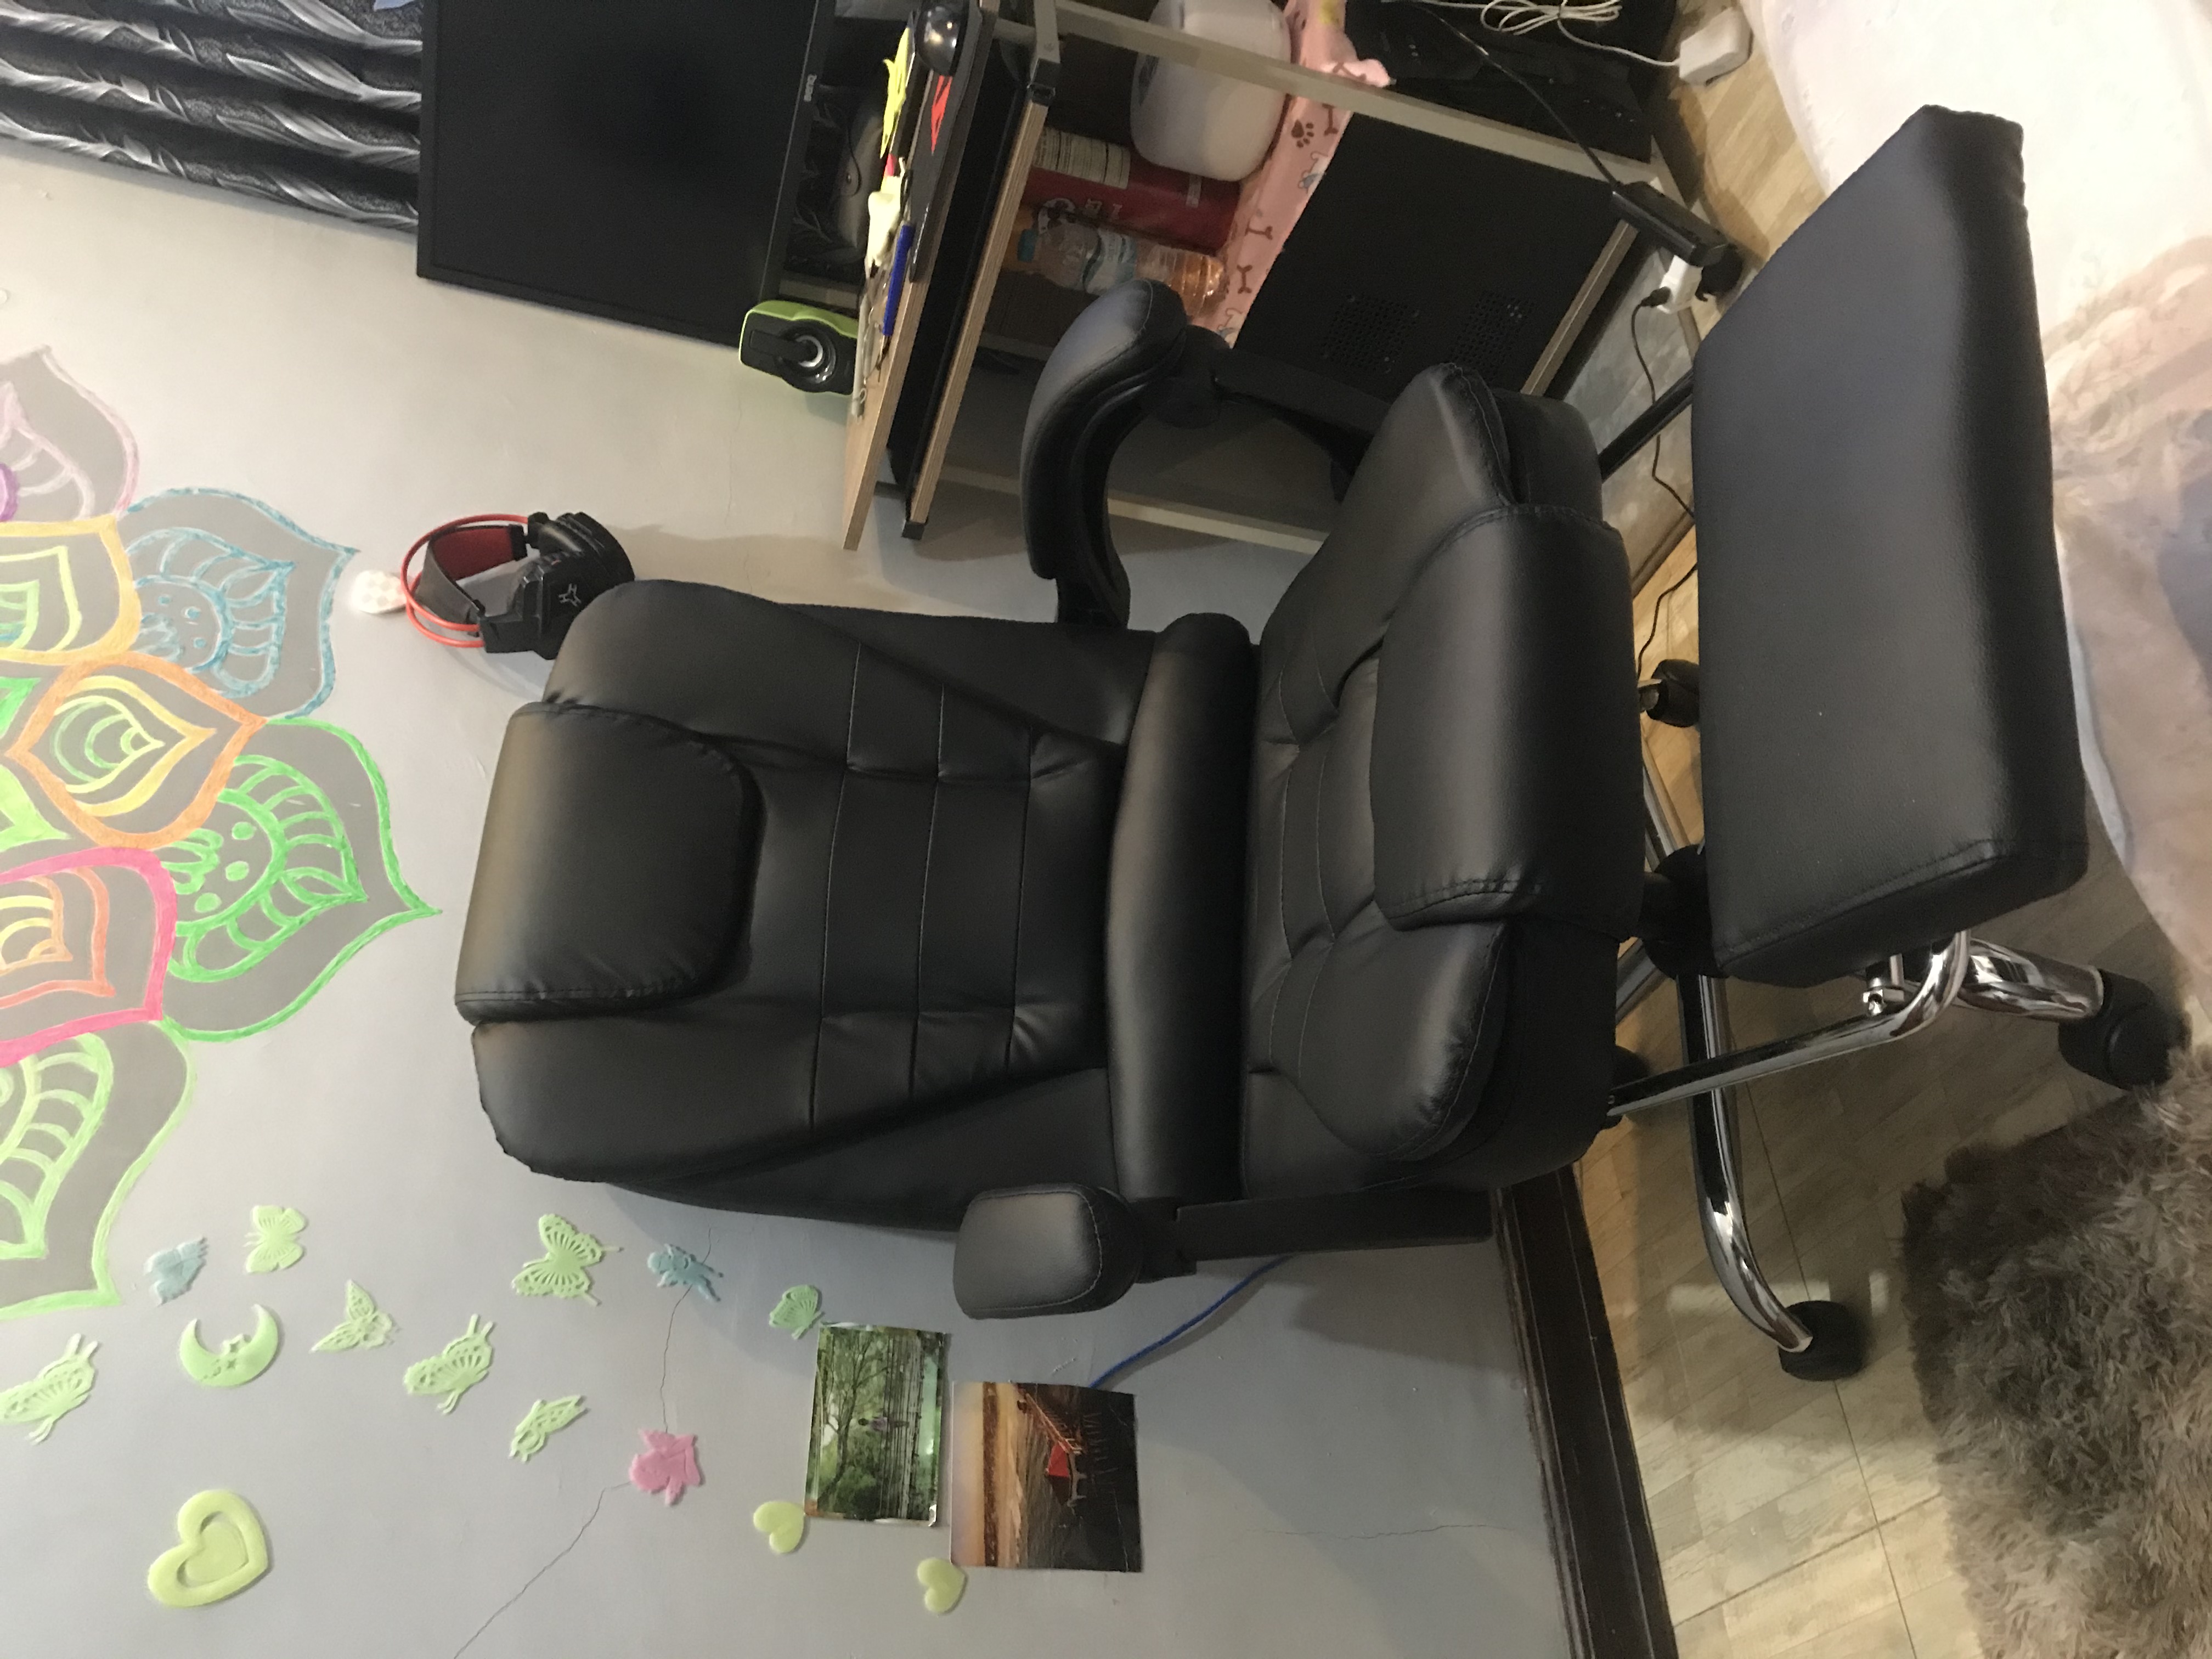
Hi everyone. I just want to share my new chair that i bought few weeks ago. Its really comfortable chair and I'm so happy that I bought it.
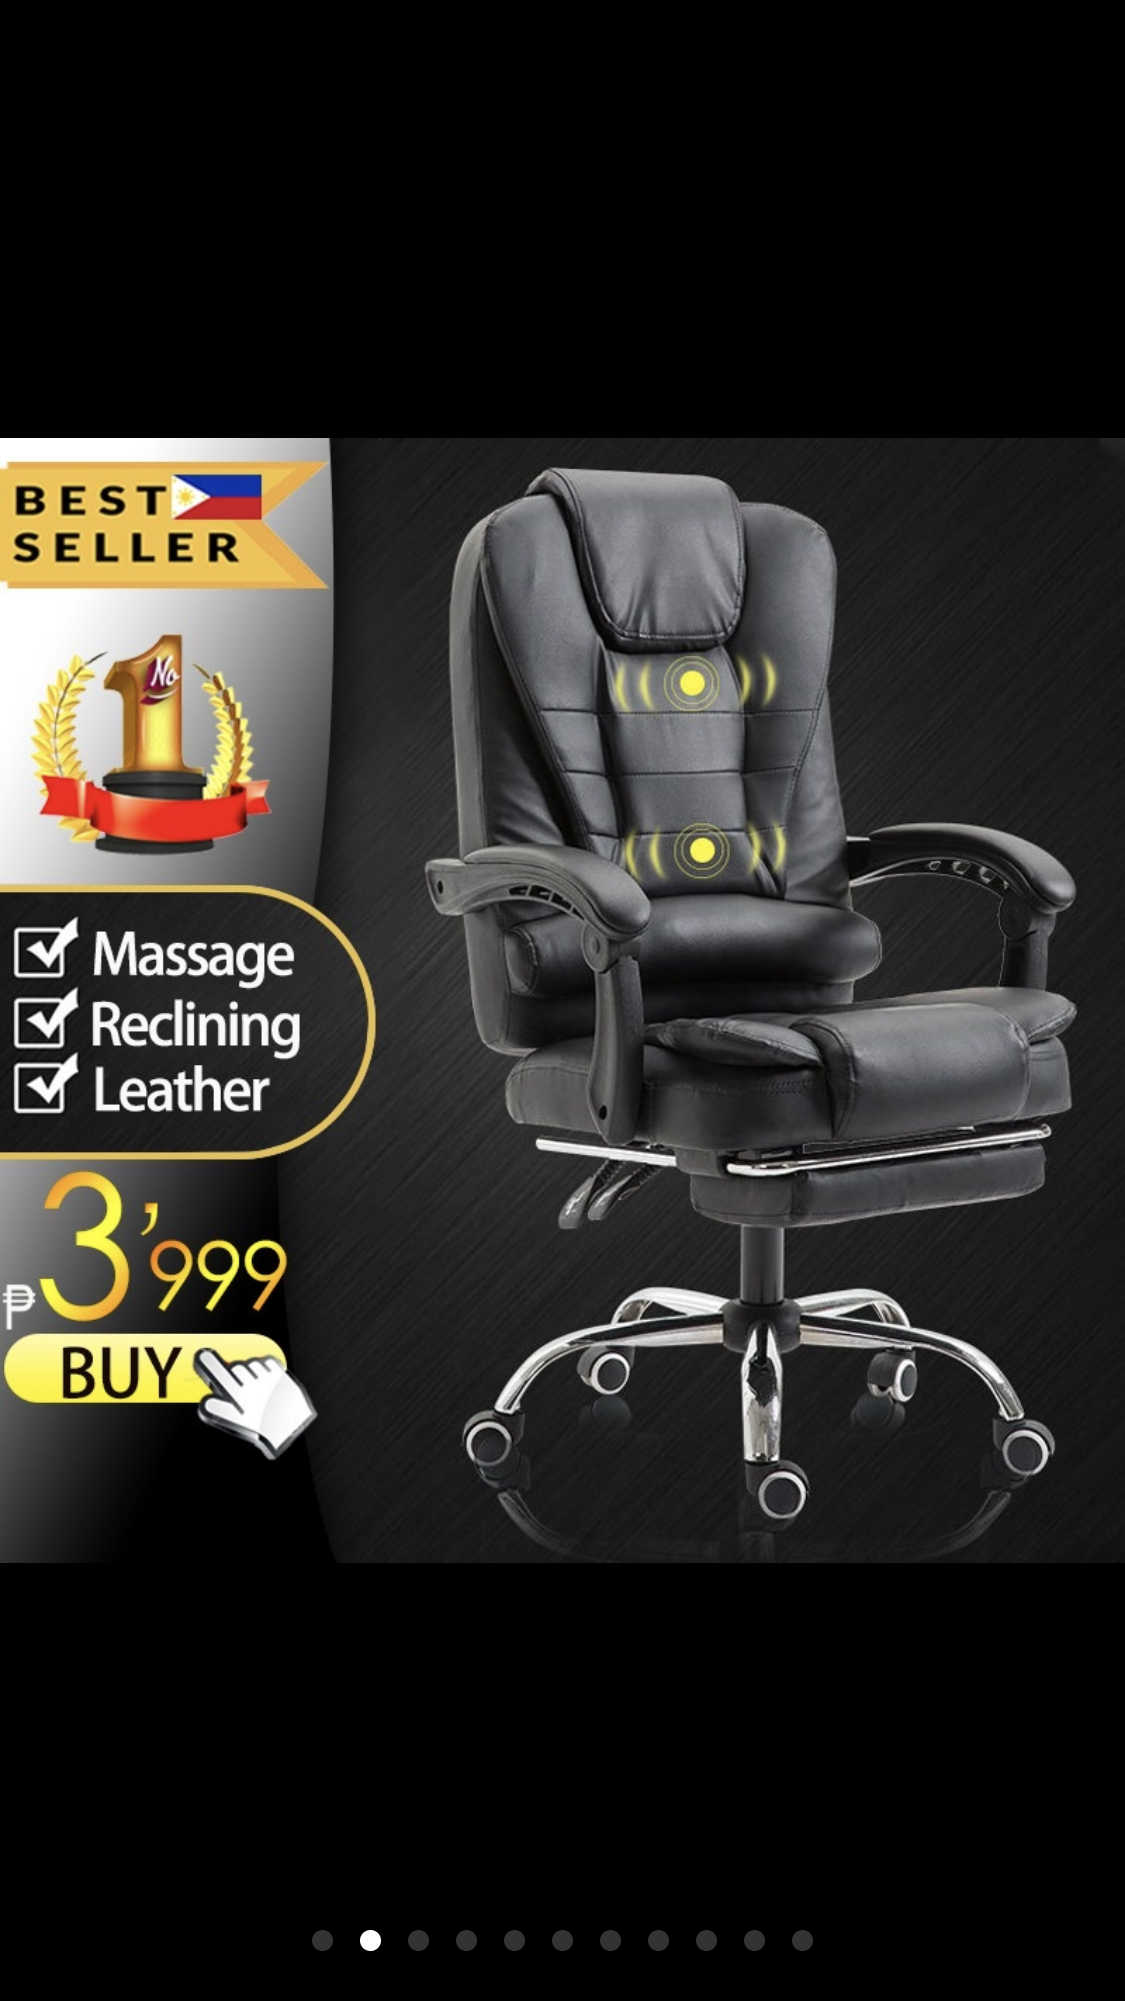
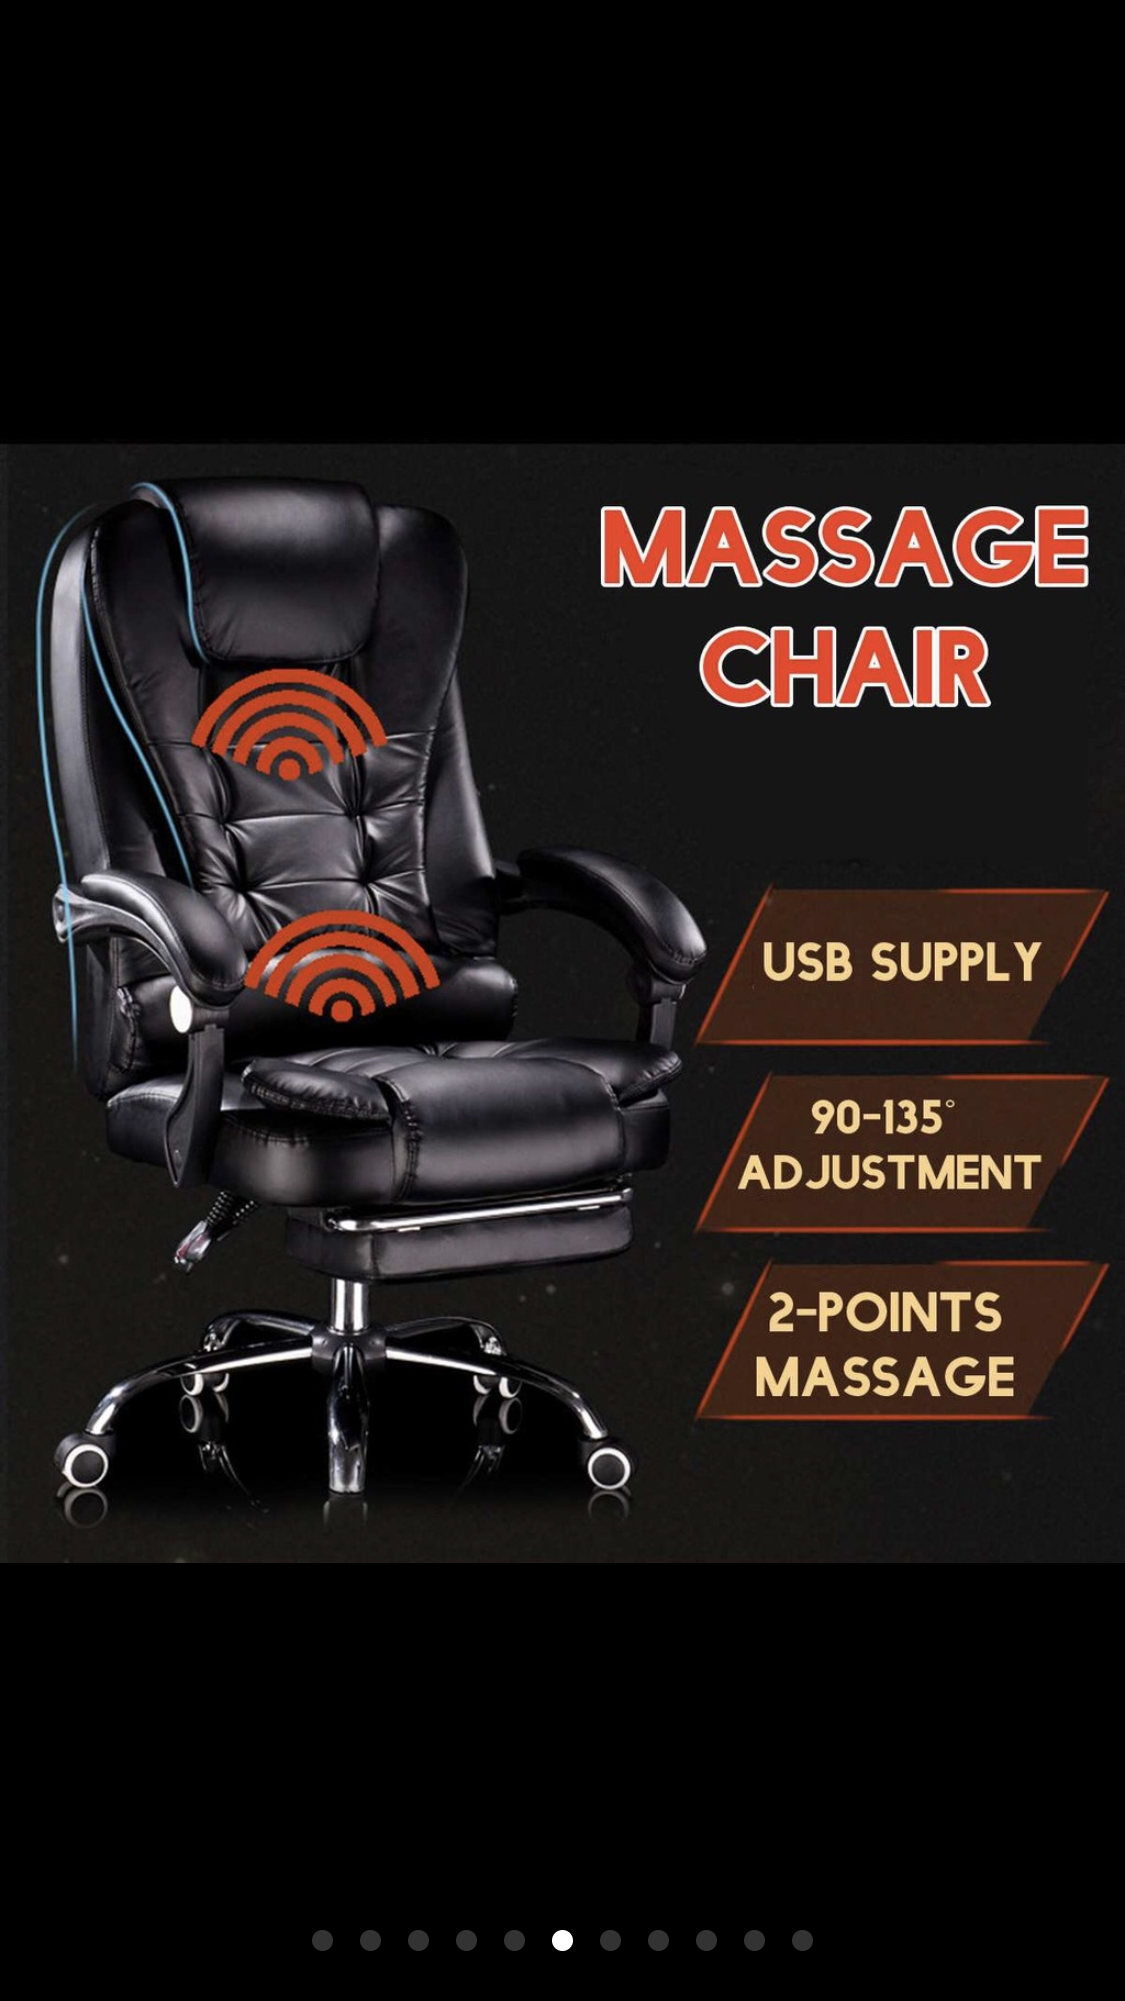
few weeks ago I order a black leather boos high back executive office chair with USB massage at the back in shoppee online seller. I choose this chair rather than the latest and famous gaming chairs cause Its quite cheaper rather than the gaming chair. This chair is only for P 3,999 pesos or $79.98 dollar price online and I paid for the shipment fee for only P 753 pesos or $ 15 dollar, so for over all total I paid$94 dollar or in Philippines money for only P4,753 pesos for the chair. Perfect for work from home set up, the chair is very comfy and not that bulky.
heres the features of the chair
It has Comfort reclining
360 degree swivel function
adjustable heigth
tilting machanism
pneumatic height adjustment
150 kg. maximum weight capacity
and it is durable and comfortable.
Time for unboxing and assembling the item:
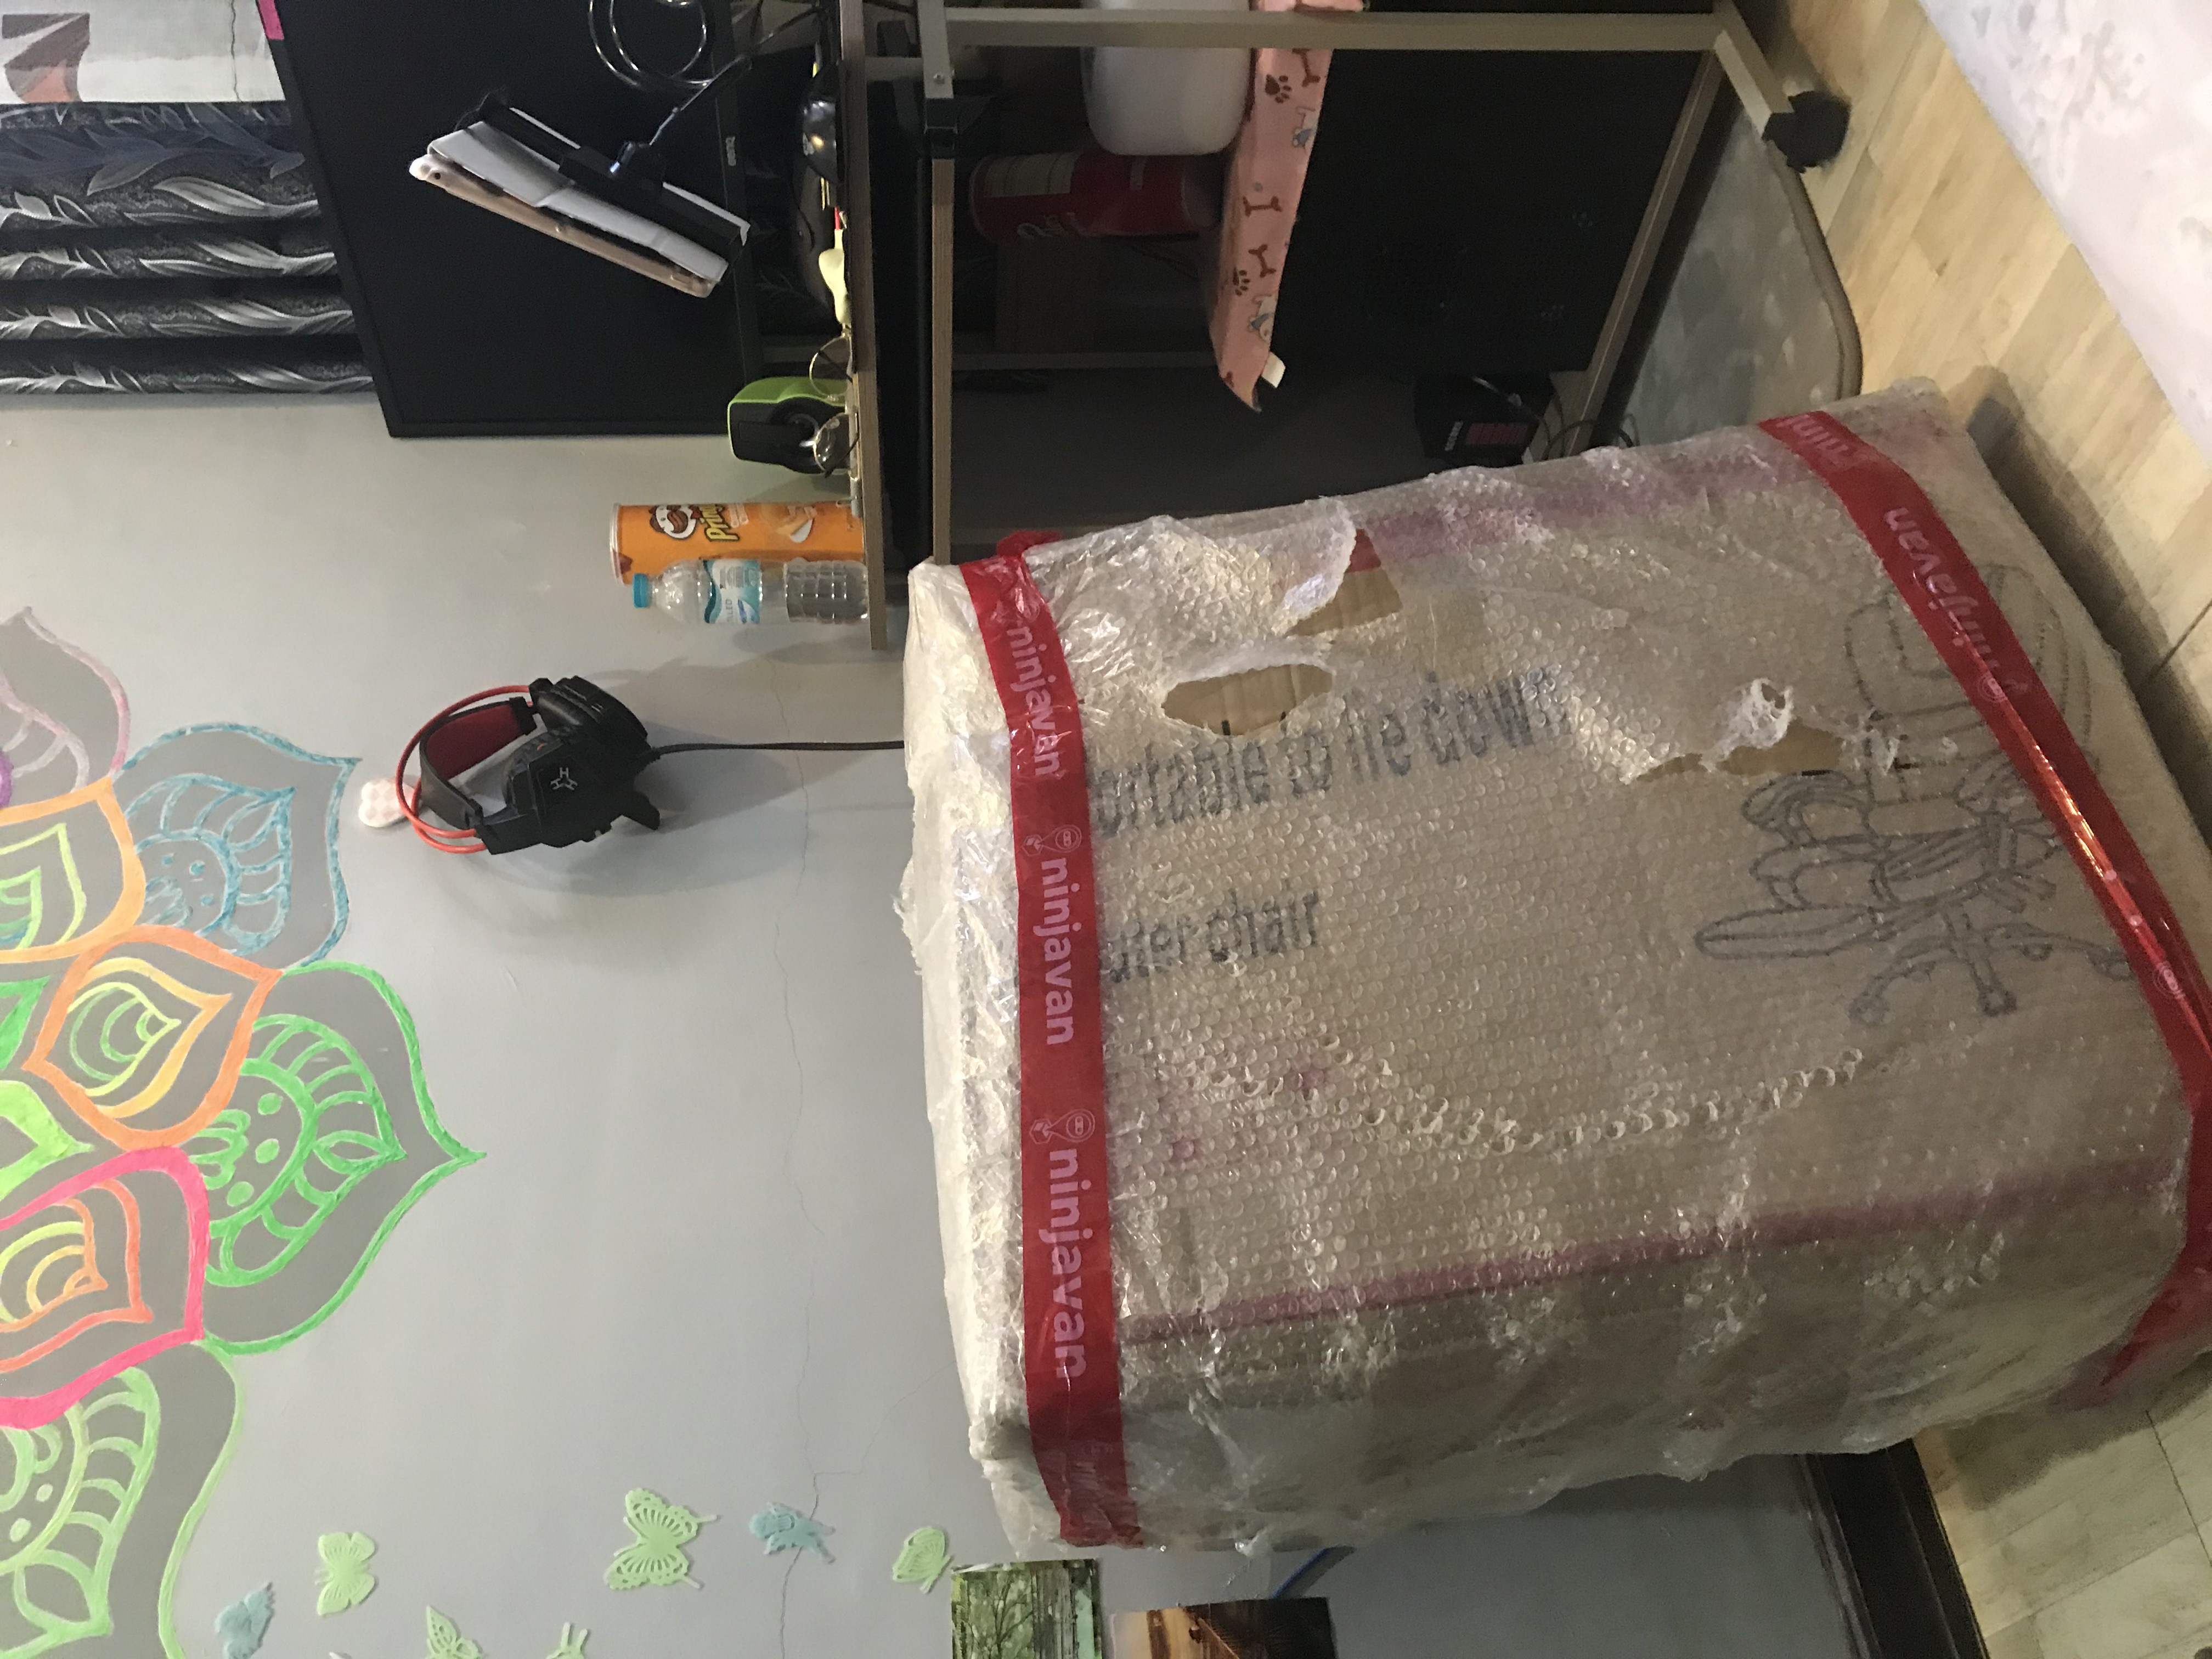
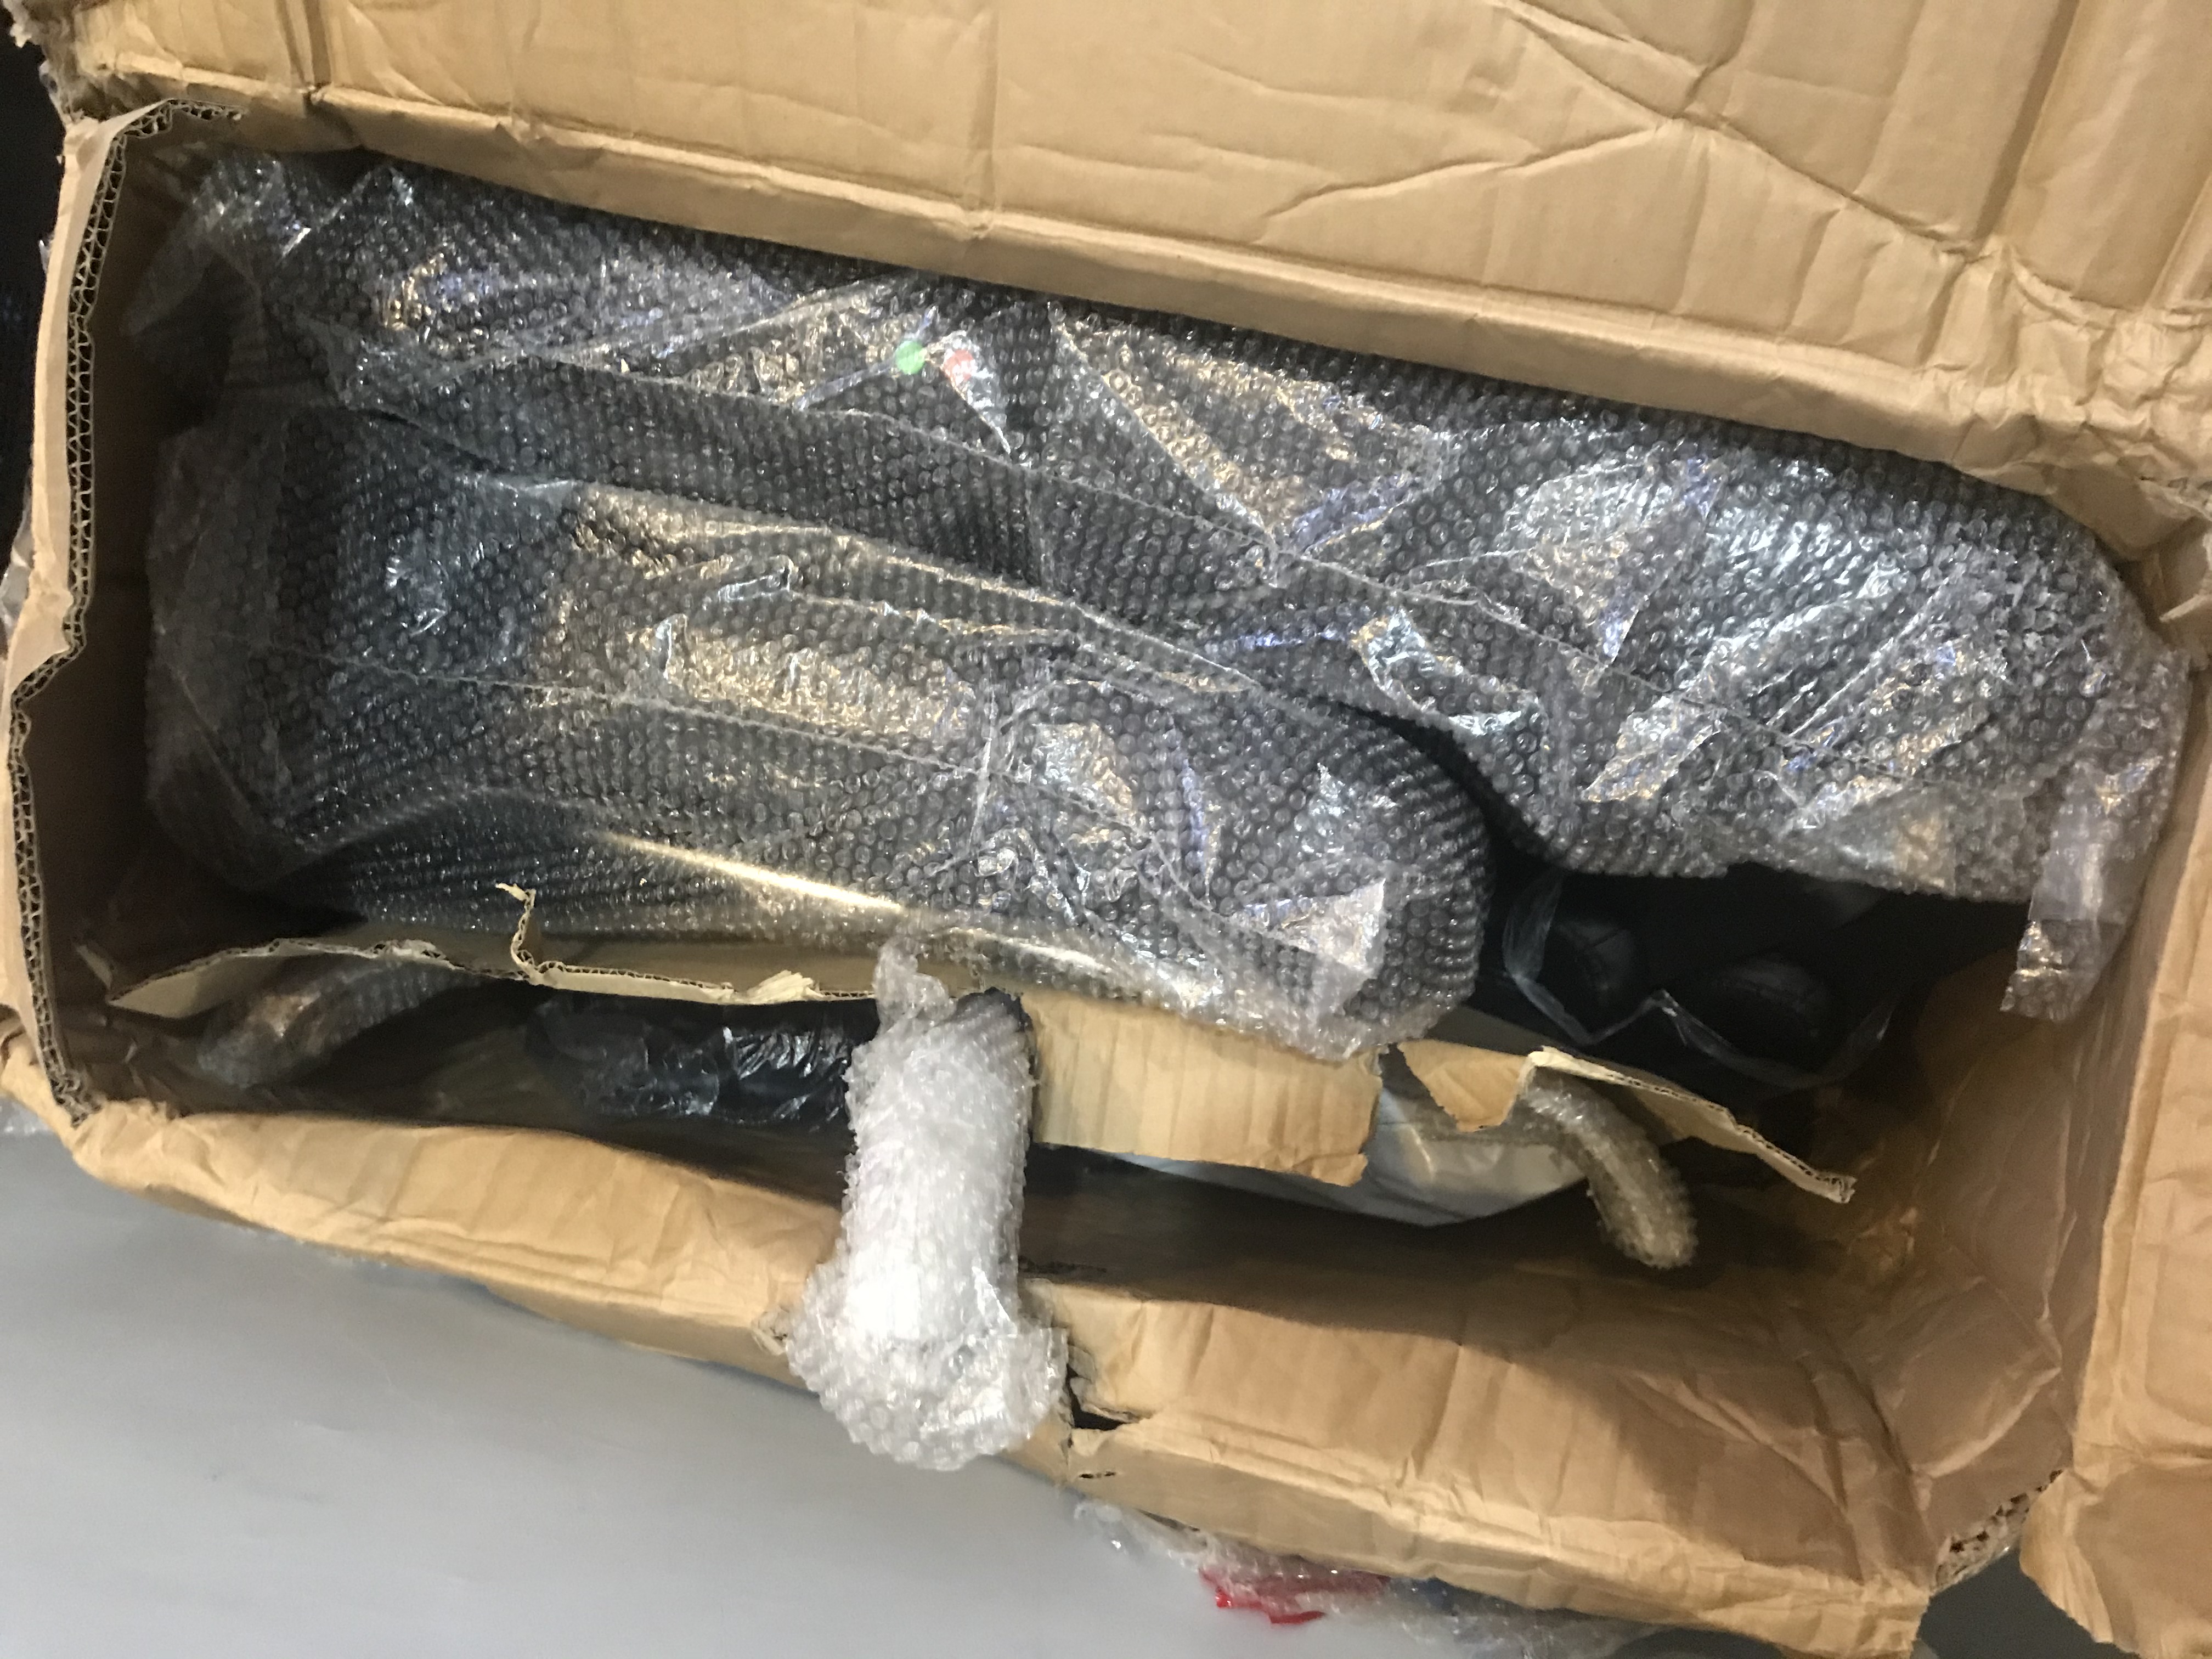
When I received this item I was so happy that they properly packed and delivered the item, its fully covered with bubble rap and I'm confident enough that the item is in good condition.
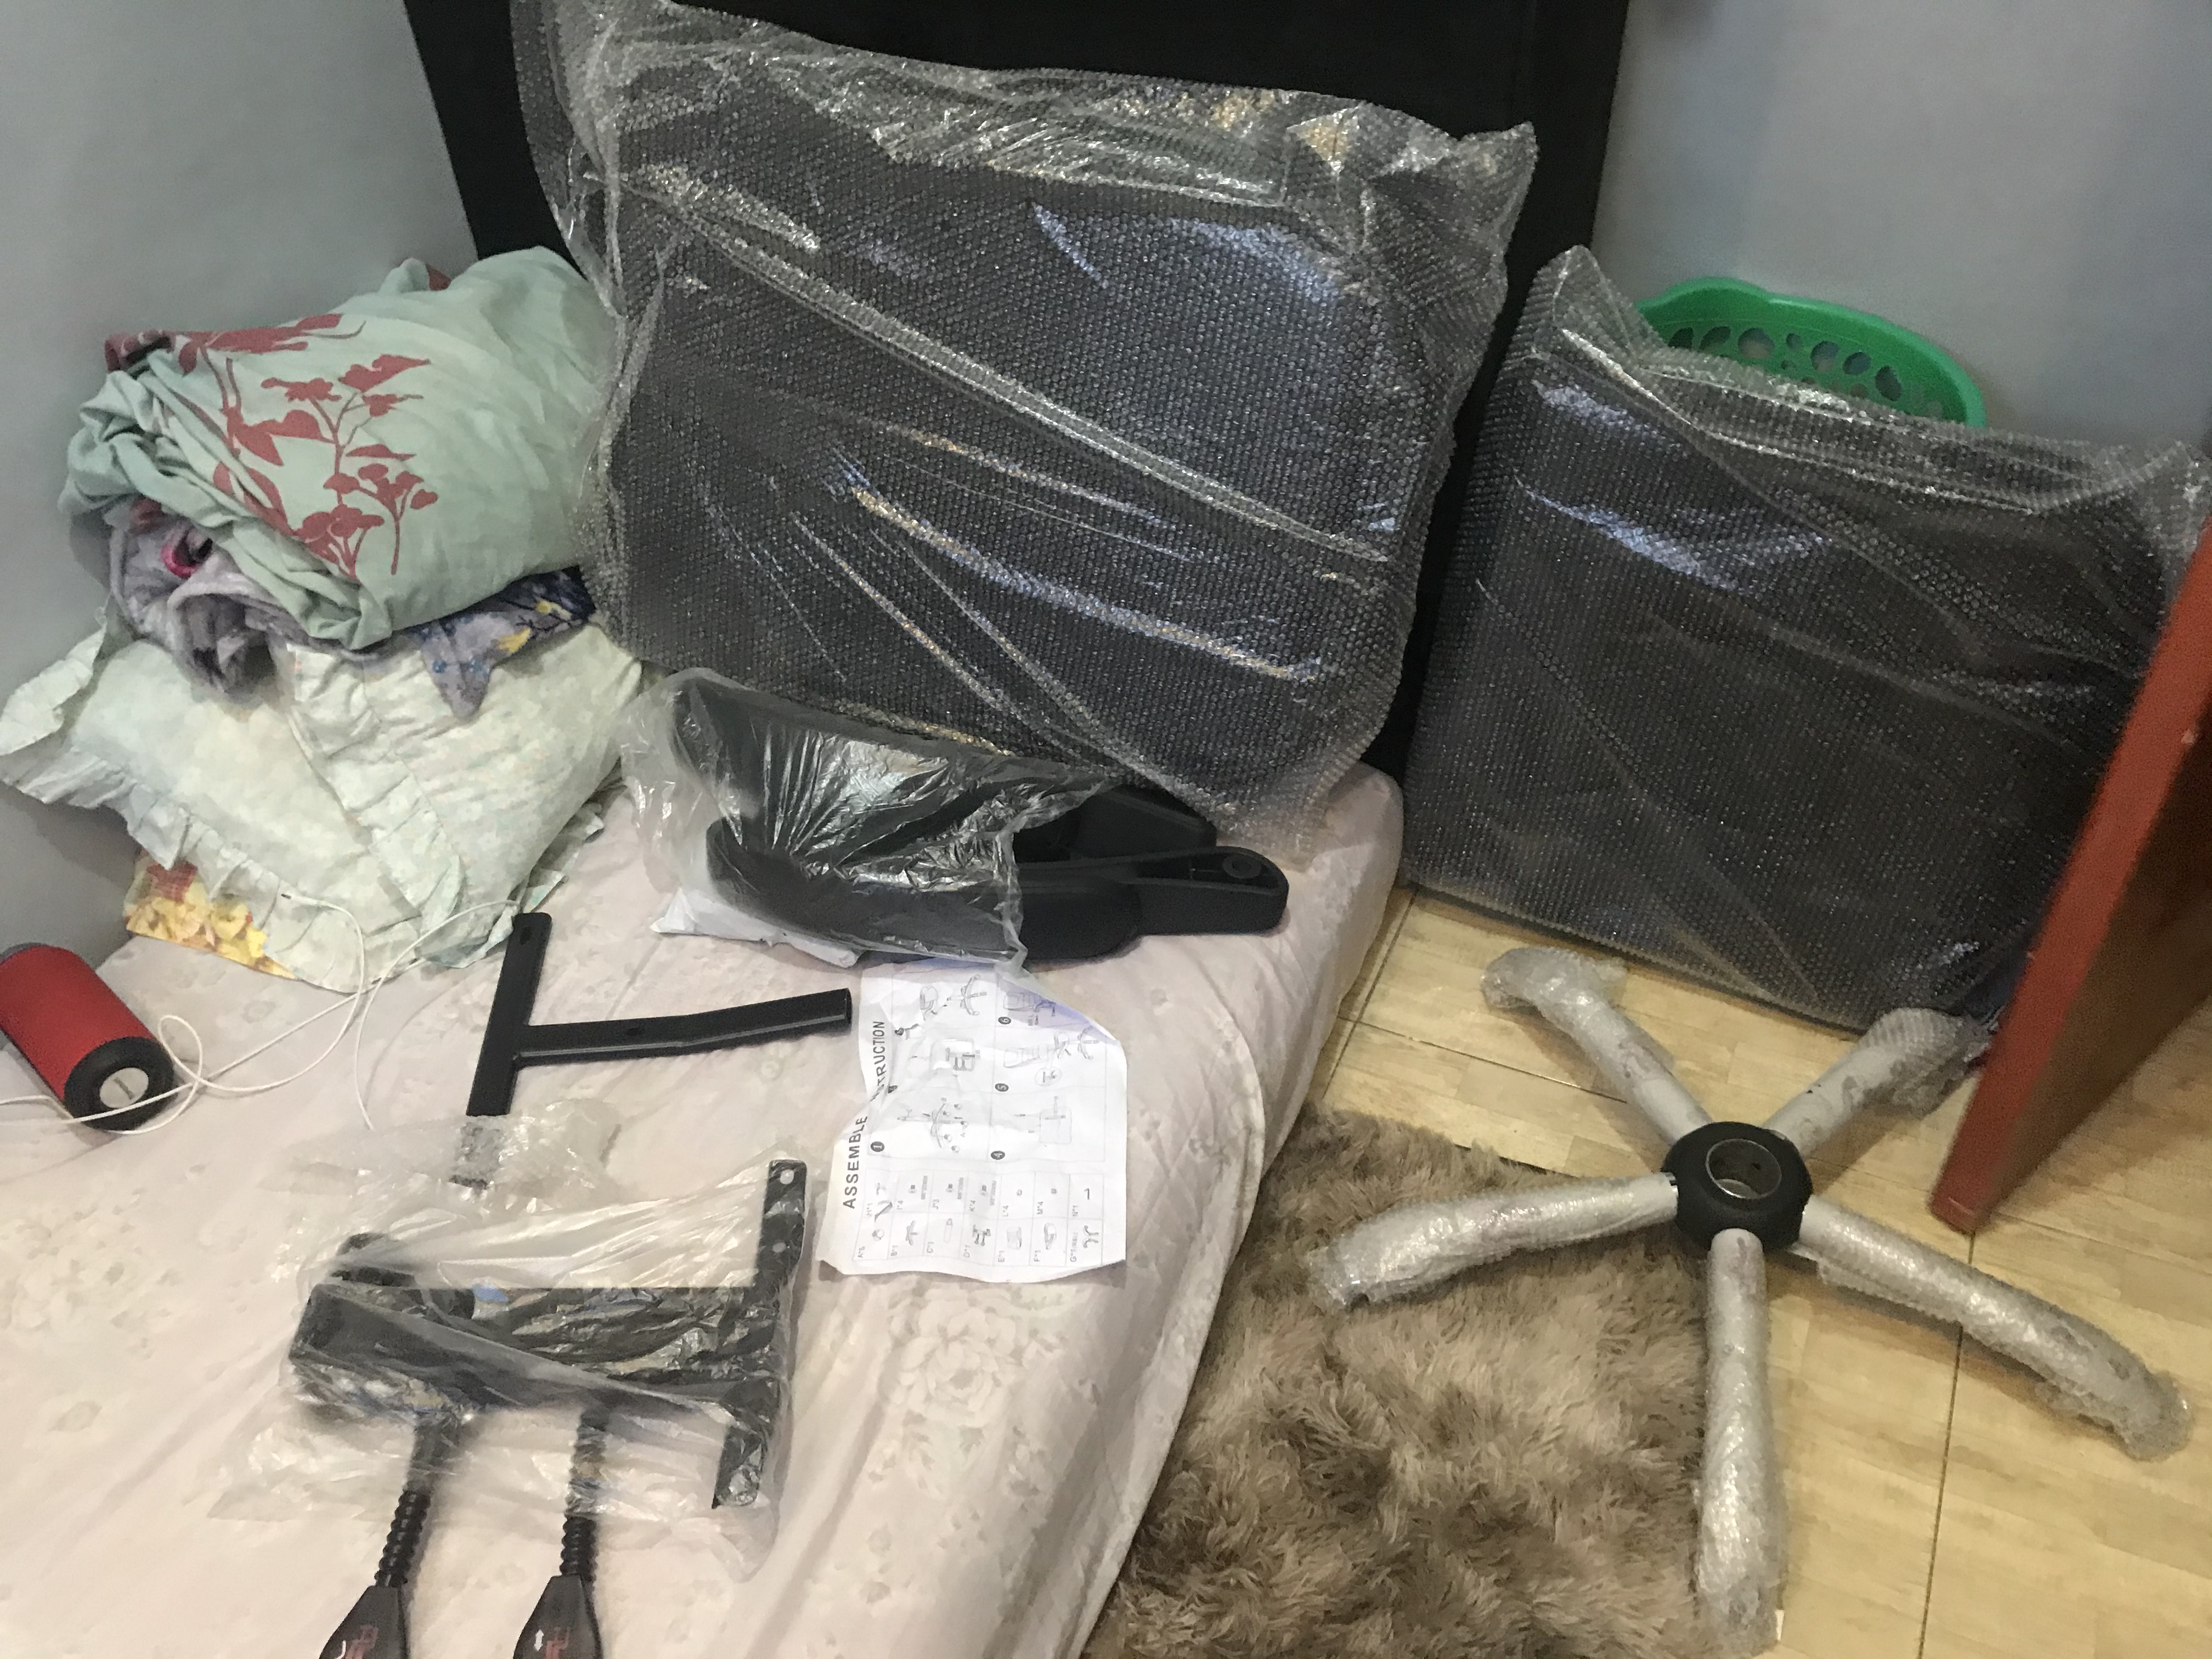
The parts
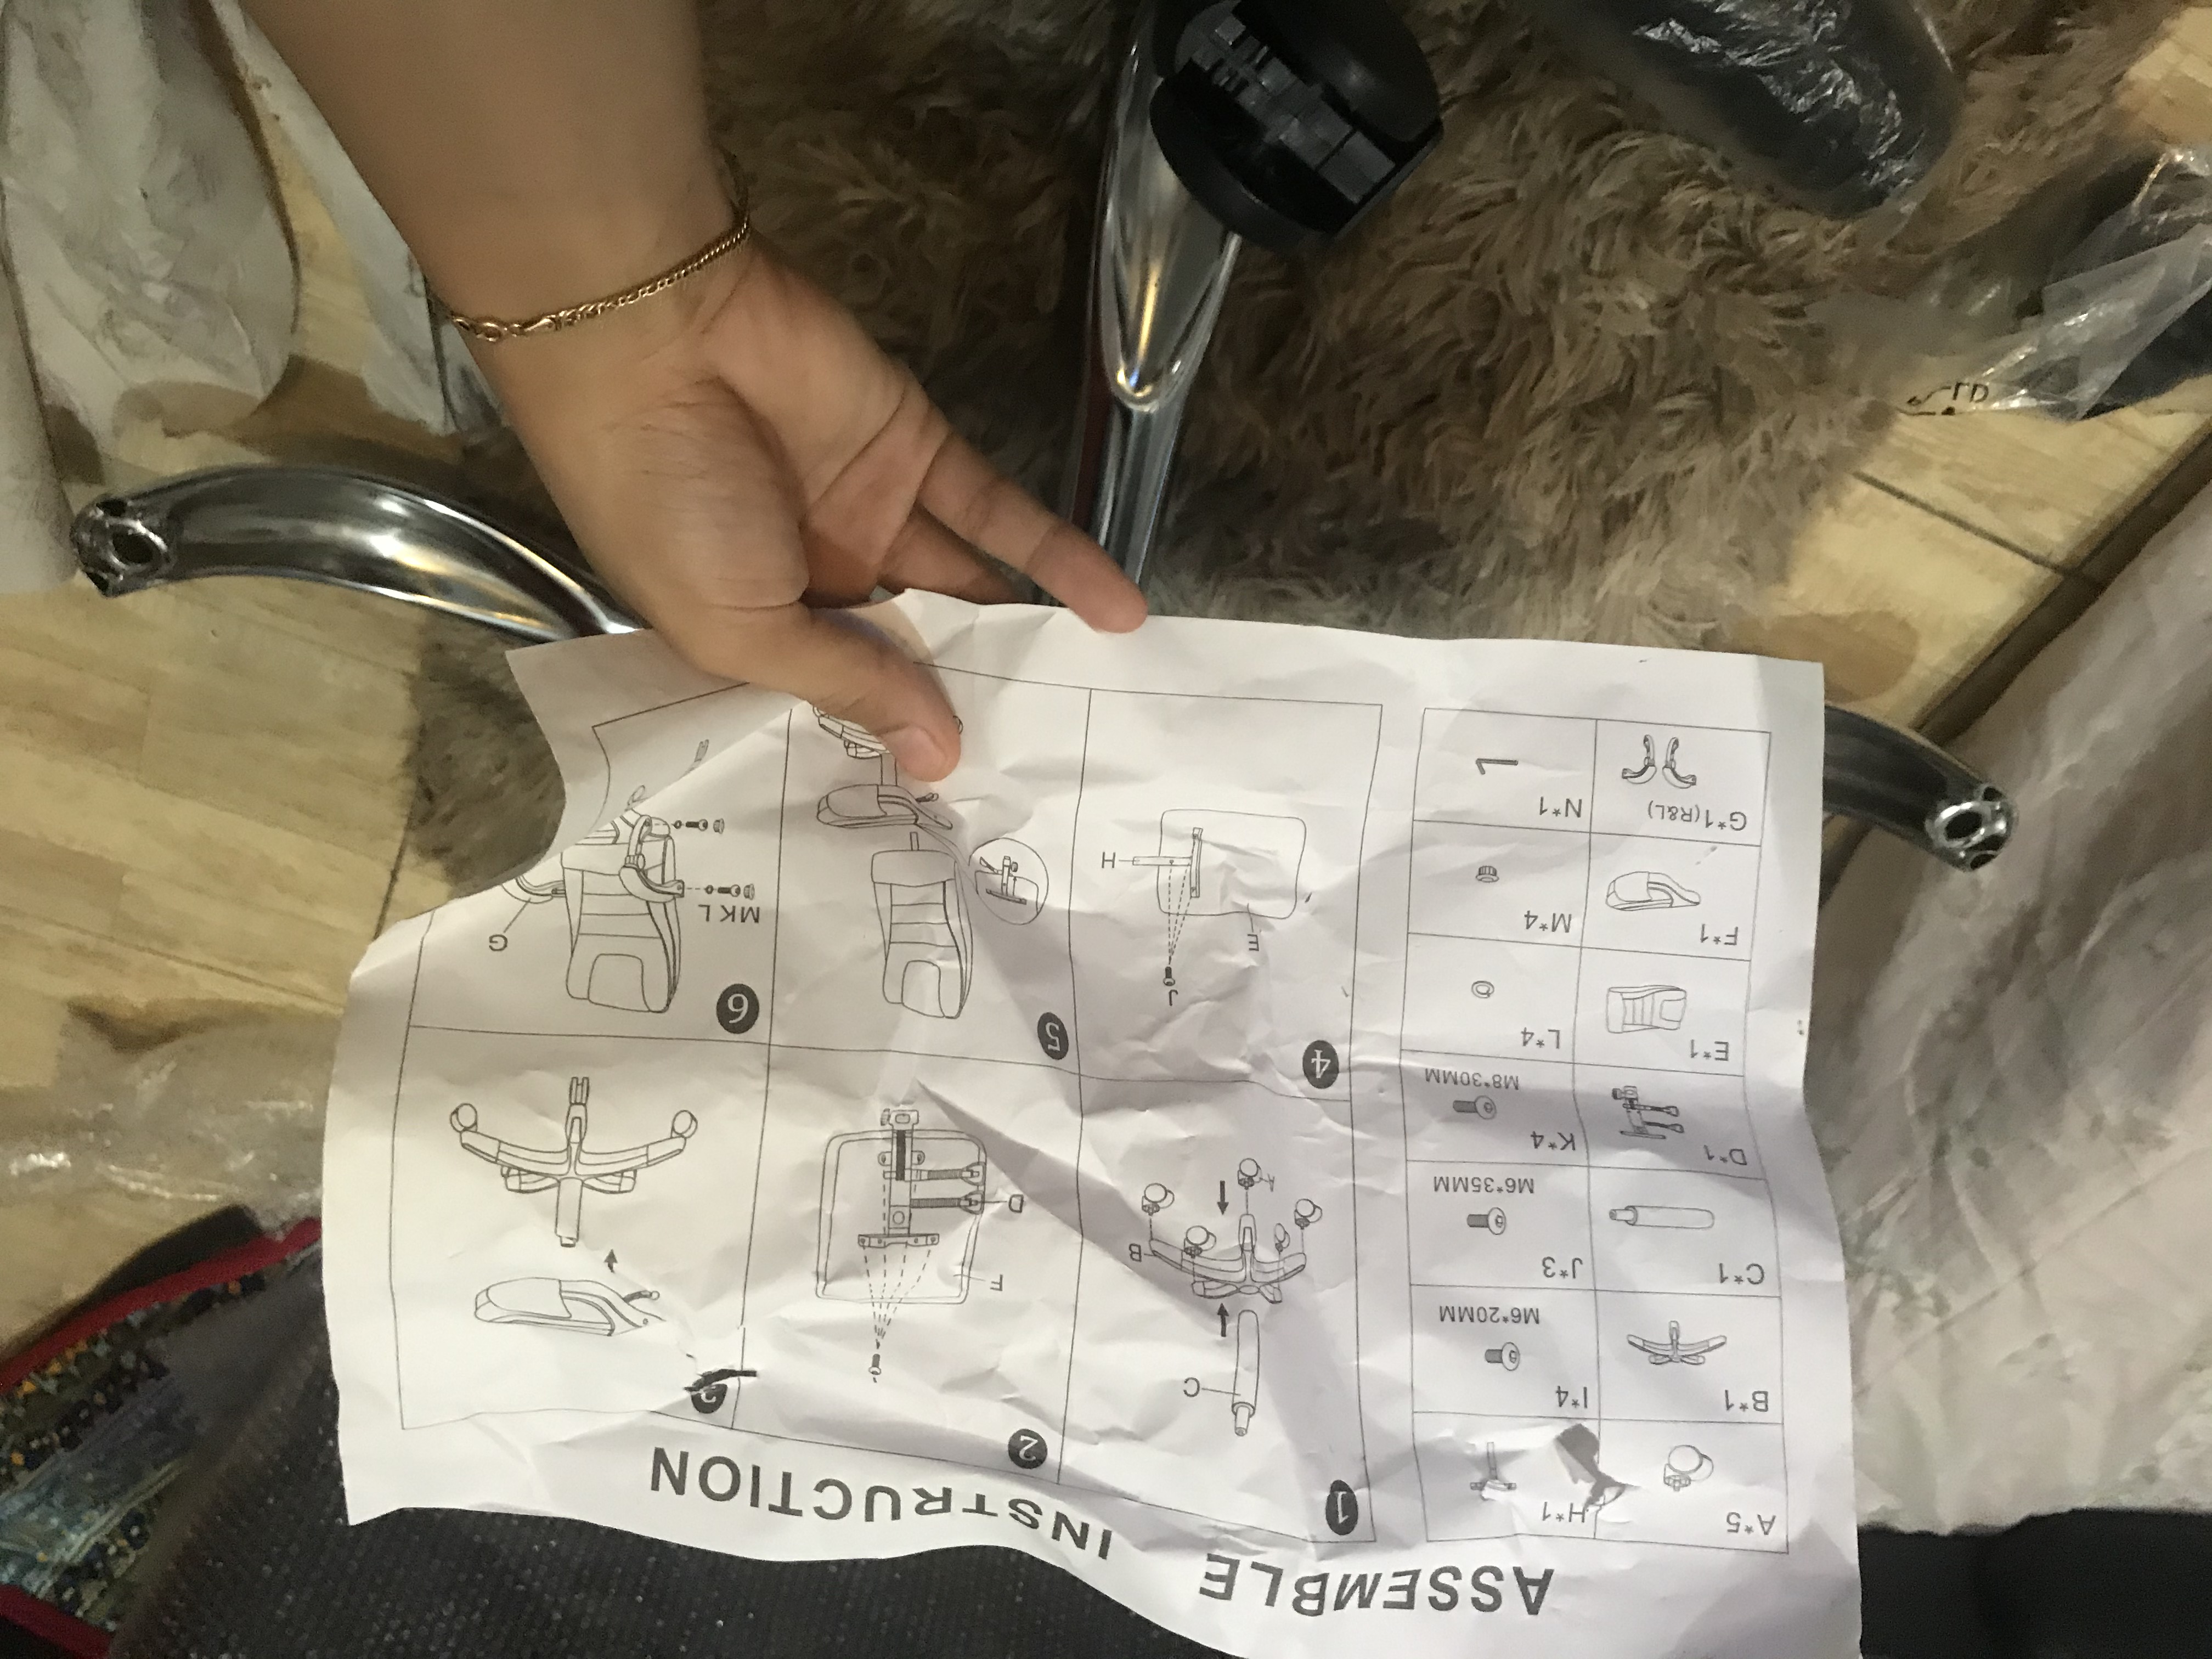
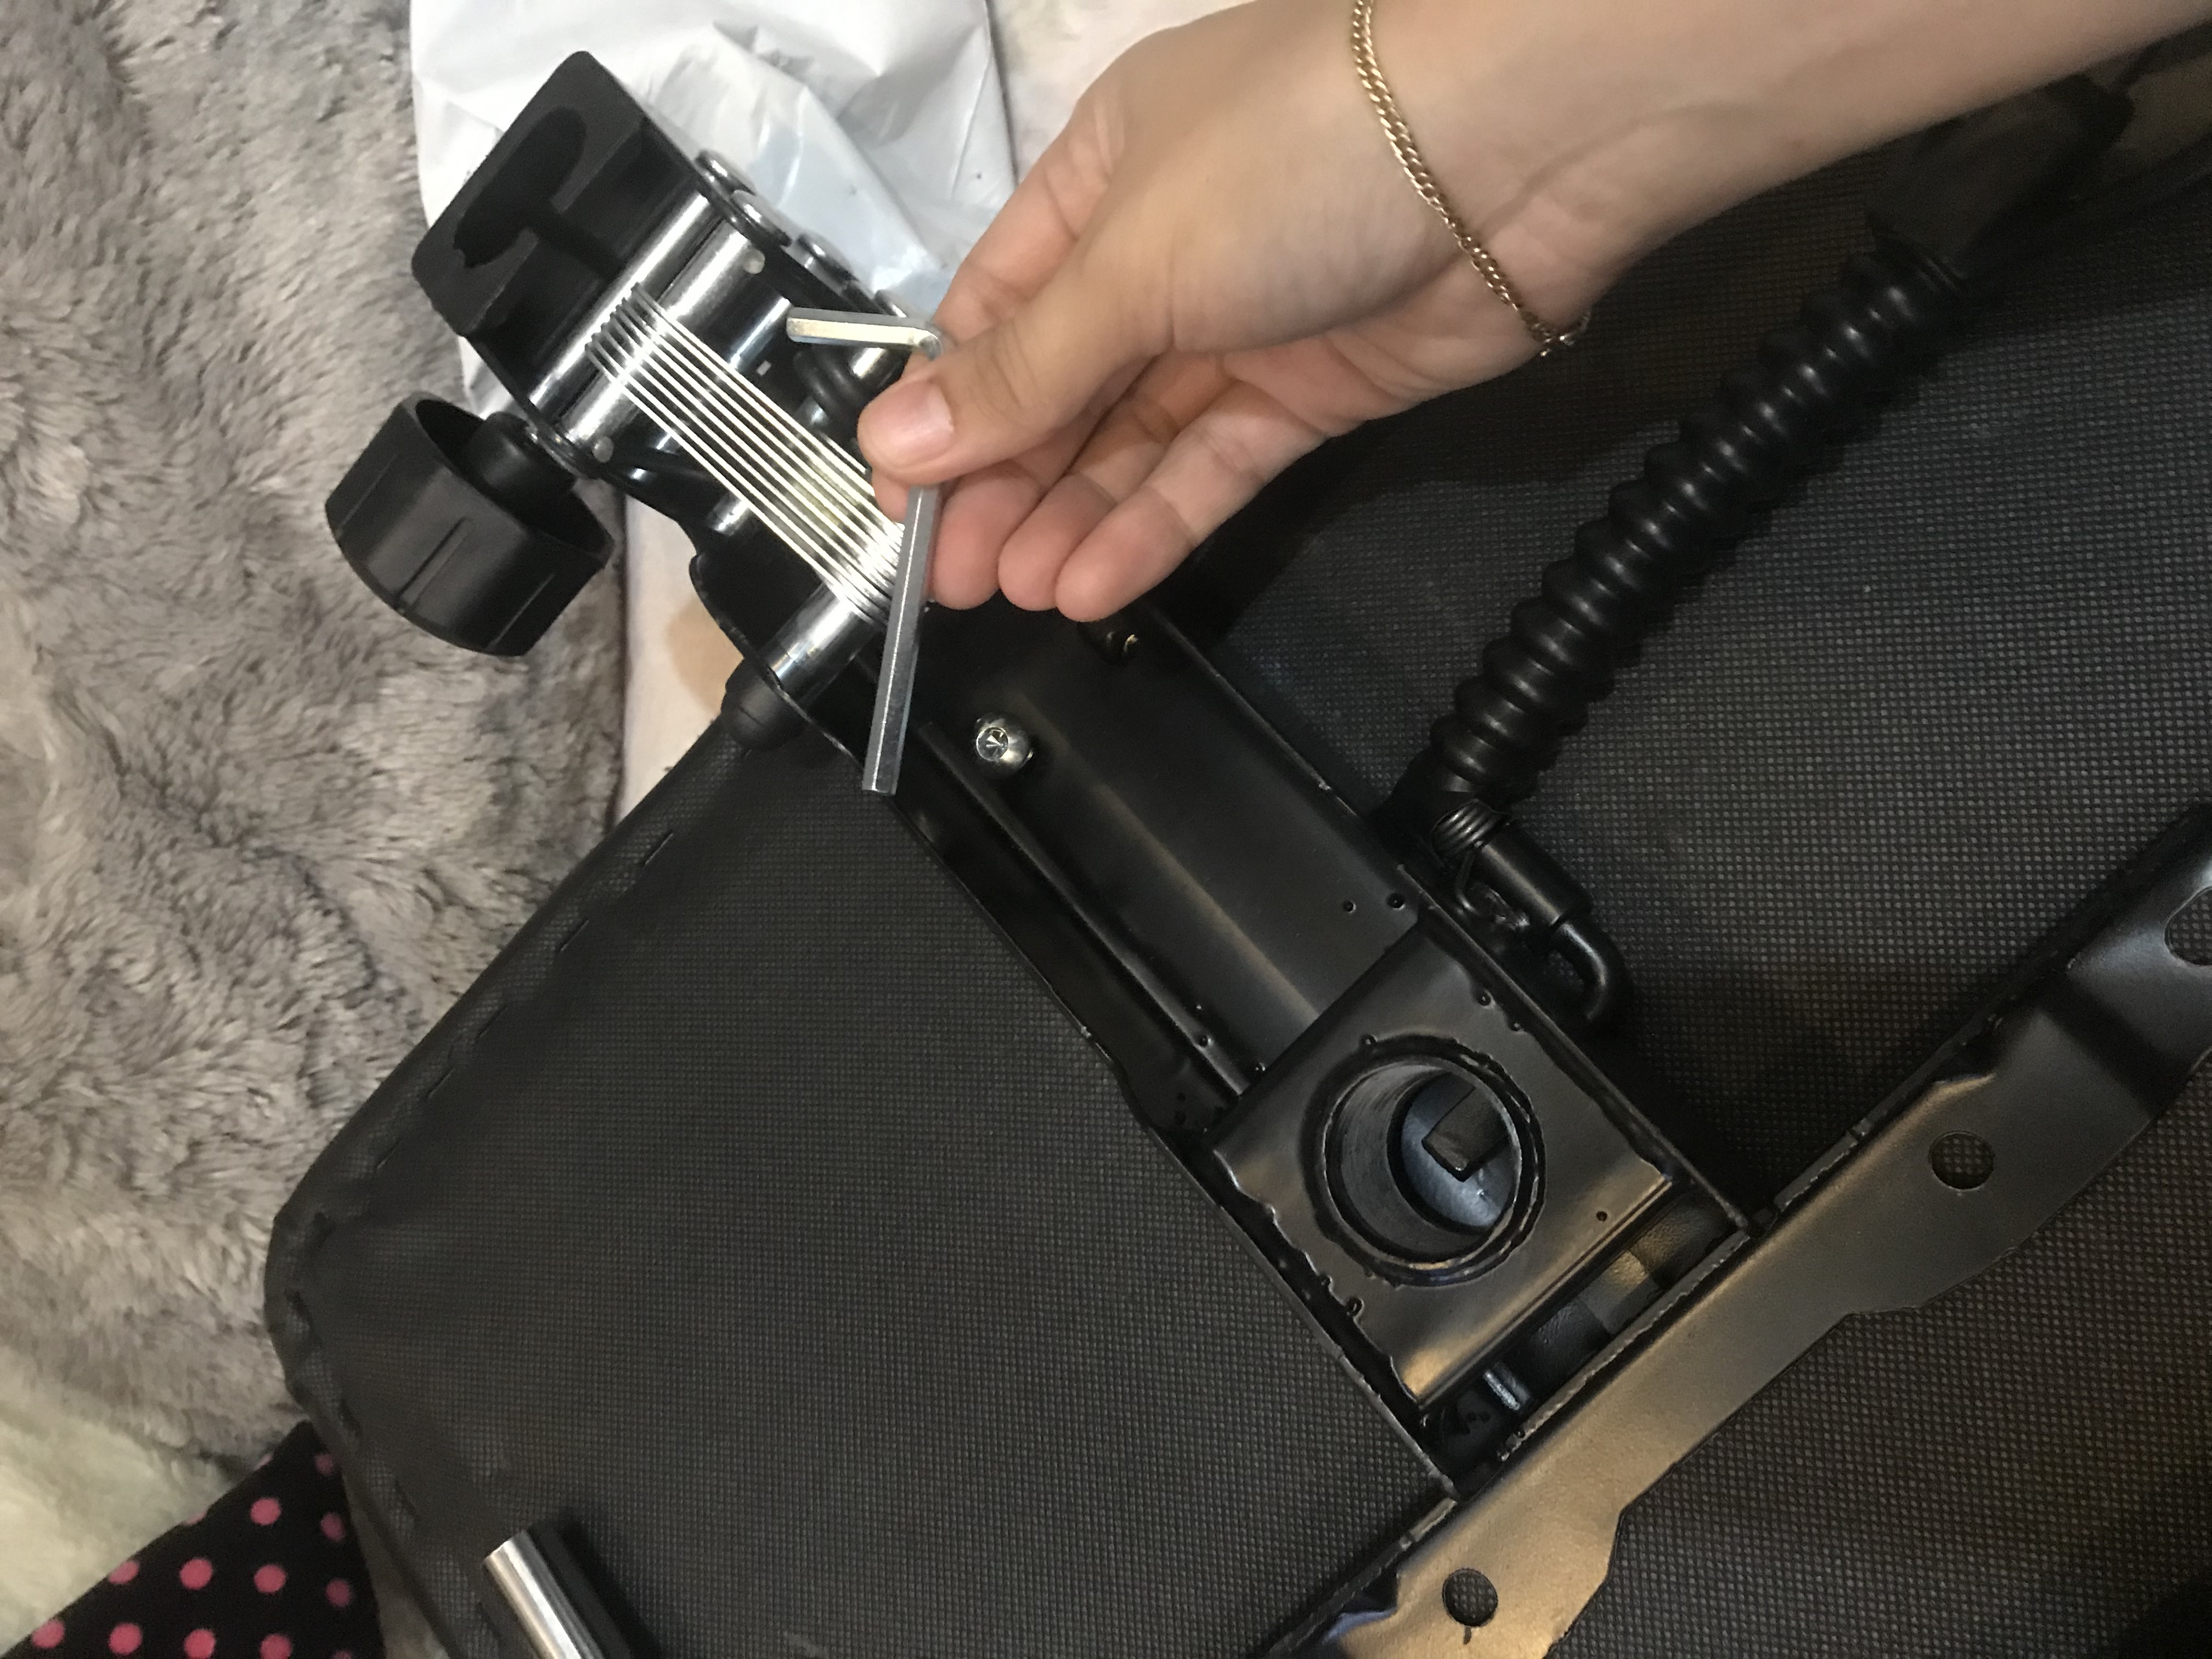
Before I was so nervous if I can assemble it properly in my own, I have no clue at all and no one can help me to assemble it. but it is really easy to assemble. The manual for assembling is very easy to follow and this guide makes it easy for me to assemble it properly. I'm sorry for the crumble paper :)
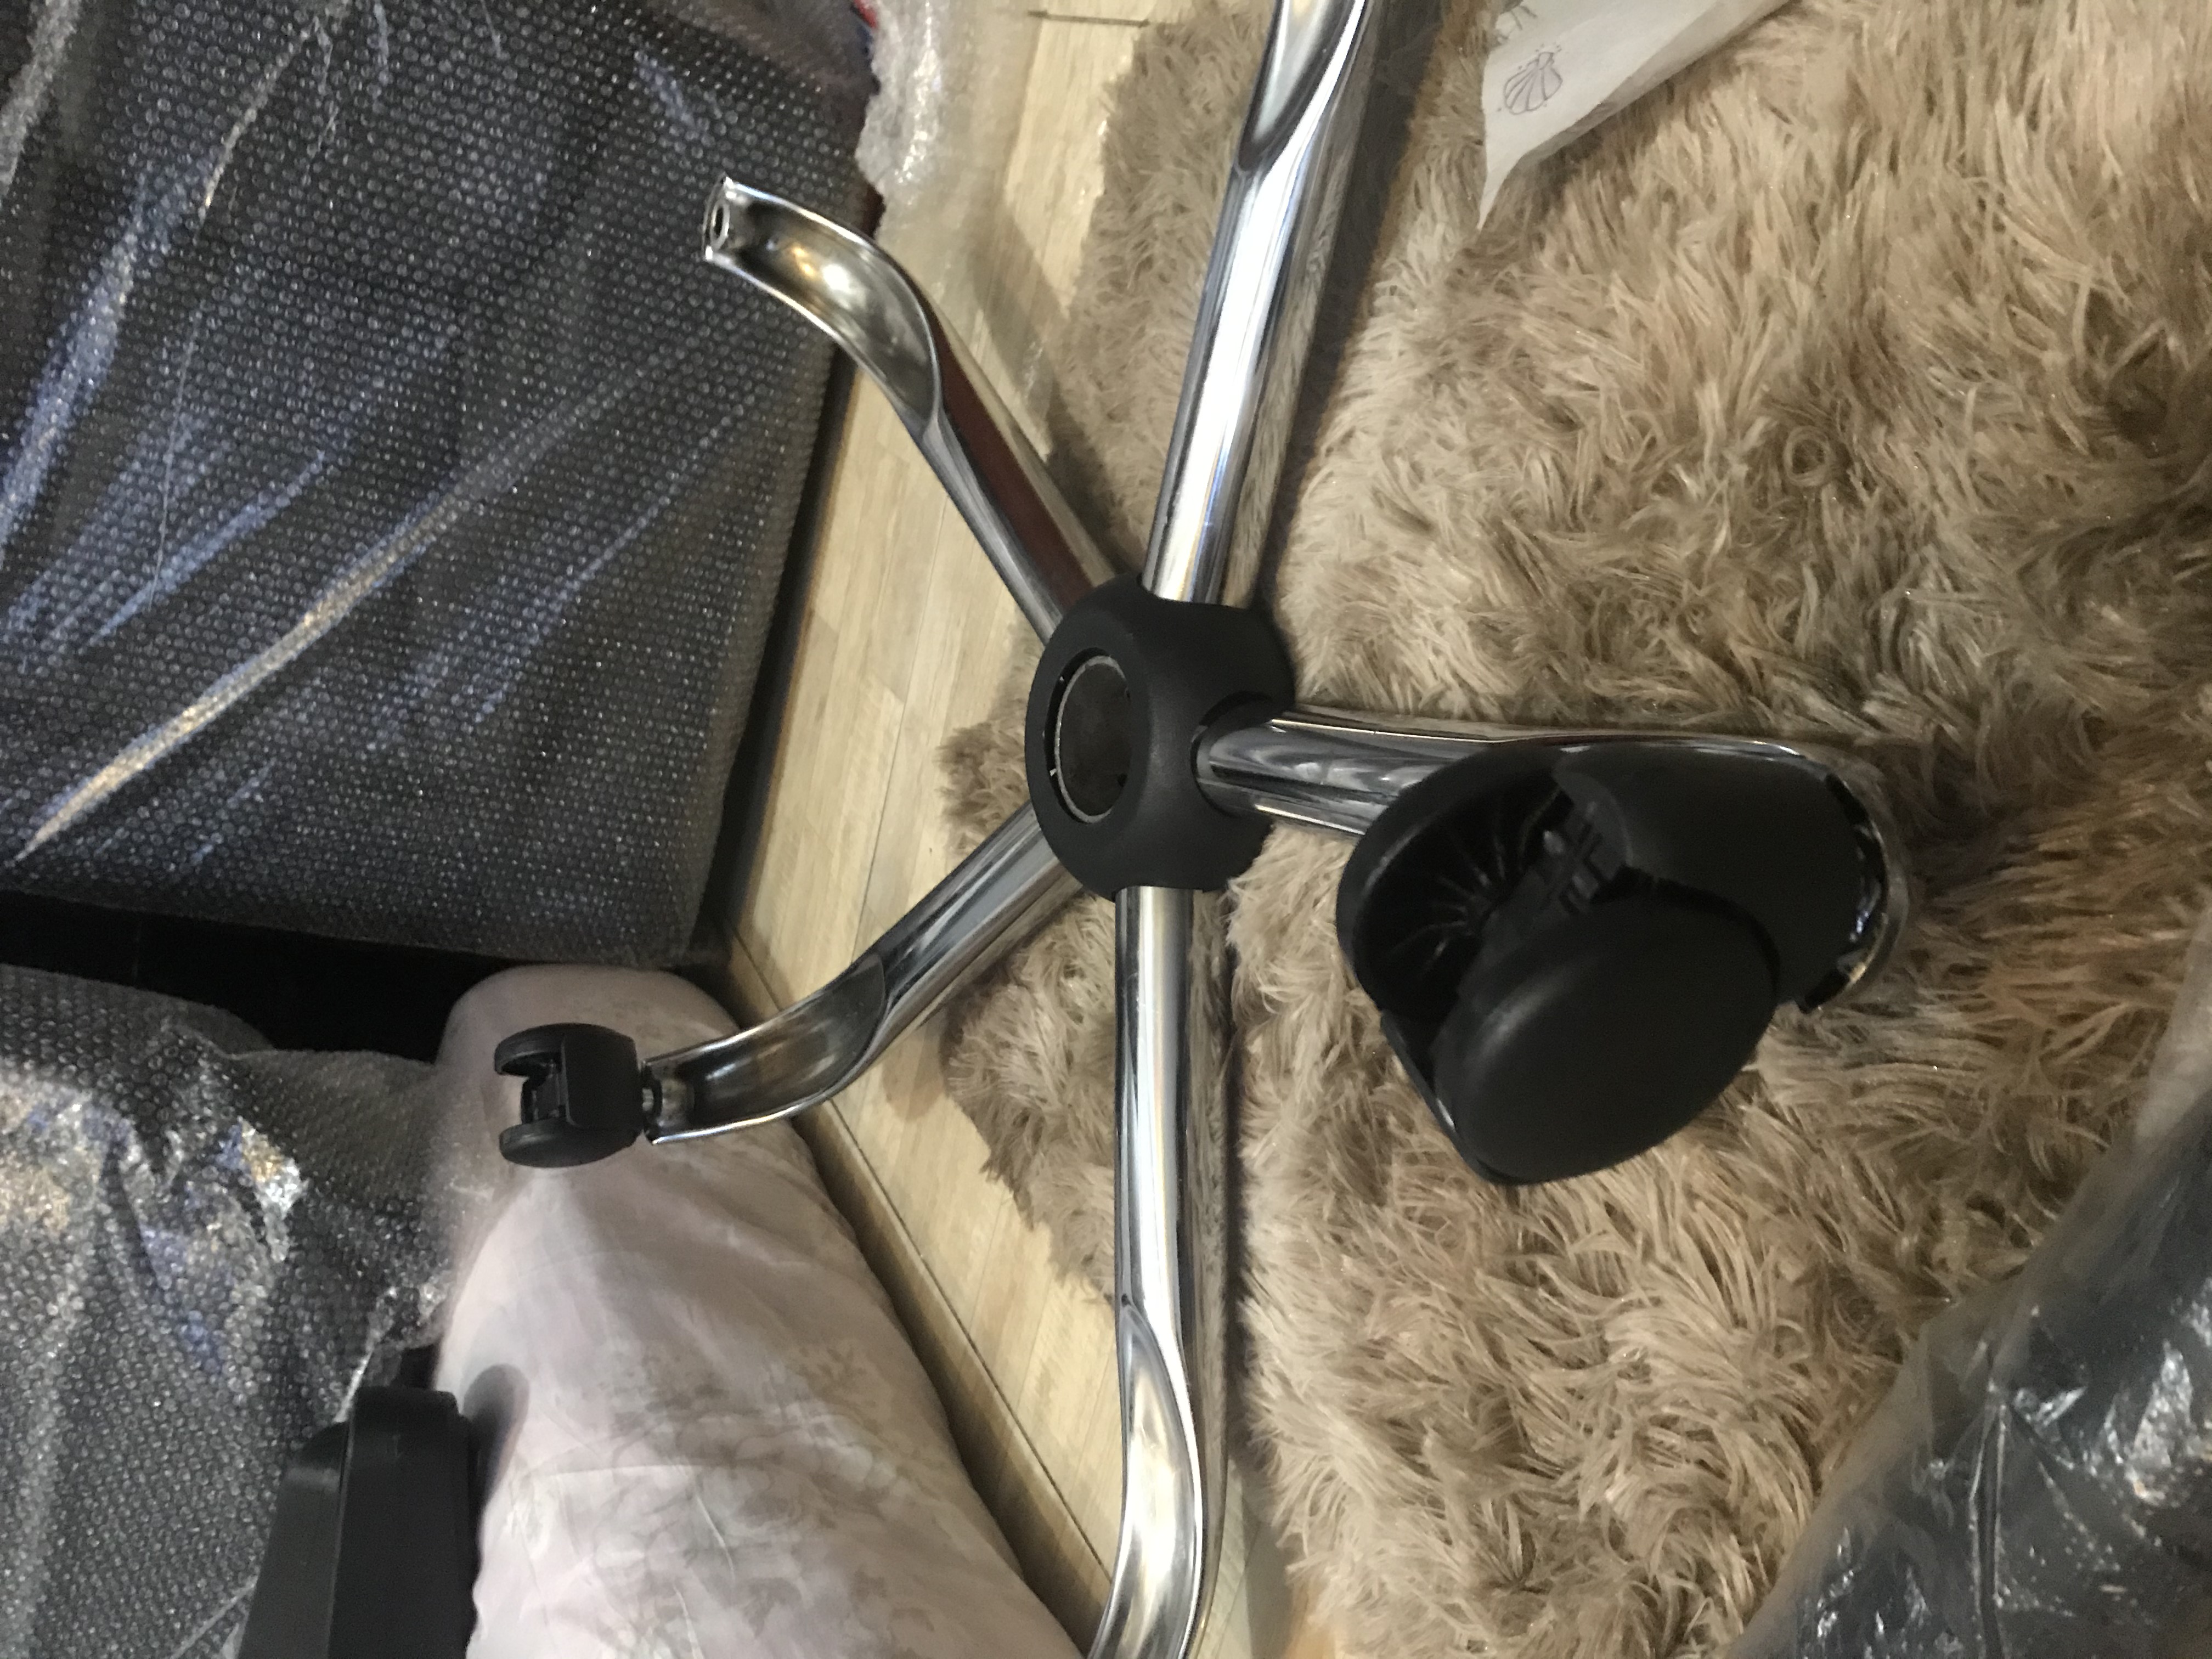
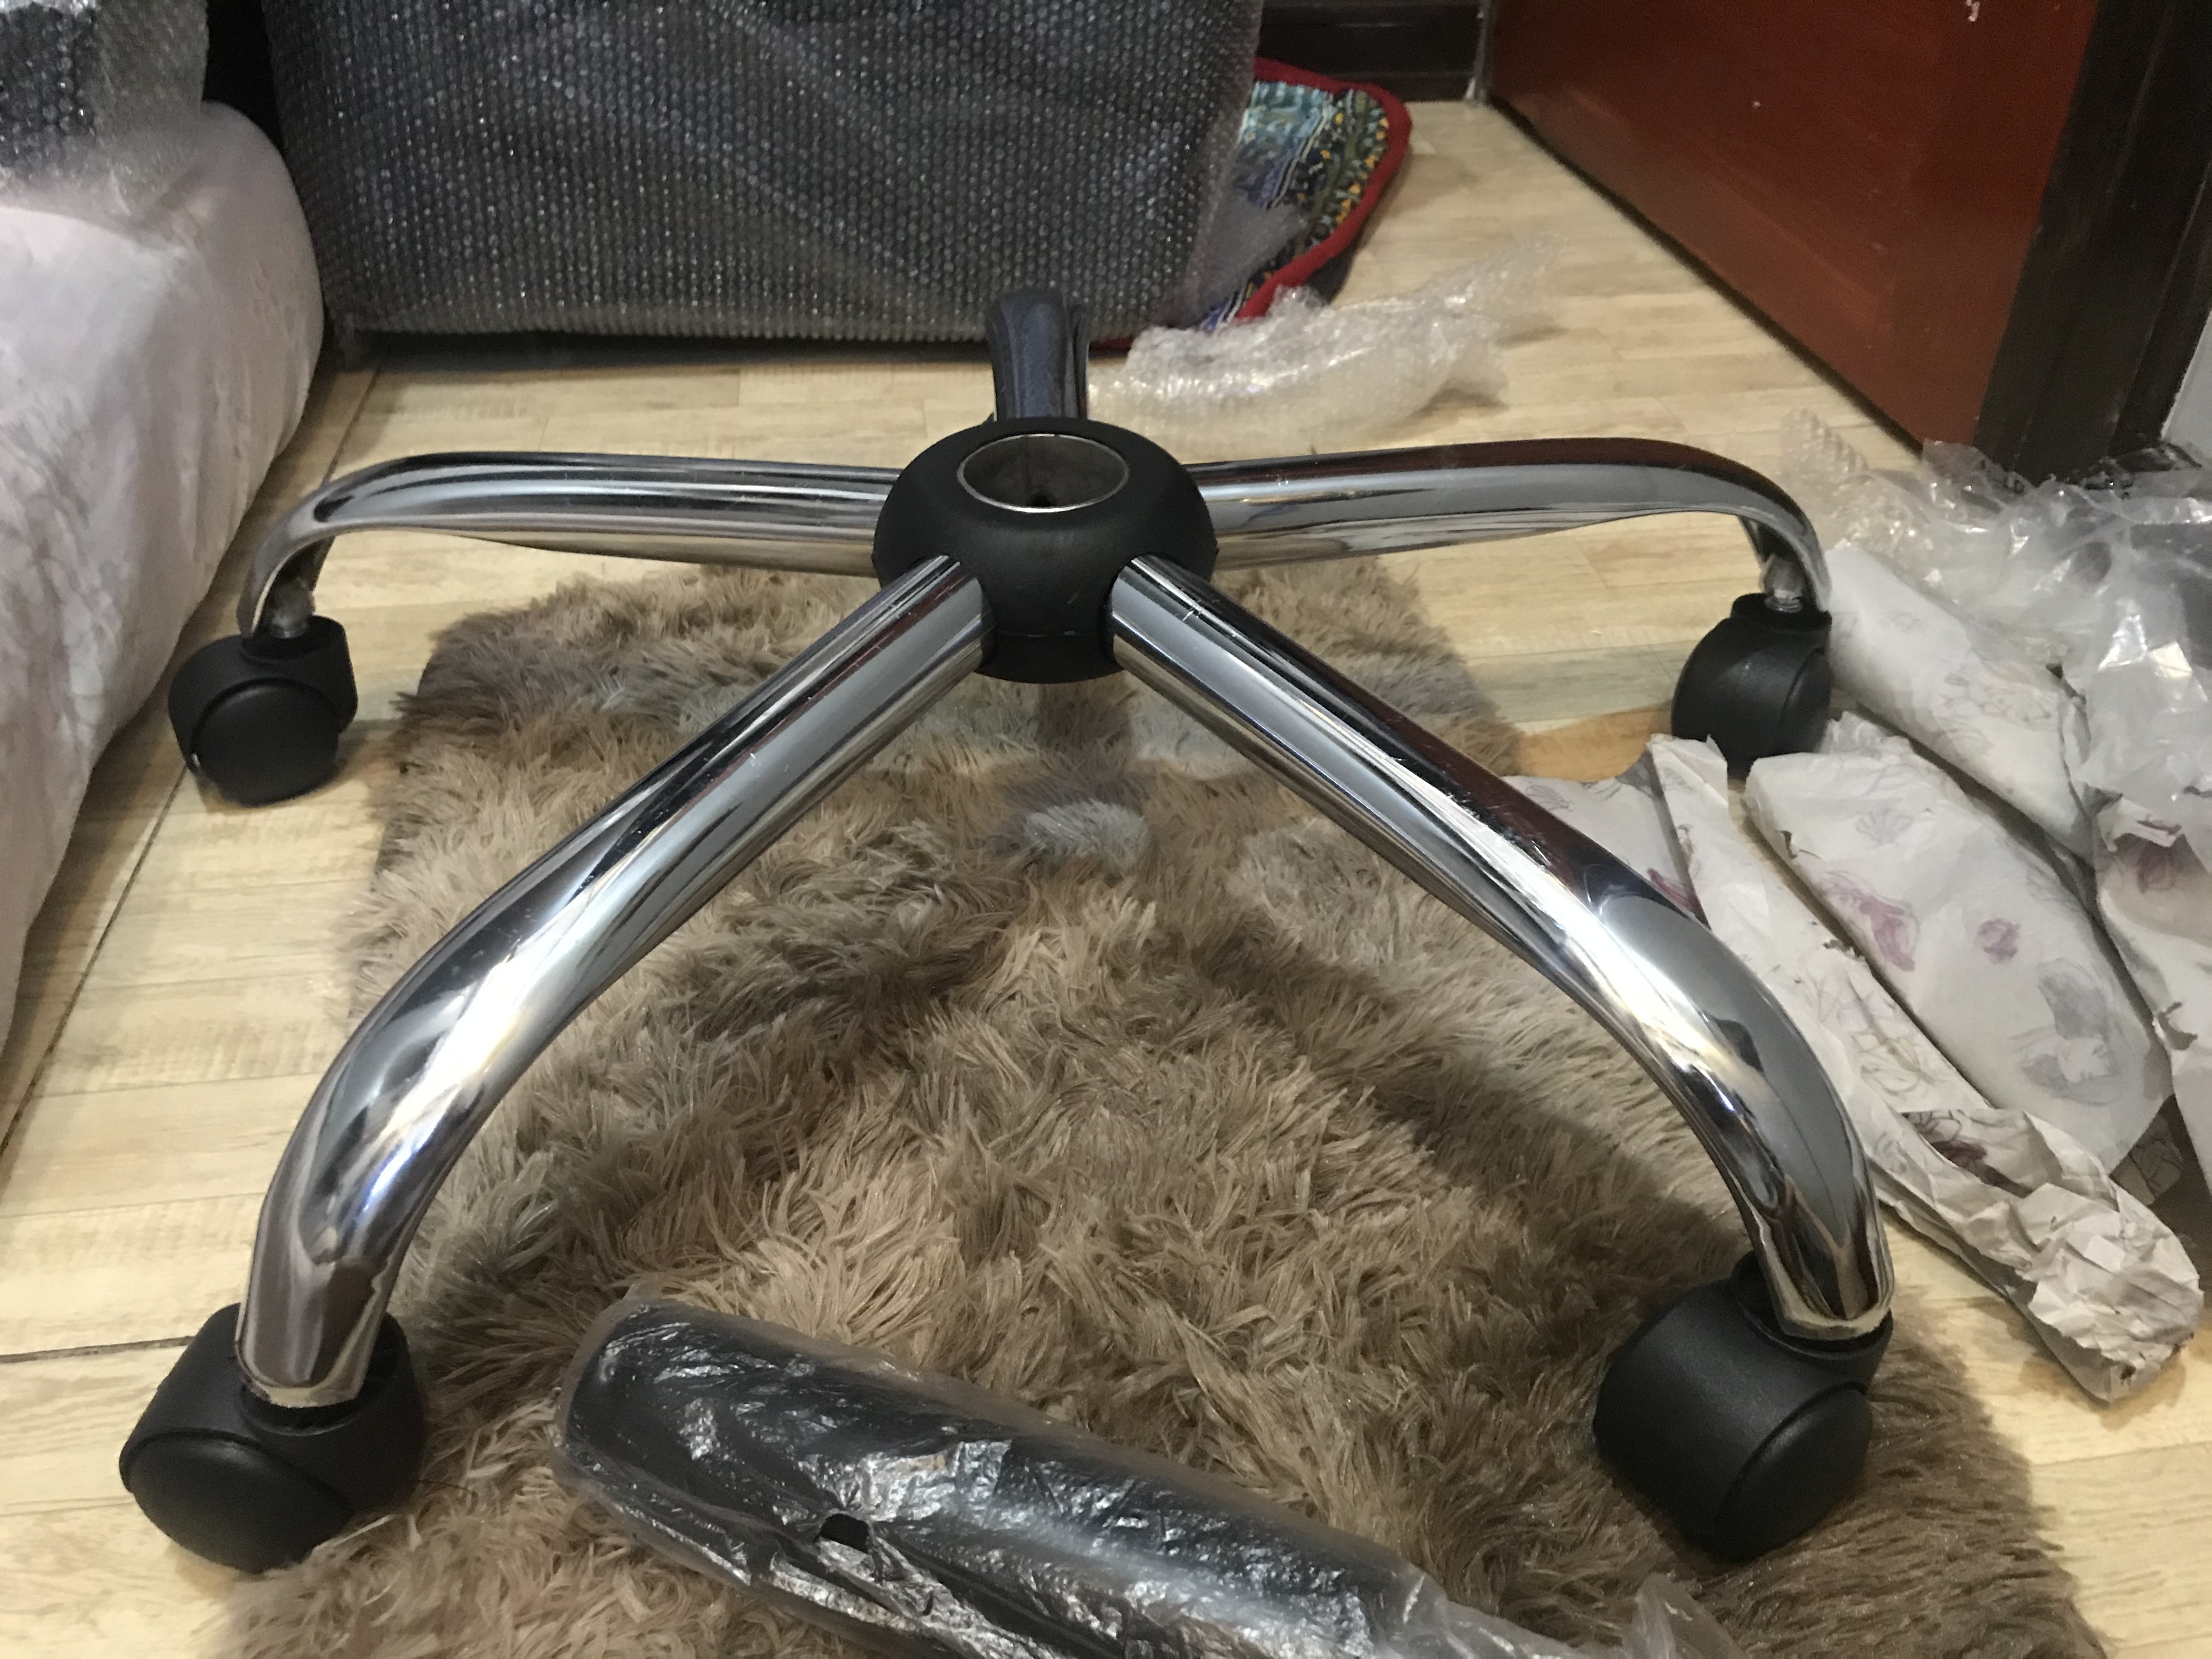
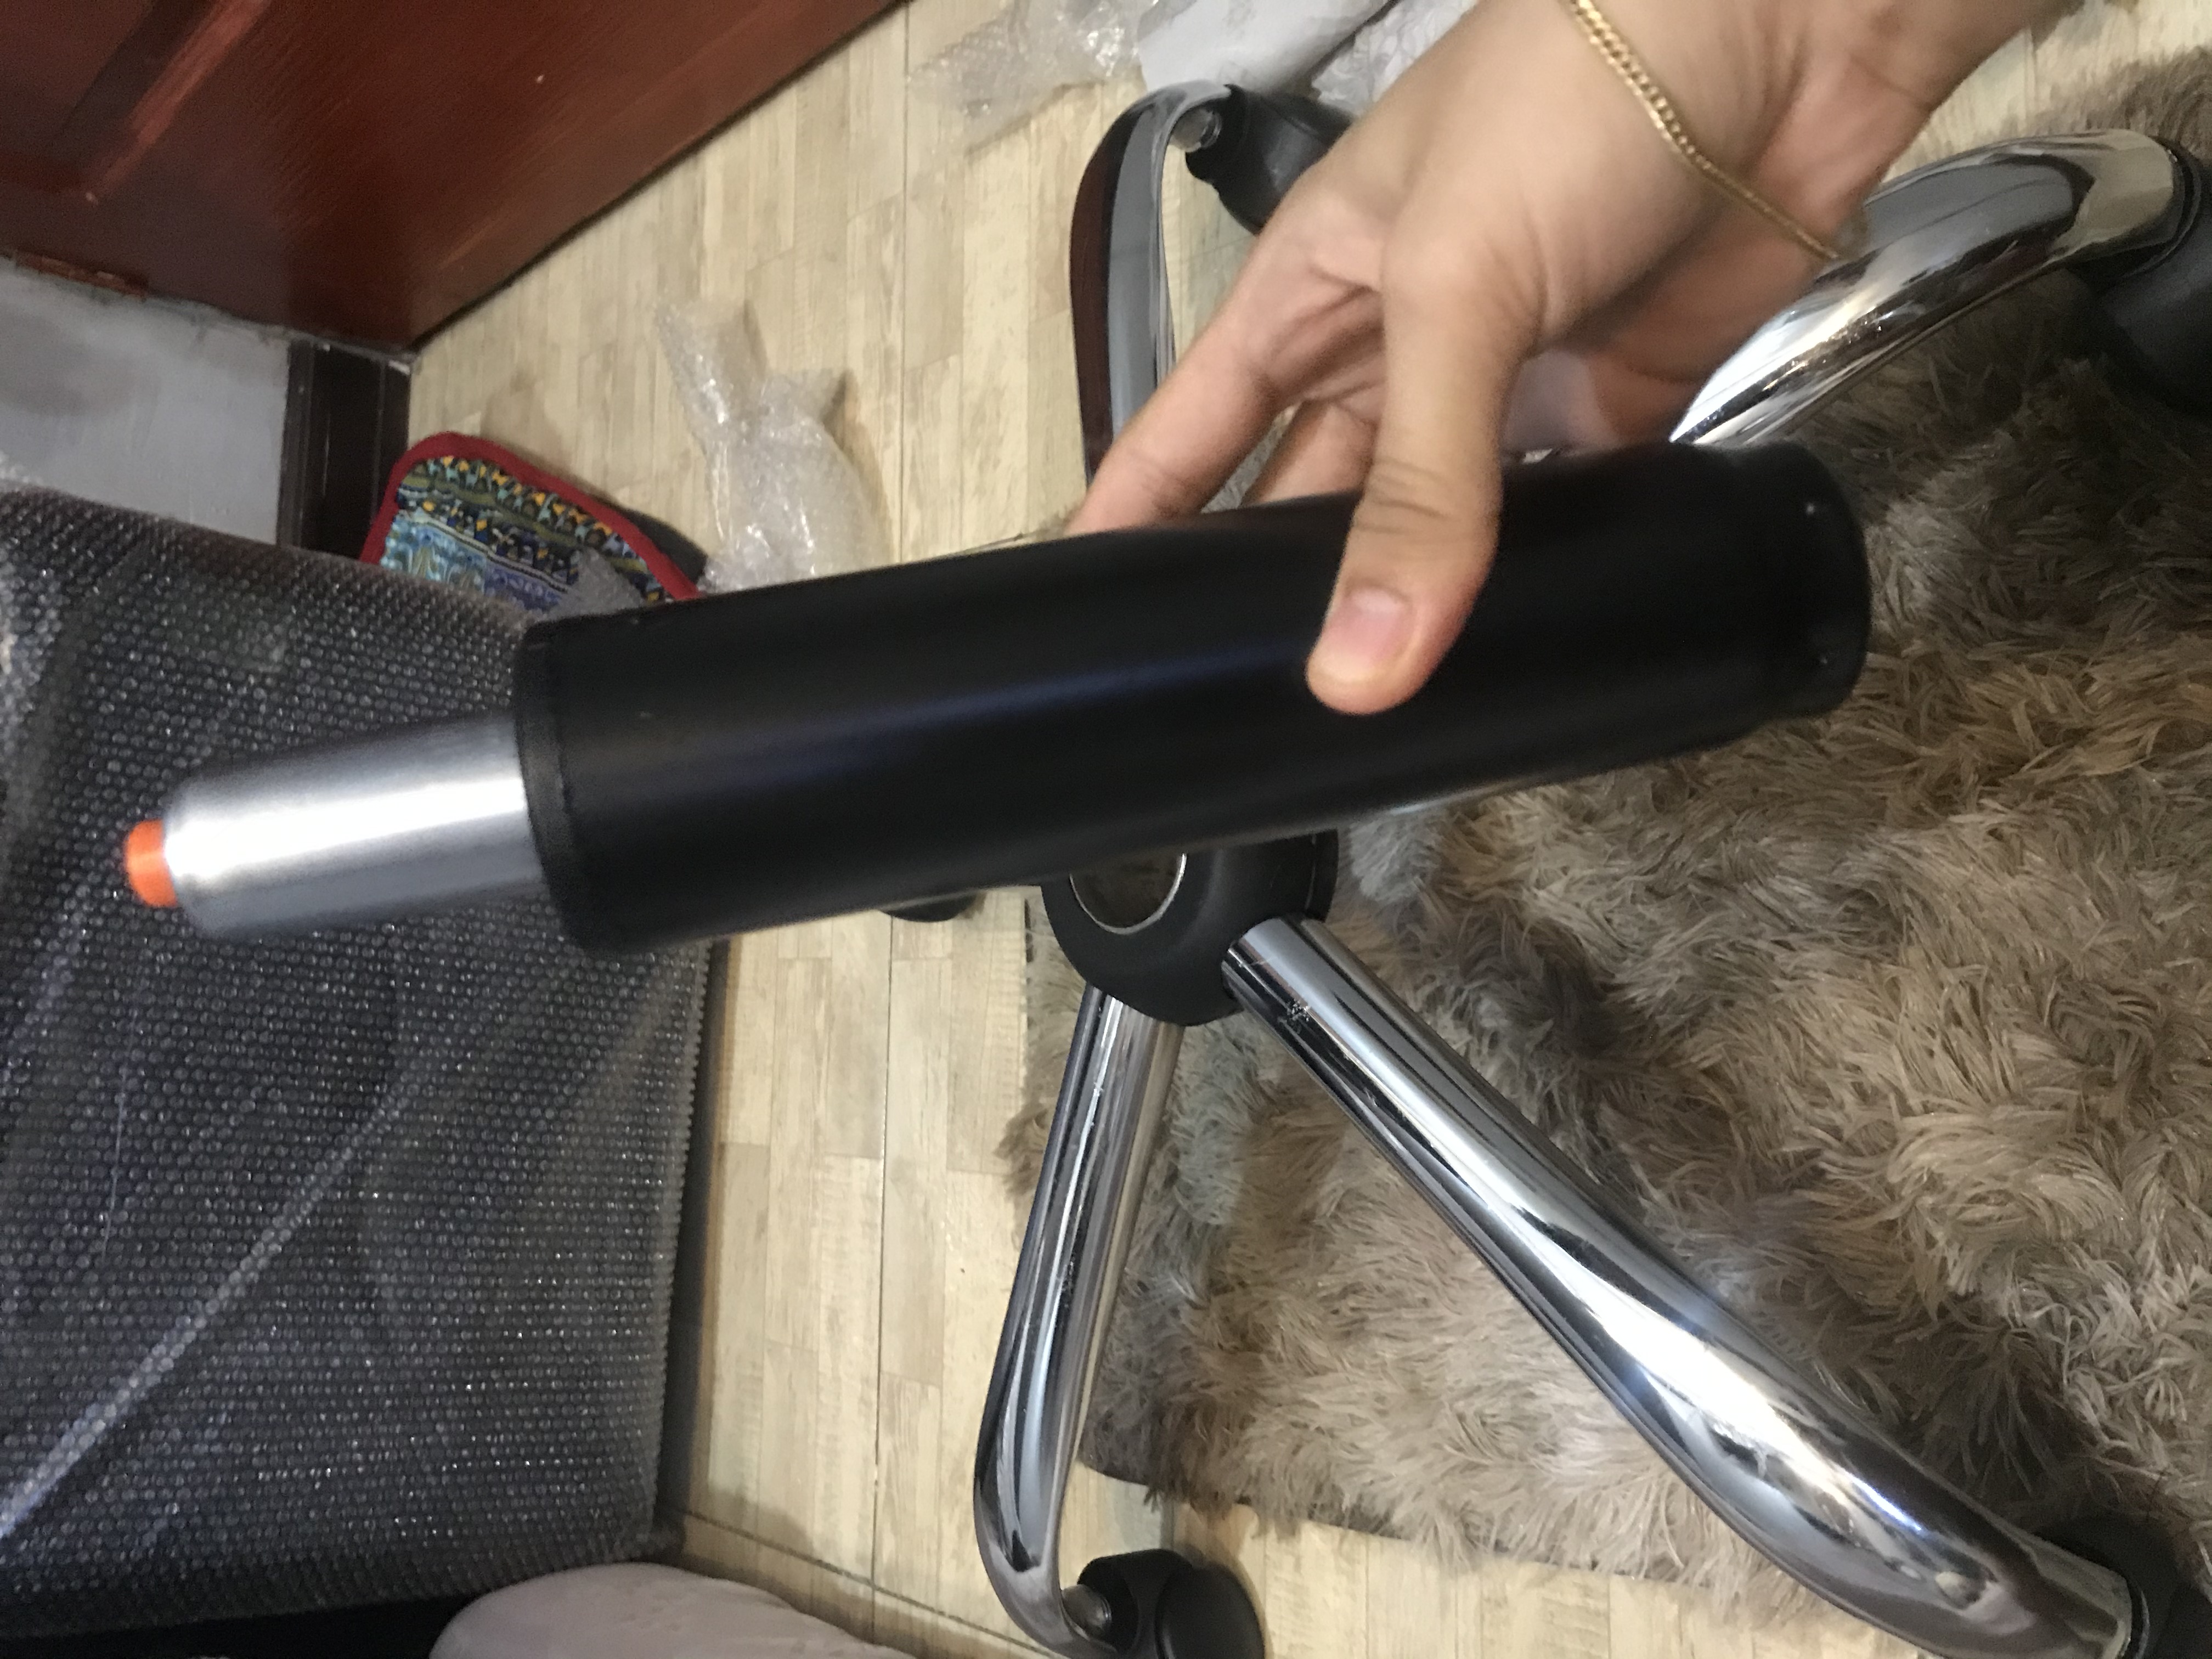
First Step: Combine together the A B C item, A. the wheel, B. base aluminum C. Stand pumper
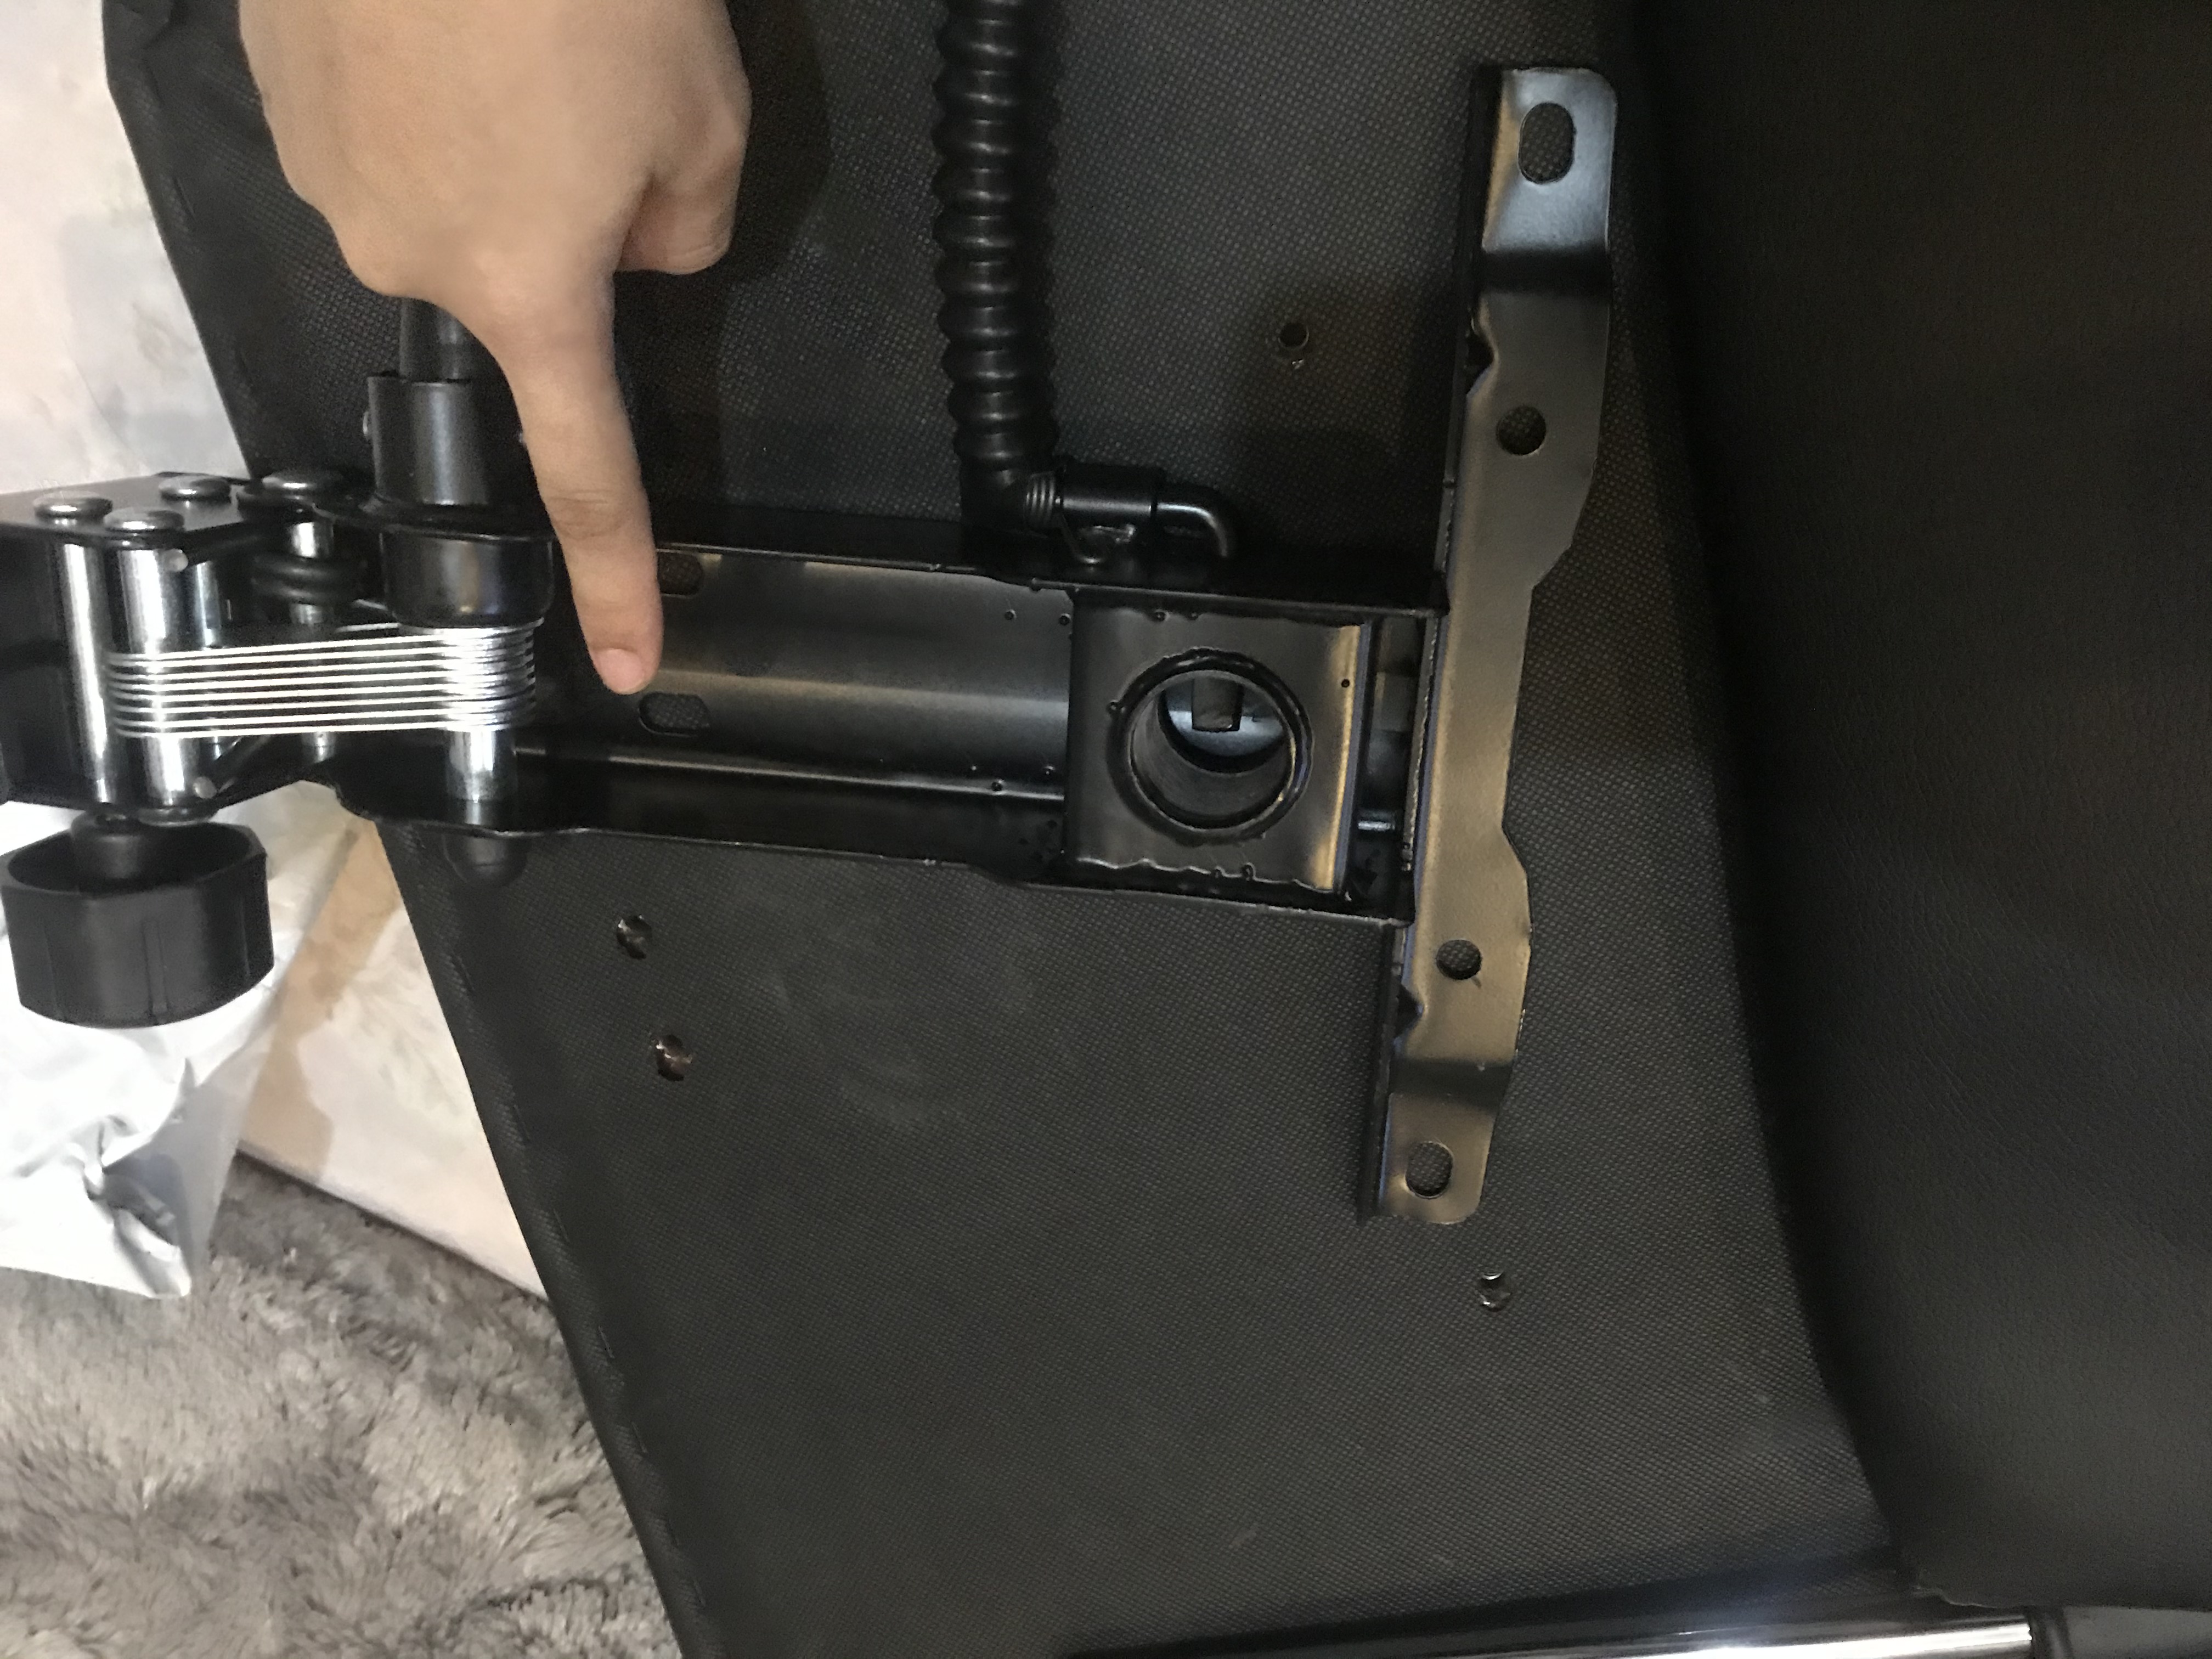
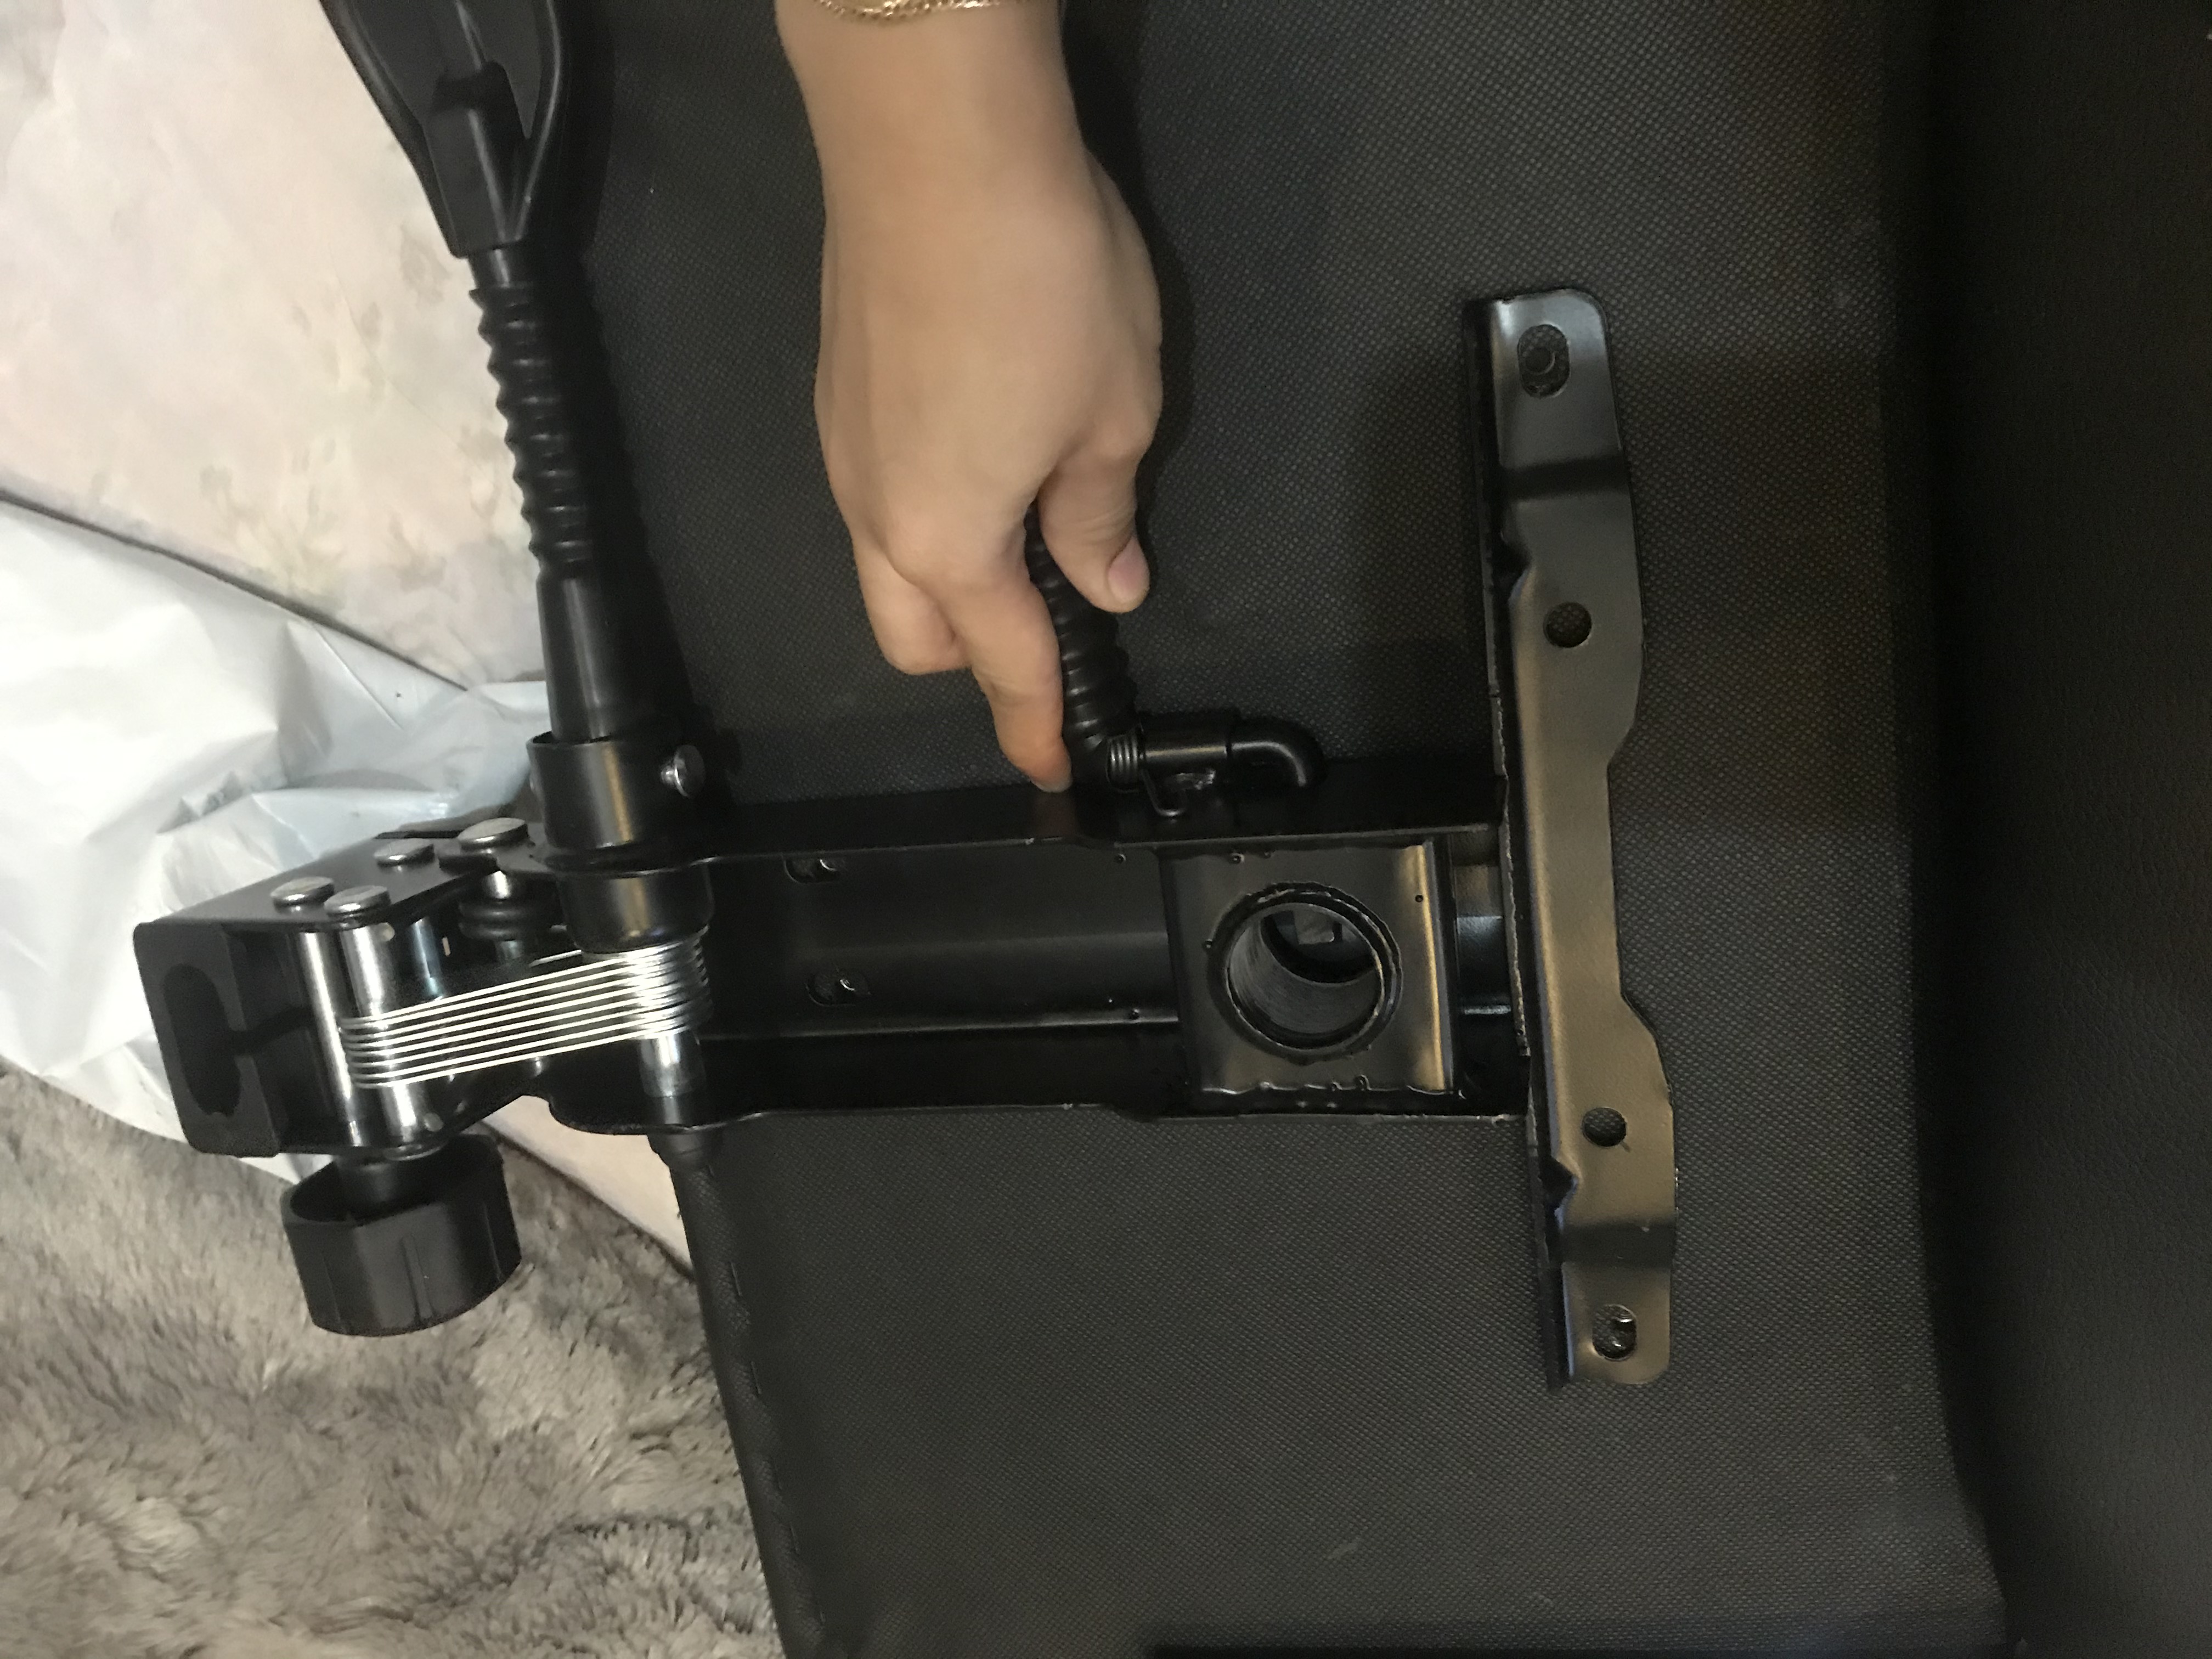
Step 2. Combing the F and D and putting some bolt on it. F. the base leather chair D. Aluminum base support control for up and down set control and controller for the back leather support.

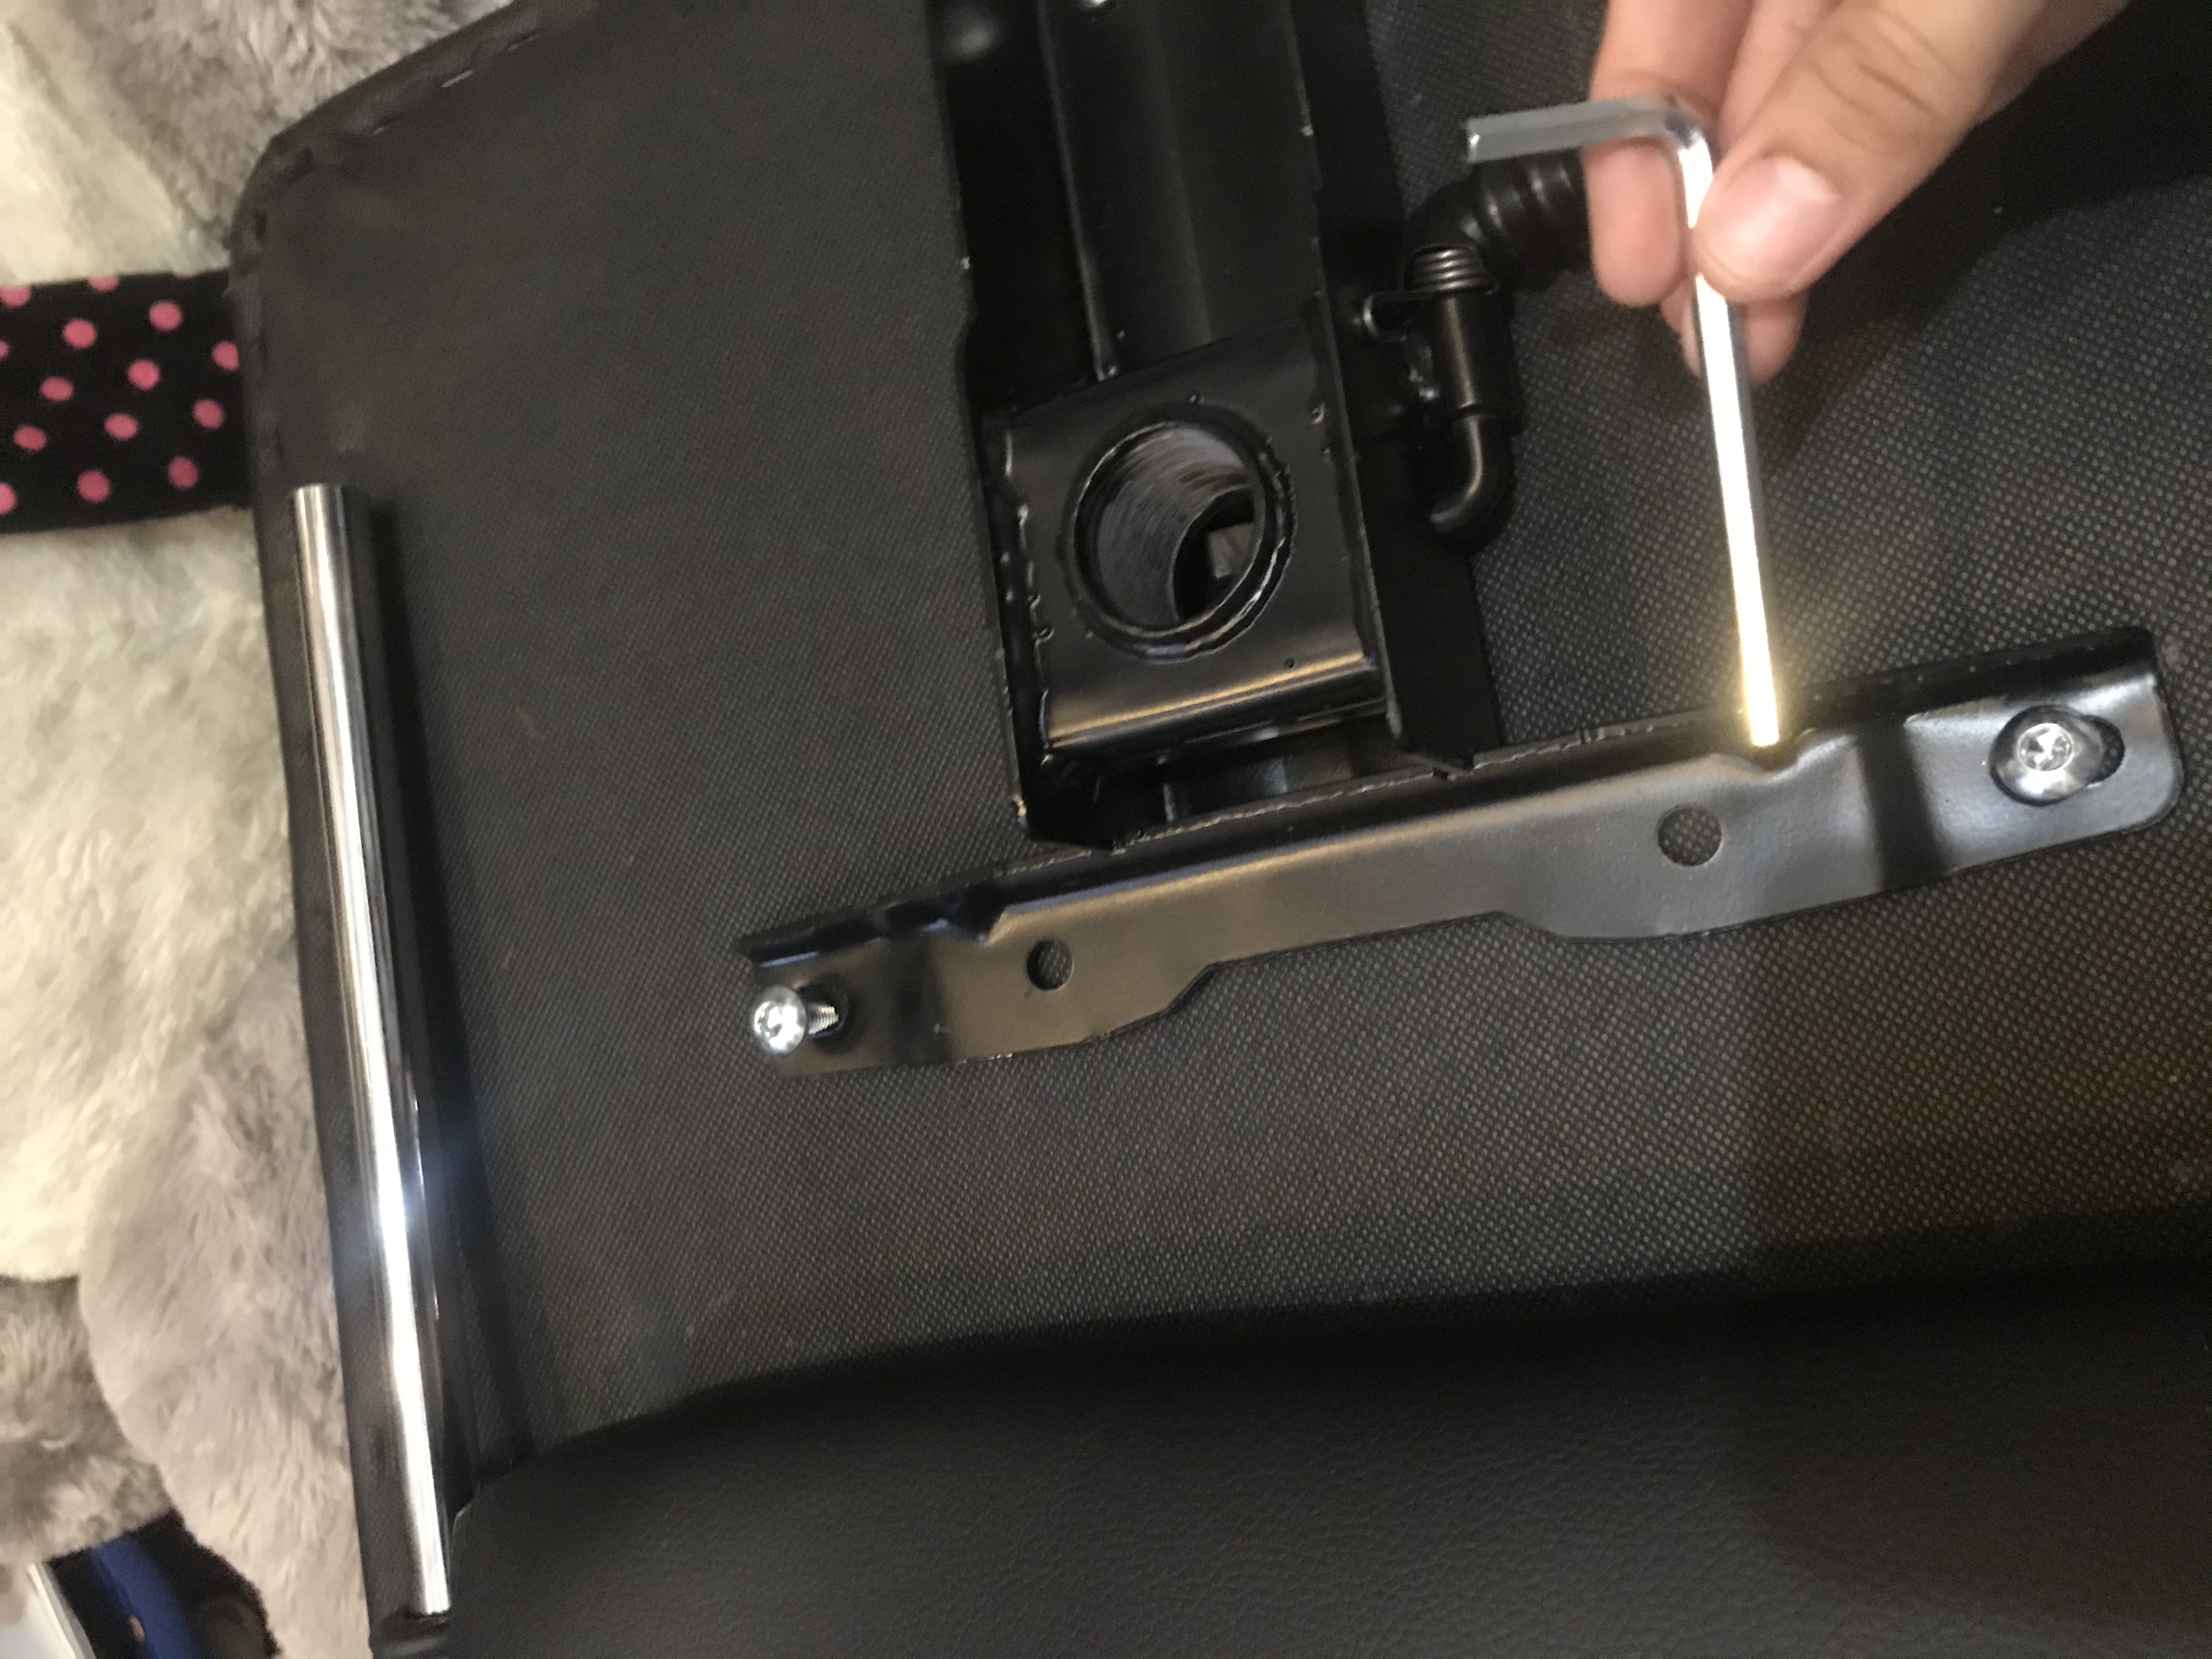
Step 3:
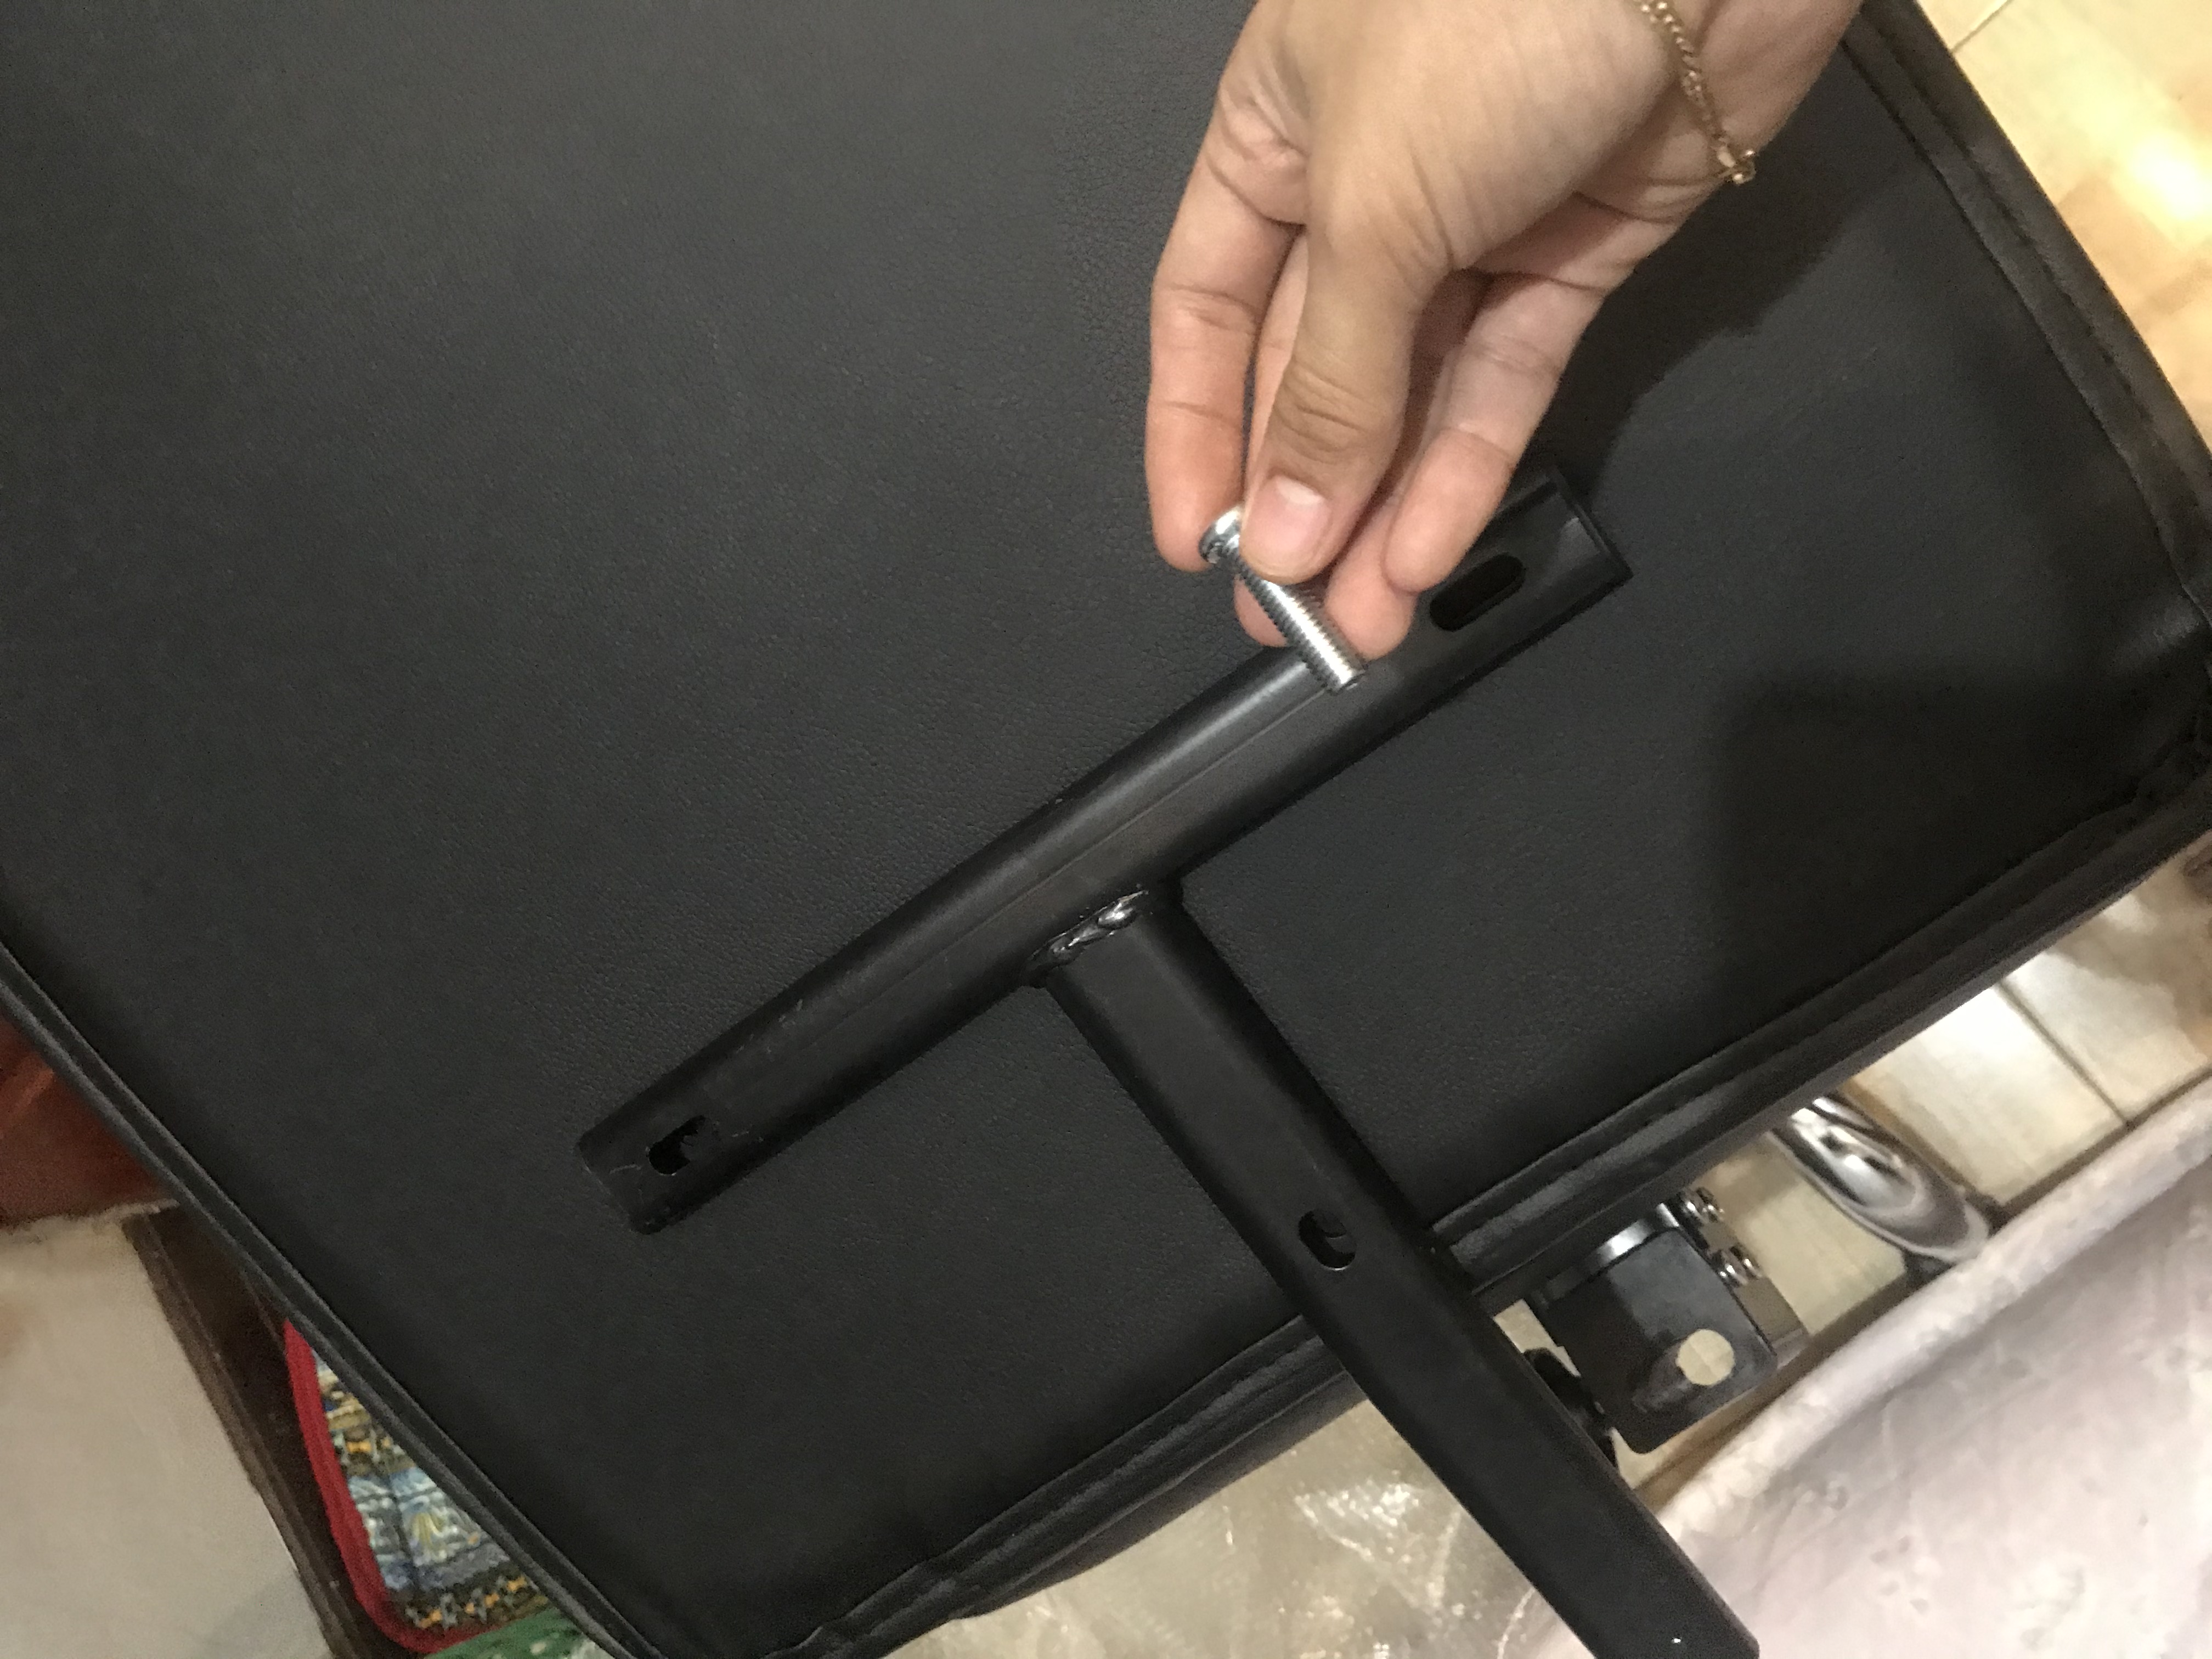
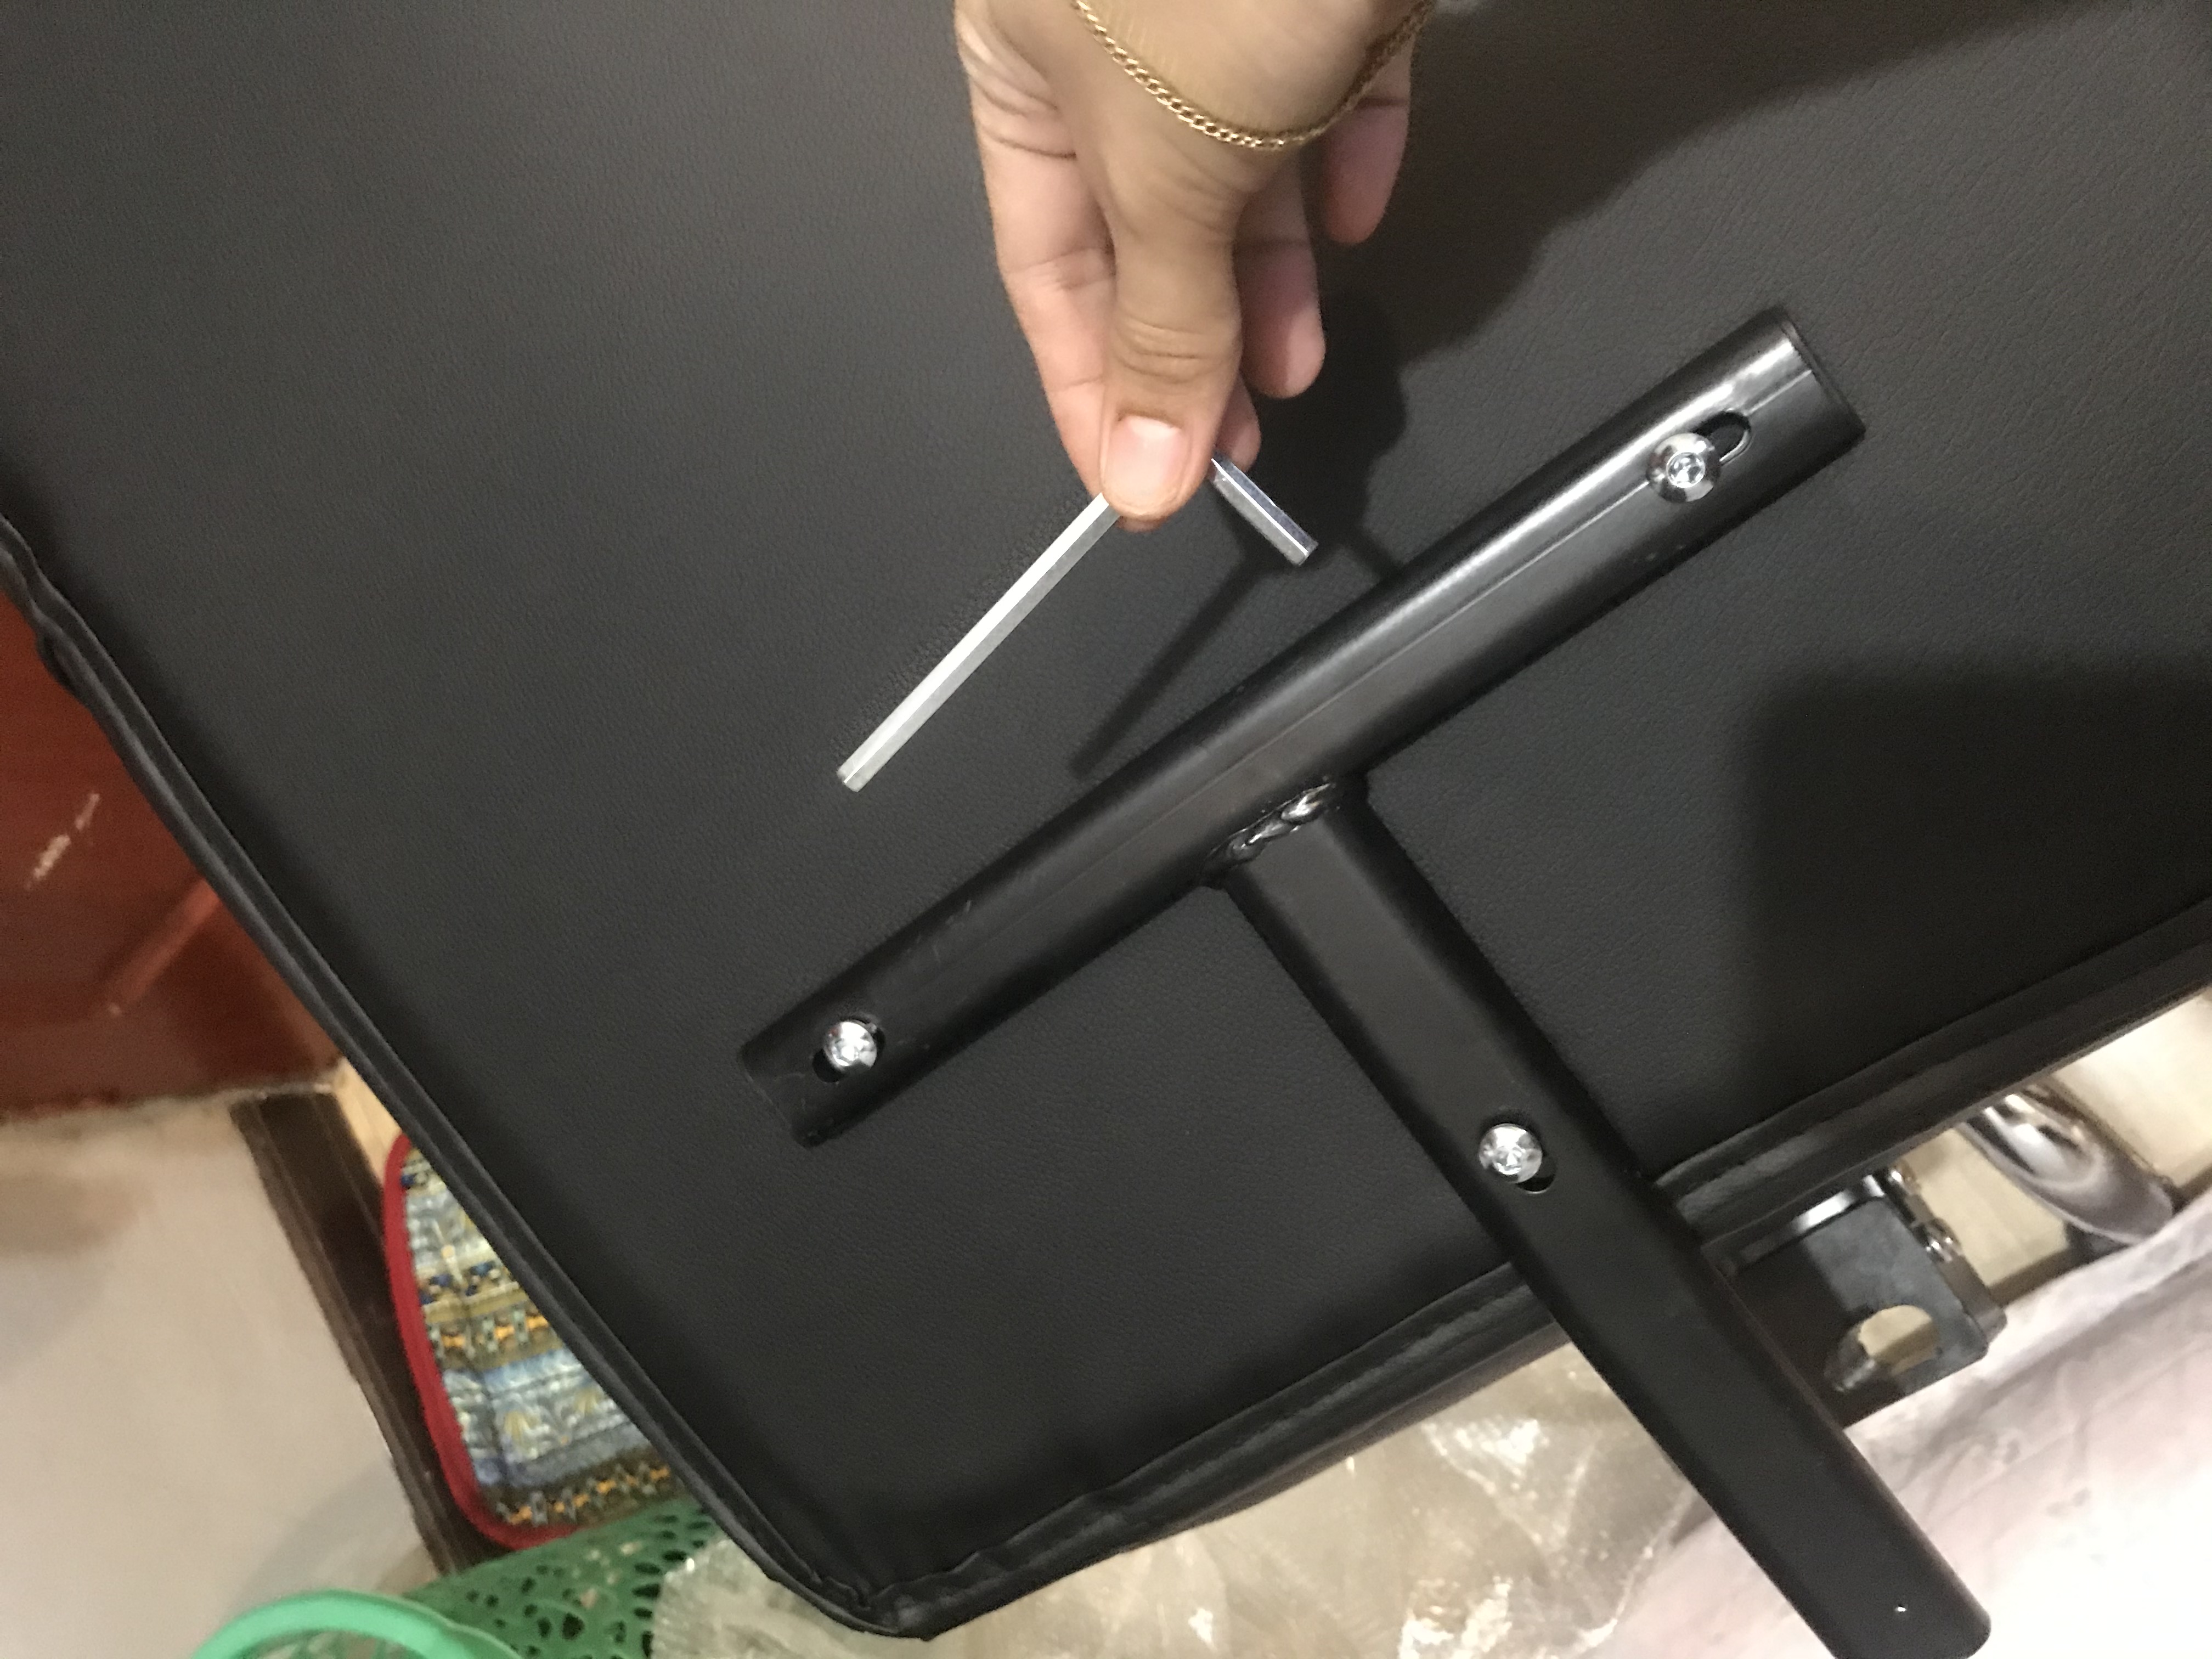
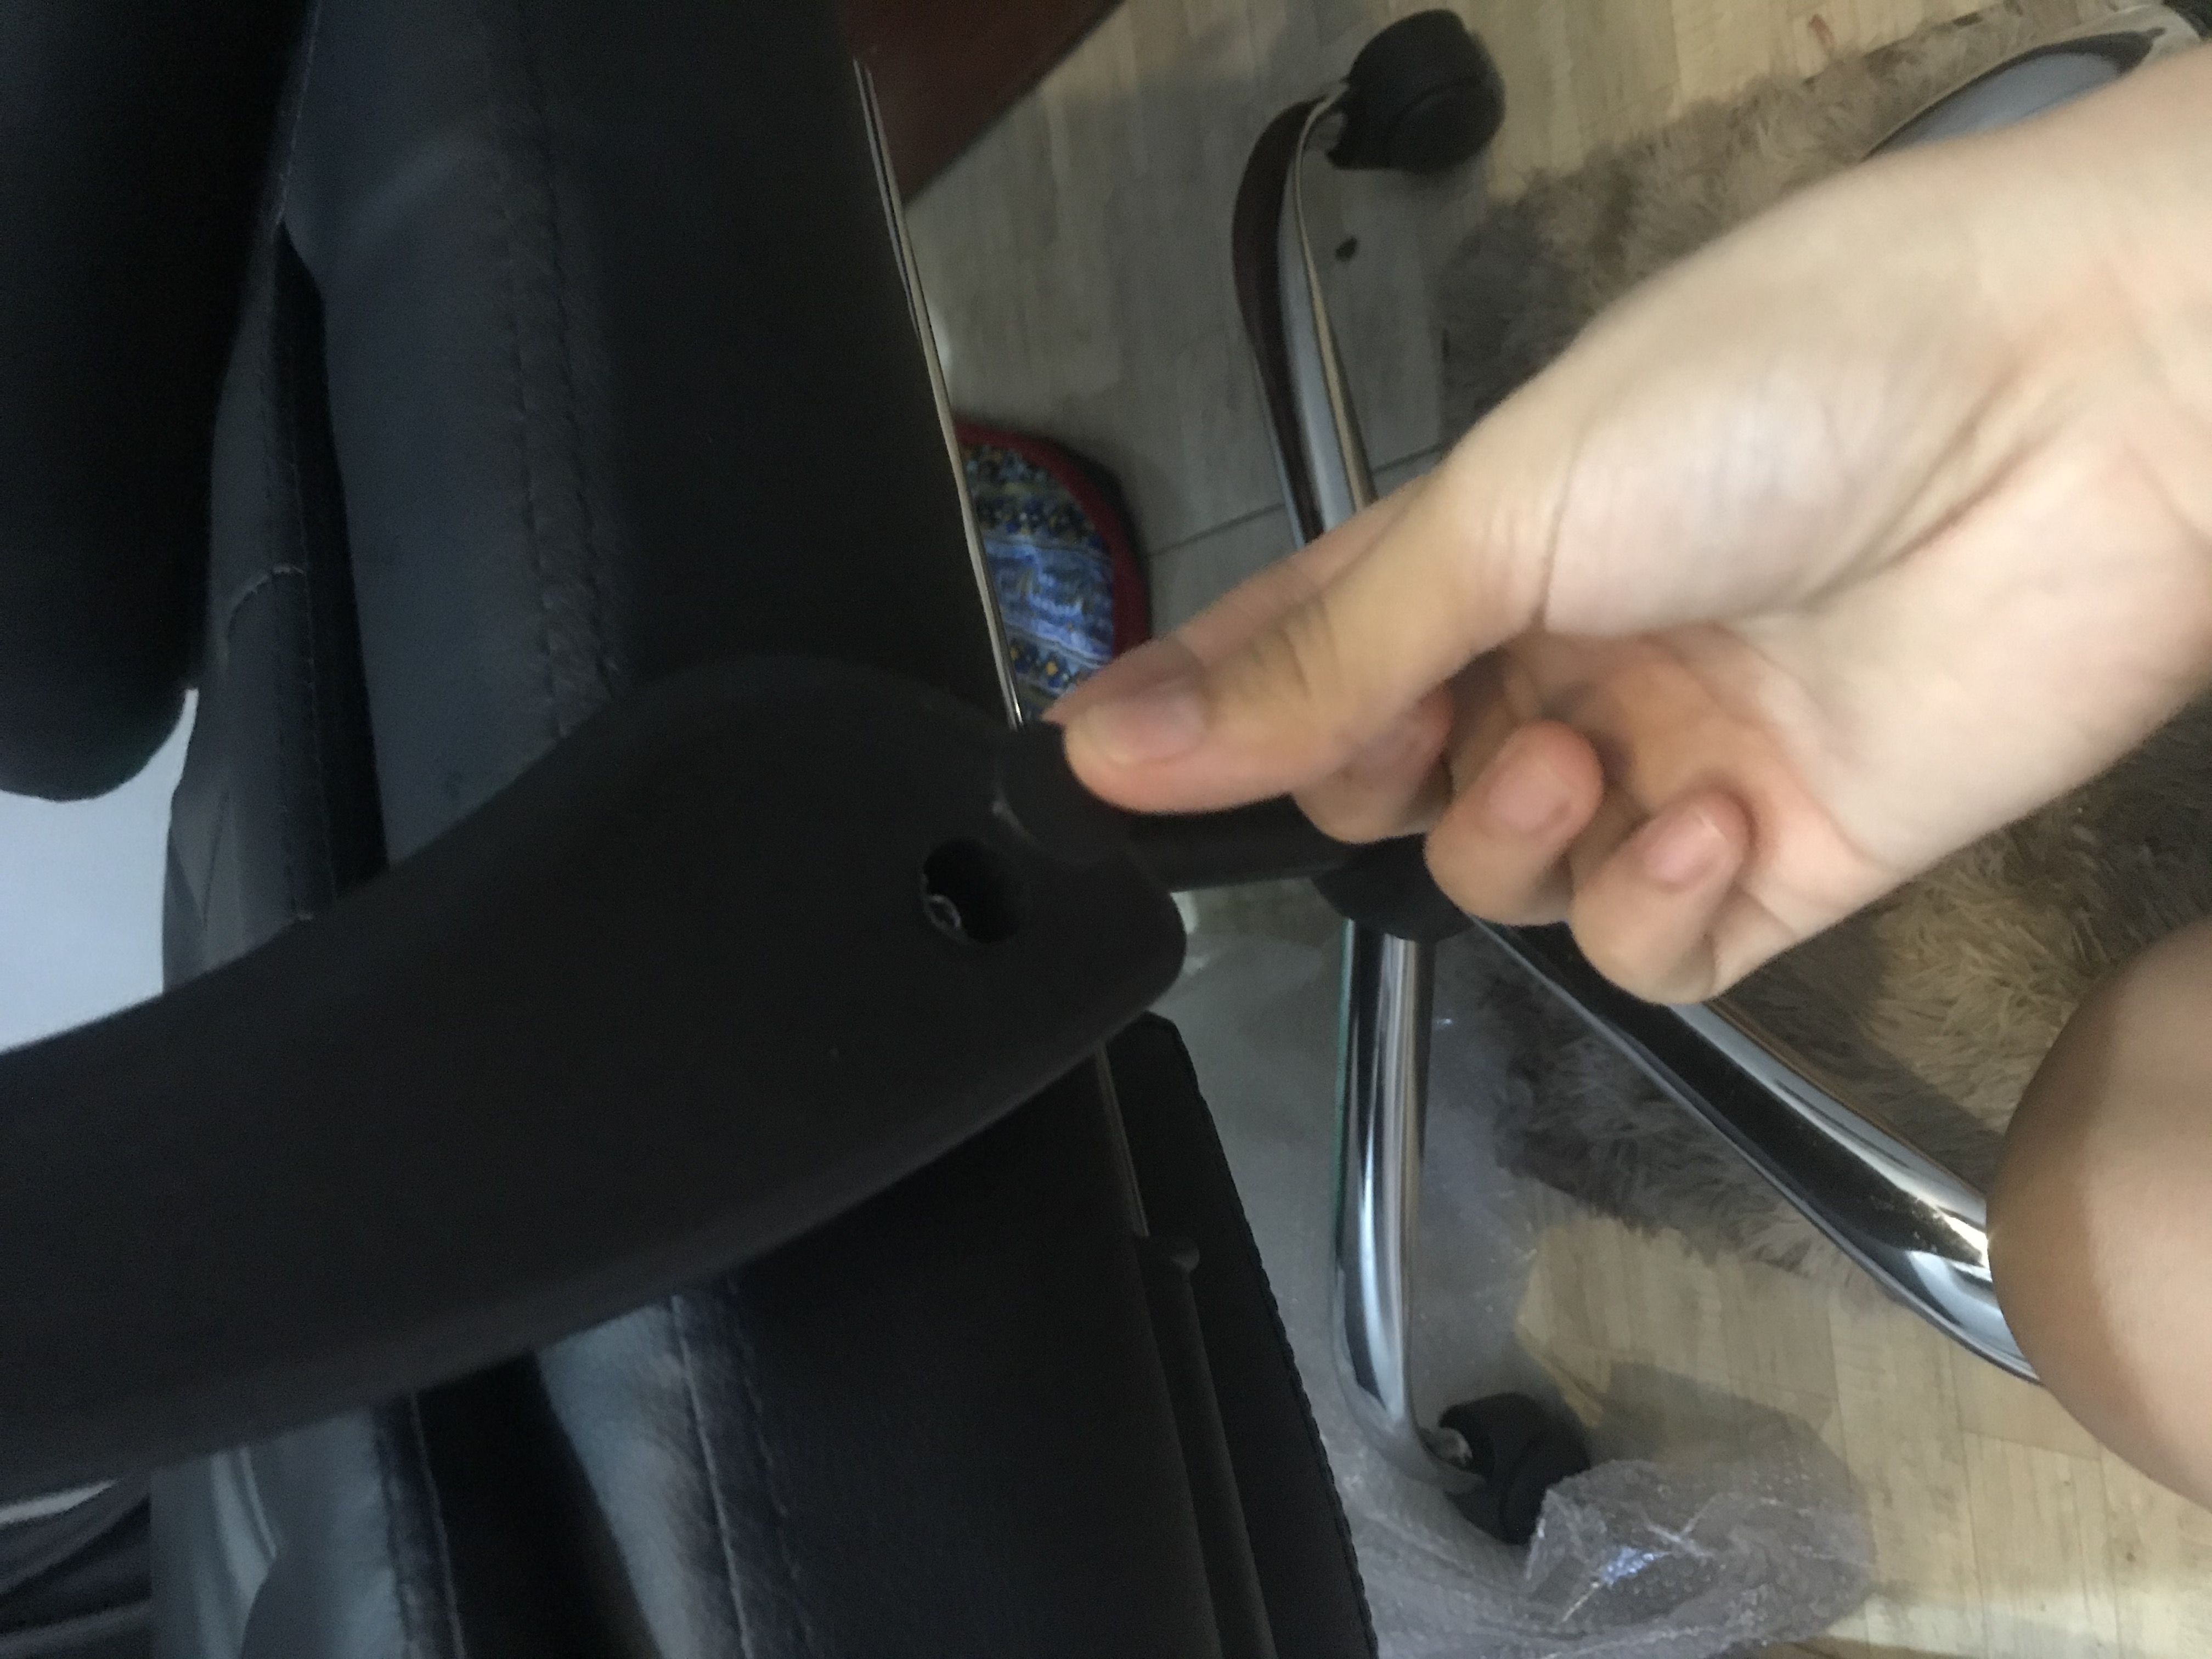
Step 4 and : Combining the E, H and J. ...... E is the Leather back set, H is the aluminum support at the back that need to put the J as the bolt. And
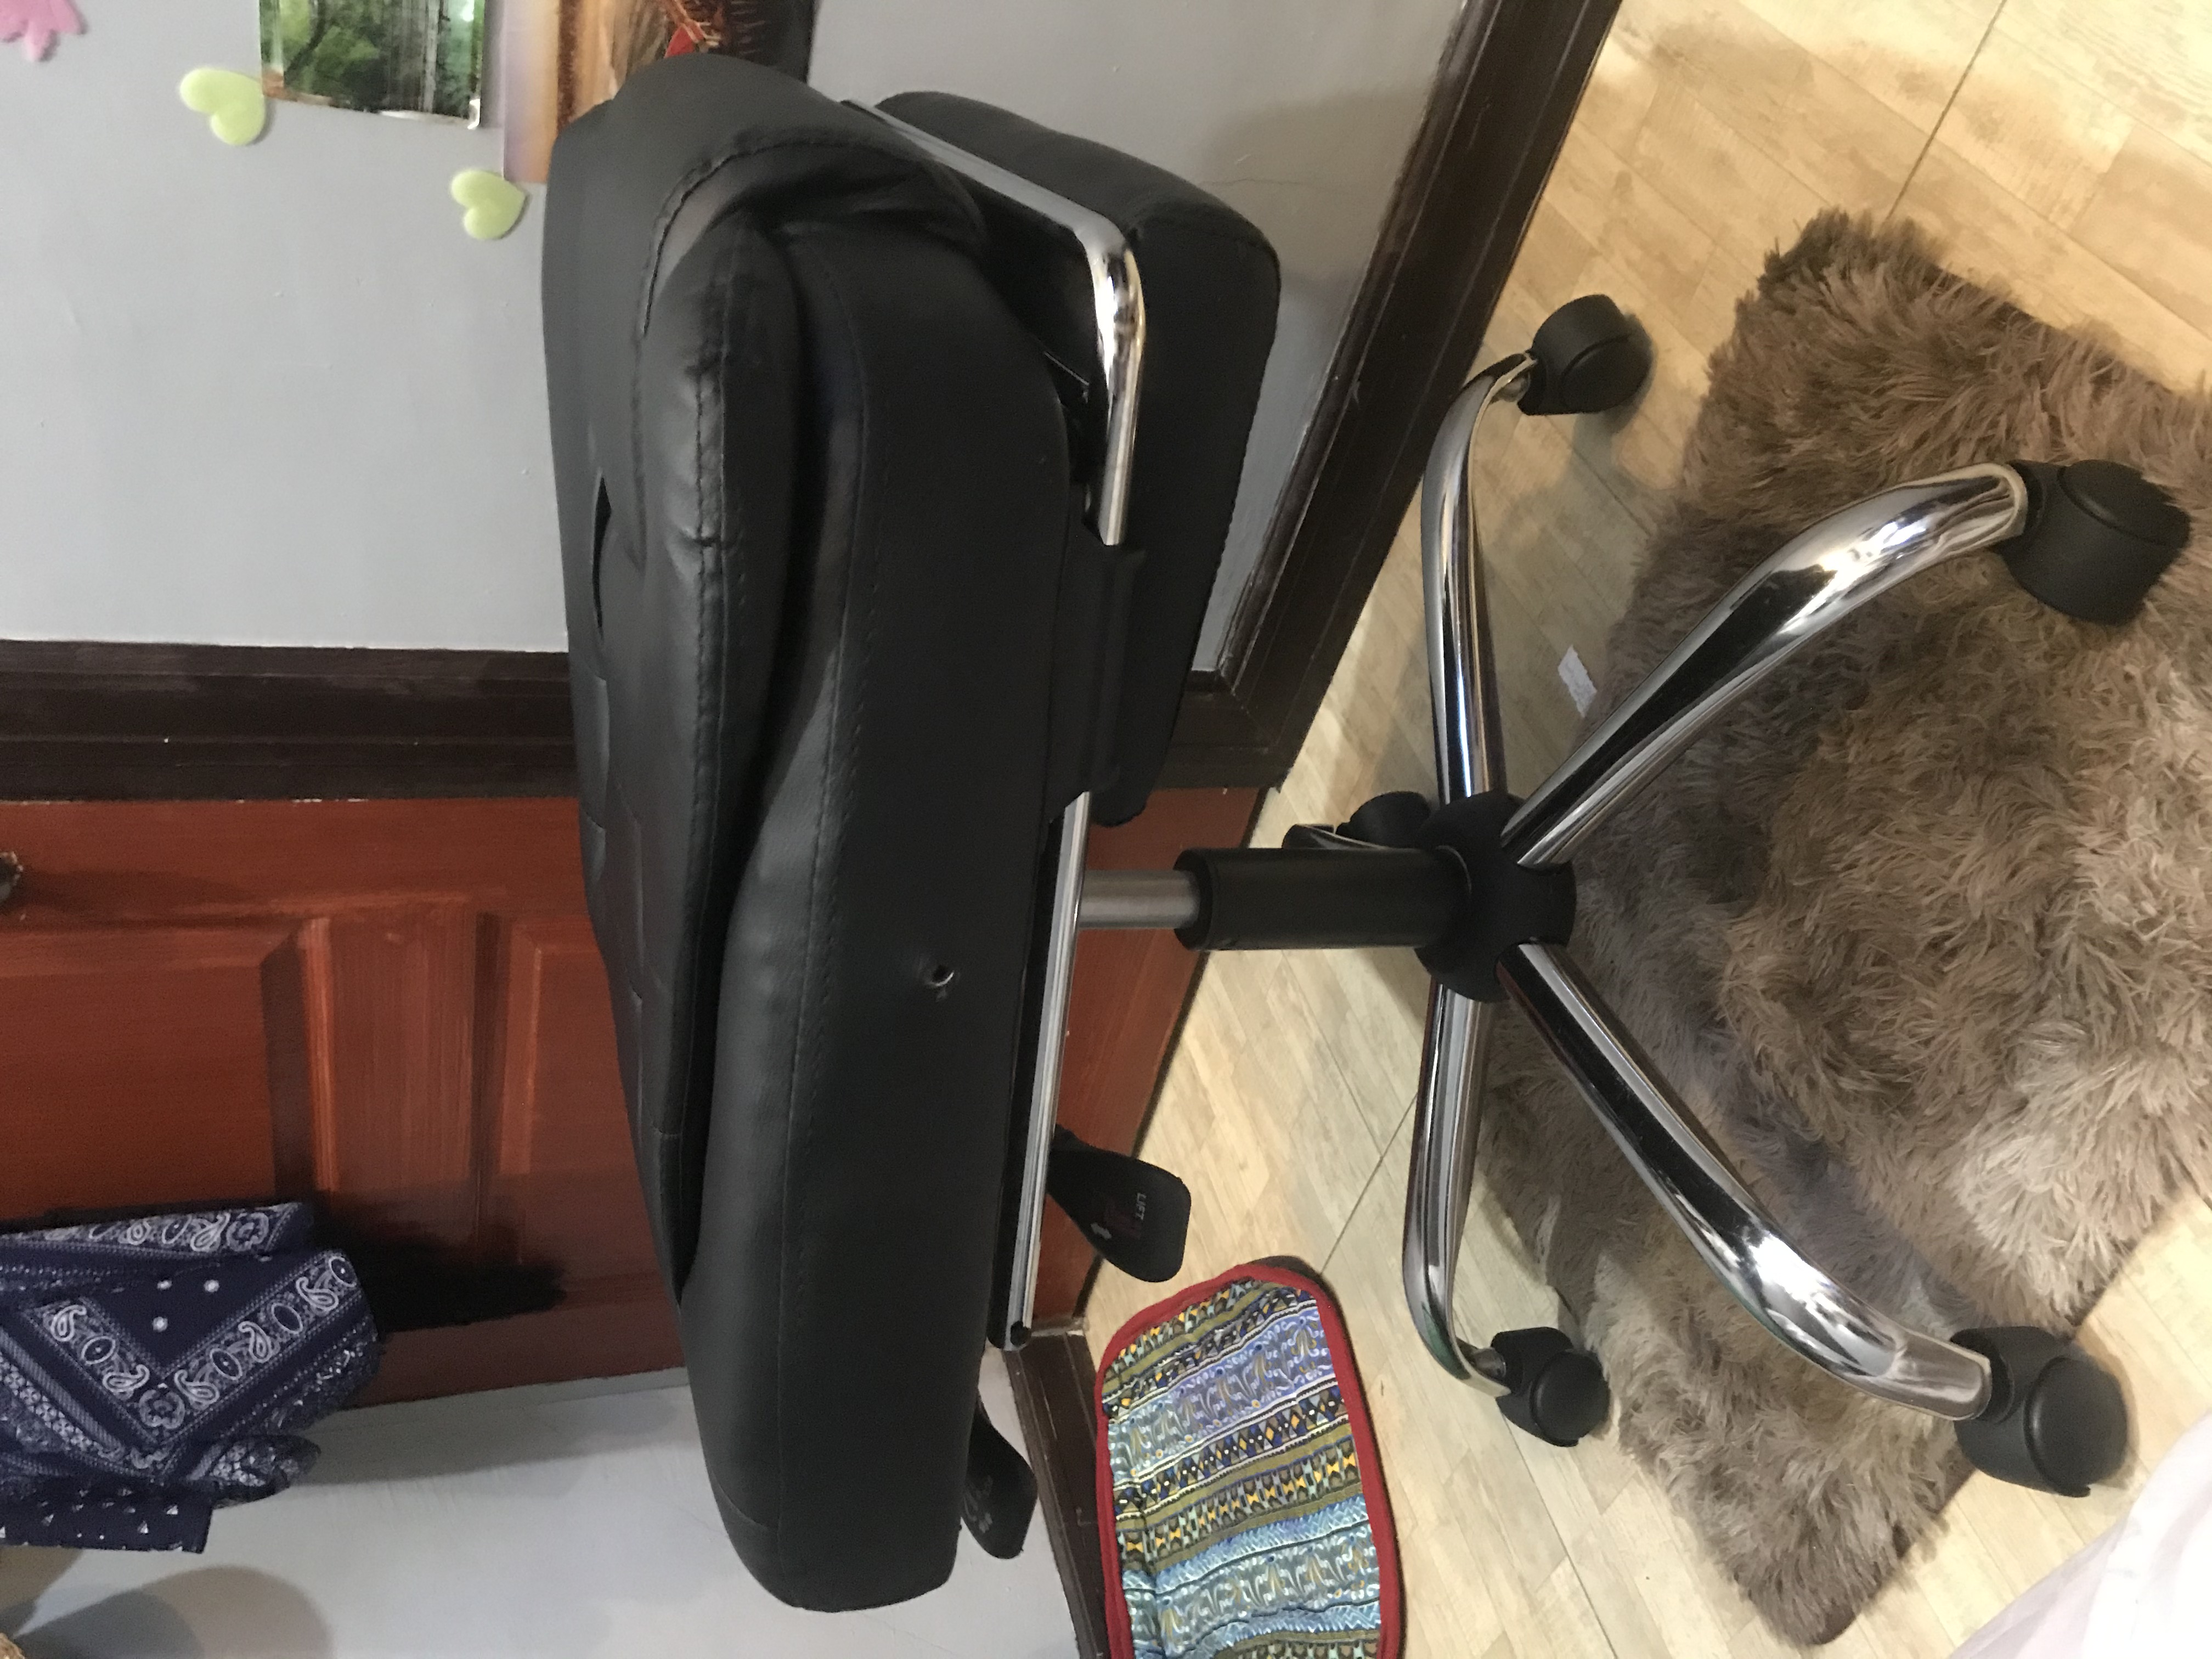
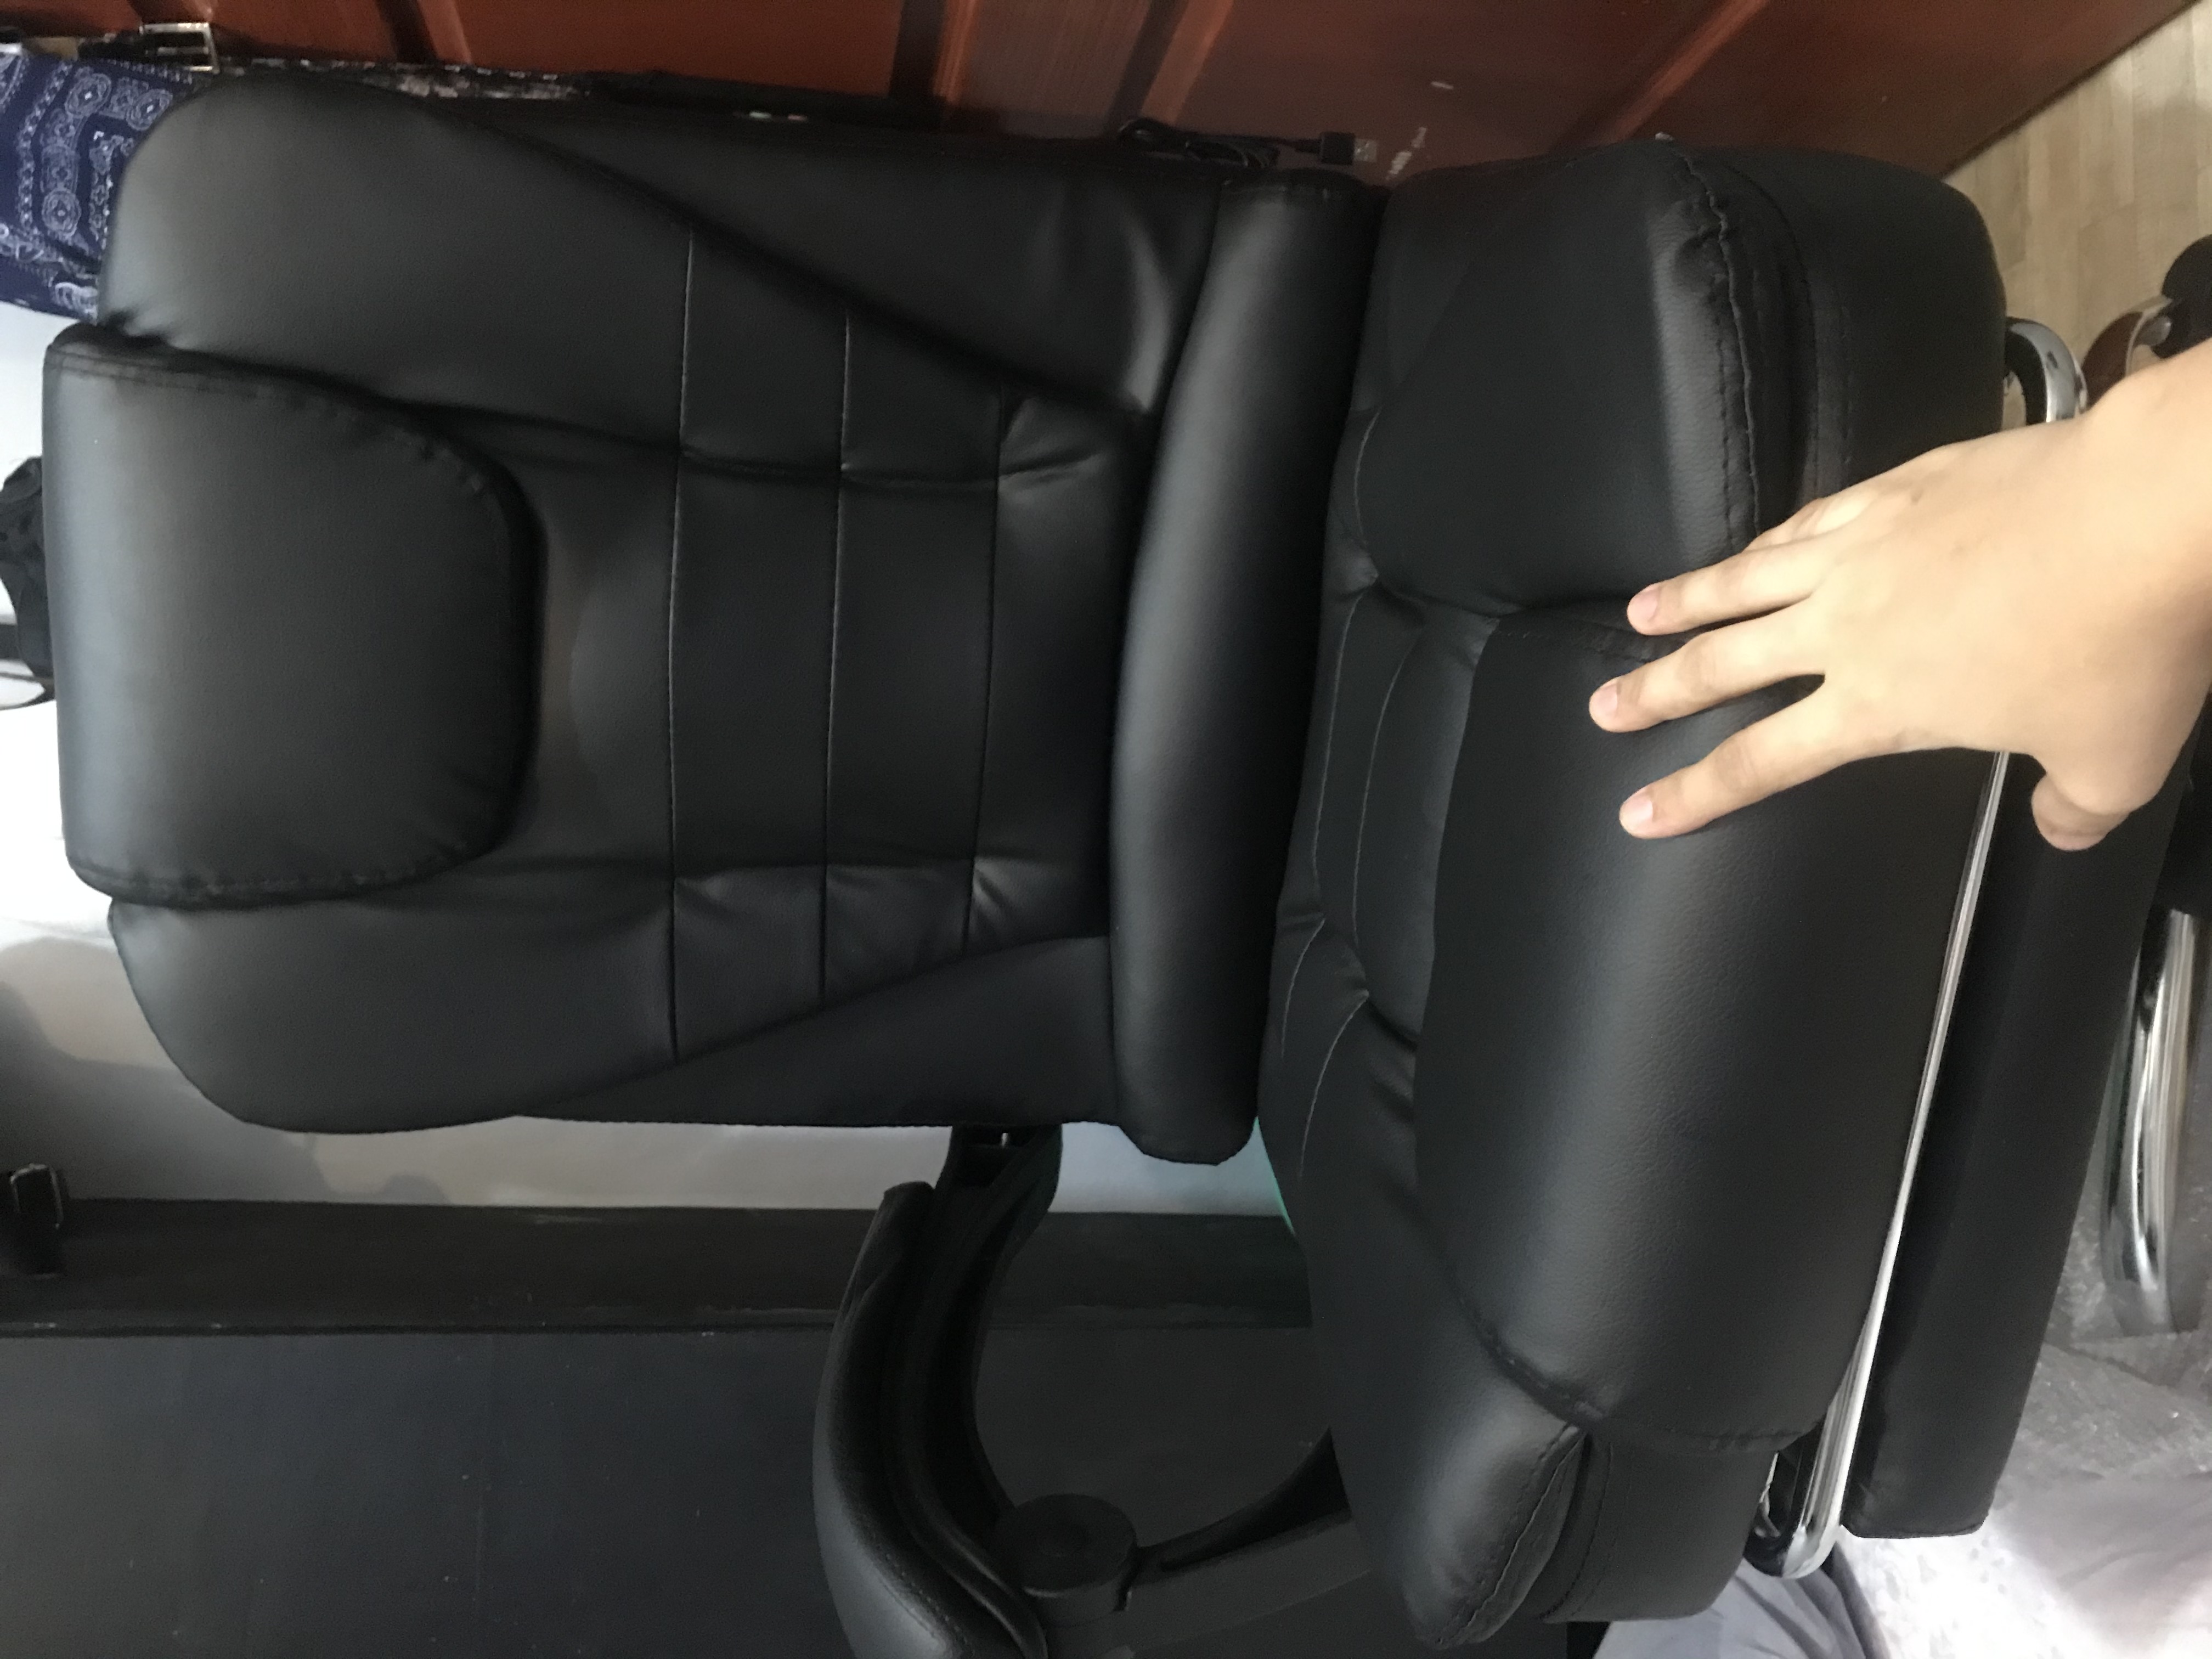
Step 5: combing the finish output of step 1 to 4

Step 5: output
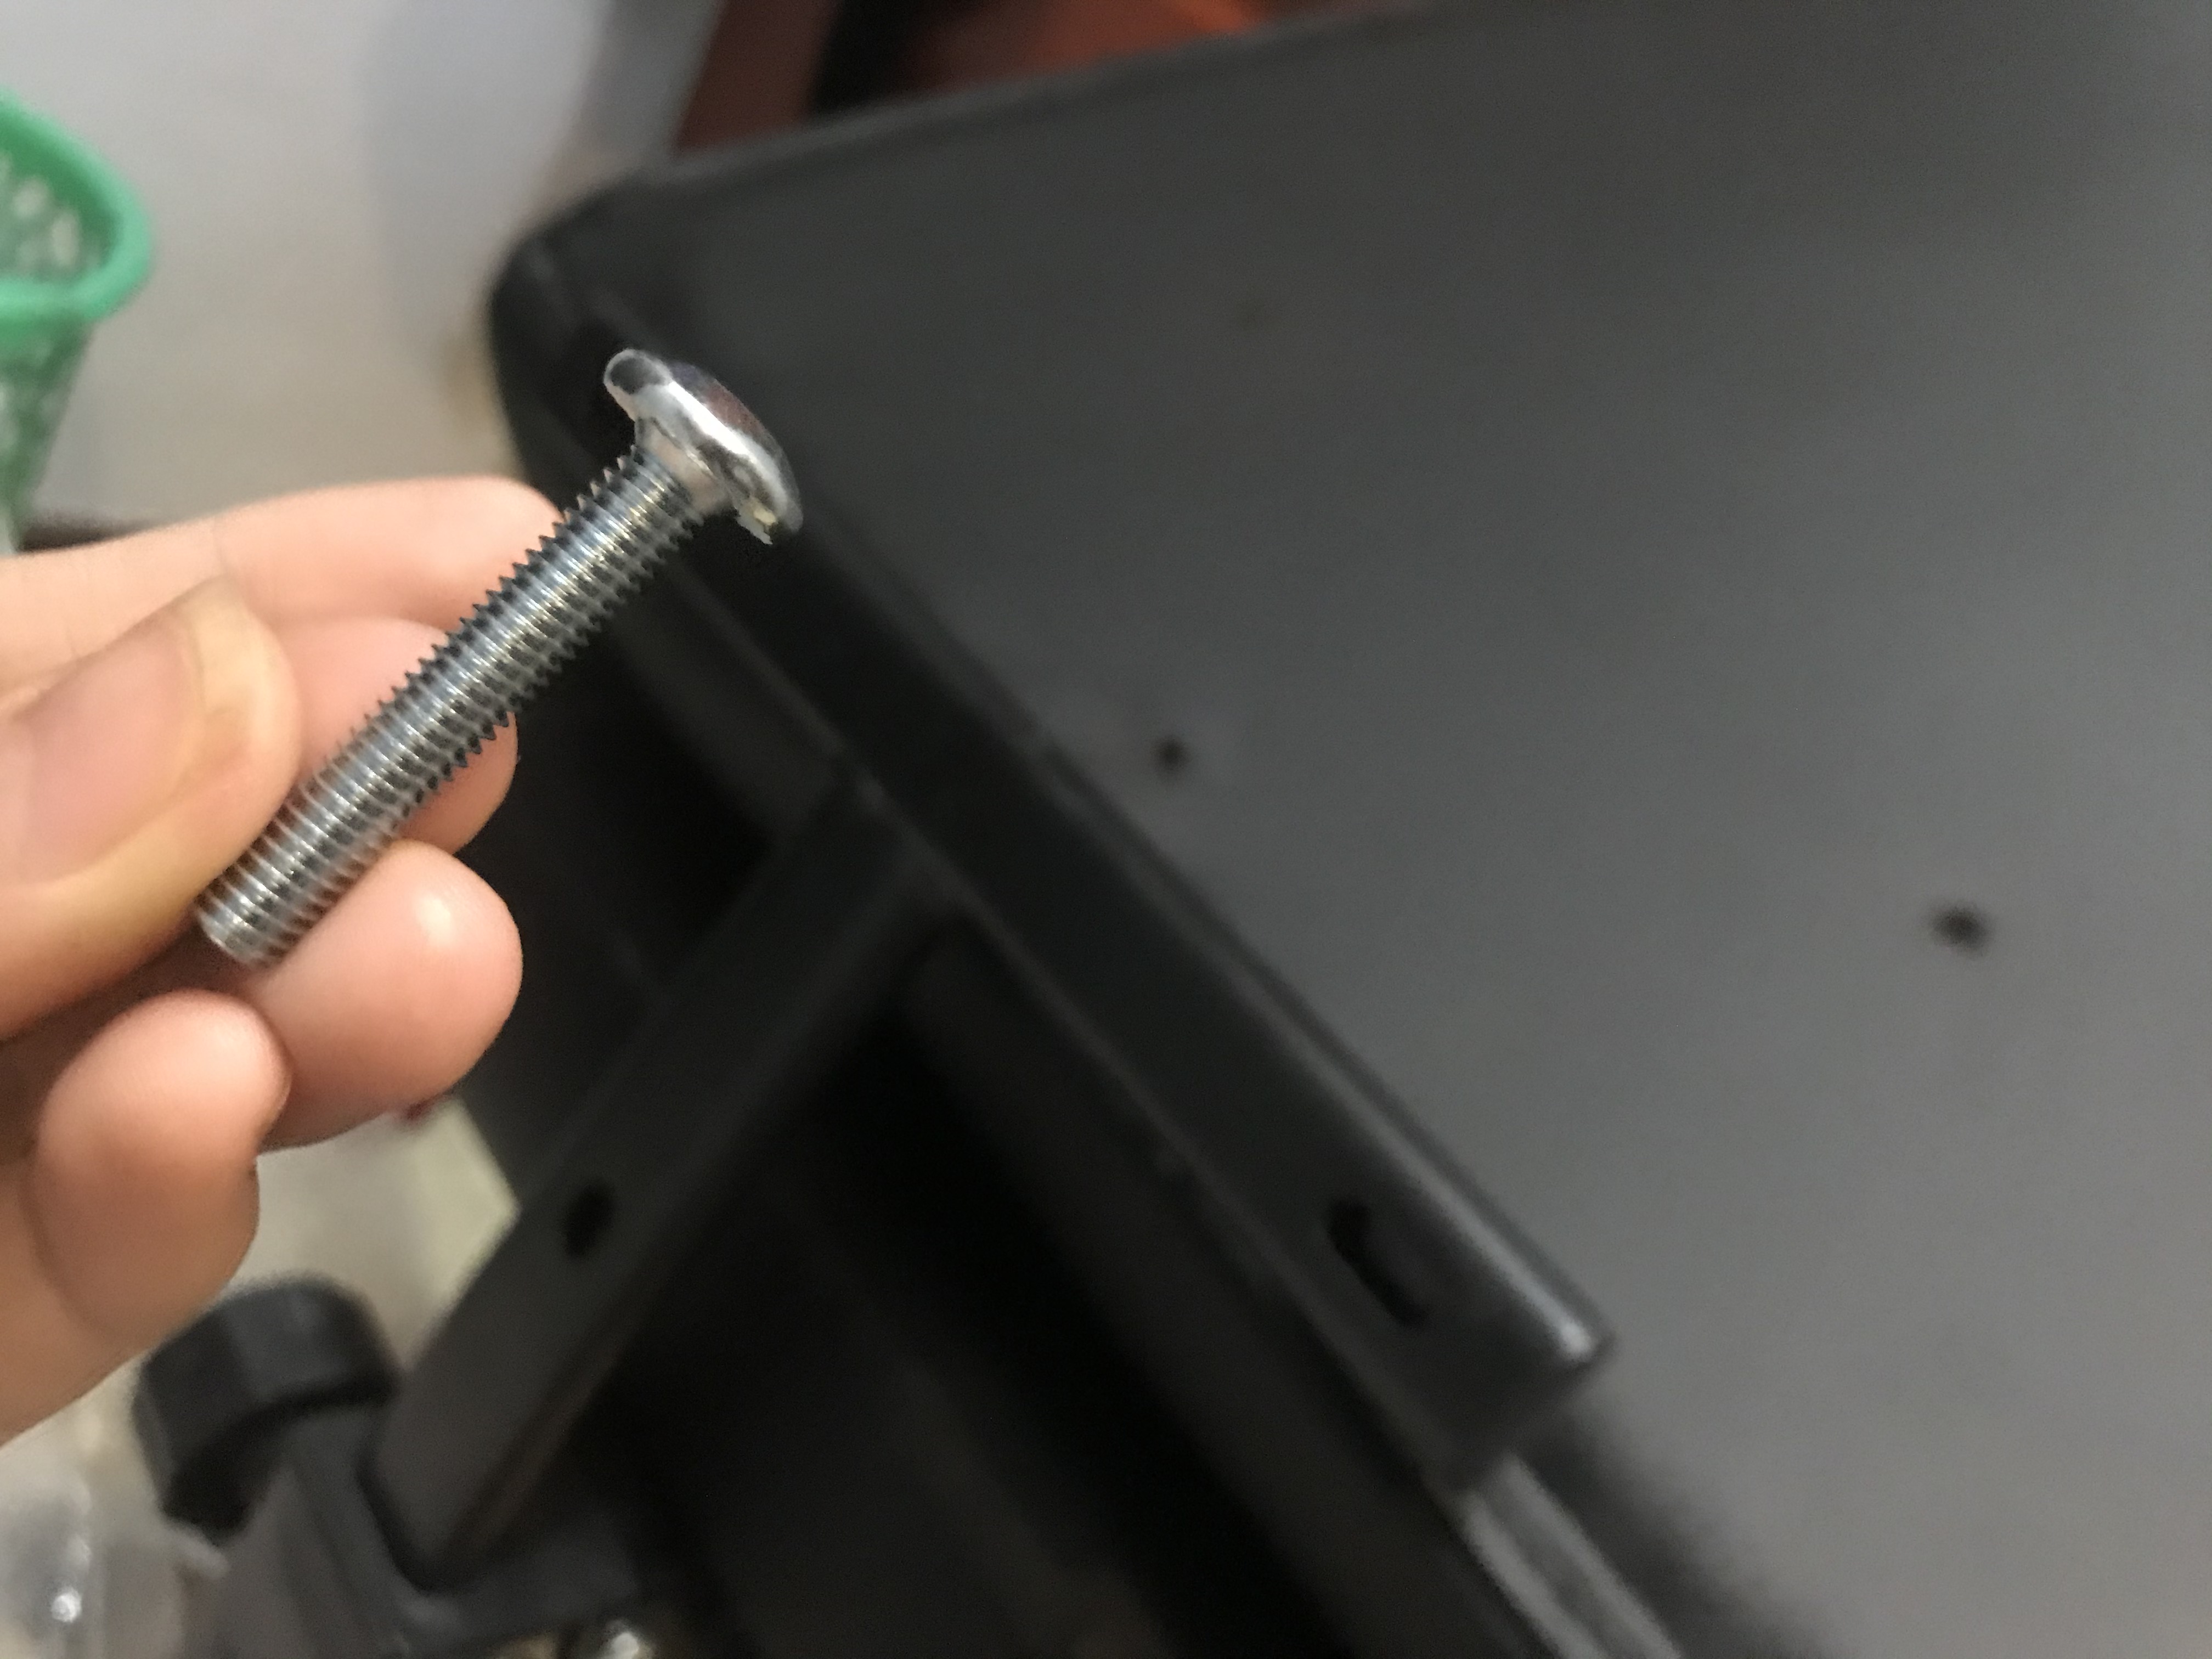
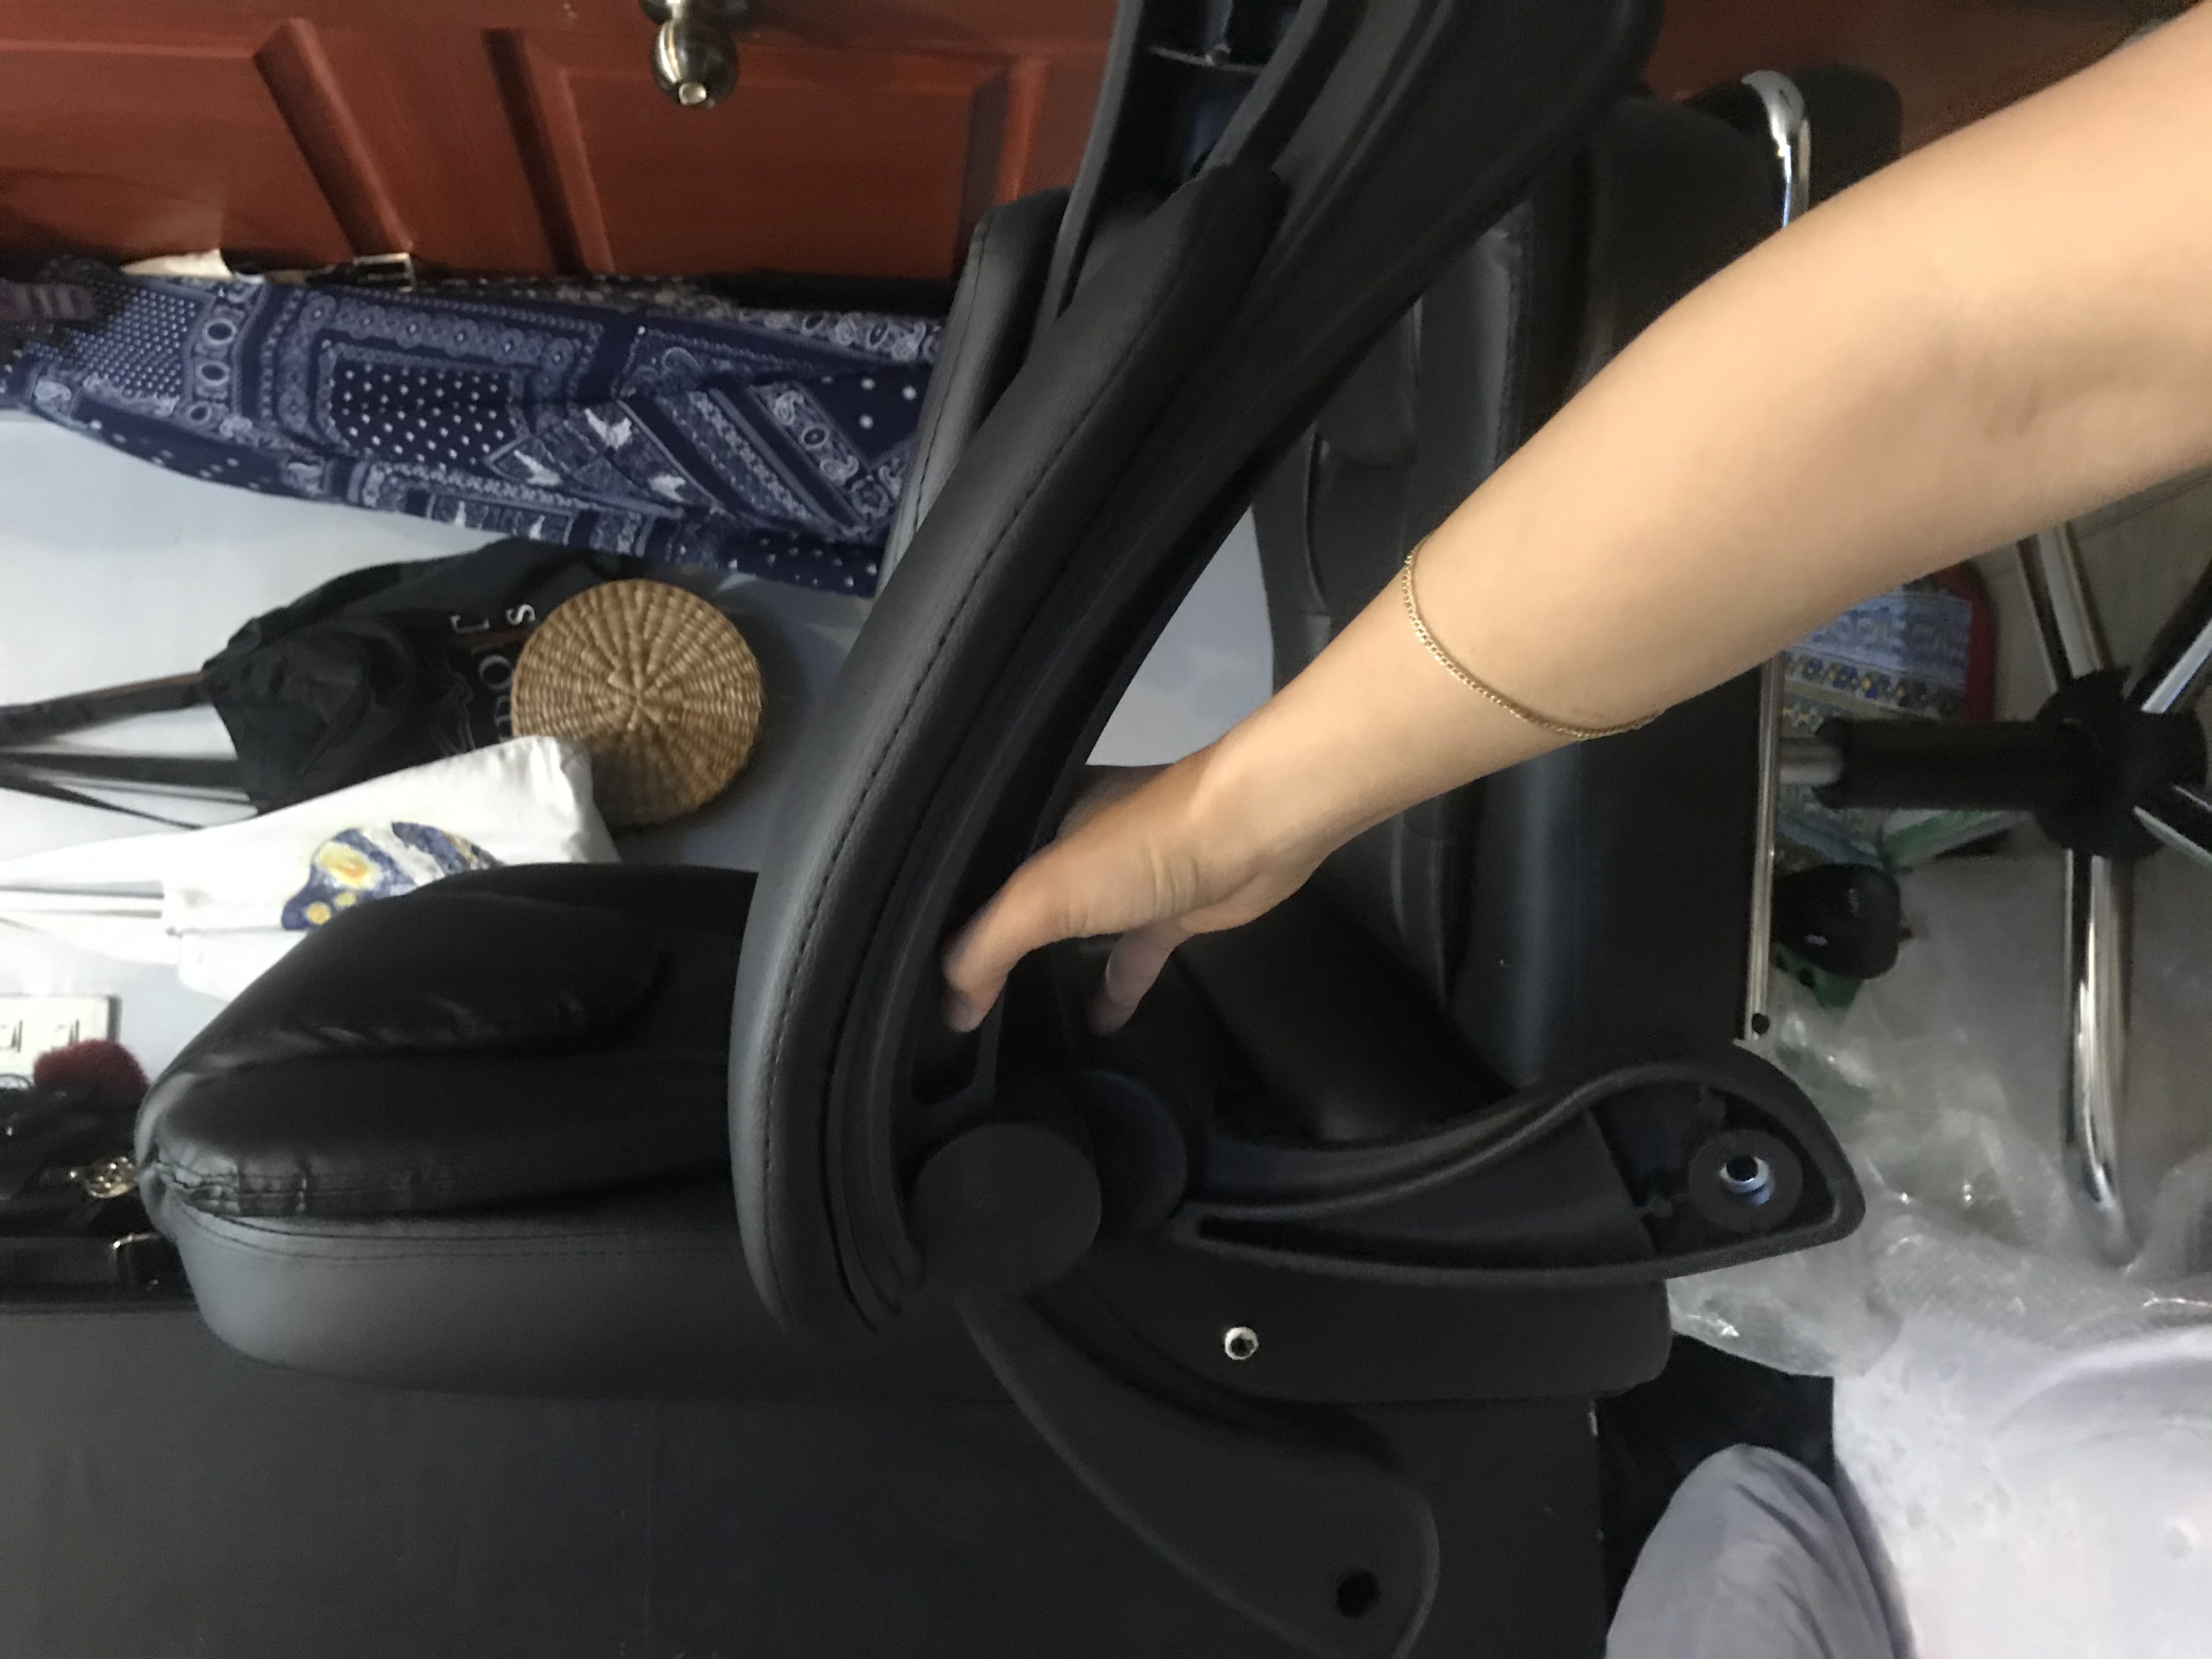
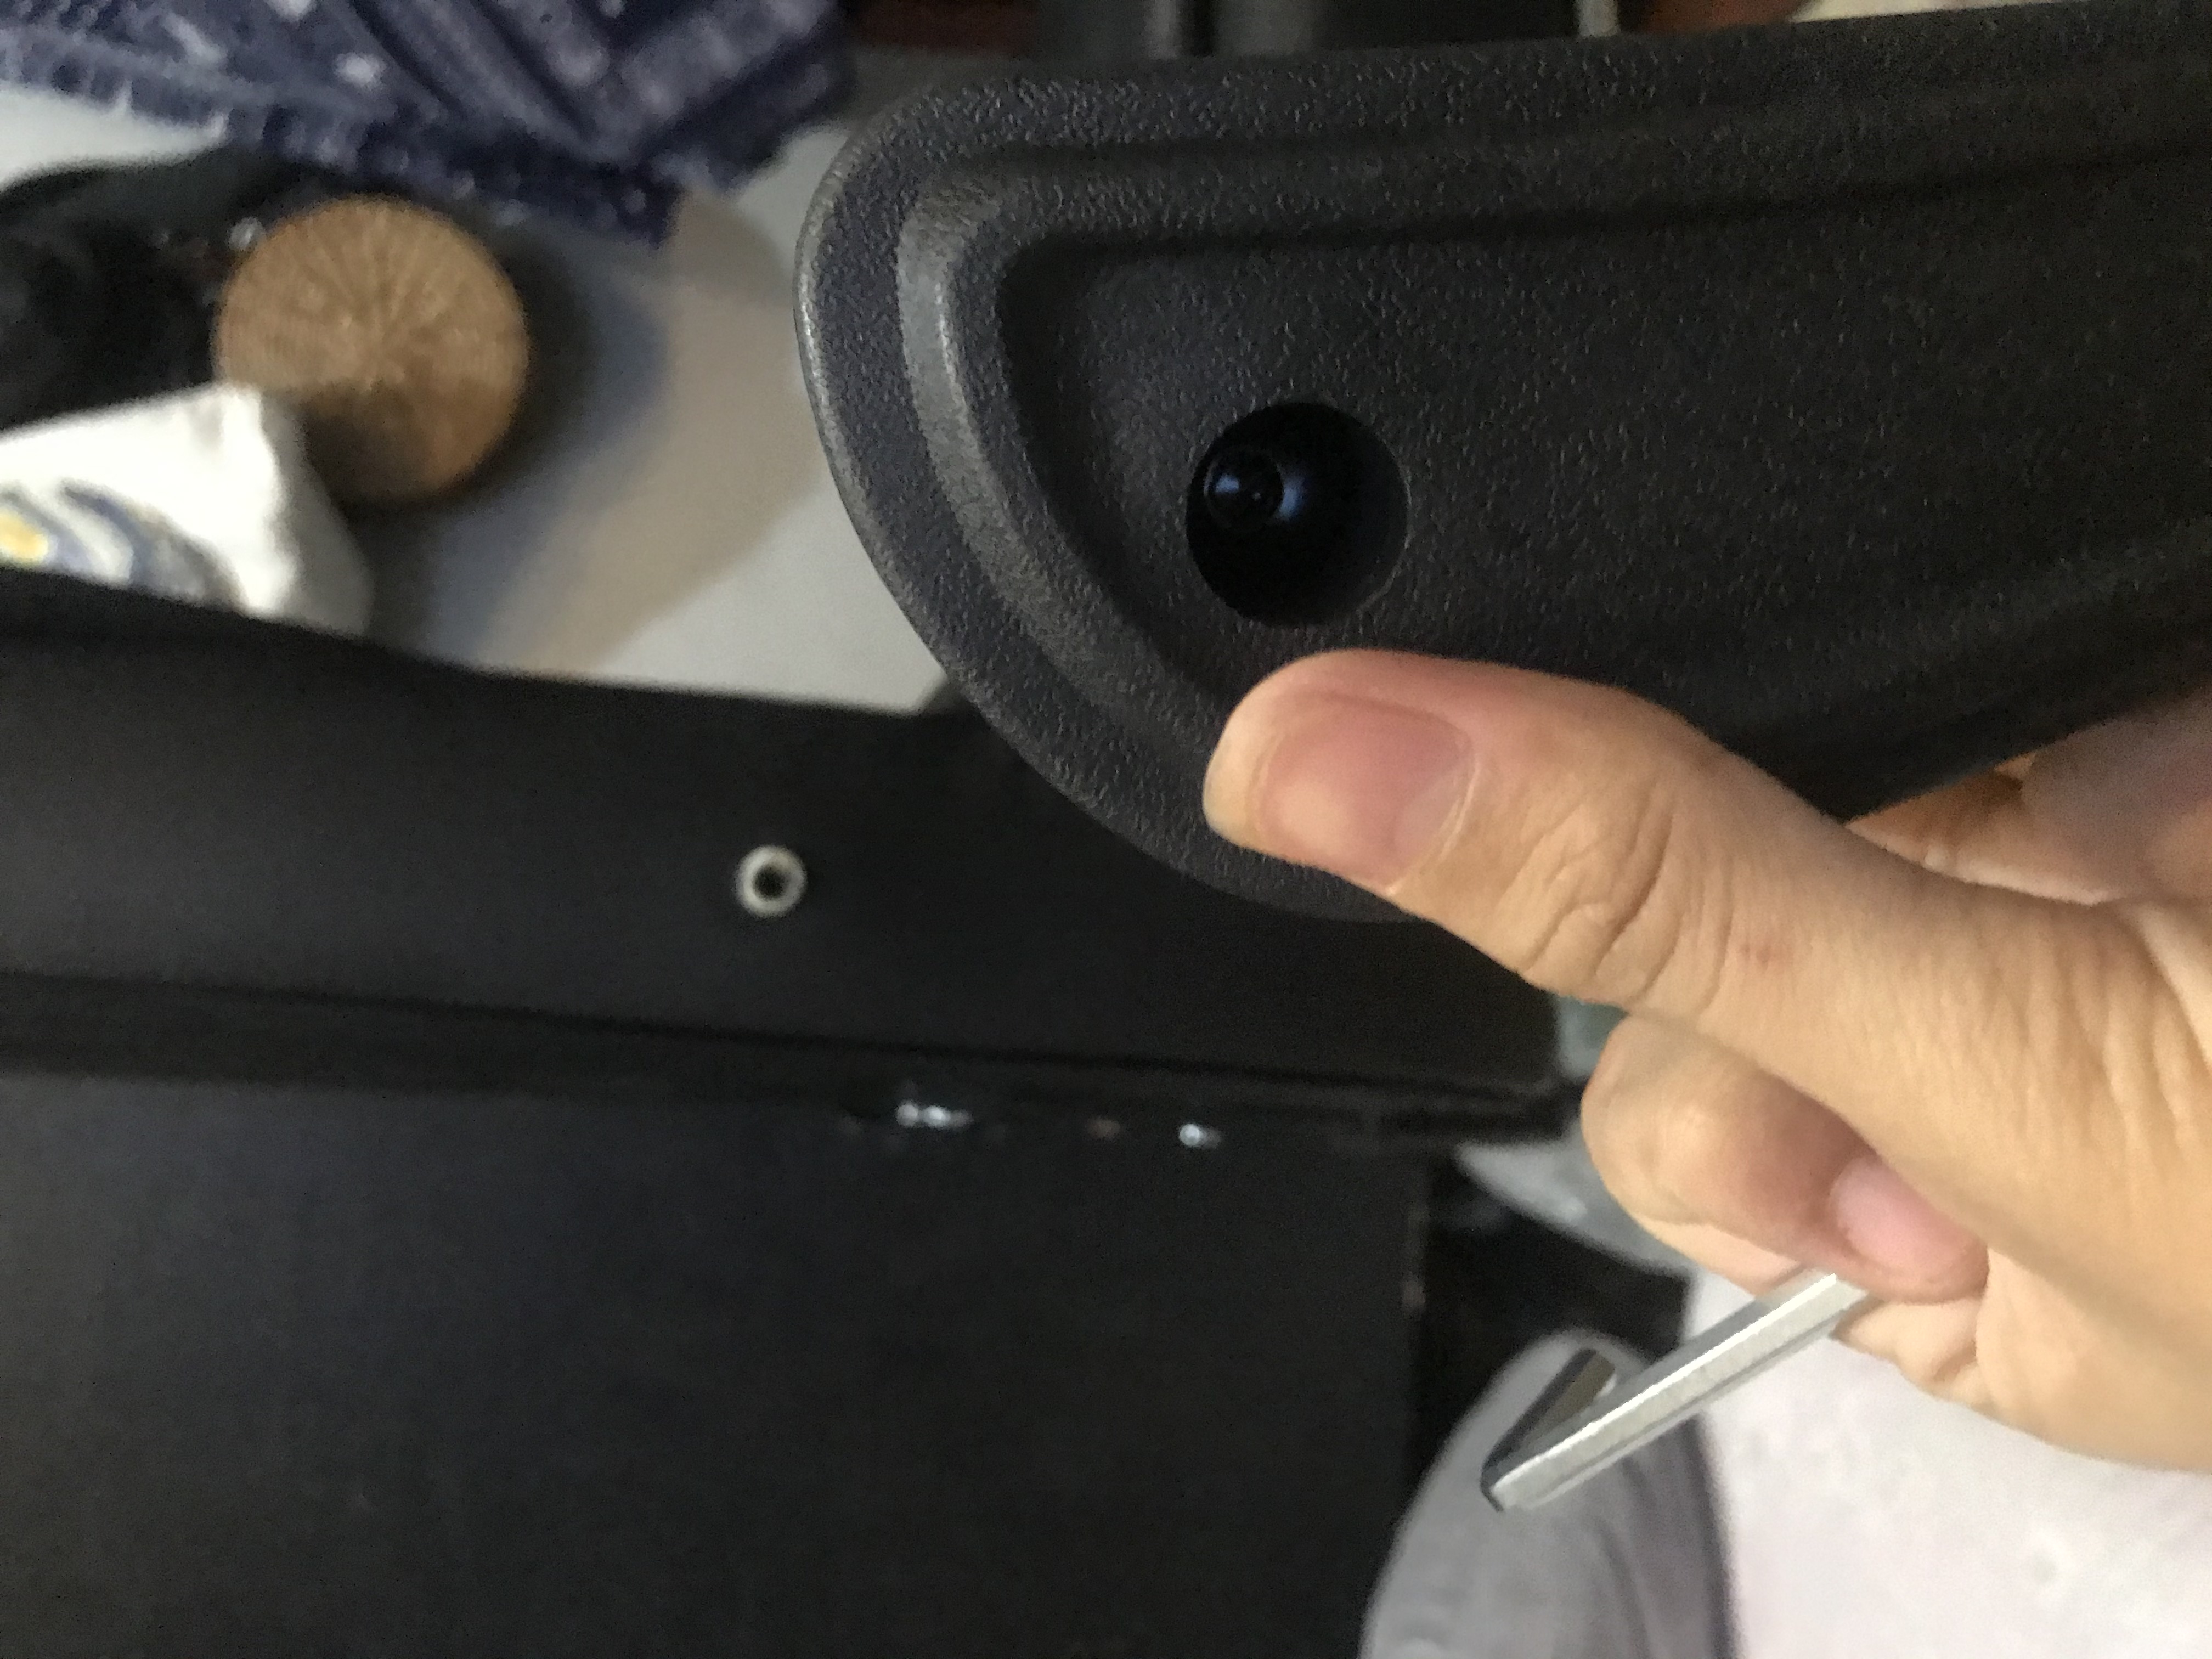
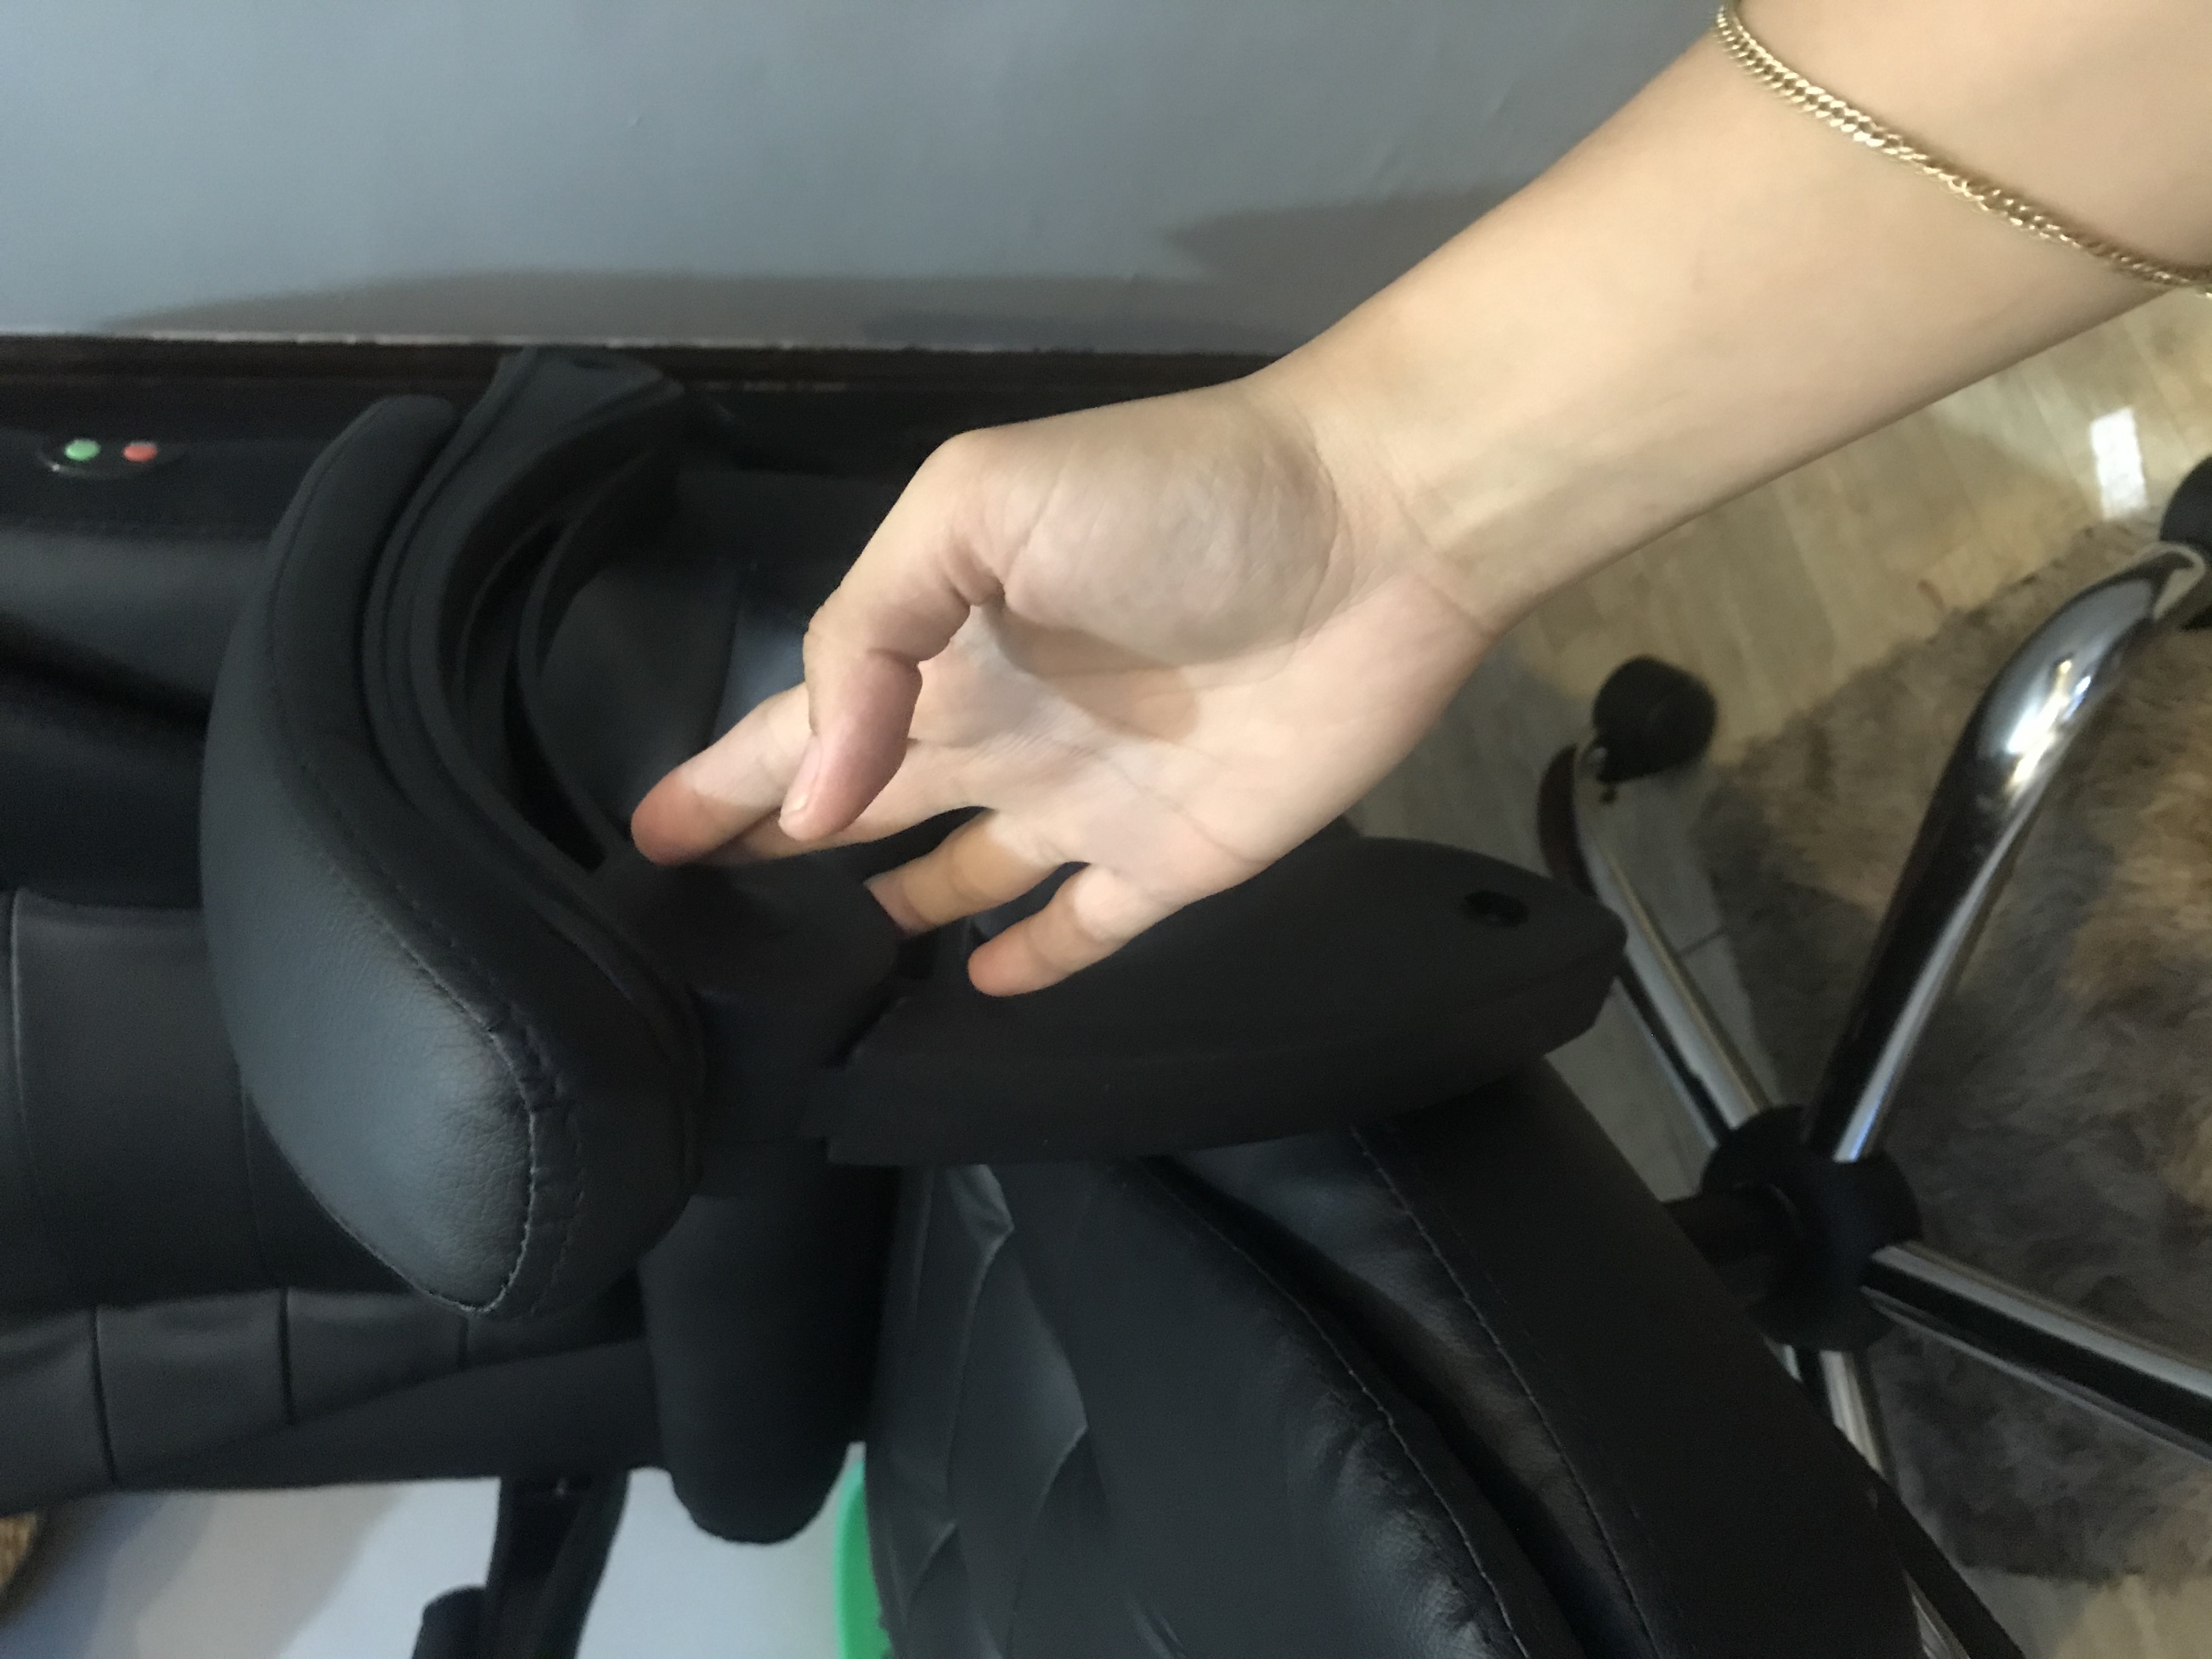
Step 6: adding the G parts or the side handle of the chair and finish with all the bolts.
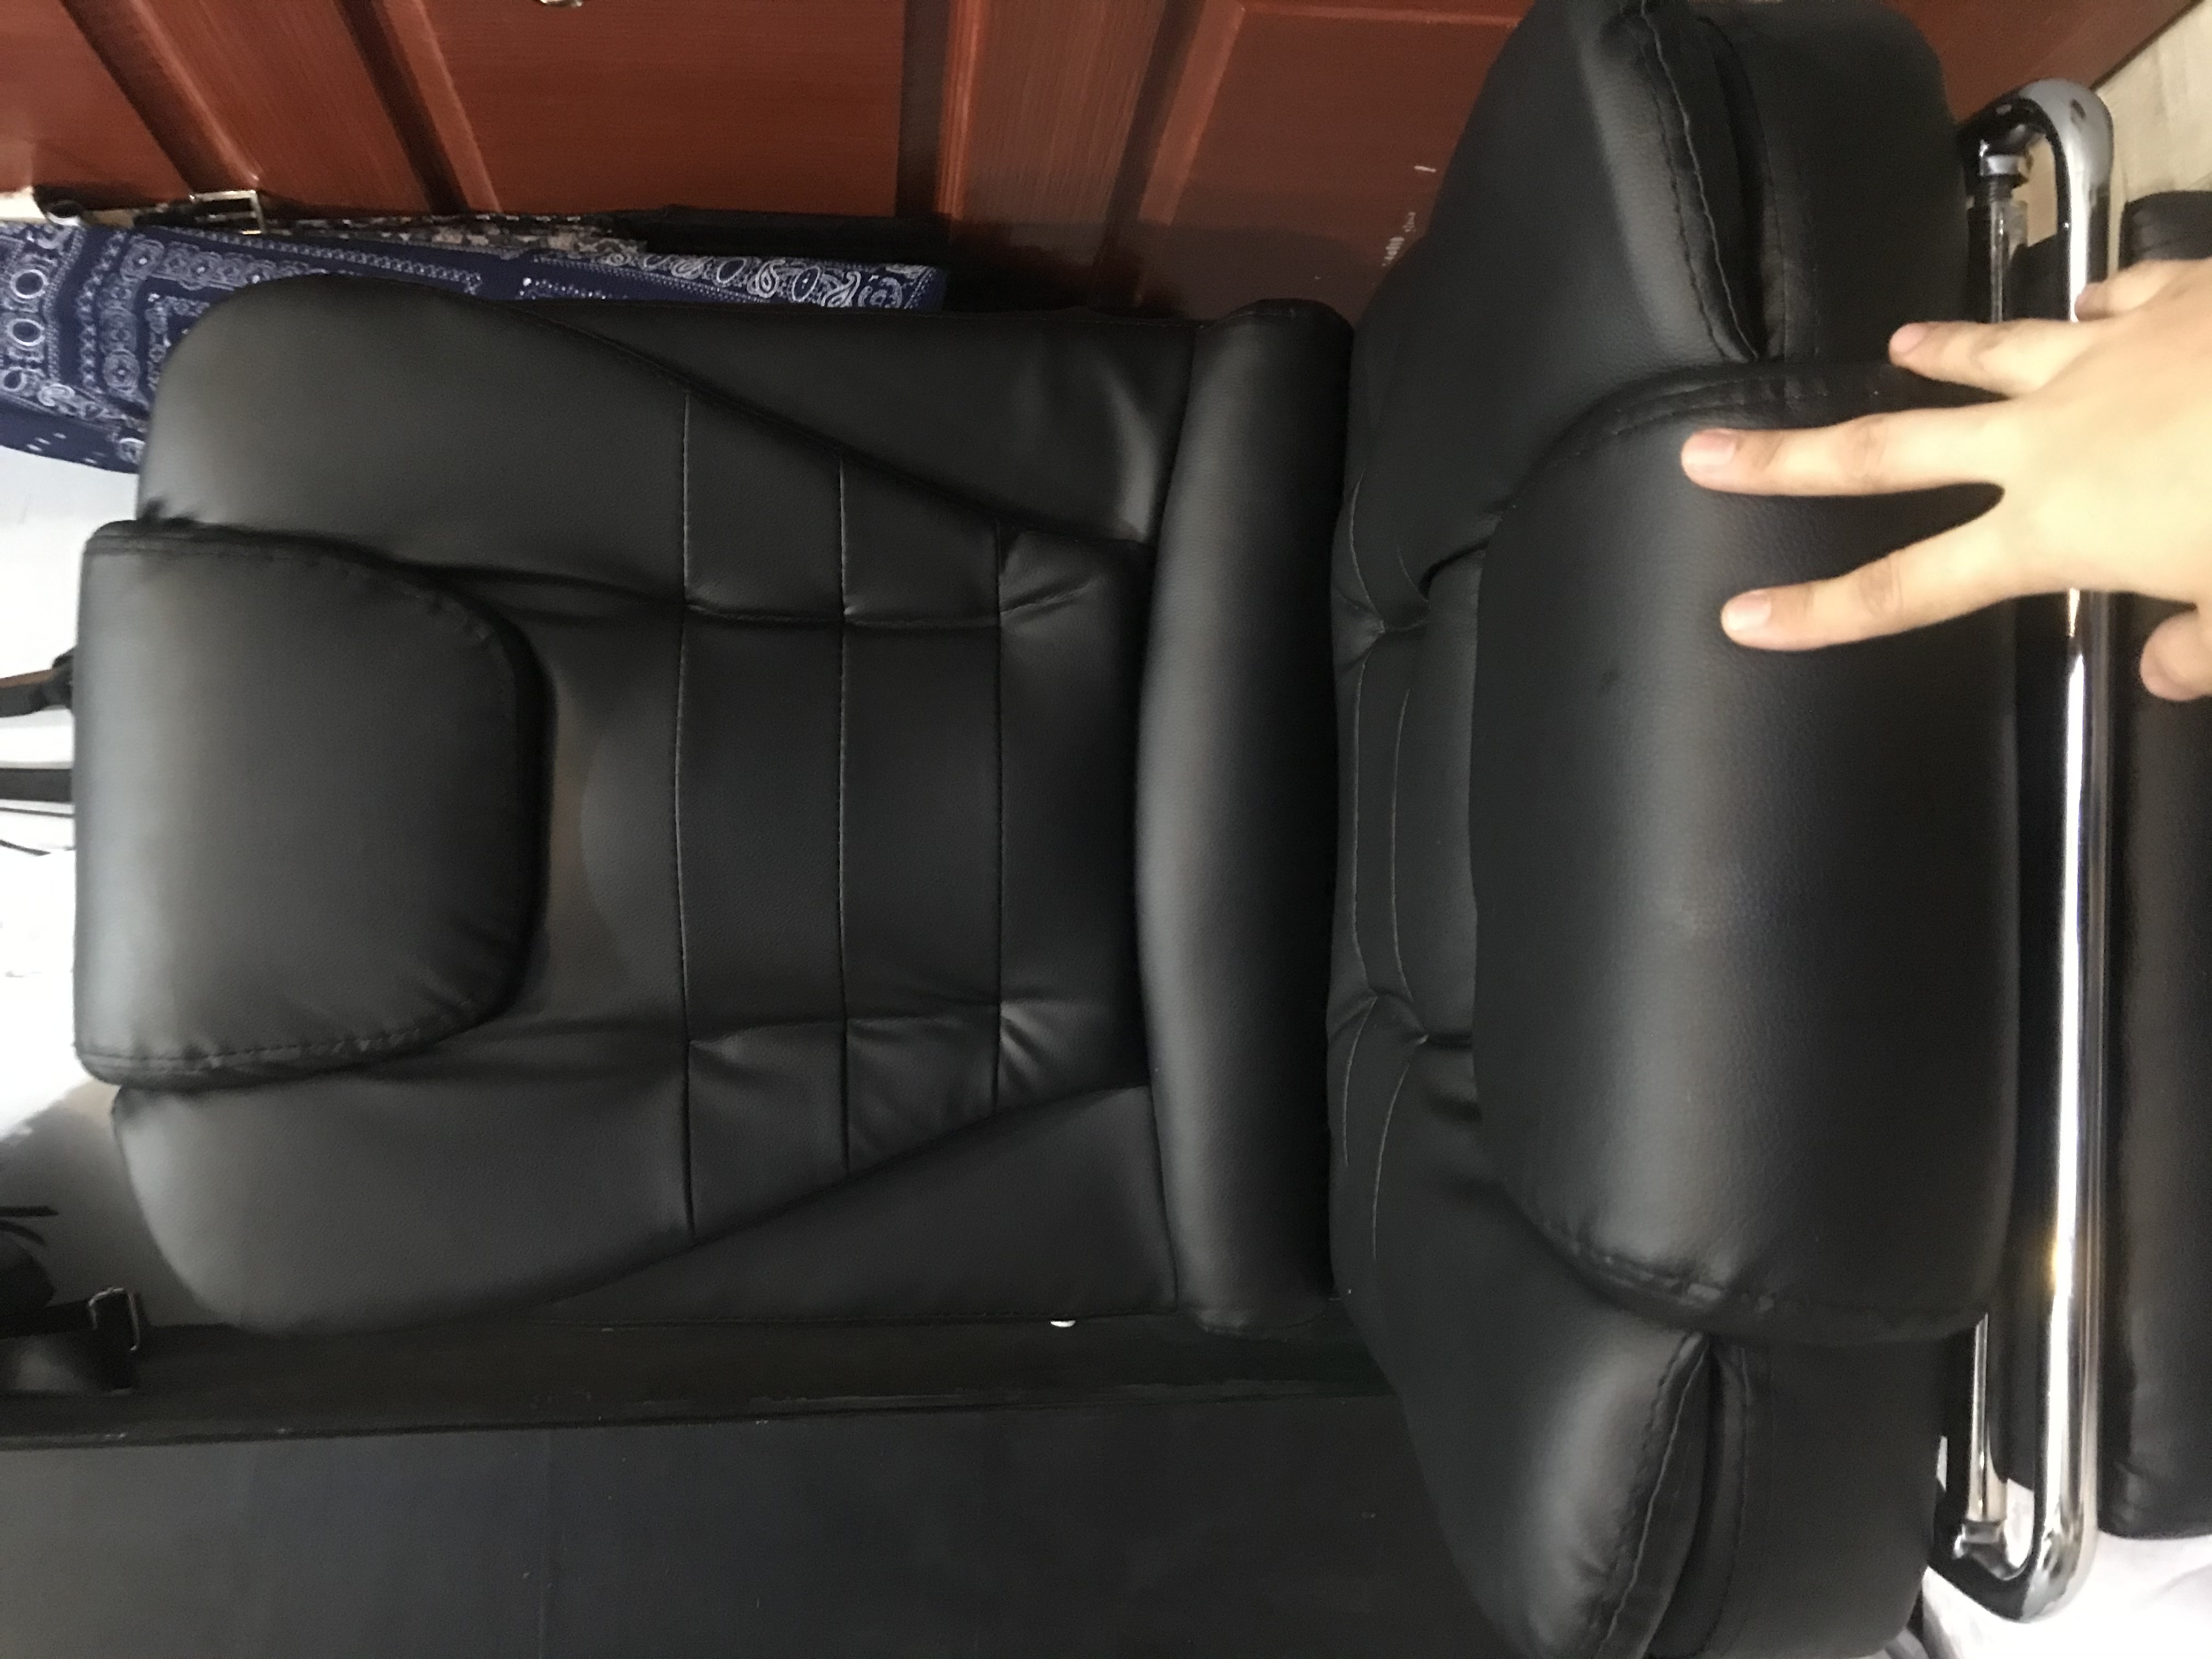
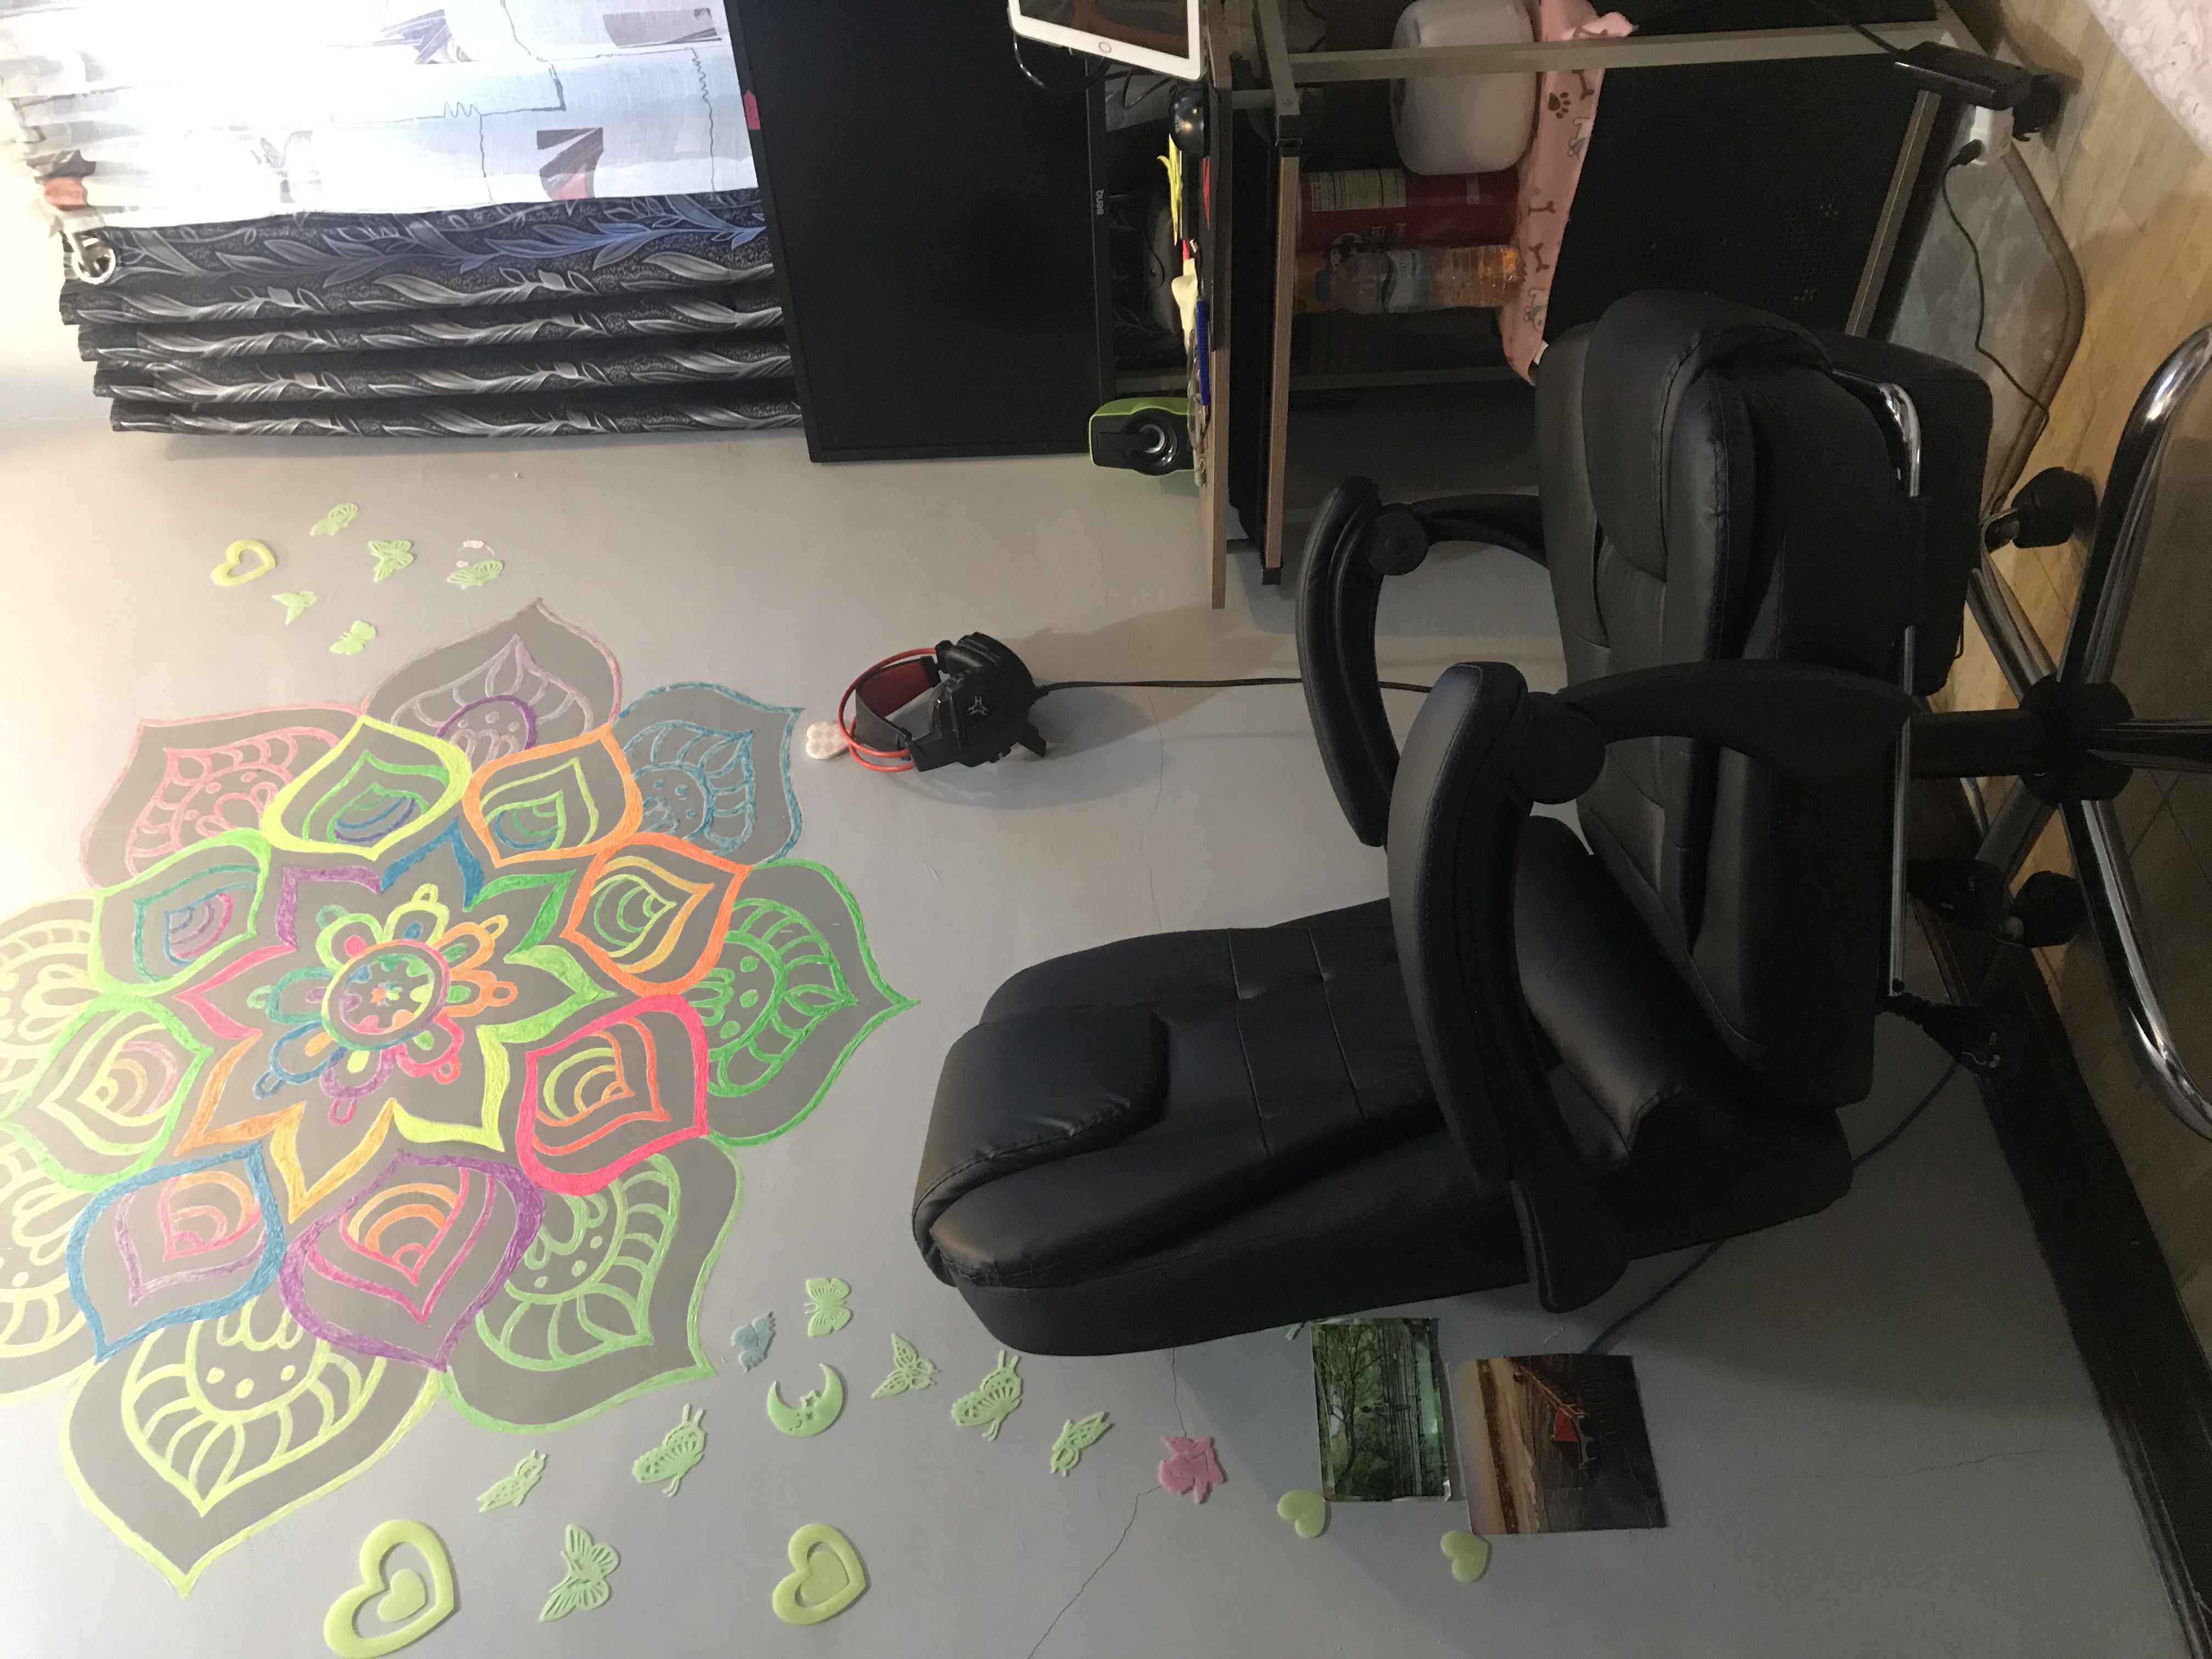
Finish output for my new comfy chair :)
Congratulations @spintwister! You have completed the following achievement on the Hive blockchain and have been rewarded with new badge(s) :
You can view your badges on your board And compare to others on the Ranking
If you no longer want to receive notifications, reply to this comment with the word
STOPDo not miss the last post from @hivebuzz:
thank you @traf <3