Heeeyho Readers! Coming by with another bicycle project!
Sometimes I get myself in trouble. It's not common, but happens a lot. Projects pile for various reasons around here, though the main reason is generally me. It's called overthinking. You know? That tingling in the brain that traps us into endless web searches to find the best options to tackle a problem.
This time I had the brilliant idea of building a monstercross. It's sort of a Frankenstein bicycle that mixes elements of a 90's mountain-bike to parts of road bikes to create a wild big-footed gravel monster — more about that in a future post.
As any project, let's start from the foundation; in our case, the wheels.
The beginning
I didn't want to break the bank on new wheels. Also, to keep with the idea of a Frankenstein bike, using much of the old parts I have laying around seemed cool — some of them, as you'll see, quite neglected.
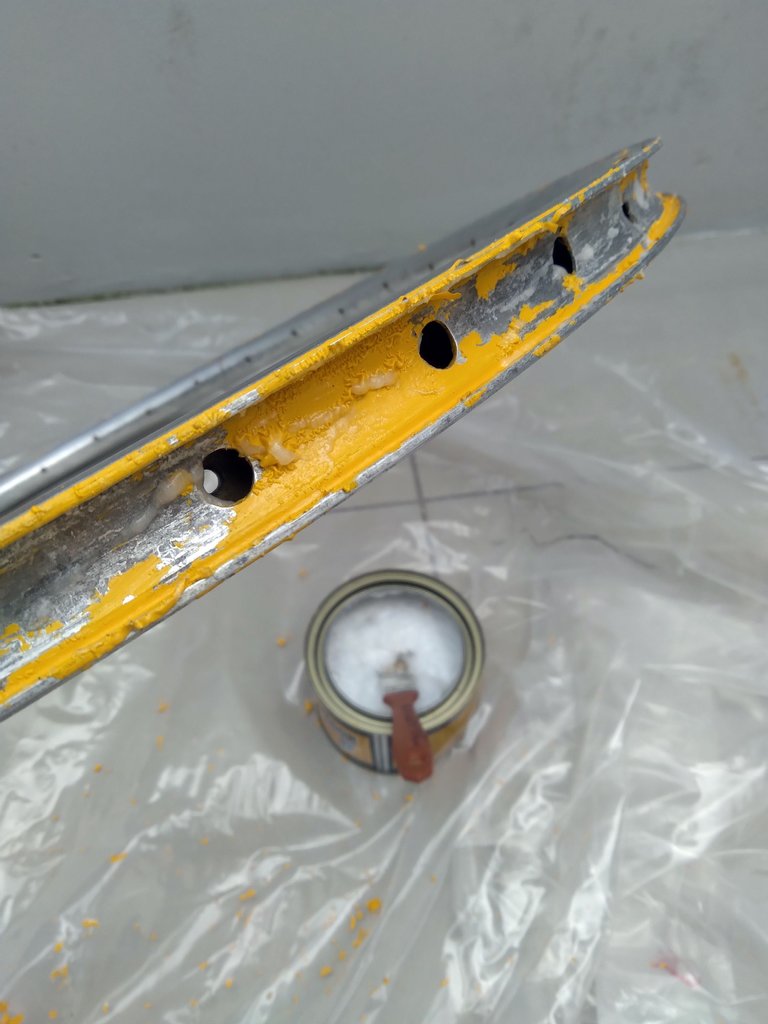
Buried in the shed was a set of 26" MTB aero wheels from around 2002/03. Should do it for the project after a little restoration. "A little."
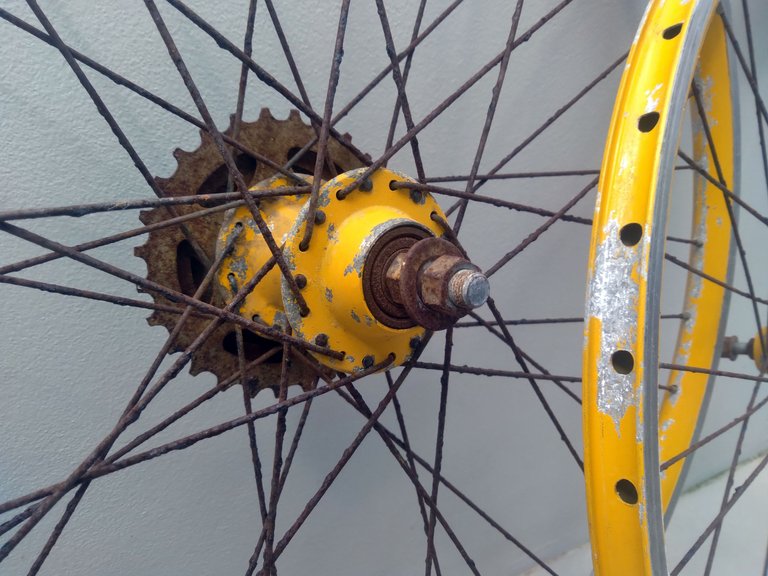
Last time I checked, the hub bearings were in good shape and the paint wasn't chipping. Clearly not the case anymore. That means new bearings, freewheel, spokes and paint job. A second option is to mount the rims on new hubs (advisable). All in all, a new paint job is certain, so that's where my energy is concentrated.
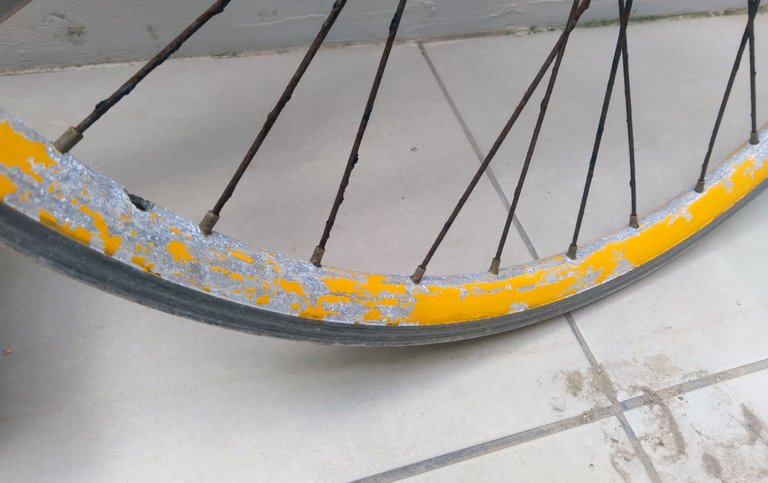
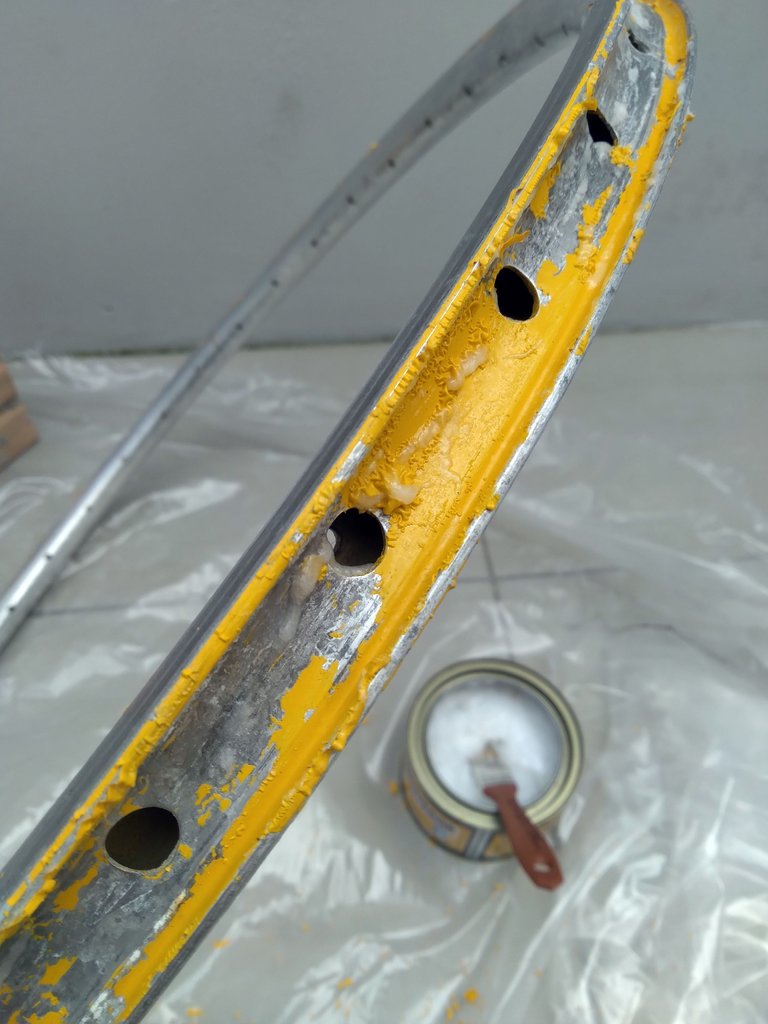
These are aluminum rims and the white spots are oxidation, which should come off easily by sandpapering the surface. Most of the old paint came off whilst power-washing the wheels, so you have it how bad things were.
I then cut the spokes with the pliers since the nipples were seized anyways. With only the rims in hand, it's time for hours of glorious sanding.
Glorious sanding
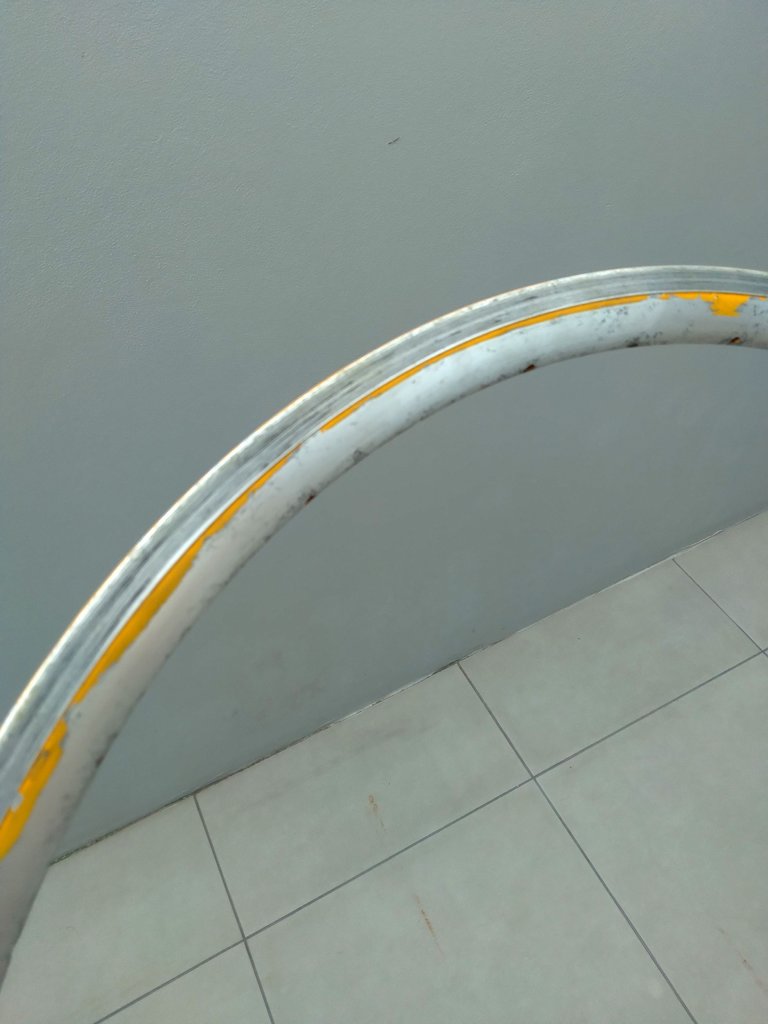
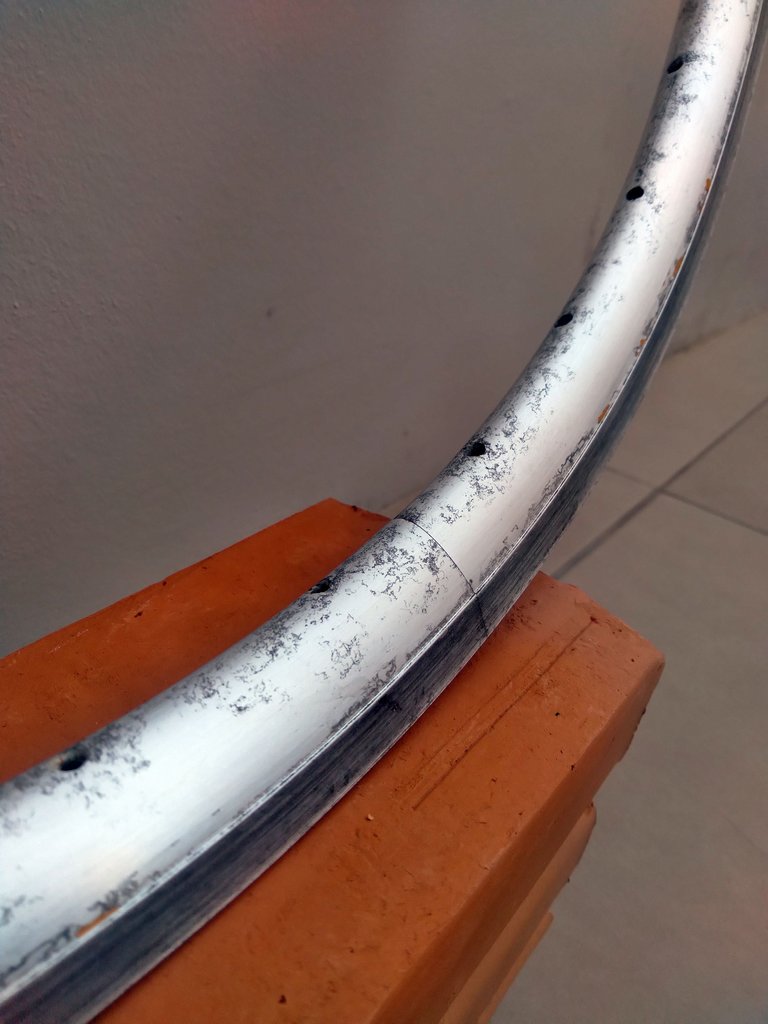
It is yet to be born a DIYer that likes sanding. The torture starts with 320 grit wet sandpaper. Could've gone rougher, but aluminum is quite soft; I didn't want deep scratches onto the surface.
Goodness me! Sandpapering is tedious as f**k. After endless hours of pure tedious back and forth, bits of paint were still refusing to go.
Better use some incentive!
Now... I'm not a fan of chemical paint removers — they stink, burn, require PPI, make a mess and all the negative et ceteras. However, they bloody work. And will spare me a ton of time.
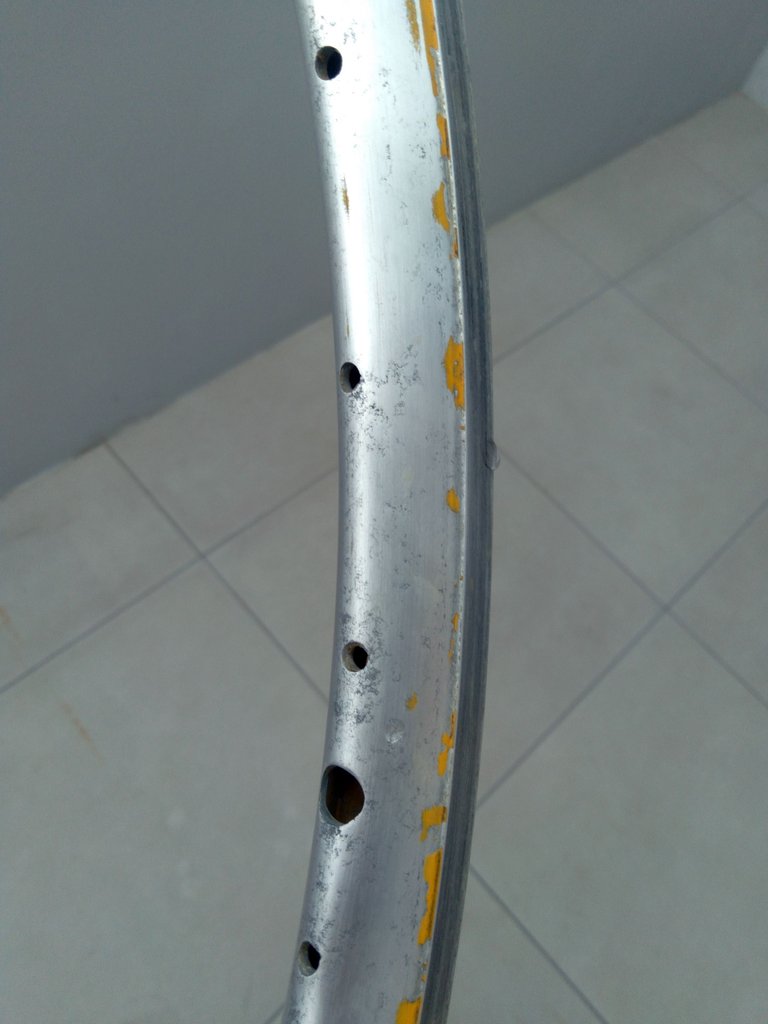
The paint stood no chance against the almighty. In a matter of minutes the whole painting melted, which was then removed using steel wool.
Note: Wearing protective gear is mandatory when dealing with paint removers. One tiny touch and it'll burn your skin.
Surface Preparation is Key!
This section is particularly important for any new DIYer wanting to paint. As a beginner painter myself, I spent hours searching techniques for a semi-professional result using Acrylic spray paint. All articles agree that surface preparation is 70% of the job; the rest is painting technique. Let me bullet-point some stuff I learned along the process.
- Surface must be completely smooth, free from previous paint, and free of contaminants.
- Respecting the order of coating is fundamental (primer, basecoat and clearcoat); sole the basecoat over metal won't have enough mechanical strength.
- Have patience! Each spray paint manufacturer have different specifications for the cure time — respect that. Give the paint enough time to dry before moving to the next coat.
- Wait for a hot, wind-free day to paint (humidity is not our friend).
- Apply thin layers of paint; two or three layers should be enough.
That said, it's time for the fun part of the project — painting! Knowing all the above, spraying the rims was a piece of cake. Be careful not to rush through the coating layers.
Just so you have an idea, it took me weeks to complete the job; most of the time waiting for the perfect day to spray the rims outside, in our garden. The other days waiting for the paint to be 100% dry. I doubled on that just to make sure.
Spray-painting
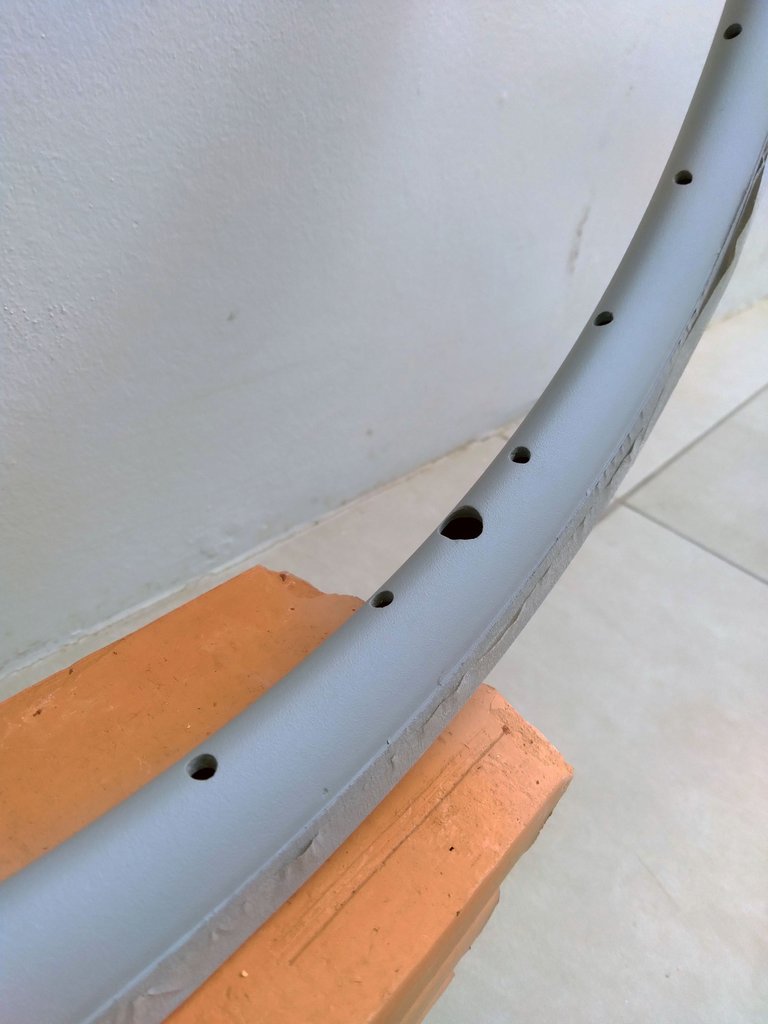
Surface is nice and clean. First coat is the primer. There are aluminum-specific primers, but I used regular acrylic instead. Three thin layers completely covered the surface. Masking tape protected the rim sides.
Guess what? More sanding!
The primer is dry after a few minutes, although I waited for two days to smooth very lightly the surface with 1200 grit wet sandpaper. Again: cleaned the surface, masked the sides and moved on to the basecoat.
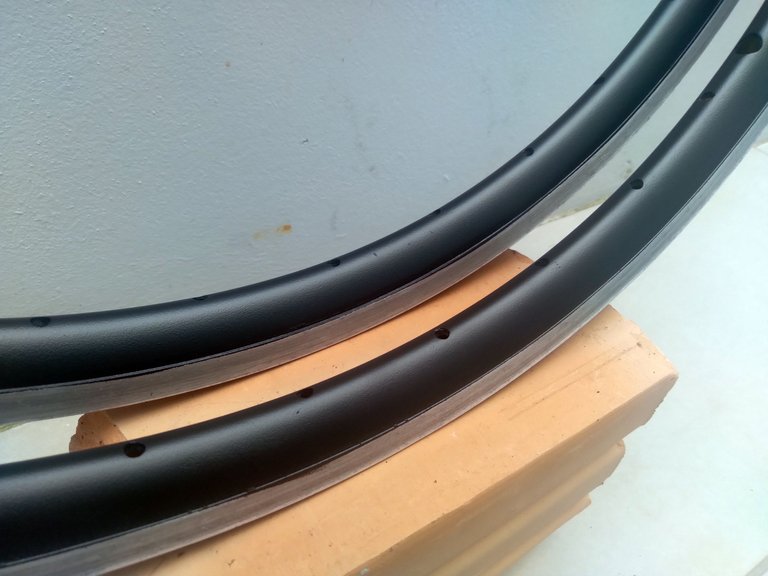
Color of choice is flat black. That will go along very nicely with the WW2-plane-inspired paint job I plan for the frame.
Three thin layers of paint do the trick and the rims start to look really nice already. Once again, a few days later and it's time for the clearcoat. Because the clearcoat is also flat/matte, there isn't any visual difference showing up on the photos; the main difference after applying clearcoat is that the paint feels harder. Here's how it looks.
Rebuilding the Wheels
The worst is waiting for the mail.
Old hubs were in horrible shape and new bearings for them would cost nearly the same as new hubs from China. Also, oldies are the threaded freewheel kind; I plan to use a modern cassette, thus, not compatible. I found a good deal on a pair of new ones for ~100 Hive. Perfect. Lastly, came through the mail a set of new stainless steel spokes.
Ba-da-bim, ba-da-boom!
Isn't the result a hella sexy?! Spokes look bent because the wheel isn't trued (centered) yet.
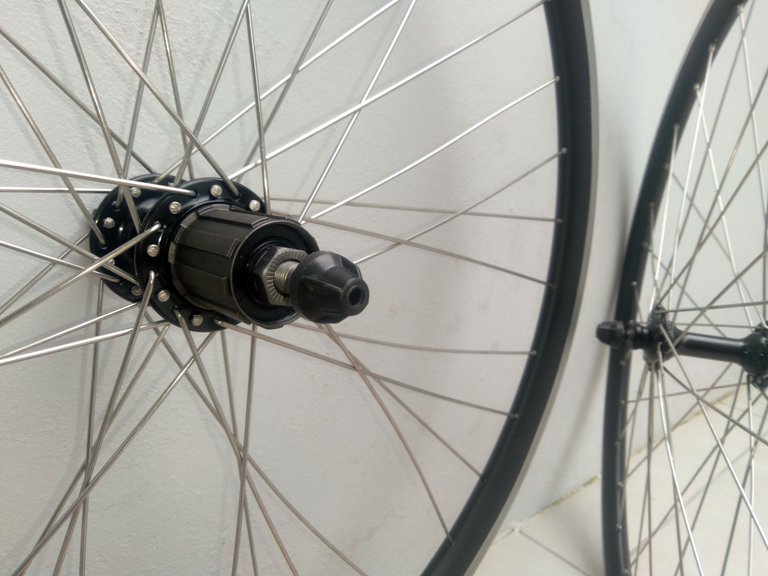
To be honest, it hurts to know these wheels are going into a gravel bike. It pleases the eyes to see new parts installed. And the paint? Fantastic! Acrylic isn't as durable as automotive paint, although it feels incredibly strong — only time will tell.
At least the premises of this project are fulfilled: explore new skills, up-cycle a pair of wheels and have fun building a new/old bicycle.
Let's see what comes next in the wild world of bicycle building.
Peace.
If you enjoyed this post consider leaving your upvote for a hot coffee.
Find me on Twitter: https://twitter.com/mrprofessor_
~Love ya all,
Disclaimer: The author of this post is a convict broke backpacker, who has travelled more than 10.000 km hitchhiking and more than 5.000 km cycling. Following him may cause severe problems of wanderlust and inquietud. You've been warned.

Wow, what a work! But what a great result too. They look brand new again!
What a cool idea to build a Frankenstein bike. I'm curious about the following blogs about the progress!
This post was upvoted by the Cycling Community
Join our Discord Channel!
Delegations are welcome
| 25 HP | 50 HP | 100 HP | 250 HP | 500 HP |
Yeeeeeeh! Have you looked into frankenstein bikes (aka monster gravel or monstercross)? They seem really fun to build and ride -- we'll see. So far I still need some parts: chain, headset, fork, tires, stem, seat post, cables. The fun part is picking up all the bits, some used, some new flr as cheap as possible.
It looks like a cool project. I wish I had more time for such a project.
Do it! How hard is it to find a 90's mountain bike in europe? Steel frames look cool to modify. Or maybe an old cyclocross. Anything would do it really. I plan to build mine around a 26" aluminium frame from 1993
Wow that looks awesome. I never even thought to repair wheels like that, but it looks like a reasonable jog. Thanks so much for sharing. !LUV !COFFEE
Me neither! But nothing a dosen of youtube tutorials couldn't help it xDD The secret is to do it slooooowly
mrprofessor, strava2hive sent you LUV. 🙂 (1/1) tools | trade | connect | daily
Made with LUV by crrdlx.
Impressive! Well I guess the reward of seeing them so nicely neat and clean must pay you off for the hours of sanding:)
They feel and look so nice I don't wanna use them hjahahaha Could easily leave them in a shelf in my living room 🤣
yes yes I know that struggle😂😂 too good to use!
Woah
Your work brought fruit.
Excellent work especially with the tyres. Well done ✅
`
Want to Know more about Hivepakistan?
Ping Us On Hive Pakistan Discord server
To support HivePakistan, delegate Hive Power to hivepakistan and earn 90% curation reward :)
Here are some handy links for delegation
A delegation of 500 or more HP makes you earn Hivepakistan supporter badge.
`