Hola amigos hivers
Ha pasado ya un tiempo no muy largo pero sí, ya llevaba algunos días de inactividad debido a que estaba trabajando en un pequeño proyecto del cual les voy a hablar.
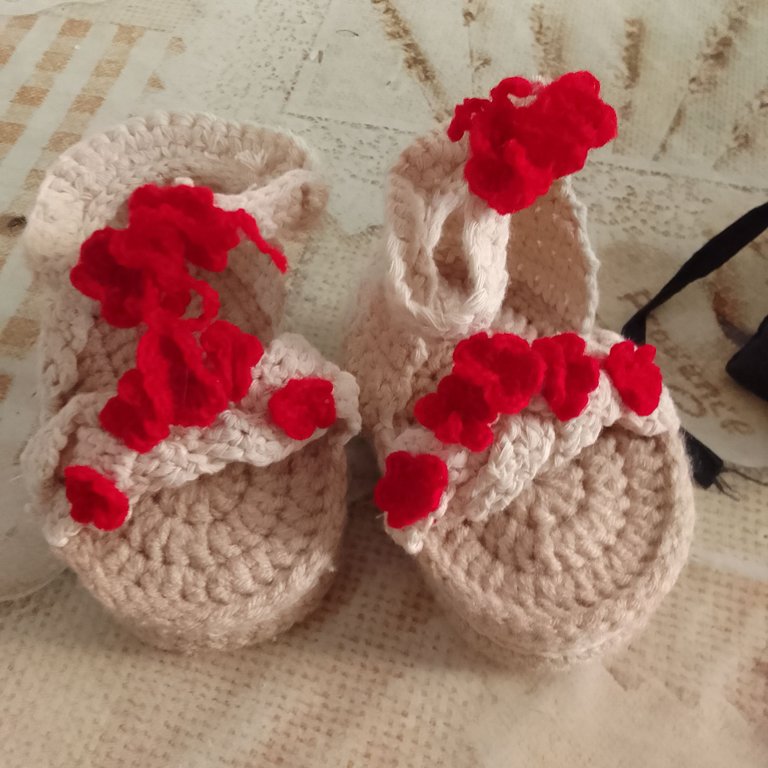
Como ya saben me he adentrado en el mundo de los tejidos a crochet, que verdaderamente ha sido la mejor solución como tratamiento a mi ansiedad y ya no sufro tantas crisis. Desde un principio me encantó la técnica a ganchillo y aprendí muy rápido los puntos básicos (aún estoy aprendiendo otros puntos y técnicas). Hace un tiempo mi cuñada que en varias ocasiones me ha visto tejiendo y en otras ha visto ya el resultado me pidió que le hiciera unos zapatitos para una bebé. En mi país es una tradición que los bebés tengan al menos una prenda tejida, ya sea ropa, zapatos o medias. En este caso serian unas sandalias y voy a ser muy sincera, no tenía ni idea de como hacerlas, tenía una referencia pero nada que ver con mis posibilidades ni los recursos con los que contaba en el momento, pero aun así accedí a realizar el trabajo.
Estaba bastante motivada por este trabajo, así que primero busqué la información necesaria para luego ponerme manos a la obra.
Materiales:
🧶Aguja
🧶Estambre
🧶Alfileres
🧶Poliespuma
🧶Tijeras
Proceso
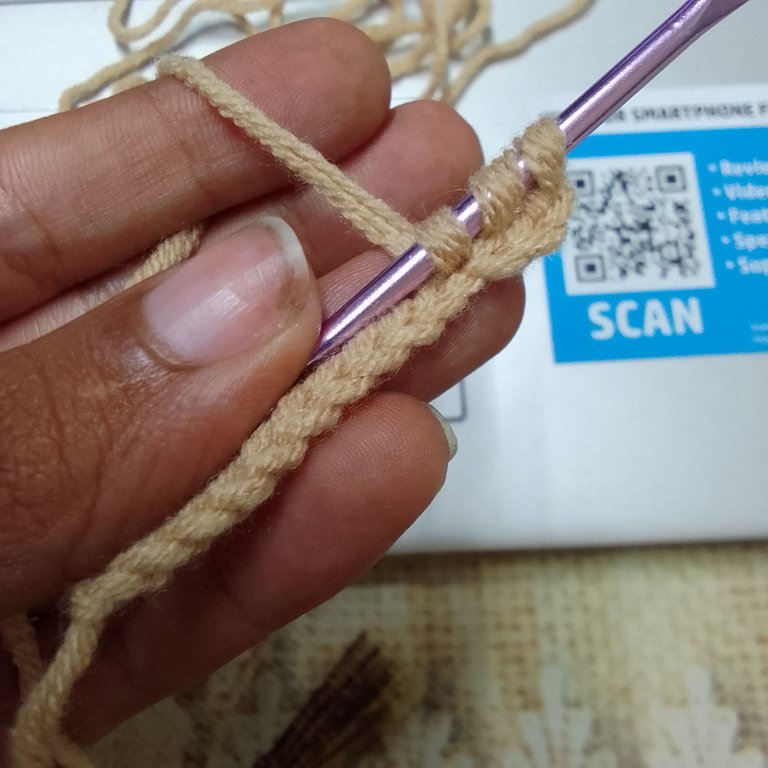
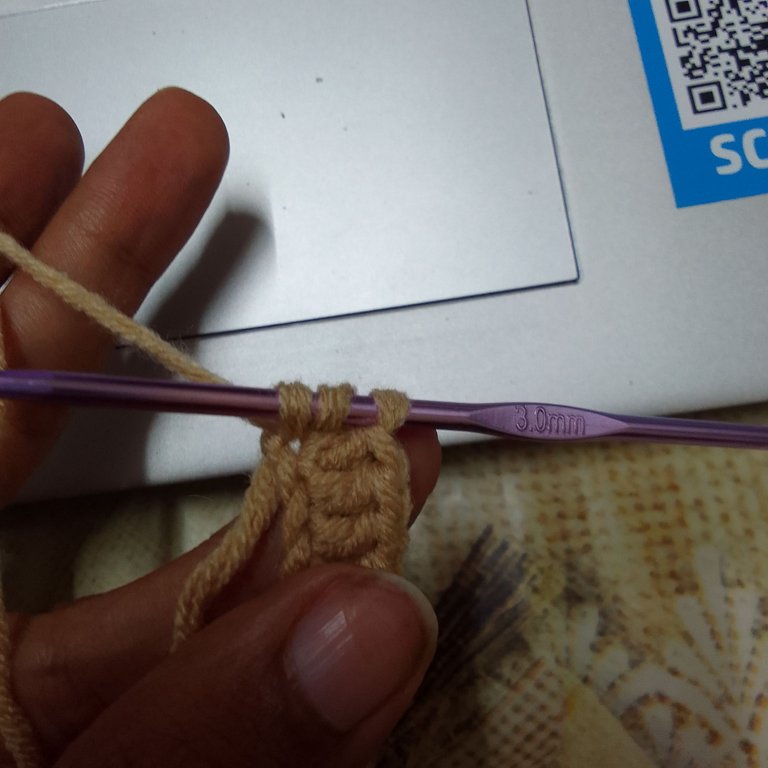
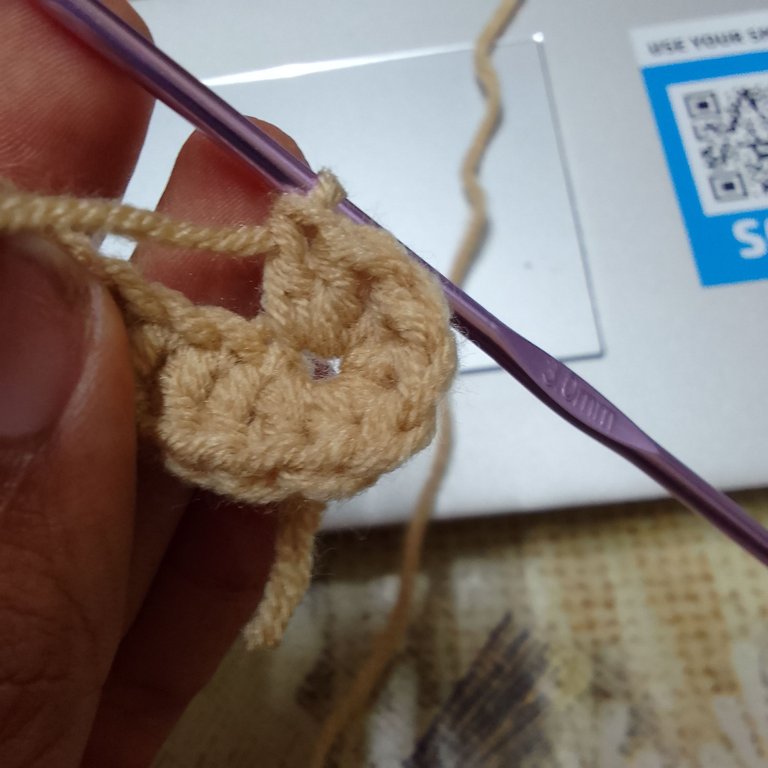
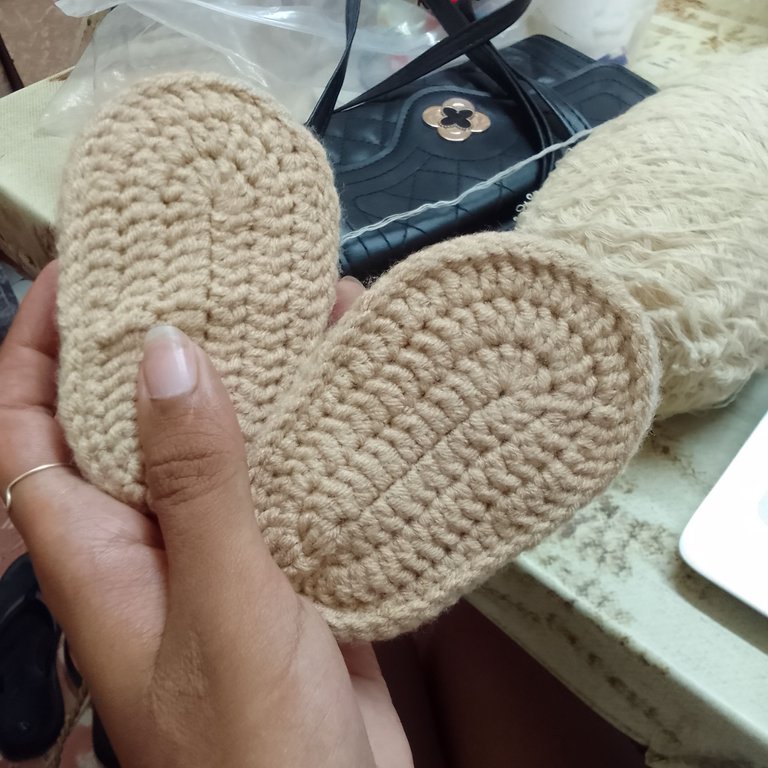
Empecé con el patrón para la base de la sandalia, lo fui haciendo tal y como lo indica el patrón: primero 10 cadenetas y subir con punto vareta para ir dándole forma. De esta base hice 4 en total, teniendo en cuenta que quedaran del mismo tamaño todas.
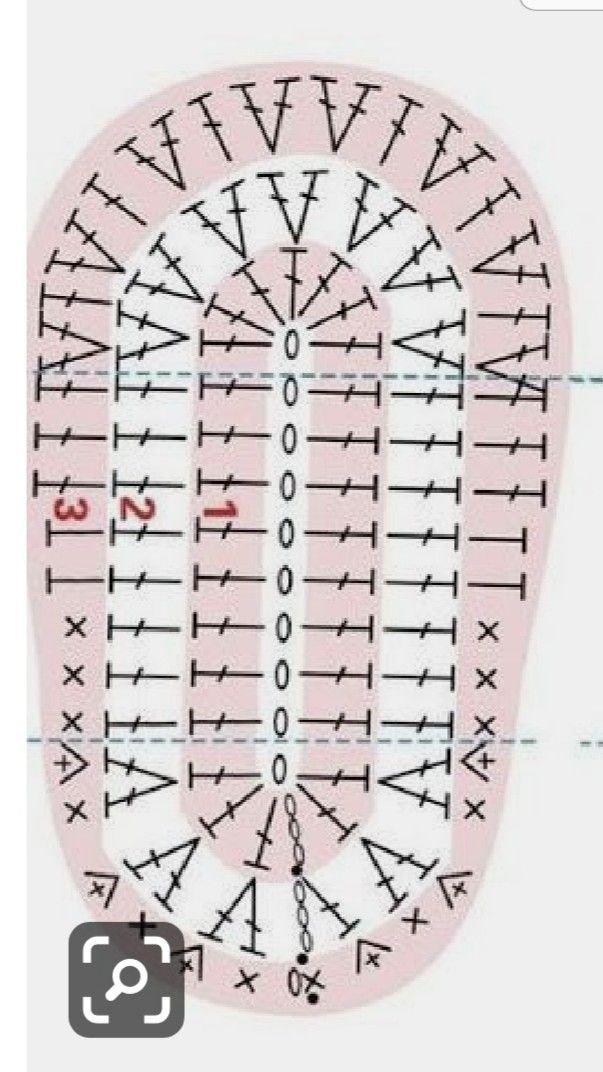
Patrón tomado de Pinterest
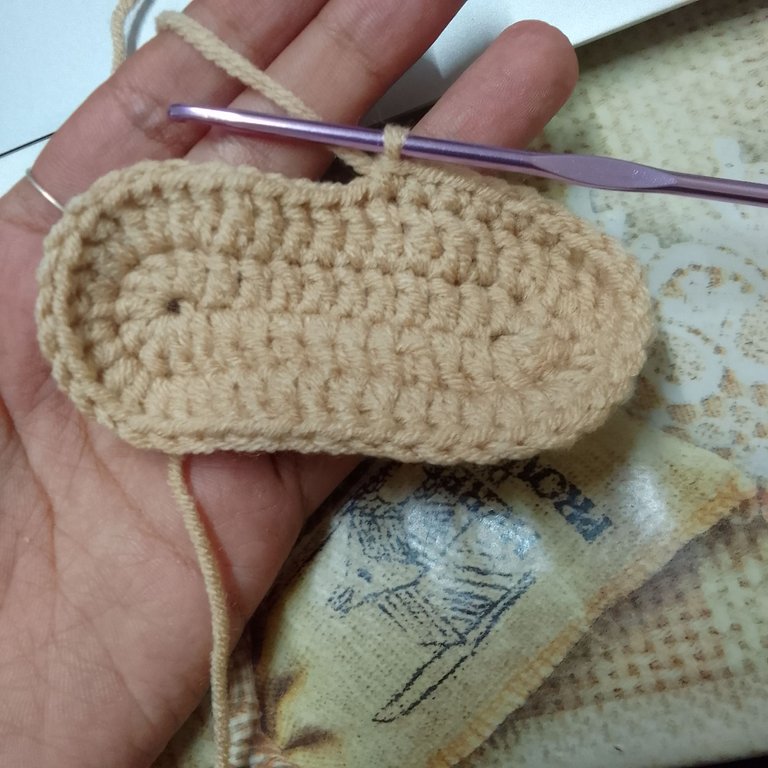
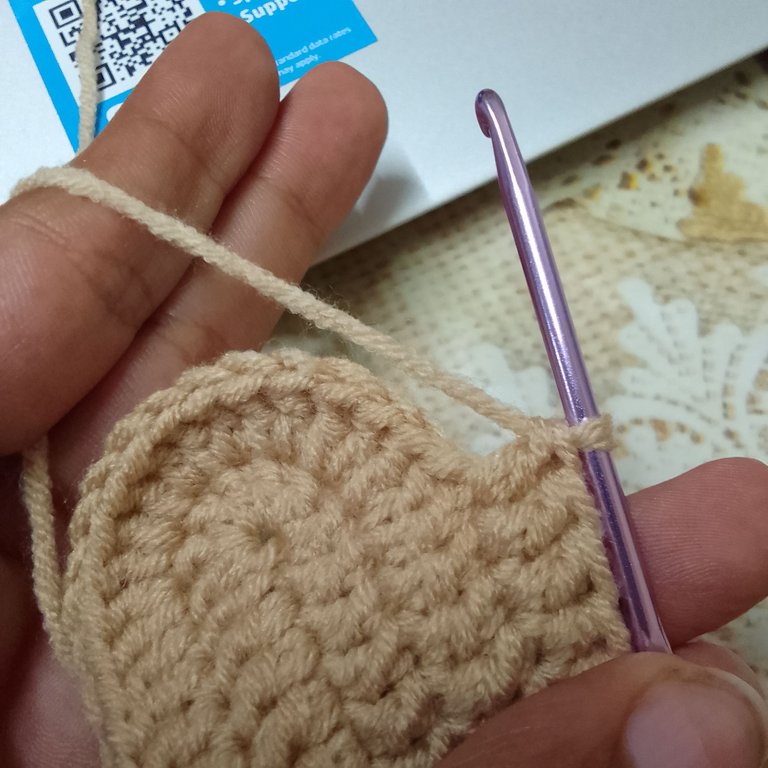
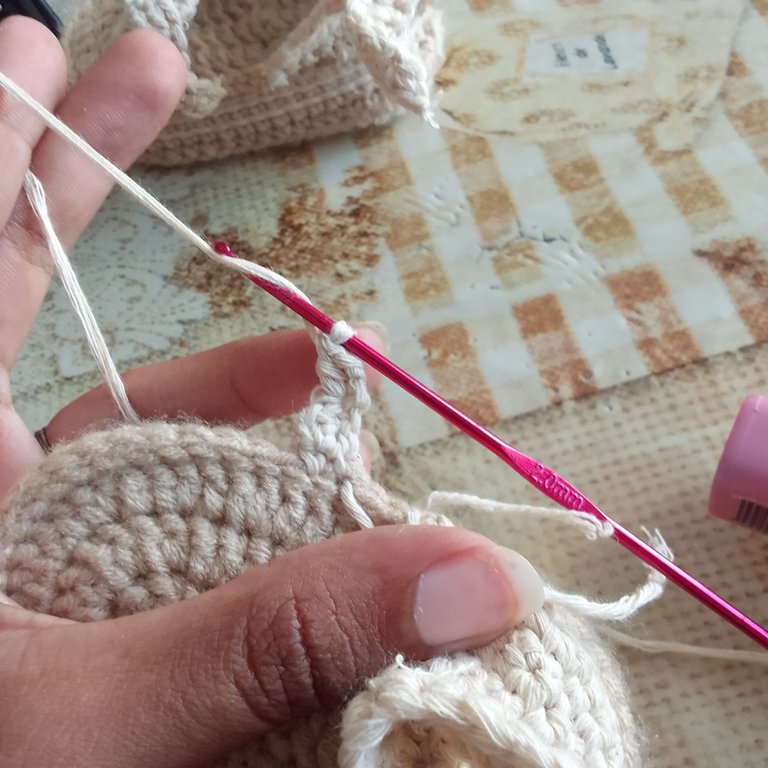
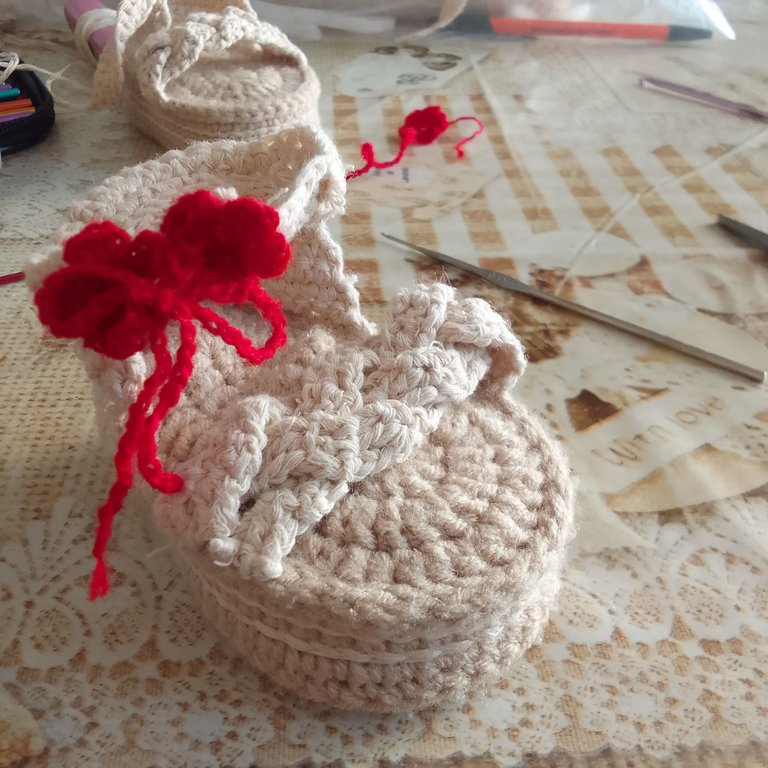
Luego separé 2 con las que iba a trabajar para levantar la base, porque estas sandalias mis amores son de plataforma. Así que tomé el hilo y tejí en todo el alrededor de la base que ya había hecho con el patrón, esta vez utilicé el medio punto. Esto lo hice para levantar el tejido lo suficiente ya que en es misma parte llevaba unas listas con un tono de hilo diferente, que estas las hice con punto raso.
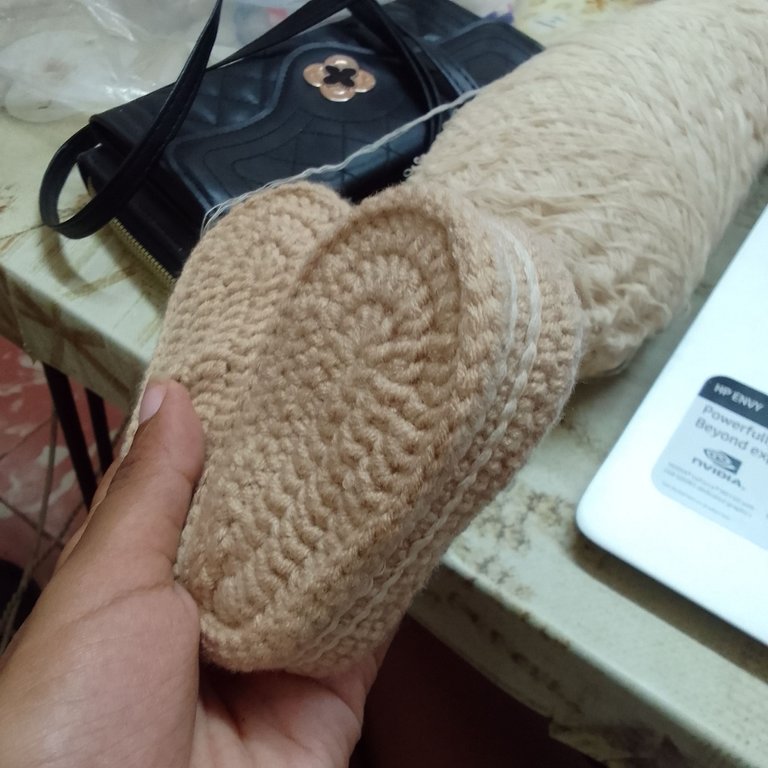
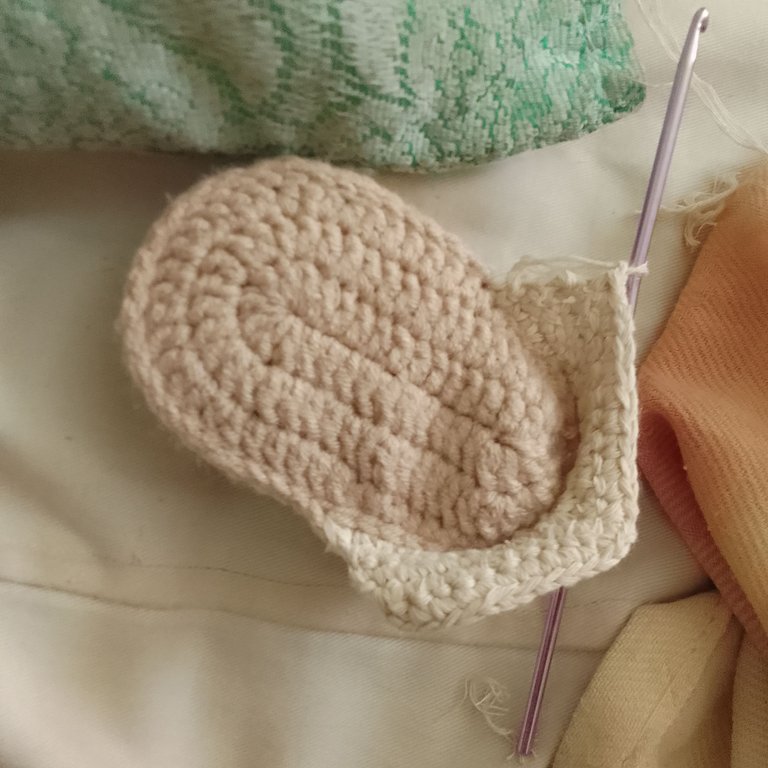
Una vez terminada esta parte puse el relleno que había hecho con poliespuma y así mi base quedara firme. Y luego uní las bases preformadas con poliespuma y las otras dos que había tejido con el patrón.
Hasta aquí no había problemas. Comencé a hacer la parte de arriba. Hice la parte del talón directamente a la base utilizando medio punto fui de un lado a otro dándole la forma que quería. Al principio no me salía, pero en unos pocos intentos ya si me funcionó (luego pensé que tal vez se me hubiera facilitado haber hecho esas piezas por separado, pero esas son anotaciones que tendré en cuenta en el futuro). Las correas si las hice por separado porque se me dificultaba mucho y creo que eso me ayudó con la forma final de las sandalias.
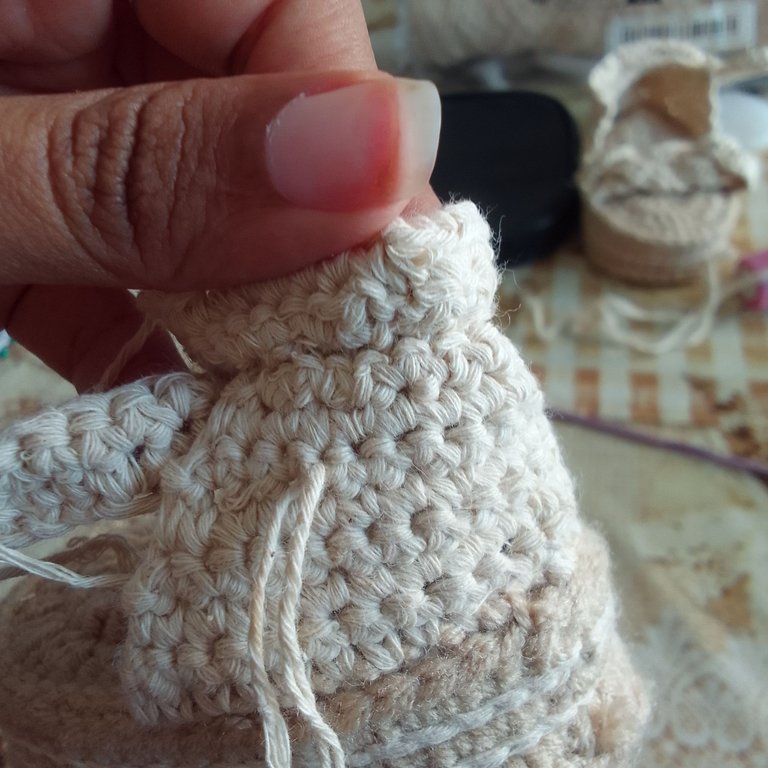
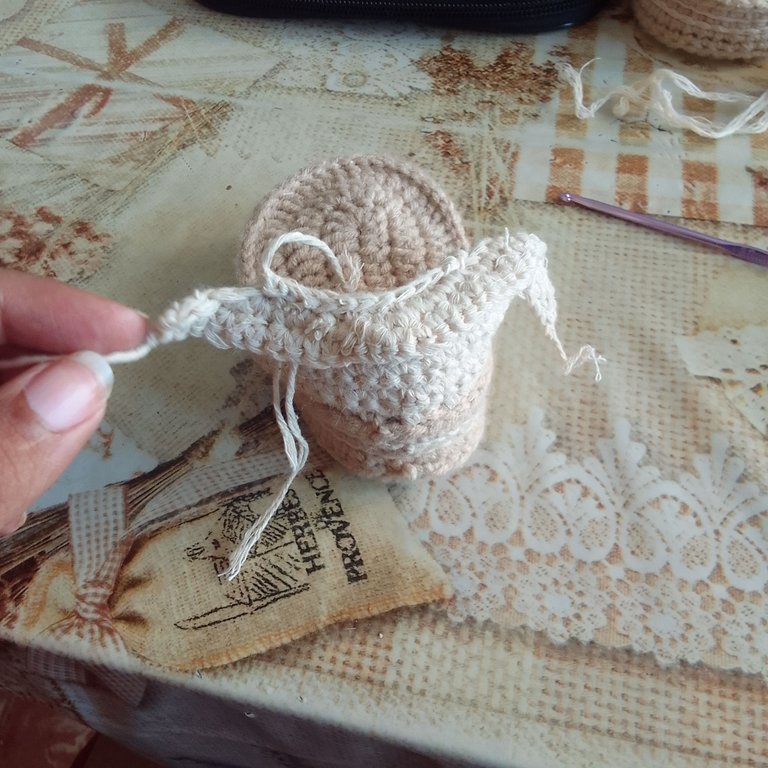
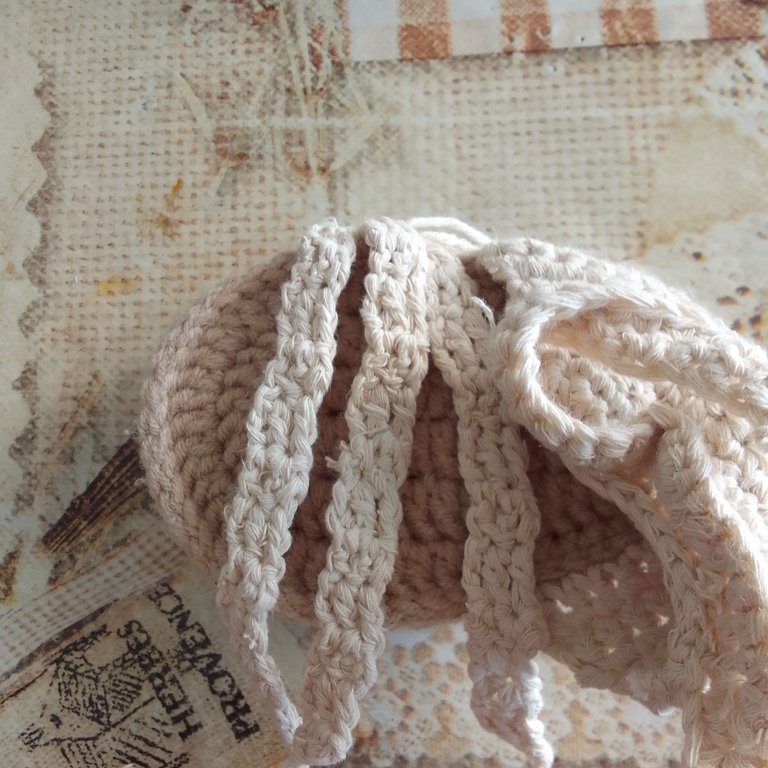
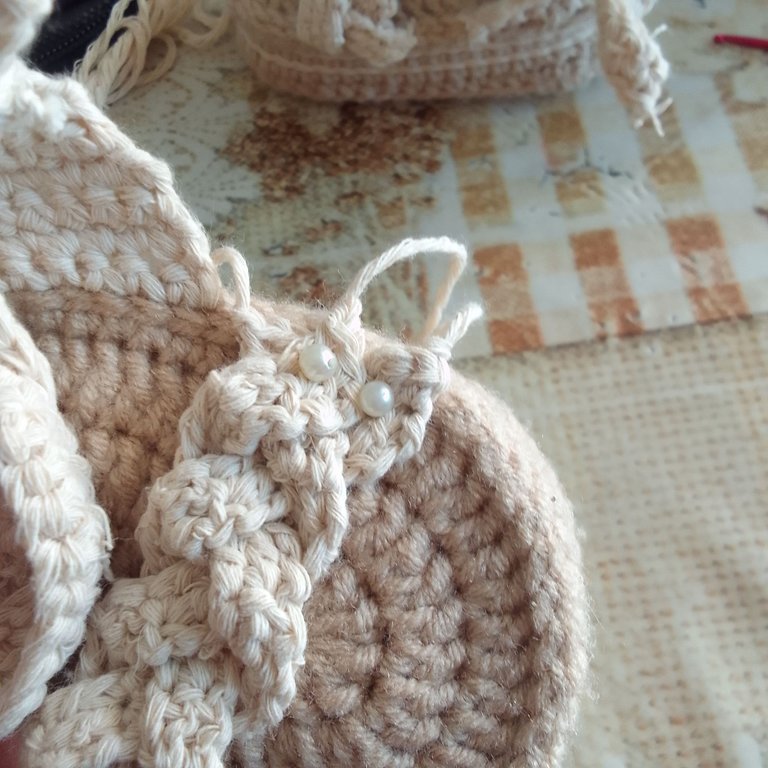
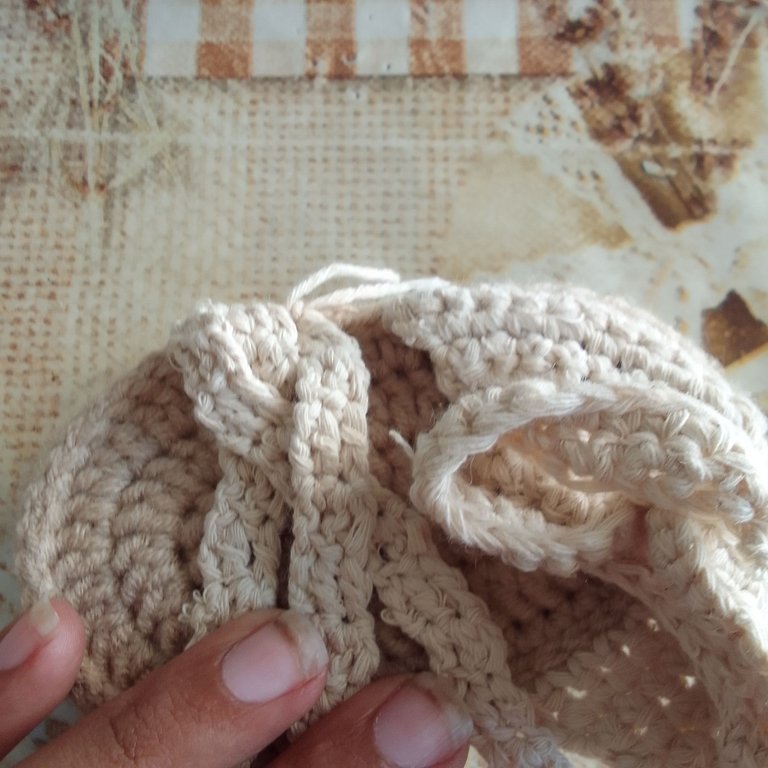
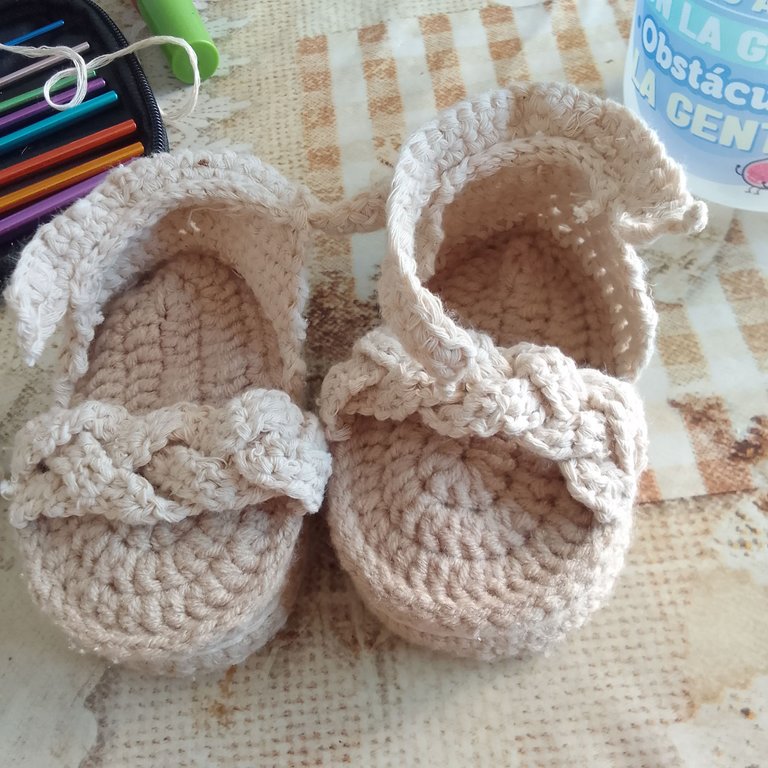
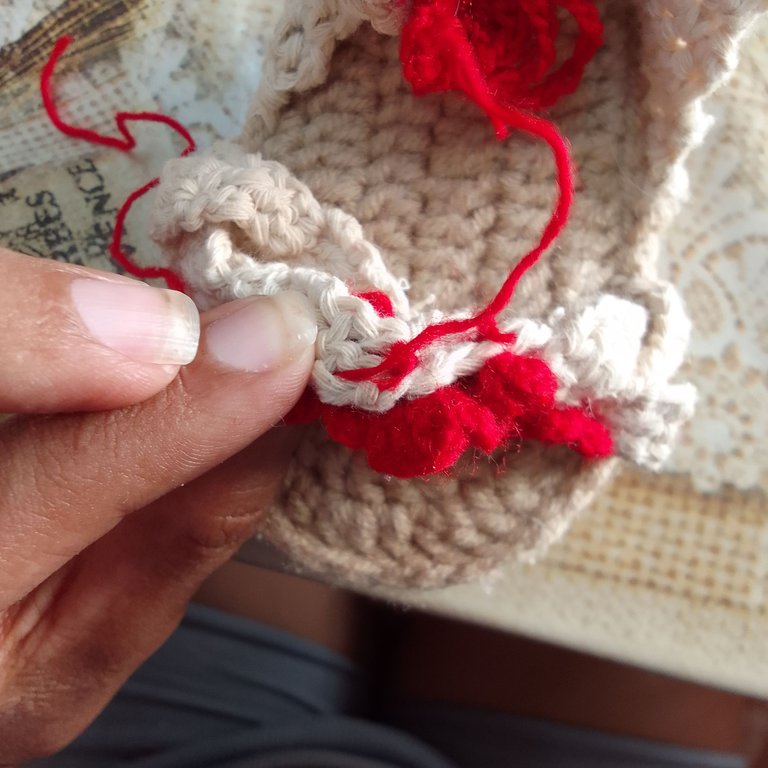
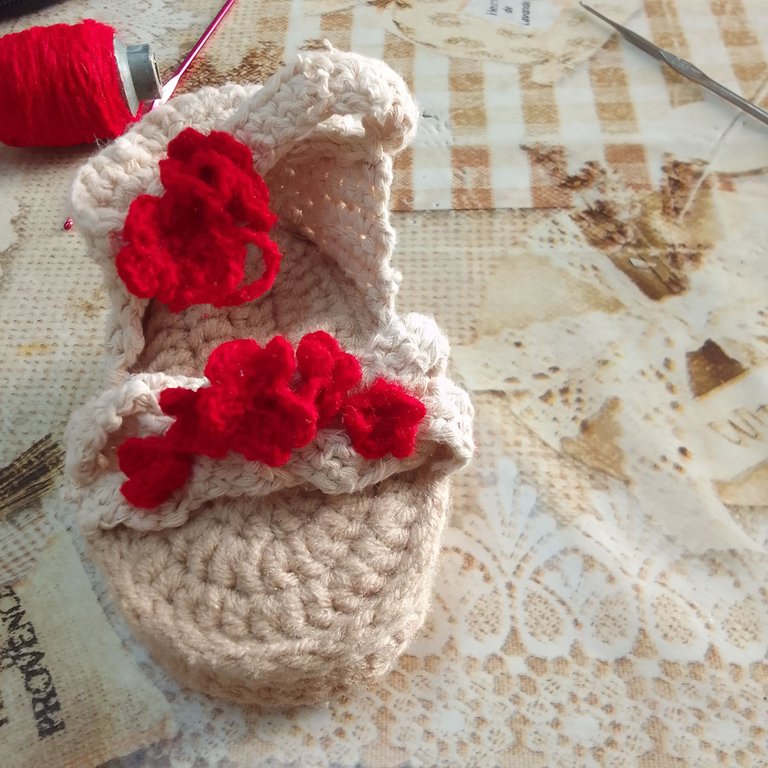
Hice la parte del empeine de forma sencilla, tejí 3 listas para luego trenzarlas. Las fijé al otro extremo con alfileres y las uní al la base con la aguja asegurándome de ocultar muy bien los hilos al final, cosa que hice con todos los hilos que me quedaban sueltos.
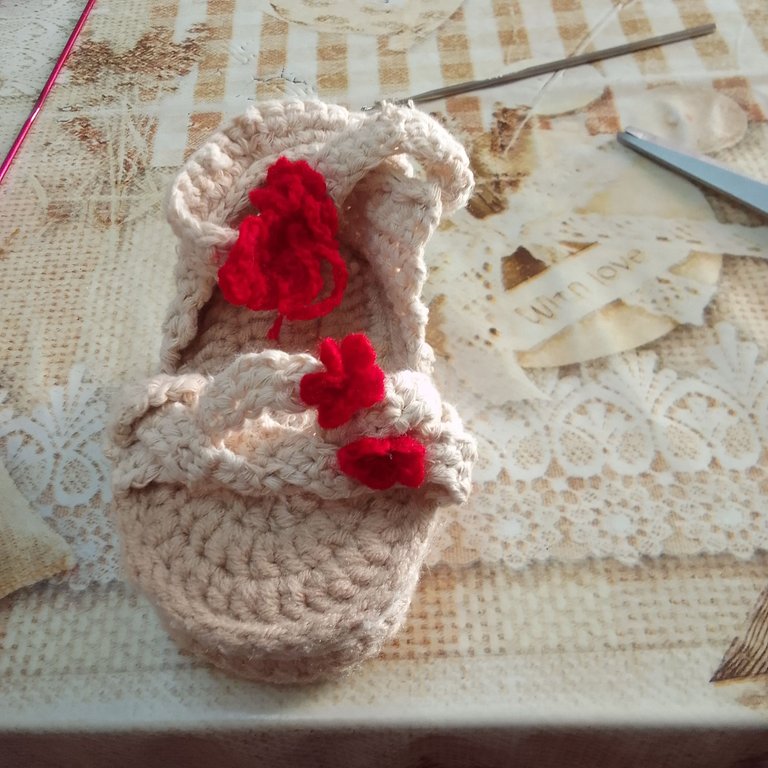
Ya si por ultimo le agregue unas florecitas para decorar y listas.
A mi me encantó el resultado, aunque puedo mejorar muchas cosas. Este trabajo me tomó una semana aproximadamente y tanto yo como mi cuñada estamos satisfechas con el resultado que la verdad es una belleza. Espero que les haya gustado tanto como a mi y nos vemos en el próximo post❤️.
English
Hello hivers friends
It's been a not very long time but yes, I had been inactive for a few days because I was working on a small project which I'm going to tell you about.
As you know I have entered the world of crochet fabrics, which has truly been the best solution as a treatment for my anxiety and I no longer suffer so many crises. From the beginning I loved the crochet technique and I learned the basic stitches very quickly (I'm still learning other stitches and techniques). A while ago my sister-in-law, who has seen me knitting several times and has already seen the result on other occasions, asked me to make some little shoes for a baby. In my country it is a tradition for babies to have at least one knitted garment, be it clothes, shoes or stockings. In this case they would be sandals and I'm going to be very honest, I had no idea how to make them, I had a reference but nothing to do with my possibilities or the resources I had at the time, but I still agreed to do the work.
I was quite motivated by this job, so I first looked for the necessary information to then get down to work.
Materials:
🧶Needle
🧶Worsted
🧶Pins
🧶Polyfoam
🧶Scissors
Process
I started with the pattern for the base of the sandal, I was doing it as the pattern indicates: first 10 chains and go up with varette stitch to shape it. I made 4 of this base in total, taking into account that they will all be the same size.
Pattern taken from Pinterest
Then I separated 2 with which I was going to work to lift the base, because these sandals my loves are platform. So I took the yarn and knitted all around the base that I had already made with the pattern, this time I used the half stitch. I did this to lift the fabric enough because in the same part I had some lists with a different tone of yarn, which I made with satin stitch.
Once this part was finished I put the filling that I had made with polyfoam and so my base would be firm. And then I joined the preformed bases with polyfoam and the other two that I had knitted with the pattern.
So far there were no problems. I started to make the top part. I made the heel part directly to the base using half a stitch I went from one side to the other giving it the shape I wanted. At first it didn't work out, but in a few tries it did work for me (then I thought that maybe it would have been easier to have made those pieces separately, but those are notes that I will keep in mind in the future). I did make the straps separately because it was very difficult for me and I think that helped me with the final shape of the sandals.
I made the instep part in a simple way, I wove 3 strips and then braided them. I fixed them to the other end with pins and joined them to the base with the needle, making sure to hide the threads very well at the end, which I did with all the threads that were loose.
Finally, I added some flowers to decorate and that's it.
I loved the result, although I can improve many things. This job took me approximately a week and both I and my sister-in-law are satisfied with the result, which is truly beautiful. I hope you liked it as much as I did and see you in the next post❤️.
Qué lindo trabajo y mejor aún el hecho de que te ayuda con la ansiedad, yo debería probar esta técnica también.
Me gustó mucho tu post.
Que bueno que te gustó, me alegra mucho y el crochet verdaderamente me ha mantenido calmada cada vez que me he sentido que voy a entrar en crisis así que espero que te ayude a ti también 😊
¡Felicitaciones!
1. Invierte en el PROYECTO ENTROPÍA y recibe ganancias semanalmente. Entra aquí para más información.
3. Suscríbete a nuestra COMUNIDAD, apoya al trail de @Entropia y así podrás ganar recompensas de curación de forma automática. Entra aquí para más información sobre nuestro trail.
4. Creación de cuentas nuevas de Hive aquí.
5. Visita nuestro canal de Youtube.
Atentamente
El equipo de curación del PROYECTO ENTROPÍA
Wow, this is amazing, a crocheted shoe I have never seen before.
I wonder if my baby can wear it.
I'm sure that your baby would look very cute with shoes like this ✨❤️
such cute baby sandals. She's got a lucky aunt for sure
Thanks 😊, I'm still learning
Awwwn! You are such a sweet aunt to have made this for the little princess. The touch of red made it stand out as well
Yep definitely red colour stand out. Thanks for your comment ✨
You are welcome 😊
quedaron bellísimas, un excelente trabajo.
They turned out beautifully, an excellent job.
Muchas gracias 😅✨
Congratulations @nery01! You have completed the following achievement on the Hive blockchain And have been rewarded with New badge(s)
Your next target is to reach 4000 upvotes.
You can view your badges on your board and compare yourself to others in the Ranking
If you no longer want to receive notifications, reply to this comment with the word
STOP