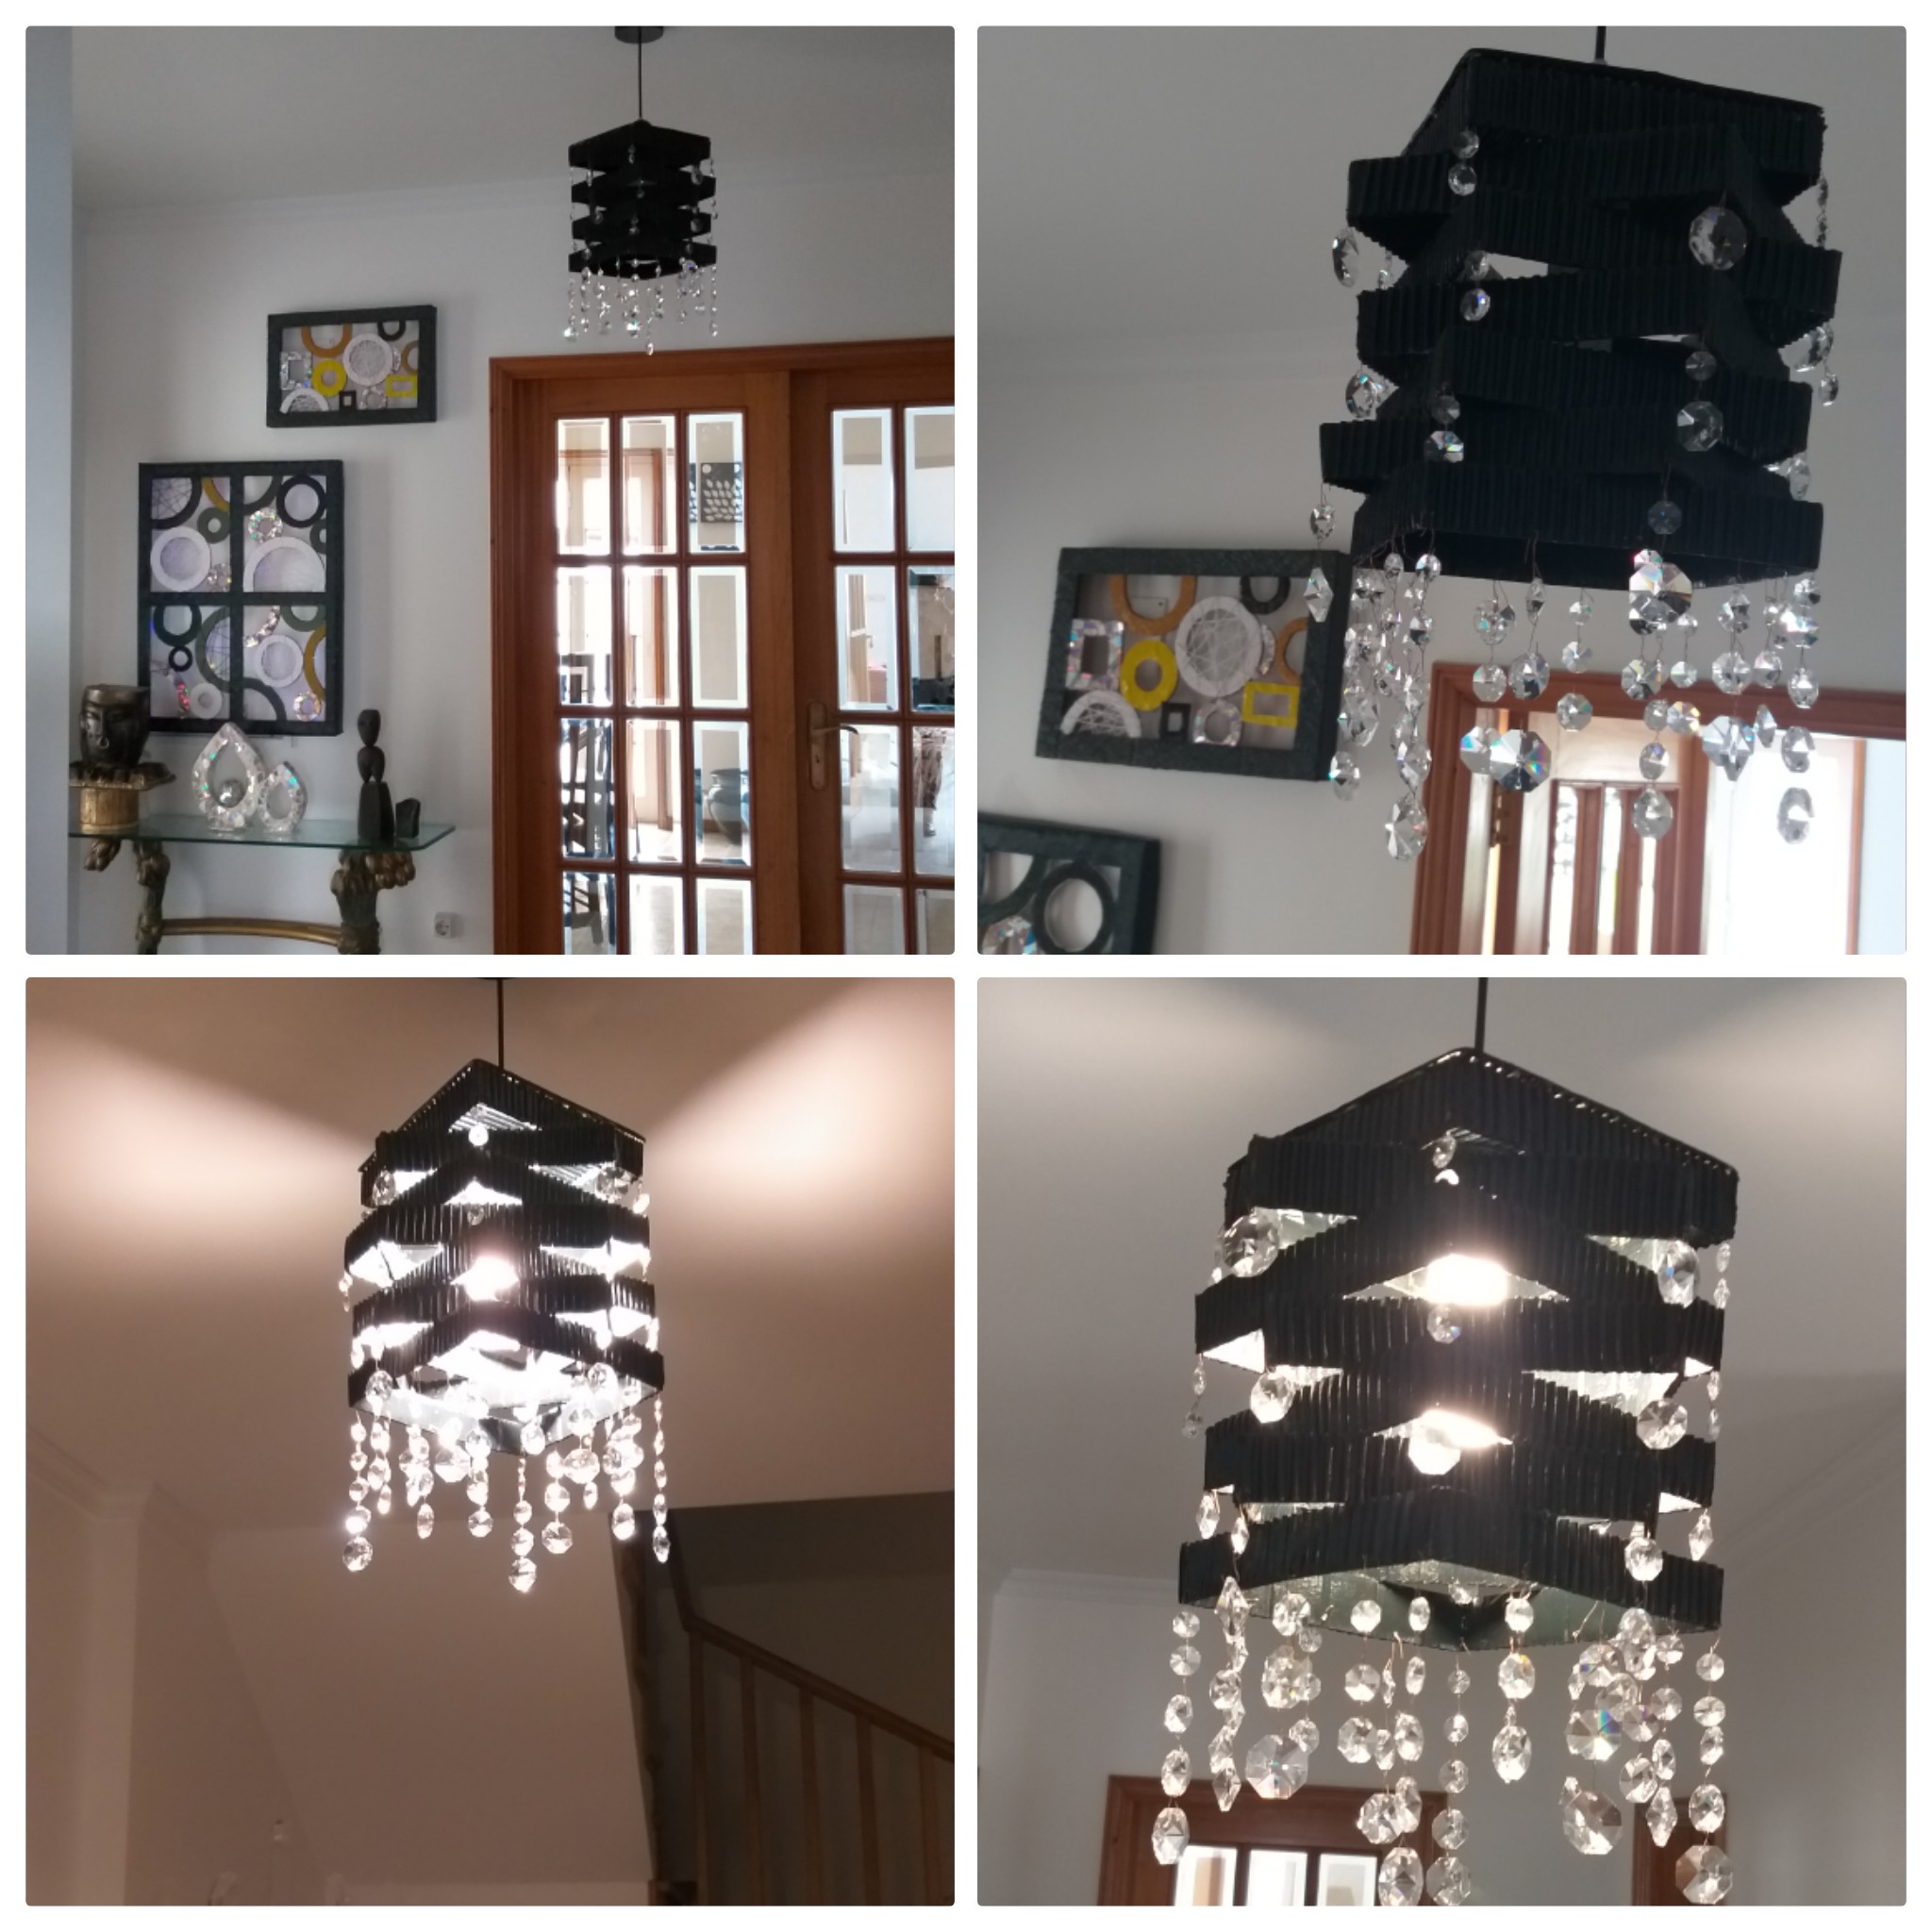
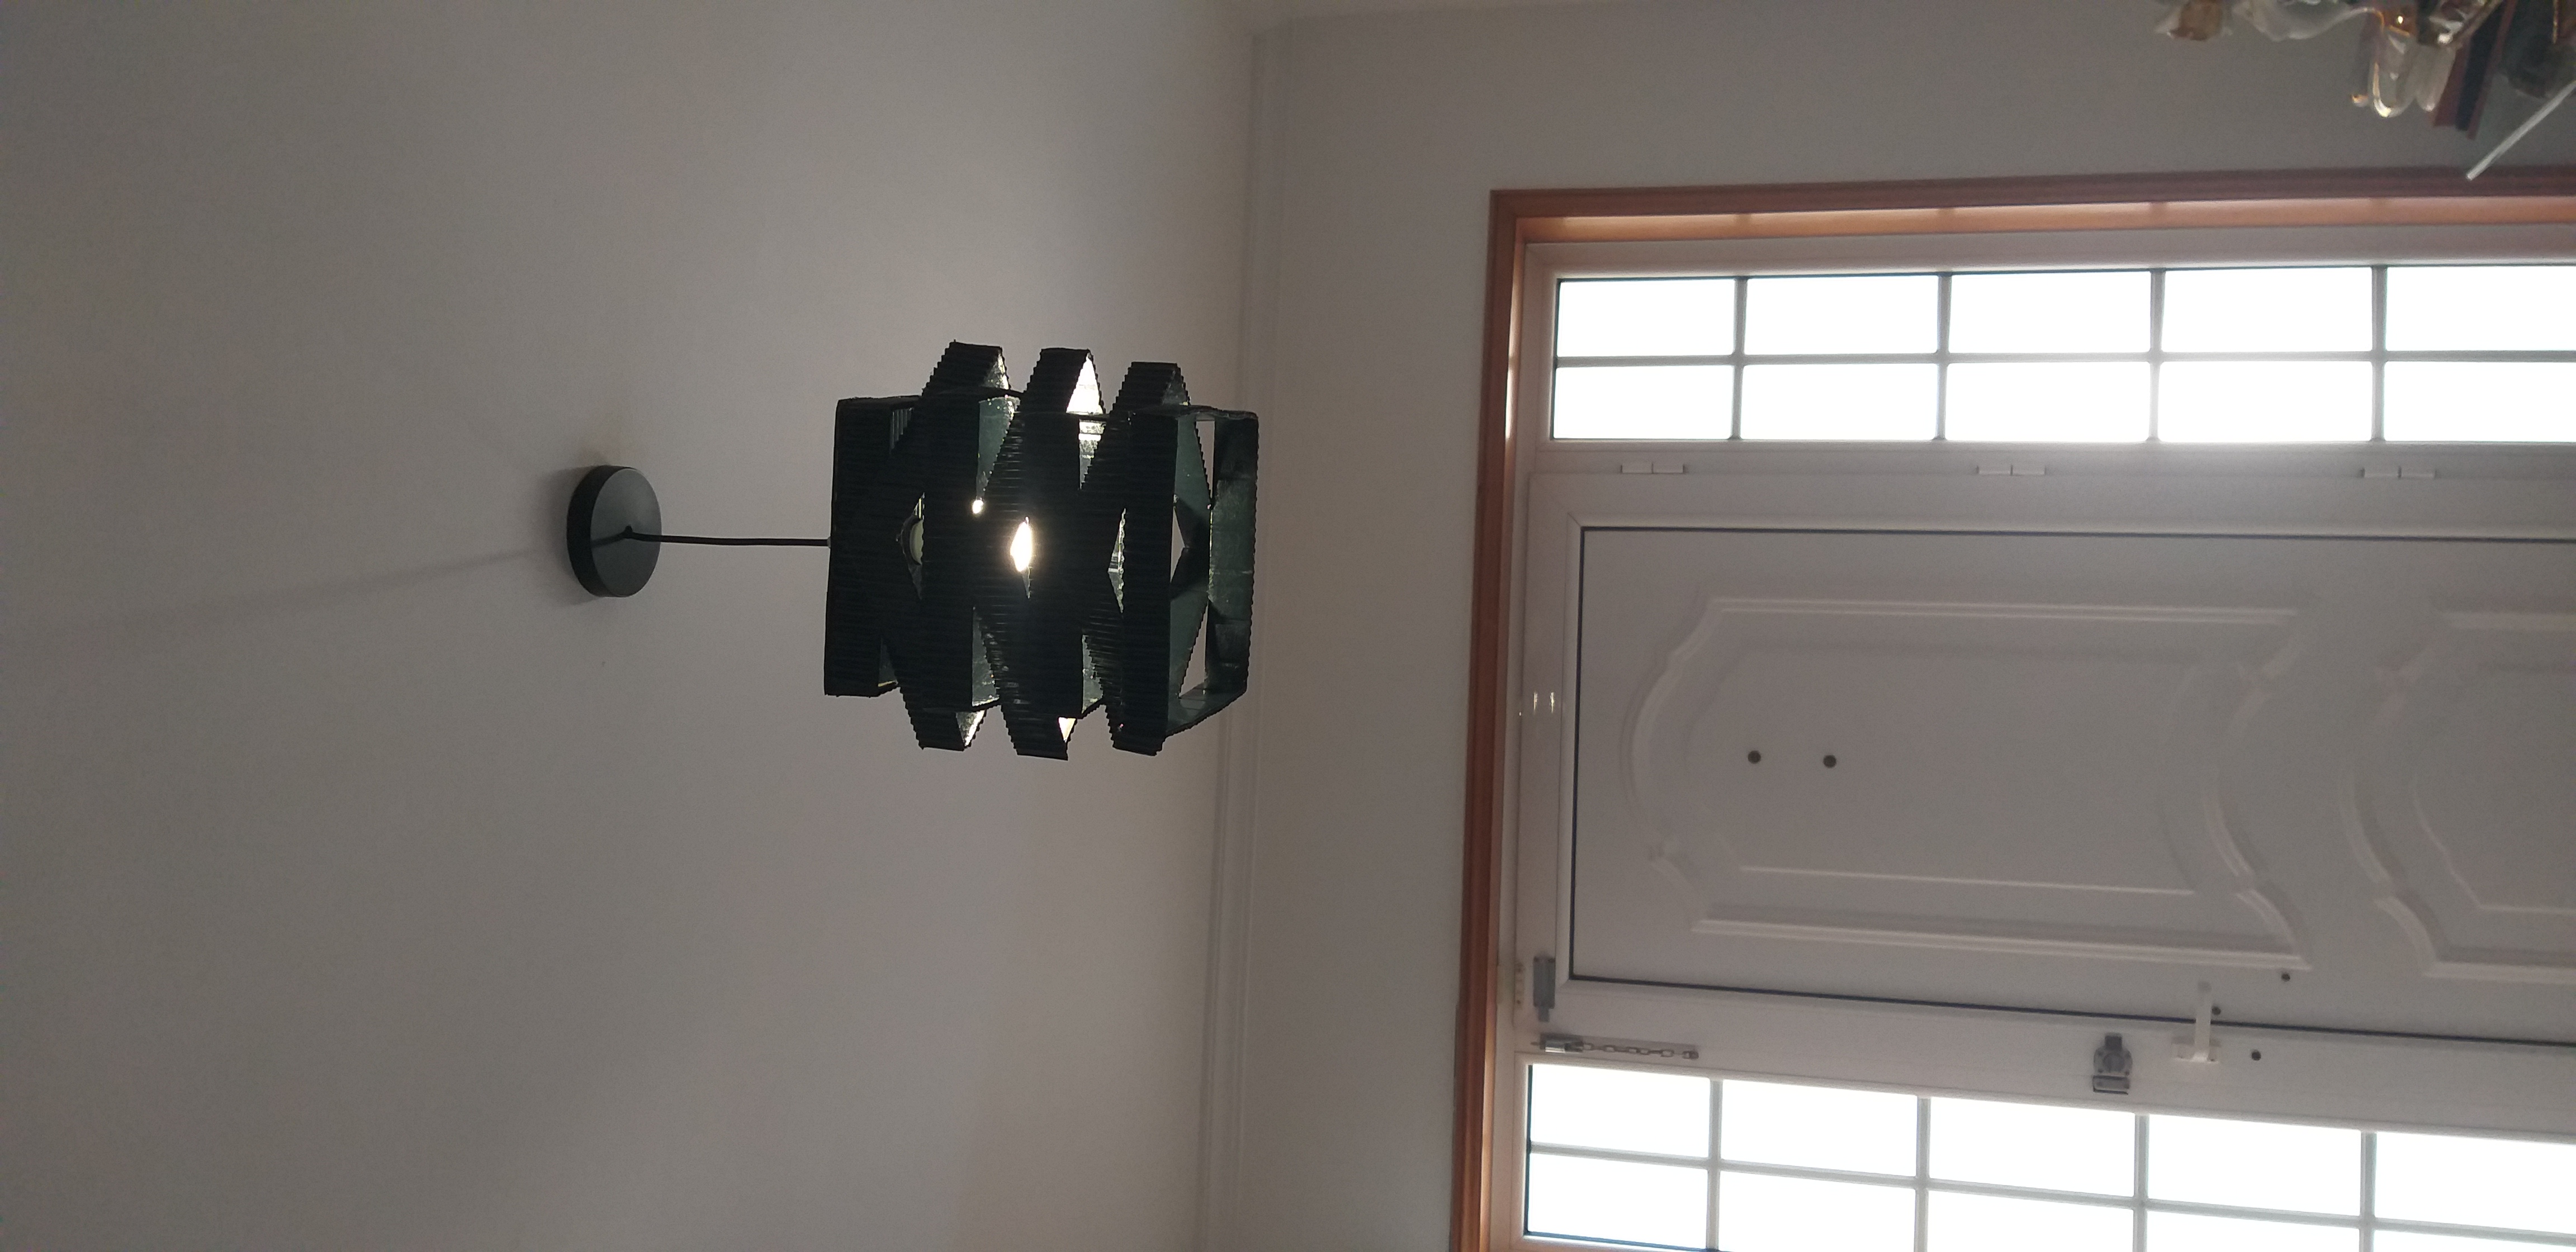
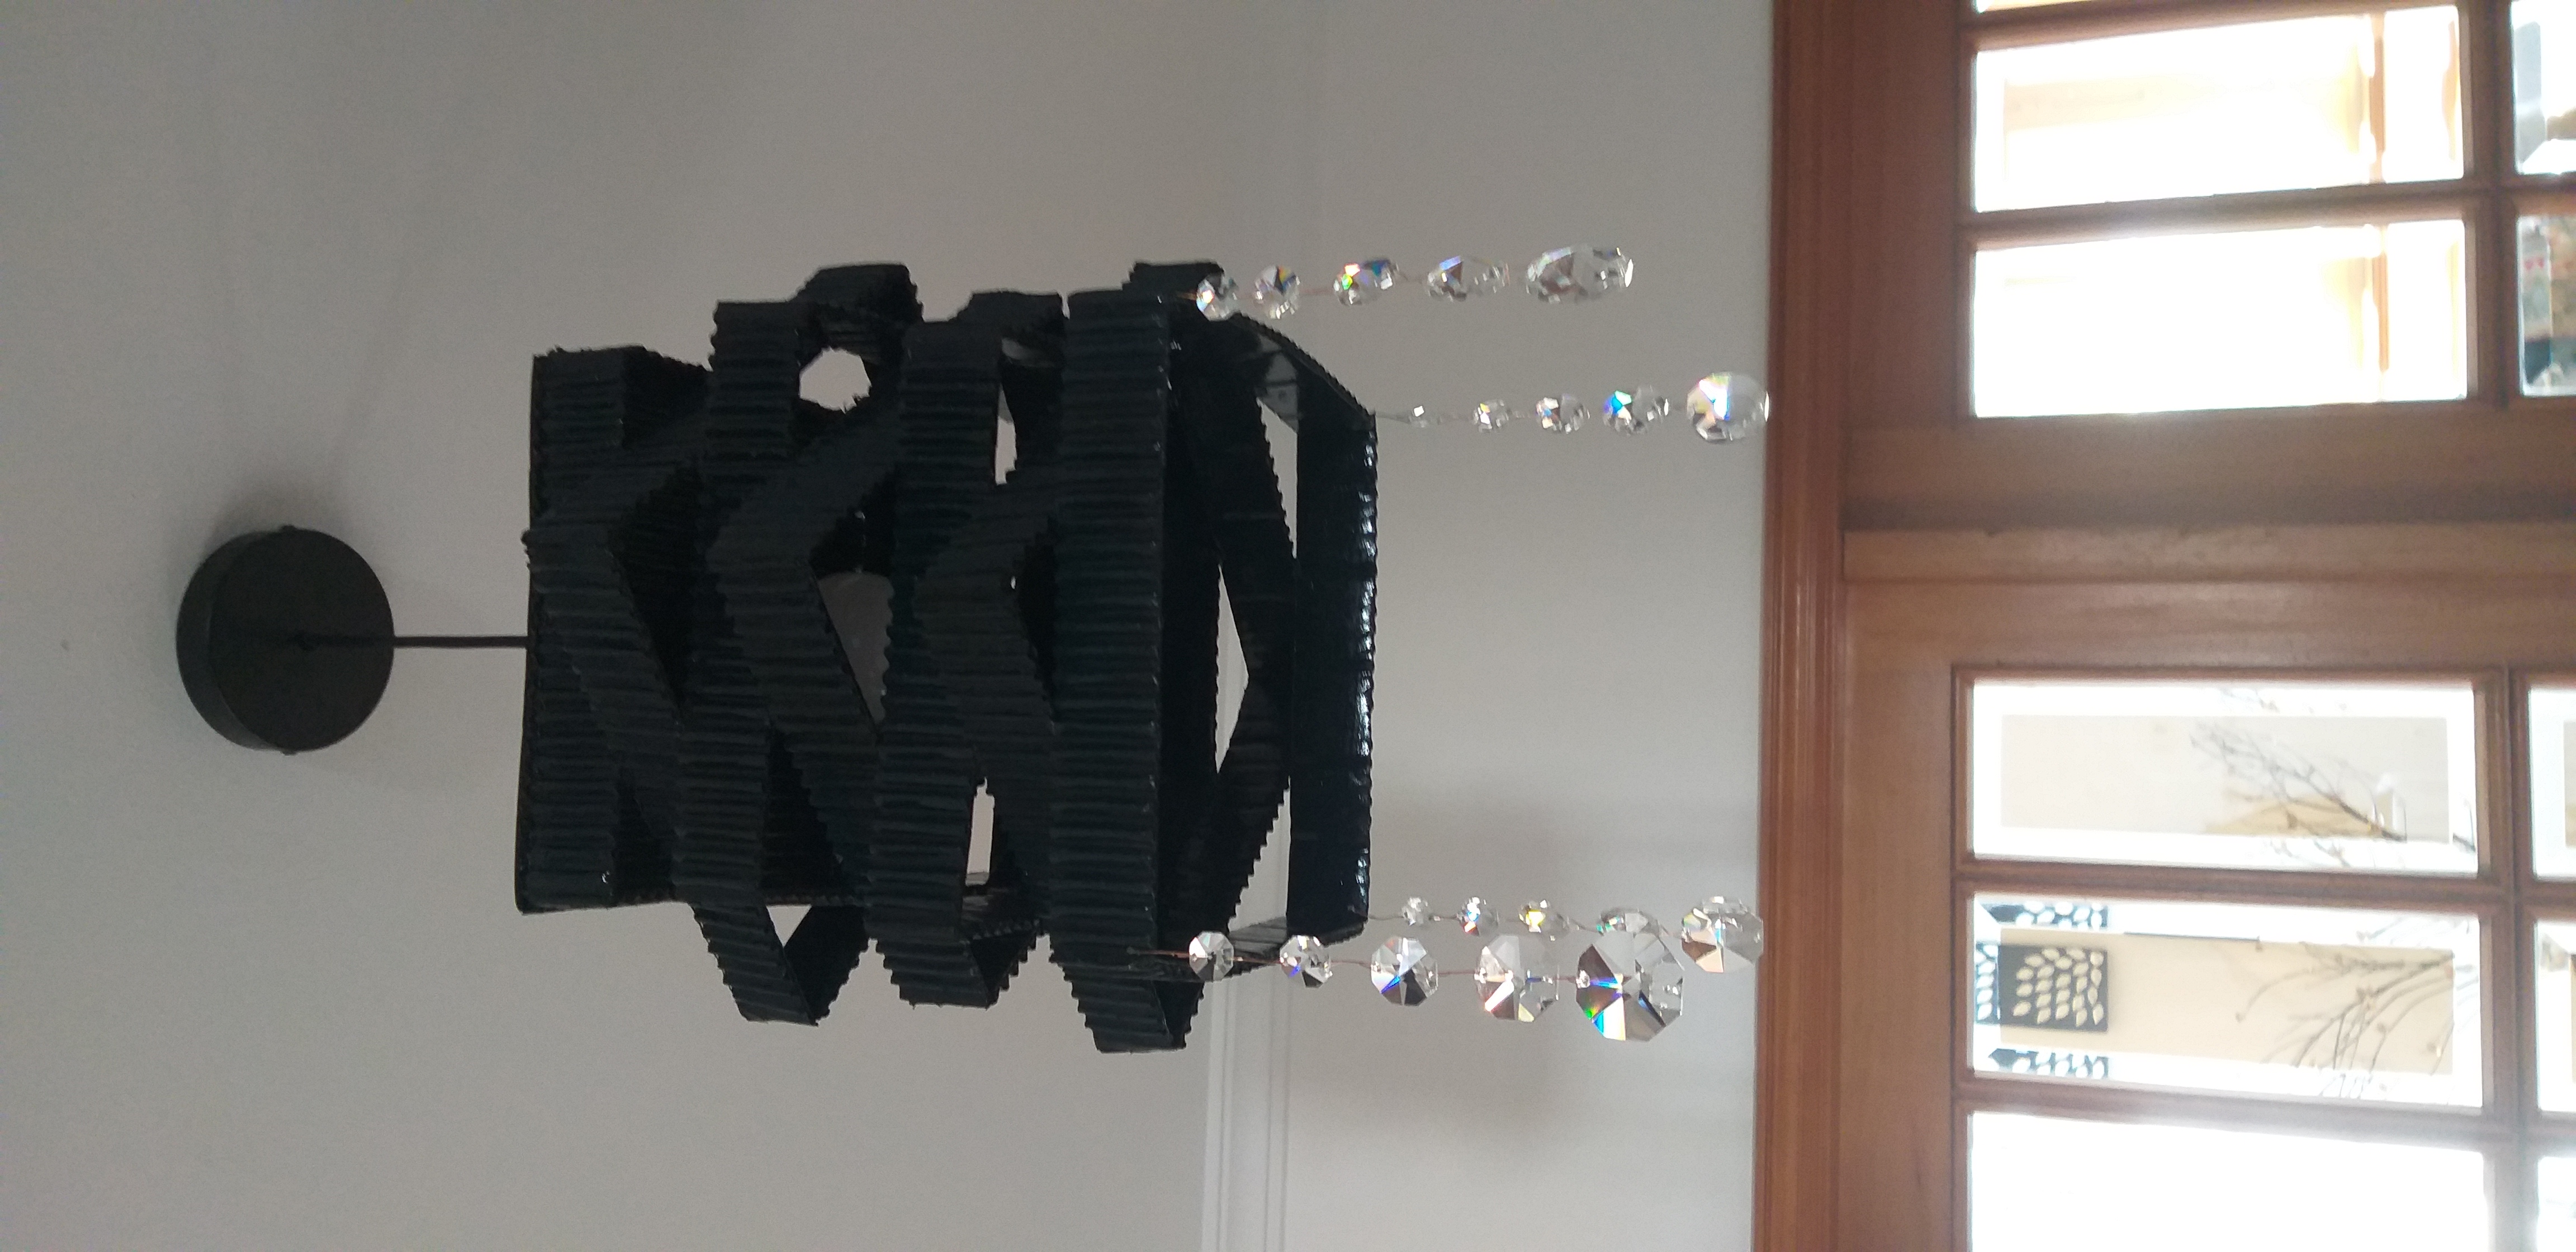
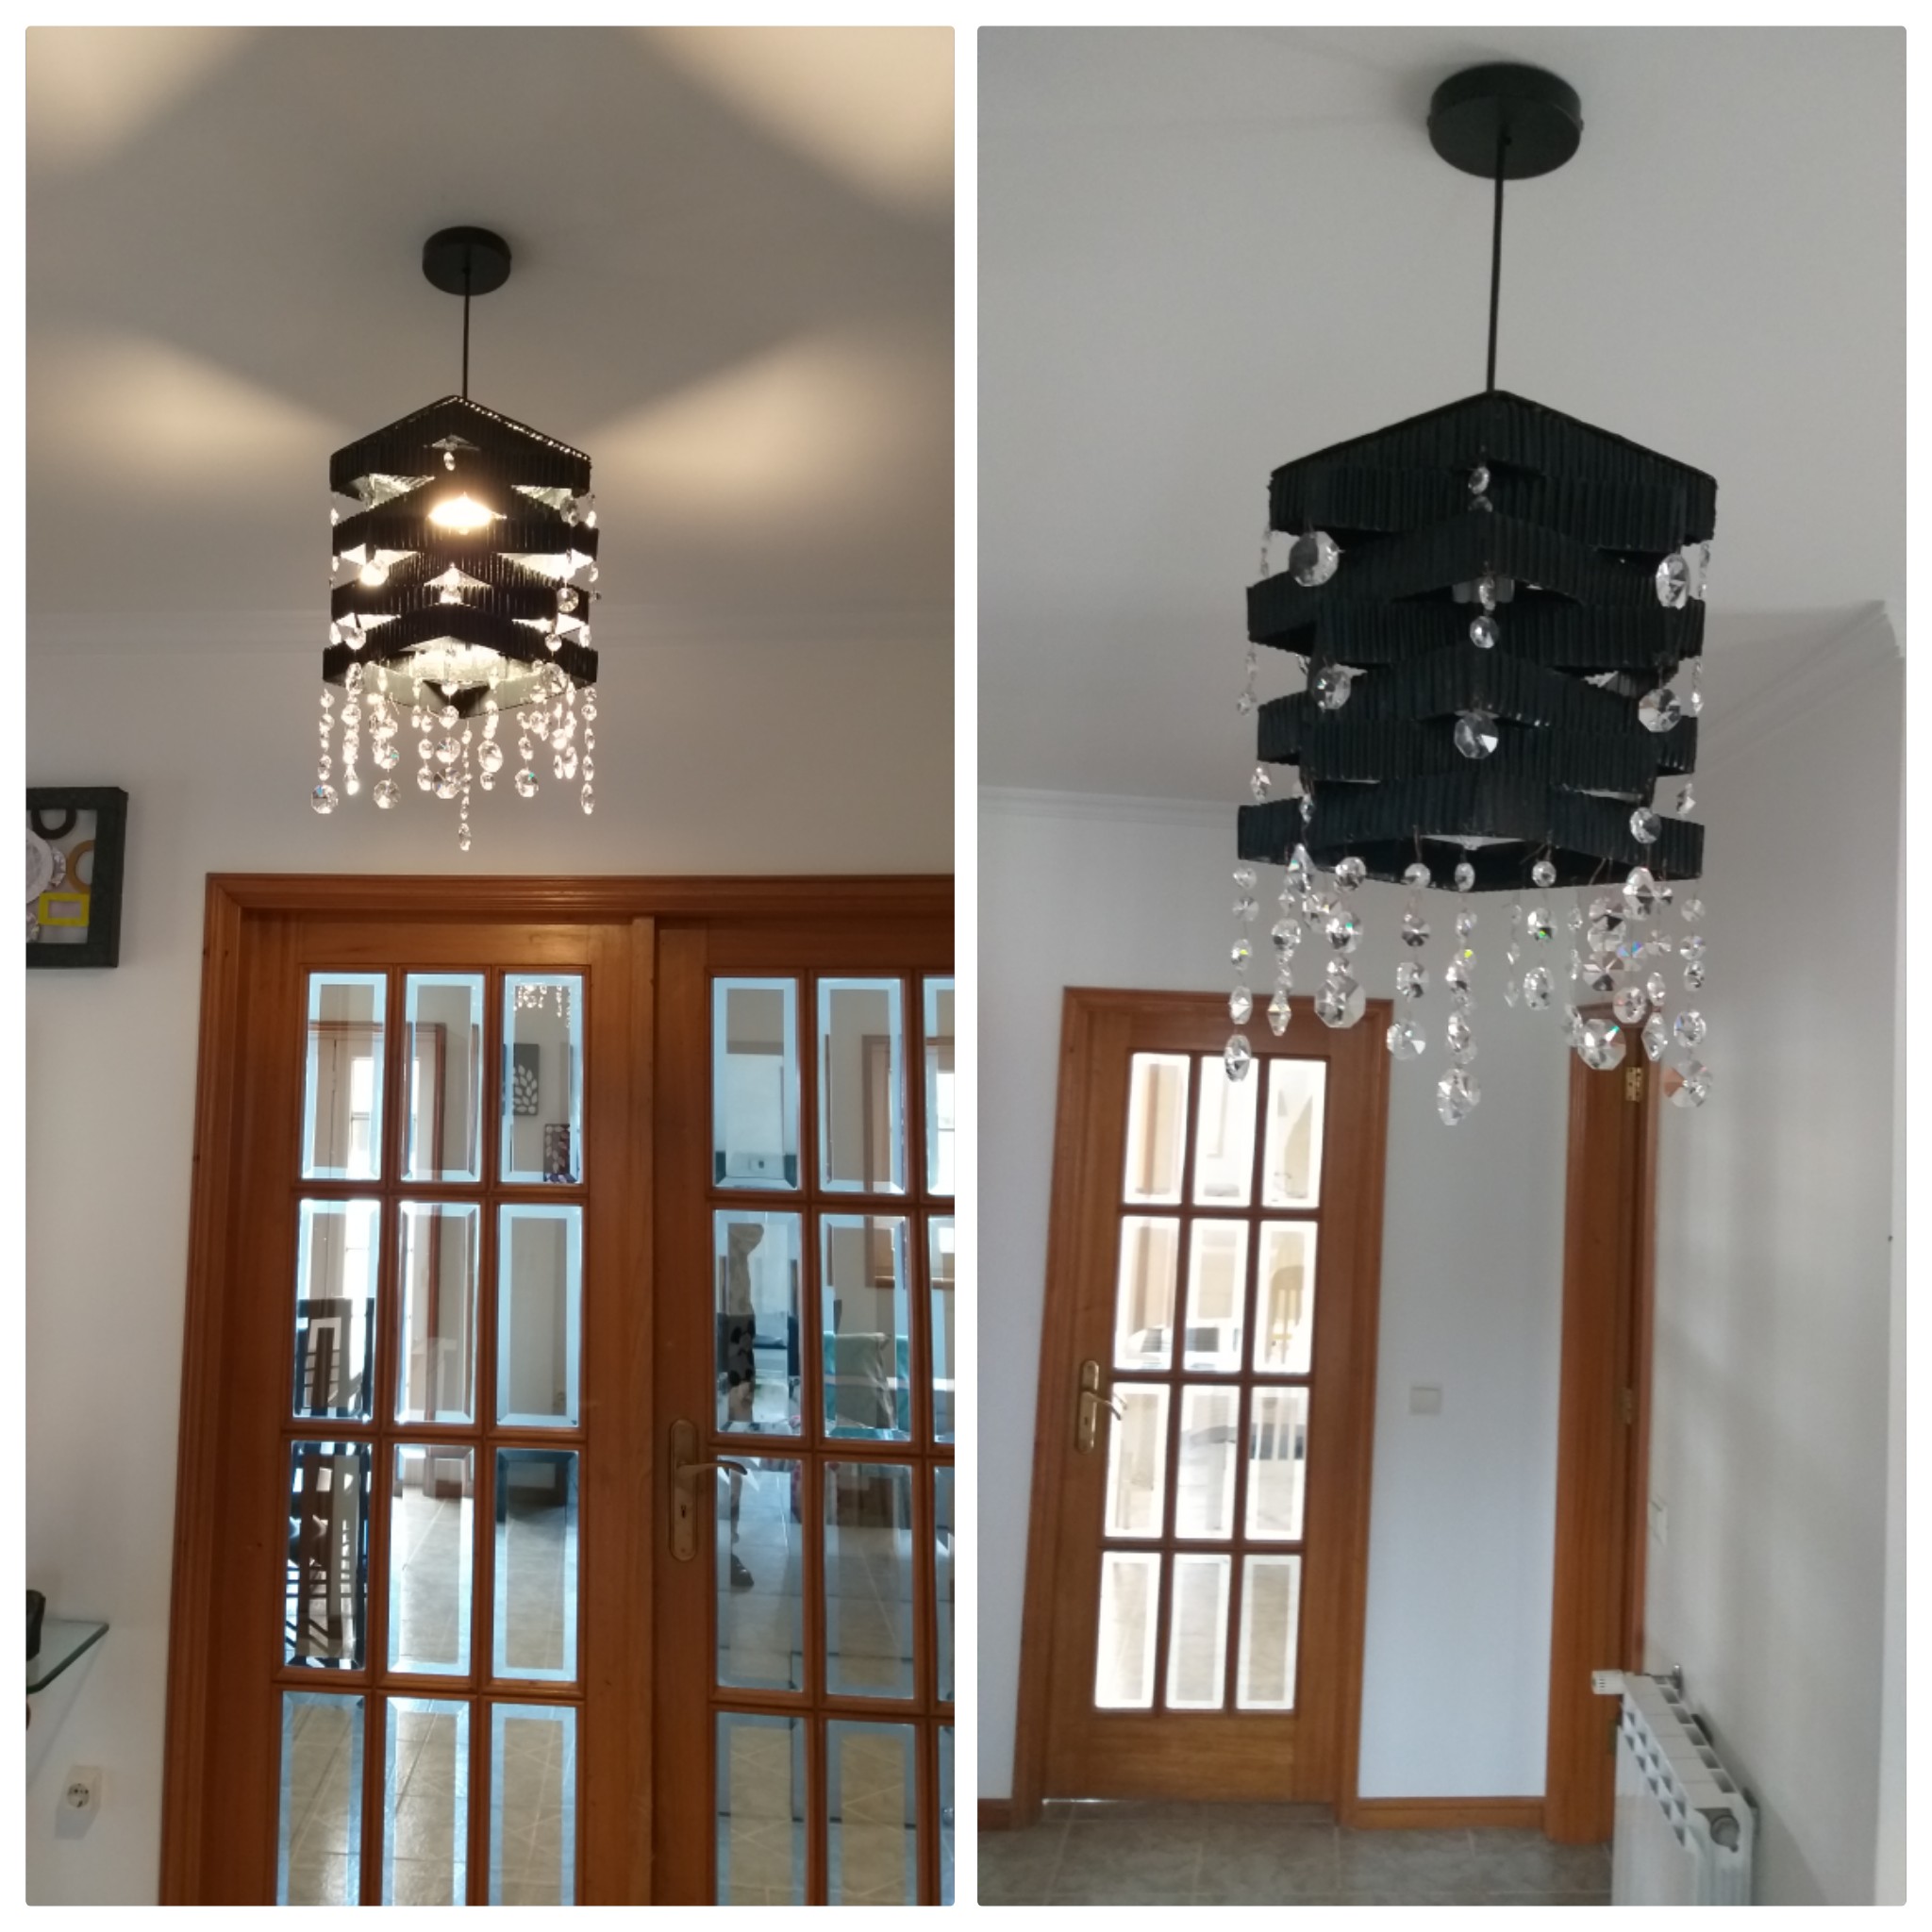
Hola amigos de Hive; en esta oportunidad les traigo una lámpara que realice con una caja de cartón, esta lámpara es estilo retro que se está usando actualmente, este proyecto es fácil de hacerlo usted mismo no tiene ninguna complicación solo debe seguir los pasos. En una de las publicaciones anteriores hice un aplique para la pared; el cual hace combinación con esta lámpara de techo ya que se encuentran en la misma área, espero que les guste.
Hello Hive friends; This time I bring you a lamp that you make with a cardboard box, this lamp is retro style that is currently being used, this project is easy to do it yourself, it does not have any complications, you just have to follow the steps. In one of the previous posts I made a wall light; which is combined with this ceiling lamp since they are in the same area, I hope you like it.
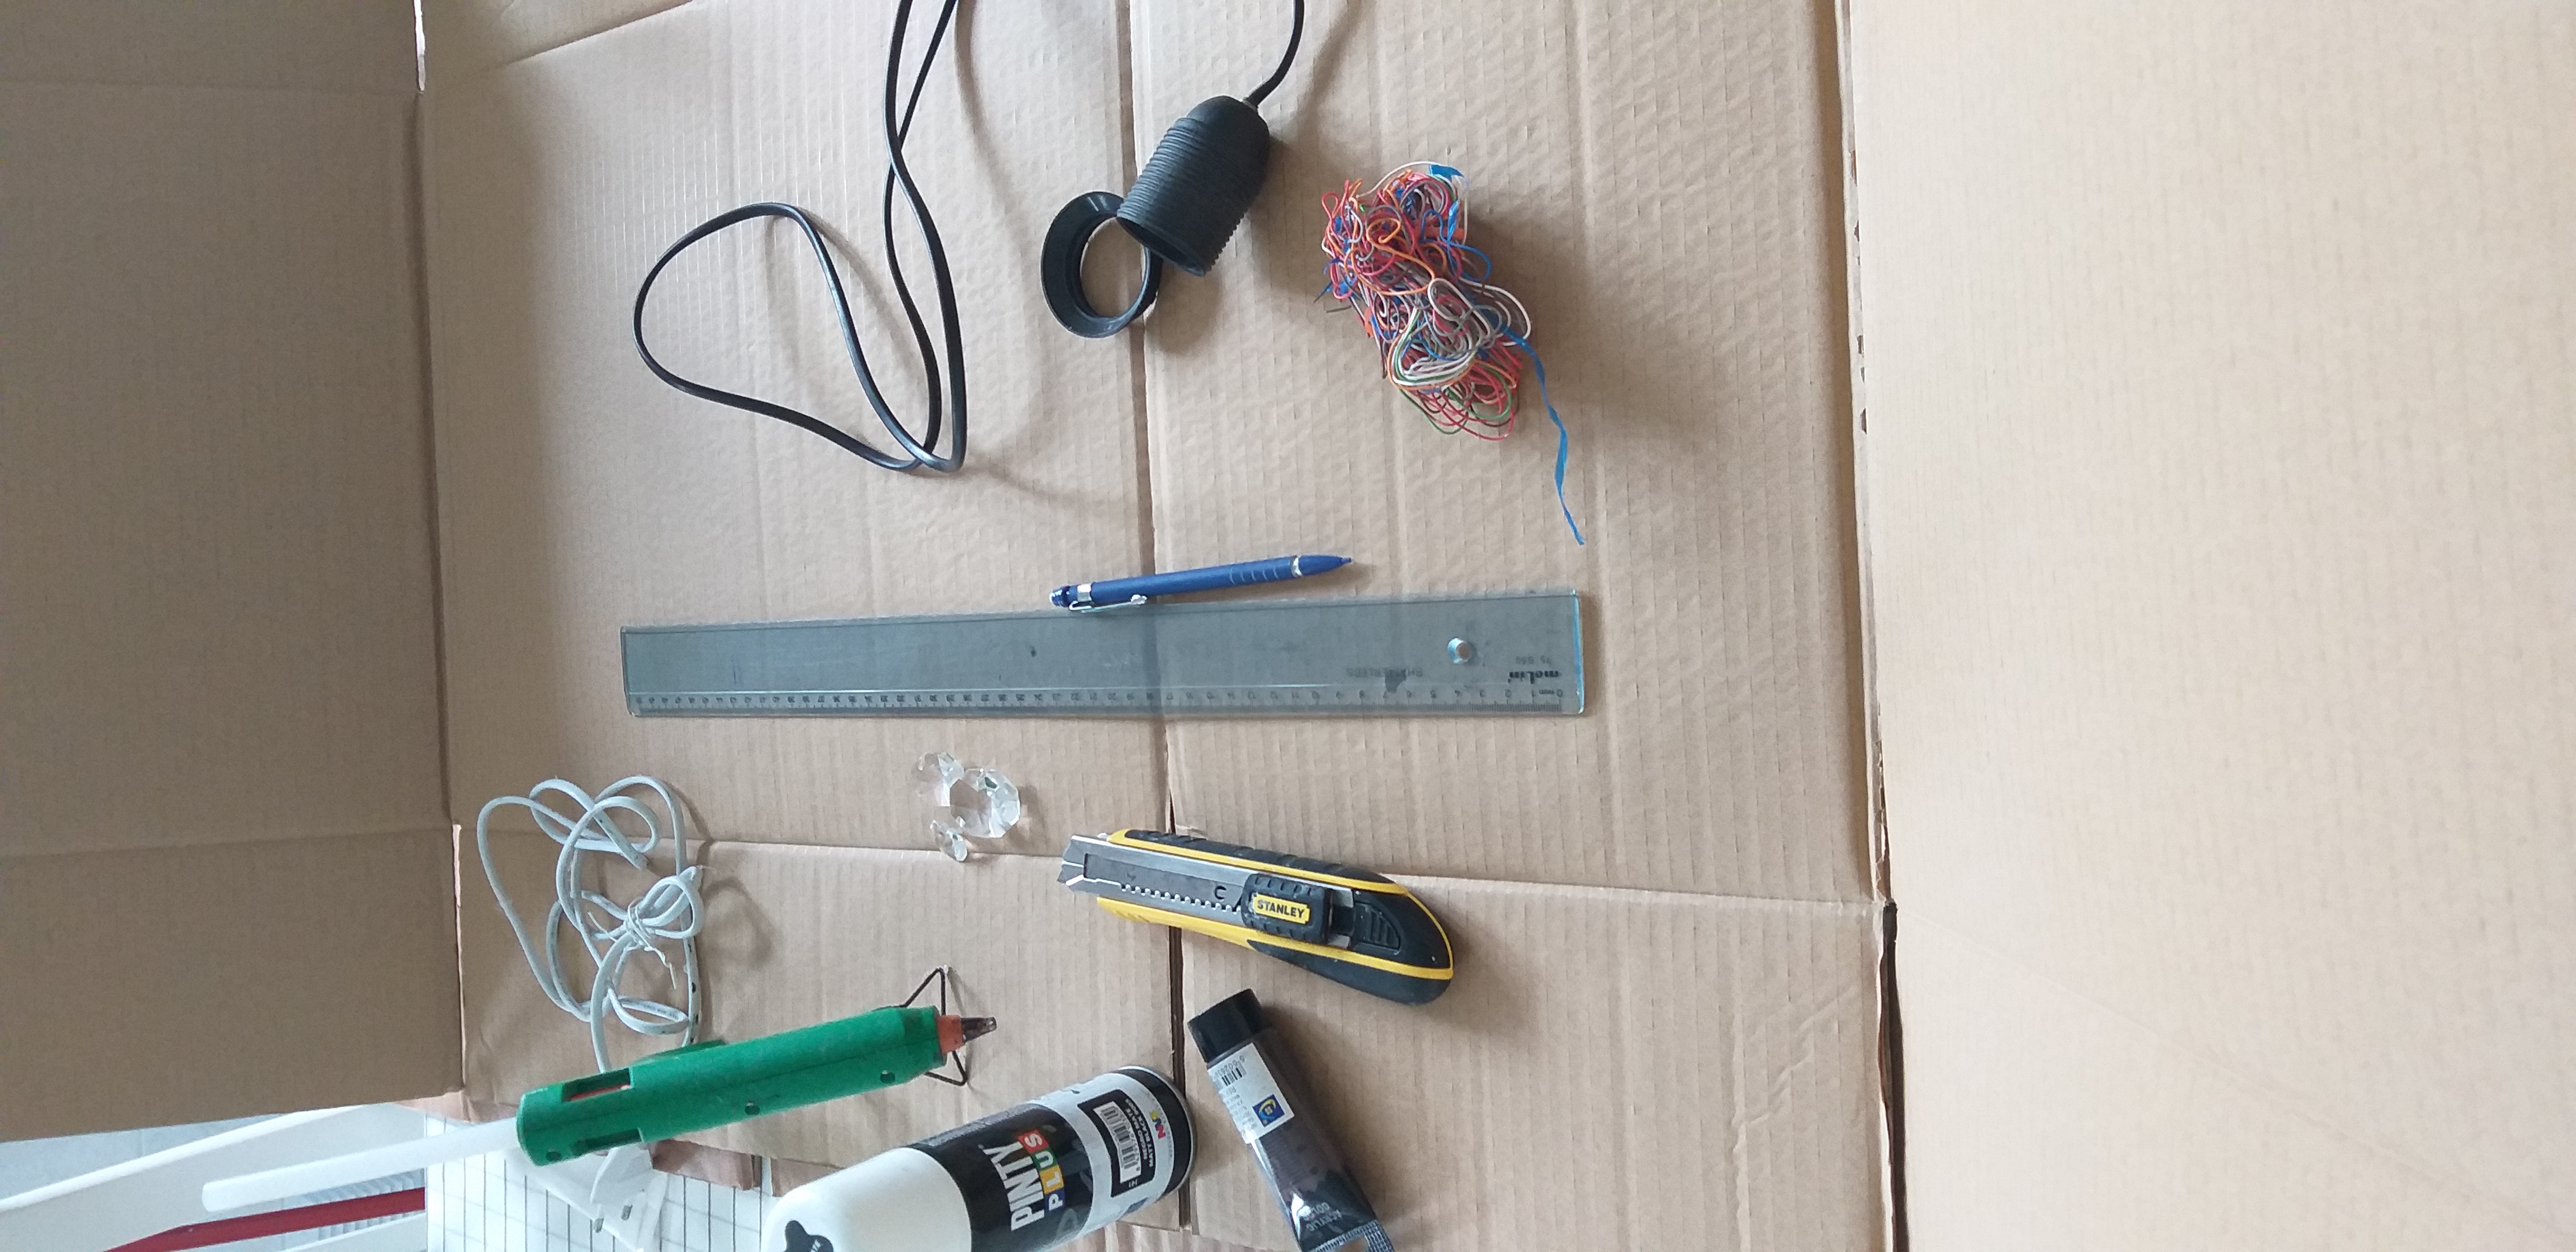
Materiales a usar:
- Caja de cartón
- Cúter o cuchillo, tijera
- Lápiz o bolígrafo
- Una regla o cinta métrica
- Pistola de silicona y barras de silicona , pegamento resistente ( cualquiera que tenga )
- Pintura de cualquiera que tenga en casa y el color que desee pintar, puede ser en spray o acrilica.
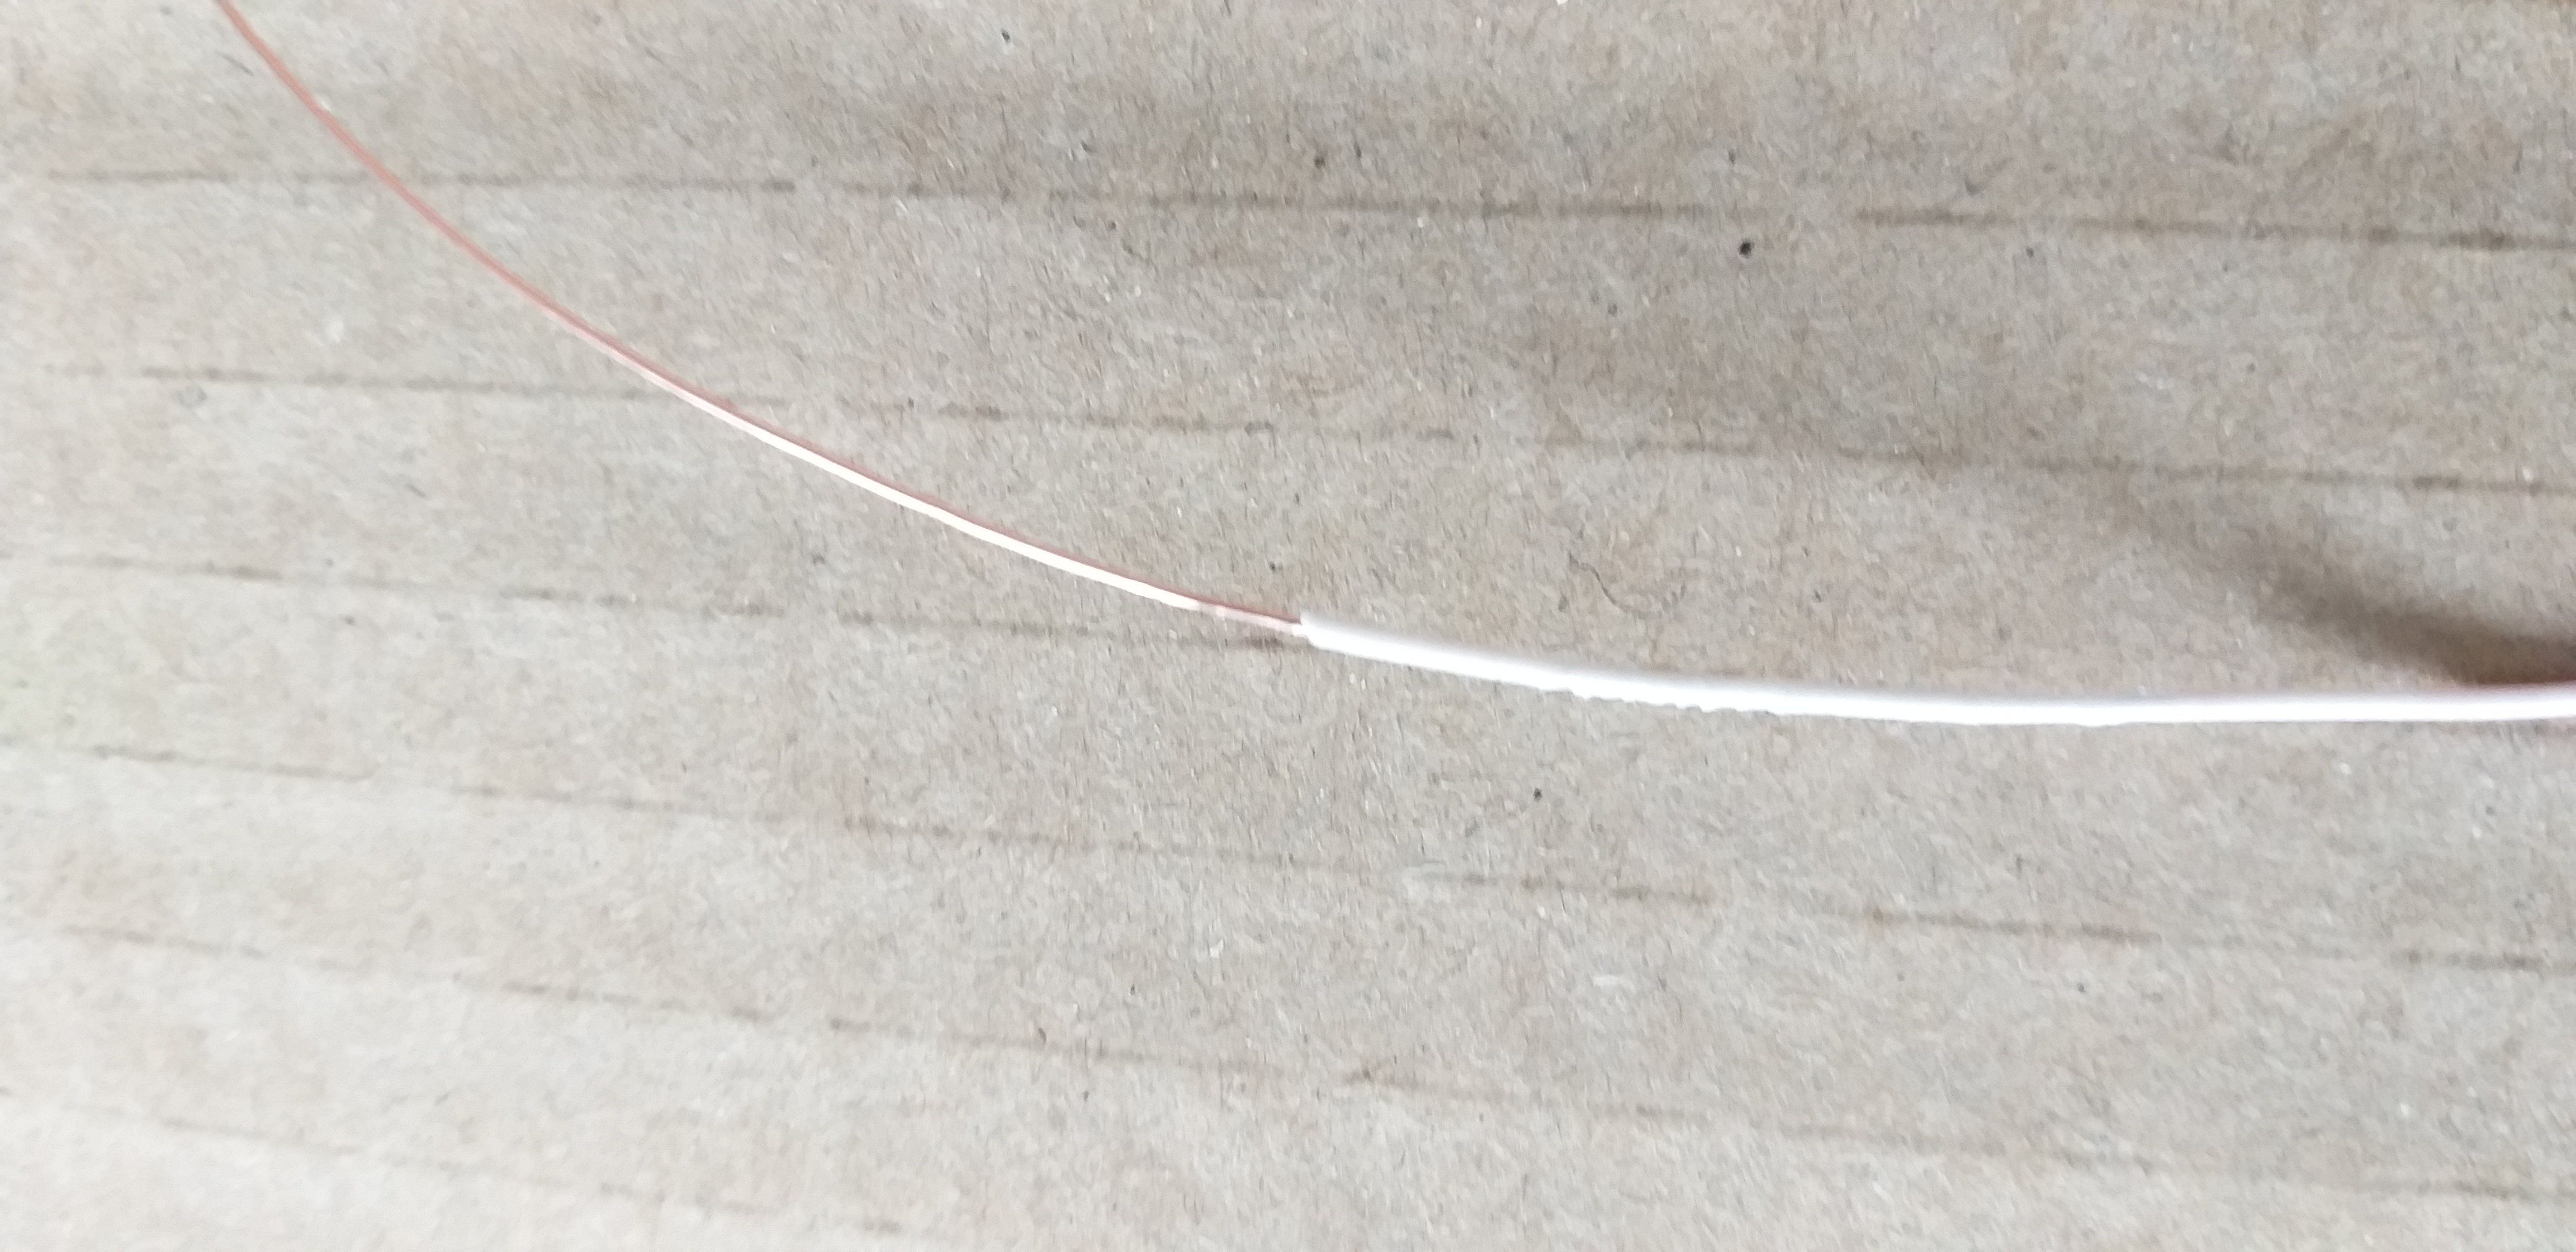
- Alambre bien fino
- Lagrimas o cualquier decoración que quiera usar esto es opcional.
- Accesorio o kit de lámpara ( para la instalación).
Materials to use:
- Carton box
- Cutter or knife, scissors
- Pencil or pen
- A ruler or tape measure
- Silicone gun and silicone sticks, strong glue (any have)
- Paint of anyone you have at home and the color you want to paint, can be spray or acrylic.
- Fine wire
- Tears or any decoration you want to use this is optional.
- Fixture or lamp kit (for installation)
Pasos a seguir:
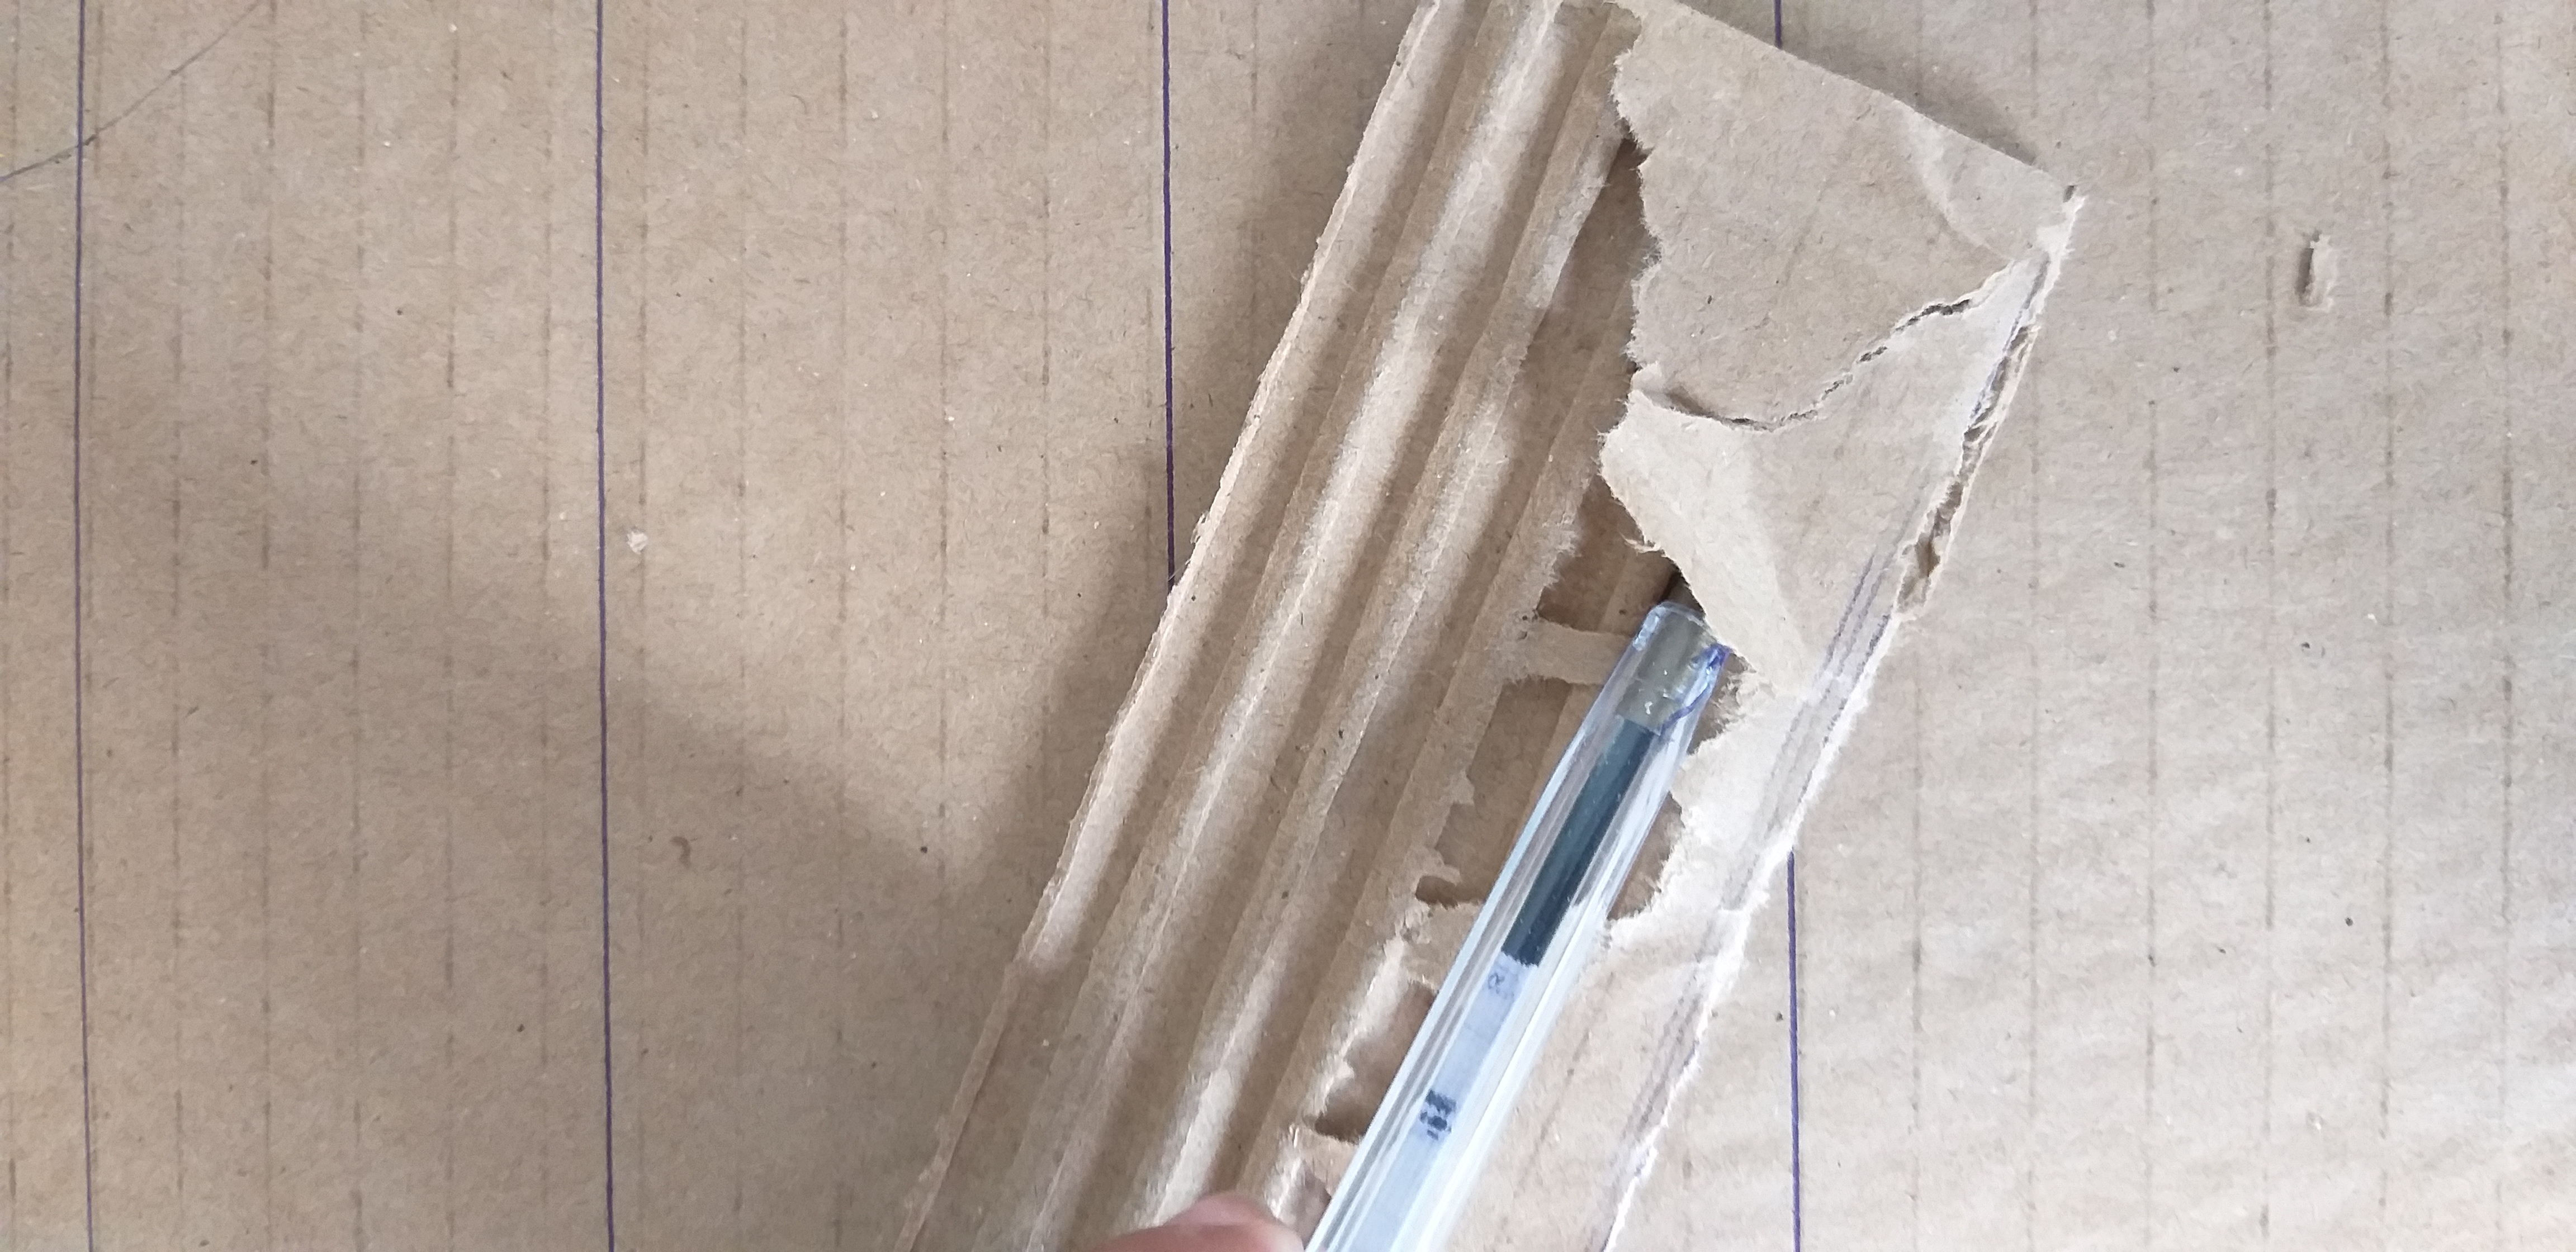
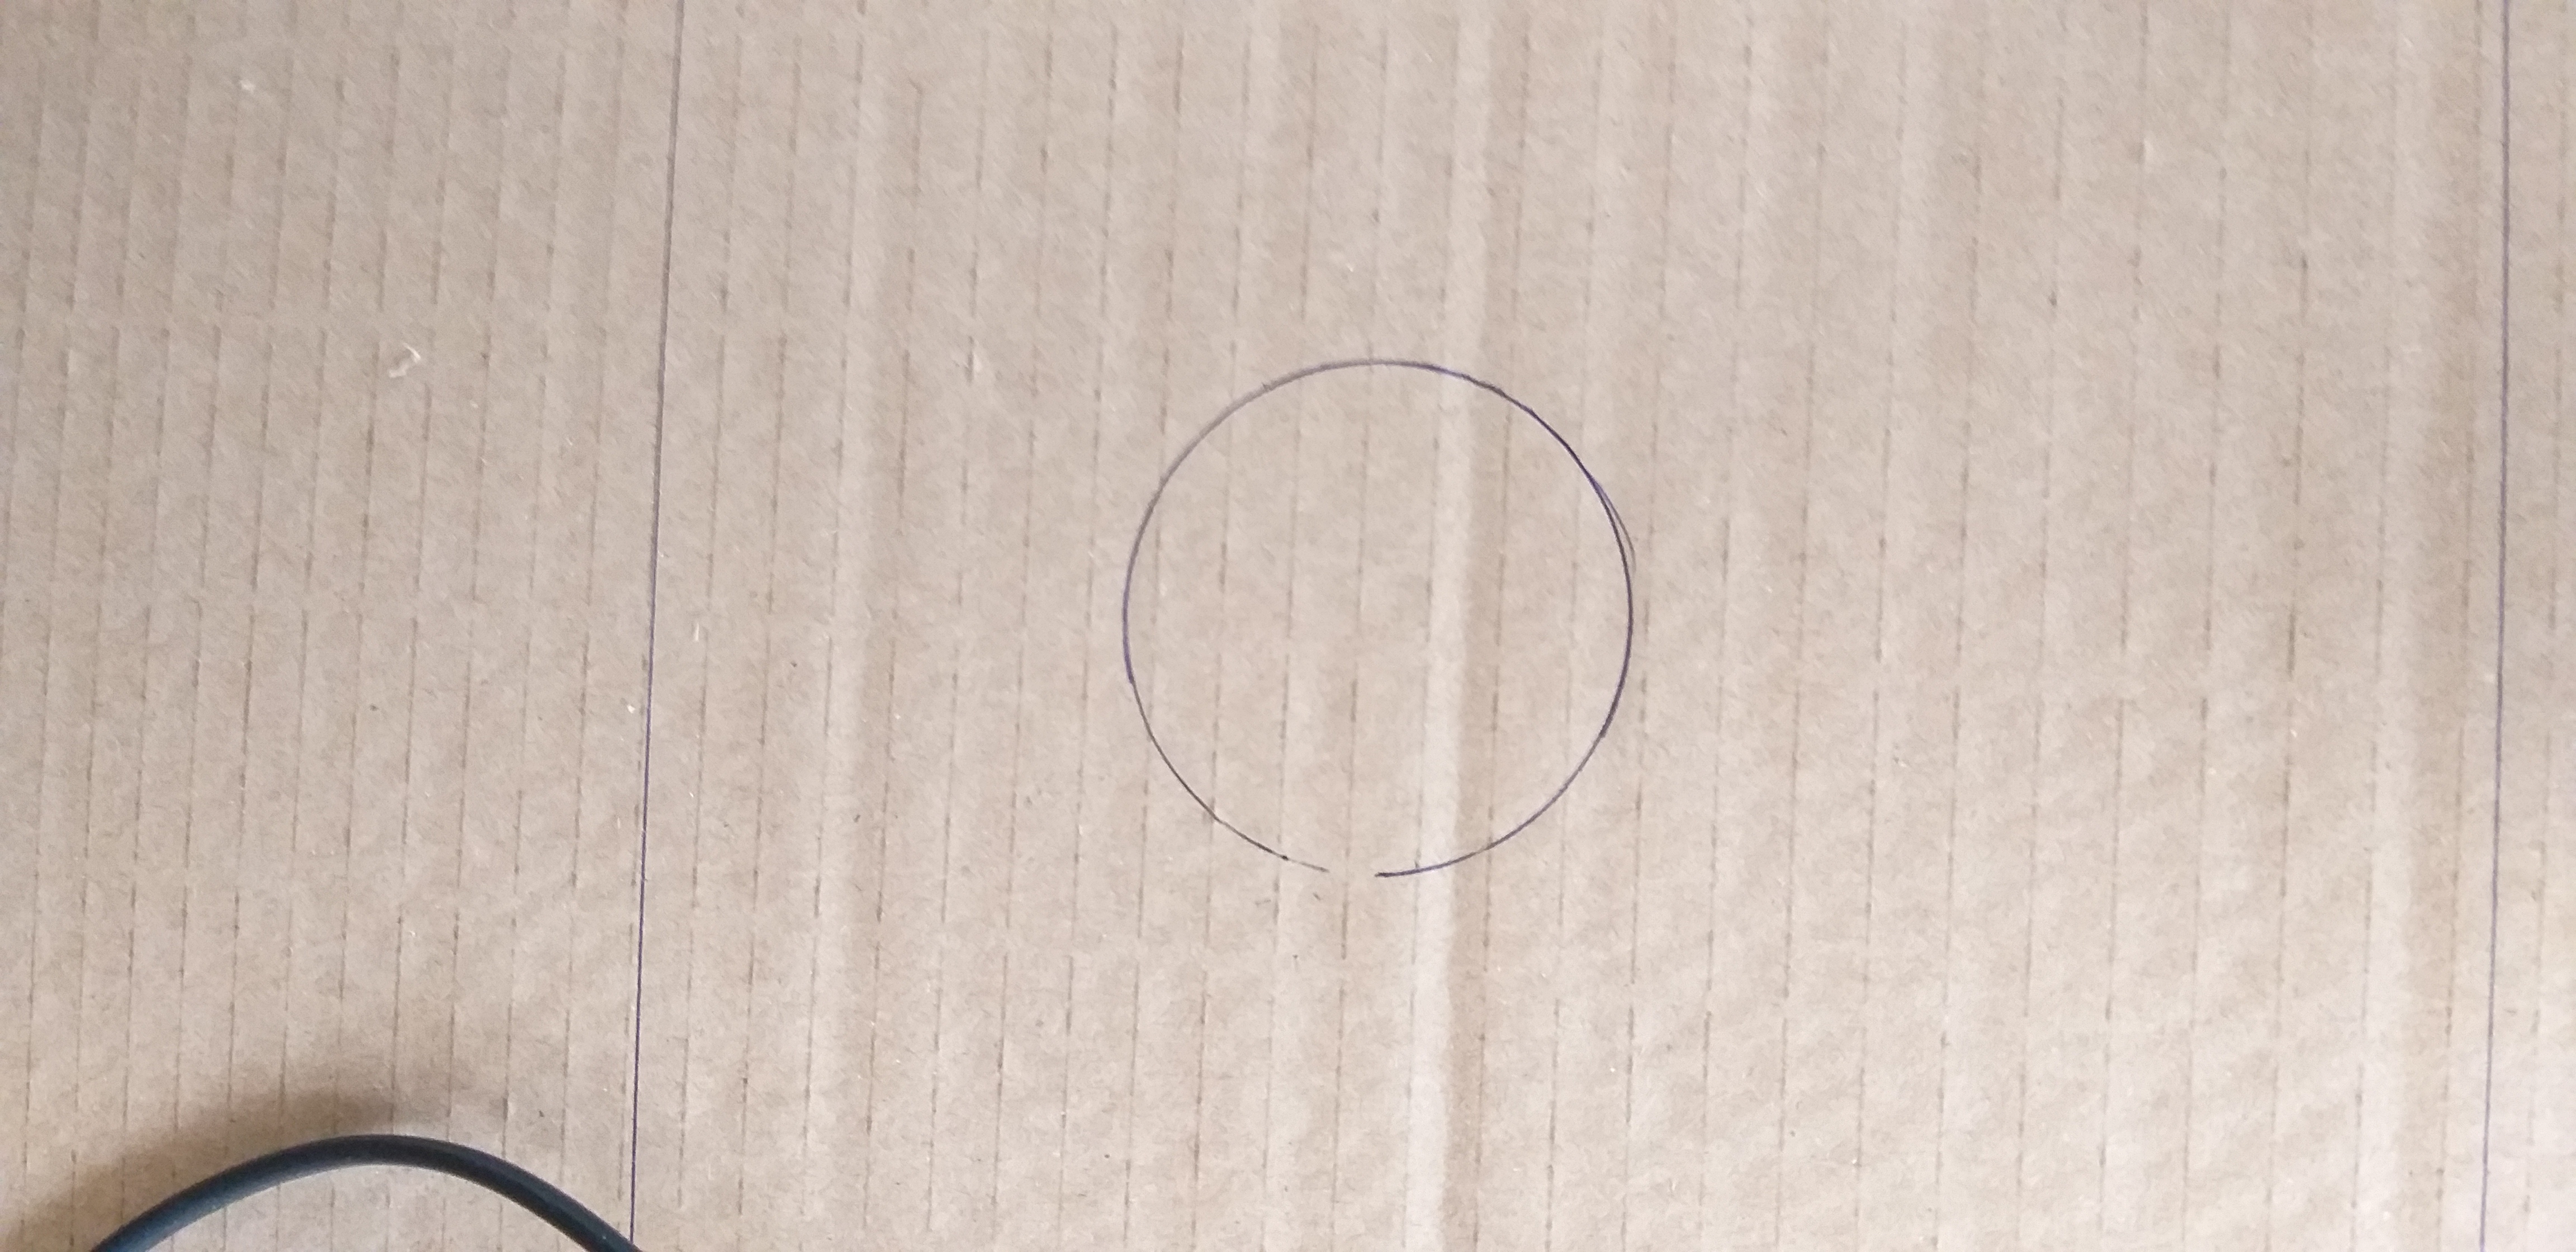
En una caja de cartón marque tiras de 20cm de largo por 4cm de ancho.
Steps to follow:
In a cardboard box, mark strips 20cm long by 4cm wide.

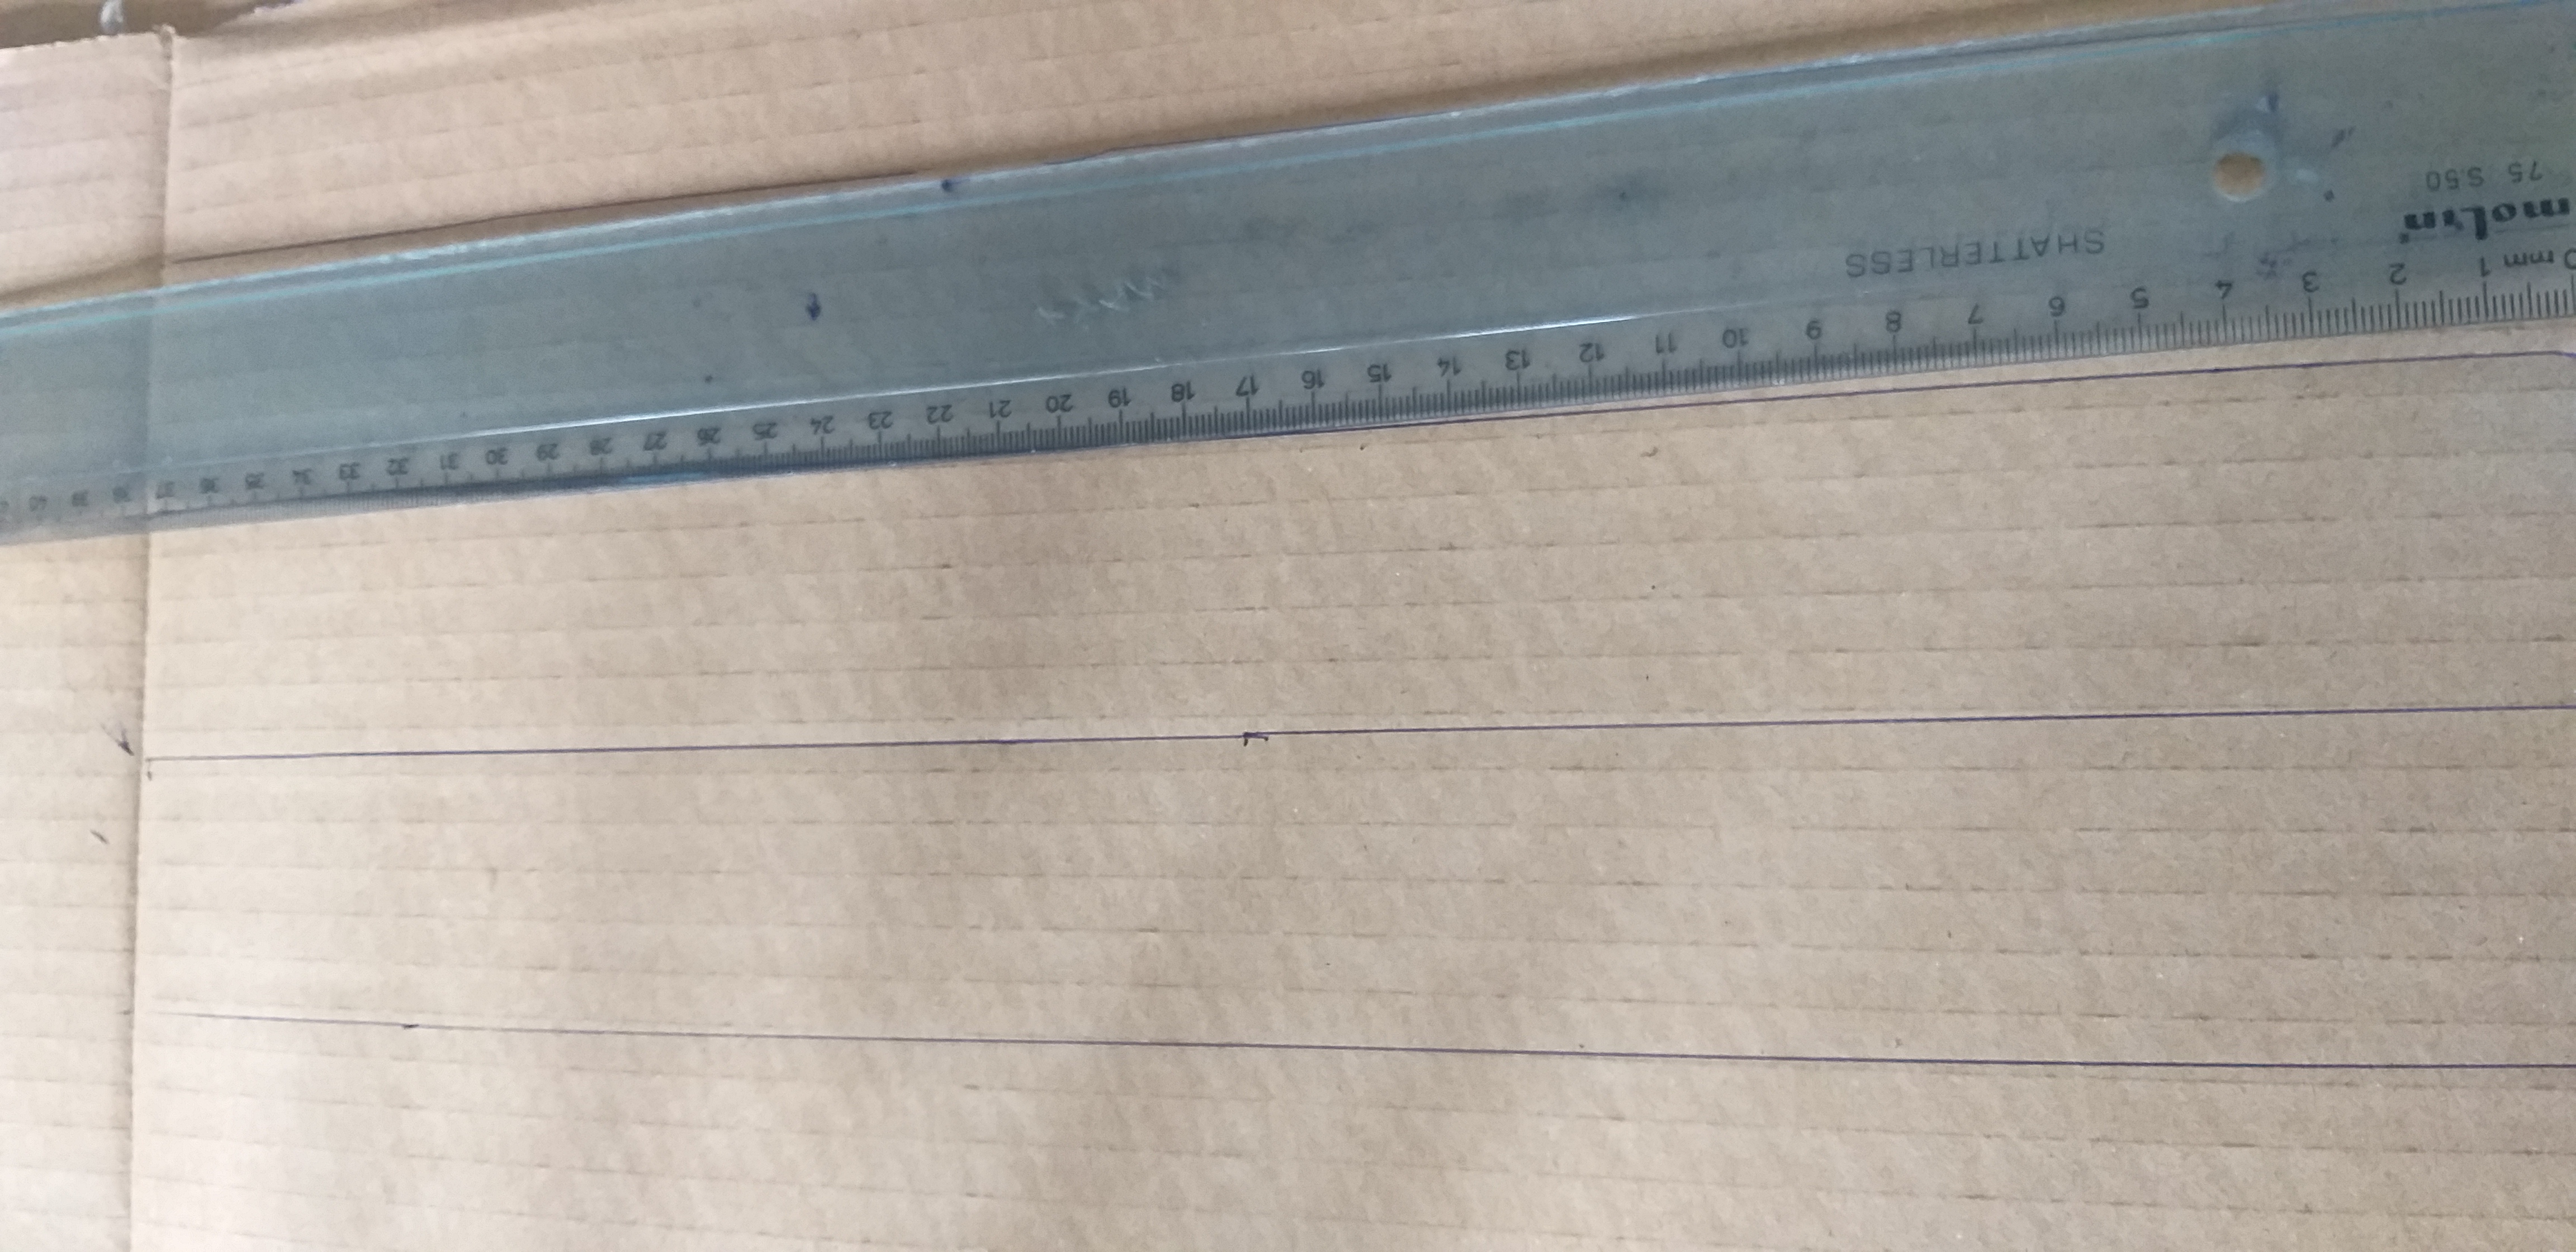
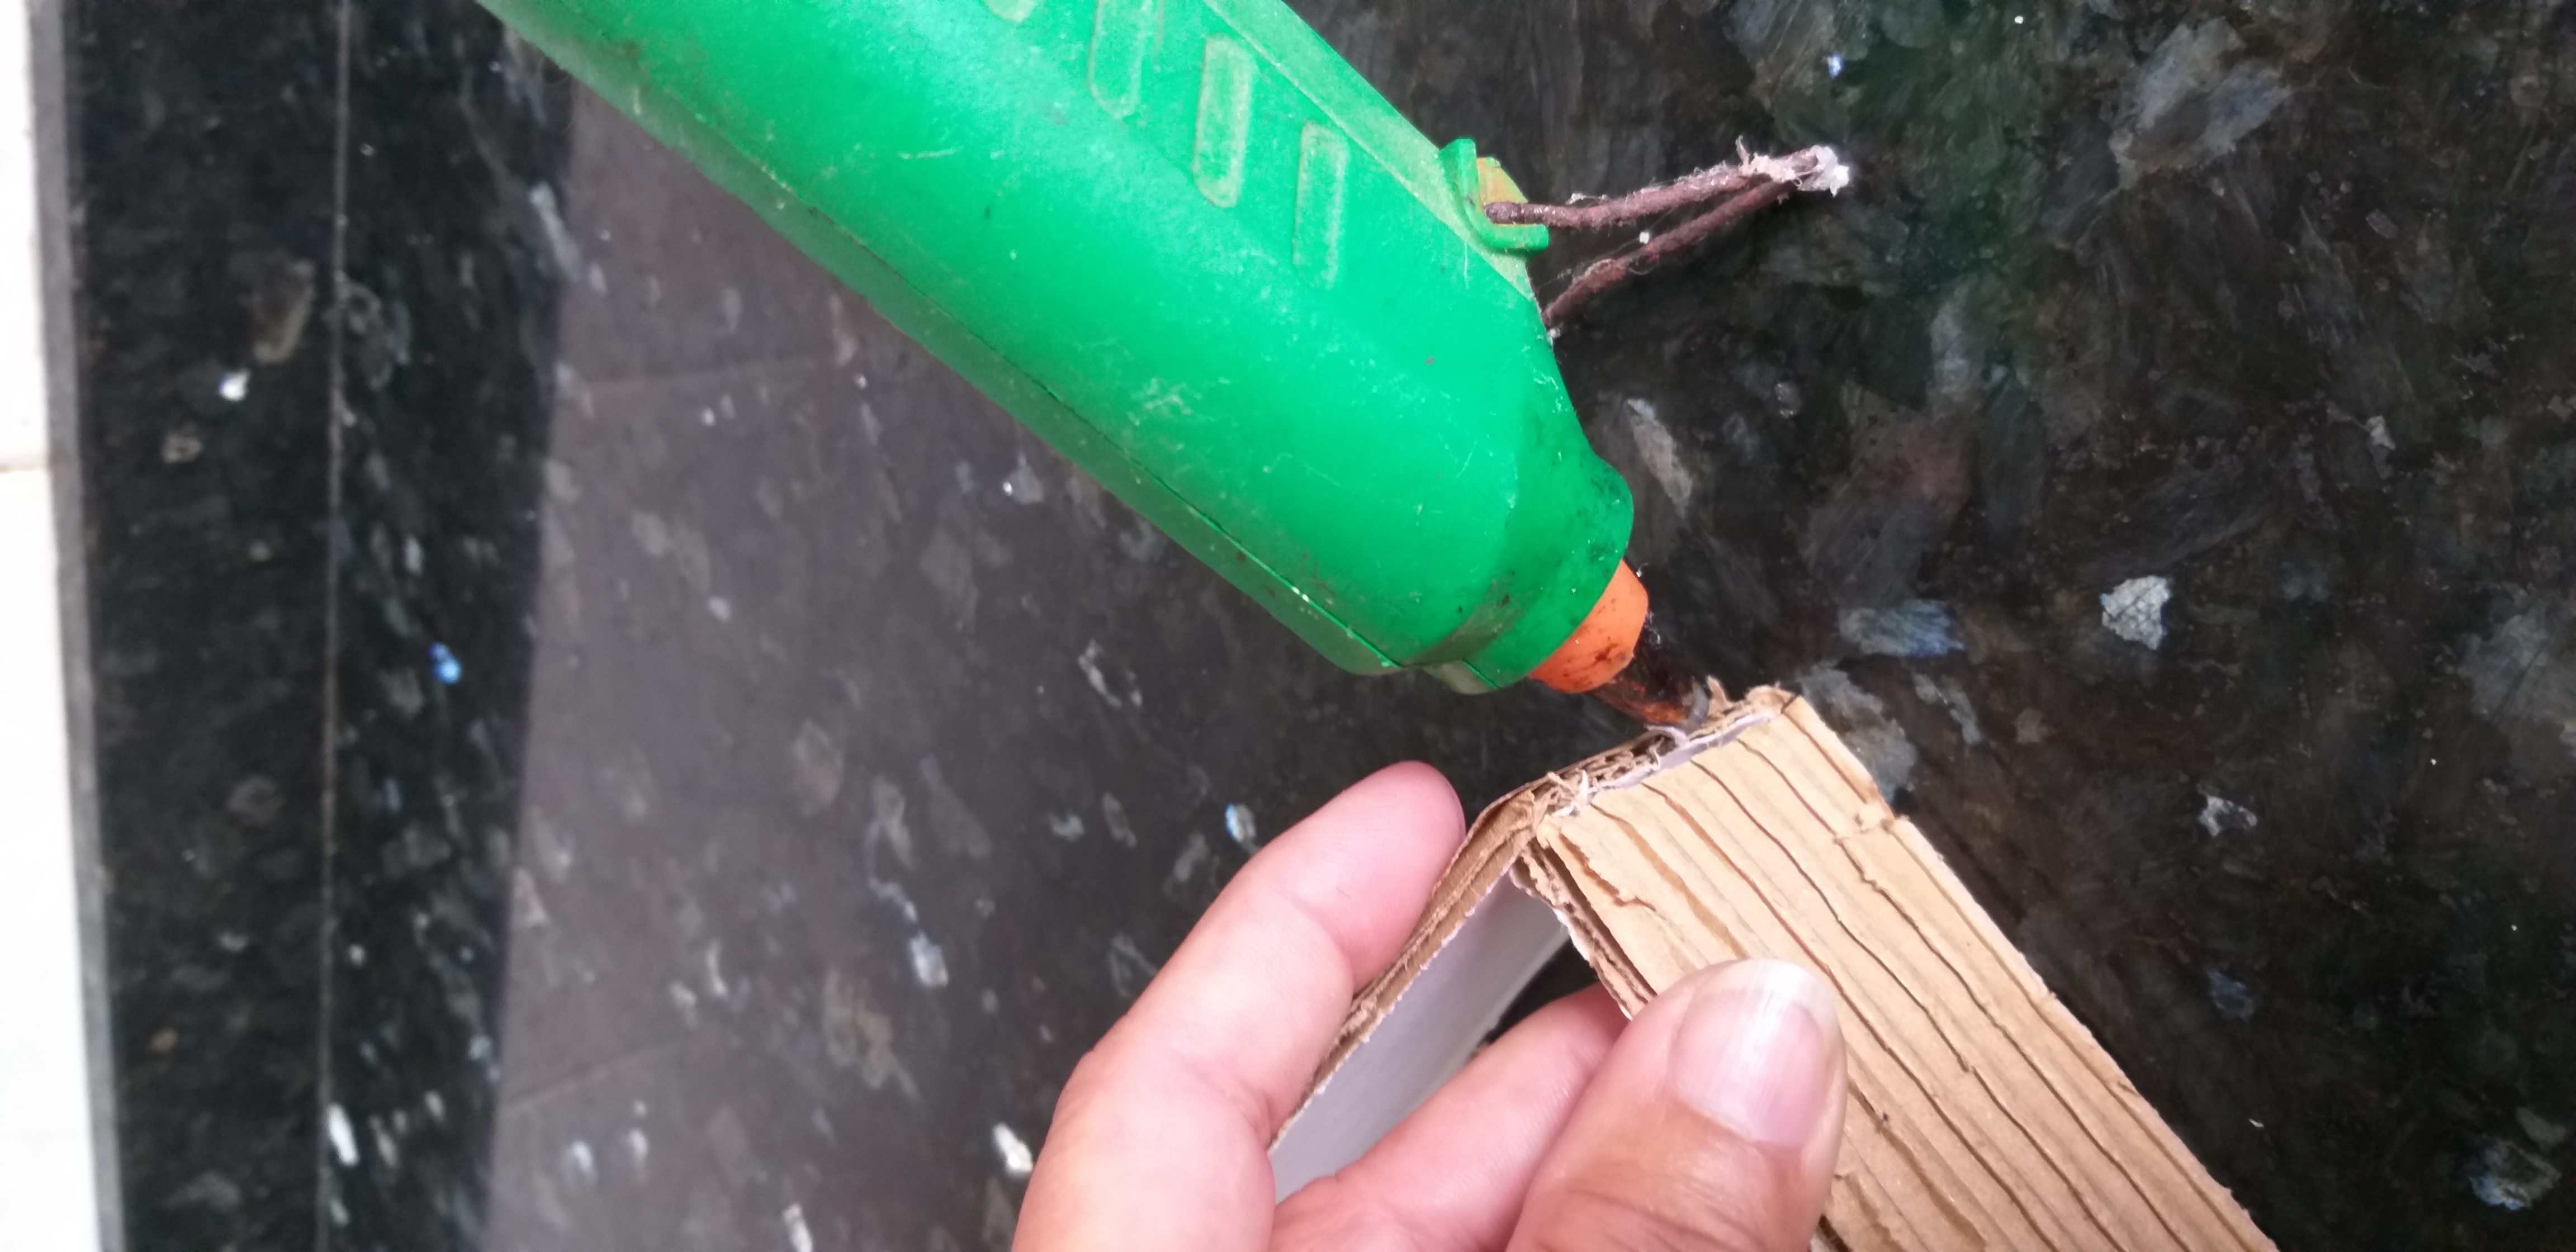
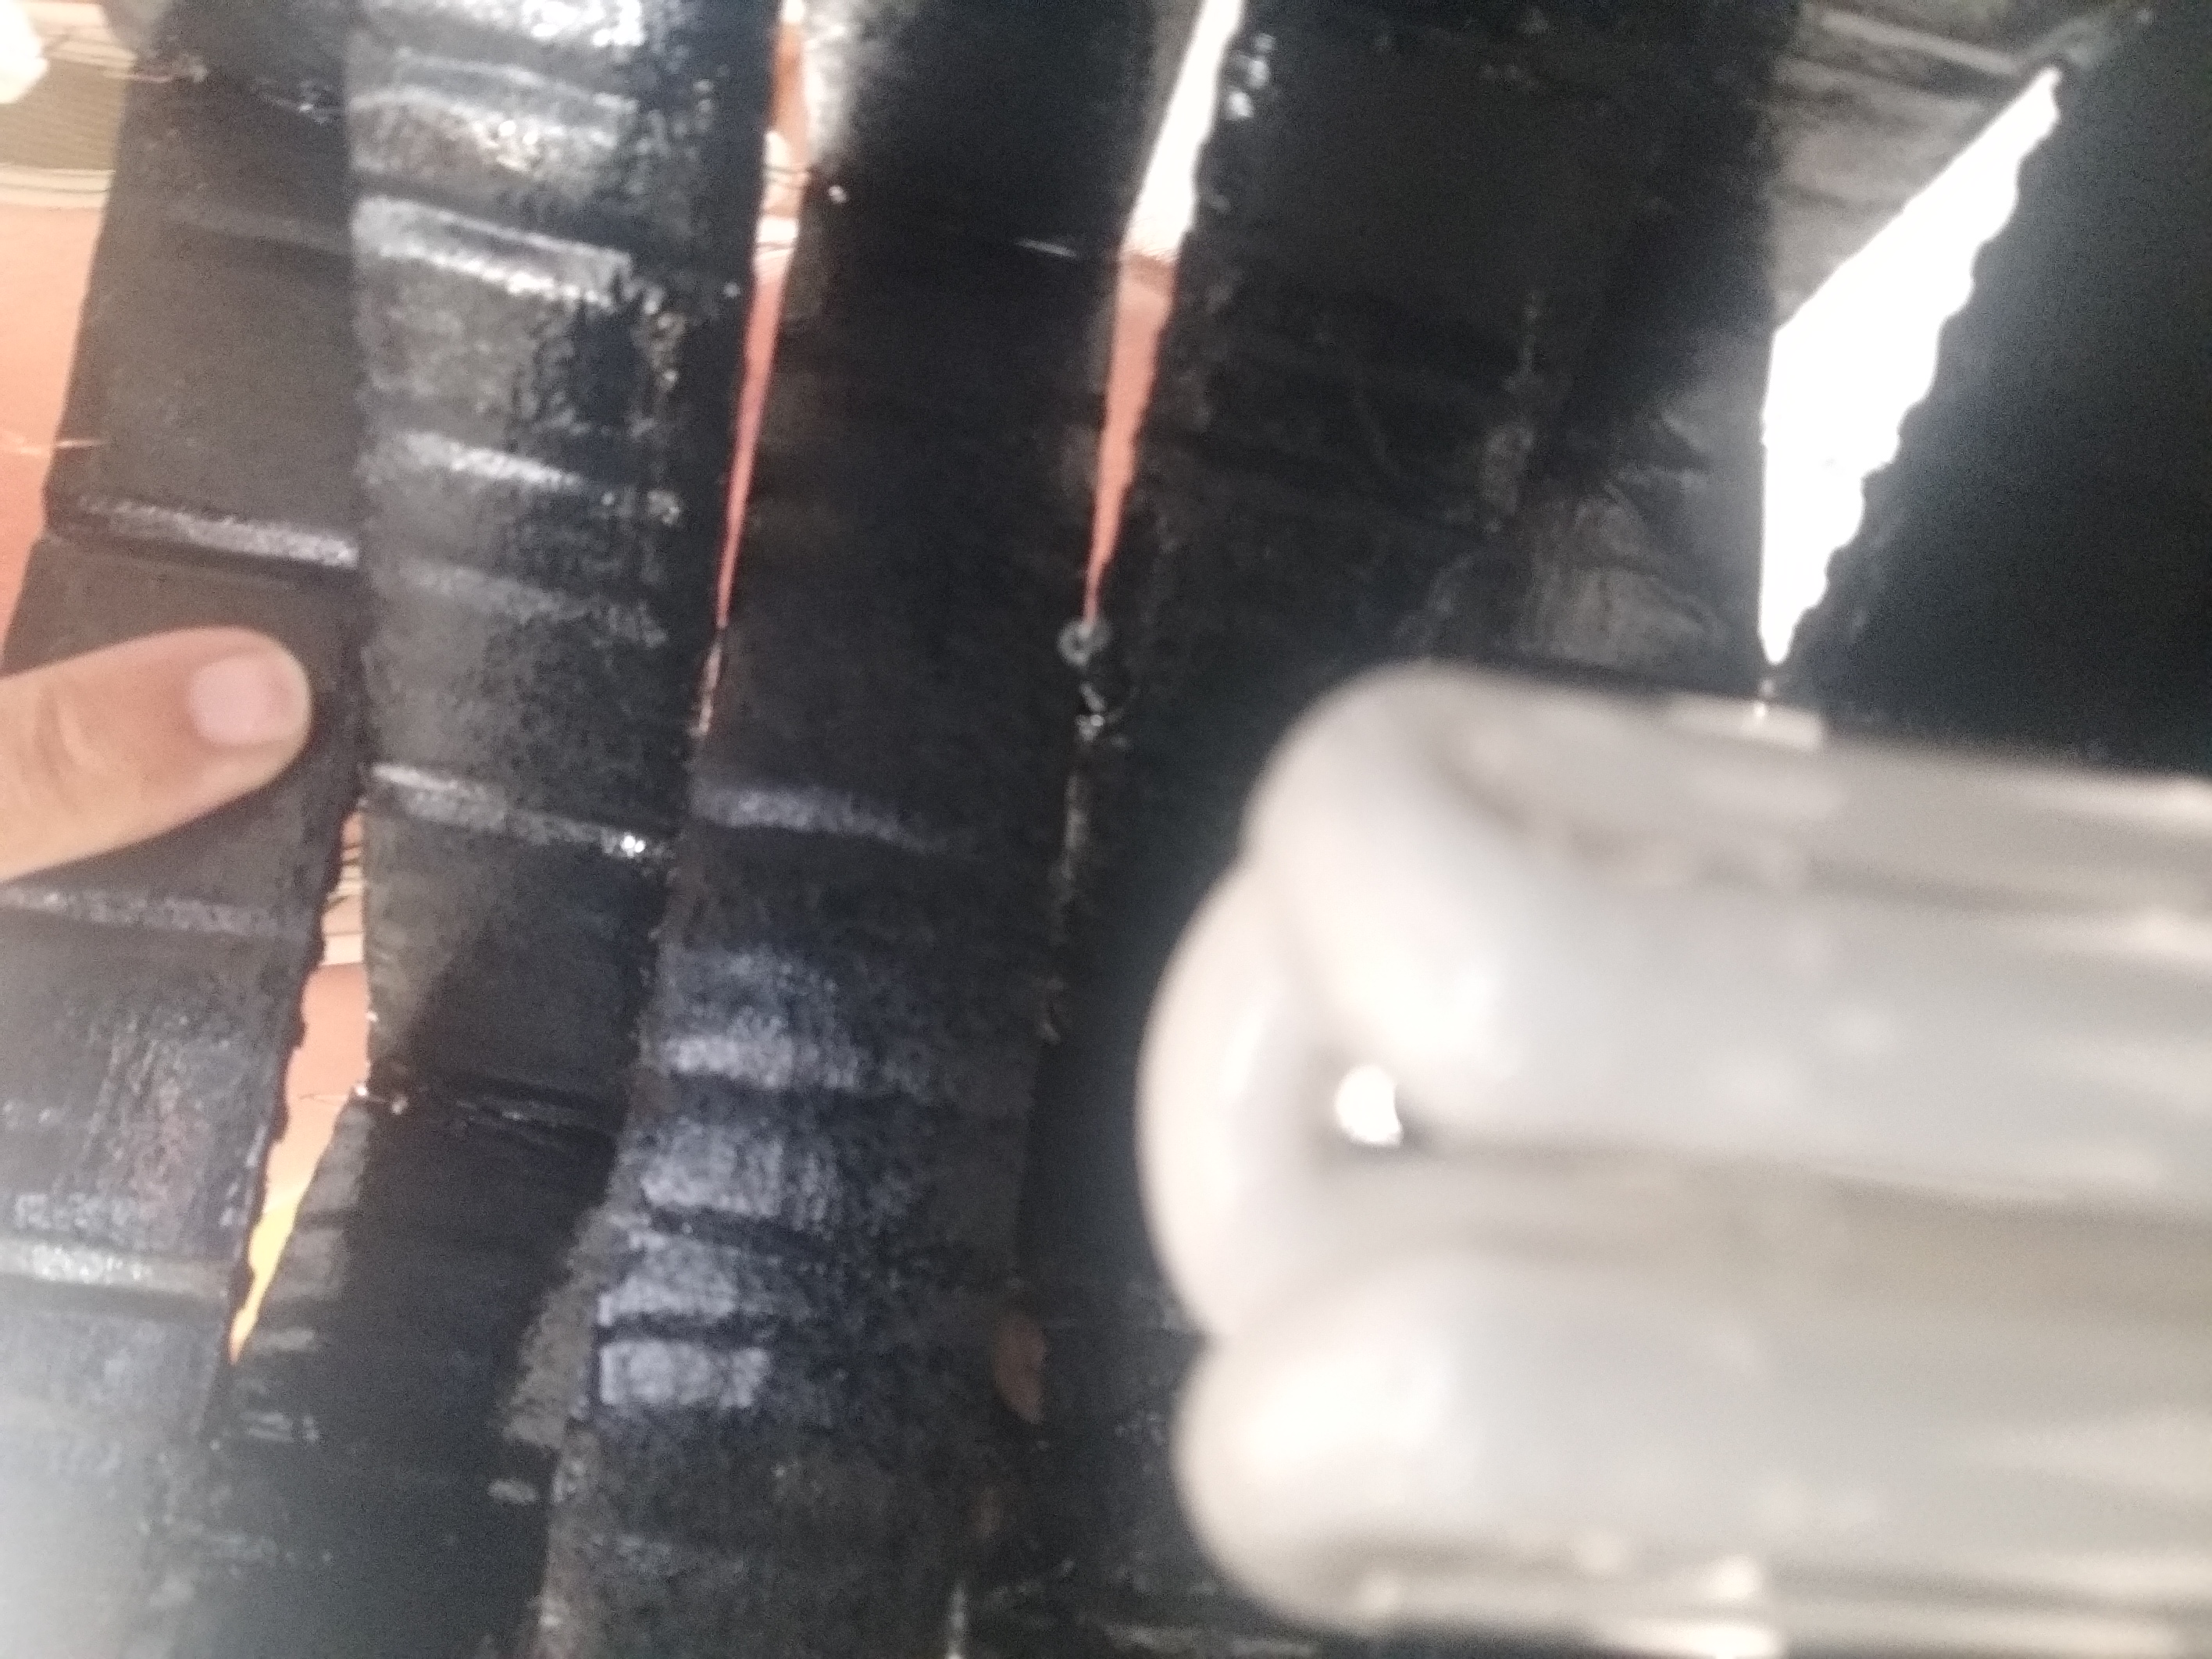
Debe sacar 28 tiras del mismo tamaño, luego deberá pegar con silicon las puntas de 4 tiras como observan en la imagen.
You must remove 28 strips of the same size, then you must glue the tips of 4 strips with silicone as shown in the image.
Tienen dos opciones de hacer la lámpara una lisa y otra corrugada.
They have two options to make the lamp one smooth and one corrugated
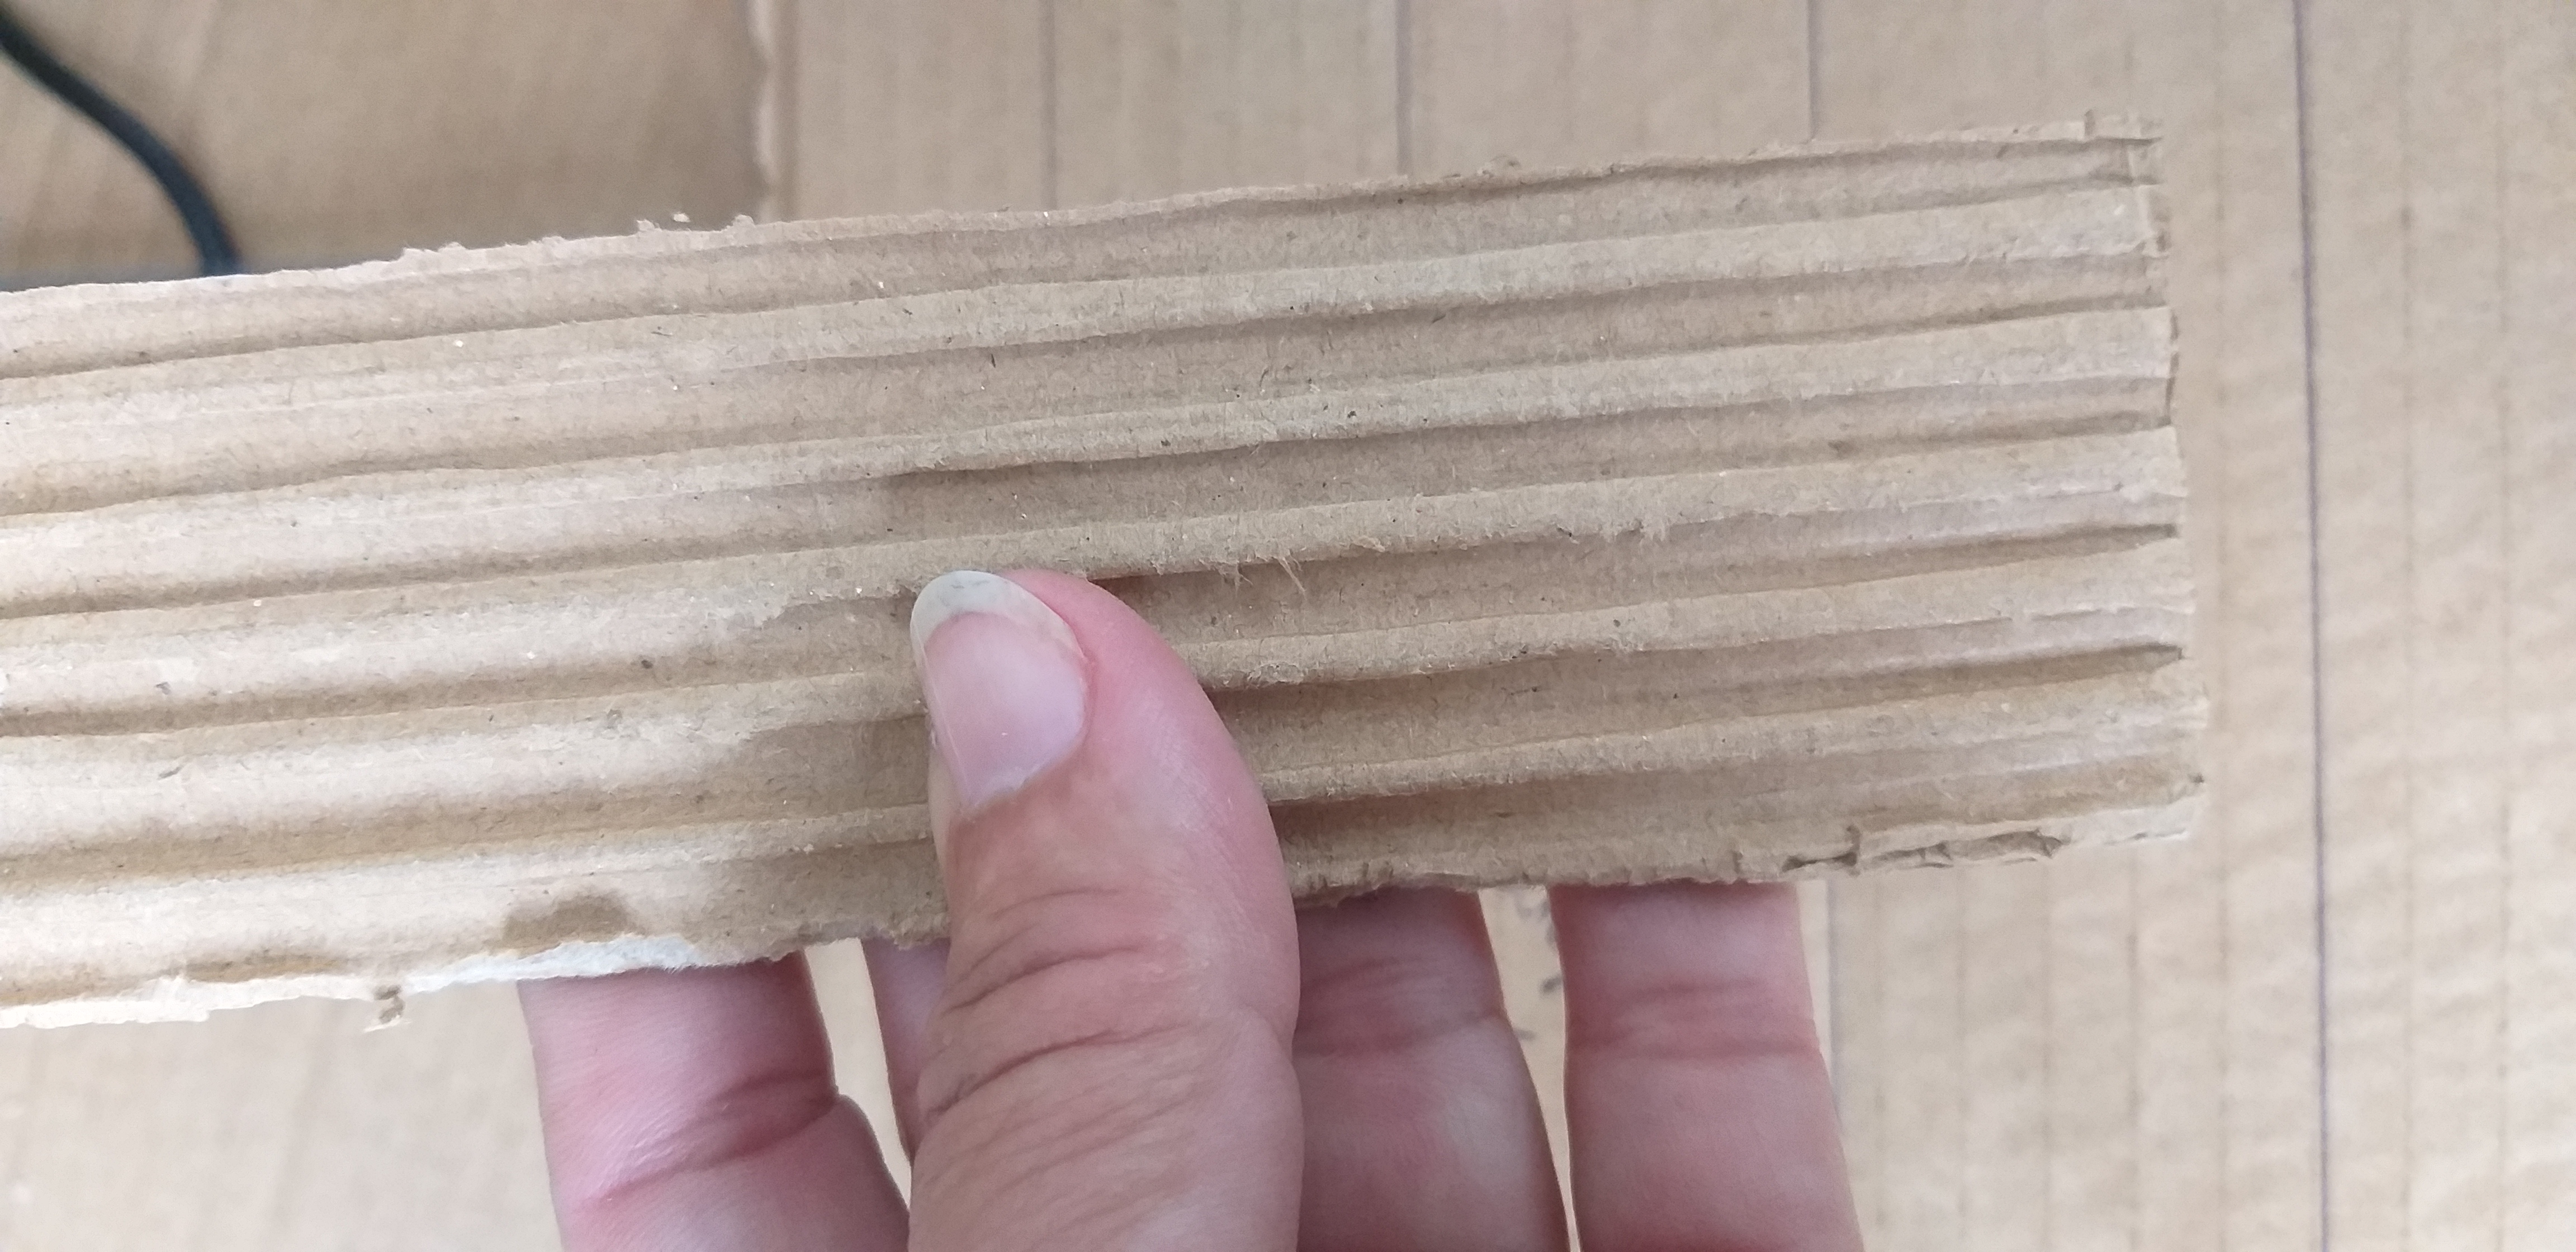
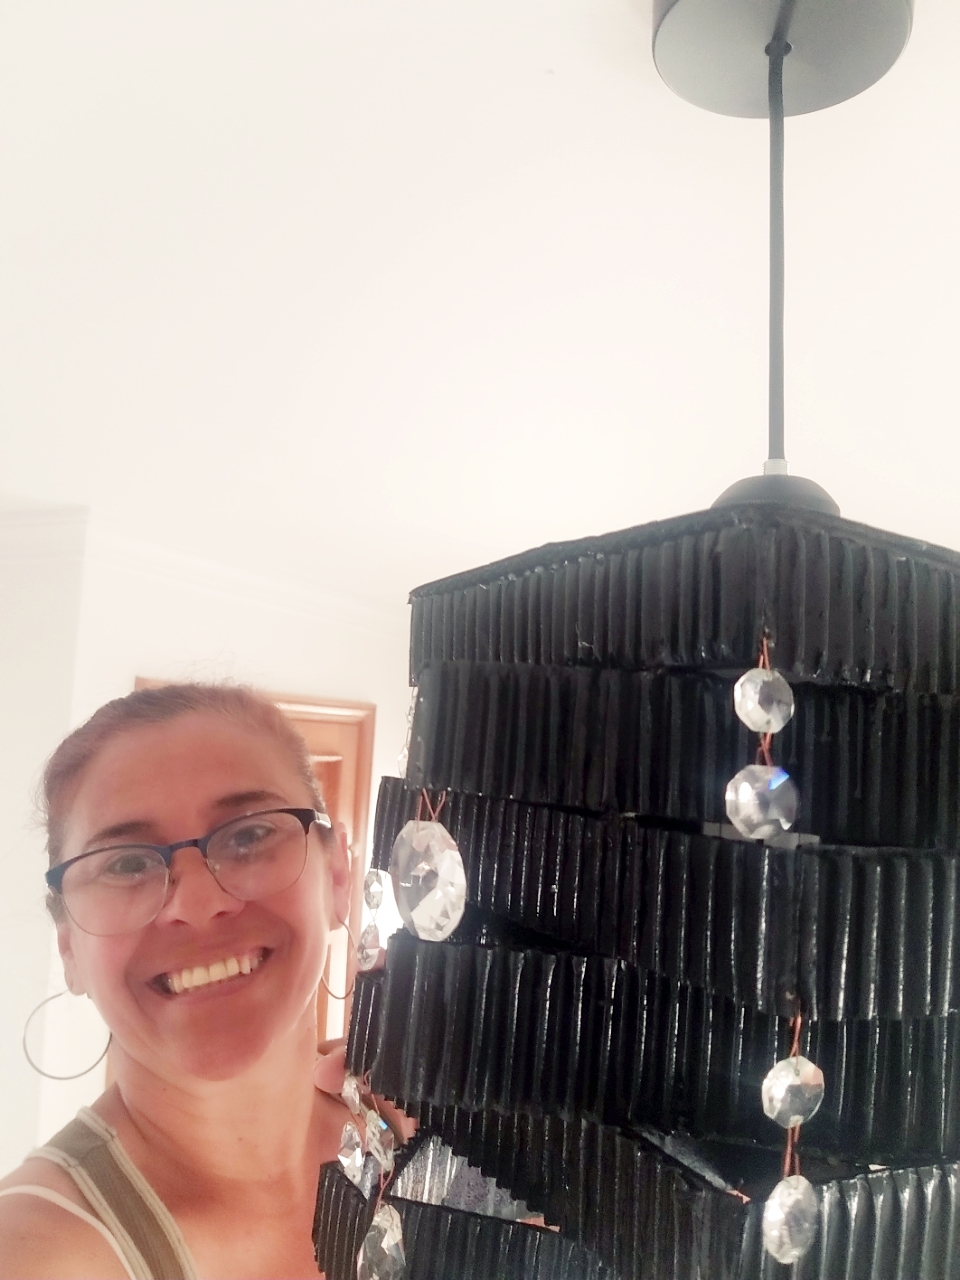
Si quiere hacerla corrugada deberá retirarle la primera capa fina de papel como ven en la imagen, luega de que pegaron todas las 28 tiras armando 7 cuadros deberán pintarlas con la pintura que tenga en casa yo en este caso use spray es más rápido de secar.
If you want to make it corrugated, you must remove the first thin layer of paper as seen in the image, after all 28 strips were glued together making 7 squares, they must be painted with the paint you have at home and in this case I use spray is faster to dry.

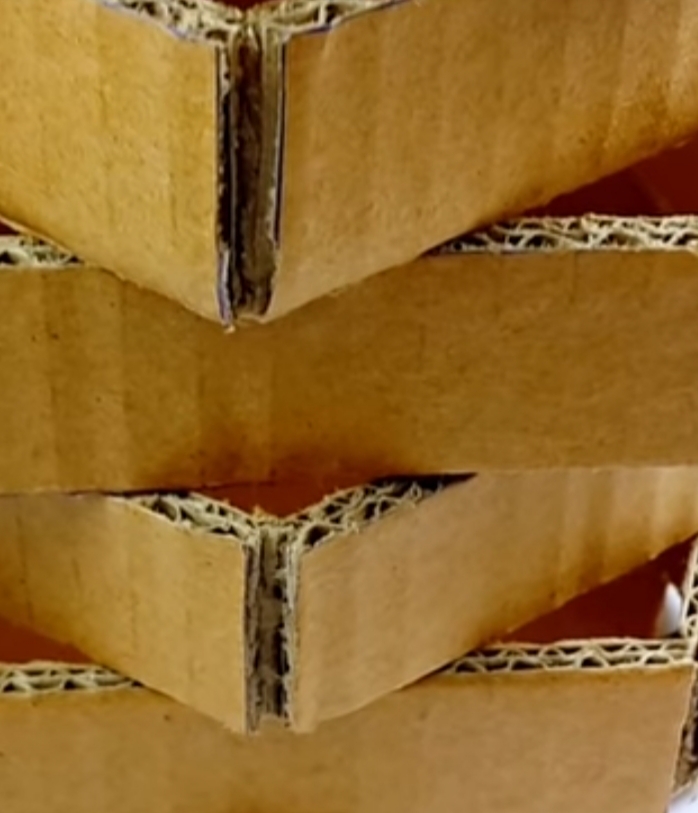
El siguiente paso es colocar y pegar los cuadros en posición diferente como ven en la imagen.
The next step is to place and paste the squares in a different position as seen in the image.
Realizar con la misma caja de cartón la tapa del último cuadro que es donde irá la instalación de la lámpara.
Make with the same cardboard box the top of the last box that is where the lamp installation will go.

Lo siguiente es recortar la pieza, pintarla y pegarla.
The next thing is to cut out the piece, paint it and paste it
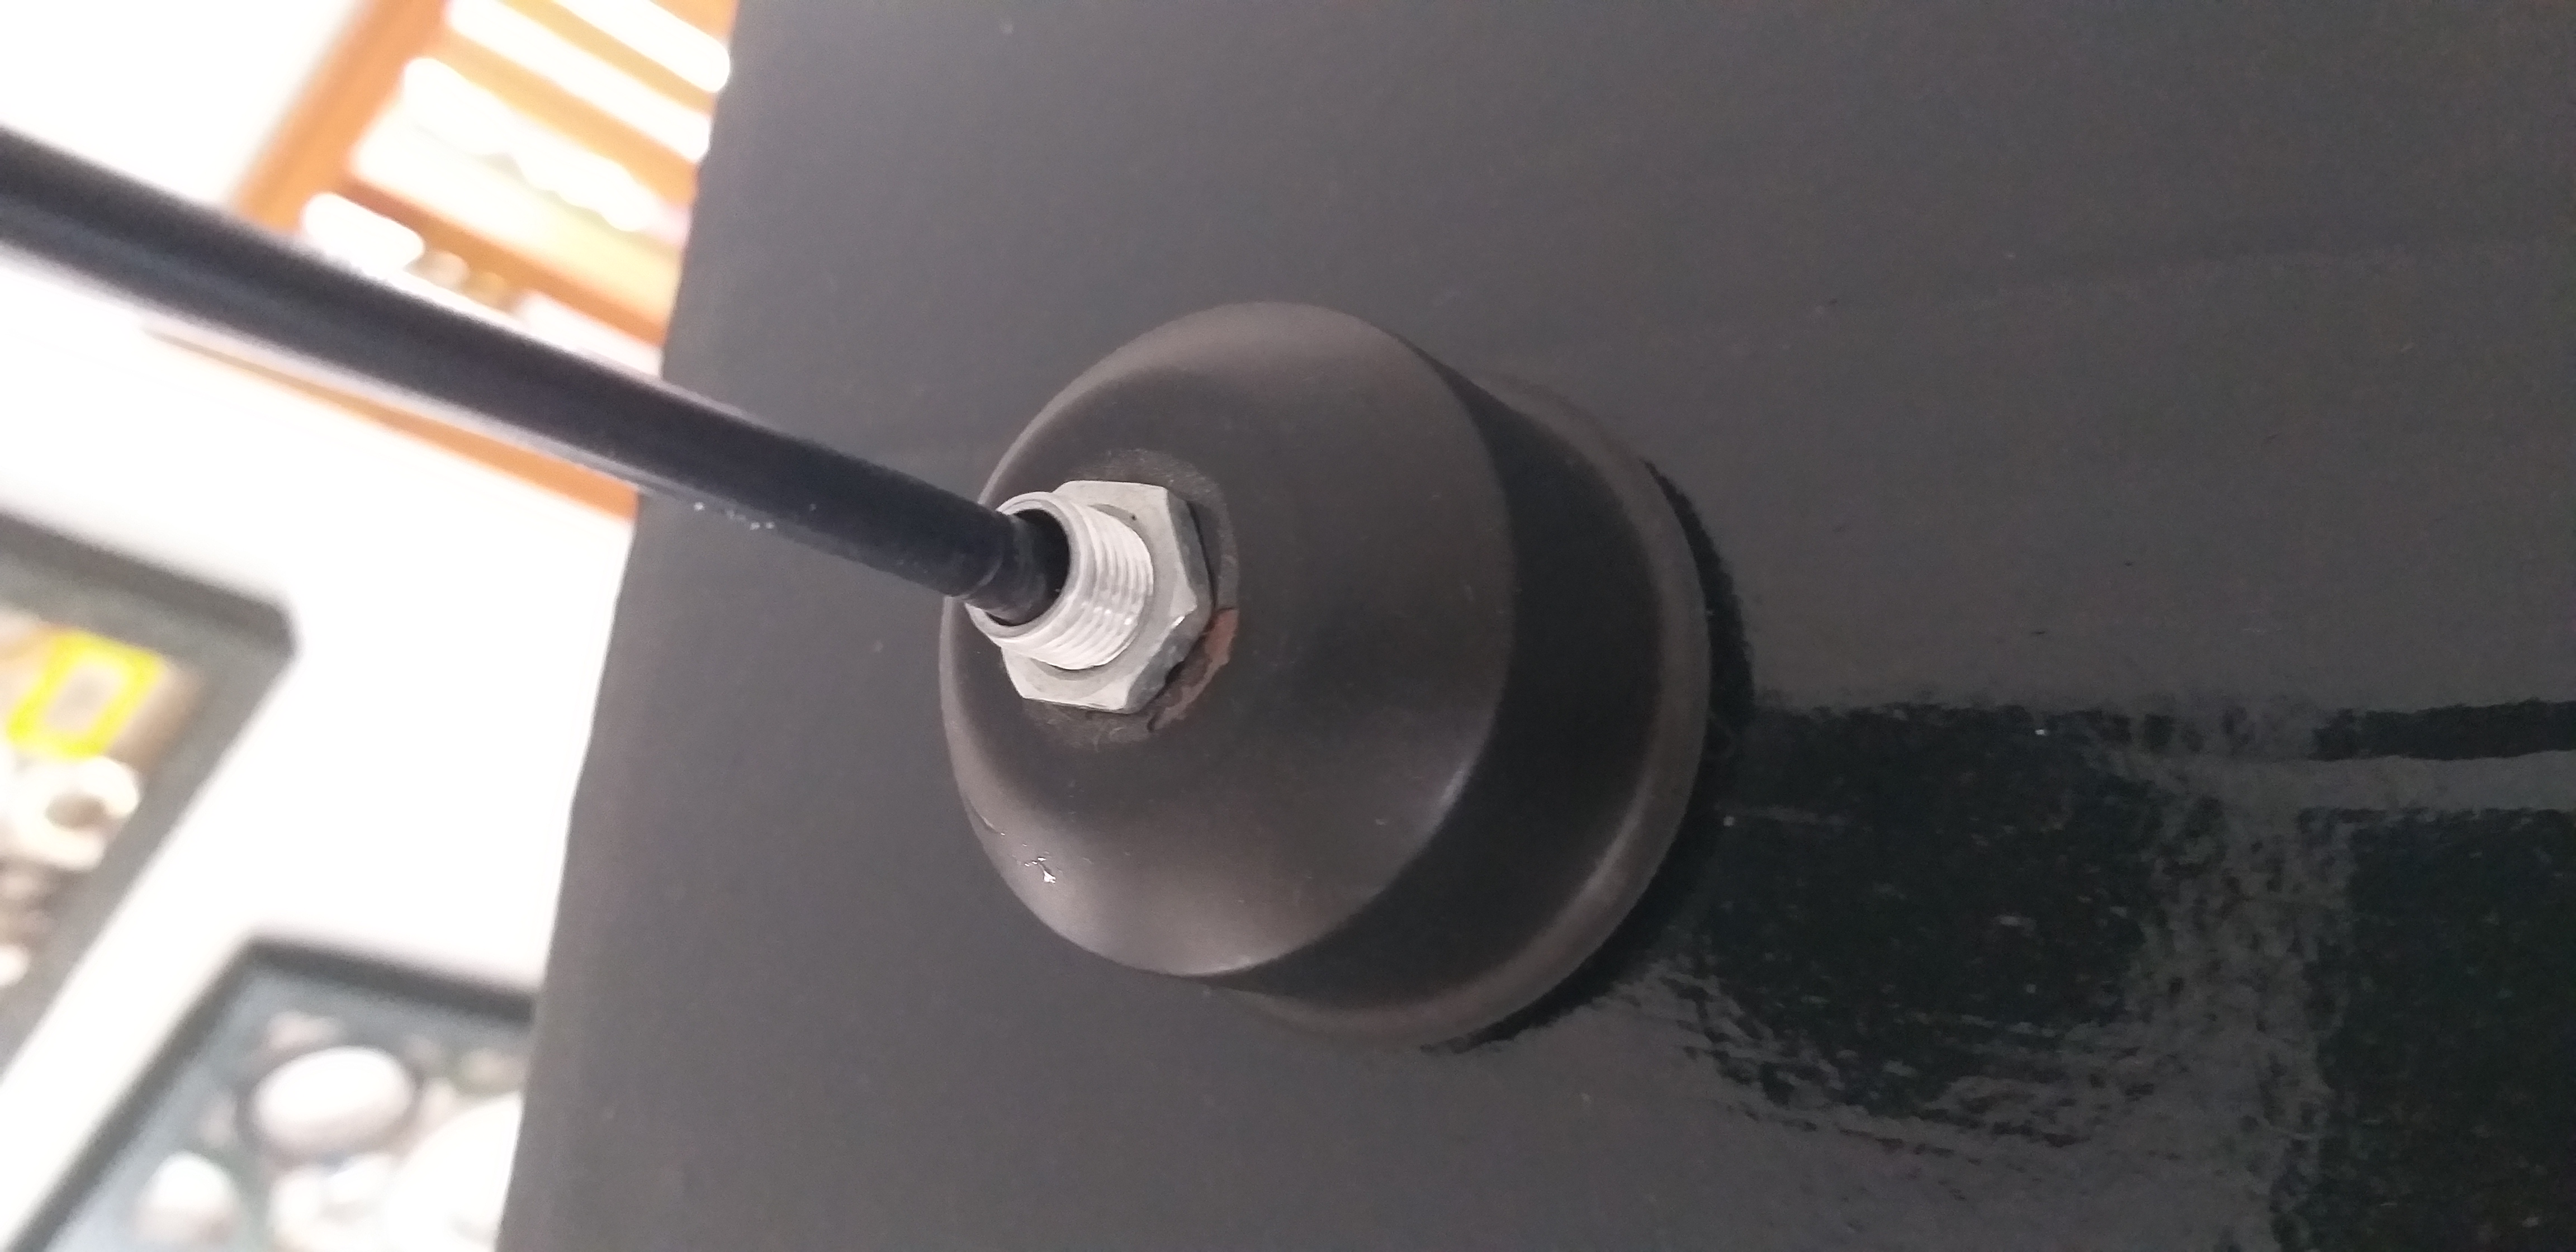
Armar y colorar la instalación
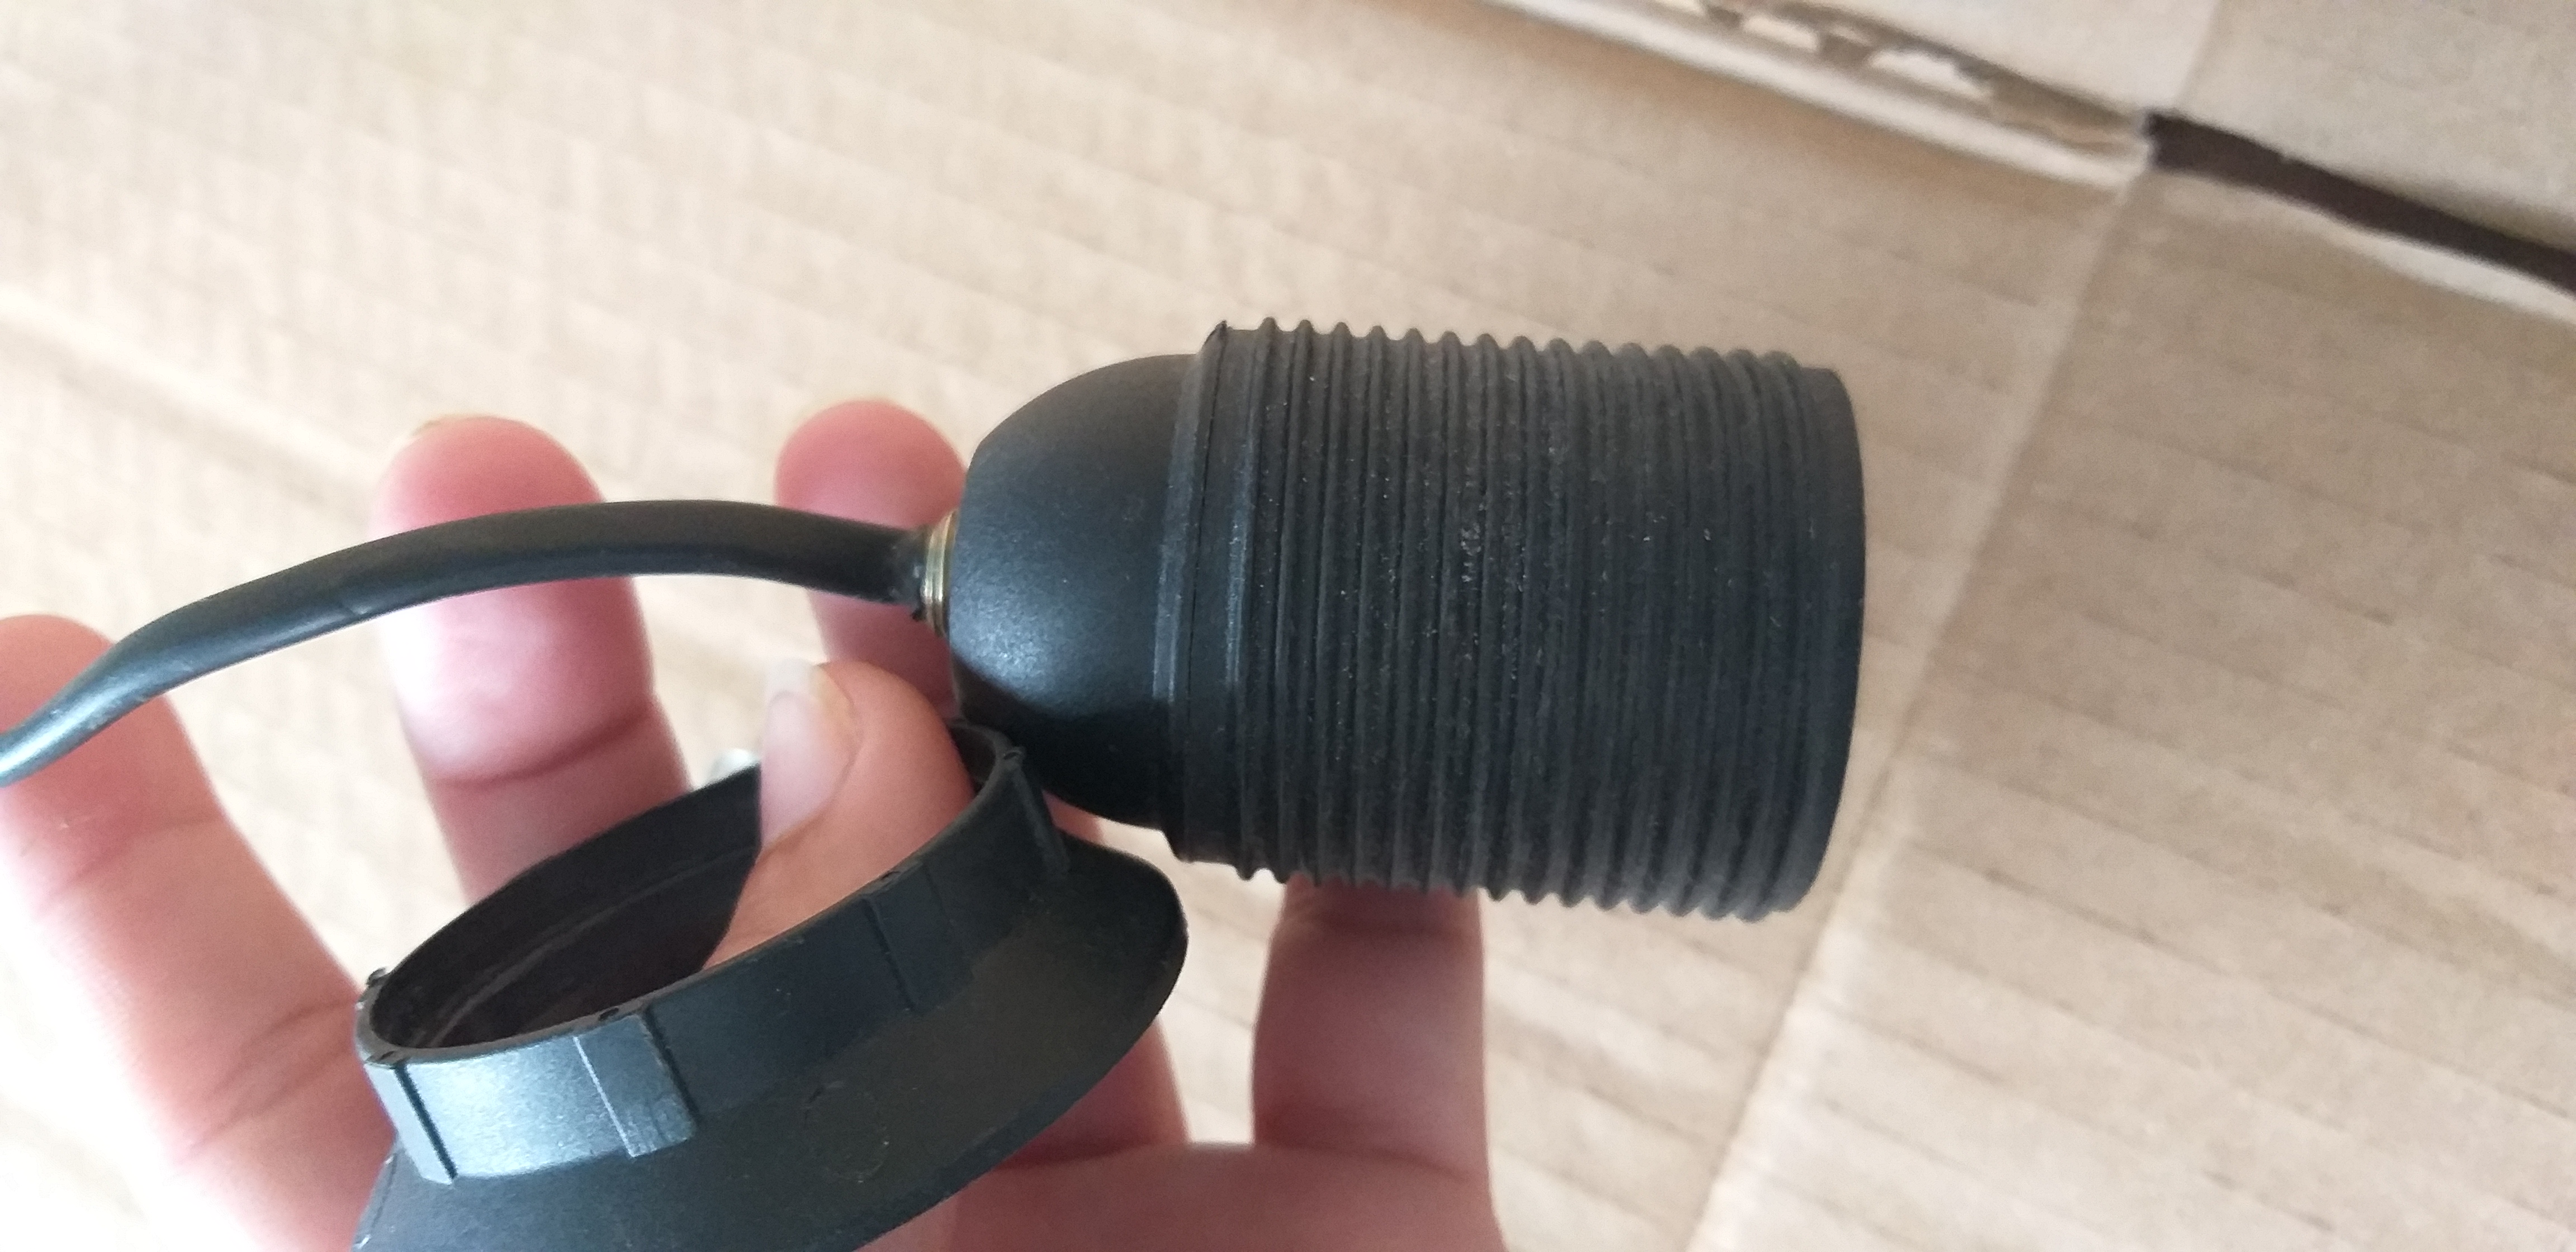
Assemble and color the installation
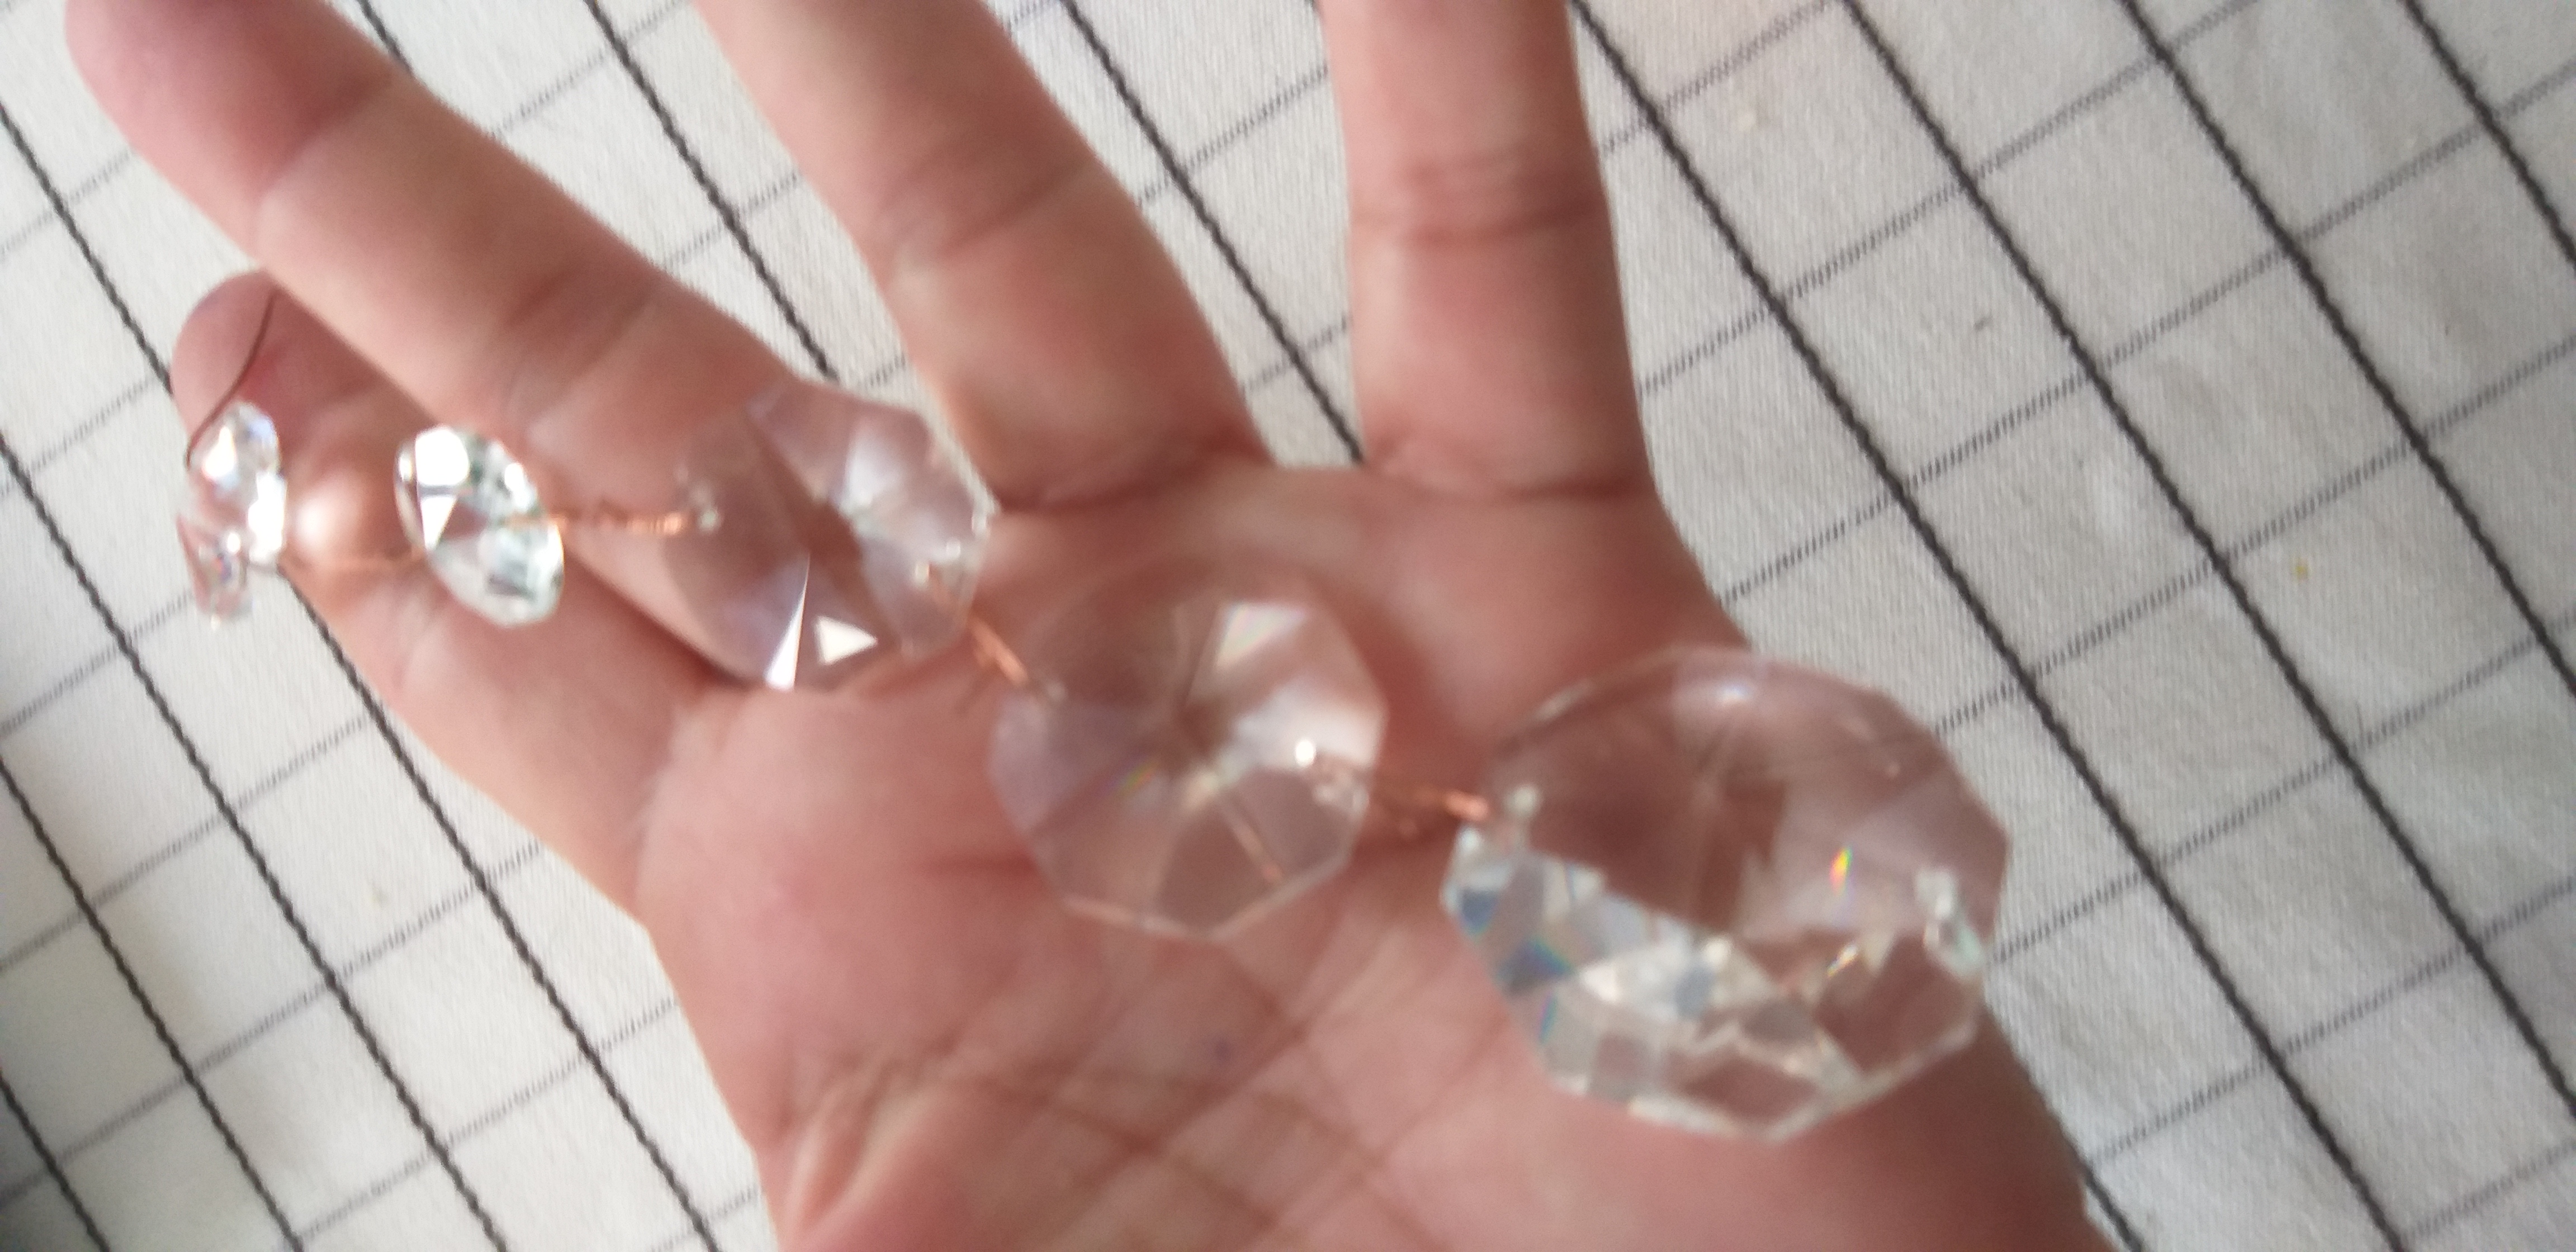
Si quiere decorarla con el alambre fino cortar pedacito pequeño y colocar cada lágrima, yo coloque las más pequeñas primero y de último las más grandes.
If you want to decorate it with the fine wire, cut a small piece and place each tear, I put the smallest first and last the largest
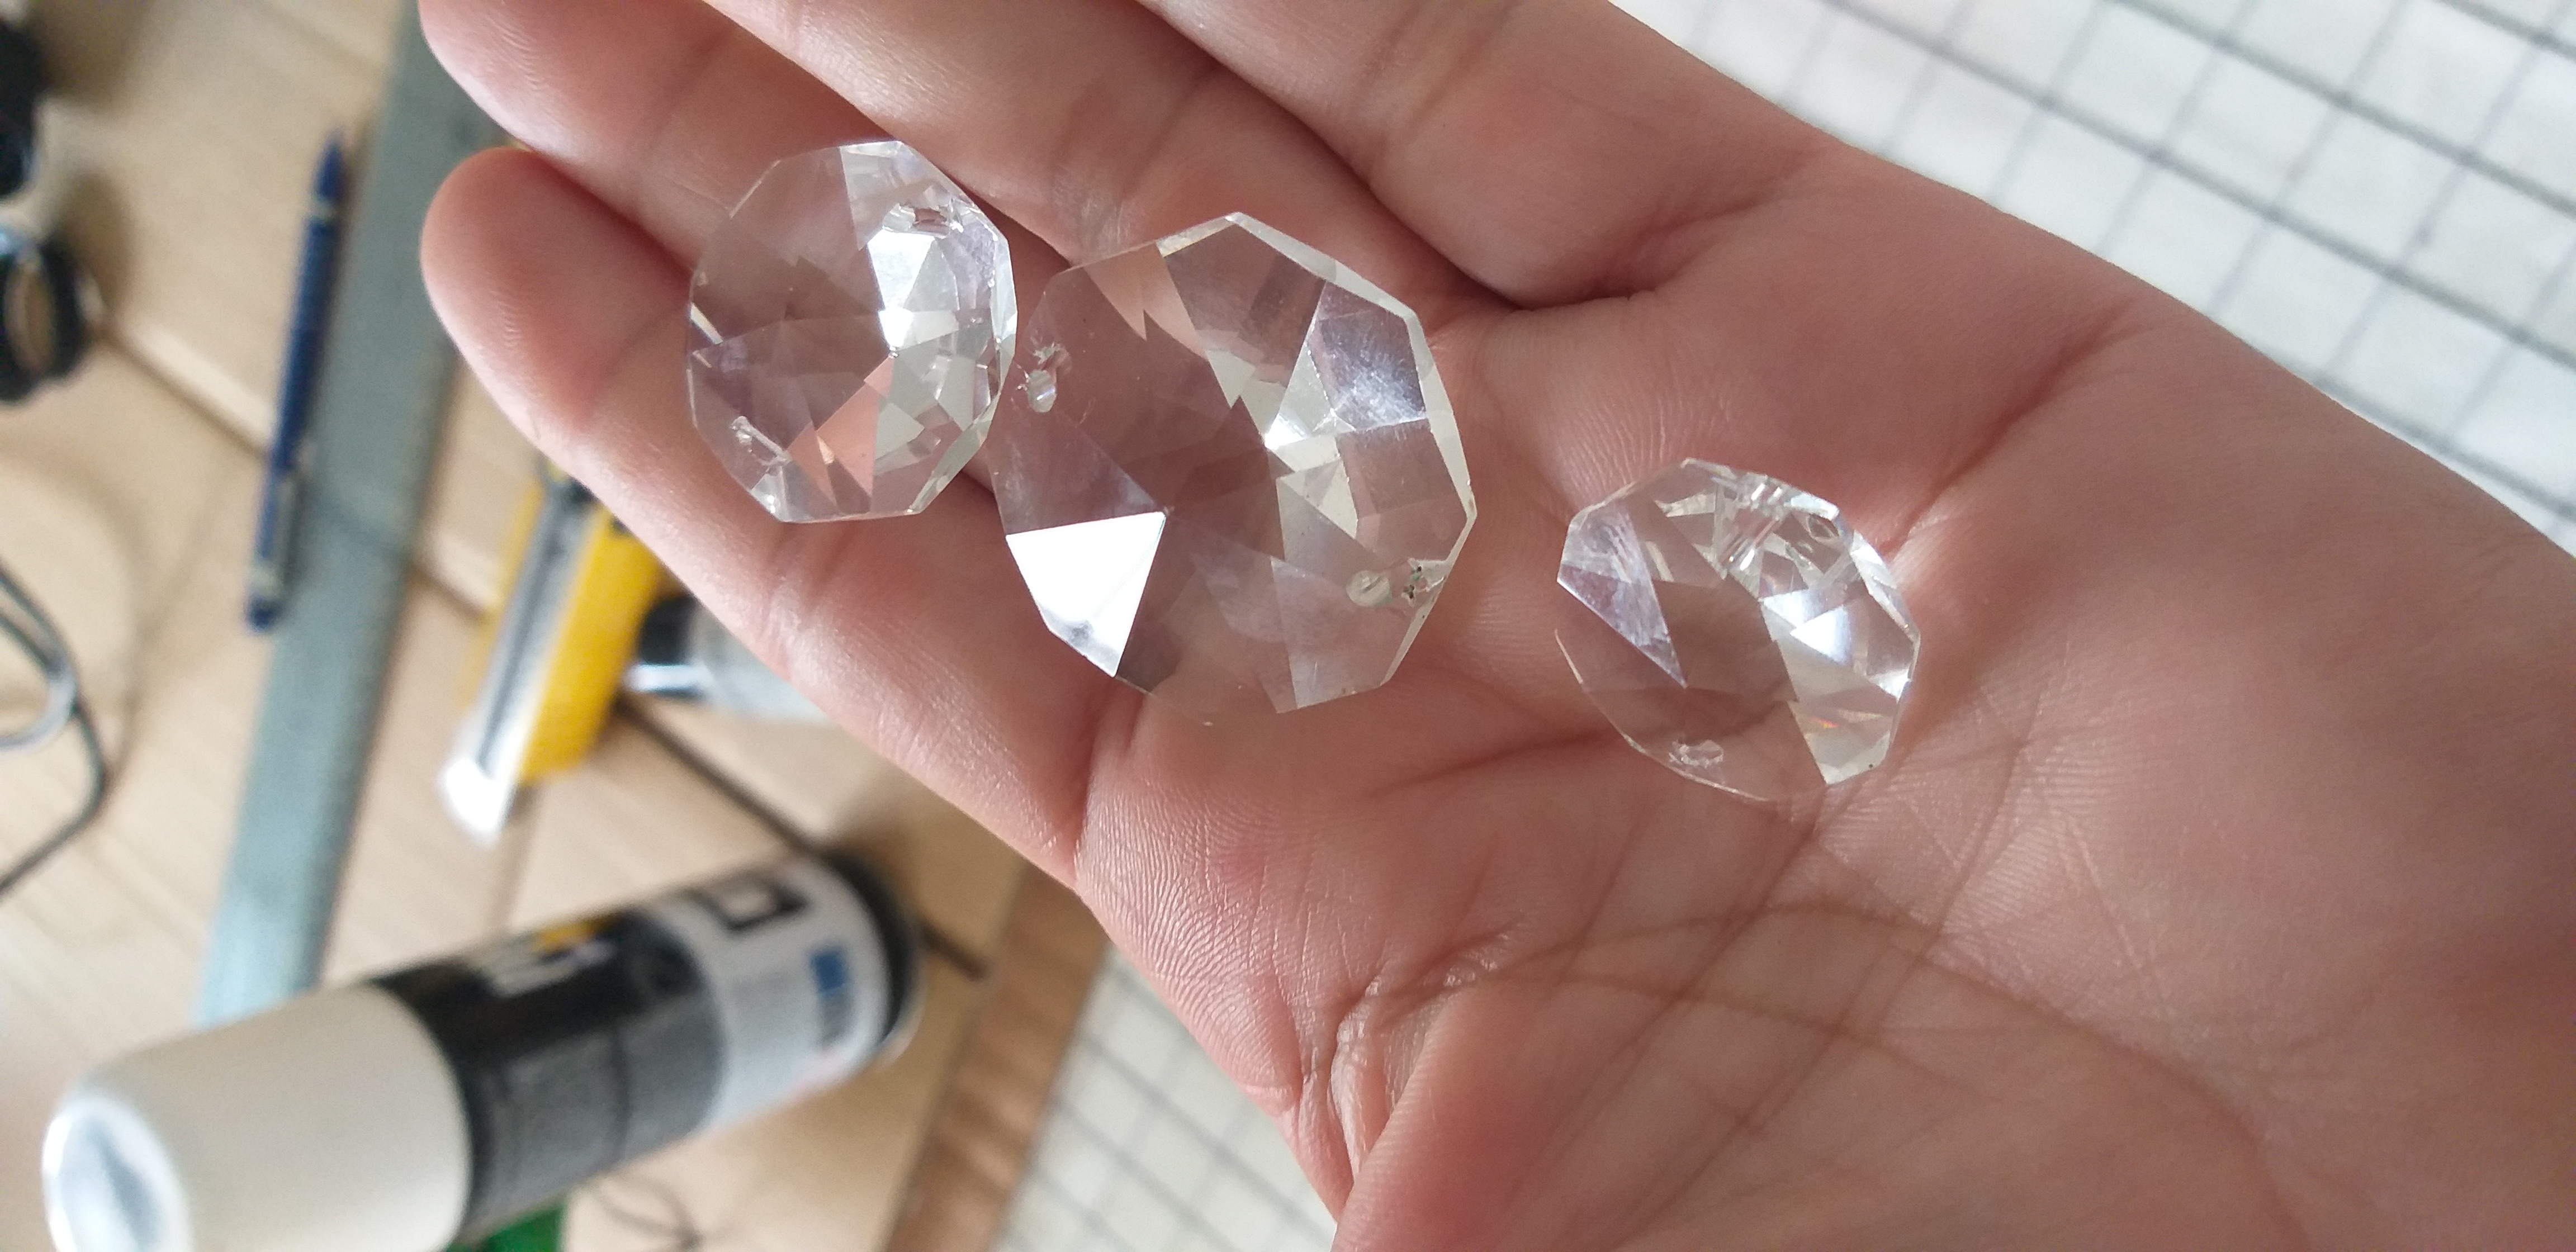
Por ultimo fui colocando en cada punta de la lámpara las lágrimas con un cuchillo punta fina le hice el orificio.
Finally, I placed the tears on each end of the lamp with a fine point knife. I made the hole
Luego coloque todas las lágrimas , para reforzar las uniones con el pegamento resistente coloque en cada unión y por último retoque con la pintura cualquier imperfección.
Then place all the tears, to reinforce the joints with the resistant glue, place each joint and finally touch up any imperfections with the paint.
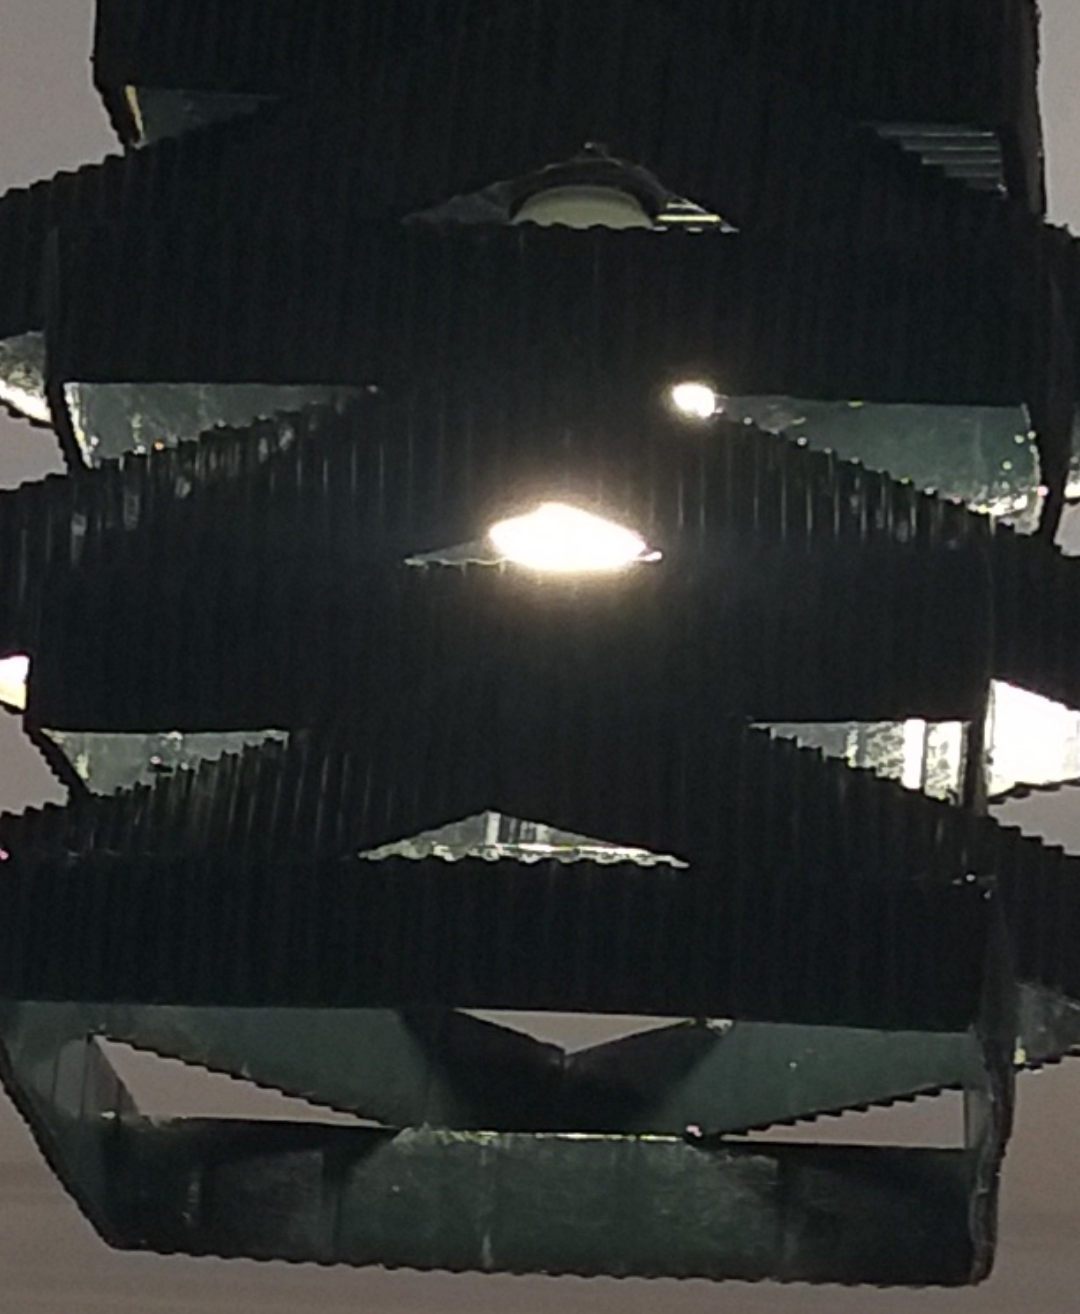
Espero mis amigos que mi proyecto de hoy haya sido útil y decidan en realizarlo. Un gran abrazo.
I hope my friends that my project today has been useful and decide to carry it out. A big hug

O que grao talentooo! Muito creativo. !discovery 15
This post was shared and voted inside the discord by the curators team of discovery-it
Join our community! hive-193212
Discovery-it is also a Witness, vote for us here
Congratulations @zullyarte! You have completed the following achievement on the Hive blockchain and have been rewarded with new badge(s) :
You can view your badges on your board And compare to others on the Ranking
If you no longer want to receive notifications, reply to this comment with the word
STOPTo support your work, I also upvoted your post!
Do not miss the last post from @hivebuzz:
Support the HiveBuzz project. Vote for our proposal!