I wondered if I might be able to create some templates for you to make the thumbnail and separator creation process even easier and I wondered right.
So I have created some templates for you and below is a tutorial to use them and a couple of extra Pixlr findings that are quite useful to know.
You can of course watch the video as a tutorial by clicking the above thumbnail if you prefer
Click for a reminder How to Create a Thumbnail with Pixlr

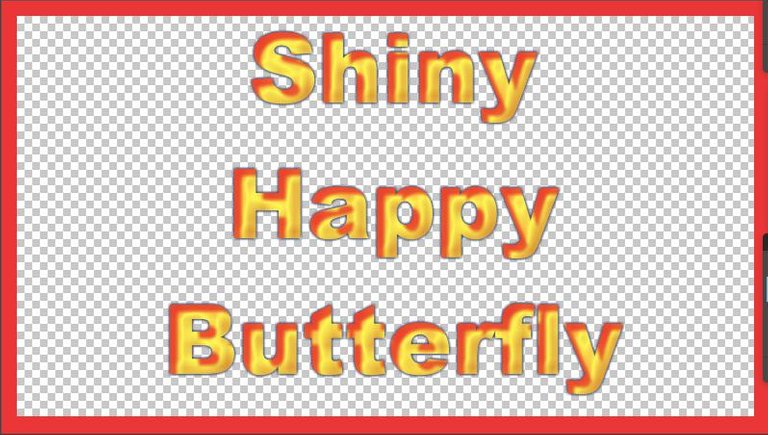
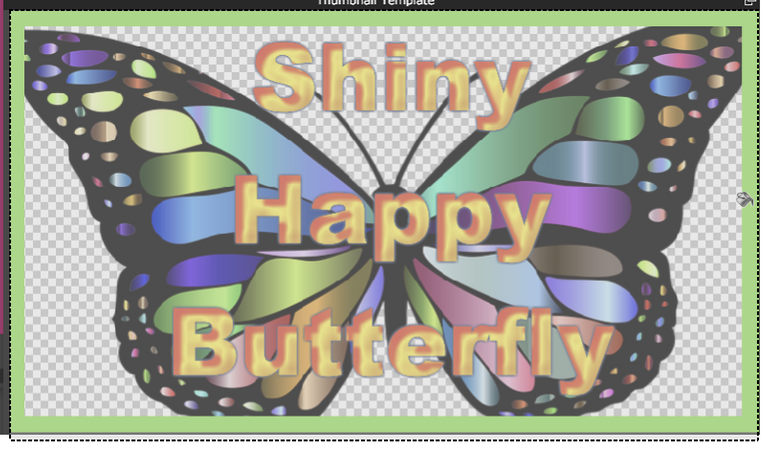
THUMBNAIL
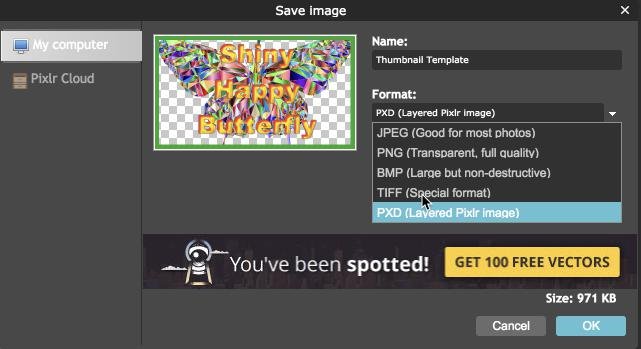
Download Thumbnail Template: PXD file to use in Pixlr
(1) Changing background picture
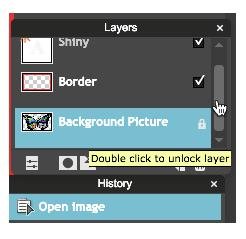
a. Open the template and select Background Picture, double clicking if necessary to unlock it.
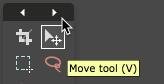
b. Select the Move tool
c. Delete the picture to prepare for the new picture you would like to add.
d. Open the new picture and resize to 800 px width and 450 px height. Press Ctrl A and Ctrl C to copy the new picture.
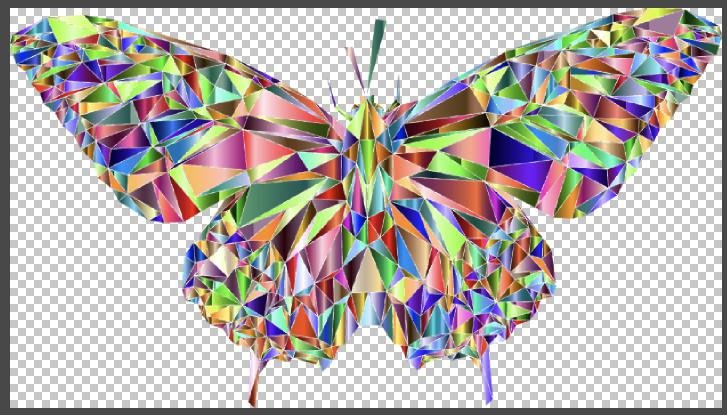
e. Paste into your template
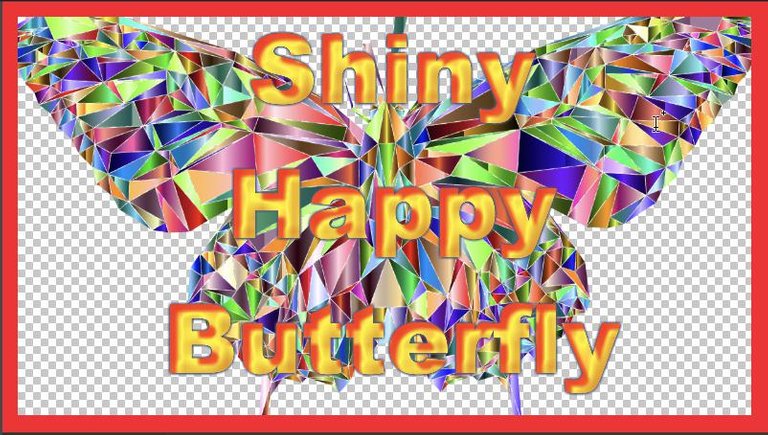
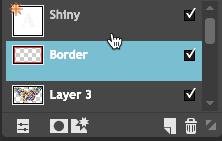
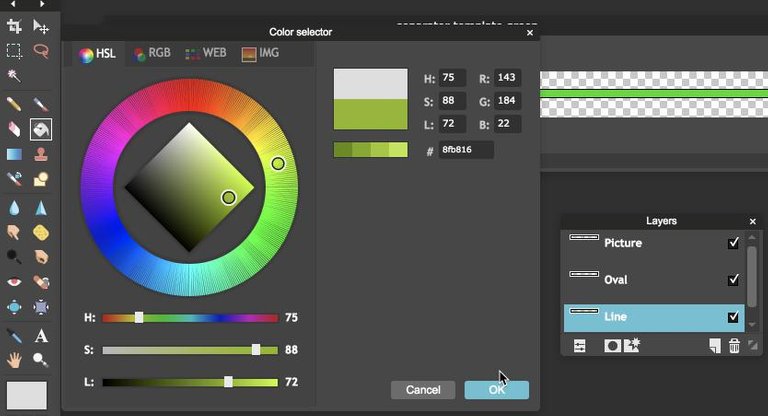
(2) Change colour of border
a. Select the border layer of the template.
b. Press on paint bucket tool and pick the colour you would like for your border.
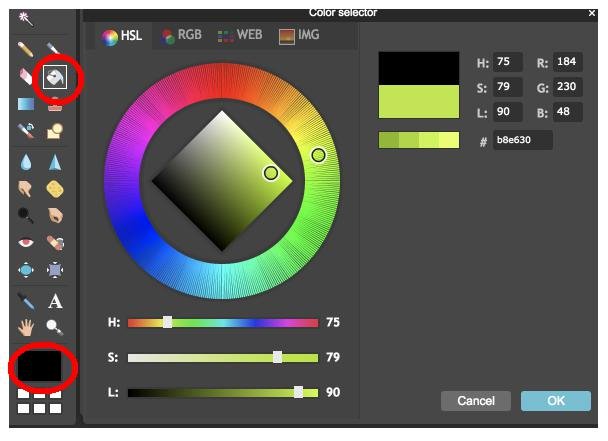
c. Put the paint bucket on the border and click
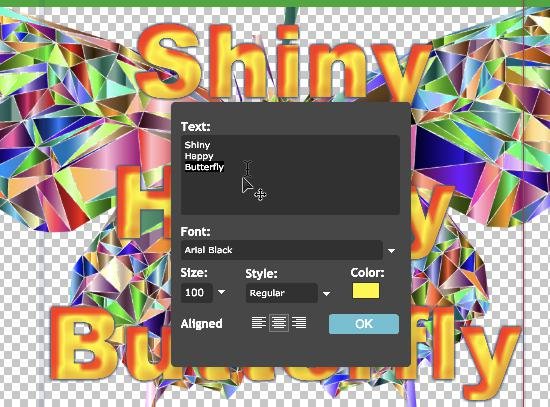
(3) Change Words
a. Here is where you type in the words for your thumbnail, locate the layer (it might say 'shiny' instead of Text, as it just wouldn't stay as'words'). Press that layer, click on the text tool and double click on the thumbnail and you can edit the text
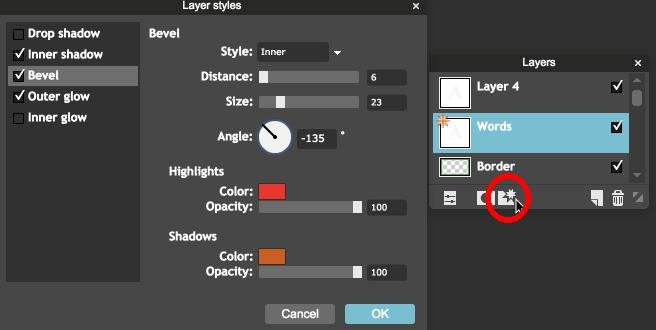
(4) Change font design
a. You can edit effects and make your text stand out by playing with the settings found by clicking on layer styles
Note (1) Always save your work as PXD file as well, so you can go back and change it if required, or use it as a template for another thumbnail.
Note (2) Make sure you take notice of what your thumbnail looks like it the navigator, as if you make your font too big you can't see it on the part you are working on. 100 seems to be a good size to stick too.

SEPARATORS
Click for a reminder How to Create a Separator with Pixlr

Download Separator: PXD file to use in Pixlr

Download Separator Rectangle with rounded ends: PXD file to use in Pixlr
(1) Change the colour of the line and oval as you wish, by choosing the right layer to amend
(2) Put a picture in the centre, as I showed you in yesterday’s tutorial
Note: The picture is for you to decide and put in there. A good rule of thumb is to keep the picture approximately 40 px height and width.
I hope you enjoy and make good use of the templates
Free daily crypto: Swift Coins
My STEEM Success Strategy (not free):Post 2 Profit
▶️ DTube
▶️ IPFS
Finally we have the template thanks to an amazing tutor @hopehuggs
Beautiful Butterfly @HopeHuggs - you are a talented in graphics design and on Steemit. I hope that I can get some skills in this area among other things having to do with STEEM. Nice job with the video, learned a lot. :)
@HopeHuggs thank you for introducing me to Steemit and for these great tutorials! Resteeming now if I can figure out how to do it!
Thank you! I am new here and struggling to figure out not only what the thumbnail was used for but also how in the world would I ever figure out how to create one. I think I've figured out what it is used for and now thanks to your detailed tutorial I can get going on creating my own.
Thank you for this brilliant tip - I learnt something new, appreciated :)
Thx
Nice one
Awesome.....i was able to create a logo with it...still an amateur with it tho...thanks @hopehuggs
wow this one was so beautiful and thanks for sharing the video too :D
Nice detailed post it was to learn step by step thanks for making it :)
wonderful work you have shared i appreciate you post
Wow, this is really funny, I love the part that we can copy animals and end up working out in the process, this is fun
@hopehuggs, thank you so much for such a detailed and easy to follow tutorial. The best part was the video; being able to follow along with you and create my own was very easy. Now, I don't have to be jealous of other steemian's thumbnails and seperators..including yours.
Interesting. Since it is way past tipping payout I'll give you some !hivebits and !PIZZA instead.
Success! You mined .9 HBIT & the user you replied to received .1 HBIT on your behalf. mine | wallet | market | tools | discord | community | <><
PIZZA Holders sent $PIZZA tips in this post's comments:
@wanderingmoon(1/10) tipped @hopehuggs (x1)
Please vote for pizza.witness!