
The addition of a logo can be a useful tool to set your picture apart from the crowd in the ever growing competition for attention. Thankfully, it is not a difficult task and only takes an extra 5-10 minutes once you have your picture and Steemit logo picked out.
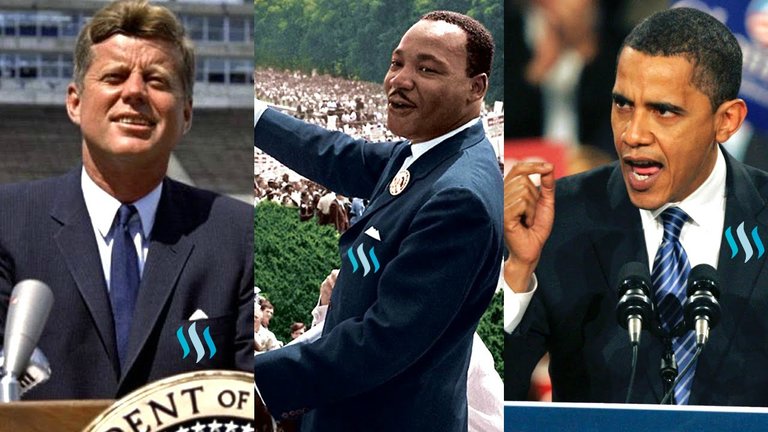
Step 1 is to find a picture that you want to use. Some folks like to use their personal pictures for a lifestyle blog, and add the Steemit logo to customize for their Steemit audience. In my case, I found a picture online that did not have a company logo for the computer - it makes a nice eye catcher as folks are scrolling through their feed.

Once you have your picture, you'll need to find the Steemit logo that suits the design you are looking for. The one I used does not have a solid white background so it looks cleaner when pasted on the picture.
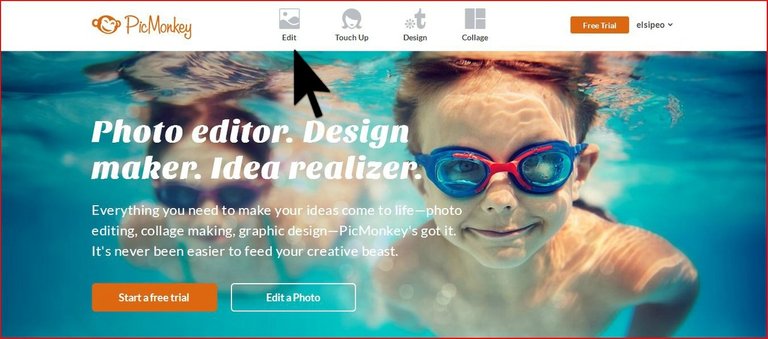
The website I use is PicMonkey.com. The editing options you need to do a logo overlay are free. They do have a Monthly and Annual subscription you can buy that gives you access to a lot more fonts, overlays, and editing tools. A monthly service is $7.99, and the yearly cost is $48.
PicMonkey will ask for the photo you want to edit. Once your picture loads into the editor it is time to add your overlay.
Click the picture of the butterfly where you see the blue arrow below. Since you saved your Steemit logo, click on the add your own where you see the black arrow.

This is where the fun begins. Depending on the size of the logo you chose, you'll need to adjust it for aesthitics. Follow the black arrow to adjust the angle of your logo. Then, click on the corner where the blue arrow is pointing to adjust the size. You can also change the color scheme of your logo like I did with the arrows, by using the color graph on the overlay editor.
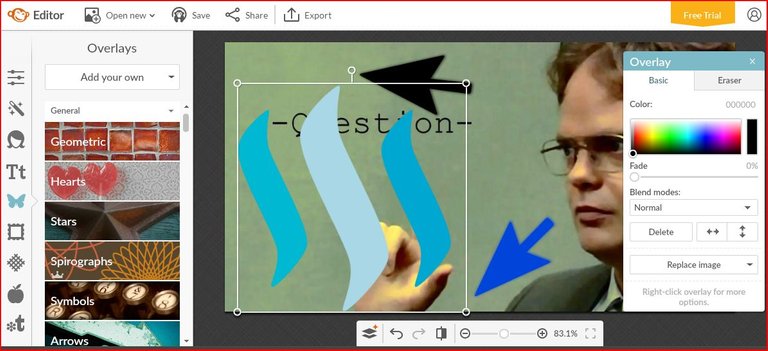
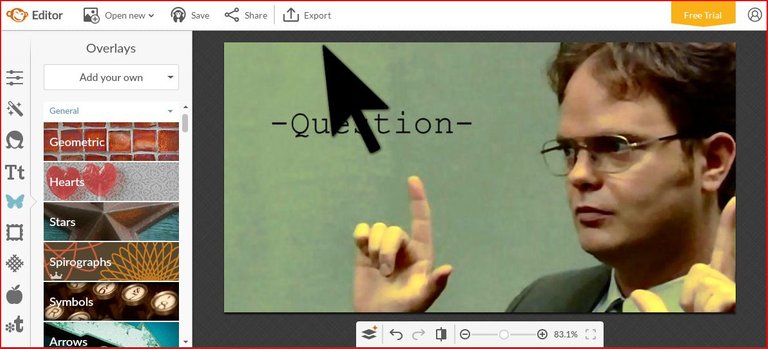
After you finish editing, follow the black arrow to export your new picture to your computer.
And you are done! If you have other editing resources that you enjoy using, feel free to leave a comment to share with the community.
 me for more great content.
Thanks for that suggestion and quick tutorial @lydon.sipe
You made it easy with those steps.
Wonderful!
It was my intent to make it easy for everyone.
@cryptopie got you a $0.01 @minnowbooster upgoat, nice! (Image: pixabay.com)
Want a boost? Click here to read more!
Very nice! Will have to add that to my Steem game.
Great! Glad you found it useful.
I never knew JFK was on Steemit.... :)
Haha, he is now.... :)
Thanks very helpful :)
Good to hear!
i used to try this kind of thing with Pixlr as i have no knowledge with png format
Png images worked fine with this editor.
Nice. A step up from MS Paint I think. And good for those who don't have the Adobe suite.
Agreed. For a free service it works well.
Nice step by step Tutorial nicely explained :)
Thank you. Glad you found it useful. :)
nice, lydon - not my style, but nice :)
Haha, I understand. It would look odd with a Steemit logo next to your model photos. :)
Ooh! Thank you so much for this tutorial! I totally bookmarked it 😊!!!
Haha, you're welcome!! 😄
Cool DIY.
Great going @lydon.sipe
Thank you @heelzkinu.
Great material
Congratulations!
Thank you!
This post received a 3.2% upvote from @randowhale thanks to @lydon.sipe! For more information, click here!
Great Post
thank you for sharing
Thank you.
Glad you liked it.
Nice article buddy
Thank you.
Want a boost? Click here to read more!