As I montioned in an earlier post, I am an absolute beginner at coding so these are my notes for my own learning, and I'm posting these so that others may learn as well if they wish.
If you want to see the introduction and the tools I'm using, check out my introduction post:
On To The Notes!
The project we're working on is a todo list, which will give you the ability to add items, edit items, check items off individually, delete items, or select and delete all items. We're starting simple, and we will build and rebuild this tool adding functionality along the way while learning JavaScript basics.
The first thing we're instructed to do when working on a project is to make yourself a list of the features you would like to have in your tool. This is a way to keep yourself focused and a way to break things down into bite sized chunks.
For this project our list is
- It should have a place to store todos (COMPLETED)
- It should have a way to display todos
- It should have a way to add new todos
- It should have a way to edit or change todos
- It should have a way to delete todos
This list will also keep us in check to make sure that the project is doing what we want it to do.
We use the term "It should" as an easy way to identify a requirement for an application.
With that out of the way, it's time to move on.
It should have a way to display todos
Since we're still in the console, this will be pretty easy for our first itteration of the app.
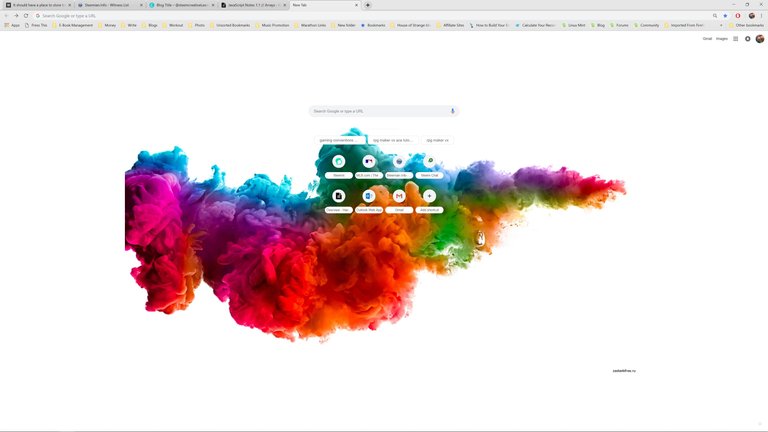
What I'm going to do is open Chrome and create a new tab

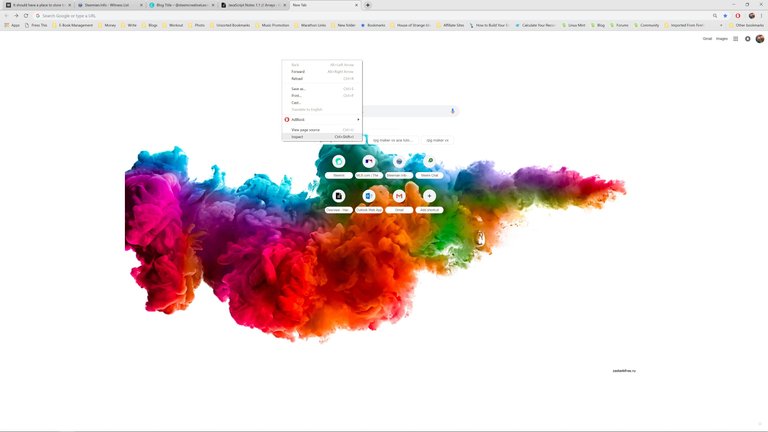
right click on the page and select inspect

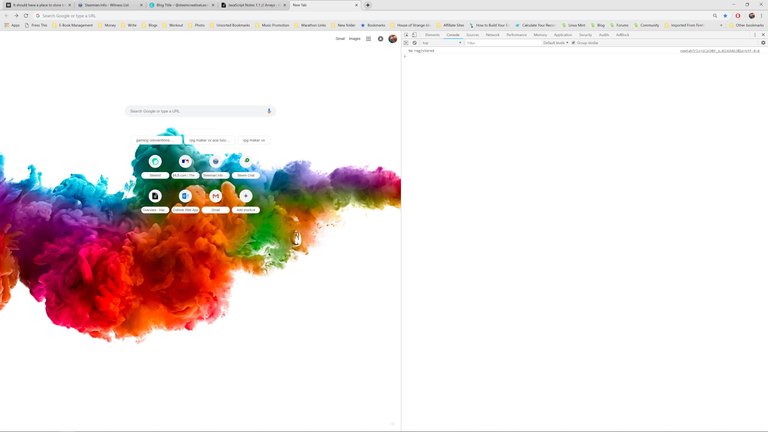
On the top right a new menu system will appear,(yours may be at the bottom) I slected console and that gave me a nice blank space to work.

Now we're ready to learn about displaying todos
JavaScript gives us a pretty easy way to display our todo list using the console.log syntax.
Say we want to display "Vote @steemcreative" we would type the following in the console
console.log("vote @steemcreative")
Remember that anything we want it to print should be in parentheses and text must be in quotes.

We can also combine different items like so console.log("vote @steemcreative", "witness")

This is how we're going to print out our todo list.
So if we take our array from the previous post and comibine that with console.log as console.log(todos) we get:

- What you may notice is that todos is not in quotes in the above example, that's because todos is a variable and not text.
We're almost done
The basics are down, but we want the diplay to let us know what it's showing us.
So remember above where we can combine ites? That's what we're going to do next.
console.log("My Todos:", todos)

BAM!! Success!
**To summarize what we've done
**
- We've learned about the console.log command
- We learned that it can take multiple items
- We learned that we can combine text and variables
We've now checked off two requirements that we have for our app! Look at us go!
* It should have a place to store todos
* It should have a way to display todos
- It should have a way to add new todos
- It should have a way to edit or change todos
- It should have a way to delete todos
Now that we can both store and display todos, the next lesson will be about how to add todos.
Hopefully you guys find my notes useful.
@steemcreative is a joint witness venture and first Husband and Wife witness team of @swelker101 and @isaria, focusing on user engagement, creative content curation, contests, and supporting worthy projects. Please vote for our witness at https://steemconnect.com/sign/account-witness-vote?witness=steemcreative&approve=1

Thanks guys.
Shane @swelker101
Not bad :) What kind of backend will be there to store them in the next part?
That's a danged good question. Since these are my notes while I'm learning, I'm not sure yet. :)
Good start, you should try doing it on codepen so you can save and continue your work. Also f12 will open developer tools in most browsers then there is no need for inspect element, unless inspecting :)
Benefit is once you are happy with what you learnt via freecodecamp or codeacademy or those videos then you can easily link helper libraries into your codepens to see how they make life a bit easier.
Keep having fun looking forward to the next posts.
Thanks for the advice. It's definitely a bit of a new challenge for me, but I'm having fun.
Very useful notes. Keep going on!