Hello to all my dear friends of @hive I hope you are feeling well today. This time I'll show you the step by step of one of my favourite drawings, a purple minion!
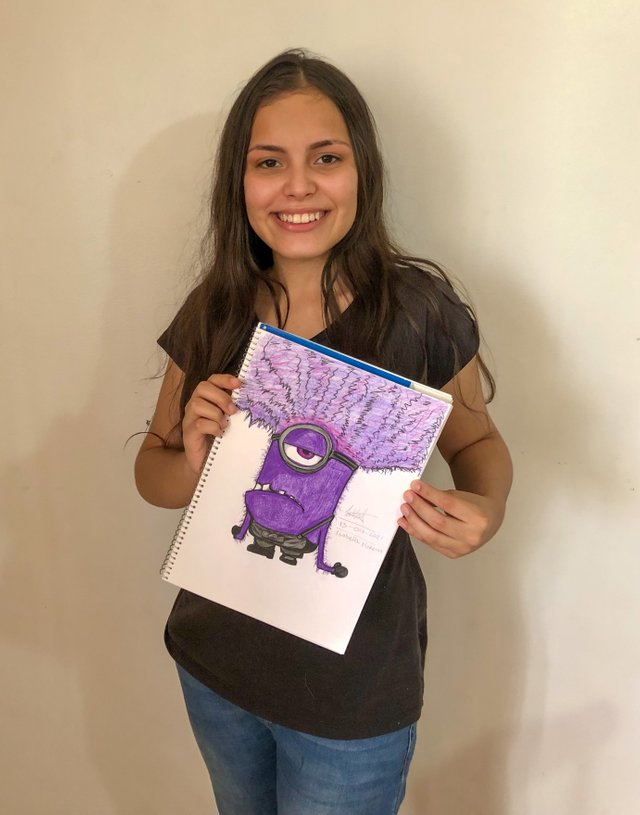
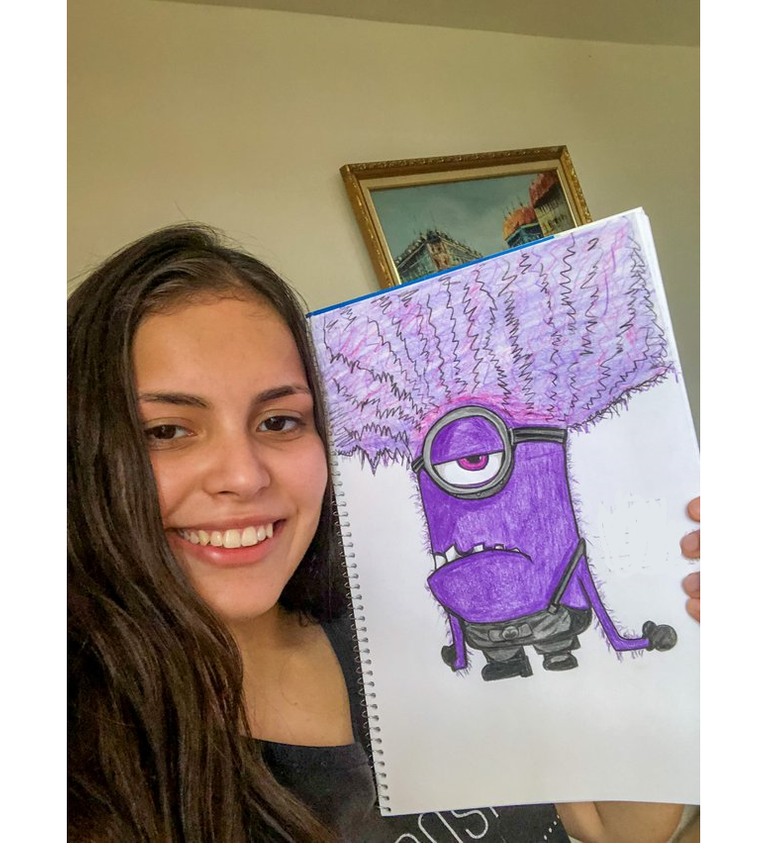
A photo with the final work.
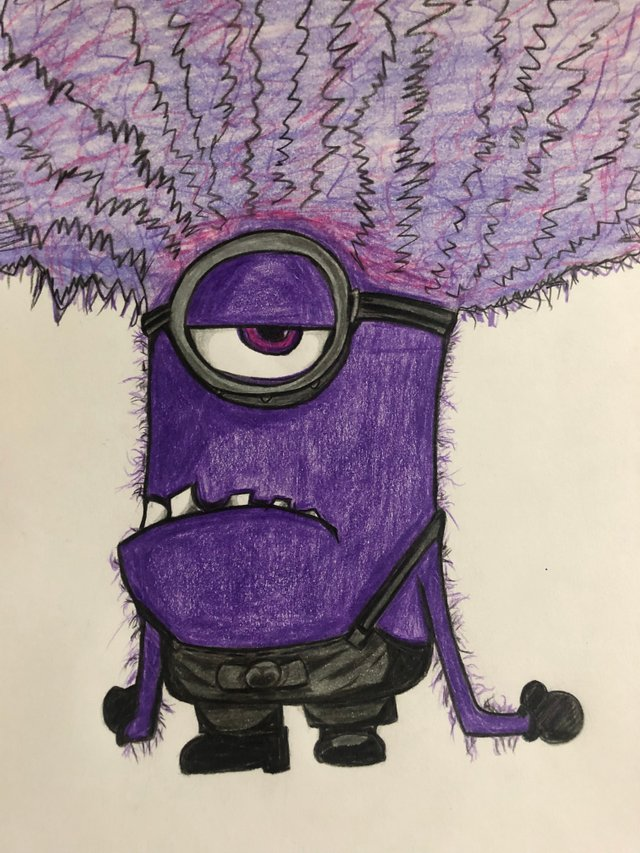
Purple minion. Drawing of my property, Isabella Moreno.
What is a purple minion?
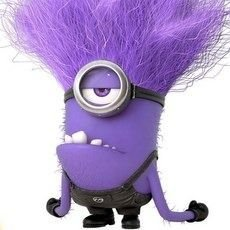
The purple minions (anti-minions) were the result of a malevolent experiment by "the male", the villain who confronted Gru in the second film (My Favourite Villain 2). The experiment consisted of injecting a serum that would turn all the minions into aggressive and evil beings, leaving them with the following appearance:
Materials to make this drawing
- School colours.
- White cardboard.
- 2H pencil.
- Eraser.
- Pencil sharpener.
- Ruler.
Step by step of the drawing
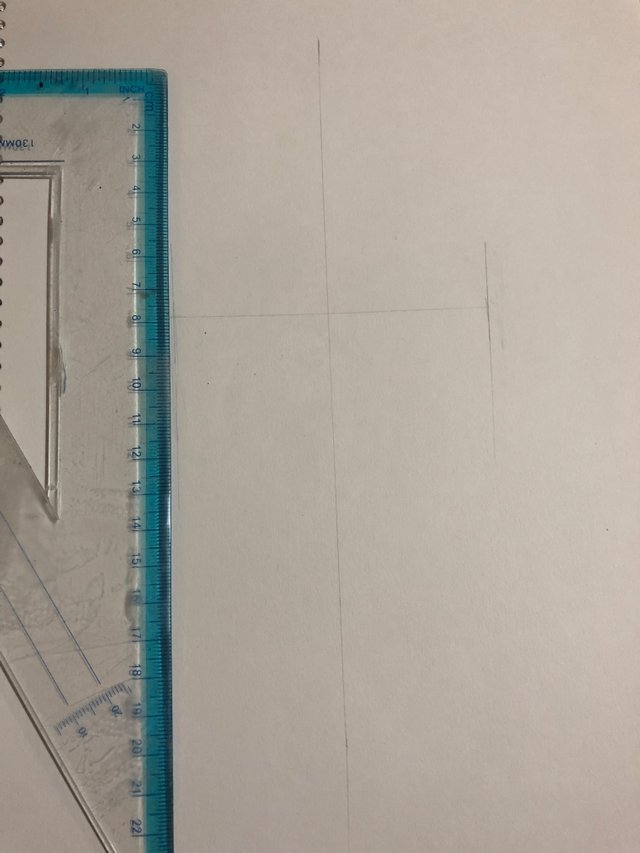
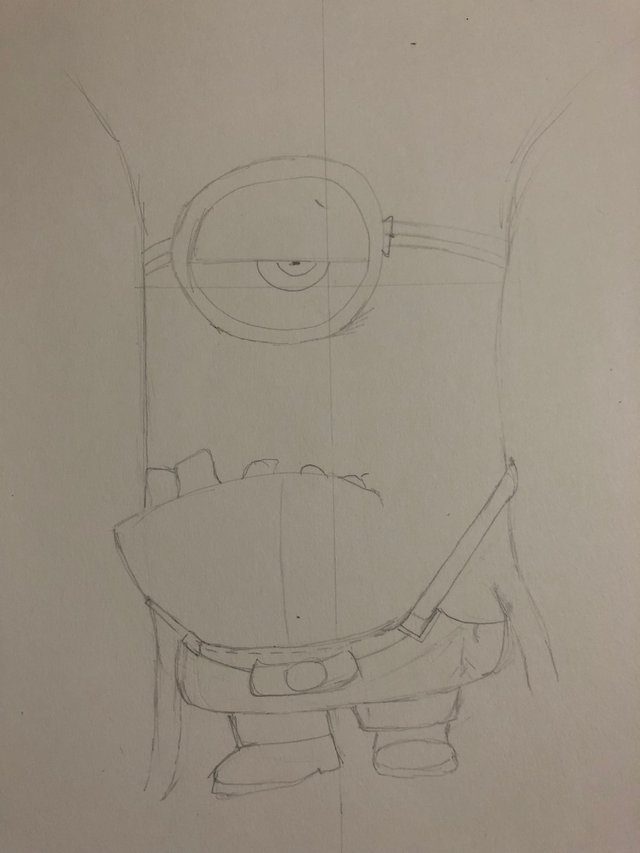
As usual, we make the initial figure with the 2H pencil.
To define the structure of this minion, we first use a ruler to define the centre of the body. We measure 5 cm on each side to make the body completely proportional.
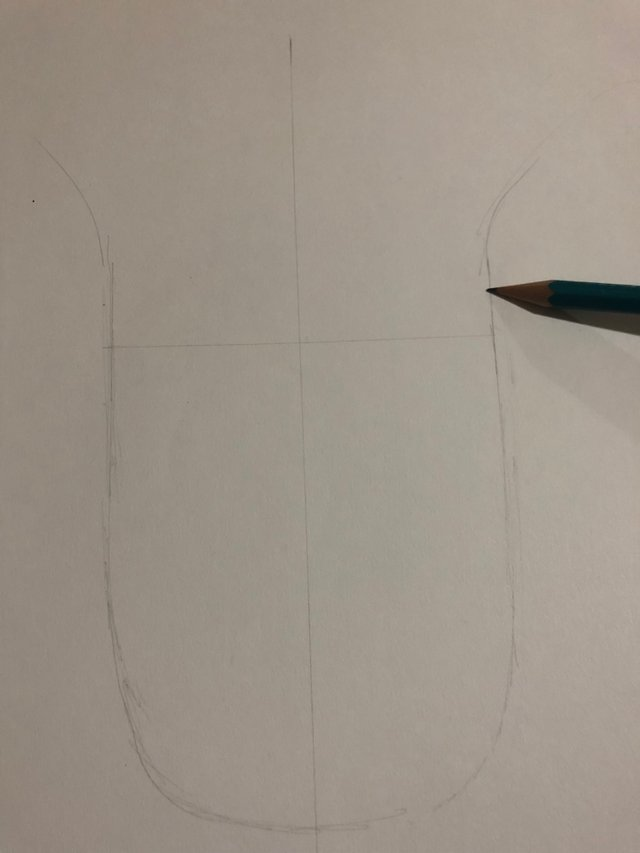
On top of this line we define the eyeglass, the mouth, the suit and the little arms. At this point we see the shape of the minion.
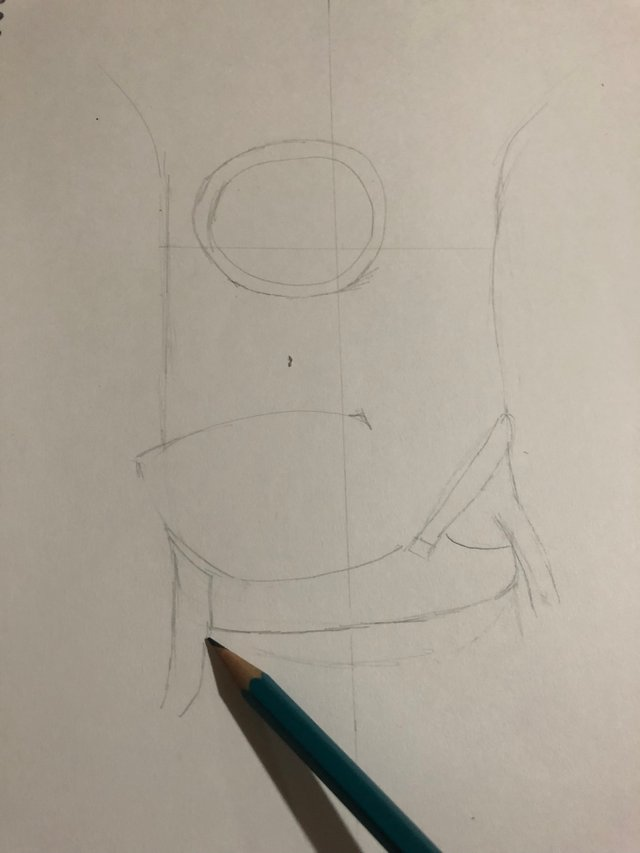
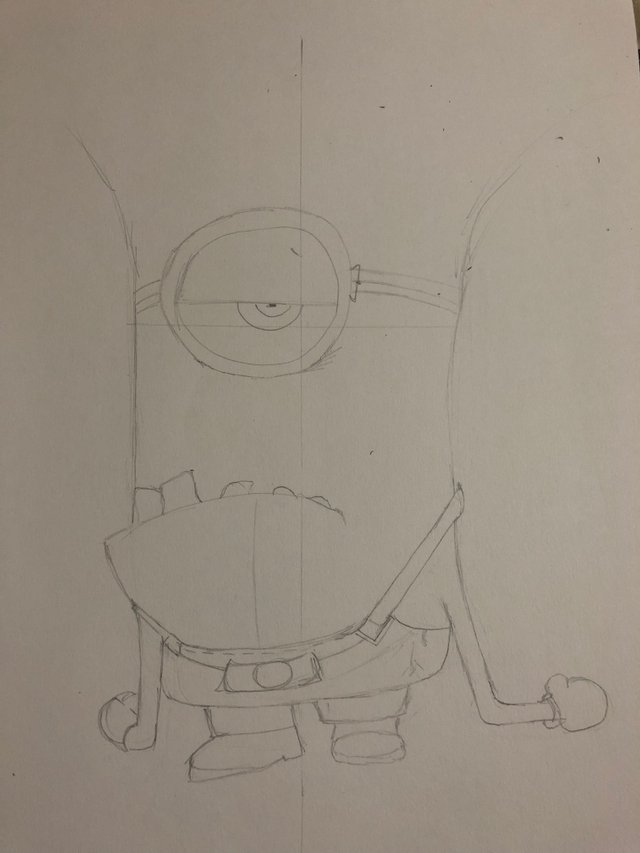
For the eye we make a crescent shape inside the lens; and in the centre of it, a half circle for the pupil. The teeth, in the same way, are made with deformed rectangles above the minion's mouth.
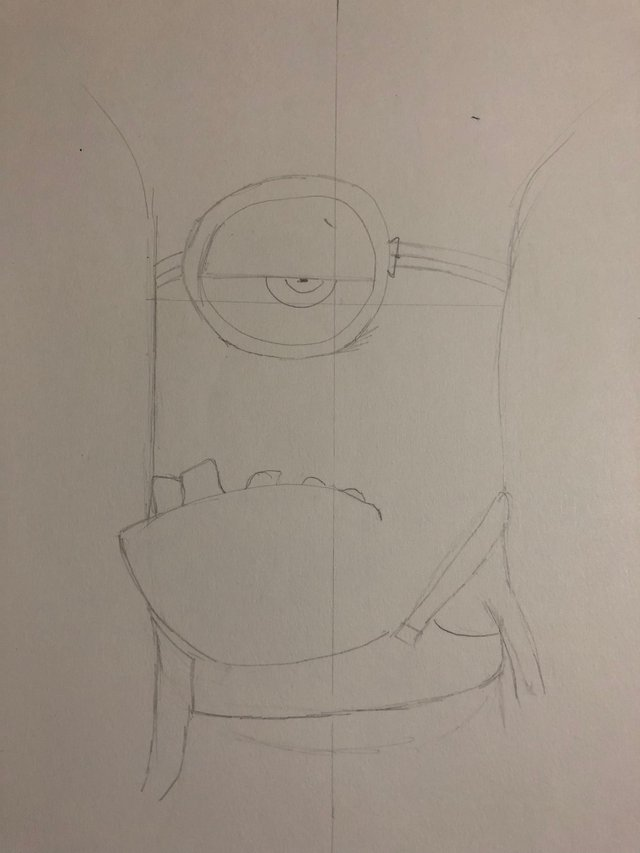
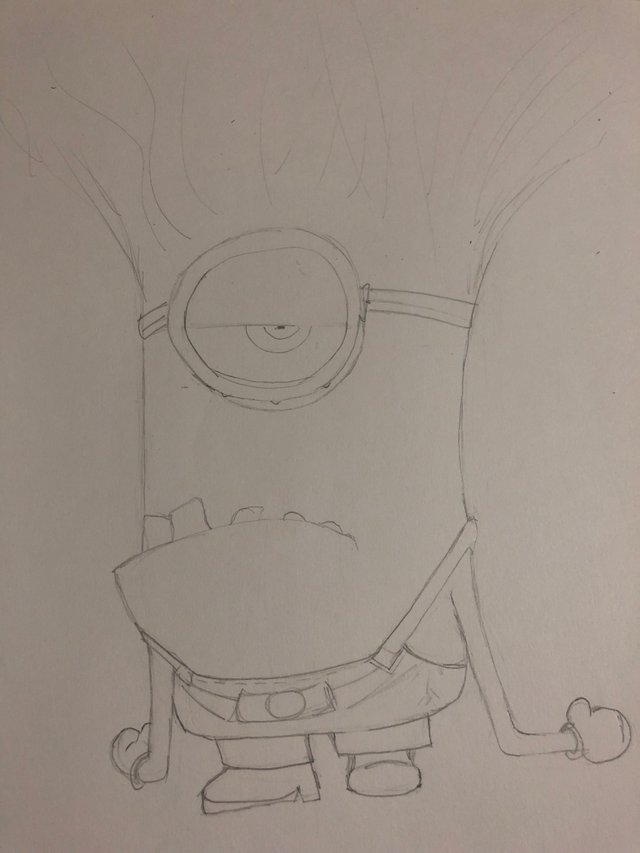
We decorate the suit. This is the part that has taken me the most time (to make it look good) and we add the legs, which are simply made using a rectangle. Then we add the arms.
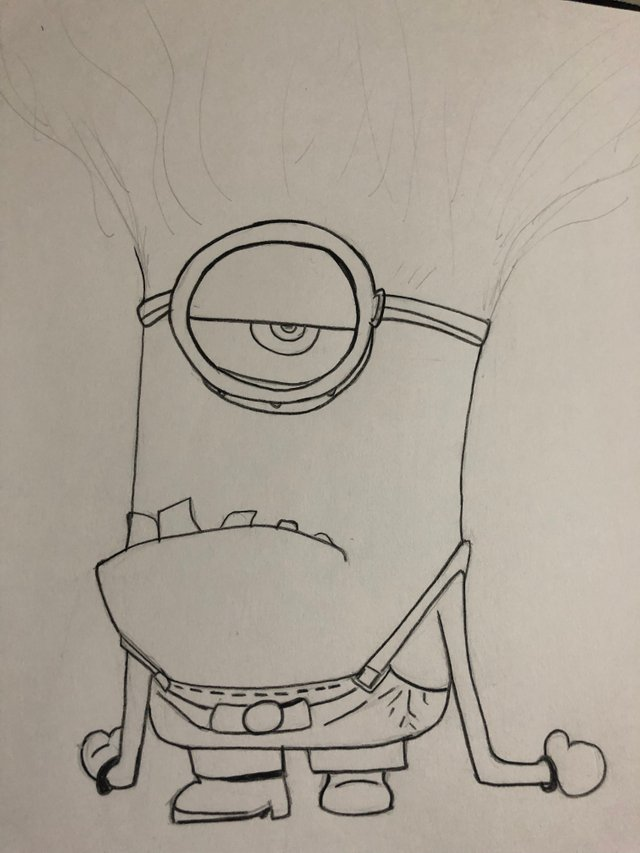
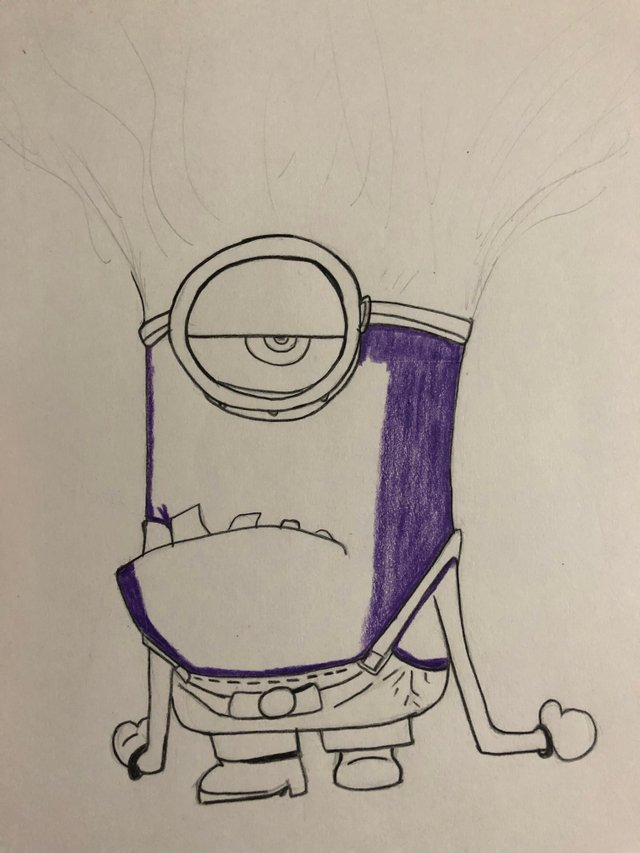
We erase the lines of the sketch (the central line, the side lines, the out-of-place lines) and leave the design as clean as possible to start colouring over it. Then we go over the lines we have left with black colour.
We start with the colour purple, which is the centre of attention in this drawing. On the left side we put more colour strength to make shadows.
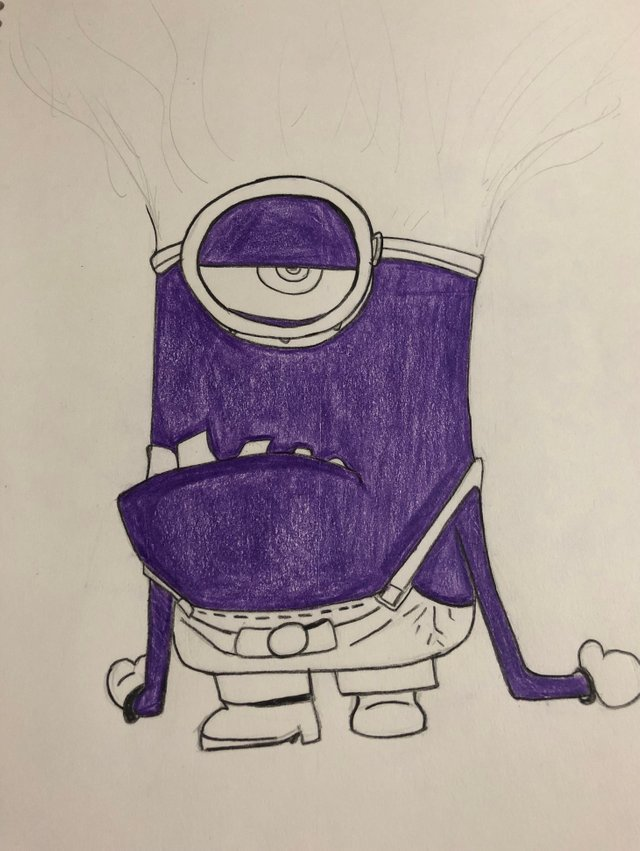
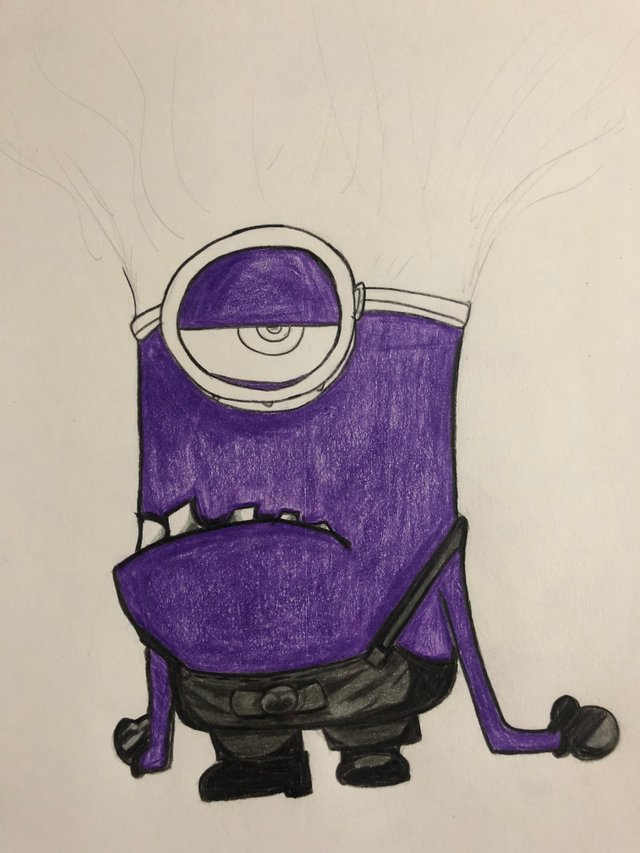
We proceed with the suit. For this part I start with a shade called dark grey and do the shadows with black. We use the same technique on the shoes; the shoes are black, but we do the highlights with dark grey.


On the teeth we make shadows. First, we start at the top with the same dark grey tone. In the areas where the shadow covers completely we use black.
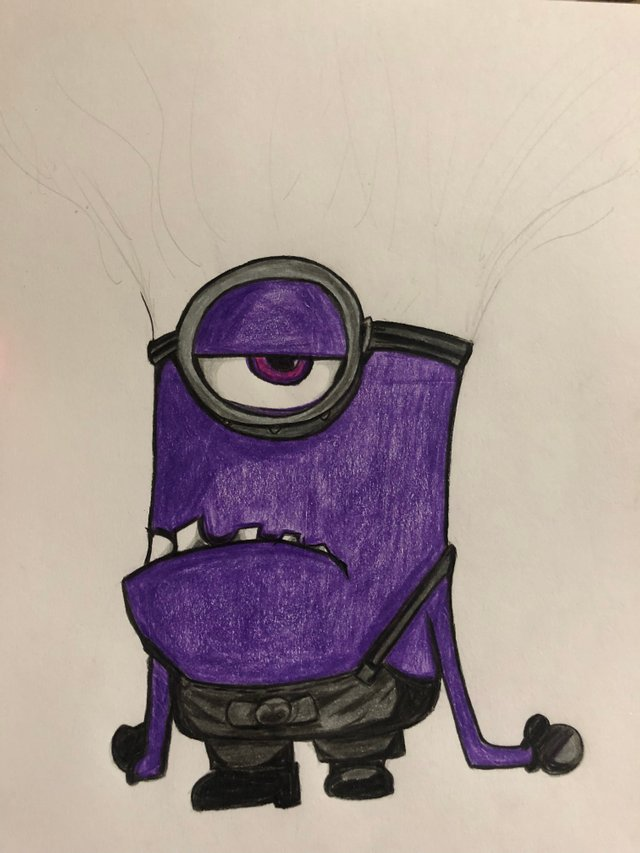
Now we continue with the eye. We make the shadows in the surrounding area with light grey in the white part. On the iris and pupil I define it first with a more pinkish colour called "blackberry". At the limits of the eye, we place a small purple-purple tone to make a contrast of depth. We leave a small point of light in the corner.
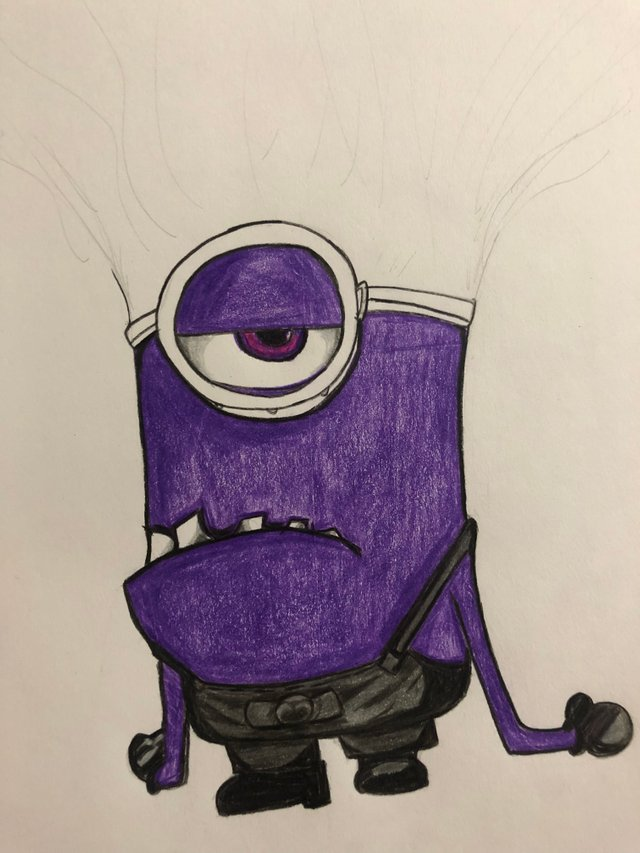
Rellenamos el lente con gris claro. En el exterior con gris oscuro para que halla contraste de sombras. La cinta alrededor de su cabeza con gris oscuro y negro. Con esto finalizamos el lente del minion.
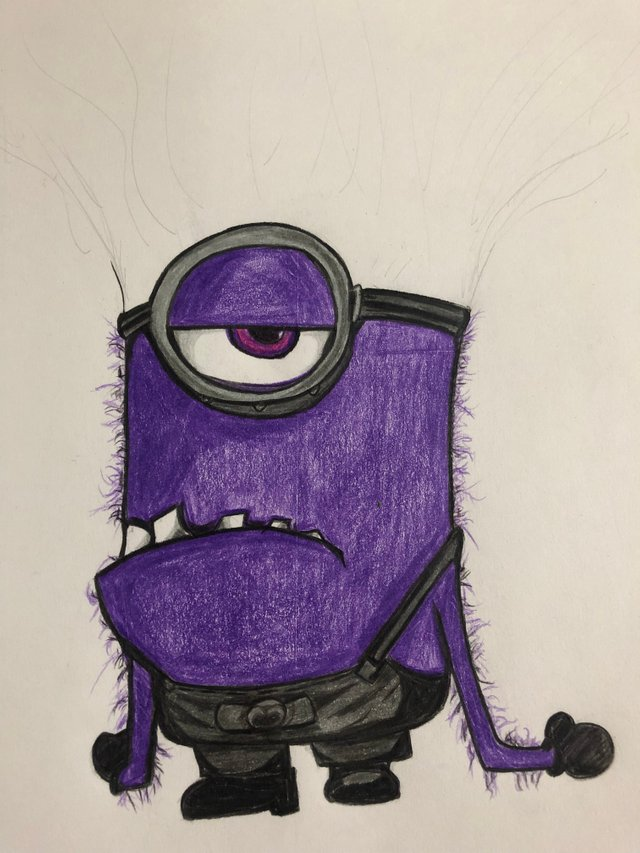
For the small details of the hair, I use the same purple colour with a sharp tip and combine it with a bit of black to give it more contrast. On the hair, to give it some originality, I use the colour "mora" and another colour more lilac to give that crazy feeling. With black colour we make the spiky lines of the hair. A bit of purple in the background and... done!
We sign!
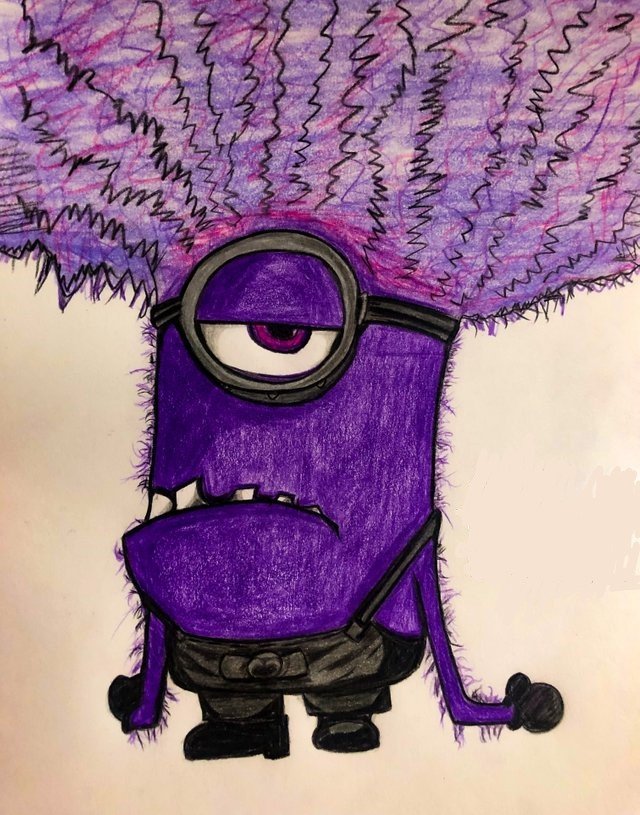
We have our new character ready. An evil minion to decorate one of the pages of my drawing blog.
With some extra lighting, we put a filter to make it look more powerful.
A photo with the final result!
All the pictures shown are my own, taken with a Realme 7i exclusively for this tutorial.
I hope you liked my little work; I am very fond of it. Greetings to all the people who read me, I appreciate all the support given. See you next time.