Hello everyone. I am Dammie and this is a new entry to the Art Spotlight series, where I show the processes I use to achieve various forms of artworks and hopefully inspire you to do so as well.
In this segment, I will be talking about the basics of photography using simple methods to add a wow factor to mundane pictures and set the stage for a professional output in a few minutes. So for the basics, I will explore the required principles of photography (taking shots, fundamental settings, editing softwares) and mistakes to avoid in order to create a beautiful picture. Keep in mind that this can be applied to digital cameras and mobile photography. I will also be using pictures that I got from my partner as examples and include my edits of them where necessary to illustrate my points.
PRINCIPLES OF PHOTOGRAPHY
PRINCIPLE 1: START UP CAMERA.
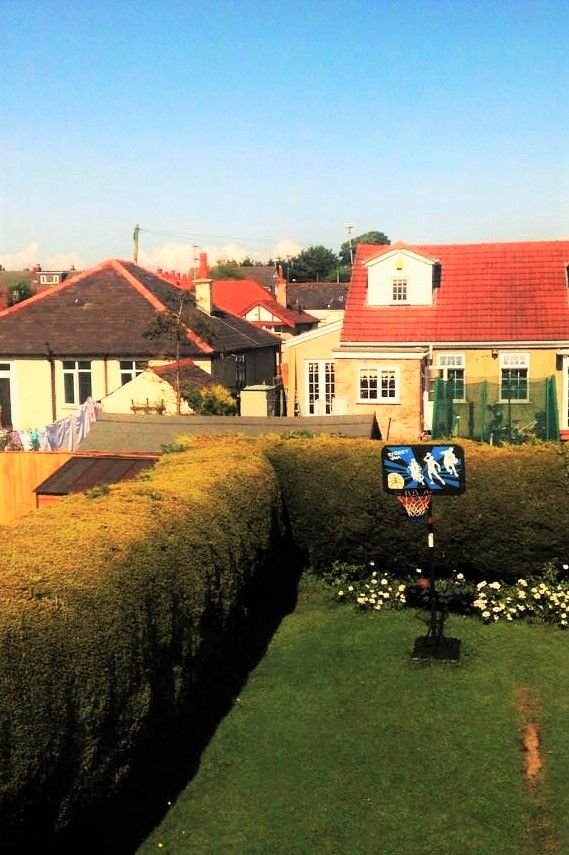
Cameras are one of the basic tools needed in the world of photography and the technicality of each camera type aims to assist a photographer to achieve various effects for their work. However, the functionality of the camera available to you should be more important than buying the most expensive cameras. Entry level digital cameras or even mobile phone cameras can take great shots in the hands of a self-aware developing photographer than an inexperienced individual with a high dollar camera. With this method, you can start experimenting and fine-tuning your skills, investing (on a later date and when you can afford it) in higher grade equipment and camera features you want to develop along the way. So, the idea is using what you have and work up from there.


Taken with an iPhone 5s without any editing.
PRINCIPLE 2: HAVING A CREATIVE EYE.
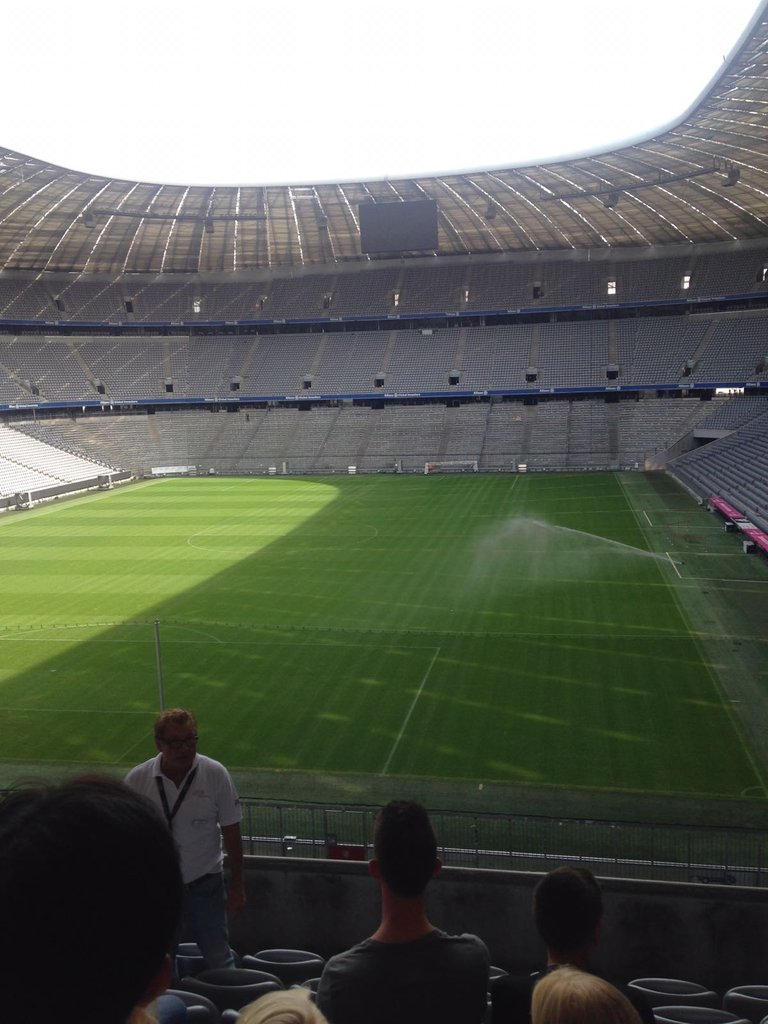
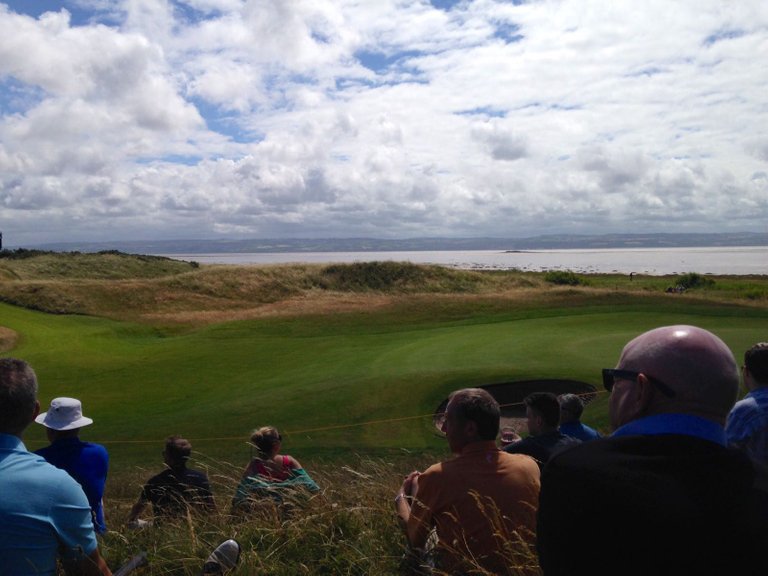
Just having a camera doesn’t make you a photographer. Having spontaneity and an eye for unique elements goes a long way developing your skills in the field. Posture, framing, overall theme and intent among other things affect the outlook of each photographer and influence their overall output. This way each photographer brings their own element or signature into their work, which serves as a bases for their identity in the field. Here are some examples of differences in tone and intent based on a variety of effects.

[original work]


.jpg)
[original work]
 ]
]
Original taken with an iPhone 5s and edits made by Photoshop Express
Hence, prominent factors such as the intent of the photographer and their signature edits on photographs goes a long way to define their creative outputs.
PRINCIPLE 3: EDITING.
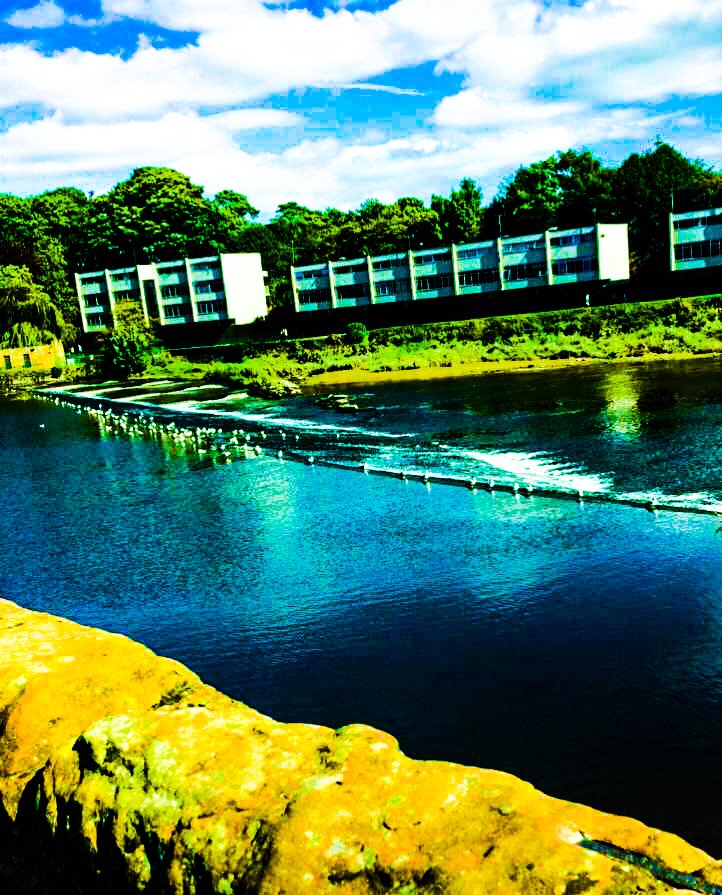
Editing is just as important as the actual photograph. Editing can make and break a beautiful shot. In most ways, even a bad picture can look better with editing.
[original edit]

[original edit]


Original taken with an iPhone 5s and edits made by Photoshop Express
Adobe softwares have amazing photo editors like Adobe Lightroom and Adobe Express which I used for flexible editing and others like Photoshop, Illustrator, InDesign among others (which are powerhouse softwares) for intense editing. I also make use of Snapseed and PicsArt for flexible adjustments. You can make researches into other softwares and work with what feels comfortable for you.
Another thing to take into account is lightening, exposure, framing, aperture, camera format [raw/HD] among others. Seems like a lot! But it really isn’t. What I did during my training period was research and more research on what each feature does and started focusing on the most important elements I often reached for to improve an image. If it is blurry or has a grainy effect, I would adjust the image with tools like brightness, contrast, crop tool (if needed), noise reduction, exposure, shadows, highlights and such. If I intend to use effects, I keep the base image (adjusted as above) simple so the overall tone can blend into the effects seamlessly.
When using effects, I usually build it up accordingly, with at least two layers (if I want to create a unique effect), but it is important to keep it simple and very close to the original tone I set out to achieve. I also add a few adjustments afterwards to further blend the overall tone, either to soften and highlight the final image or make it sharper and crisp.
However, know when to stop. Don’t over-crop or over edit the final image. Go with your gut and if it feels off, it usually is, so start from a fresh base.

[original edit]
Original taken with an iPhone 5s and edits made by Photoshop Express
PRINCIPLE 4: CRITICISM.
Feel free to post pictures to social media and receive criticism (under a pen name if you feel particularly private). Try to review pictures that have the least attention and revamp the image in a different direction. That way you can play around with other elements and see things from a different perspective with the same picture.
However, not all images can be saved and constant improvement in the above areas as often as possible can avoid the loss of a potential masterpiece.
COMMON MISTAKES BEGINNERS SHOULD AVOID.
Change exposure while taking pictures and during editing (if needed)
Notice the lighting and adjust to it accordingly. You can use a light equipment for night-time and reduce white balance in daylight.
Learn posing tips for as many sources as possible to have fluidity and movement in your picture.
Learn how to position shots (using a tripod or a selfie stick) if the picture needs precise framing or innovative angles for interesting shots.
Shot image in RAW format, if possible, as it is a lot easier to edit.
Have an eye for composition and special awareness (Rule of thirds, golden ratio, parallel lines, triangle formation).
Try to incorporate design elements like furniture, colour and lines to guide the eyes to central piece and make it more appealing. But do not ever do it. Simple and clean goes a long way to draw the eyes to a beautiful frame.
The faster the shutter speed, the less blurry images, so invest in a quality camera with an emphasis on shutters (especially of your work consist on-motion pictures like car pictures and runway modelling) to get amazing shots.
So that is the mundane guide to photography!
CONCLUSIONS.
There are other complexities in this field (which we will discuss over time)but by experimenting using the steps I used, you would see improvements in your photography sooner than you’ll believe. Also, research into the photography field you want to specialise in and get inspired! Watch YouTube, Pinterest, Behance and Instagram for inspiration (but not imitation!) so let the creative process overflow. Do not forget to get feedback from critics and work on constructive criticisms made on your piece.
Thanks for viewing and give an up vote if you like the series. See you in the comments!
This post has received a 9.30% upvote from @lovejuice thanks to @williamdidi. They love you, so does Aggroed. Please be sure to vote for Witnesses at https://steemit.com/~witnesses.