In my last blog, I wrote about Adding text in the body our html Webpage. Today I'll be covering Image handling in html documents and webpages.
So what are images in a Webpage?
For sure you're reading this blog on Steemit see the top left corner of the Website, You'll be seeing a logo saying "Steemit (Beta)" this logo in fact is an image.
How is this image added in this Webpage ? How is its resolution set ?, Well lets cover it today.

I'll be using the same code i used in my previous tutorials, Here is a link to my previous blog in case you missed it
Recap :-
In my previous blog, I covered about how to add Paragraphs and Headers in our html document. We learned to use paragraph tags and header tags, Difference between them and their usage.
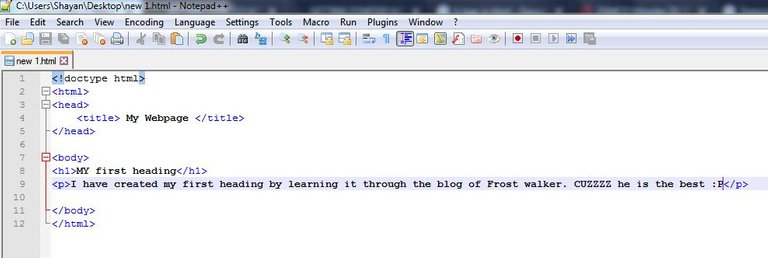
Here is final code of my previous blog :-
<!doctype html>
<html>
<head>
  <title> My Webpage </title>
</head>

<body>
<h1>My first heading</h1>
<p>I have created my first heading by learning it through the blog of Frost walker. CUZZZZ he is the best :P</p>
</body>
</html>
Here is the code in Notepad++
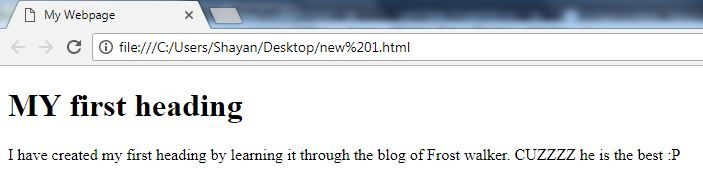
Here is the output of the code
 Today we will add image files to the same code
Today's Contents :-
- Adding and resizing image files in our Webpage.
- Adding logo in the title bar of our Webpage.
- Adding images as a background in our webpage
Adding Images :-
As stated before, I am using the same code written previously. So lets get started
First of all, You have to make sure that your image in located on desktop. That's the most easy way to insert a photo in html documents, There is another way but you have to specify the directory in which the photo is located and believe me its more difficult and something that you do not want.
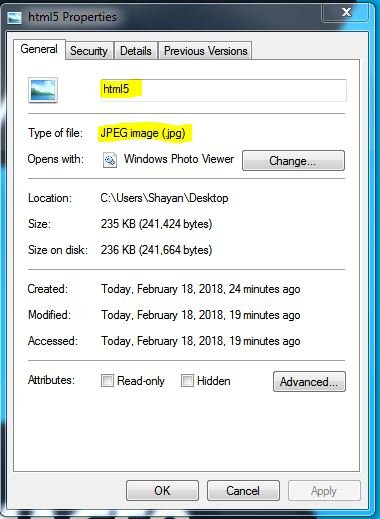 Make sure that you remember the image name, In my case the image name is html5 and it is located on the desktop. The two things highlighted in yellow are very important to remember.
- The name of file.
- The type of file (Make sure that you add the type of file after its name separated by a full stop ".", For example in my case I will add html5.jpg because html5 is the file name and jpg is its extension.)
Writing code :-
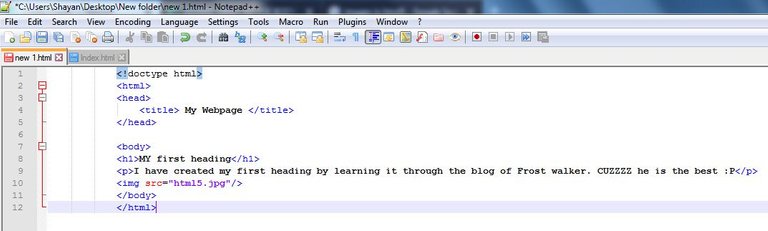
Explanation :-
After "<" bracket, We type in a preset keyword "img" which is used for adding images. Once we have typed in img keyword, After adding space, We have to type "src" which is a short form for source followed by an equal to symbol. All these things are a must and are included in the syntax of html. After using equals to sign = we add two quotation marks, Which are " " between these quotation marks, We enter the name of the image we want to add. Make sure that the image name has its extension separated by a full stop as said before.
Let's suppose that the image name is bitcoin and it is a Graphical interchange format file (GIF), We will type it as , In quote marks, First of all we will type in the name of the file and after that we will add its extension. Make sure that the ending tag is included in the end.
Output of the code :-
When we save and run this file on a browser, This is the output :-
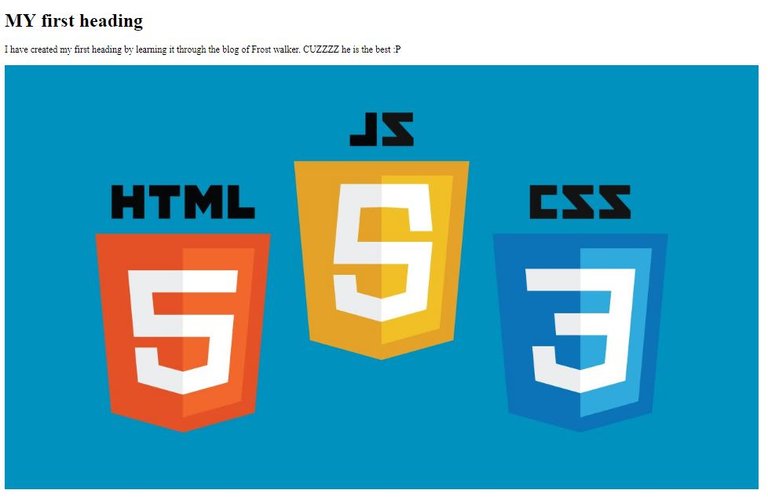
Now keep it very clear that your image may be different, The image you use will be displayed!!
Resizing image :-
As you can see, The size of image is very big, We have to resize it, So lets do it right now.
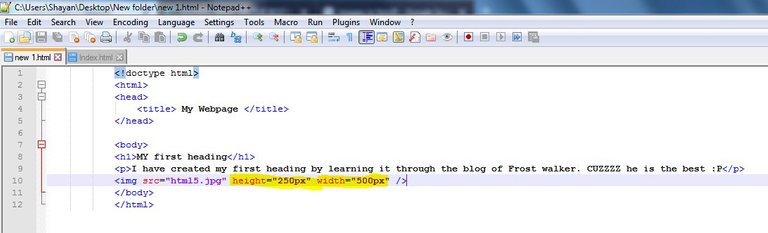
Explanation :-
Obviously height is used to modify height and width is sued to modify width. Before closing the tag of img type in height and add an equal to sign, Followed by quotation marks. In side the quote marks type in the amount of width in pixels that you want. Same goes for width, After height type is width and enter its value in quote marks, save the file and refresh your Webpage to see the changes !
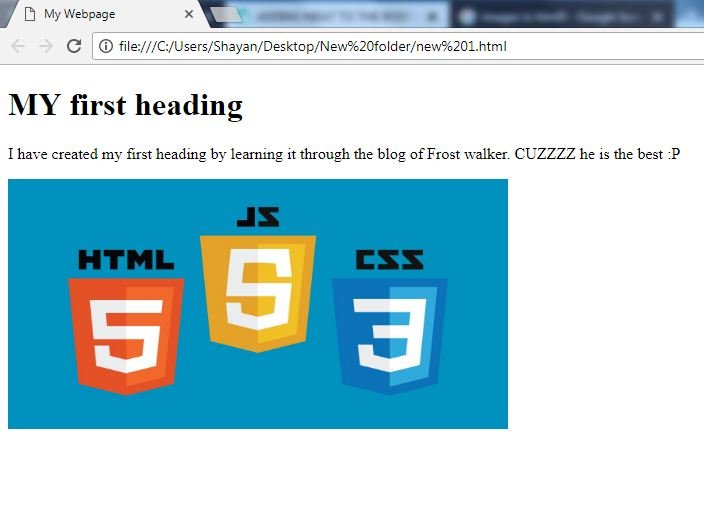
Output :-
See the difference youself !
Adding logo in title bar :-
What is a logo in a title bar ? See the tab of Steemit and on the left you will see a logo .
 The logo highlighted logo in yellow is the title bar logo
Adding title bar logo in code :-
Here is the code
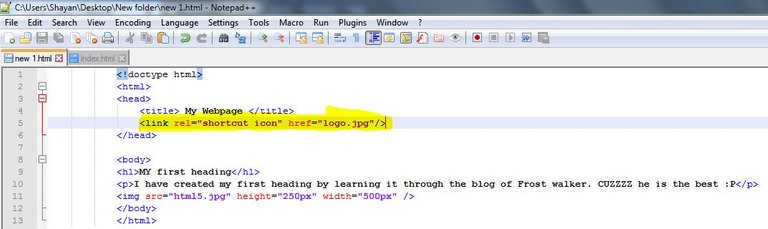
Explanation :-
In the head tag, Type in link after "<" bracket. This keyword is used to link anything with the html document. After that type in rel, As done before add equal to and quote marks. Typing shortcut icon in the quote marks written after Rel is a must. It tells the document that the image being used in the logo of the title bar. After that type href which is the reference of the image we want to use. It's similar to src used in adding images. Type the name of the file and separate it with a full stop. Make sure to close it with />
Code output :-
 You can see that my logo is displayed on the title bar of my Webpage
Adding Image as a background of webpage :-
Lets suppose that you want the background of your Webpage to be an image, We're going to find out how.
Code :-
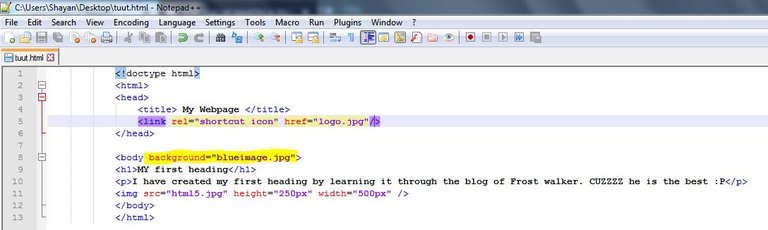
The code highlighted in yellow is the new addition.
Explanation :-
We have to add the keyword "background" after the first body tag. Add quote marks and equal sign. Type in the name of the image you want to use as a background separated by a full stop. Make sure that the file is located on the desktop.
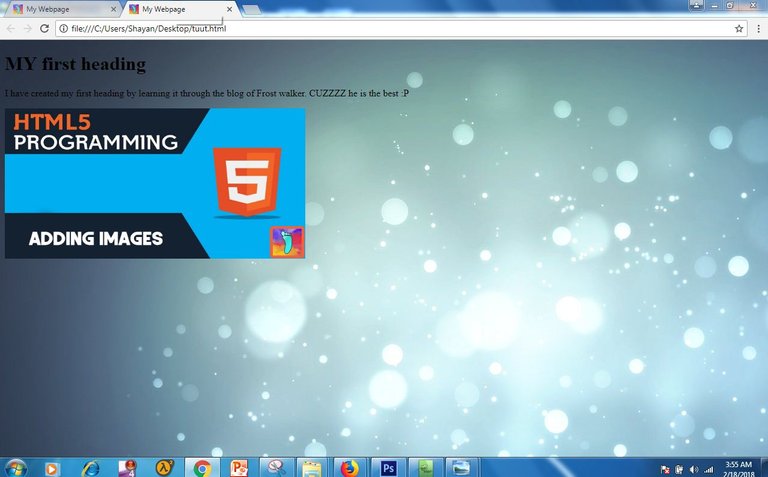
Output :-
And yeaahhh we have our background image :) !!!!
All of the contents of this blog are explained above, If you have any sort of confusions, Feel free to ask in the comments section below.
If you really appreciate my content and find it helpful for the Steemit community, Upvote, Comment, Resteem and Follow for more. It surely help me a lot and keeps me motivated.

Thanks
______________________________________________________________________