Now I know a lot of you are thinking that this is an older model phone and "why bother". Well this phone version had the dual sim card slots and removable battery. Having a removable battery is very important to me because I can purchase a few of them and have cell power while hiking out on long trips. A cell phone can double as a lightweight movie screen or music player when in a tent far out in the wilderness. Newer cell phones have eliminated the ability for a removable battery (wonder why?).
Tools needed:
Precision tool kit (they sell cell phone kits and these are perfect)
Guitar picks (not needed with full tool kit, mine had a few parts missing so I used picks in their place)
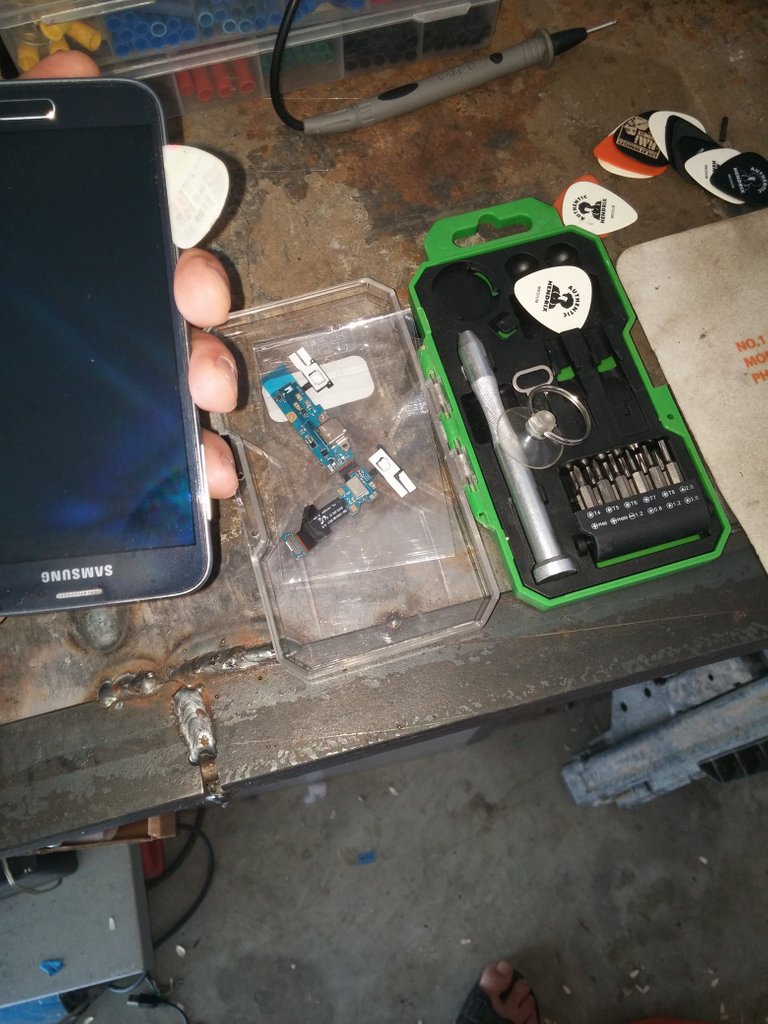
New charging port board

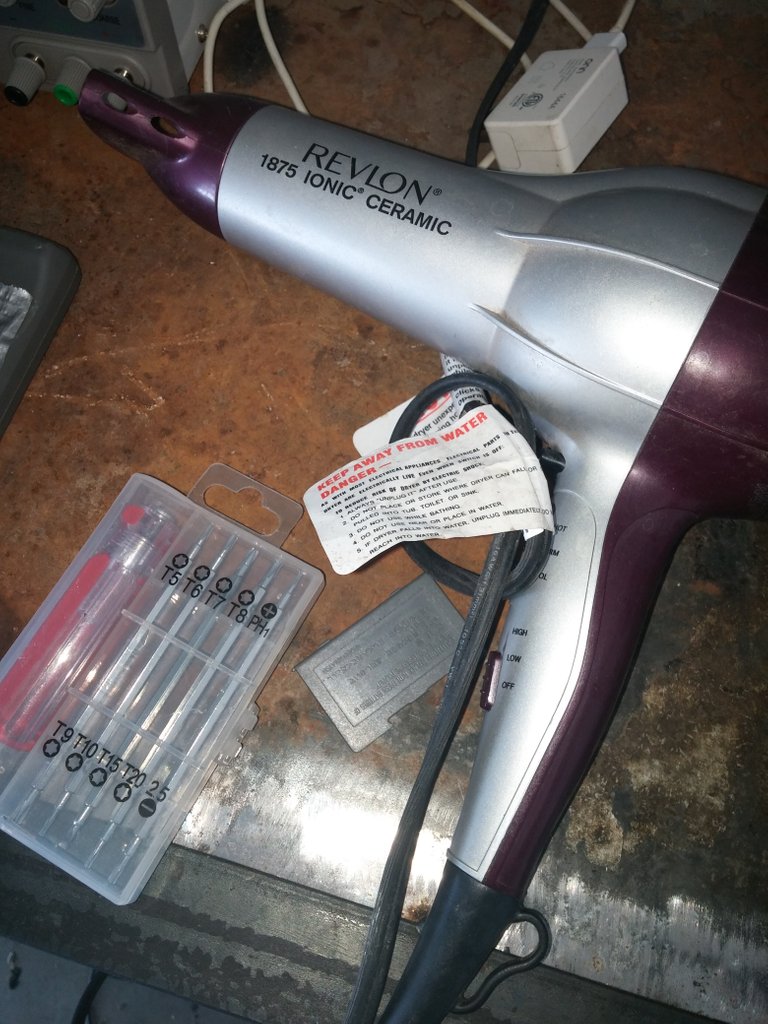
Hair dryer
Procedure
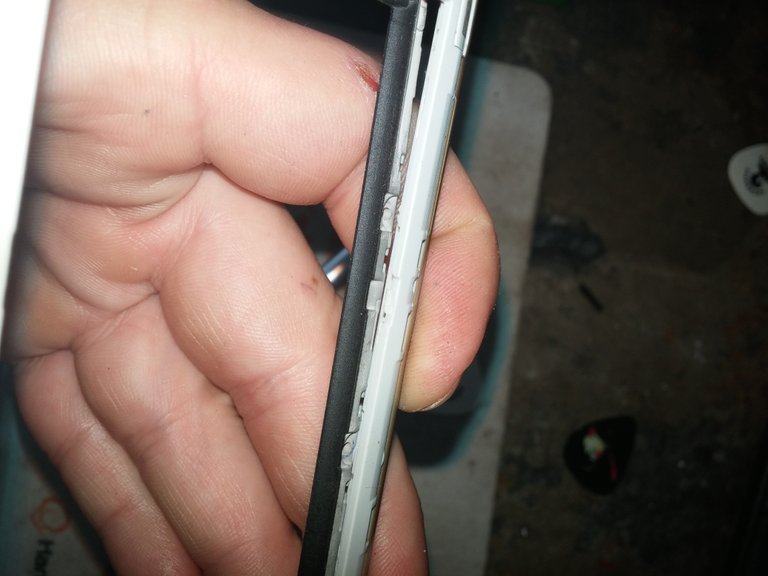
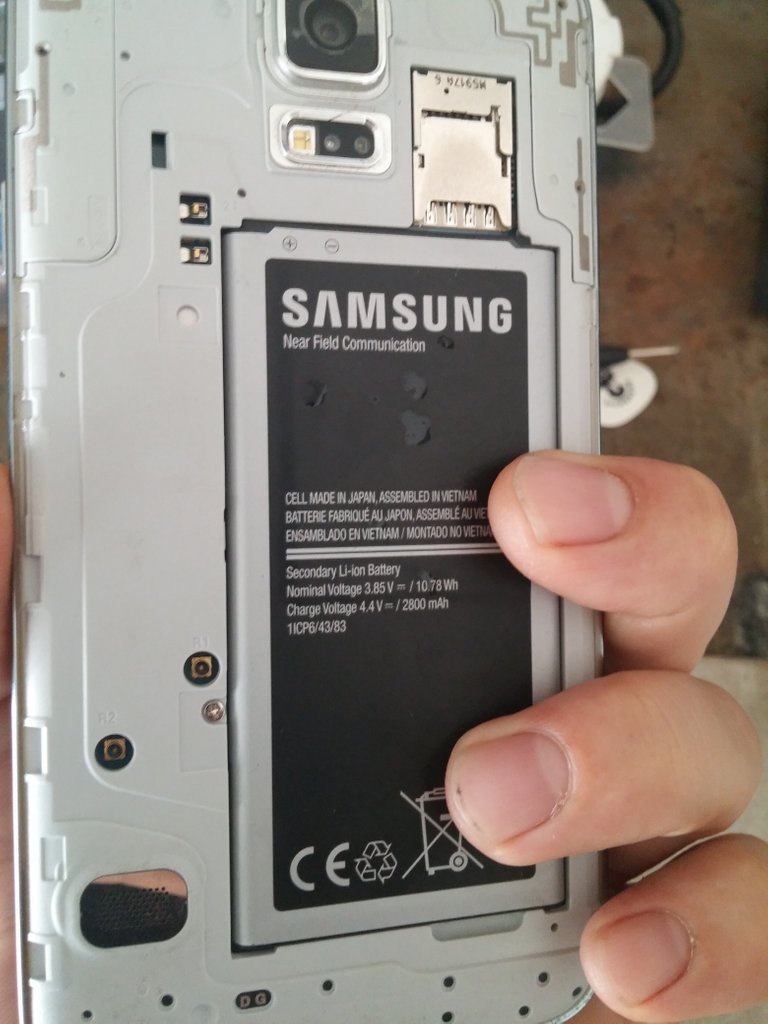
Before starting with disassembly, the battery and any sim cards must be removed first. The tricky thing about taking a cell phone apart is removing the screen that is adhered to the casing. This is where heat comes in. Using a heat gun or a hair dryer to heat up the adhesive, it becomes more pliable and easier to separate the bond. It must be CAREFULLY done and basically accomplished by waving the hair dryer on low around 8 inches from the phone for like 15 seconds at a time. The hair dryer will blow out hotter air than is needed so be careful not to damage the screen. After heating I took the thinnest guitar pick and worked between the screen and plastic casing. I used the thinner pick to wear away at the adhesive and the medium and thick picks to hold the screen away from the case. This took some time and I was careful not to separate the two completely as there is a ribbon cable that attaches the two.

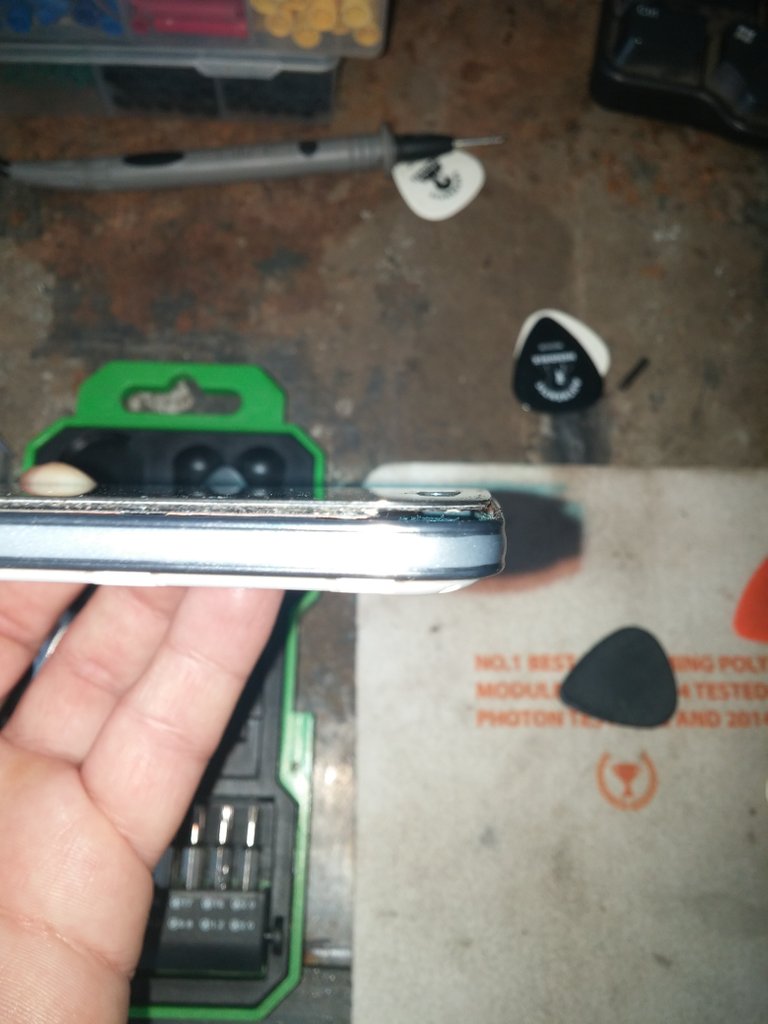
 I used a guitar pick to remove the little black plastic piece covering the ribbon connector. I then used the pick to pry up carefully on the connection to remove it and separate the screen from the case.

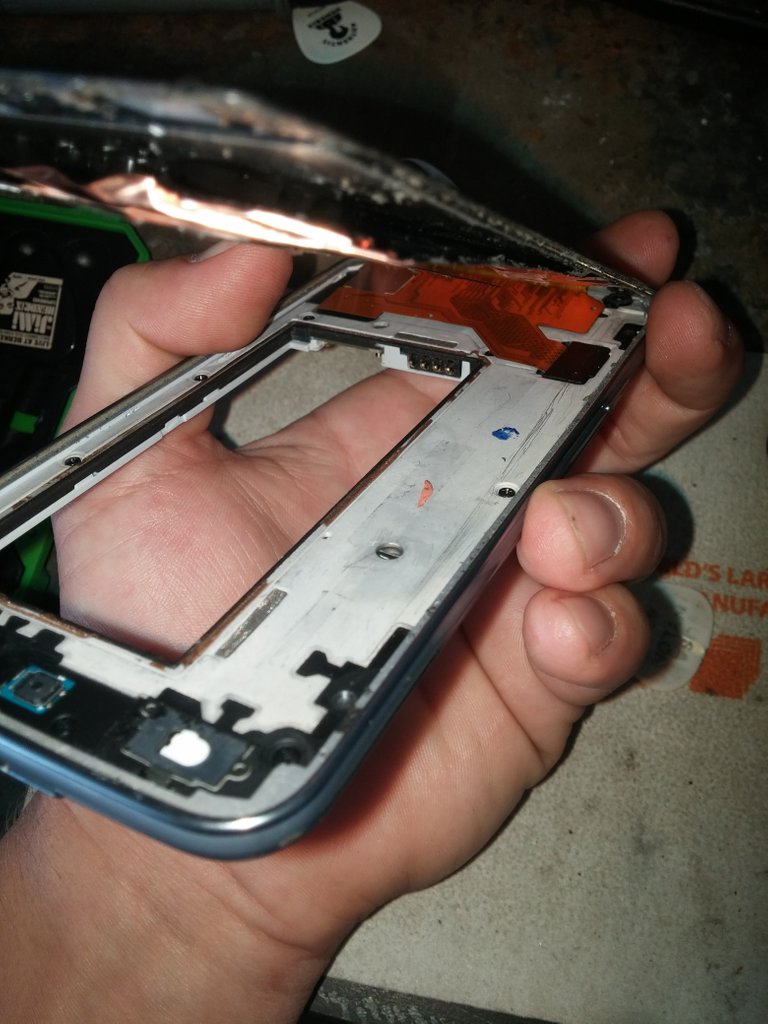
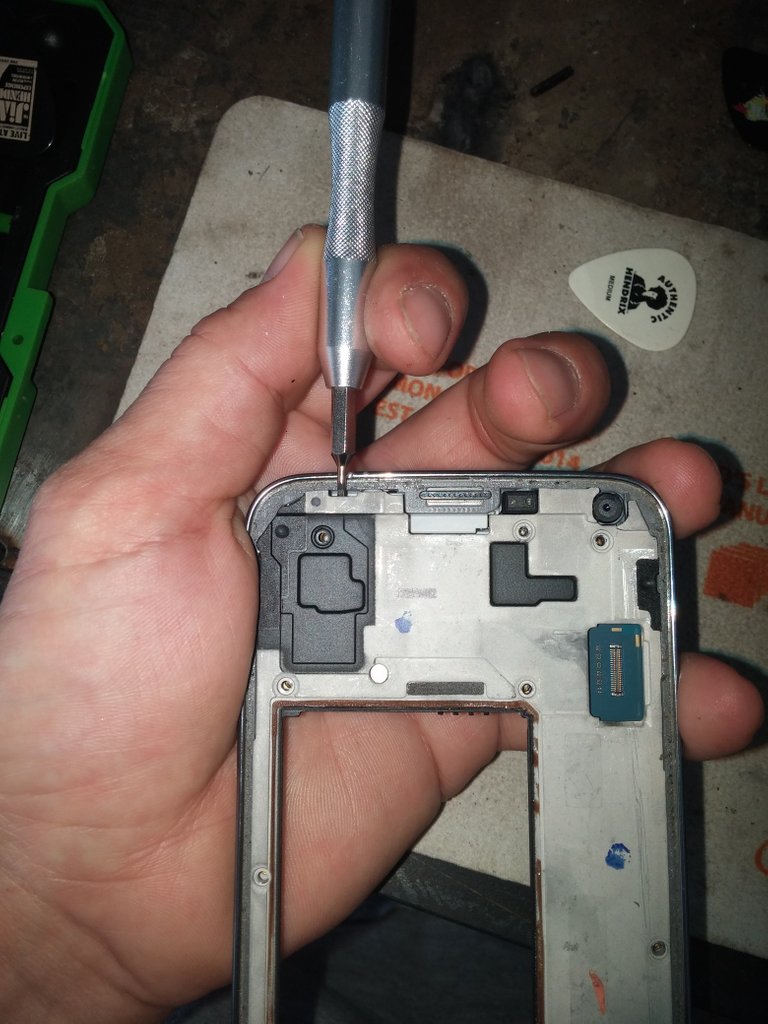
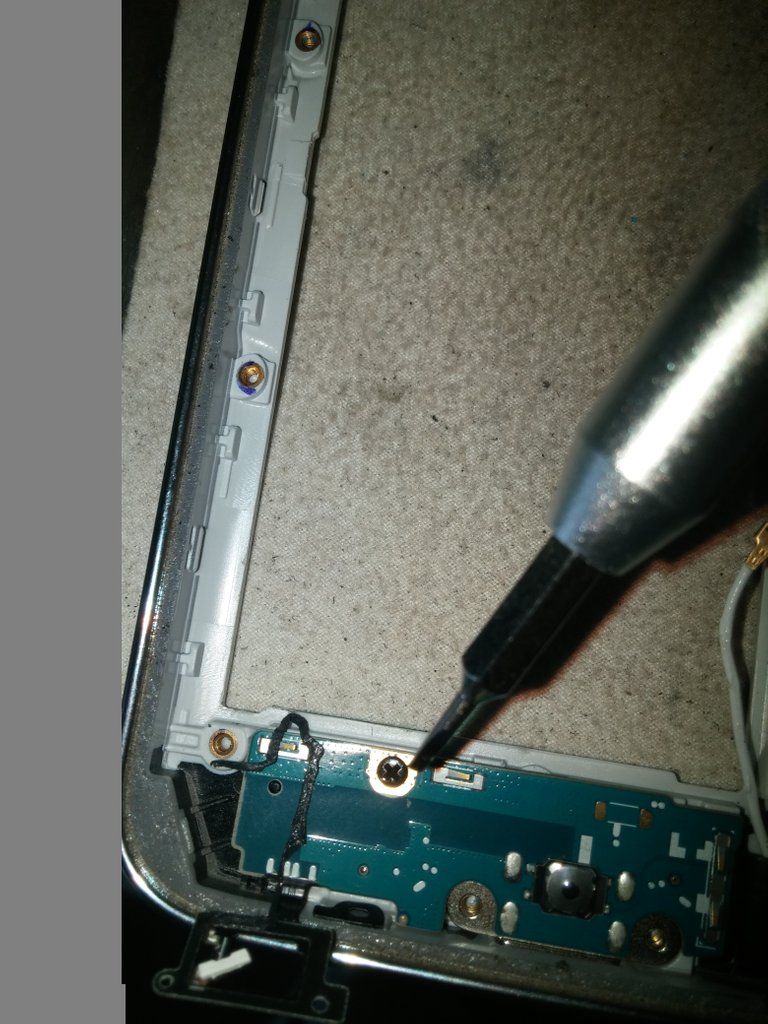
 Once the screen has been separated all the little black screws can be accessed and removed using a precision Philips head screw driver. I chose not to remove the screw holding the charging board in as it is a different size and I didn't want to mix it up. ALL THE REST are the same size so don't worry about mixing them up.
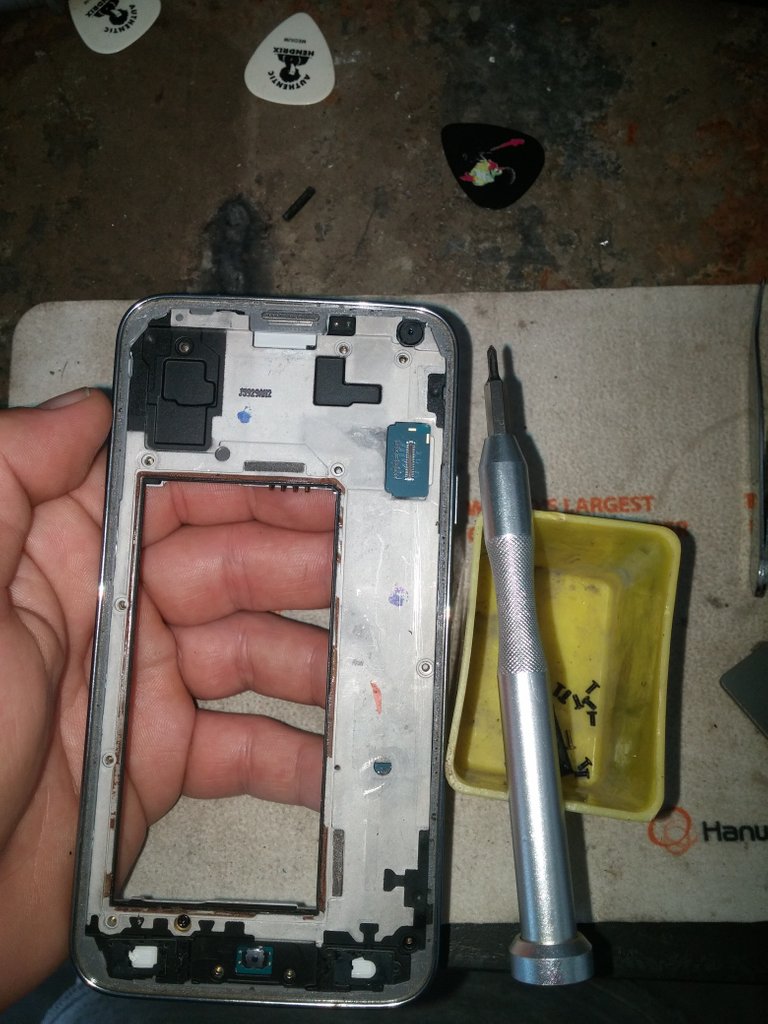 There is one silver screw on the opposite side that needs to be removed as well
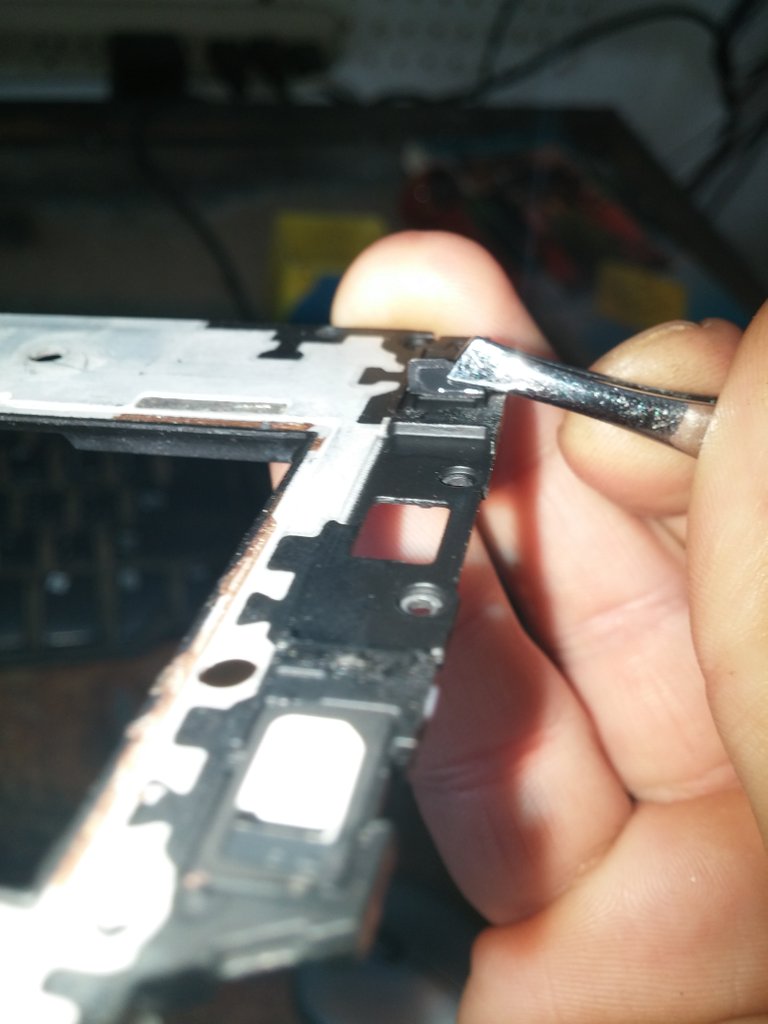
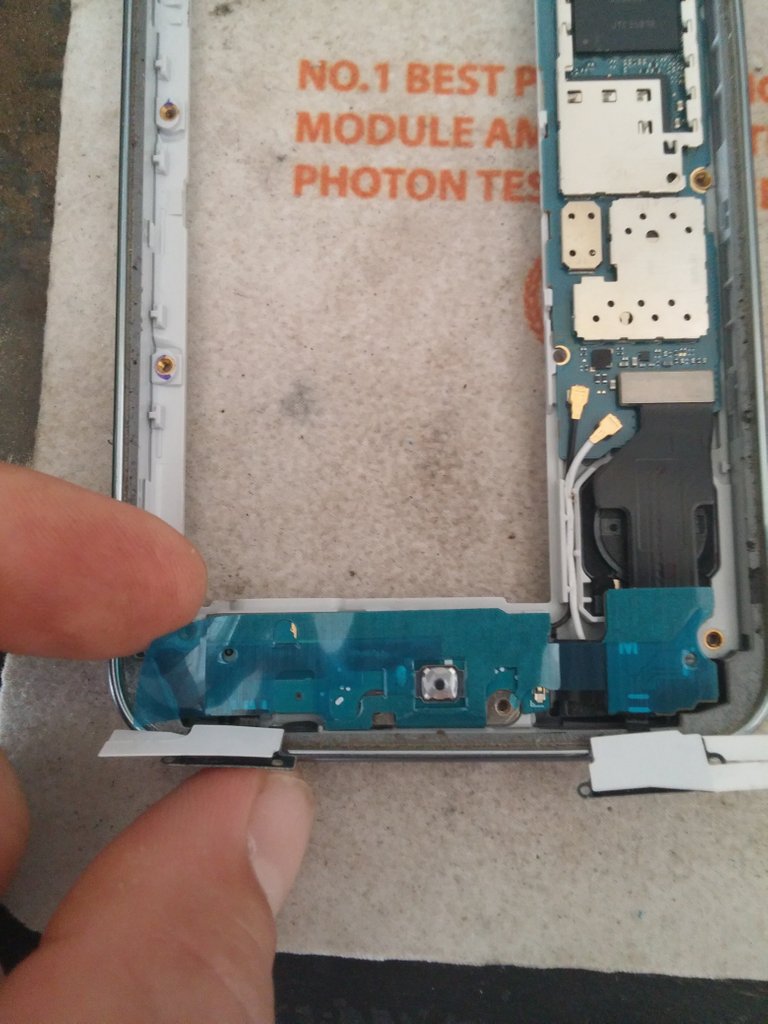
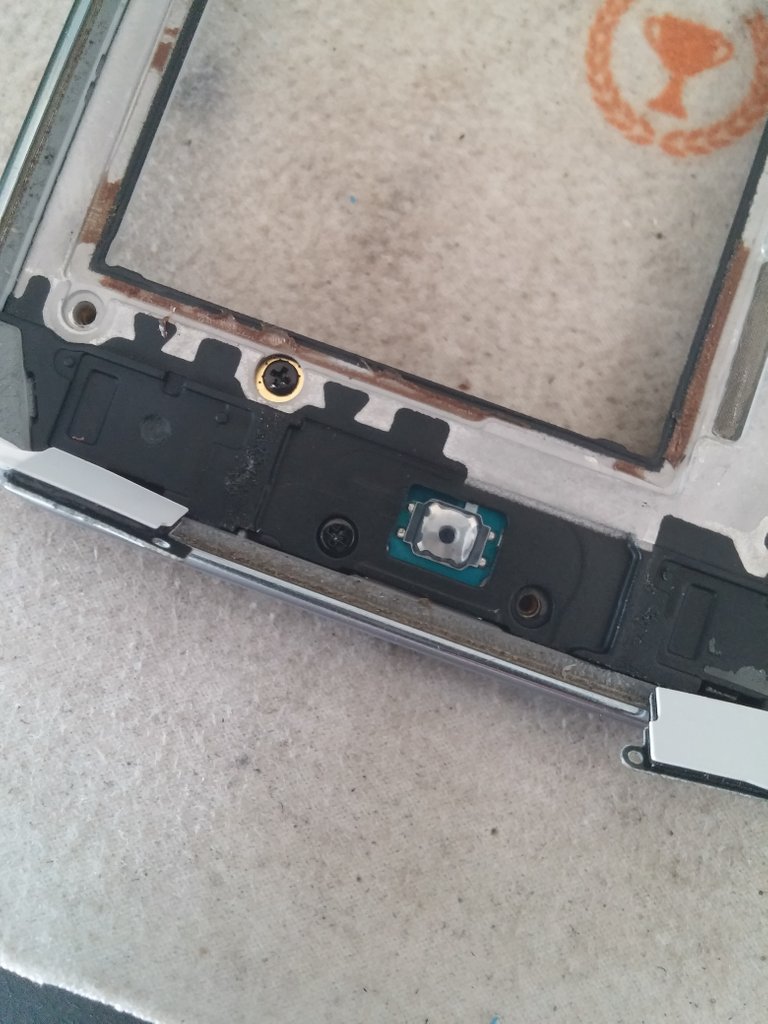
 There are two tabs that are attached to the charging board that make up the digital buttons. Carefully peel these away from the plastic case.
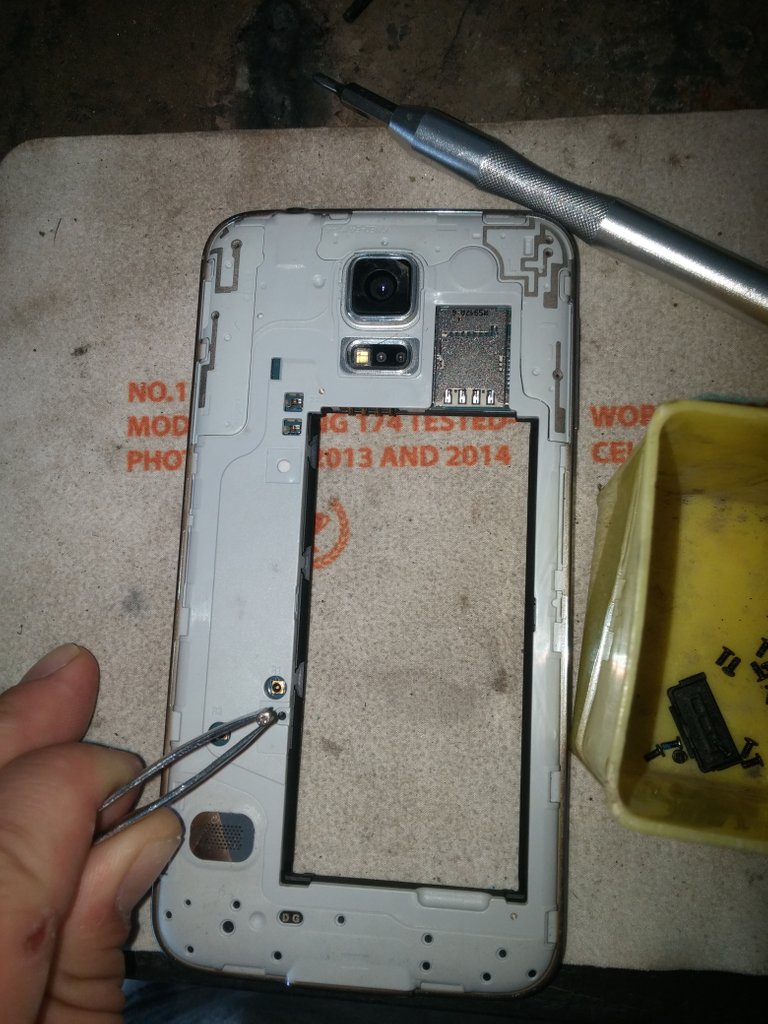
 Once those screws have been removed the two pieces of the case can be separated. Start with the tabs that line around the battery on the inner portion. Be very careful and use a piece of soft plastic to do the prying. By separating these first the rest of the case is a breeze.
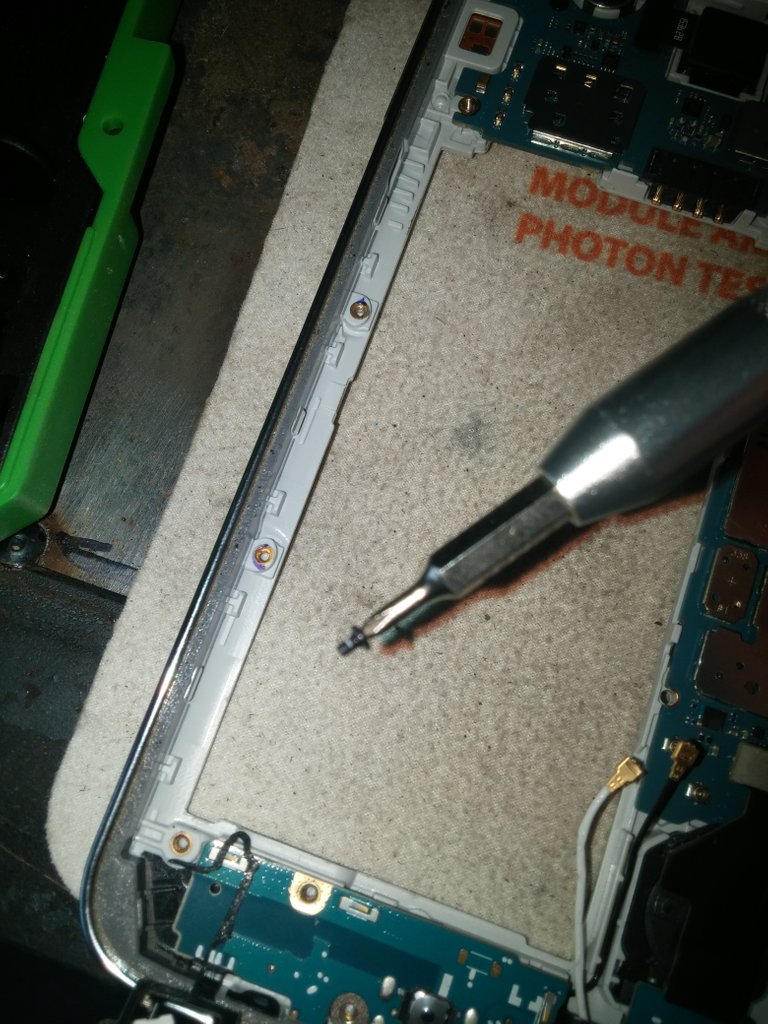
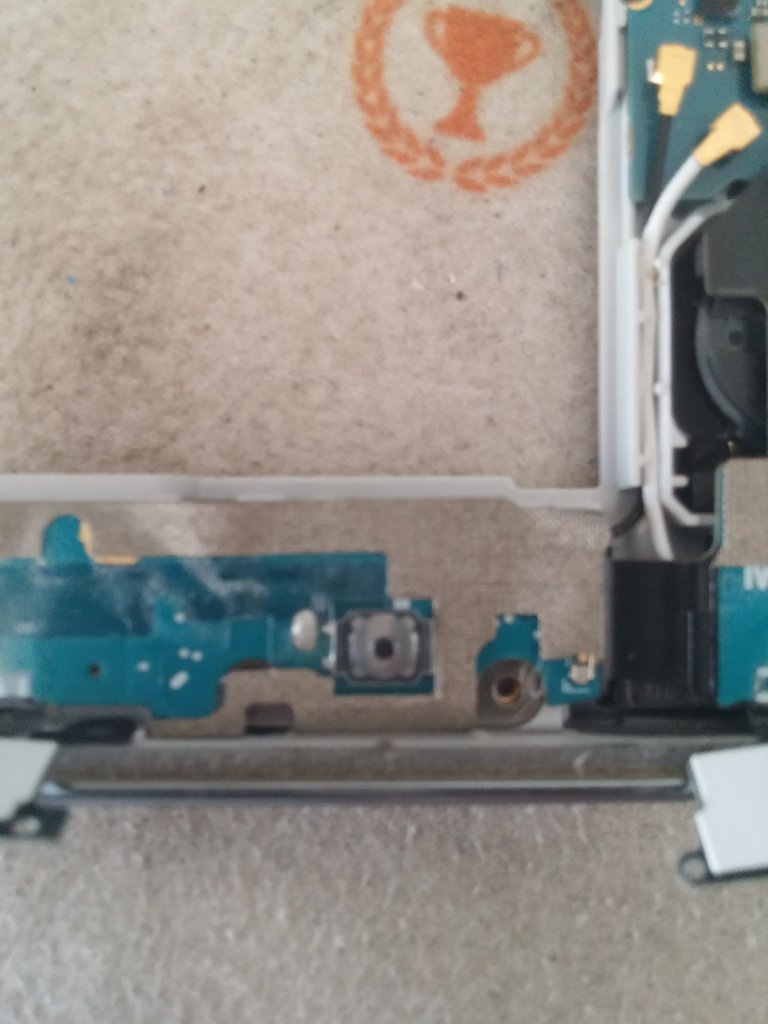
 Once those tabs have been separated, stick something into the slot above the top black spot and start carefully prying the two pieces apart. I used the screw driver but I don't recommend this. I recommend using something made of soft plastic. Carefully work your way around the phone pulling the two plastic pieces apart.
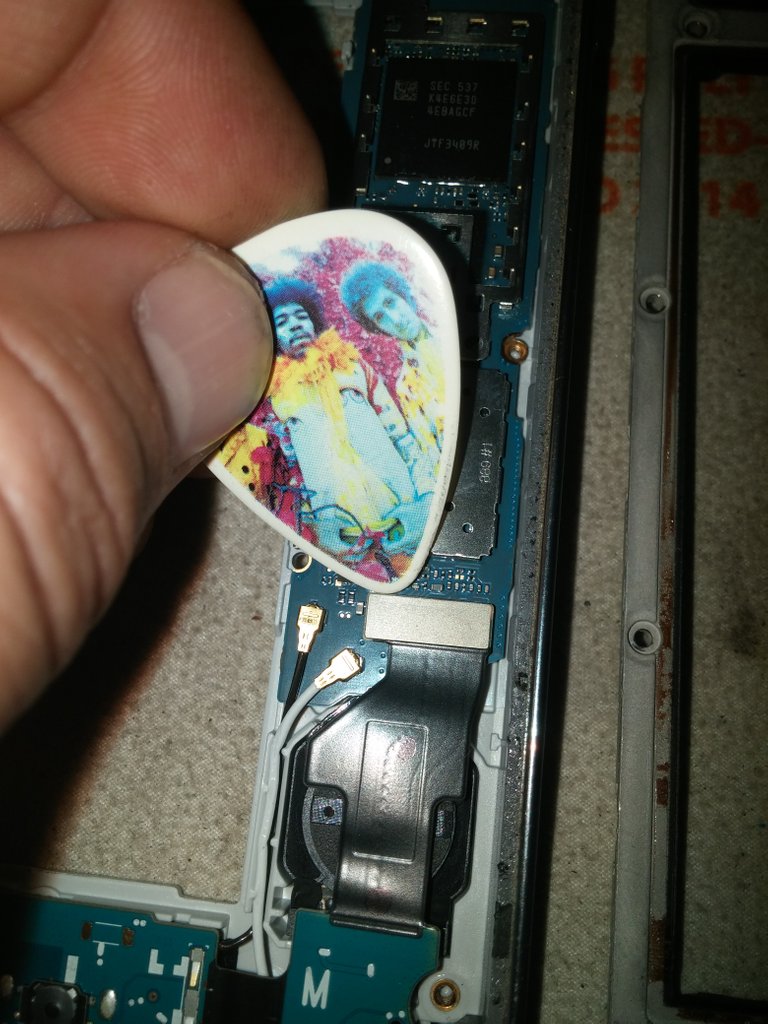
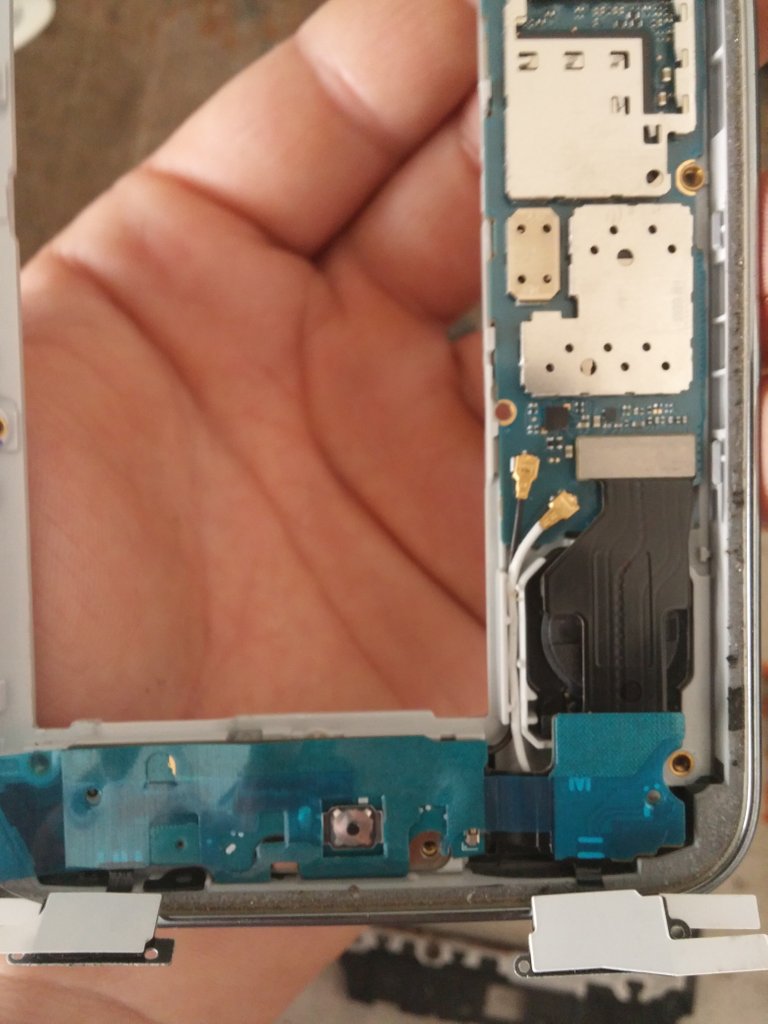
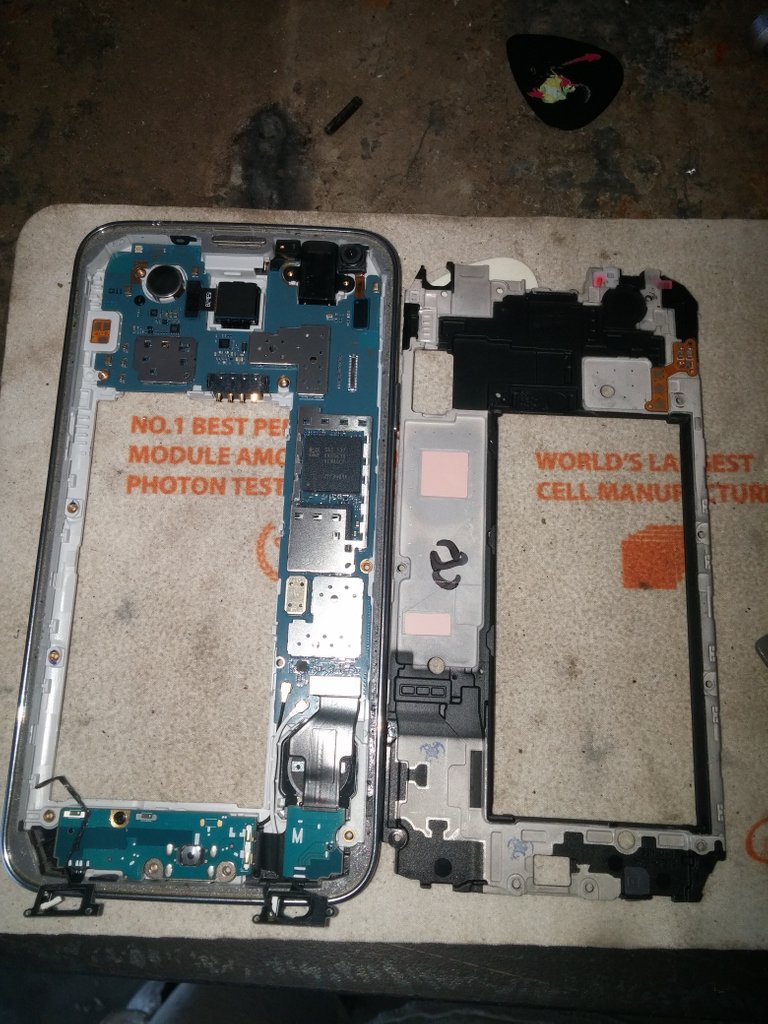 Now that you have access to the boards, the job is almost complete. I used a guitar pick to remove both antenna wires as well as the ribbon cable from the motherboard.
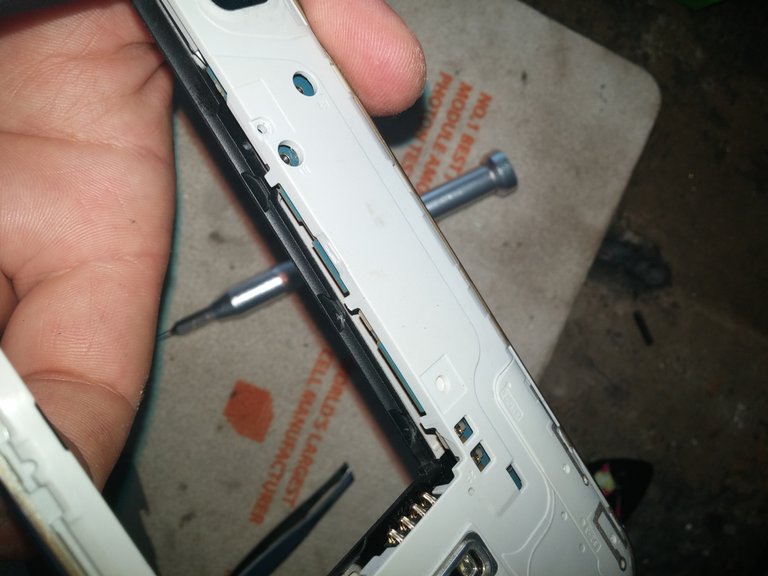
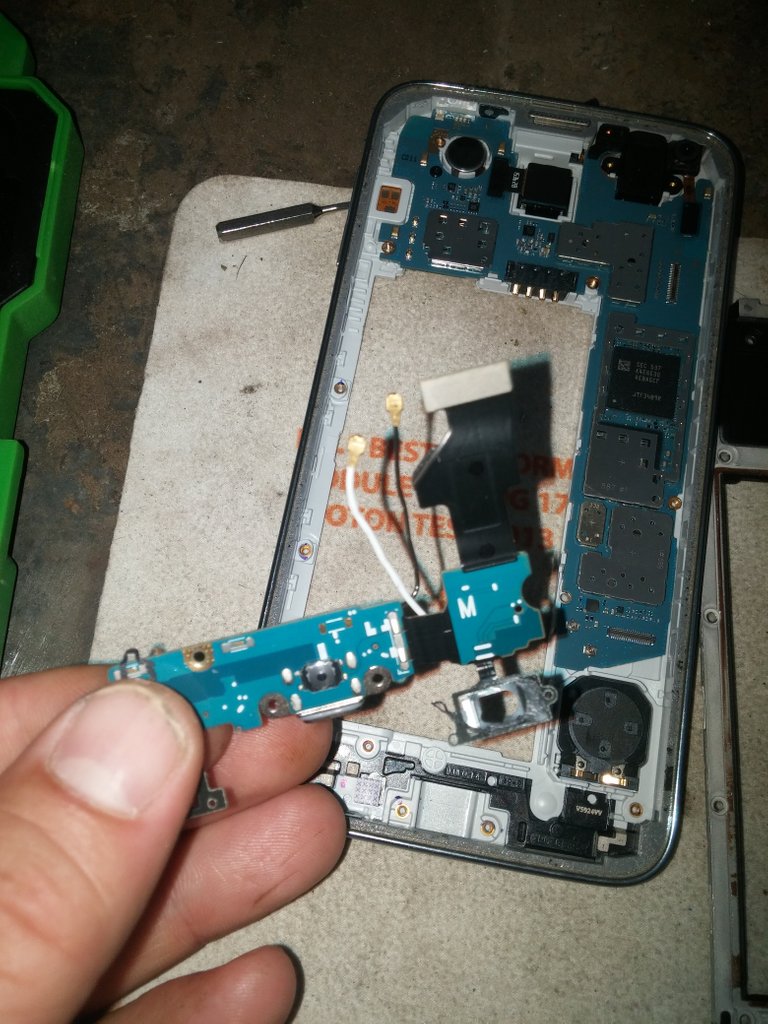
 The last screw must be removed. This screw holds the charging board to the case. I saved this screw till last because it is slightly smaller than the others and I didn't want to get confused where it might have come from (this all happened by shear luck but I am glad I left it till last).
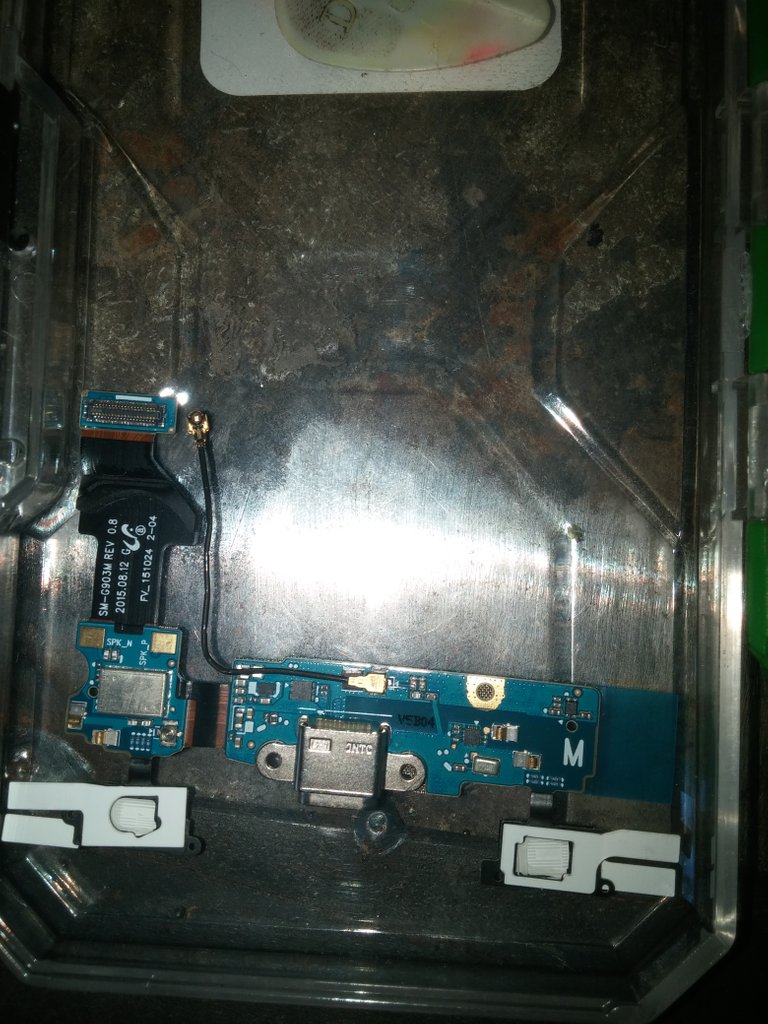
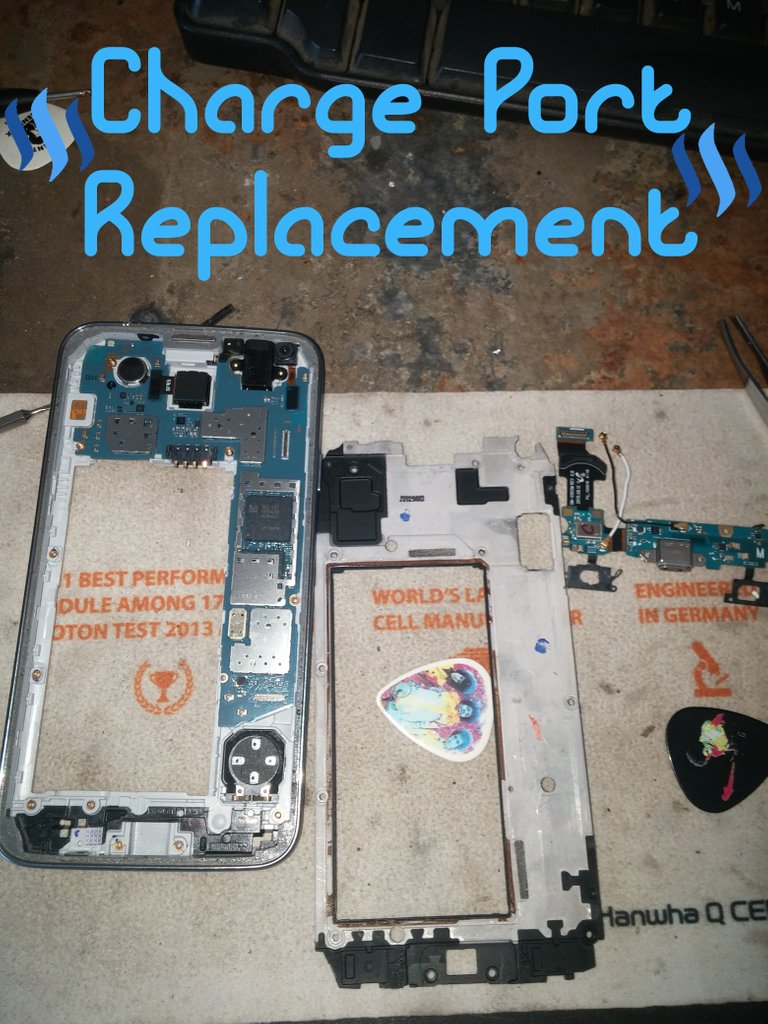
 The old charge port board can be removed from the case.
 The two antenna wires must be removed and moved to the new board. I used the guitar pic to pry them up and off and used my fingernail to carefully push them onto their connectors on the new board. Make sure you hear all connections click in, or at least feel them click in.
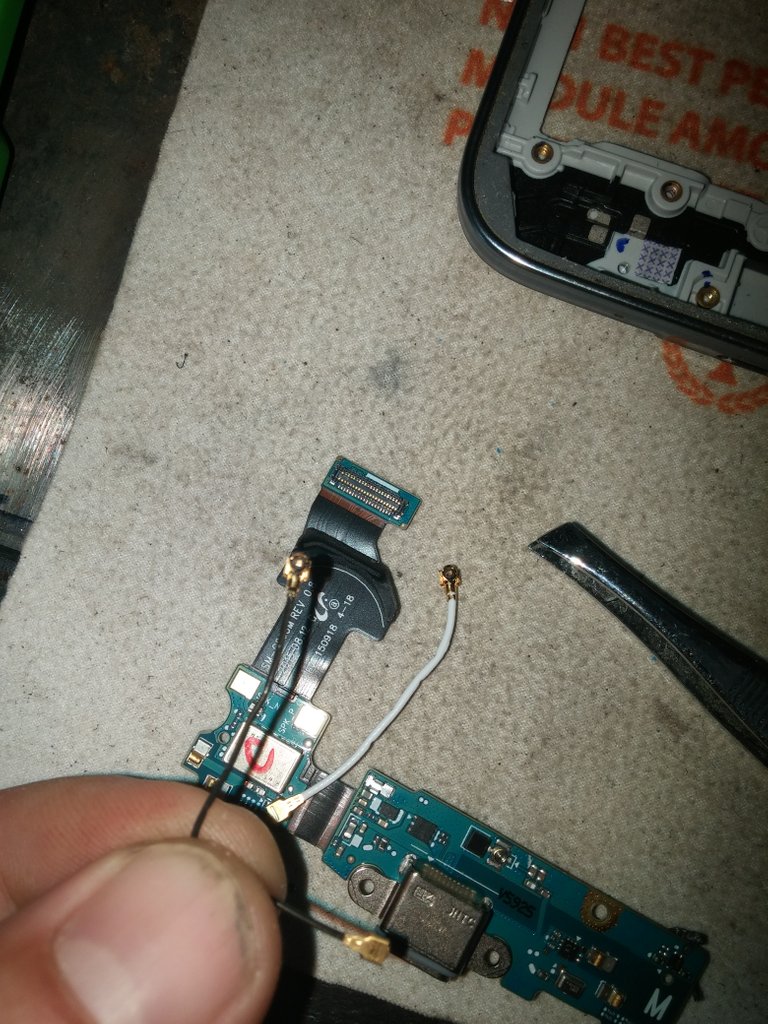
 Reattach the two wires and ribbon cable to the motherboard and fit the new board into the case like the old one. Make sure the smaller black wire sits beneath the white one in the little wire holder. Install the one small screw holding the charge board to the case.
 Remove both the blue plastic as well as the brown paper covering the adhesive on the board.
 Snap the two plastic pieces of case back together and fold over the digital buttons back into their spaces after removing the white paper covering the adhesive.
 Reinstall all the screws that came out of the case including the one silver screw on the opposite side. Reconnect the ribbon cable from the screen and install the battery and sim card.
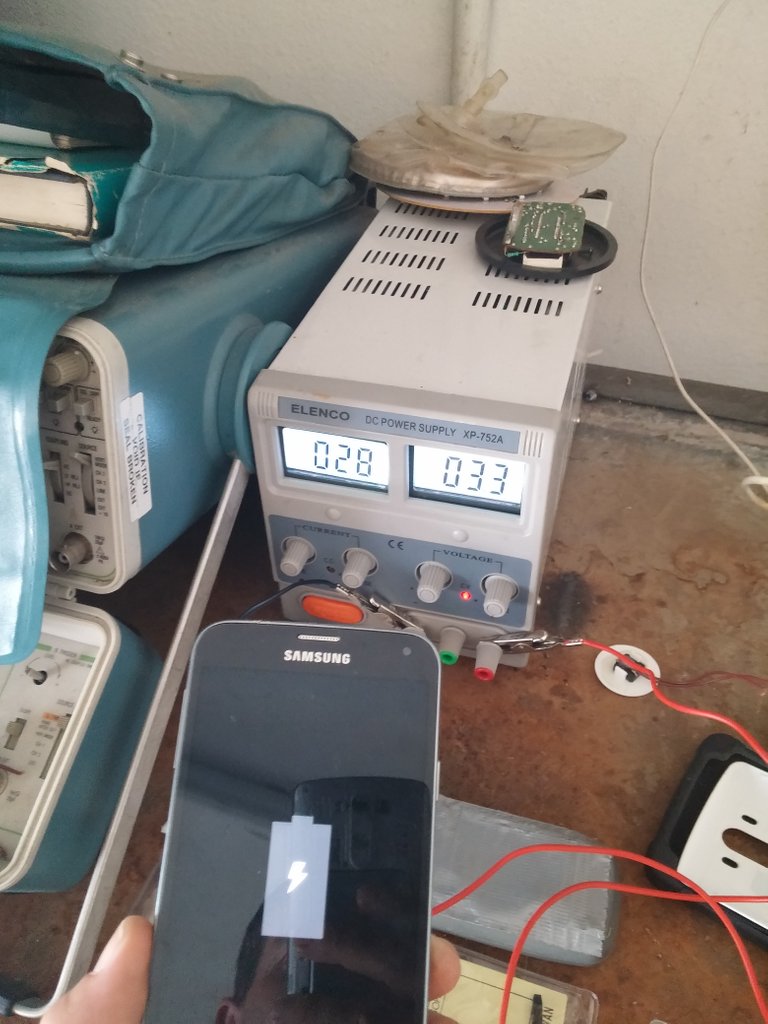
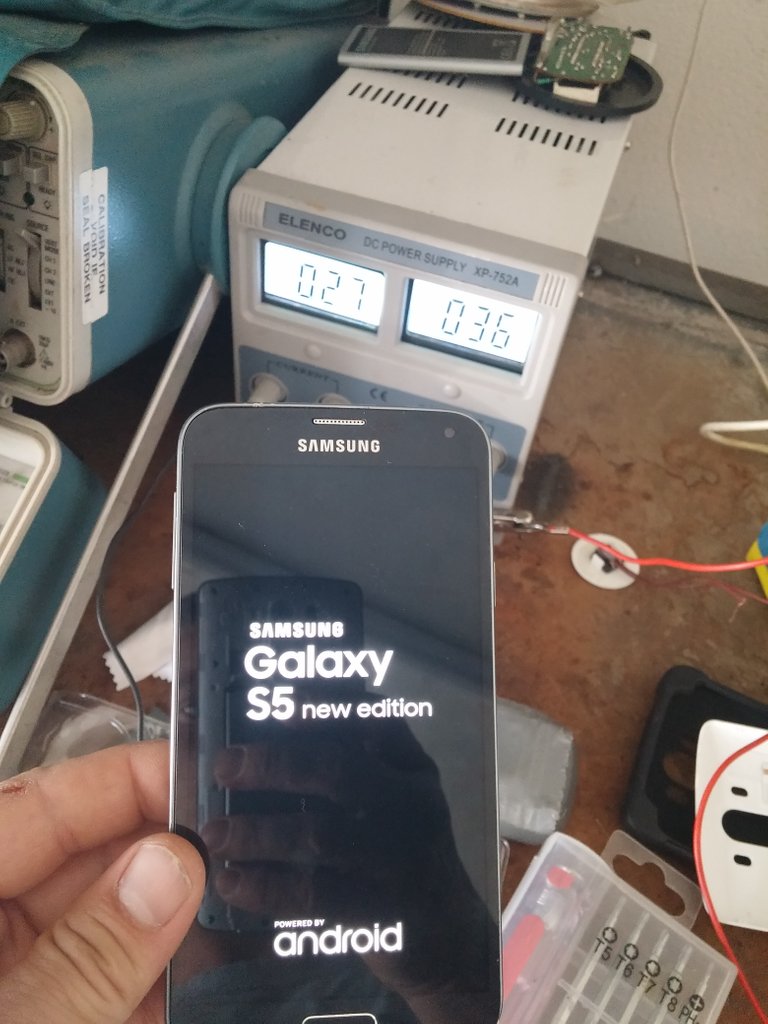
 I left the screen not adhered to the case just to make sure what I had done worked. Sadly it did not. I must have shorted the main board because I still get a charge symbol and when trying to boot to the root system it just hangs at the Samsung logo. Had it worked, the last step would have been to attach double sided tape to the areas on the case were the adhesive originally was and stick the screen to the case and viola...job done. I hooked up the phone to a regulated DC power supply to make sure it wasn't the battery.
 The steps taken here should be very similar to other Galaxy phones as well as other phones other than Samsung. Take care when doing this yourself and take your time. This post was meant as a guide to help anyone willing to take on the task. I hope you learned something and take the chance of repairing a cell phone yourself. Thank you for following along!
 All photos, unless otherwise stated or sourced, were taken by @csusbgeochem1 and may not be reused without permission. Animations and cover photo created by @csusbgeochem1 using GIMP.
 #SoCalSteemit is building and supporting the Steemit community of Southern California. If you are from SoCal and are into creating quality content here on Steemit, we'd love for you to follow us @SoCalSteemit and join our group on Discord

Hi csusbgeochem1,
Visit curiesteem.com or join the Curie Discord community to learn more.
Thank You Curie! Your Awesome!
I imagine you studied everything before doing it, I had a problem with my old phone that damaged the battery, now I have a J7 Neo and it is happening the same, I do not know why, what do you think? Its very fast downloading, sometimes I charge it and when I unplug it it turns off ... I do not hit a hahaha
Yes i watched a few videos on it but most of them were for an S5 and not the New Edition. THat sounds interesting. Could be the charging port, the last symptom sounds like it. Aparently its common for these Samsung phones.
I literally want to cry after seeing the first picture, If you do that to my phone - I will consider it dead, then I see this phone working in the last pic and I am surprised. Its like you are a phone engineer right? Its a phone for me but a machine for you, some screws here some screws there. Hehe. I enoyed watching that phone come back to life again :) congrats on your curie vote :):)
Thank you for your compliment. Although its not totally functional I was able to rule out the charge board. Believe me i was pacing for an hour before digging in to this project. I just like fixing things myself.
Sounds good :) better than going to a repairman :)
Congratulations @csusbgeochem1! You have completed the following achievement on the Steem blockchain and have been rewarded with new badge(s) :
You can view your badges on your Steem Board and compare to others on the Steem Ranking
If you no longer want to receive notifications, reply to this comment with the word
STOPVote for @Steemitboard as a witness to get one more award and increased upvotes!
Congratulations @csusbgeochem1! You received a personal award!
You can view your badges on your Steem Board and compare to others on the Steem Ranking
Vote for @Steemitboard as a witness to get one more award and increased upvotes!
I really appreciate your way of thought behind this post. At first I was really thinking what you are intention behind this because none of the common man is going to follow this, either they will take this to a mobile repairing shop or as you mentioned it was old model they will try to exchange it. Moreover how many people would have the machines to do such a time consuming and literally a boring job.
But as I scrolled down and looking at the perfect pictures all I can say this serves really as an academic for wanna be mobile technicians or as inflammatory post to all other steemiens .
Thanks you... Keep steeming
Im lost as how you would find anything in this post inflammatory in any way. Could you explain?