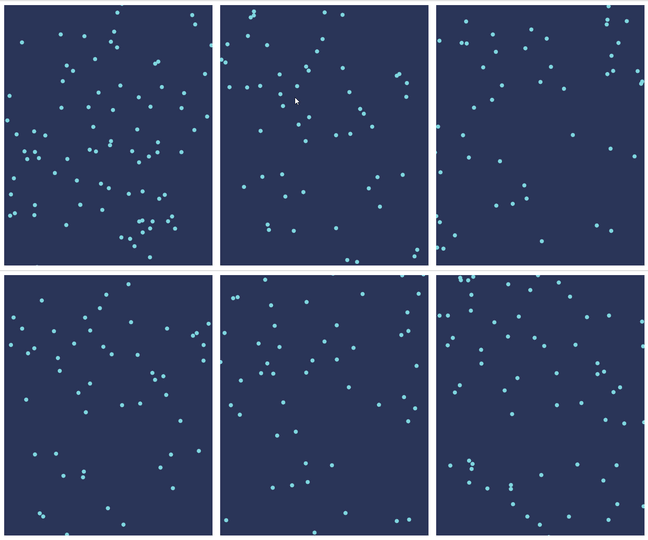
Repository
What Will I Learn?
- You will learn how to create canvas and to color the canvas with p5.js
- You will learn to generate random values with the random () function found in p5.js.
- You will learn scaling with the map () function in p5.js.
- You will learn translate() function in p5.js
Requirements
- basic javascript information
- basic p5.js information
Difficulty
- Basic
Tutorial Contents
This is my first utopian content so I'm a little nervous but I'll do my best to create a good content.
This is the first tutorial to simulate moving stars using P5.js.Using the ellipse structure found in p5, you will create many small circular objects and make them move. You will use the 3rd dimension in the working environment to ensure the movements of these objects. You can change the position of the objects in the 3rd dimension and you will allow them to move.
We will create objects using the random() function in P5.js so objects will be positioned at random points in the workspace and their movements will be random.
With this tutorial you will learn the concept of ellipse in P5.js and color adjustment to objects and the stroke characteristics of objects. You will also learn random() and map() functions.
After finishing the coding, the application will work as follows.

create first star
We must create a canvas before creating the first star. We use the createCanvas() function to create a canvas. The createCanvas () function needs to know the height and width of the canvas to create canvas.You need to call the createCanvas () function in the Setup () function because you only need to create one.
function setup(){
createCanvas(400,500);
}
We created a canvas with a size of 400x500 with createCanvas().White by default because we did not set the canvas color.
You can use the background() function to adjust the color of the canvas.
function draw(){
   background(42,52,88);//background(red,green,blue);
}

The function draw() is a function that works continuously. we must define the background color in draw () because we want to move objects.
Since we will create more than one star, if we define a star through a function, we can make things easier.
//star object
function Star(){
    this.x=random(0,width);//random value between 0 and width
    this.y=random(0,height);//random value between 0 and height

    this.createStar=function(){
        fill (126,214,223);
        noStroke ();
        ellipse(this.x,this.y,8,8);//ellipse(locationX,locationY,sizeX,sizeY);
    }
}
With star function, we can create a star and change its position. With width and height you can access the height and width of the canvas. When setting the x and y position points of the star, we set a random value from 0 to width-heigth so that the resulting star cannot be created outside the canvas.
We create an ellipse with the createStar() function. If we use just the ellipse () function, we create it with the default color and stroke. To adjust the color for the ellipse, we need to use fill () and if we don't want to define the stroke we can call the noStroke () function.
To create a star we must first define it in the setup () function and call the createStar () function in the draw () function.
var star;
function setup(){
    createCanvas(400,500);
    star=new Star();//define star
}

function draw(){
   background(42,52,88);//background(red,green,blue);
   star.createStar();//create star
}

create stars
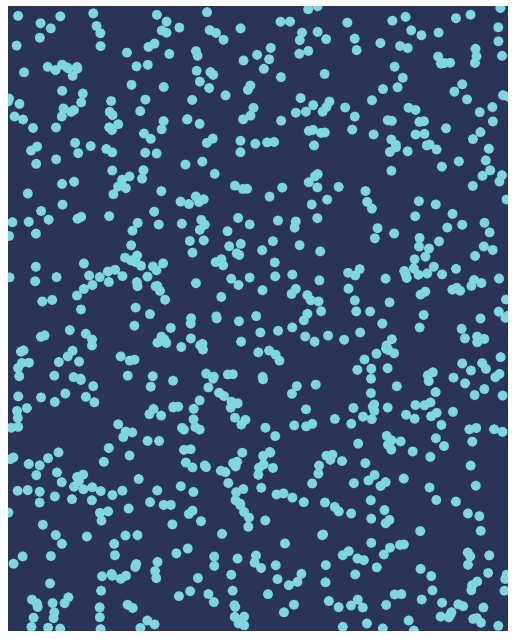
We used one function to create stars. If we call this Star () function in the for loop, we can create multiple stars. You cannot use them later if you only call the stars. If you want to access each of the stars later, you must place them in the array when defining them.
var stars=[];//array of stars
var countStar=1000;//number of stars

function setup(){
    createCanvas(400,500);

    for (let i = 0; i < stars<countStar; i++) {
        stars[i]=new Star();//define stars

    }
}
Since we define stars, you can create 1000 stars by calling createStar () for each star.
function draw(){
   background(42,52,88);//background(red,green,blue);

   for (let i = 0; i < stars.length; i++) {
       stars[i].createStar();

   }
}

move the stars
We will use the 3rd dimension to move the stars. We can create 3rd dimensional objects with the z variable.
this.z=random(width);//random up to width
We can use the map() function to use the z dimension when creating the ellipse. The map () function restricts a value between two values and re-scales the resulting value according to a different two values.
this.createStar=function(){
  fill (126,214,223);
  noStroke ();

  //Re-scale x and y
  var sx=map(this.x/this.z,0,1,0,width);
  var sy=map(this.y/this.z,0,1,0,height);
  ellipse(sx,sy,8,8);//ellipse(locationX,locationY,sizeX,sizeY);
}
We re-scaled the x and y variables according to z and re-created the ellipses according to the new values so you give the stars a third dimension.
If you create a different function and change the position of the stars according to the z dimension, the stars appear to move.
this.updateLocation=function(){
        this.z=this.z-1;//set new z-location
}
We should call this function for each star in the draw () function.
function draw(){
   background(42,52,88);//background(red,green,blue);

   for (let i = 0; i < stars.length; i++) {
       stars[i].updateLocation();
       stars[i].createStar();

   }
}
.gif)
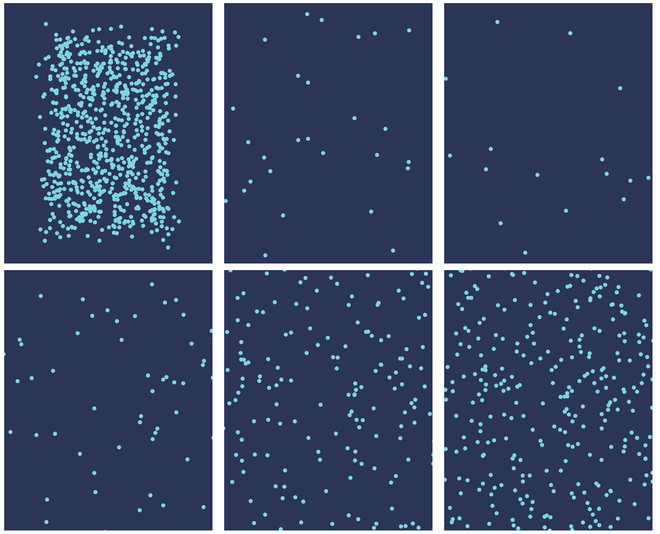
As you can see the stars start in the corner of the canvas. The reason for this is that the stars take 0,0 as the starting point. If you are creating an object with p5, the starting points are set to 0,0 by default.
You can change this center point if you want. You can change center points with the translate () function.
function draw(){
   background(42,52,88);//background(red,green,blue);
   translate(width/2,height/2);//set center points
   for (let i = 0; i < stars.length; i++) {
       stars[i].updateLocation();
       stars[i].createStar();

   }
}

We changed the center points of the stars, but this time a different image was created. the reason for this is that because we do half of the center points, the point 0 is half of the width because it starts from 0 when the value of x and y is generated randomly.
To fix this problem, you must start from the -width and -height points in the random creation phase.
this.x=random(-width,width);//random value between -width and width
this.y=random(-height,height);//random value between -height and height

stop the stars from coming back
We have crossed the central point problem with translate () but now another problem has occurred. The stars coming out of the canvas are coming back and concentrating on the center point.
this.updateLocation=function(){
   this.z=this.z-1;//set new z-location

   if(this.z<1){
        this.z=width;
     }
}

I completed my first content so I hope you like it.
Thank you for your contribution @aossoftware ,
After reviewing your tutorial we suggest the following points listed below:
There are already several tutorials on P5.JS and it is easy to find. Before starting a tutorial we suggest you do an investigation on the internet if your subject already exists many tutorials.
The tutorial is well explained, however the subject of the tutorial is very basic. We suggest bringing a more innovative subject to the open-source community.
Looking forward to your upcoming tutorials.
Your contribution has been evaluated according to Utopian policies and guidelines, as well as a predefined set of questions pertaining to the category.
To view those questions and the relevant answers related to your post, click here.
Need help? Chat with us on Discord.
[utopian-moderator]
Thank you for your review, @portugalcoin! Keep up the good work!
Hi @aossoftware!
Your post was upvoted by @steem-ua, new Steem dApp, using UserAuthority for algorithmic post curation!
Your post is eligible for our upvote, thanks to our collaboration with @utopian-io!
Feel free to join our @steem-ua Discord server
Congratulations @aossoftware! You have completed the following achievement on the Steem blockchain and have been rewarded with new badge(s) :
You can view your badges on your Steem Board and compare to others on the Steem Ranking
If you no longer want to receive notifications, reply to this comment with the word
STOPDo not miss the last post from @steemitboard:
Vote for @Steemitboard as a witness to get one more award and increased upvotes!
Hey, @aossoftware!
Thanks for contributing on Utopian.
We’re already looking forward to your next contribution!
Get higher incentives and support Utopian.io!
Simply set @utopian.pay as a 5% (or higher) payout beneficiary on your contribution post (via SteemPlus or Steeditor).
Want to chat? Join us on Discord https://discord.gg/h52nFrV.
Vote for Utopian Witness!
Congratulations @aossoftware! You received a personal award!
You can view your badges on your Steem Board and compare to others on the Steem Ranking
Do not miss the last post from @steemitboard:
Vote for @Steemitboard as a witness to get one more award and increased upvotes!