I build my own cost effective hot tub cover by using my Junkie Problem Solving techniques.
If you didn’t get a chance to read Part 1 , Part 2 , or Part 3 of my DIY Backyard "Homasis" Makeover go check it out and catch up.
I already shared with you how I filled in some low spots, laid some sod, re-graveled, built and planted in a flower box. Along with finding a hot tub on Facebook marketplace for $75 and my team of friends who helped me get it all set up.
Yes my "Homasis" has been coming together nicely if I do say so myself. It also has been quite cost effective with me doing all the work myself or bartering. What is not cost effective is a hot tub with no cover. You can't leave the heater on because you’ll just be heating the whole world nonstop and your electric bill will be out the roof. Also without a cover, debris will get in causing the water to get dirty and needing to be replaced. So without a cover your water bill and electric bill will spike.
Kind of defeats the purpose of saving money if it ends up costing you more money in the long run. I needed to find a cover!
Sadly the size of the hot tub was quite unique to my model and made finding a used one impossible, though I tried. I tried longer than I should have and my girlfriend @liz.writes started to get on me about how ghetto our "Homasis" was looking with plywood on top of the hot tub.

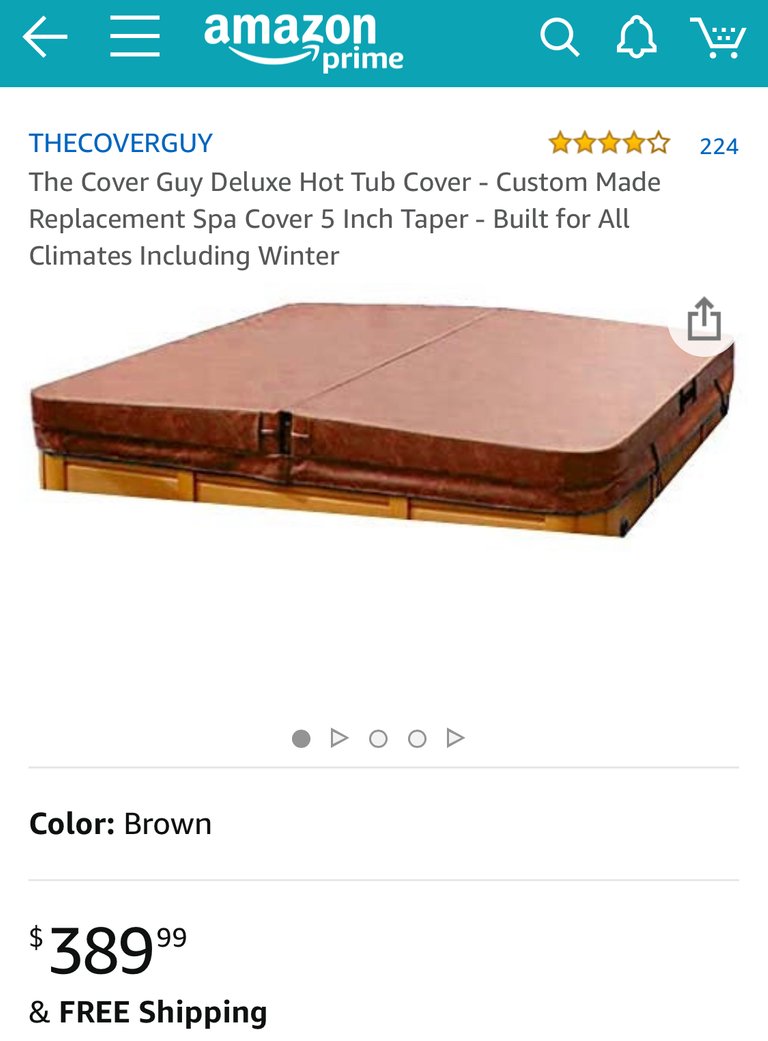
She wasn’t wrong at all, it was hood. So I searched amazon, google, and local pool stores for a cost affordable solution. Then I searched more because none was to be found. The best solution would have cost far more then the hot tub itself cost!
I was not about to give in that easy though.
So decided to build my own cost effective hot tub cover without a clue on how to do it.
Here is How You Can Also Build a Hot Tub Cover
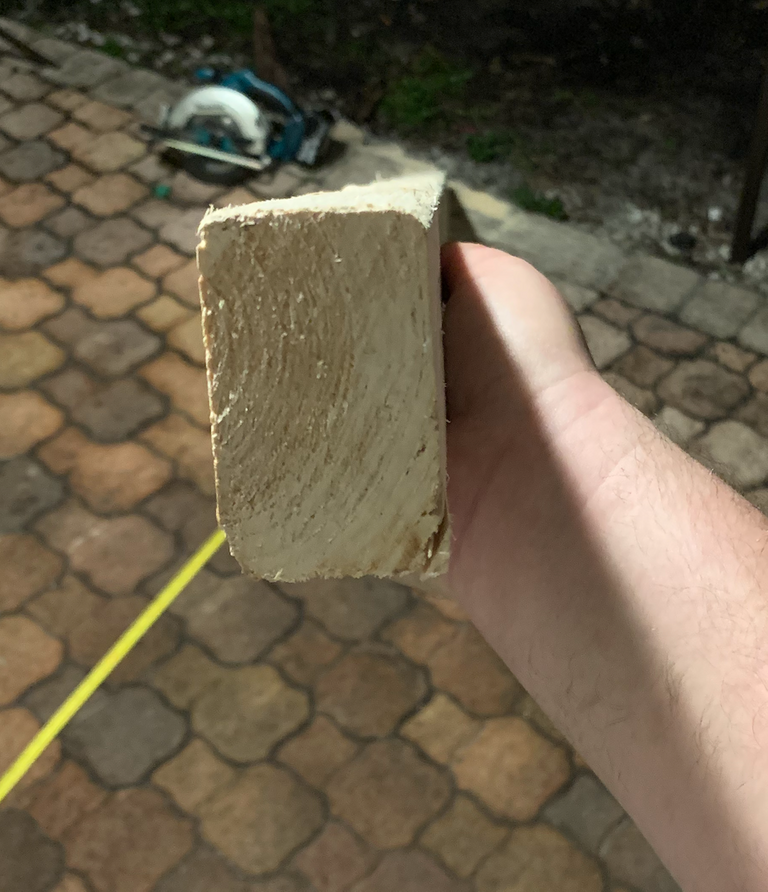
Make sure you grab straight boards, I used scrap 2x3's.
Measure up your boards for the narrowest part of your hot tub twice.
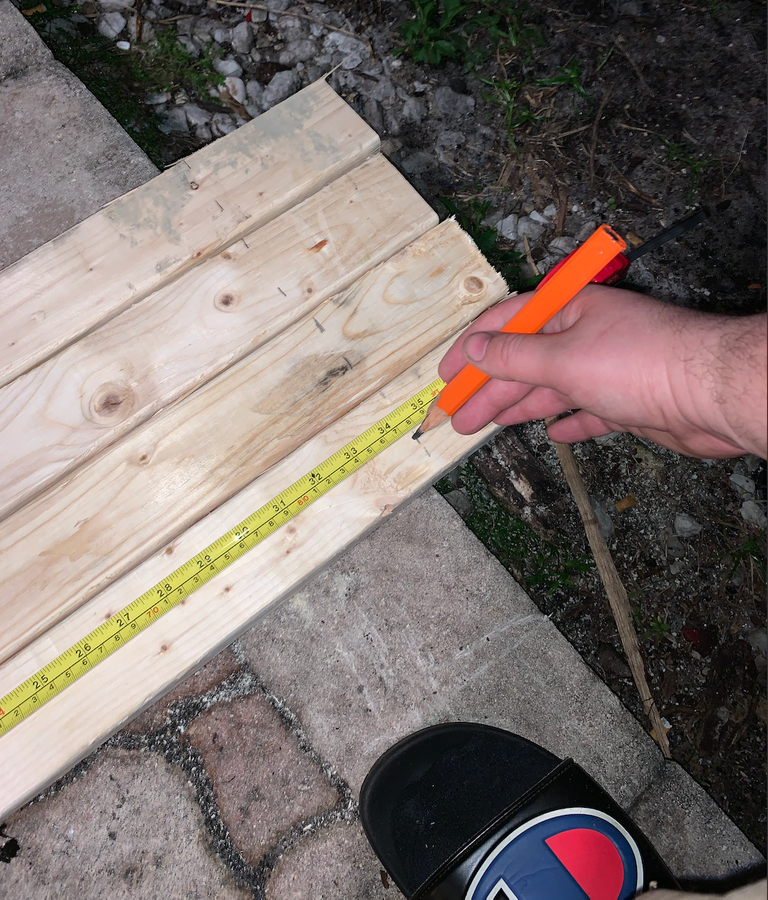
This way you only cut once! Measure twice cut once is a real thing!
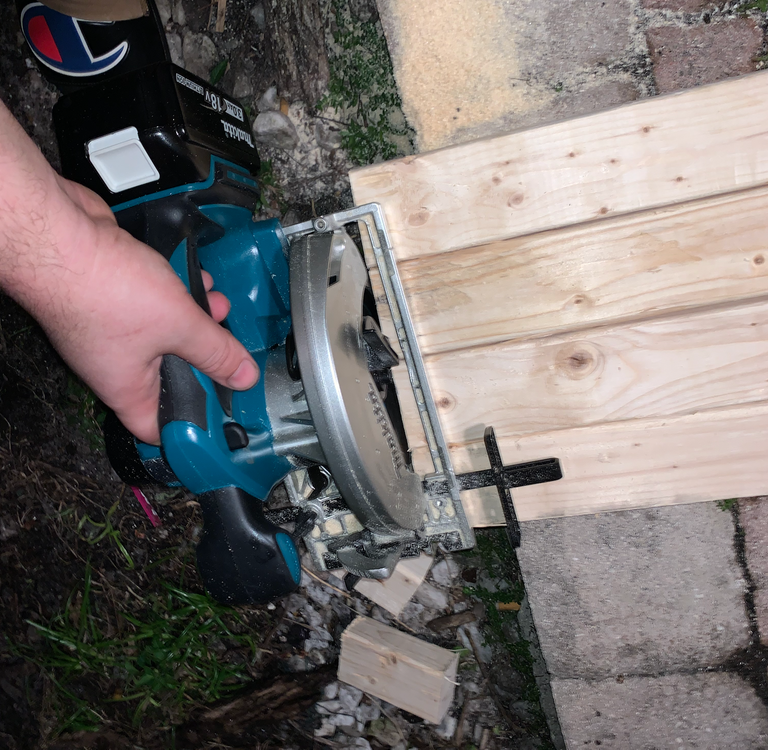
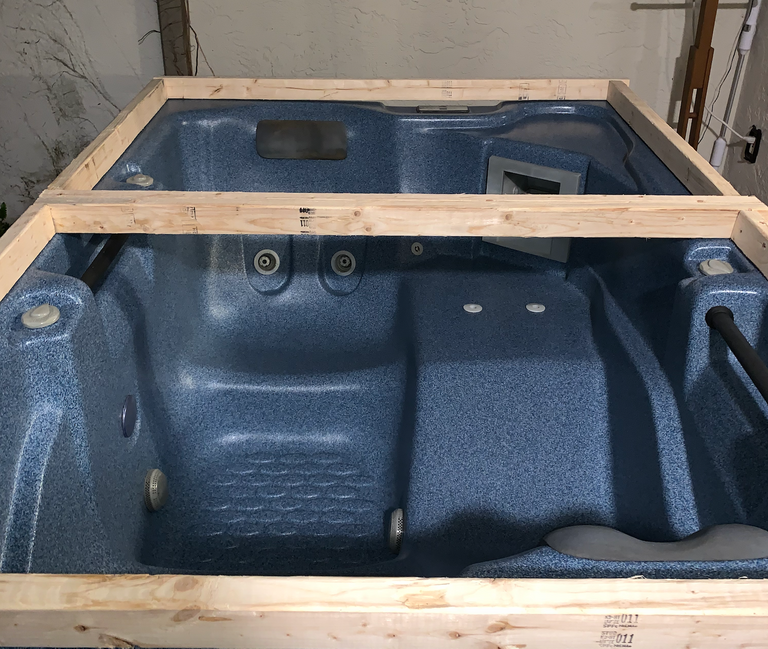
Set the boards on the tub so you can see if you like the length. If not, cut some off to get them how you like them. Now place them centered and on the sides where you would like them to sit. Once everything is perfect measure for your other 4 boards.
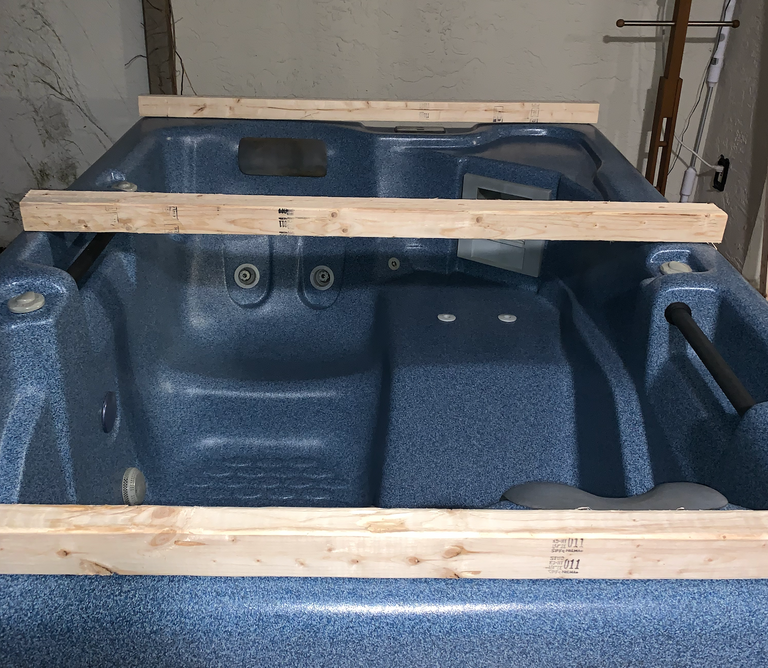
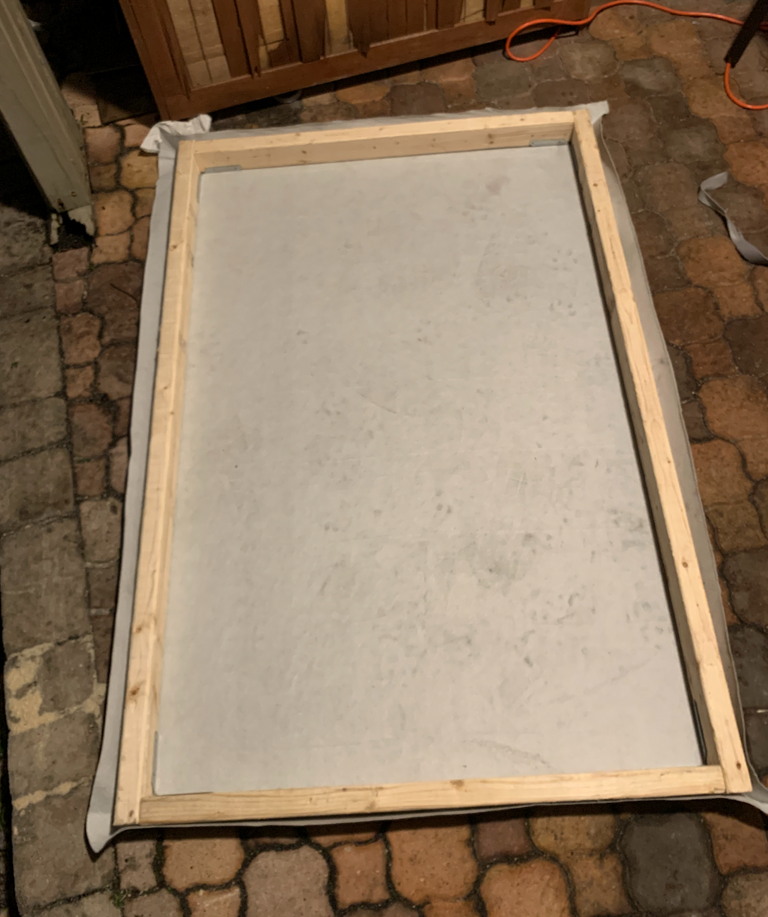
Once you cut them you’ll have the rough skeleton of the hot tub cover. Make sure everything sits as desired. You want it to be esthetically pleasing and have as much full contact with the tub as possible. A snug fit is crucial to keep the heat in! The only place I didn’t have a snug fit was around the control panel, which thankfully dips in rather then out.
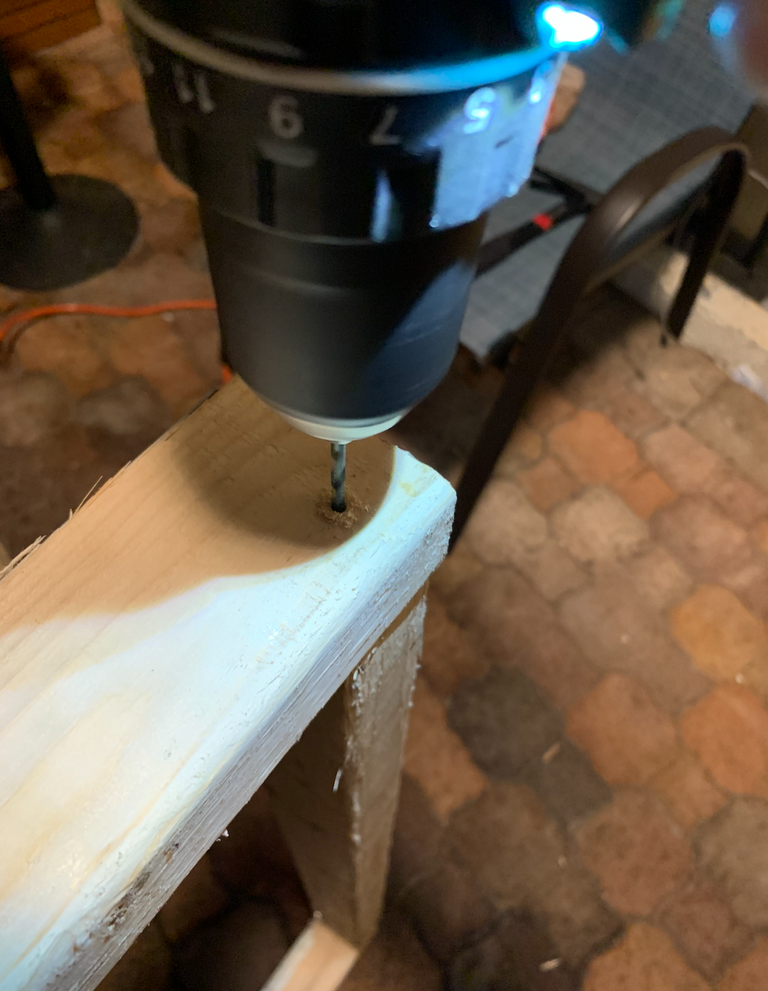
Now Its time to drill some pilot holes on the ends of the 2x3's. It's important to do this so the boards don’t split.
Once the pilot holes are drilled, sink some wood screws in to hold it together.
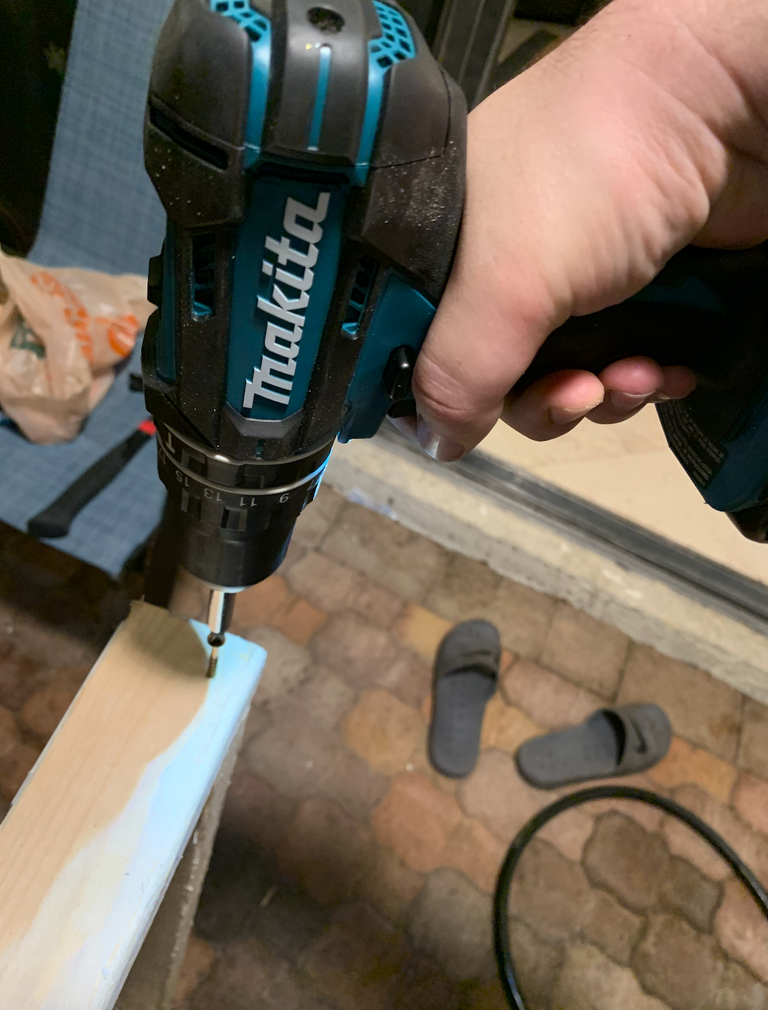
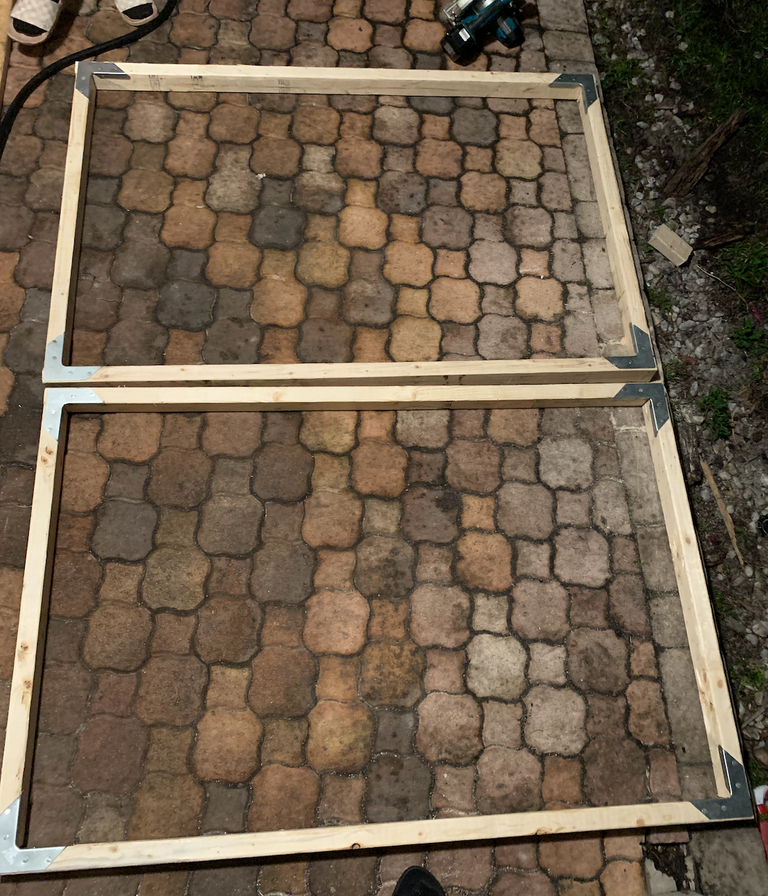
Now we truly have the skeleton of the hot tub cover. However those few screws are not strong enough to hold up long term.

So I added these brackets to the corners.
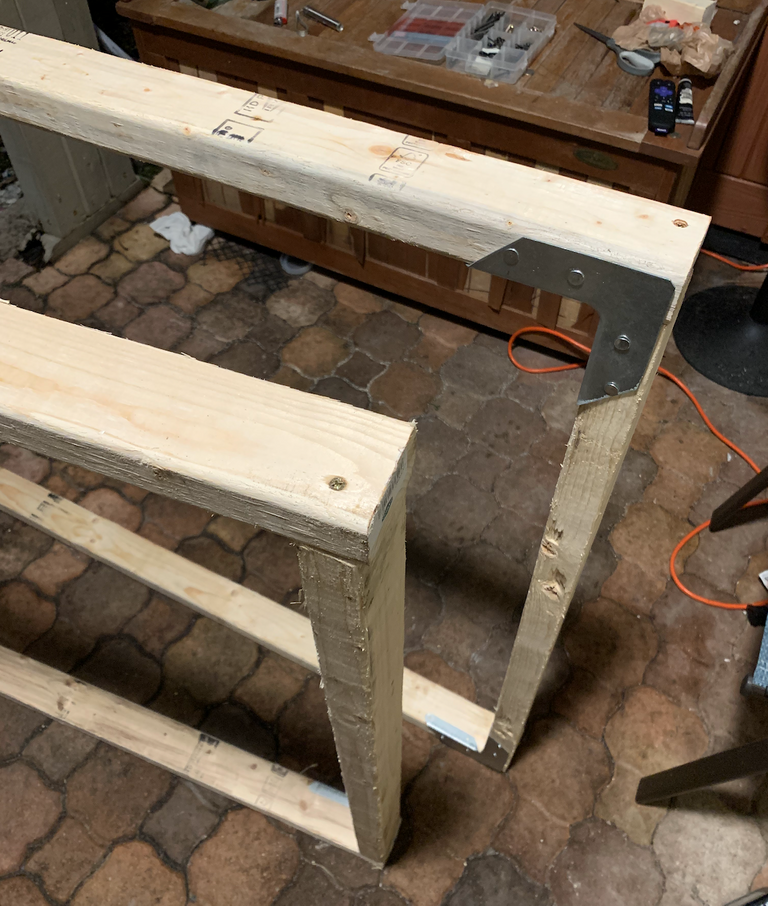
At this point, I wish I added a center board to help with drooping and I strongly recommend you do so if your following along at home.
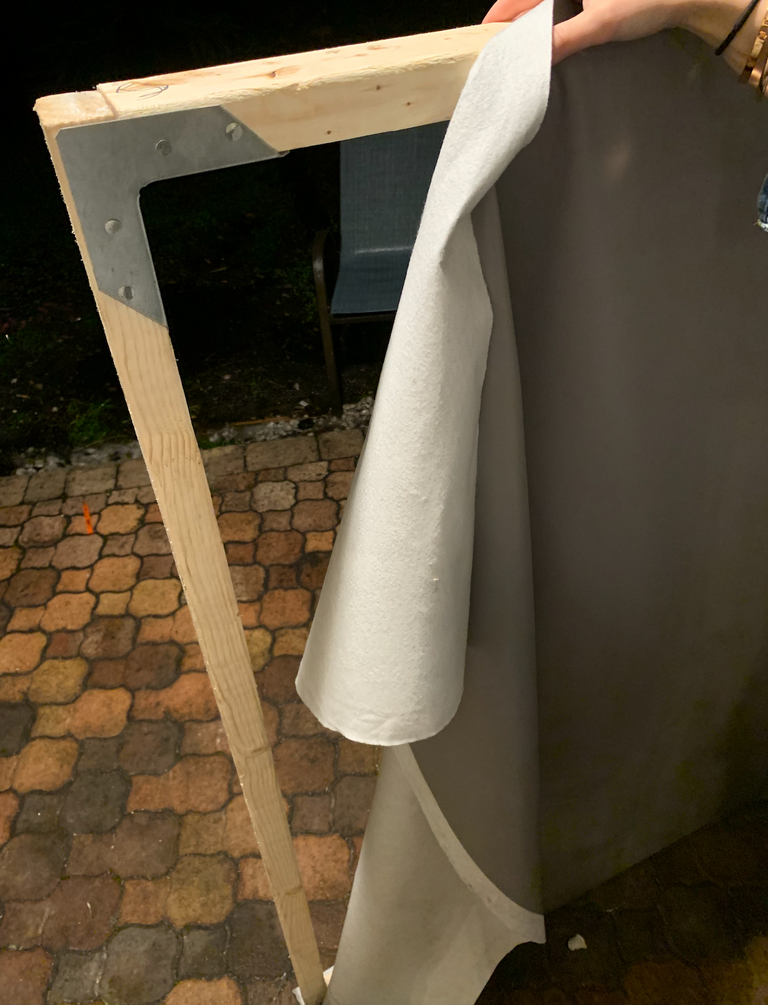
Now roll out some marine grade canvas to give your skeleton some skin.
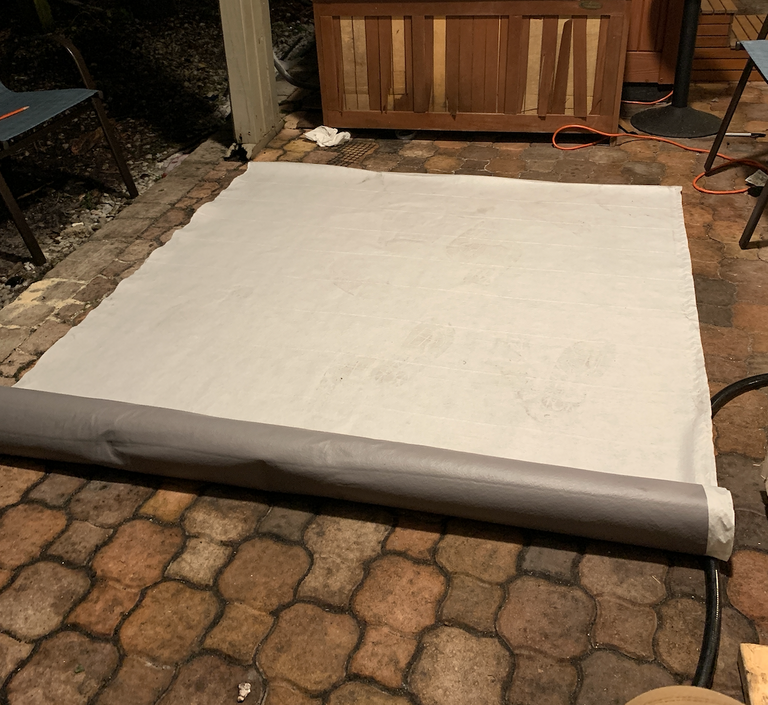
I simply stapled the canvas to the boards paying close attention that it was tight all the way around.
Originally, I was going to drop some cut-to-fit foam down in the middle, but I couldn’t find any cost affective material.
So I got crazy and bought these really cheap cans of gap and crack filling foam.
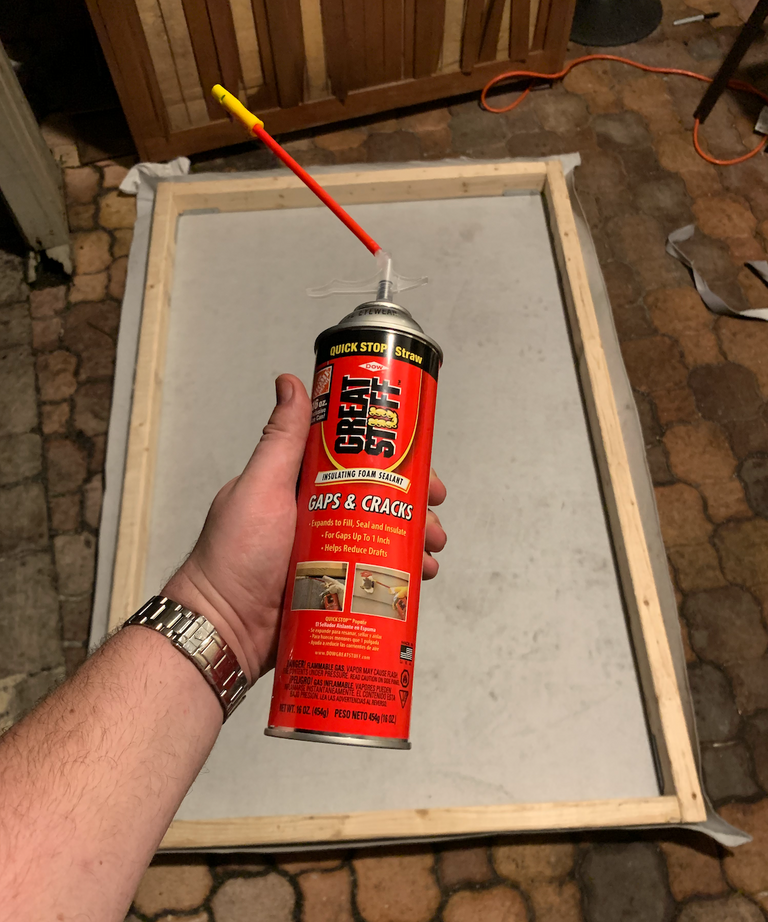
And went to town! It definitely was not the best option for making a nice hot tup cover, but it was the cheapest option I could find.
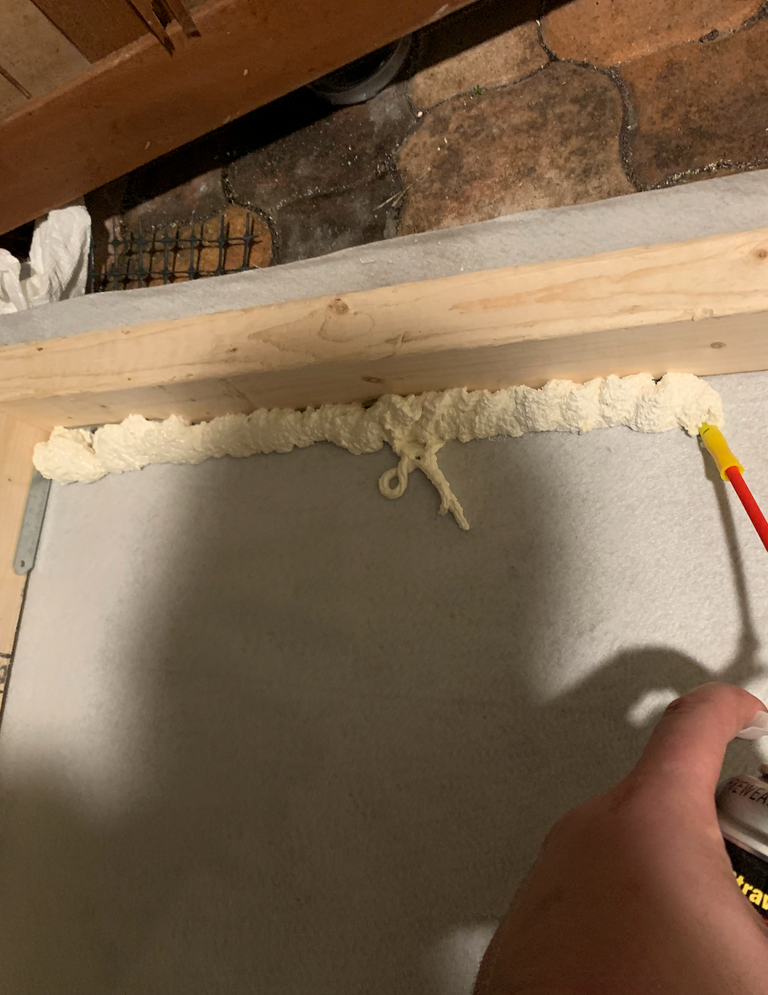
I probably put a hole in the ozone directly above my house filling these up with foam but it was a whole lot of fun spraying it! The foam expands quite a bit, after all its made for filling gaps.
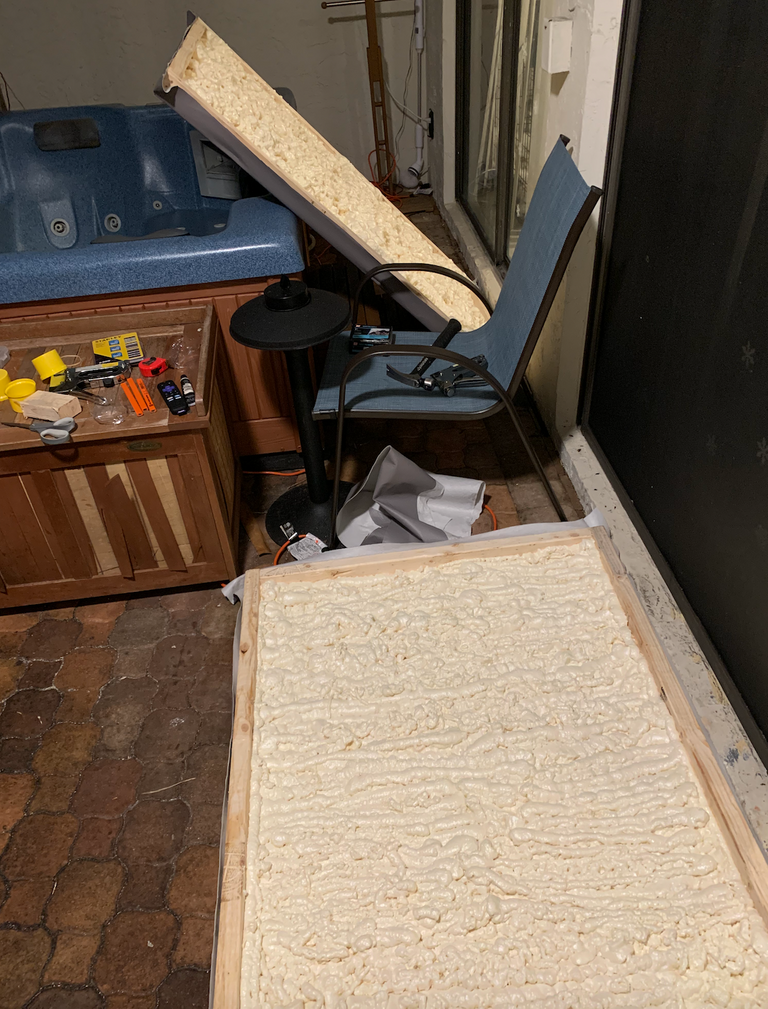
The foam expands very quickly and creates a hard crust wherever it is exposed to air.
At this point it was getting late and I wanted to let it harden over night. So it was off to bed for me! before I truly turned it into a beautiful hot tub cover.
Stay tuned so you can see how I turned this glob of foam into a beautiful hot tub cover and all the other fun things I do to my "Homasis".
You need to fix the links to the first 3 parts.
Thank you so much for letting me know! I write a lot of my post in StackEdit and then transfer them over. Apparently stack edit makes it ease to share links without doing the HTML a href= it creates a mark up language so things got a little weird in my code.
Im going back now to make sure all my links work now on other pages.
Here you go boss! Part 1 , Part 2 , or Part 3 of my DIY Backyard "Homasis" Makeover.
I have a TV for my hot tub and I'm probably going to make "Better Call Saul" my hot tub show!
Excellent! Now, you should do the same for the posts for part 2 and part 3. ;-)
I am sure you will enjoy Better Call Saul.
Done and done. Thank you.