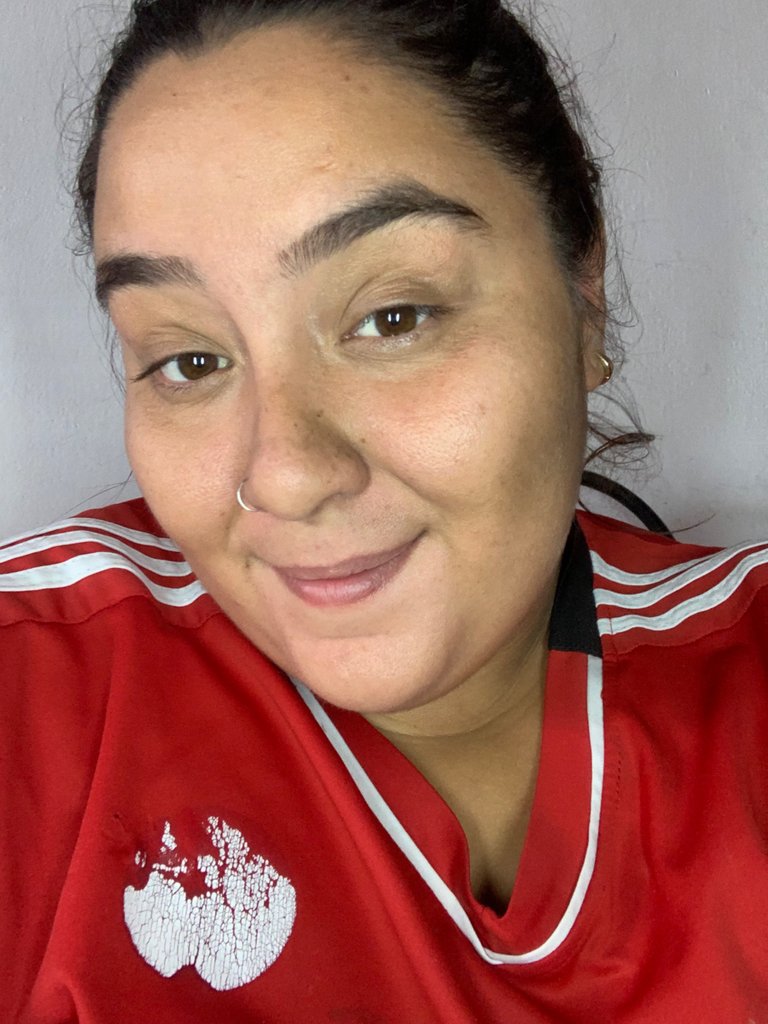
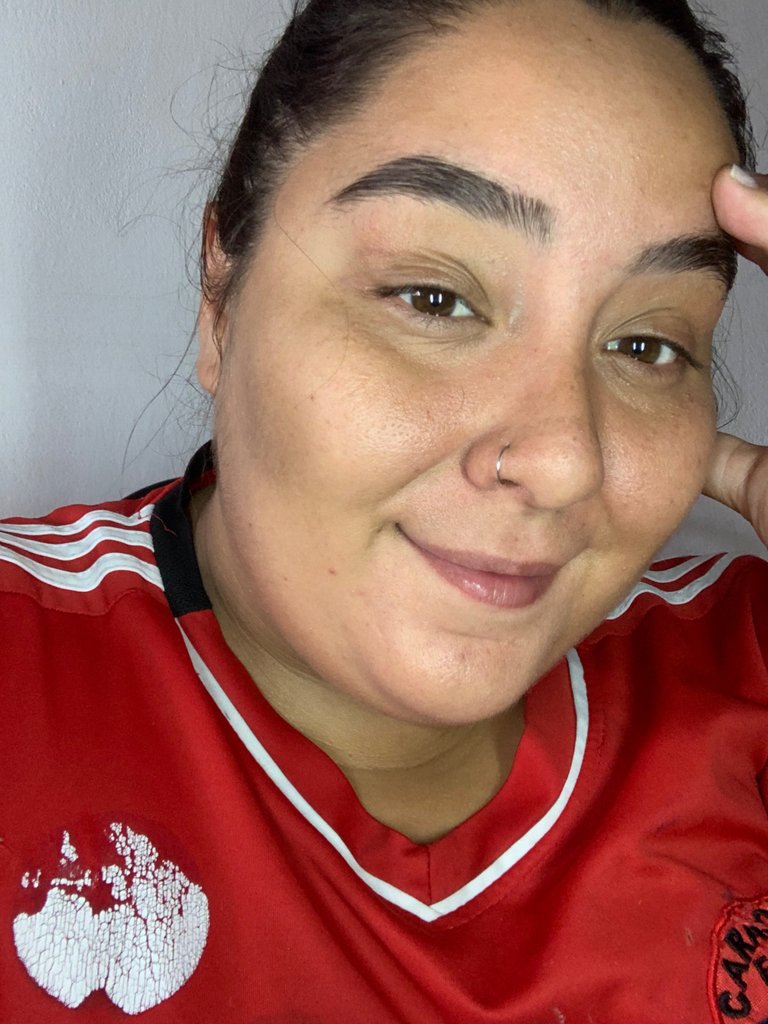
¡Bueeeenas tardes gente guapa! Mi nombre es Gloria Palima, y el día de hoy vengo a mostrarles el paso a paso de un maquillaje sencillo para el día a día, ir al trabajo, alguna cita, o simplemente salir a comprar el mercado de la semana jajaja.
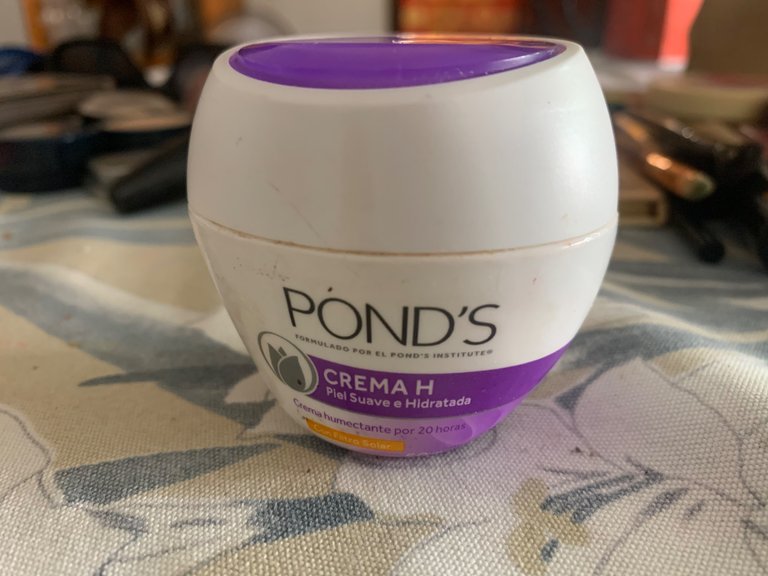
Empezaremos con el cuidado de la piel! En particular utilizo muy pocas cosas, pero siempre es importante mantener nuestro rostro hidratado y protegido del sol, en esta ocasión utilice un tónico facial de una famosa farmacia Venezolana y luego aplique mi crema hidratante, luego de esto utilice mi protector solar y espere a que este se secara.
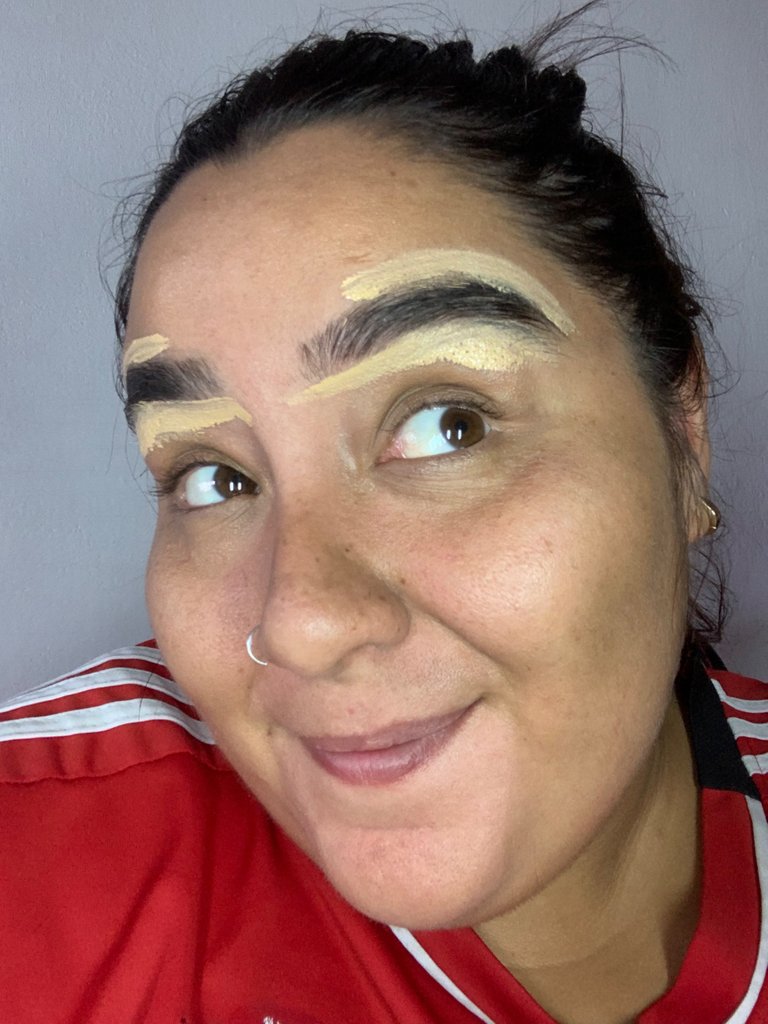
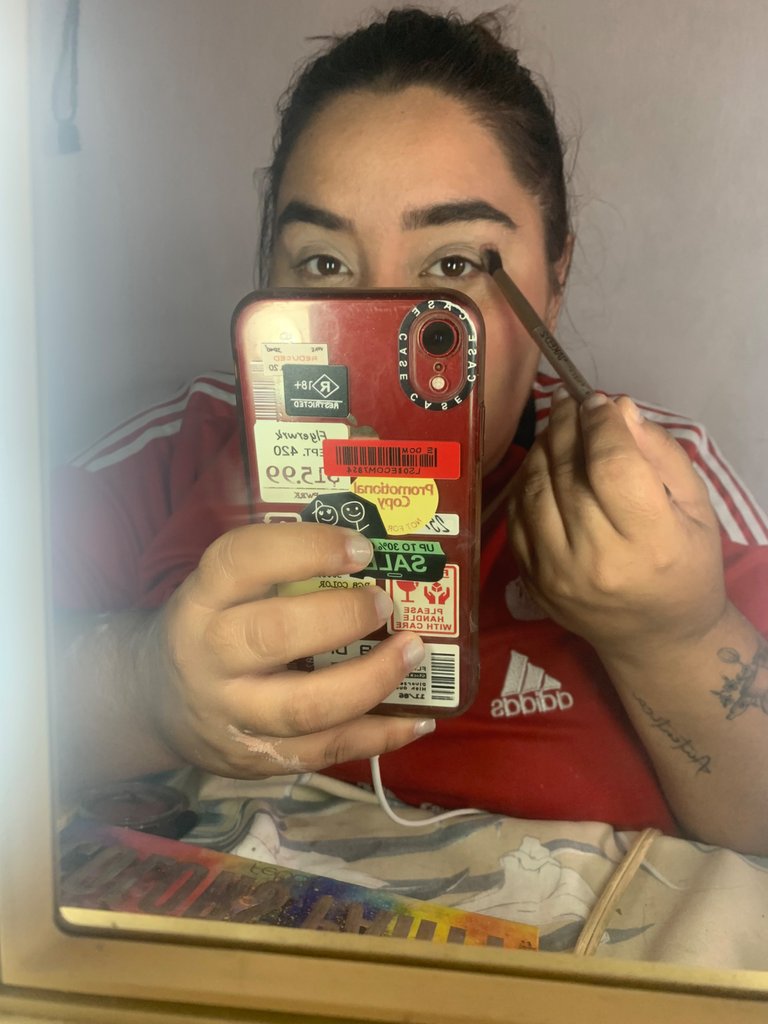
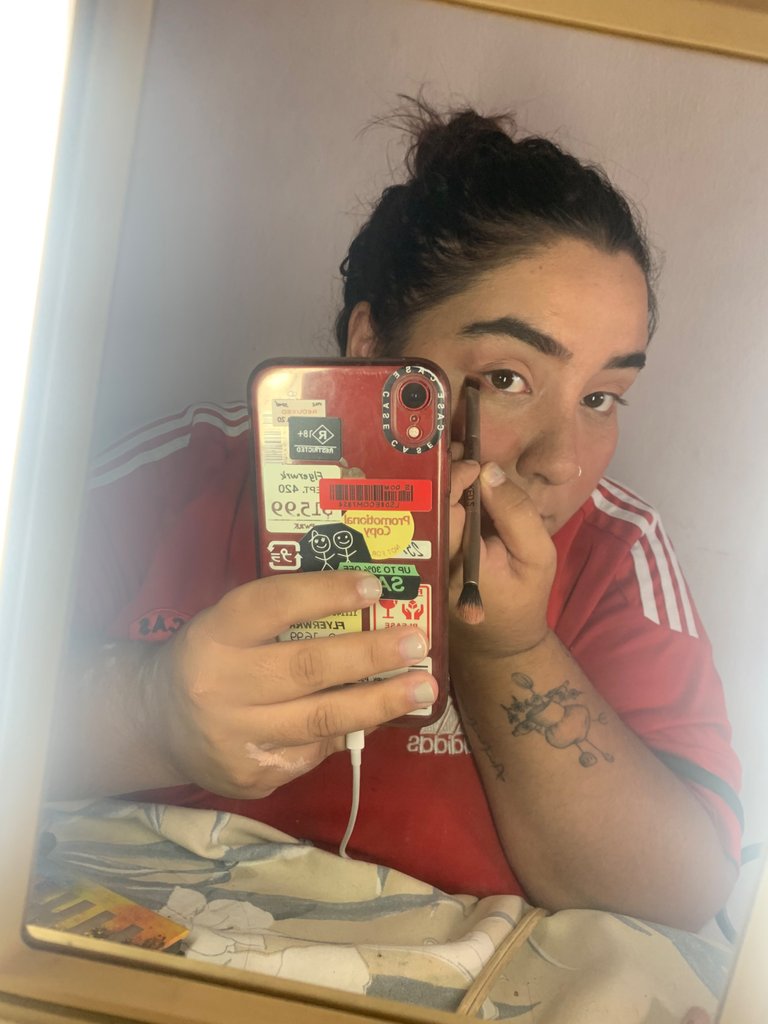
Luego de esto comencé preparando mis cejas, utilicé una cera fijadora la cual humedezco con agua de rosas y pasó a aplicarla en mis cejas para que estas queden bien peinadas, luego con un lápiz de cejas paso a rellenar los espacios en blanco y le otorgo color a mi ceja, para finalizar con un corrector limpié las imperfecciones y listo!
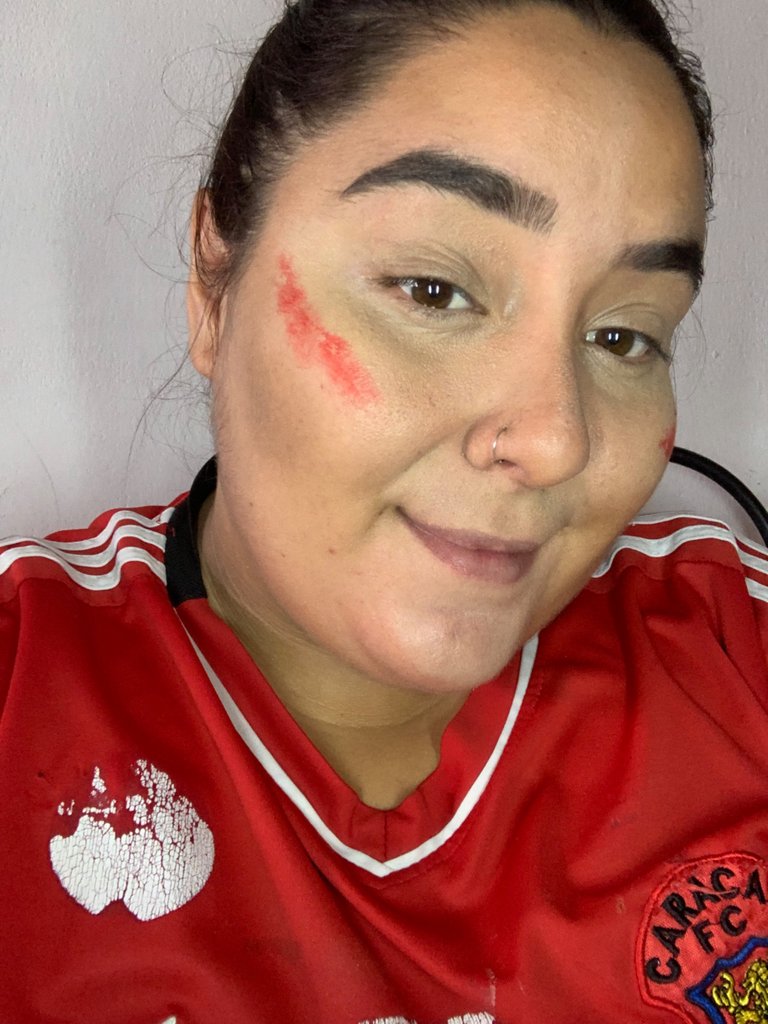
Pasamos a realizar todo el proceso del rostro en general, aquí aplicamos corrector para iluminar y corregir las ojeras, colocamos rubor en crema, contorneamos la nariz, tapamos imperfecciones con un poco de corrector más oscuro y aplicamos nuestra mínima cantidad de base para que nuestra piel quede suave y no se vea repleta de maquillaje ya que es lo que menos queremos puesto a que podríamos utilizar este maquillaje todo el día.
Luego de esto sellamos todos nuestros productos en crema con productos en polvo, nuestro blush, polvo suelto y pasamos a la parte más divertida para mi que son las sombras, aplique tres colores distintos pero que son colores muy tranquilos y lindos para el día.
El primer color que utilice fue un marrón claro el cual aplique en la cuenca del ojo
Luego aplique un tono más oscuro de marrón hacia la parte externa del ojo
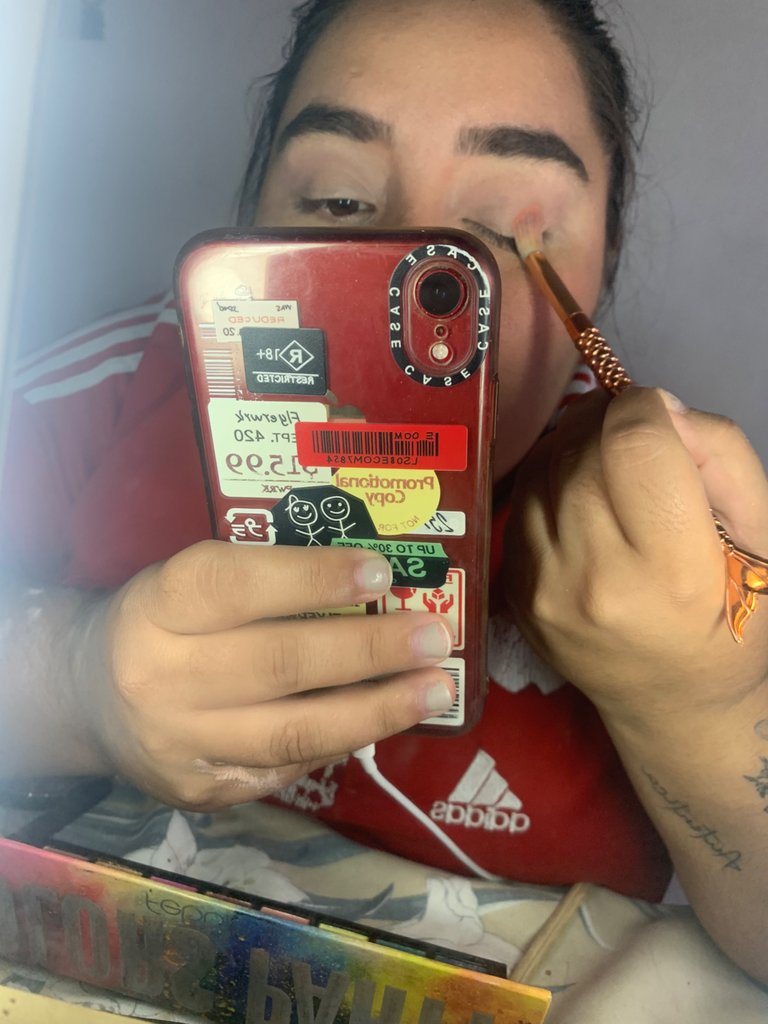
Luego un tono más naranja en el medio para darle más vida a nuestro ojo y por último en la parte de abajo en la línea de agua agregue un toque de vinotinto haciendo un Smokey
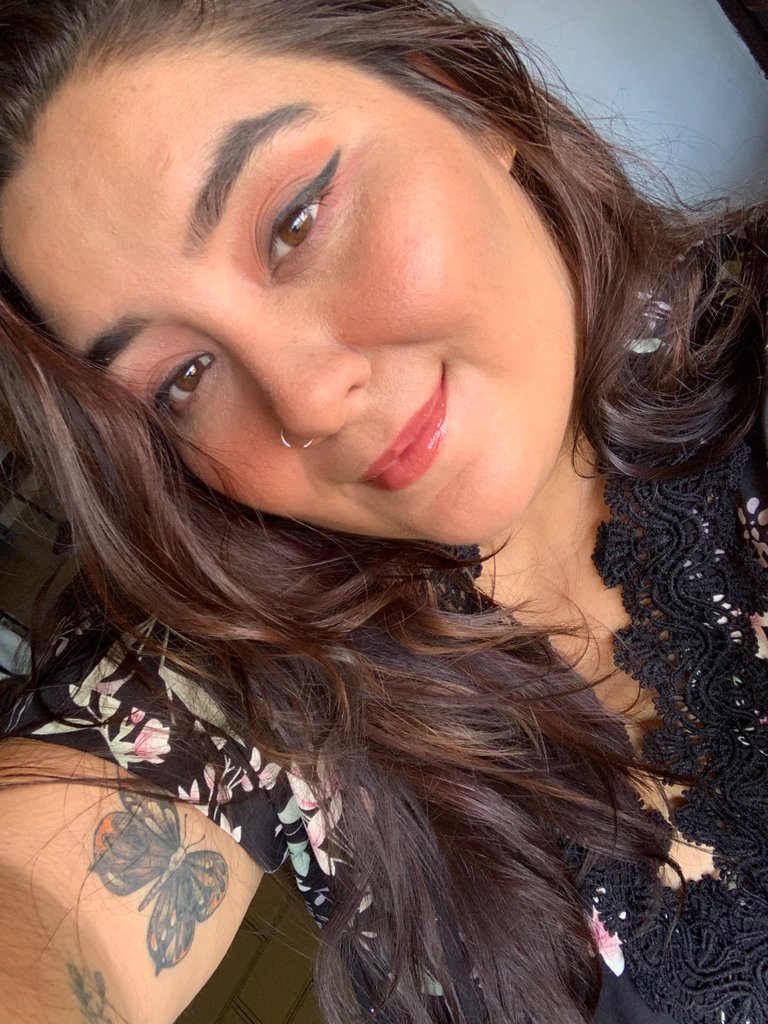
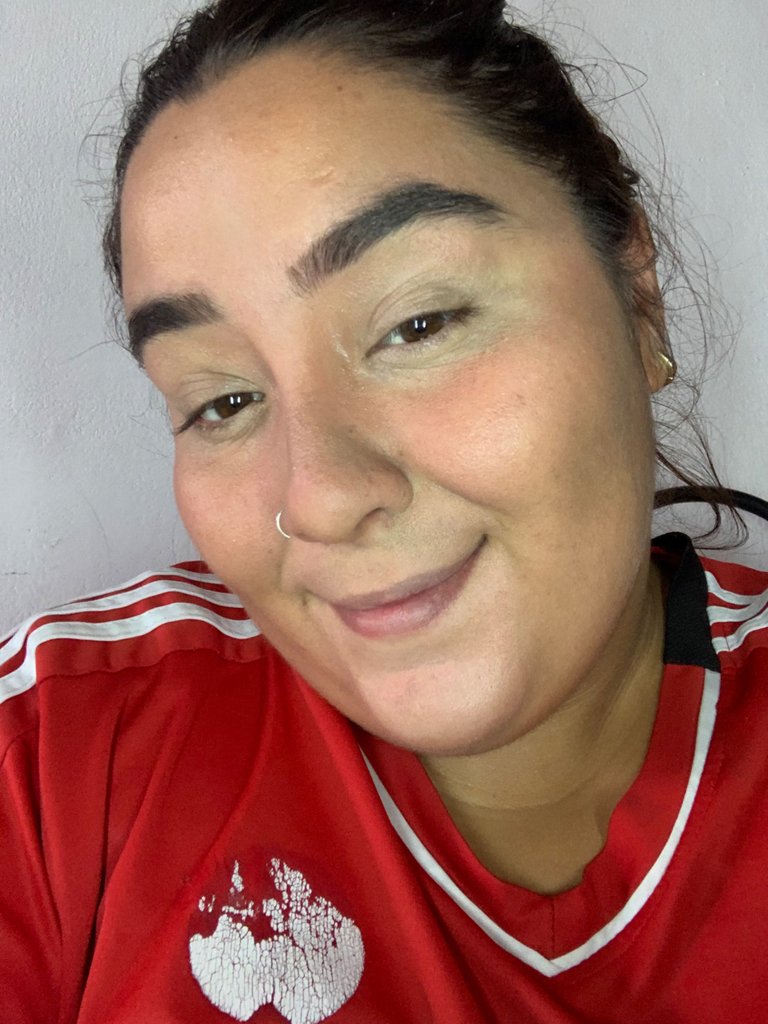
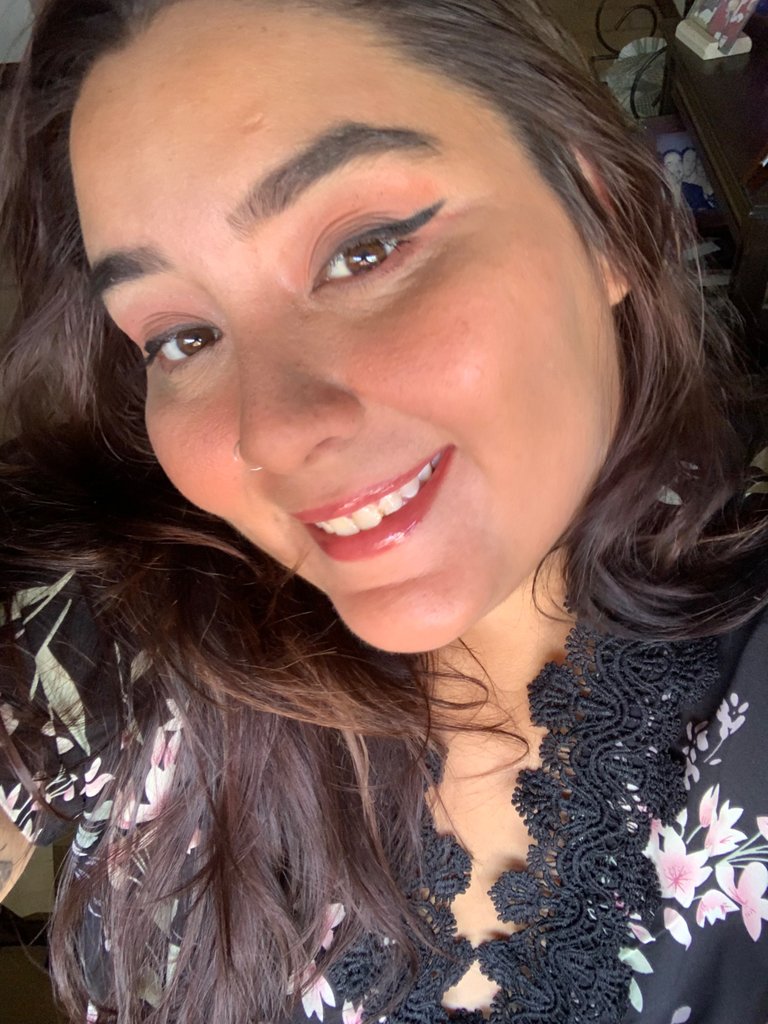
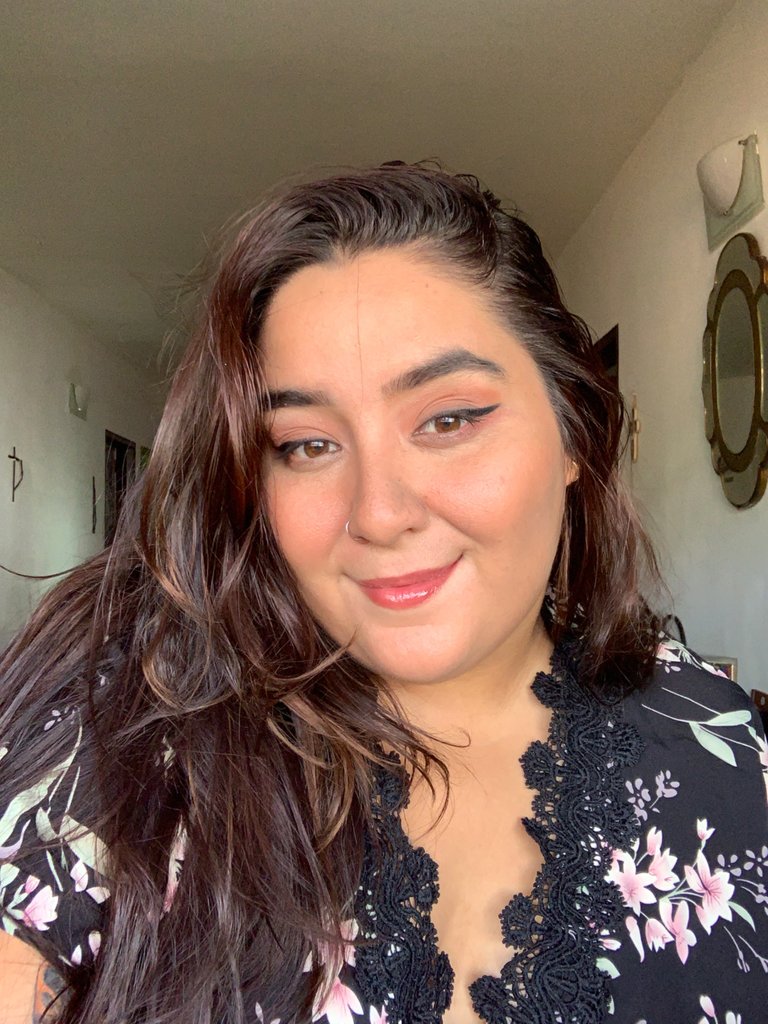
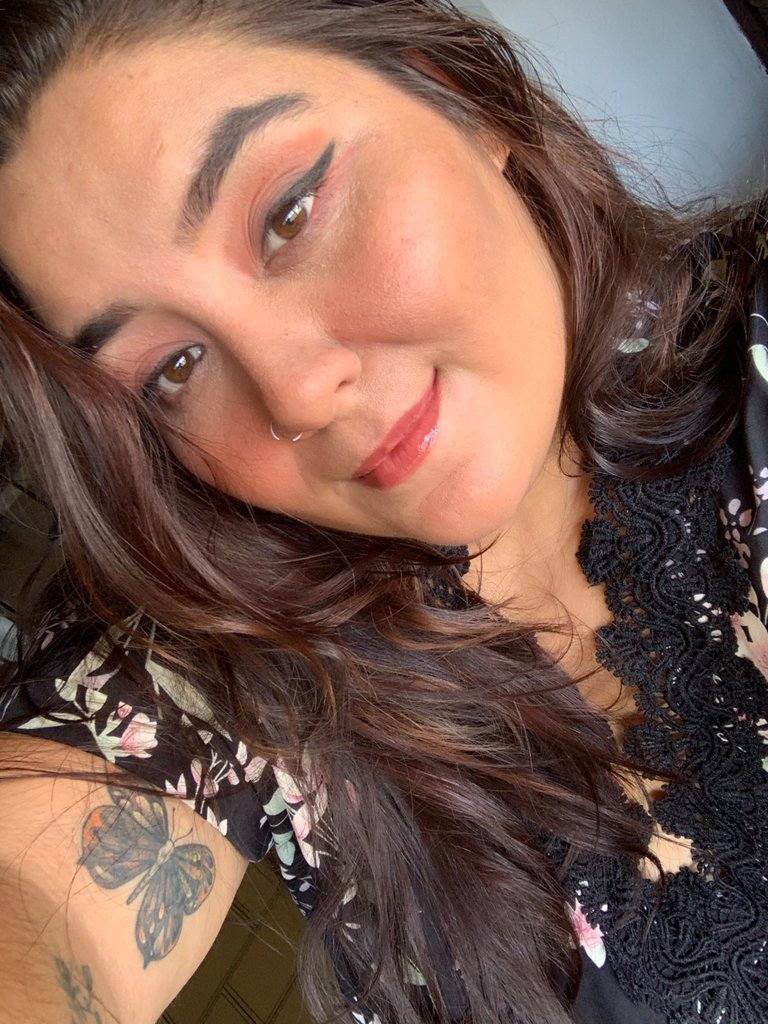
Para finalizar, hice un delineado sutil tipo ojo gato, agregue rímel y un labial nude para así complementar mi look. Y este fue el resultado final 💜🩵
Espero disfruten del proceso como yo lo hice y sigan maquillándose y viéndose preciosas💜
Gracias infinitas por leerme🩵
Good afternoon, beautiful people! My name is Gloria Palima, and today I come to show you the step by step of a simple day-to-day makeup, going to work, an appointment, or just going out to buy the market of the week hahaha.
We will start with skin care! In particular I use very few things, but it is always important to keep our face hydrated and protected from the sun, this time I use a facial tonic from a famous Venezuelan pharmacy and then apply my moisturizer, after that I use my sunscreen and wait for it to dry.
After this I started preparing my eyebrows, I used a fixing wax which I moisten with rose water and went on to apply it on my eyebrows so that they are well combed, then with an eyebrow pencil I go to fill in the blanks and I give color to my eyebrow, to finish with a concealer I cleaned the imperfections and that's it!
We proceed to carry out the whole process of the face in general, here we apply concealer to illuminate and correct dark circles, we put blush in cream, we contour the nose, We cover imperfections with a little darker concealer and apply our minimum amount of base so that our skin is soft and does not look full of makeup since it is what we least want since we could use this makeup all day.
After this we seal all our cream products with powdered products, our blush, loose powder and we move on to the most fun part for me which are the shadows, apply three different colors but which are very calm and cute colors for the day.
The first color I used was a light brown which I applied in the eye socket.
Then apply a darker shade of brown towards the outside of the eye.
Then a more orange tone in the middle to give more life to our eye and finally at the bottom of the water line add a touch of red wine making a Smokey
Finally, I made a subtle cat-eye eyeline, I added mascara and a nude lipstick to complement my look. And this was the final result 💜🩵
I hope you enjoy the process as I did and keep putting on makeup and looking beautiful 💜
Thank you so much for reading me💜