Hola a todos, feliz jueves.
Hace un tiempo conseguí unos hilos de lana que tenía guardado y decidí colocarme manos a la obra para darles un buen uso. Con ellos elabore un pequeño mantel que les compartí la semana pasada y hoy me coloque muy creativa para hacer zarcillos artesanales.
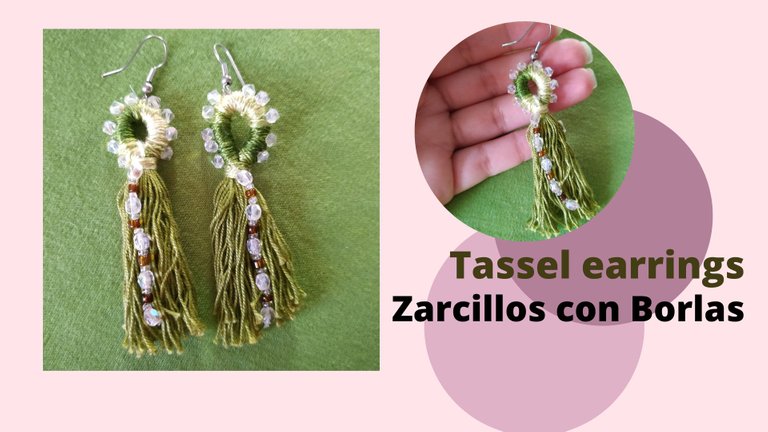
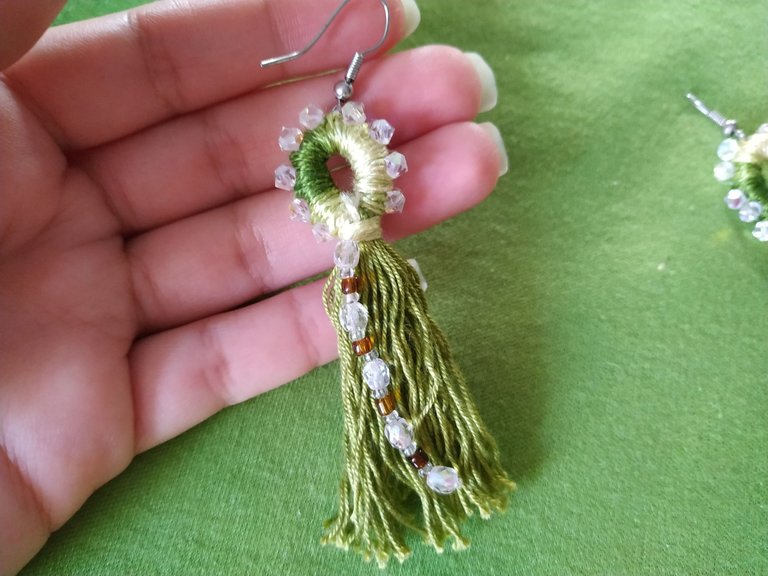
Son unos hermosos zarcillos / aretes elaborados con hilo de lana fina y pequeños diamantes de plástico que le dan un toque muy lindo.
Son muy fáciles de elaborar y aquí les dejo el paso a paso de cómo hacerlo.
Hello everyone, happy thursday.
Some time ago I got some wool yarns that I had saved and I decided to get to work to put them to good use. With them I made a small tablecloth that I shared with you last week and today I got very creative to make handmade earrings.
They are beautiful tendrils / earrings made with fine wool yarn and small plastic diamonds that give a very nice touch.
They are very easy to make and here is the step by step on how to do it.

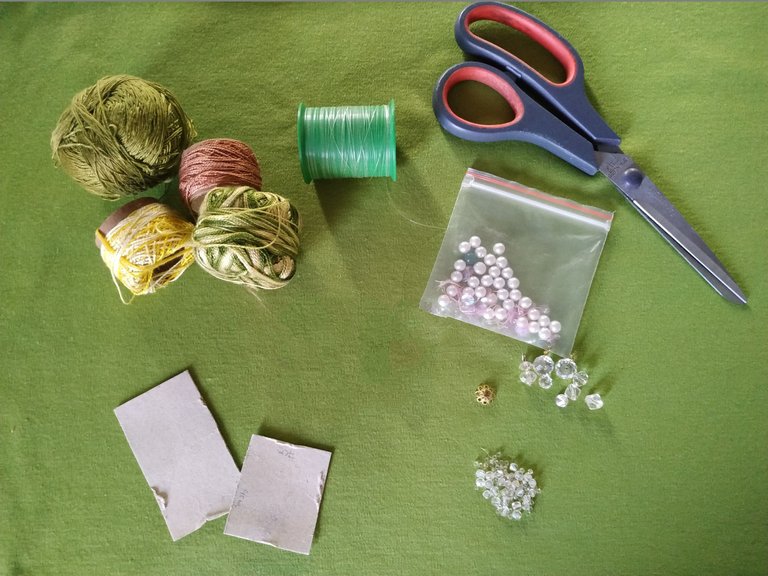
- Hilos de lana fina.
- Hilo nylon.
- Tijeras.
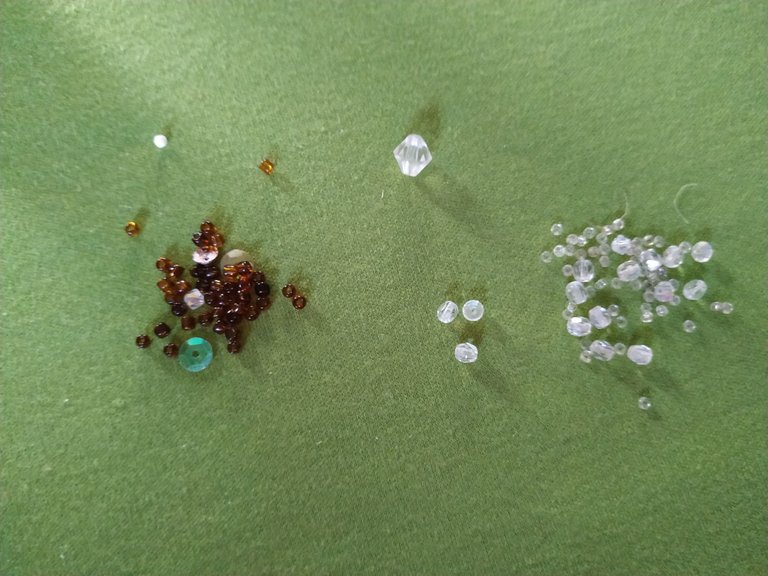
- Diamantes y perlas de plástico.
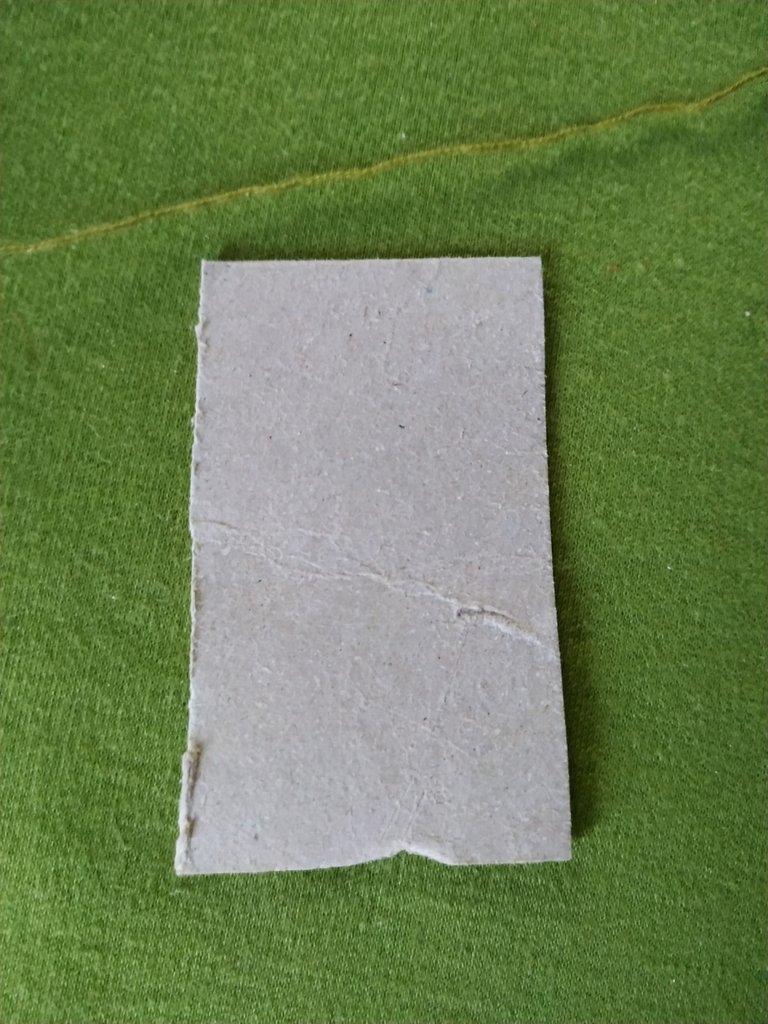
- Cartón de 7 x 4 cm.
- Ganchos de aretes.
- Fine wool yarn.
- Nylon thread.
- Scissors.
- Diamonds and plastic beads.
- 7 x 4 cm cardboard.
- Earring hooks.

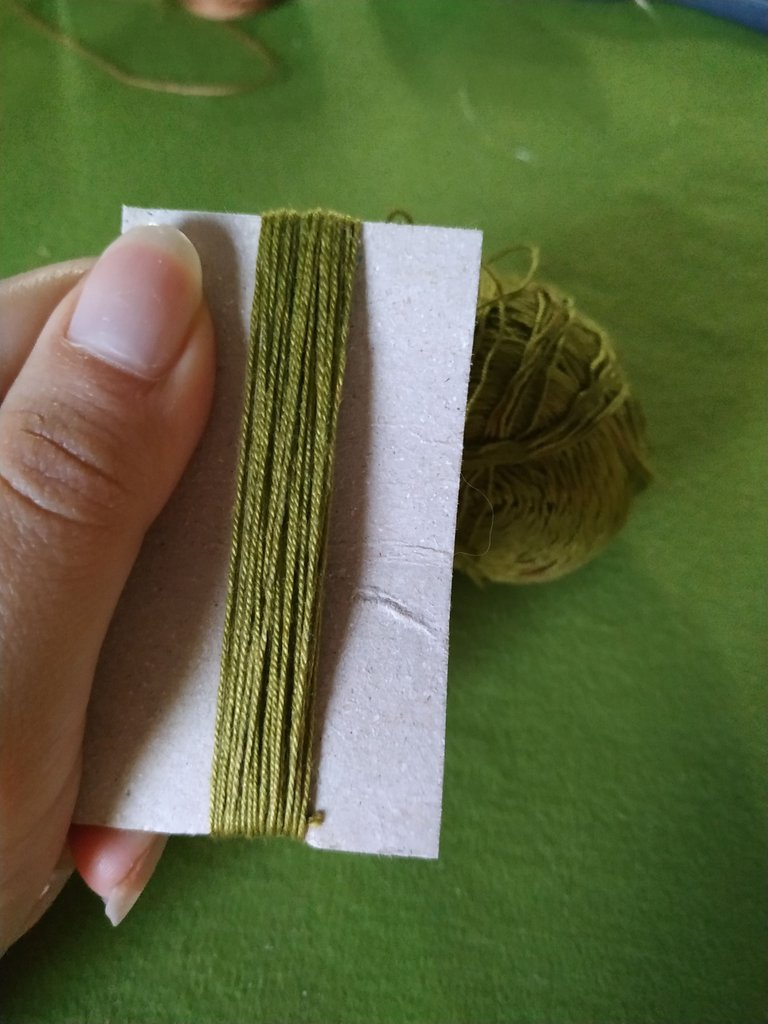
Vamos a empezar a elaborar las borlas de los zarcillos, tomamos el cartón y le vamos a pasar el hilo dando vueltas de manera vertical.
We are going to start making the tassels of the tendrils, we take the cardboard and we are going to pass the thread around it vertically.
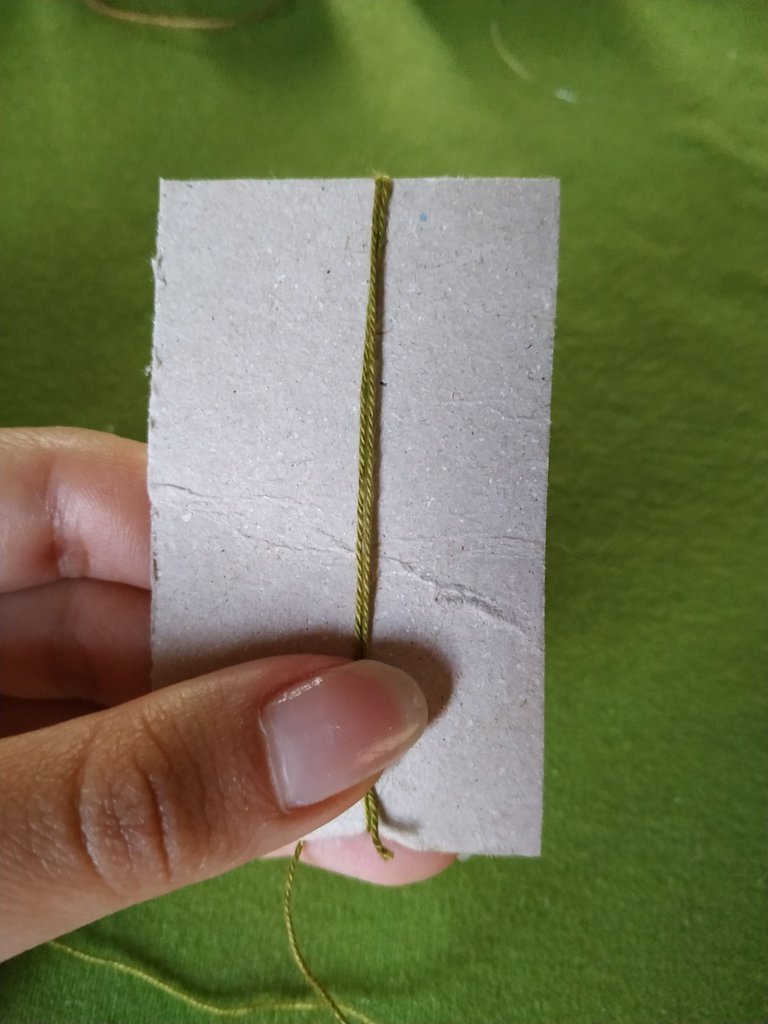
En total le vamos a dar 40 vueltas.
In total we are going to give you 40 laps.
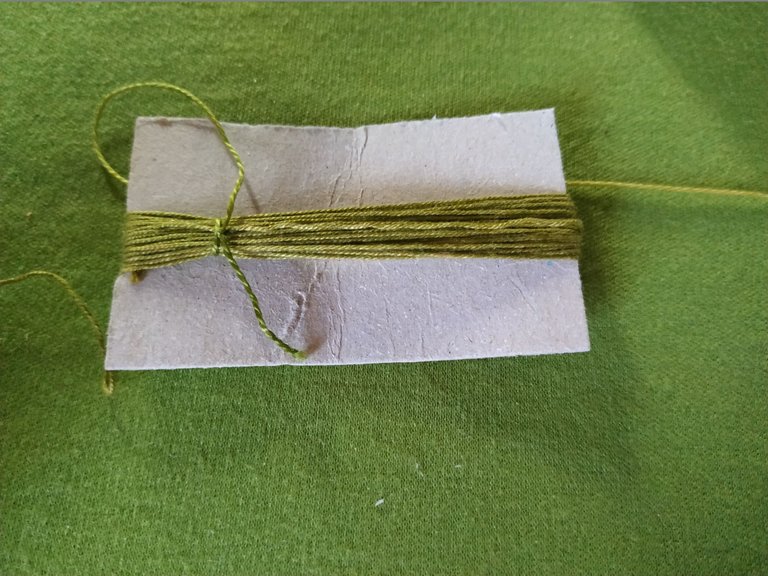
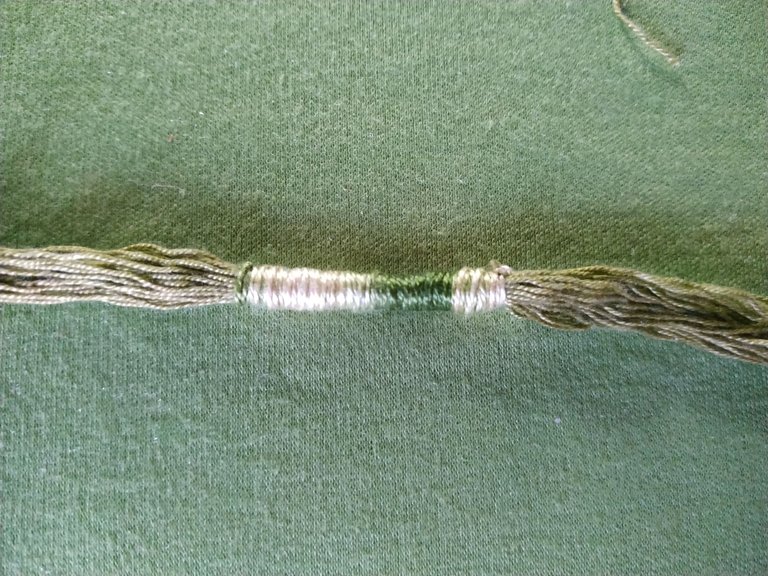
Vamos a colocarlo de manera horizontal y le hacemos un nudo con un hilo de otro color.
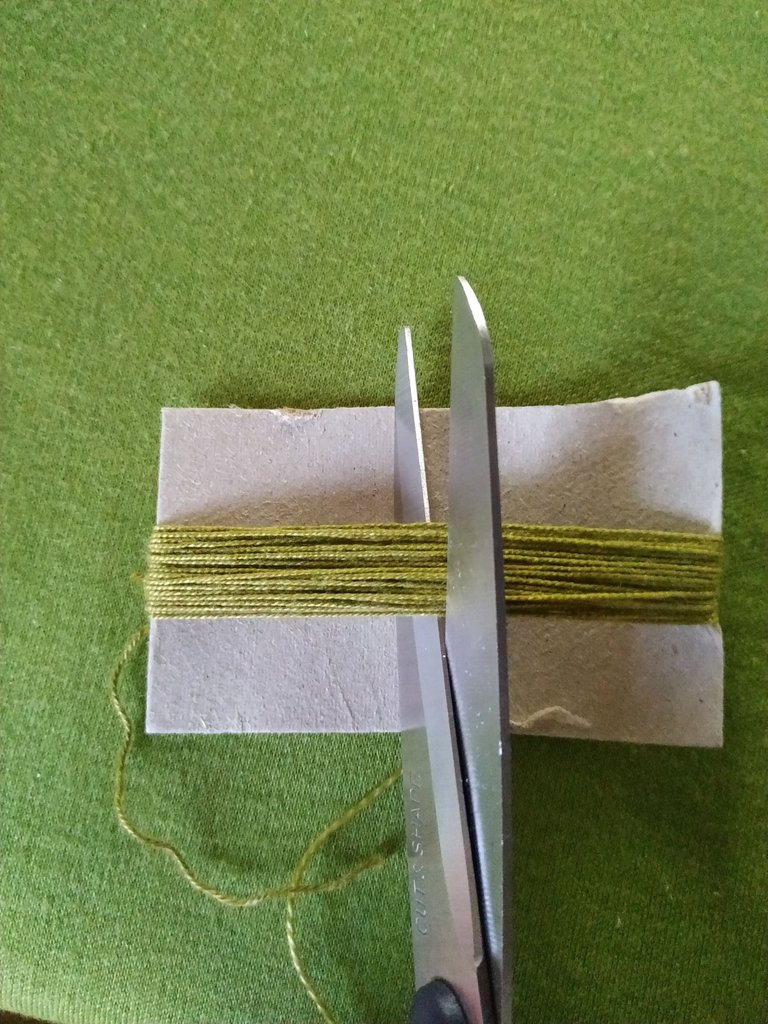
Le damos unas vueltas para sujetarlo, y cortamos el hilo por la parte de atrás donde hicimos el nudo.
We are going to place it horizontally and we tie a knot with a thread of another color.
We give it a few turns to hold it, and cut the thread at the back where we made the knot.
Ya teniendo sueltos, pero ajustados los hilos comenzamos a darle vueltas al hilo dejando 3 centímetros libres a cada lado.
Once the threads are loose, but tight, we start to turn the thread leaving 3 centimeters free on each side.
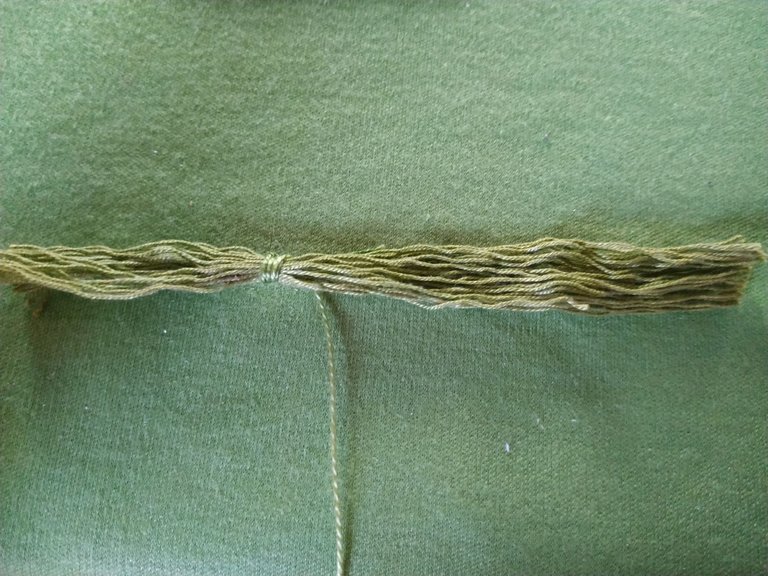
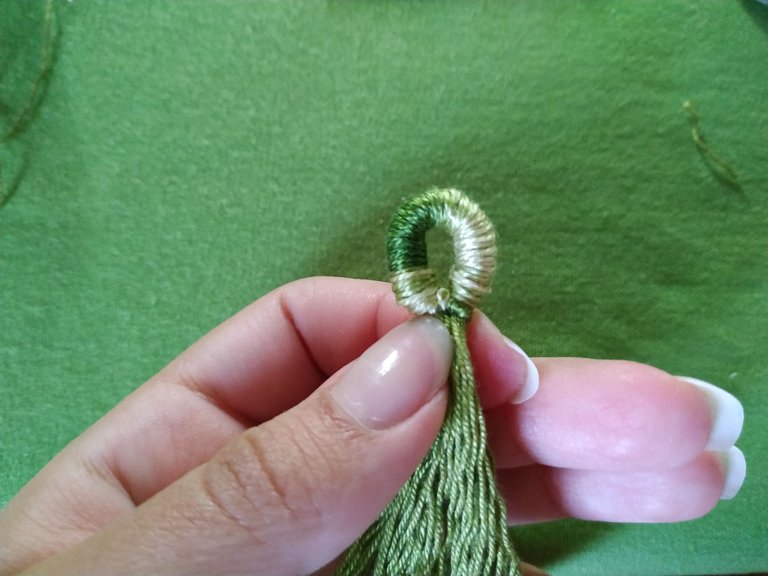
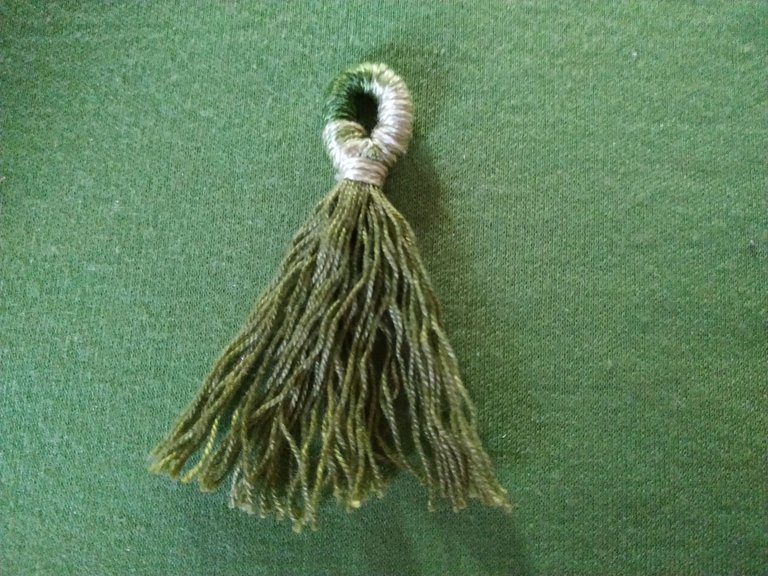
Cuando terminemos, hacemos un nudo y doblamos para formar un círculo y le colocamos más hilo para ajustar. Nos debe de quedar ya bien formada la borla.
When we finish, we tie a knot and fold to form a circle and place more thread to adjust. The tassel should be well formed.
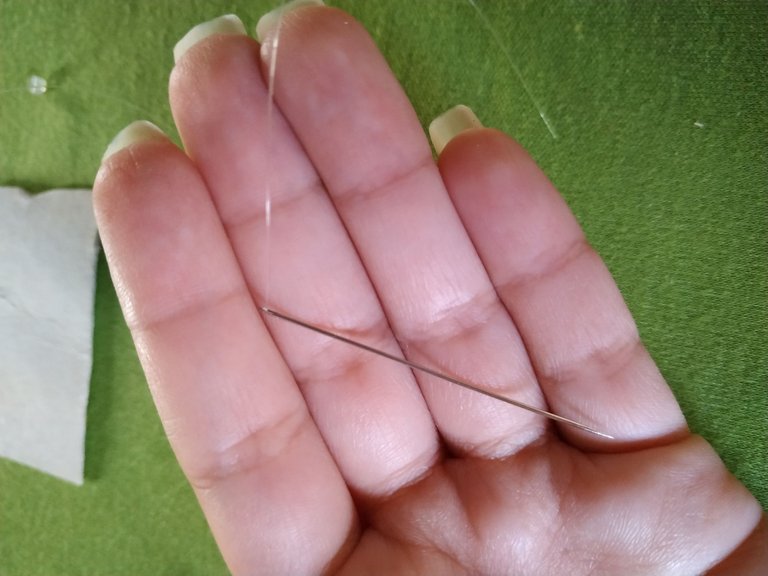
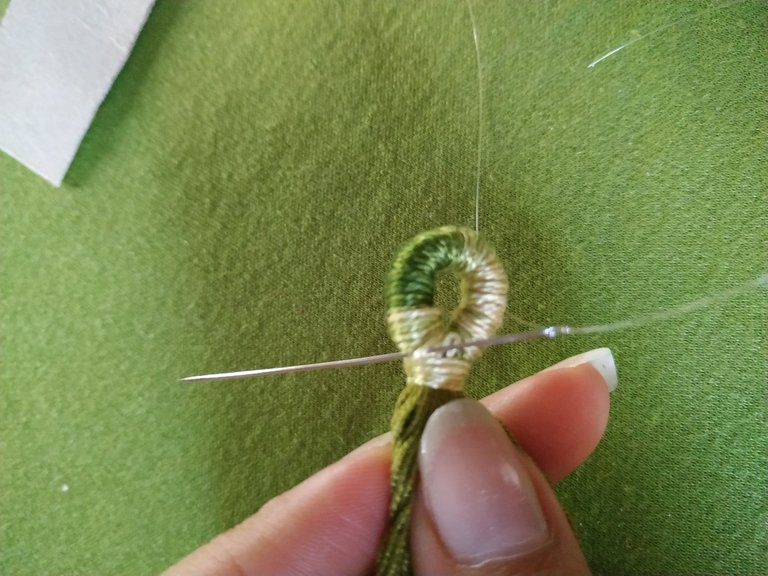
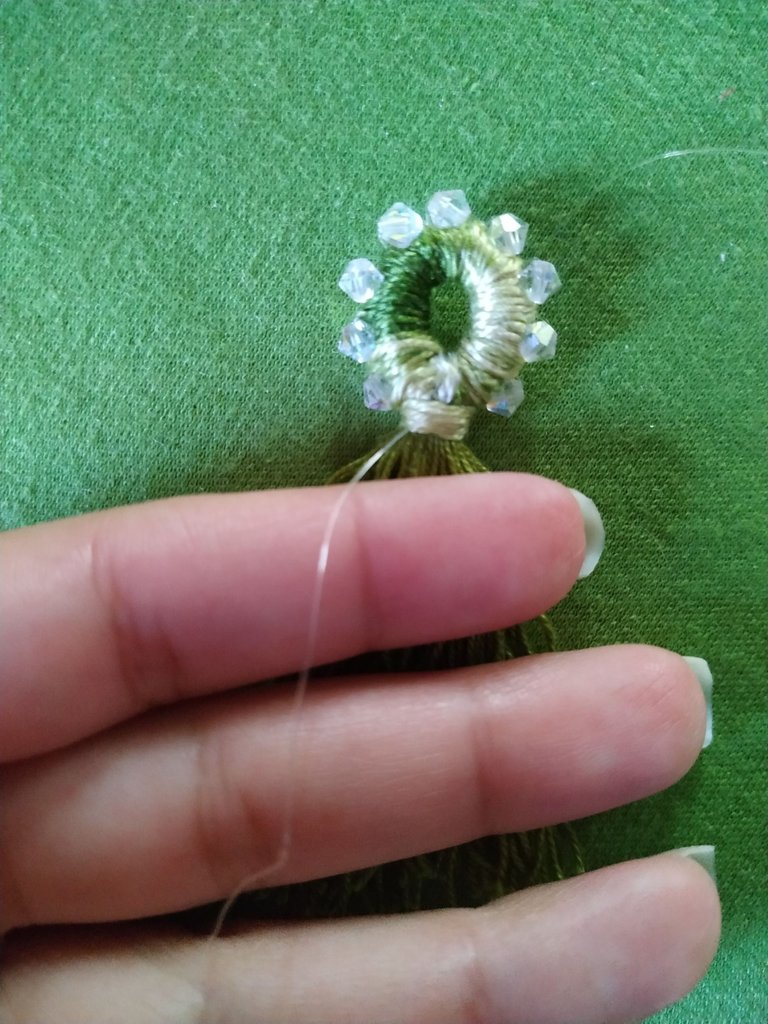
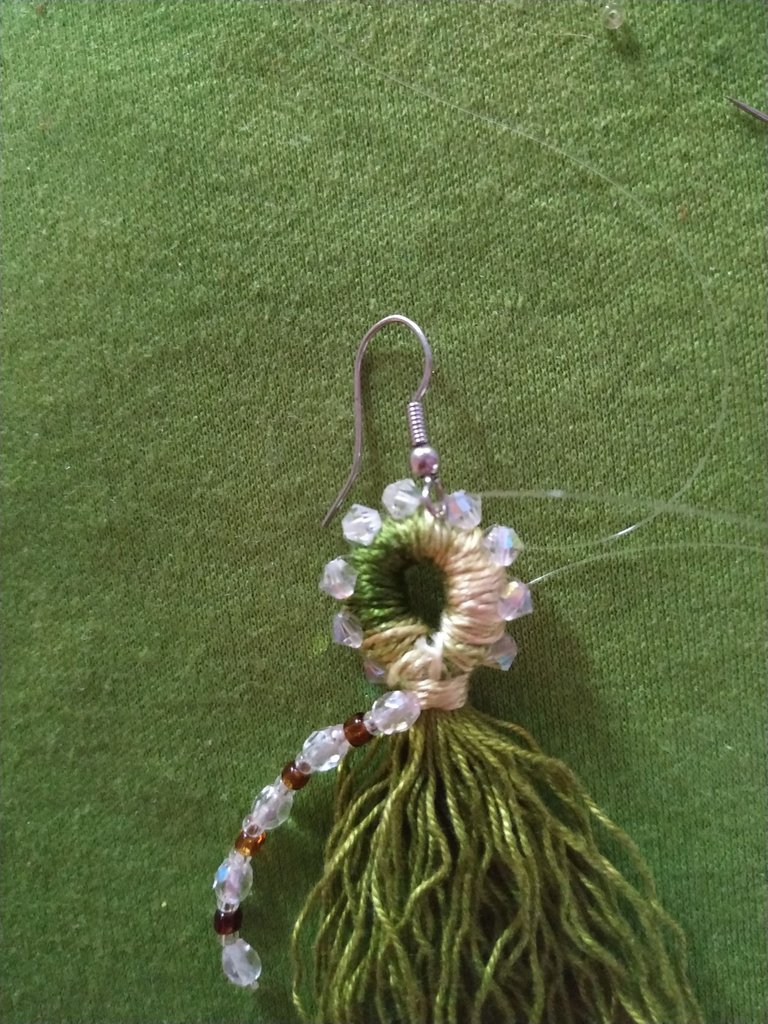
Tomamos una aguja enhebrado con el hilo nylon y la pasamos por uno de los laterales del círculo que acabamos de hacer.
We take a needle threaded with nylon thread and pass it through one of the sides of the circle we have just made.
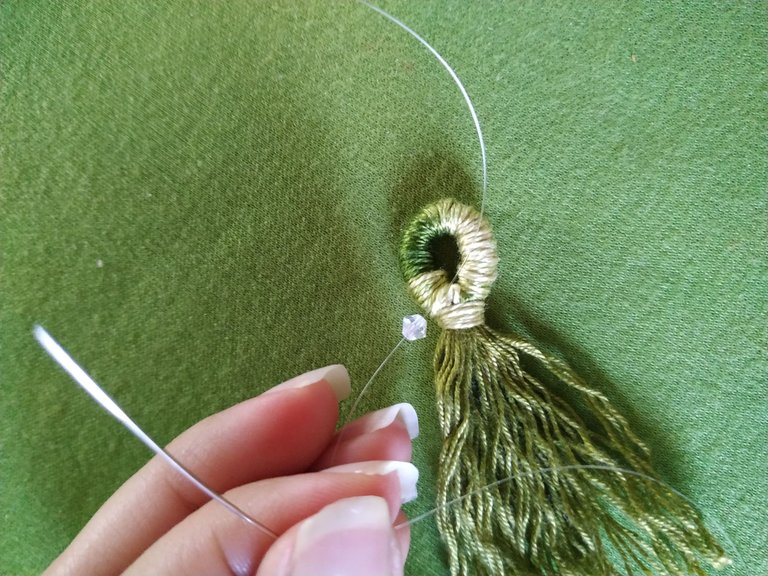
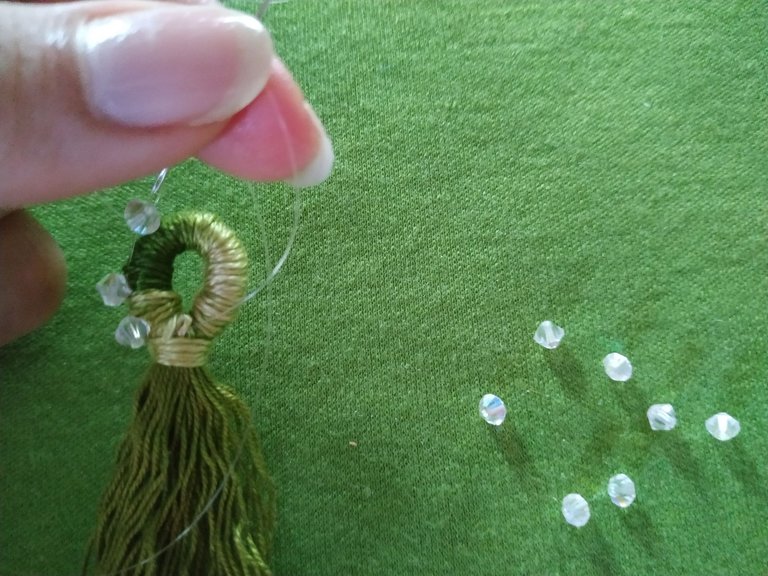
Vamos a colocar una de las decoraciones (perlas, diamantes, swarovski) y pasamos de nuevo la aguja por el círculo para fijar el diamante.
Continuamos por todo el aro y cuando lleguemos al final hacemos un nudo con un solo hilo para que no se suelte.
We are going to place one of the decorations (pearls, diamonds, swarovski) and pass the needle again through the circle to fix the diamond.
We continue all around the hoop and when we reach the end we tie a knot with a single thread so that it does not come loose.
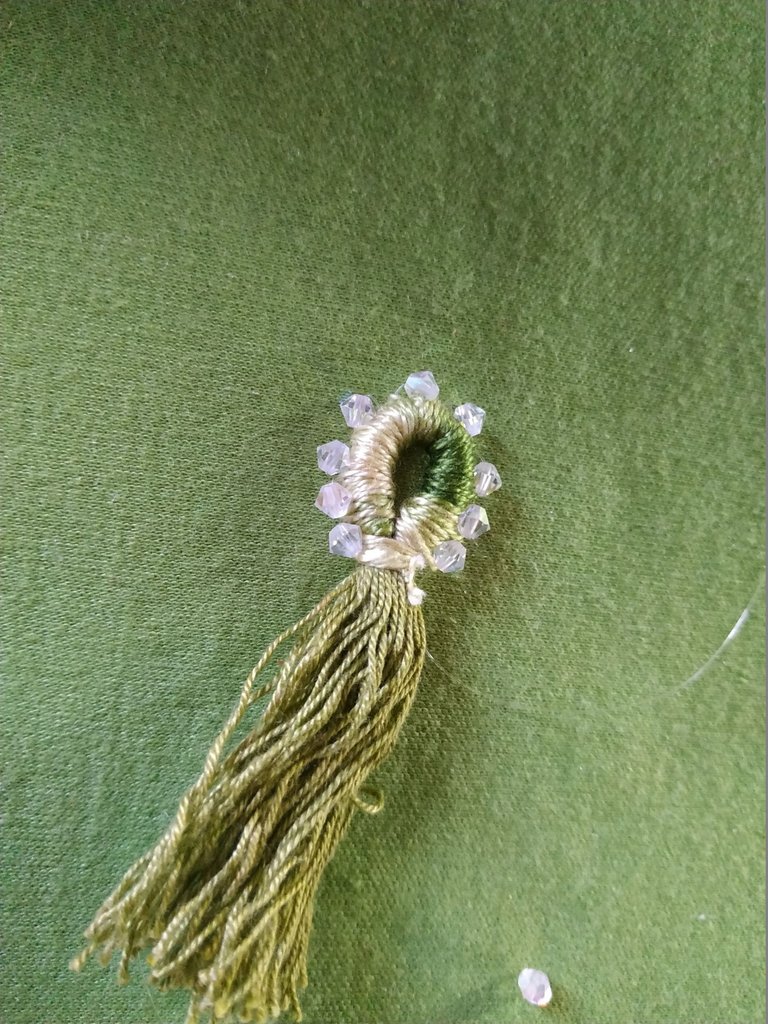
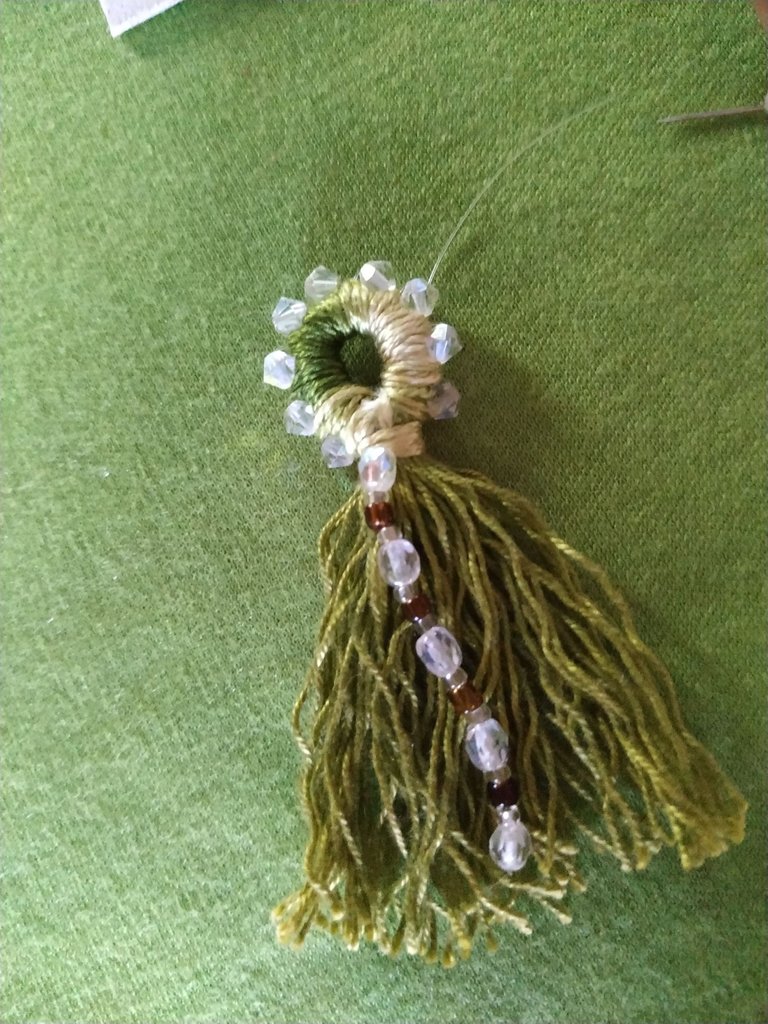
Luego de hacer este nudo, no corte el sobrante del hilo nylon sino que lo decoré con más diamantes para que el acabado quede mejor.
After making this knot, I did not cut off the excess nylon thread but decorated it with more diamonds to make the finish look better.
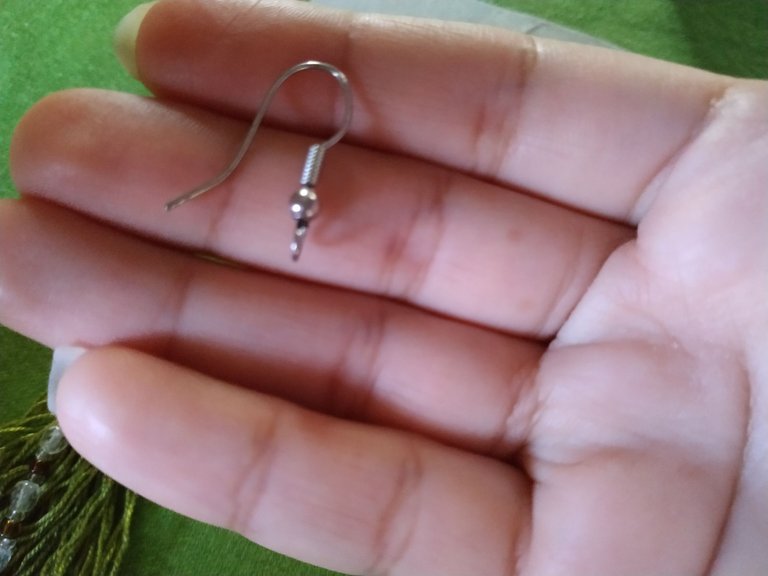
Por último le coloque el gancho del zarcillo, que lo fijé también con el hilo nylon en la parte superior de la borla. Cómo es transparente no se nota la unión.
Lastly, I attached the tendril hook, which I also fixed with nylon thread to the top of the tassel. As it is transparent, you can't see the union.
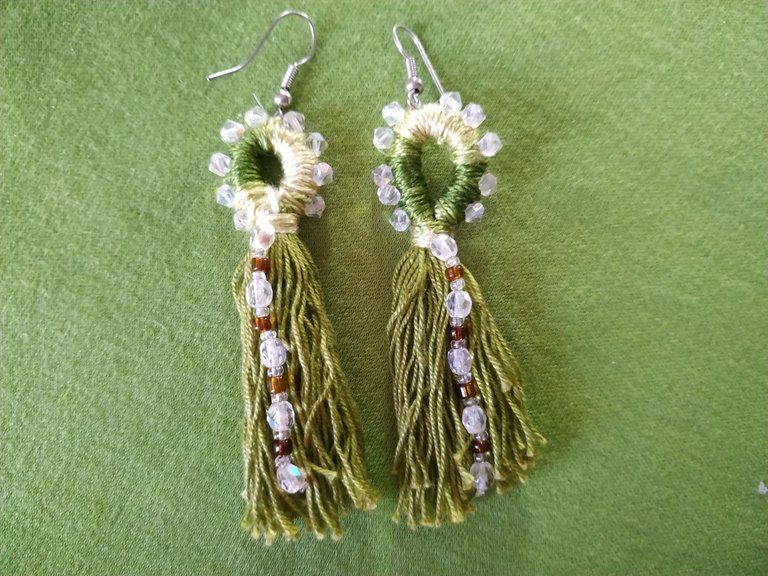
Repetimos el proceso de nuevo para hacer el otro zarcillo y estarán listos estos lindos aretes artesanales
Repeat the process again to make the other earring and these beautiful handmade earrings will be ready.
Fotos tomadas de mi teléfono Xiaomi Redmi Note 6 Pro || Photos taken from my Xiaomi Redmi Note 6 Pro phone.
Fuente del editor de imágenes || Image editor source
Amiga tu creatividad es única, te quedaron hermosos 💚
Muchas gracias 😚
The rewards earned on this comment will go directly to the people sharing the post on Twitter as long as they are registered with @poshtoken. Sign up at https://hiveposh.com.
Hey! Este diseño y color están muy bonitos, me encantó el resultado ✨
Muchas gracias, a mi también me gusto esta combinación de colores.
¡Enhorabuena!
✅ Has hecho un buen trabajo, por lo cual tu publicación ha sido valorada y ha recibido el apoyo de parte de CHESS BROTHERS ♔ 💪
♟ Te invitamos a usar nuestra etiqueta #chessbrothers y a que aprendas más sobre nosotros.
♟♟ También puedes contactarnos en nuestro servidor de Discord y promocionar allí tus publicaciones.
♟♟♟ Considera unirte a nuestro trail de curación para que trabajemos en equipo y recibas recompensas automáticamente.
♞♟ Echa un vistazo a nuestra cuenta @chessbrotherspro para que te informes sobre el proceso de curación llevado a diario por nuestro equipo.
Cordialmente
El equipo de CHESS BROTHERS
Muchas gracias 😄
Y puestos quedan aún más preciosos, han quedado geniales amiga!!! ♥
Hola, si me ha encantado como han quedado.
Muchas gracias por tu comentario.