Finishing the Design
It is time to install the reservoir and run the lines to return water to the first pot. We now have all six pots balanced on the edge of a window sill.
Pump System Design
The design is fluid in my head and if I need to change the location, I do not want six holes to fill and paint. One per bracket is good for now.
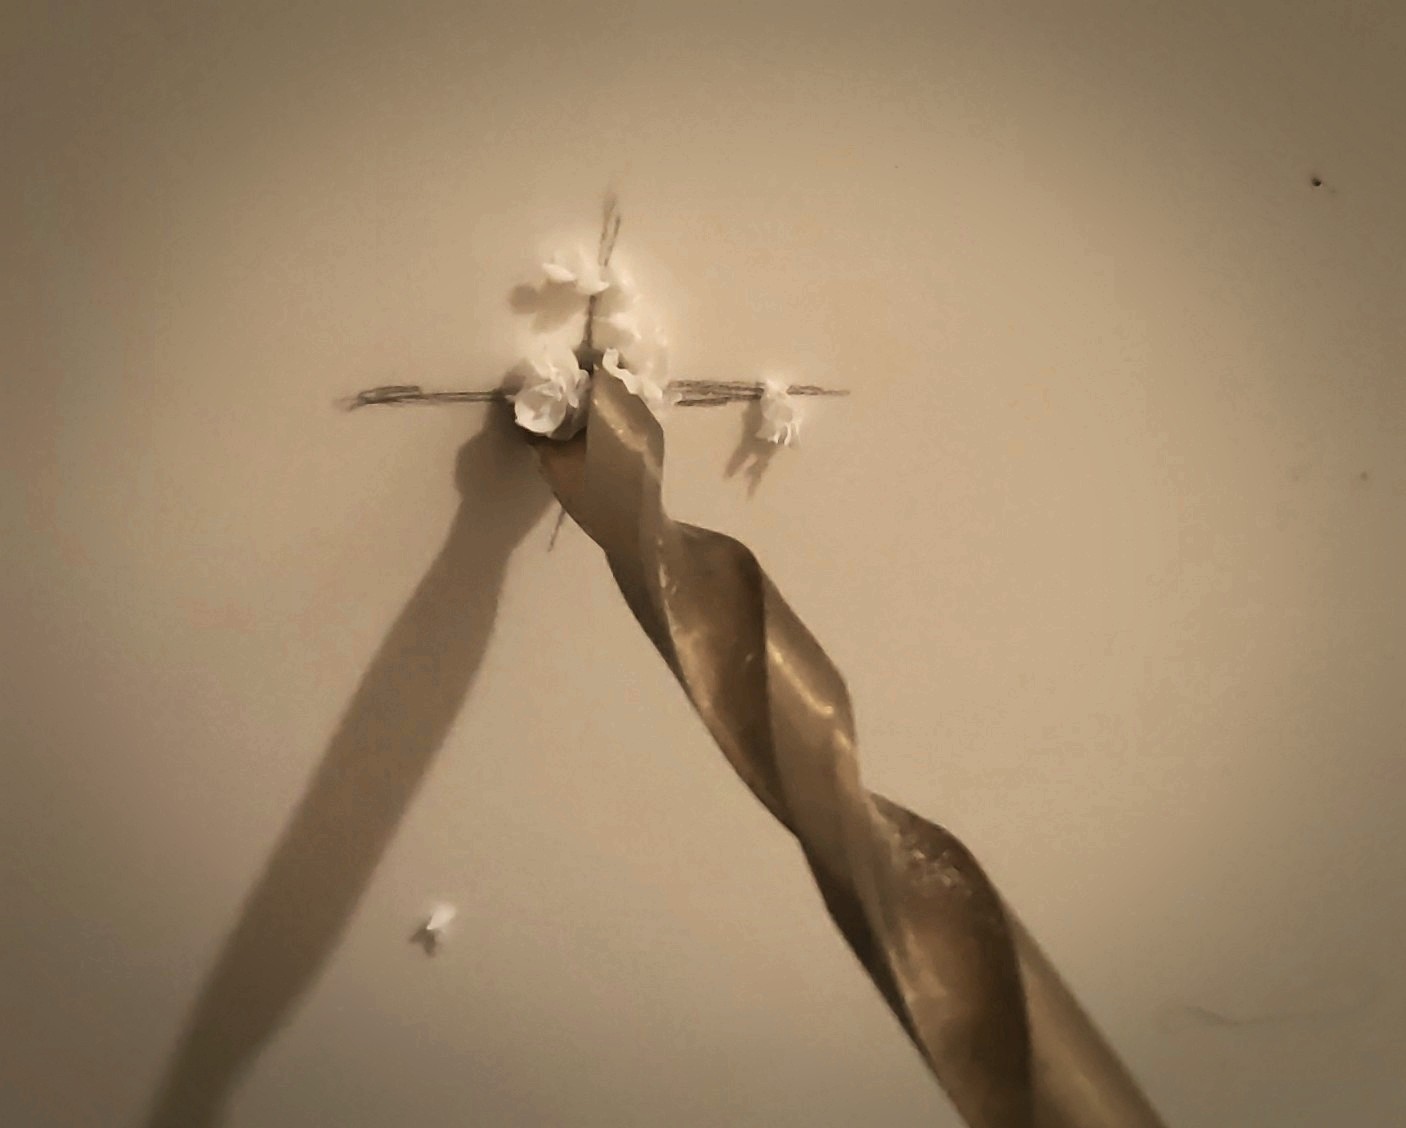
The building is old and crumbling. I normally do not need to drill to make room for mollies. I custom fit the holes and pound the mollies flush. Then melt the ends with a torch before mounting anything.
We are going to be using a long plastic pot sitting under the shelf. It will catch the water draining out of the system as the water cycles through.
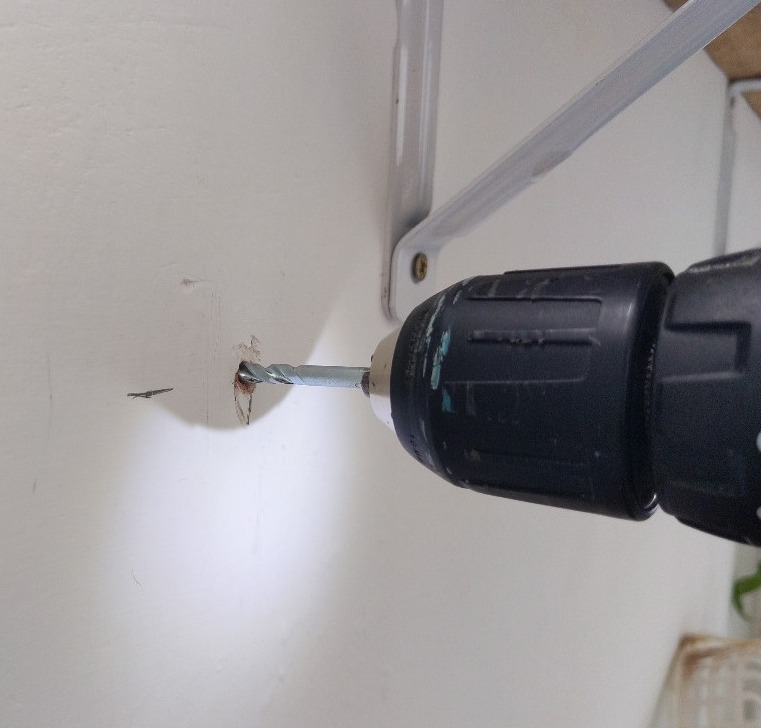
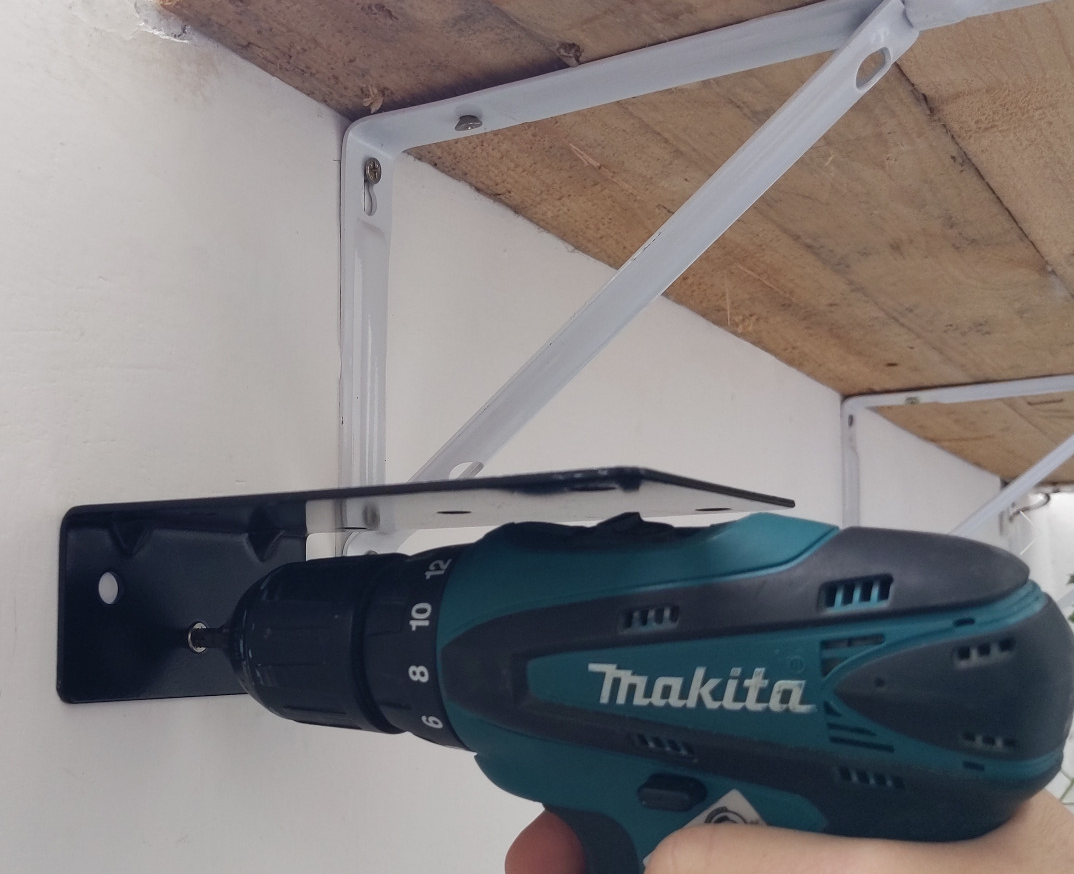
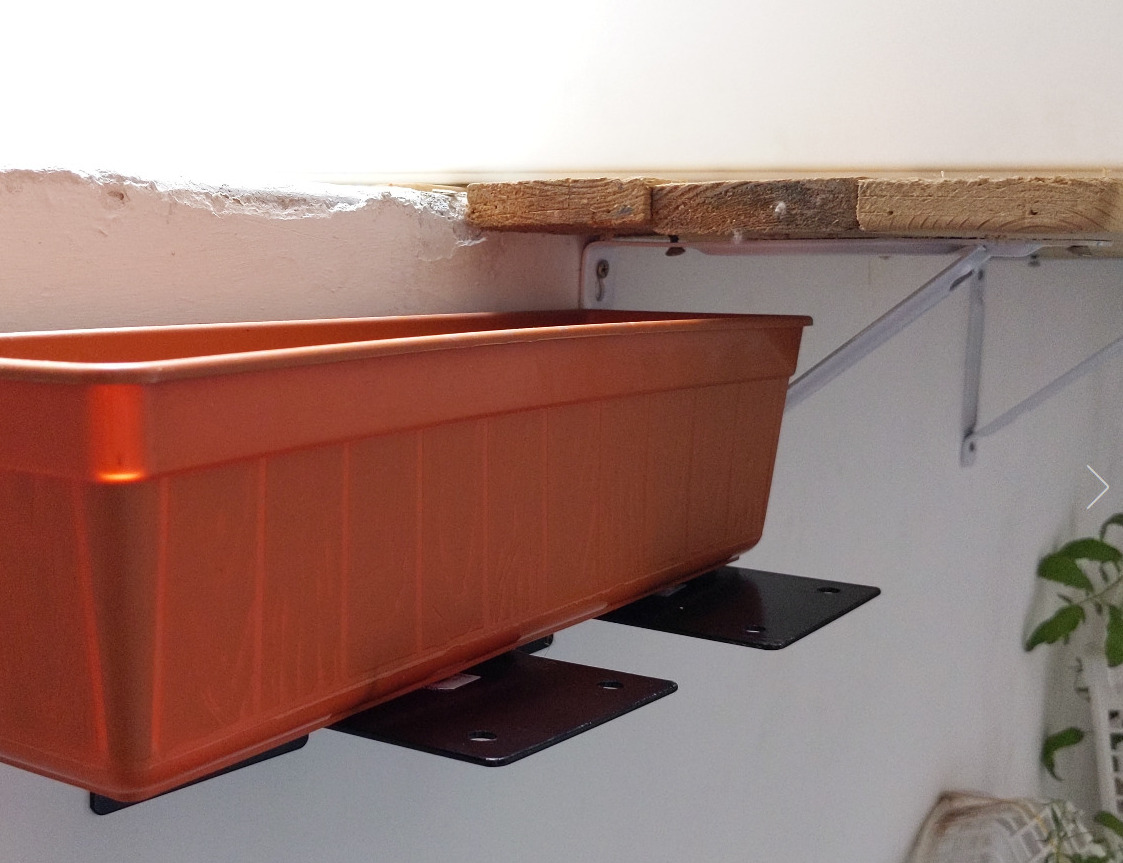
The support will be two brackets affixed with one molly per. It will be strong enough to hold what we are installing today. So let's drill the holes for the mollies that will hold the shelf. When all is working well, I will put in the other screws and paint everything.
You are now looking at the underside of the garden shelf. This pump needs to be mounted no lower than sixteen inches (40cm) from the top of the pots. If I were to use larger pots, I would need an industrial pump. For that reason, the reservoir needs to long and shallow.
I have two possible containers depending on the volume I need. It could be changed out as easily as I can take it out to clean it.
I am thinking about when it rains. The other the planters took in a lot of water. At first the floor of the laundry room was dry. That means that this system will save me clean up if I do it correctly.
I am thinking of having another piece of tubing that runs directly to the drain, meaning I won't even have to put shoes on to go check the plants in the rain, and no tracking water into the house either. For that, I will allow the container to overflow naturally and the tubing will be fitted to a fixed catch pan, otherwise, I would not be able to clean the reservoir and there would be nowhere to put the pump when I do take it out to clean it. The drain system will be added tomorrow.
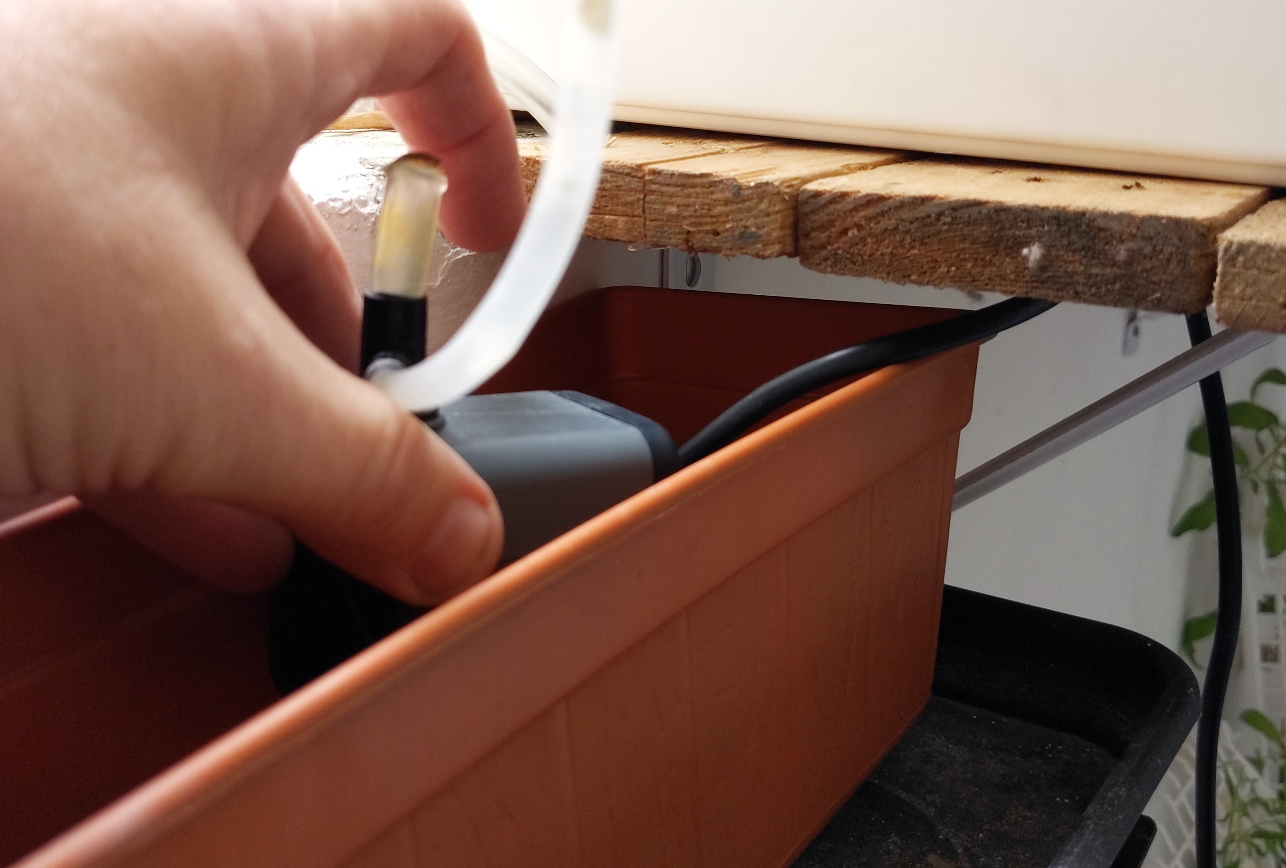
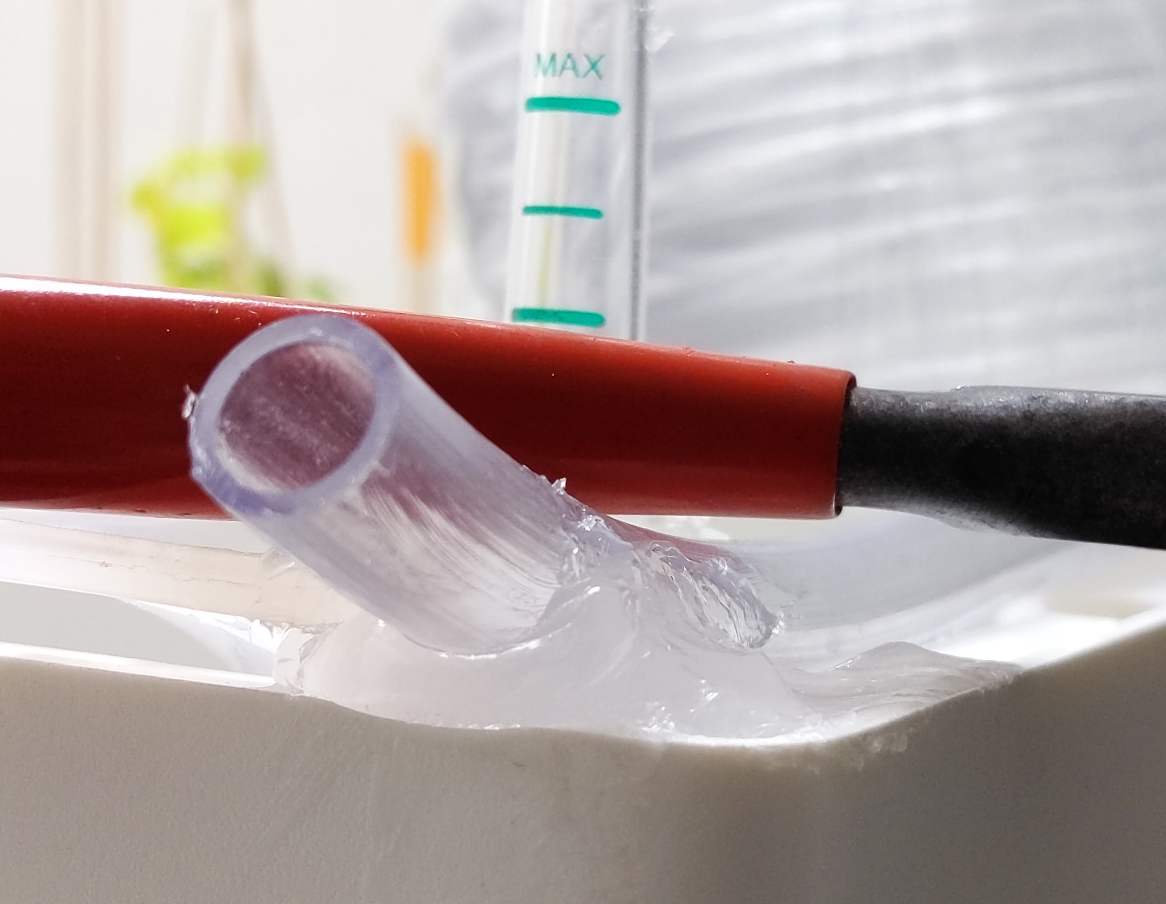
Here is the catch pan and I am now dropping the pump into its new home. I have opted to use the thinner tubing in order to gain more height. The pump can only lift water six inches if you want a lot of flow (large tubing) or sixteen inches if you use smaller tubing. Those are the limits.
For that reason I had to make a plug for the larger outlet.
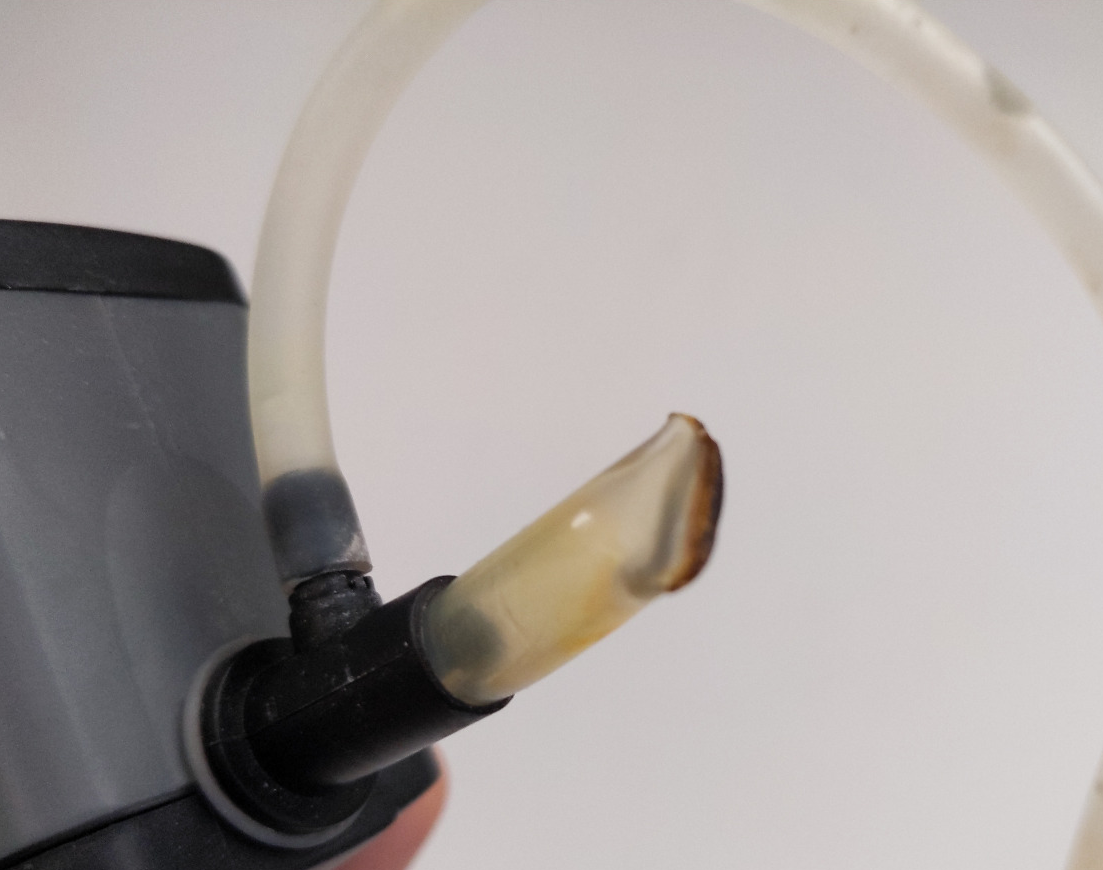
I pushed a piece of tubing into it. Then I took a torch and melted the tubing and squeezed it in on itself. It doesn't come apart. This pump was in use on the other system. Using the small tubing will result in a trickle of water. I prefer to have less flow, which allows me to run the pump for at least a minute. My first system would flood the pots in one minute and I have not found a timer that allows less than a minute. These are the things you run into when inventing things. There are bugs!
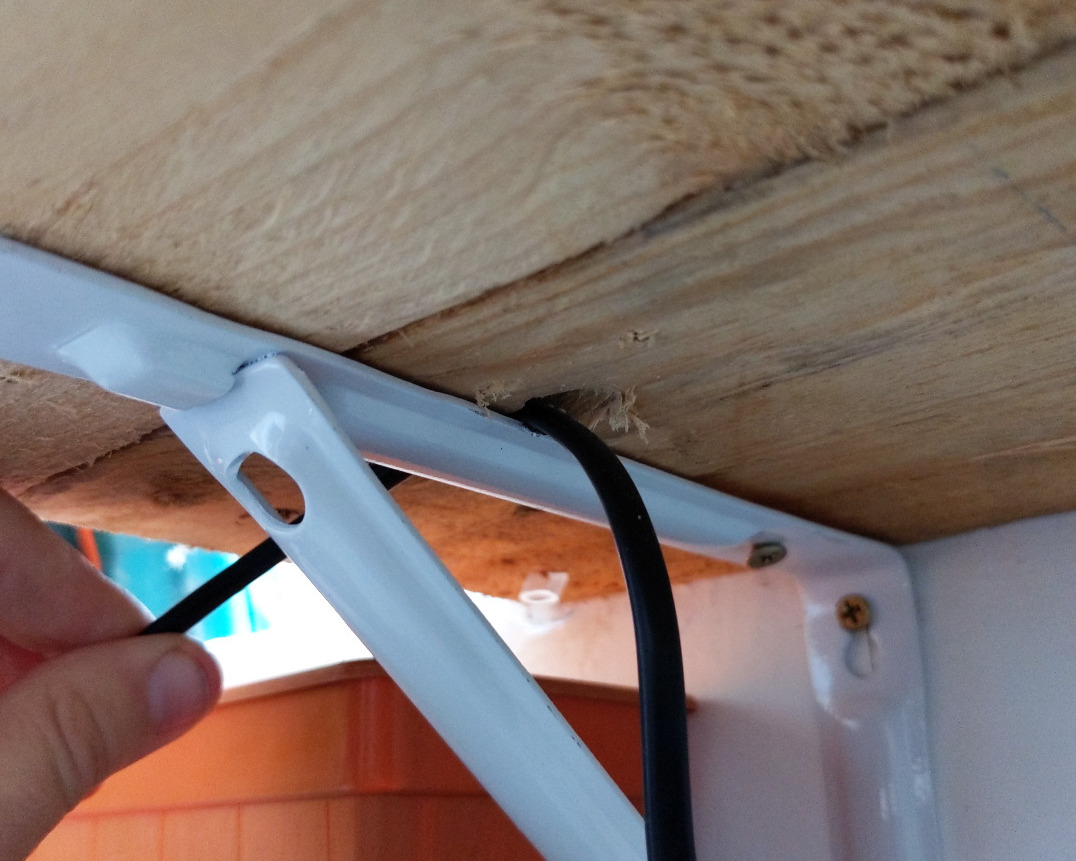
Next, we need something to support the wiring. This pump is 220v and I could dislodge the suction cups or rotate the pump just by moving the wire. I also had that problem with the other system, so lessons learned is time saved.
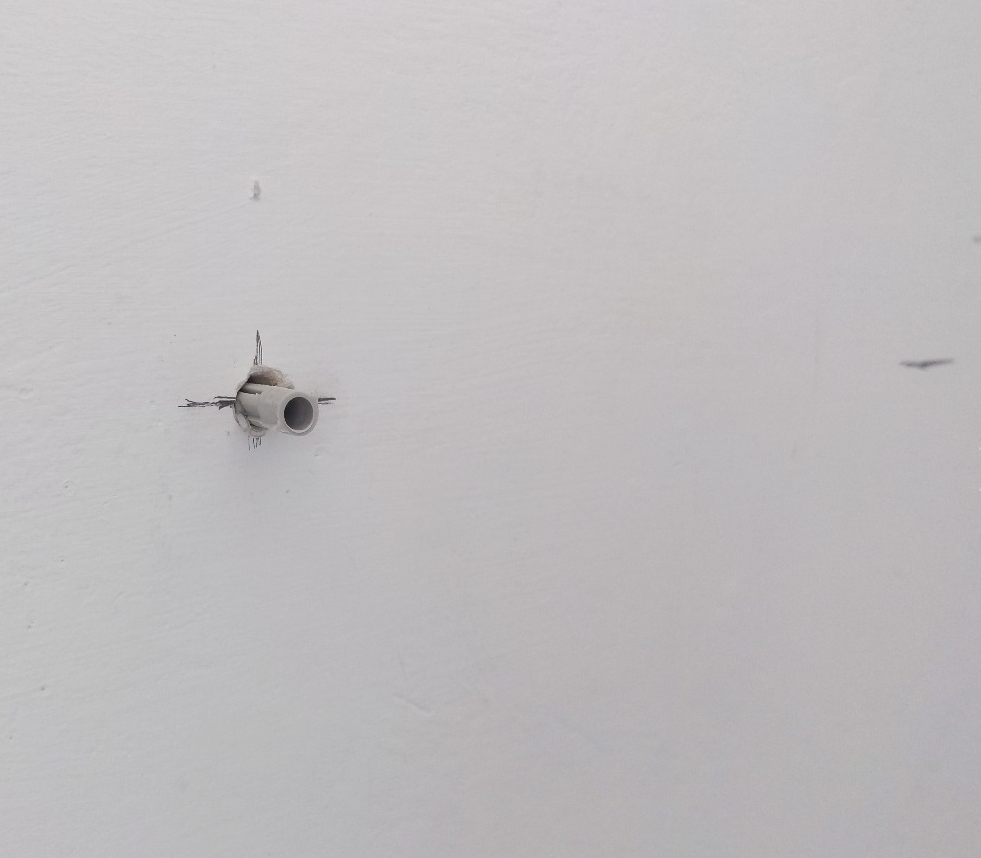
I drilled out a recess above the shelving support and ran the wiring through it. I lucked out on the wiring since the reservoir is near the door. My timer can go under the light switch.
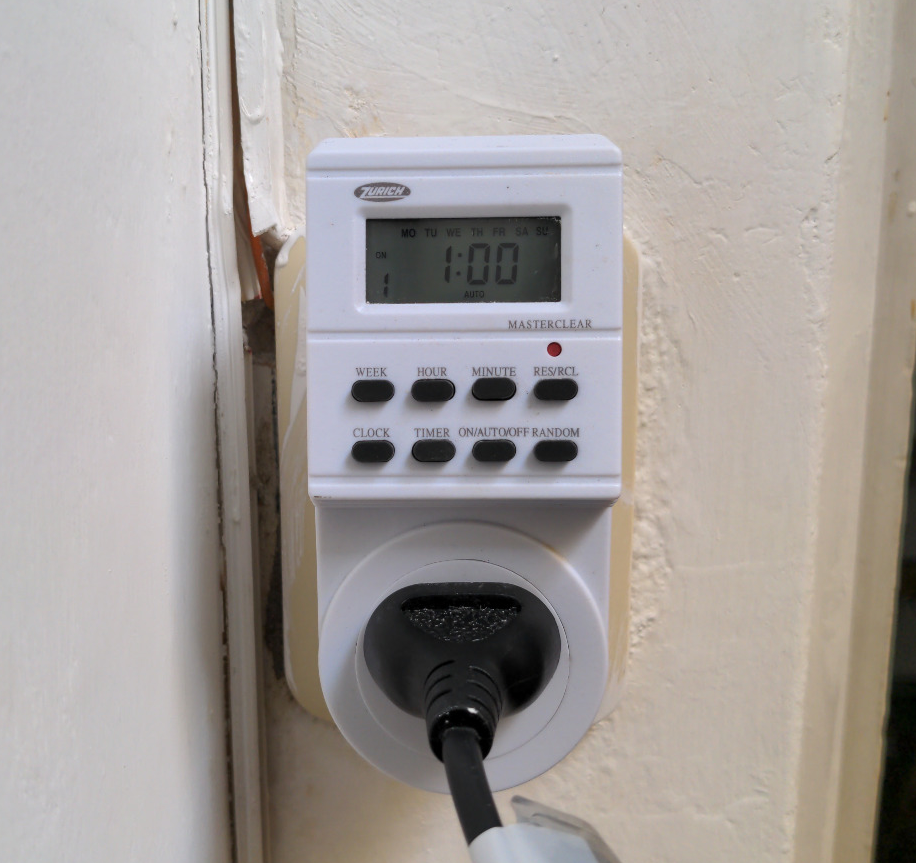
As you can see this one has all the days of the week listed. I can set it for every other day or only two days per week.
The large amount of water in the pot bottoms allows the plants to have water for up to a week. I will be monitoring the system and tweaking timer modifications as time goes on.
I have had four pots chained and have physically poured the water into the first pot to test it. Much of what I have planted are seedlings and vegetables that are rooting with the hormone I use. They need a lot of moisture and watering every few days has been enough. More benefits to this kind of system.
The Feed
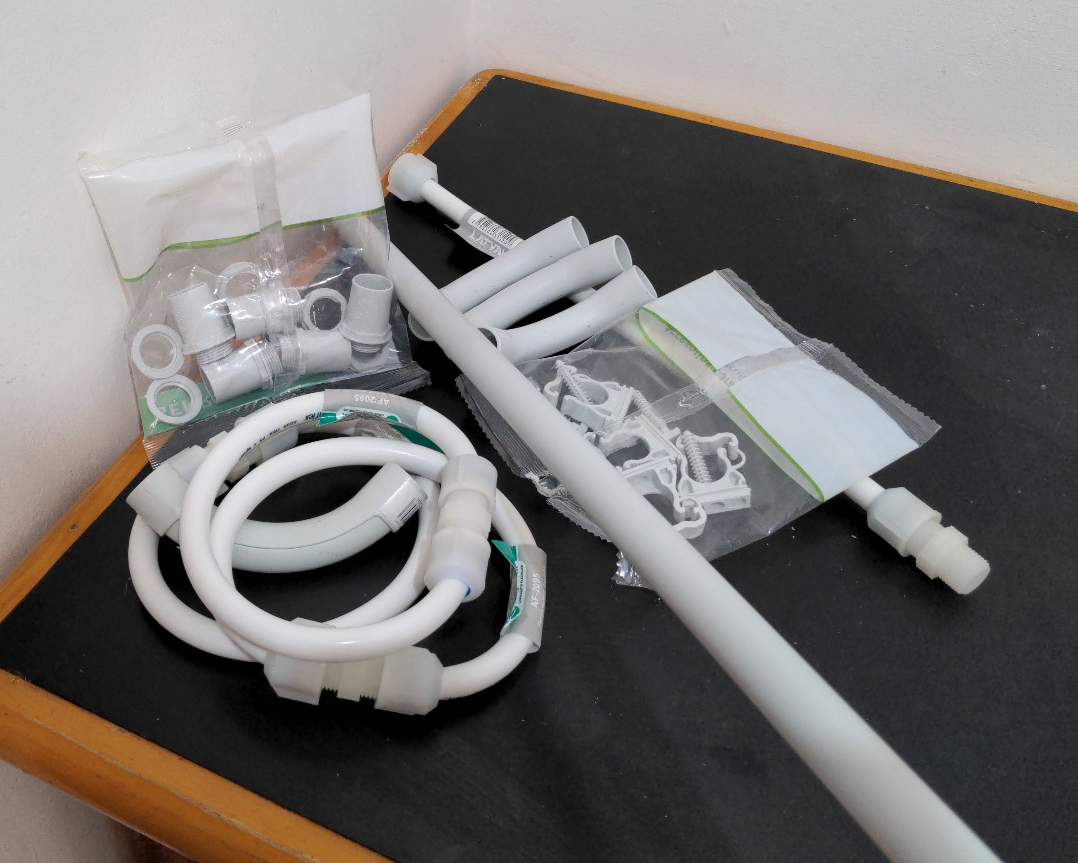
I had purchase a few possibilities for the top-side feed system. I could have put the reservoir on the other side, which would make for a very long drain setup with the pump located right under the first pot. In that case I could have had a deeper reservoir. But as you see, our drain tube just dumps into the reservoir. For that reason, the feed will need to stretch eight feet over to pot number one.
I have PVC and elbows to work with but I am going to use the KISS system to start with. That is, "Keep It Simpe Stupid!"
Because we are dealing with a trickle out of the pump, I only need to get the water up to the top of the pot, plus a little bit. Then run tubing across the tops of all six pots to number one.
I am using the natural annoying bed of the new tubing to make that little bit that I mentioned. I have glued it to the filler neck of pot six, running the length of the shelf to pot one. This way, when I take a look out the window to see the water levels, I can also see if the pump is running or not. I had my thinking cap on.
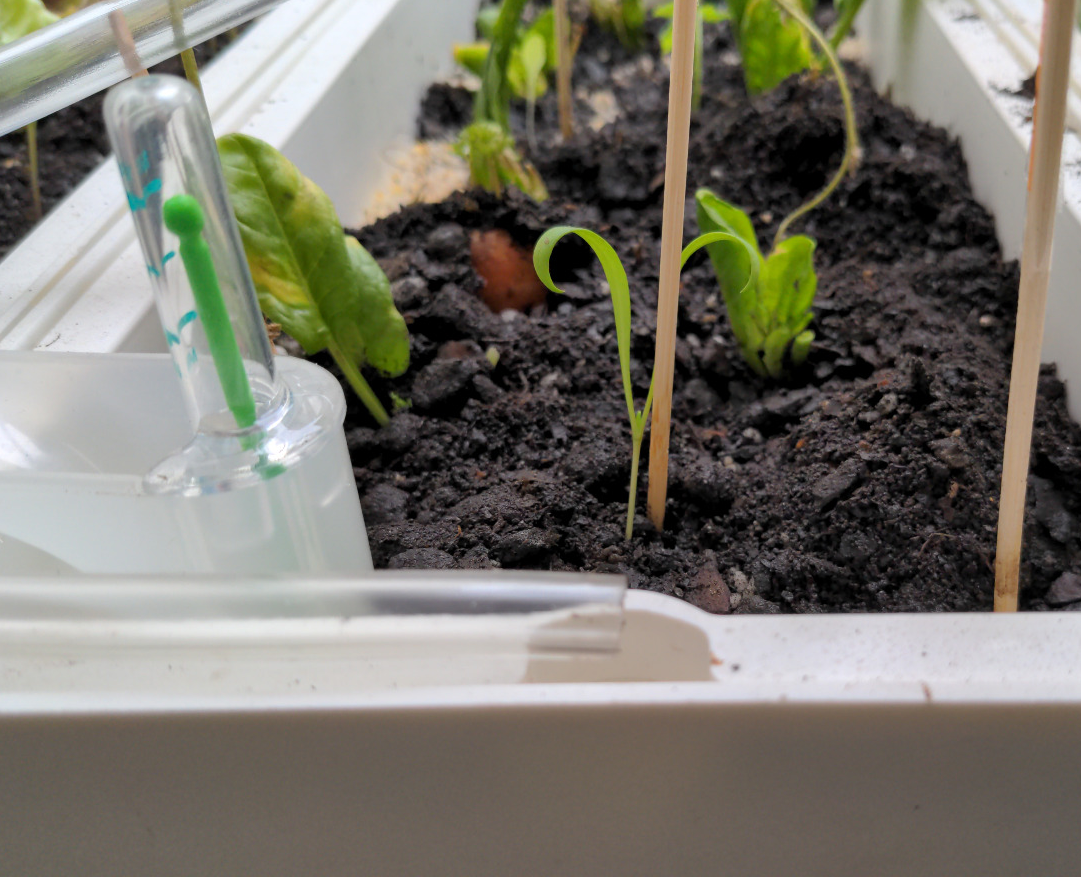
Here is the complicated part where it dumps back into pot number one.
If you are looking at the gauge the water level is up. If you are looking at the little two leaf plant with a stick, that would be my only spinach seedling. Behind that are a couple of spinach leaves that are growing roots from the rooting hormone I use. and just behind those is a tuft of green growing out of a carrot I bought and popped into the ground (from Part I)
If that is all you see in this photo, you missed the tube in the foreground. KISS is just simple, stupid. I can always revert back to the PVC pipe or drilling the first pot if this setup does not do the job for some reason.
Here is what we have built today. Top view.

Almost ready for a test run. I just need to put the pump line into the feed line and fill it up. I am going to fill the new pots with layers of perlit, dirt, perlite, dirt and then run the system. I cannot run it now. If this post does really well, I might make a video of the first run and of the plants so far. I cold show you what they are and how they were started. Could do a shot from the roof of the building if I trend.
Next time I will be filling those new pots with yummy vegetables!.
