Hola comunidad Hive❤, hoy les traigo un paso a paso donde les mostrare como hice un gorro sanitario, en realidad si es la primera vez que hago uno y quise mostrarles el procedimiento y como fue el resultado para aquellas personas que aun no se atreven, tengan un poco de motivación ya que es muy fácil de hacer.
Hello Hive community❤, today I bring you a step by step where I will show you how I made a sanitary cap, actually if it is the first time I make one and I wanted to show you the procedure and how it was the result for those people who still do not dare, have a little motivation because it is very easy to do.
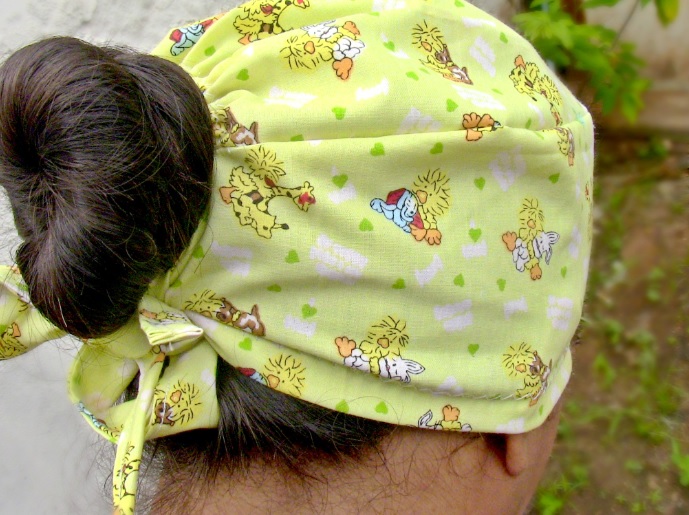
En esta cuarentena es ideal tener uno a la hora de salir de nuestros hogares, para protegernos, recuerden que el cabello siempre cae a nuestra cara y por eso es importante no exponerlo cuando salgamos.
In this quarantine is ideal to have one when leaving our homes, to protect us, remember that the hair always falls to our face and so it is important not to expose it when we leave.
[Materiales]
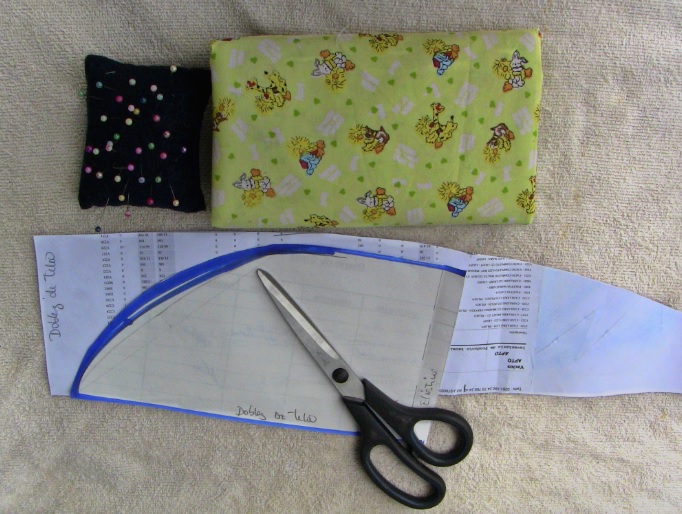
Para hacer este sencillo gorro necesitaremos:
•Patrón o Molde.
•Tela.
•Elástico.
•Tijeras.
•Alfileres.
•Maquina de coser.
[Materials]
To make this simple cap we will need:
•Pattern or mould.
•Cloth.
•Elastic.
•Scissors.
•Pins.
•Sewing machine.
Procedimiento (paso a paso):
Procedure (step by step):
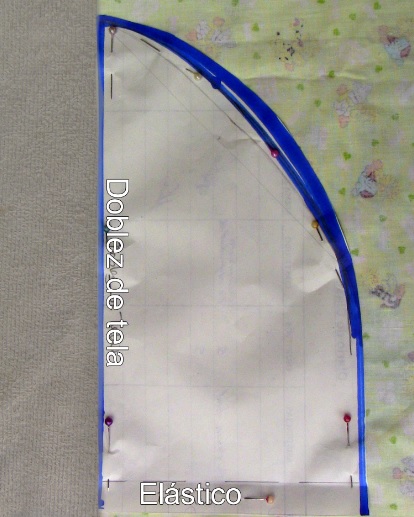
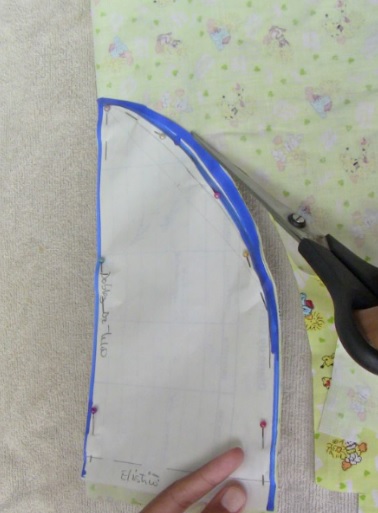
Primero doblaremos la tela y colocaremos el molde ajustándolo con alfileres para tener un corte más preciso. Hay que tener en cuenta que al cortar el patrón la tela debe estar al revés, y asegurarse de que el "doblez de tela" está exactamente donde está la tela doblada.
First we will fold the fabric and place the mold adjusting it with pins to have a more precise cut. You must take into account that when you cut the pattern the fabric must be upside down, and make sure that the "fabric fold" is exactly where the folded fabric is.
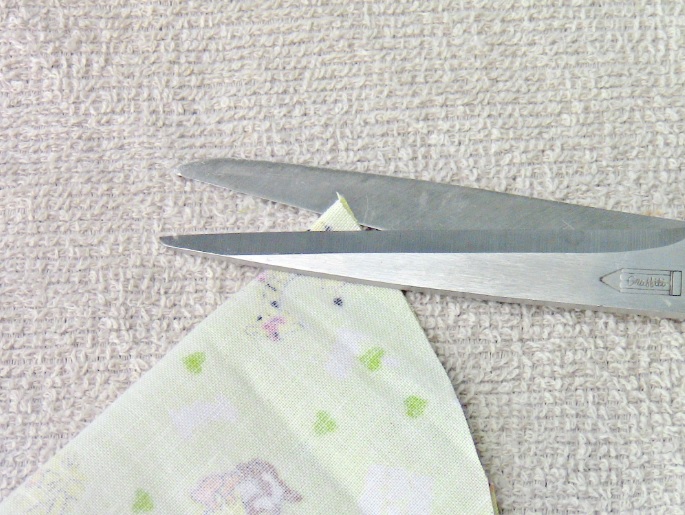
Procederemos a cortar nuestros patrones y antes de abrirlos haremos un pequeño corte en el centro para saber dónde está la mitad.
We proceed to cut our patterns and before opening them we will make a small cut in the center to know where the half is.
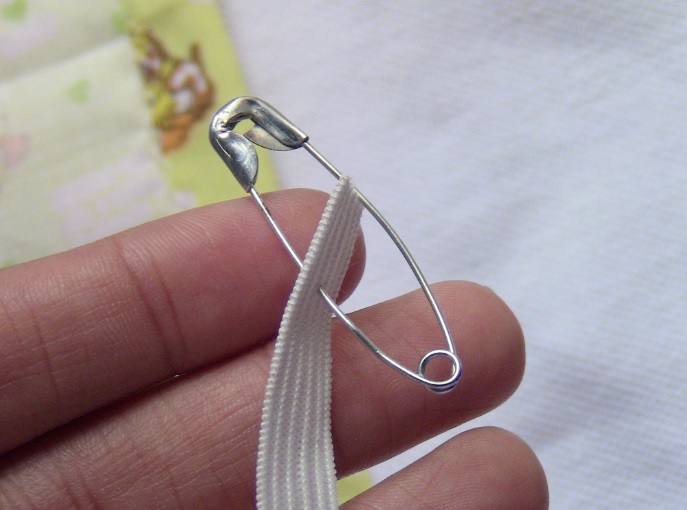
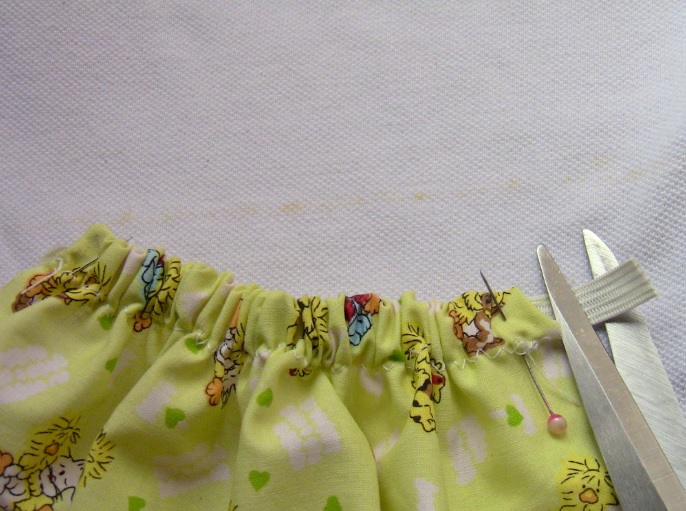
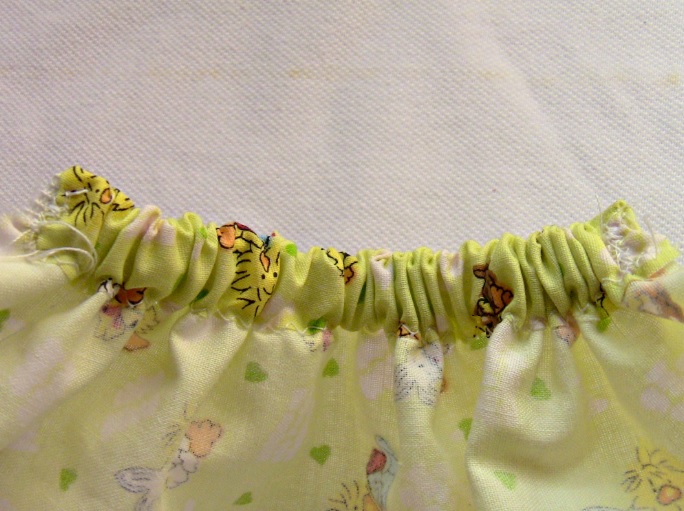
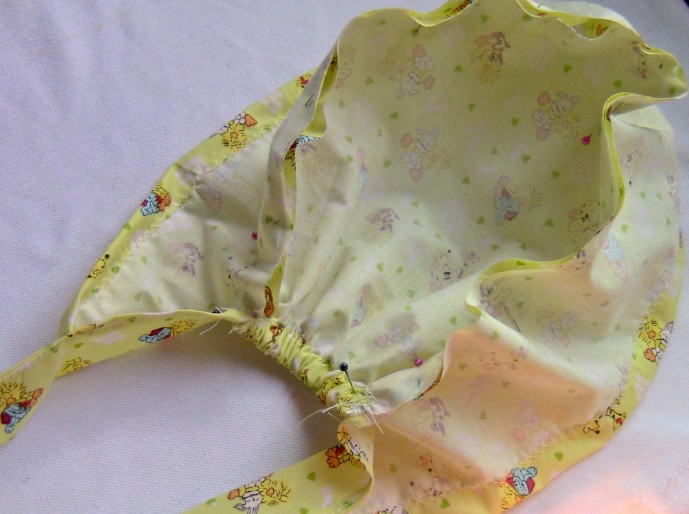
Ahora, haremos una costura donde irá el elástico. Seguidamente cortaremos una tira de elástico de 10 cm, lo engancharemos a un alfiler de seguridad, para pasar el elástico a través de la costura, aseguraremos un extremo con un alfiler para ir recogiendo la tela y asegurar el otro extremo para hacer una costura en amos extremos.
Now, we'll make a seam where the elastic will go.Then we will cut a strip of elastic of 10 cm, we will hook it to a safety pin, to pass the elastic through the seam, we will secure one end with a pin to go picking up the fabric and secure the other end to make a seam in both ends.

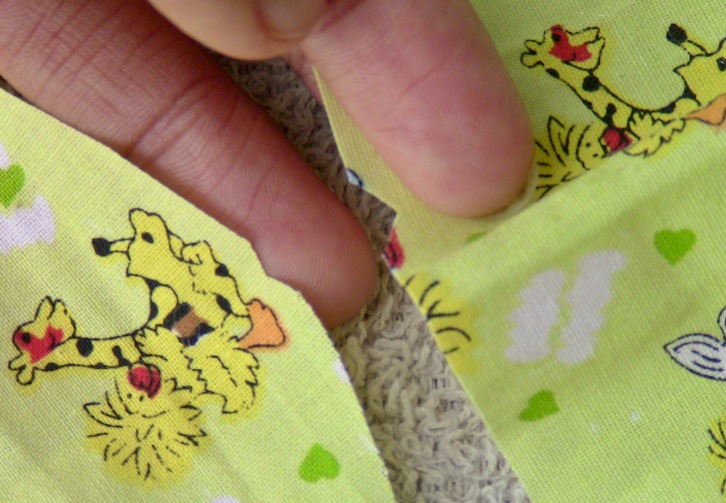
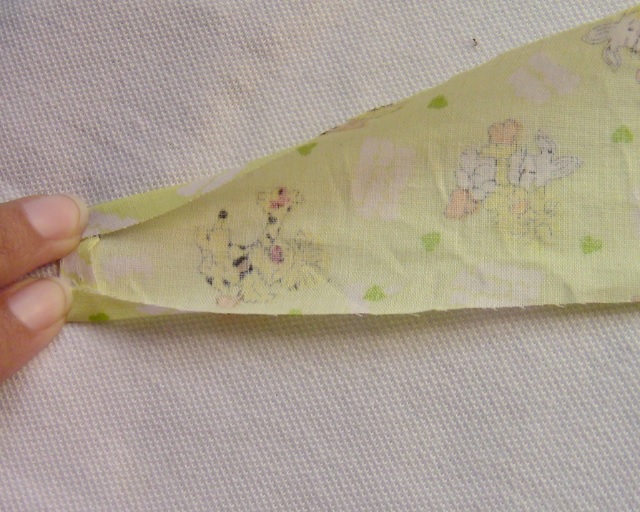
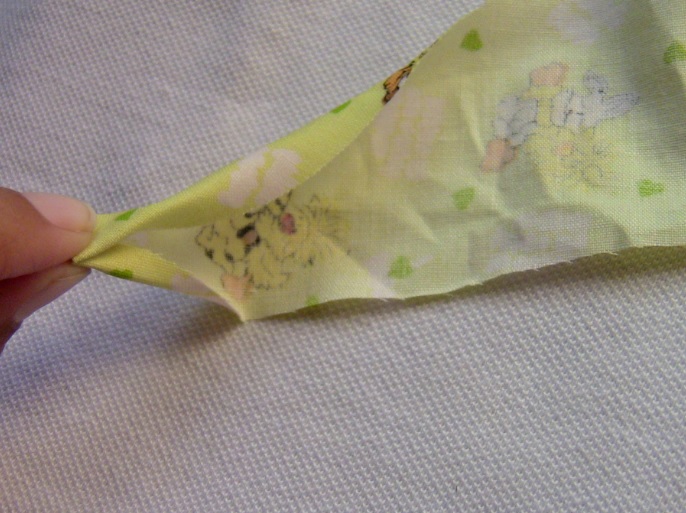
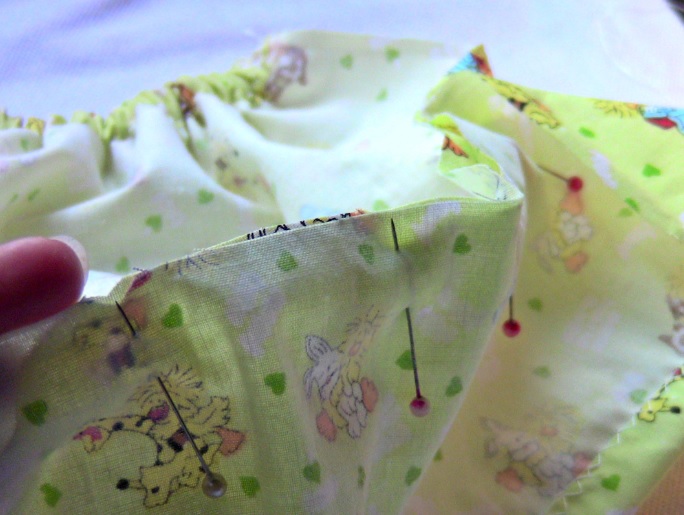
Una vez que nuestro primer patrón esté listo, empezaremos doblando un extremo de nuestro segundo patrón, luego doblaremos la parte superior y después la inferior, finalmente uniremos ambos lados y aseguraremos con un alfiler. De esta manera los uniremos hasta que lleguemos a donde la costura de ambos patrones comienza y termina.
Once our first pattern is ready, we will start by bending one end of our second pattern, then bend the top and then the bottom, finally join both sides and secure with a pin. This way we will join them until we get to where the seam of both patterns starts and ends.

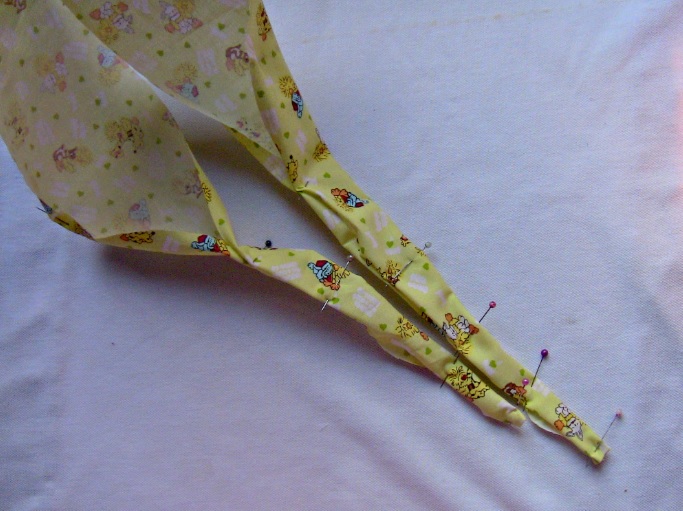
Ahora, cosemos el dobladillo.
Now, we sew the hem.
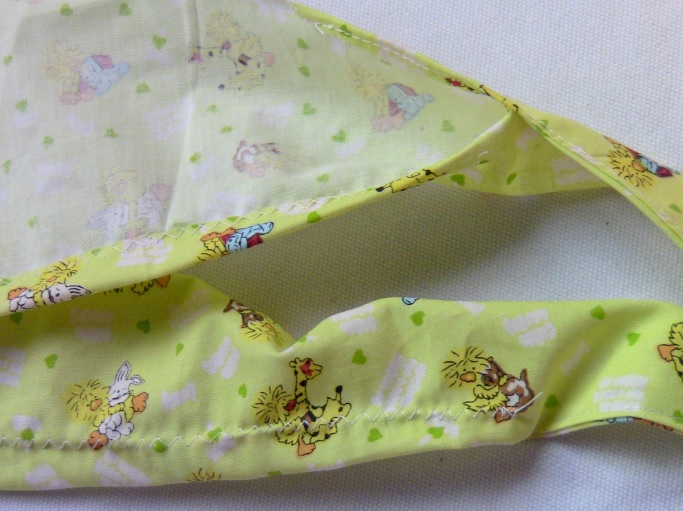
Finalmente, juntamos los dos patrones usando la guía que hicimos y cosemos.
Finally, we put the two patterns together using the guide we made and sew.
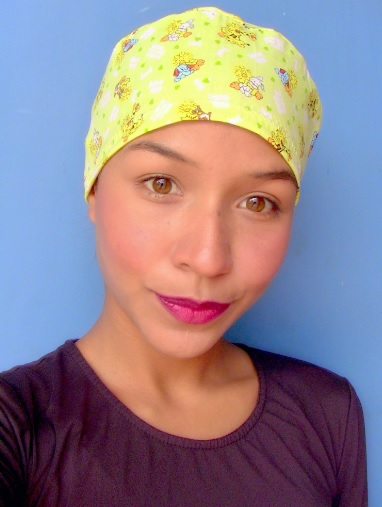
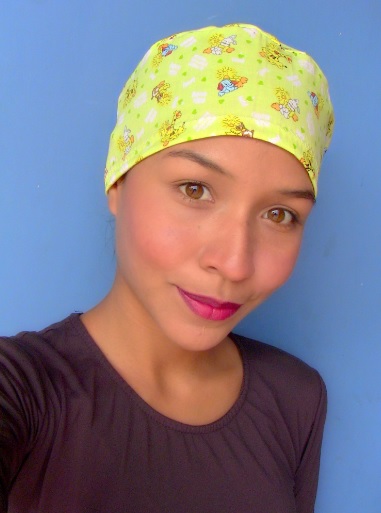
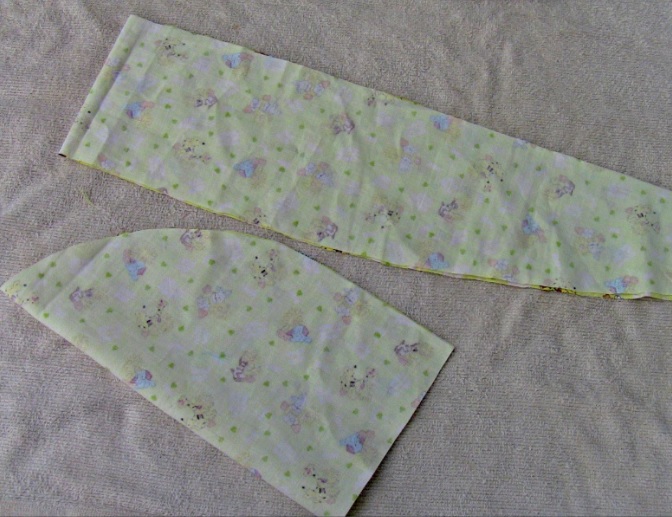
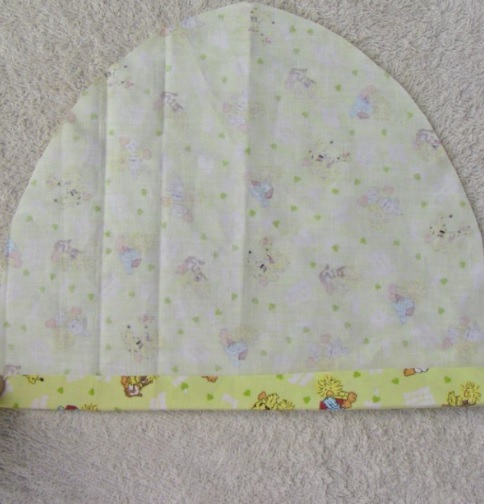
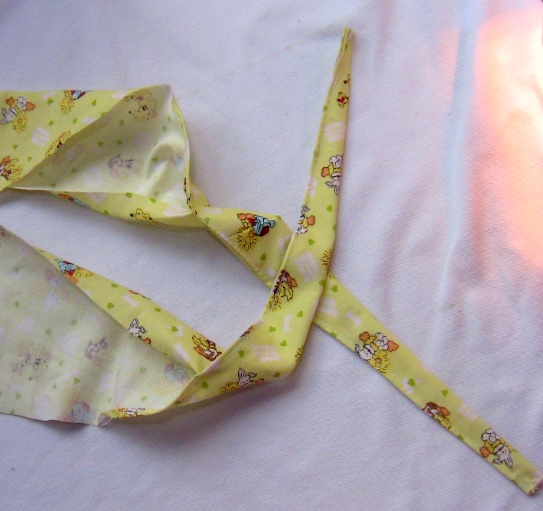
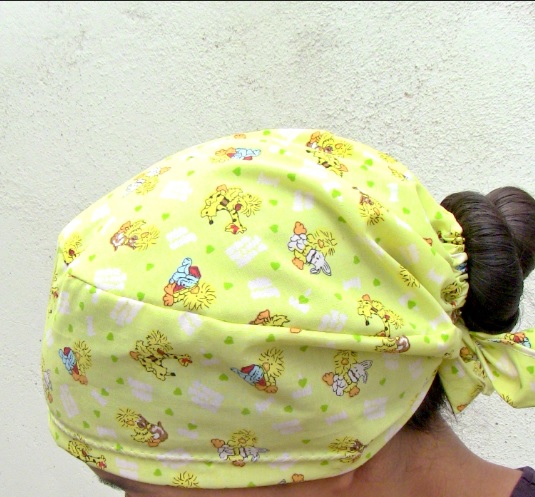
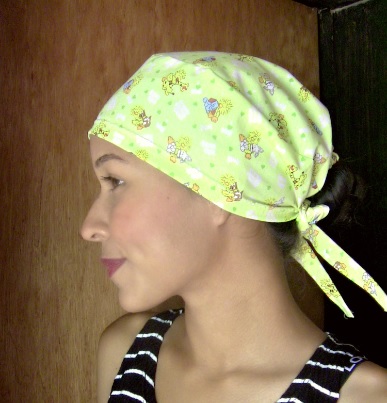
Y así es como se verá nuestra gorro sanitario, es muy simple de hacer, es económico y se puede ver que no utilice mucho material, solo unos pocos centímetro de elástico, una tela que tengan guardada (así como yo tenía esta tela), y si no tienes una máquina puedes hacerlo a mano.
And that's how our sanitary cap will look like, it's very simple to make, it's economical and you can see that it doesn't use much material, just a few centimeters of elastic, a fabric that they have stored (just like I had this fabric), and if you don't have a machine you can make it by hand.
Gracias por leer mi post❤, si estás interesado en hacer un gorro como este, hazmelo saber para hacer un post de cómo hacer el molde.
Thanks for reading my post❤, if you are interested in making a hat like this, let me know to make a post about how to make the mold.
Congratulations @thaliaf! You have completed the following achievement on the Hive blockchain and have been rewarded with new badge(s) :
You can view your badges on your board And compare to others on the Ranking
If you no longer want to receive notifications, reply to this comment with the word
STOPTo support your work, I also upvoted your post!
Do not miss the last post from @hivebuzz:
Support the HiveBuzz project. Vote for our proposal!
Oye que buena alternativa. Me encanta esa idea además que se ve muy bonito! Éxitos monetiza esa idea! 😜
muchas gracias me alegra que te haya gustado y gracias por el consejo amiga😜
Muy detallado y práctico tu post, bien explicado y creo que será de mucha utilidad, te quedó muy bien. Saludos
¡Saludos amigo, gracias! me alegra saber que el objetivo se cumplió.
Muy sencillo, fácil y rápido gracias por el tutorial
Gracias a ti, me alegra que sea así
Que bonito el gorro, se ve fácil de hacer y además es de ayuda en esta pandemia no solo para el personal de salud sino también para las personas que les gusta cuidarse en esta pandemia. Gracias por compartir.
Gracias amiga, totalmente de acuerdo contigo, es muy útil.
Un post bien maquetado y presentado.
Te felicito porque estás empezando con buen pie.
¡Saludos!
¡Que linda, gracias! lo hice con mucho amor para ayudar.
Exitaso, de cosas como esta pueden salir hasta negocios, lastima que no pude estar en el show en vivo me hubiera gustado escuchar, sigue así o/
Muchas gracias por leer y apreciarlo, estoy contenta con los resultados o/