Hello guys! How are ya all doing? I am hoping well.
Do you guys prefer outdoor activities or indoor activities? Well, in my case, I prefer indoors. I am not much of a fan of hot sweaty and tiring activities which will only make me exhausted in the end. I like staying in my sweet warm comfy home. Keeps you safe! Although this also means that I miss out on the beauty of nature. I can just create them in my imagination and also there are people who take pictures of these beauties. Yes I know it’s still nothing like what it feels like in nature but I like my comfort zone.
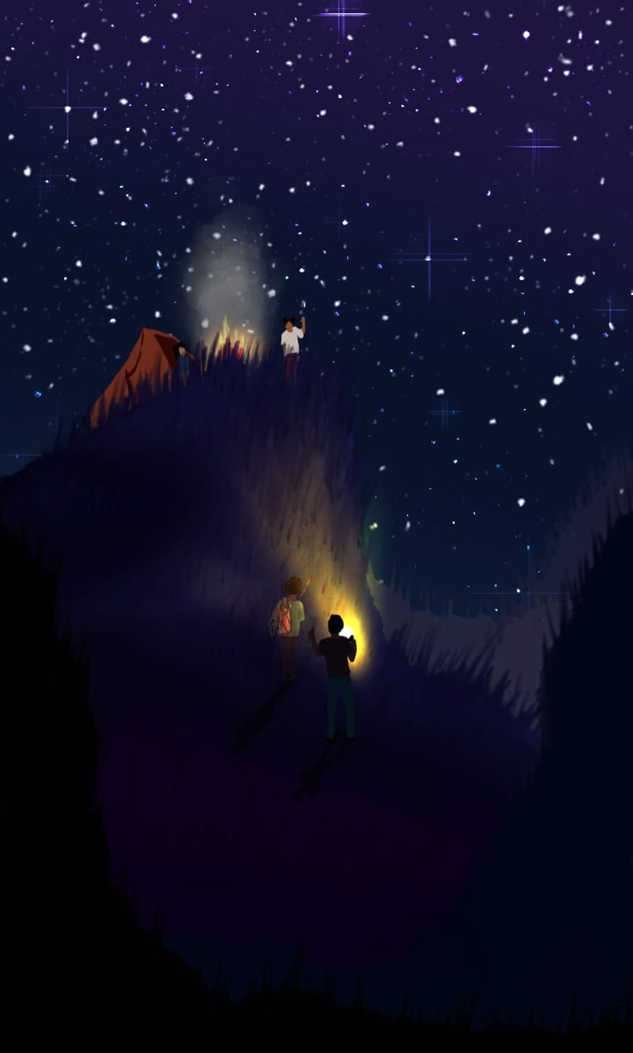
As I said a few seconds ago I can create them in my imagination so I can illustrate them too. That’s why we are here today on an illustration about camping with friends under a starry night. Isn’t it ironic! I don’t like, no, more like afraid of socializing with people but here I am illustrating about a group of friends. Like that’s ever gonna happen. Ha-ha! Anyways, enough of my depressing mood, why don’t we get started! This illustration was done in the Autodesk app and we are first going to start with the background.

This part was the easiest, just clicking the paint bucket and there are three ways to apply. From the three, I clicked the second one. Next will be the hilly lands.
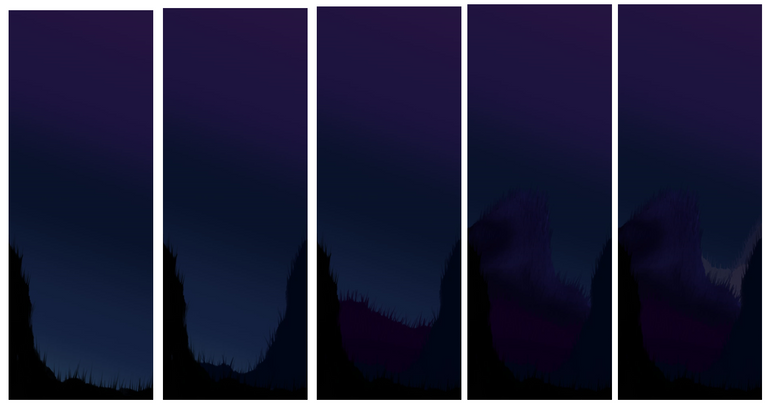
As you guys can see the process of the art, to do this I used two tools. One is the color builder tool and the other is the synthetic taper tool. I used the color builder tool to draw the structure of the hills and the mountains and the synthetic taper tool to do the grass. Each hill is drawn in an individual layer with no effect.
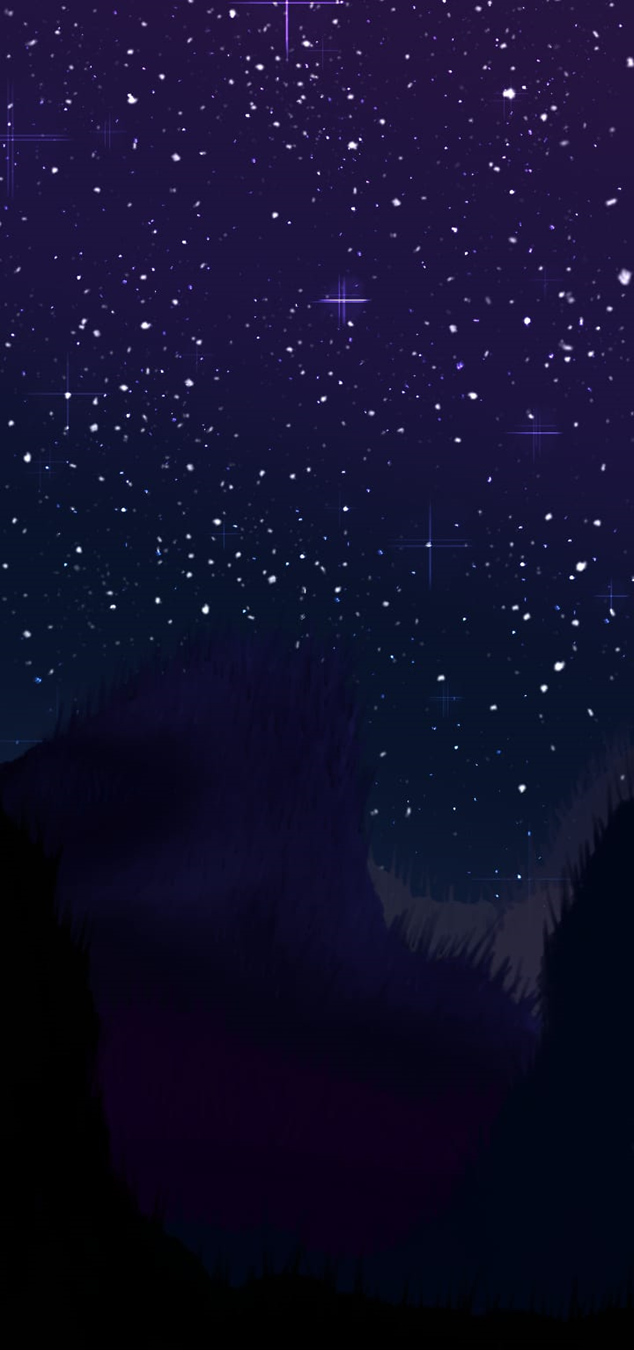
Next, I added stars in the sky. Here I used two tools. One is the speckled tool and the glow cross-tool. I had put one layer in glow effect while the other in normal effect. This will give the dim and glowing look of the stars.
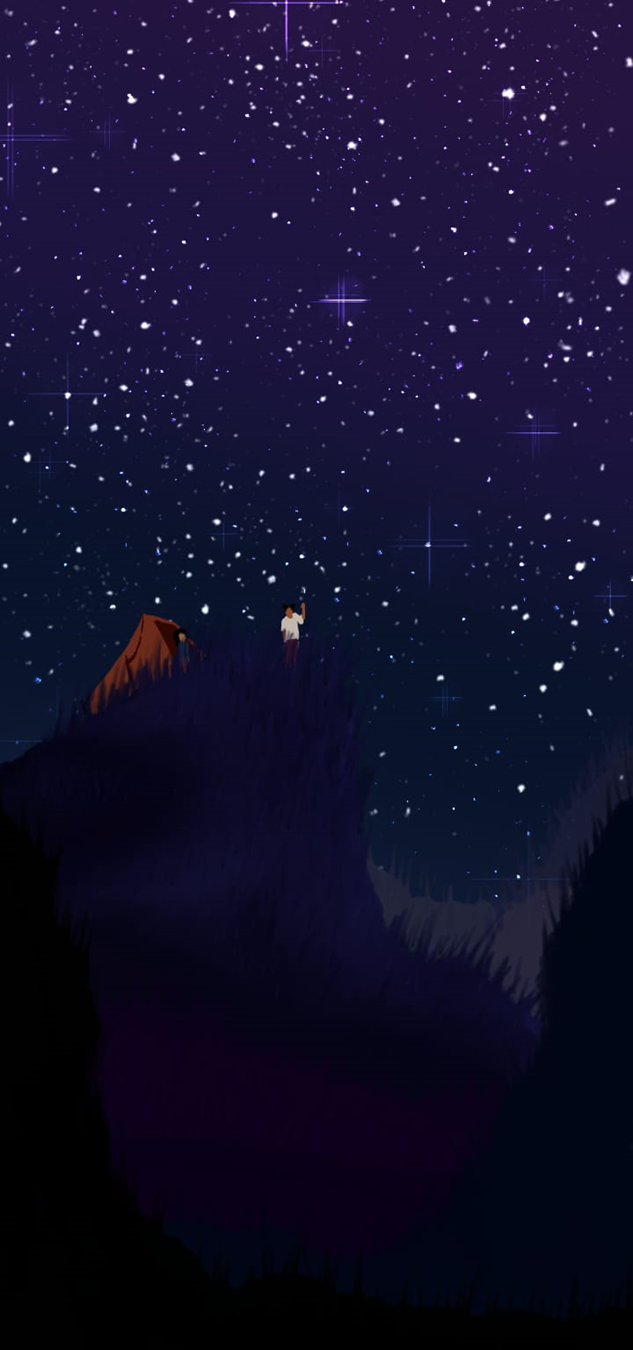
Next, I drew some girls on the edge of the cliff waiting in the tent for their other friends.
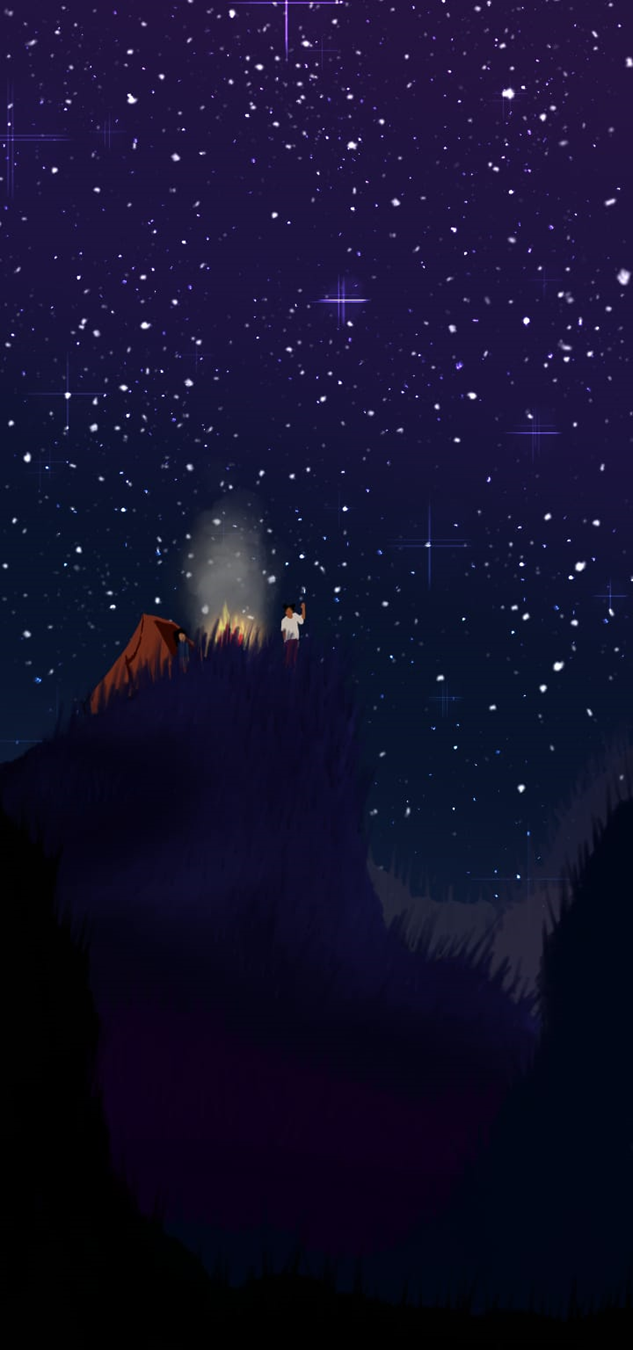
Now as it's dark, they need light which is fire. For this, I use just an inking pen tool and a glow brush tool. To draw the fire I used the inking pen and to give the glow I used the glow brush tool. For the steam of the fire, I used the wet frayed bristles tool.
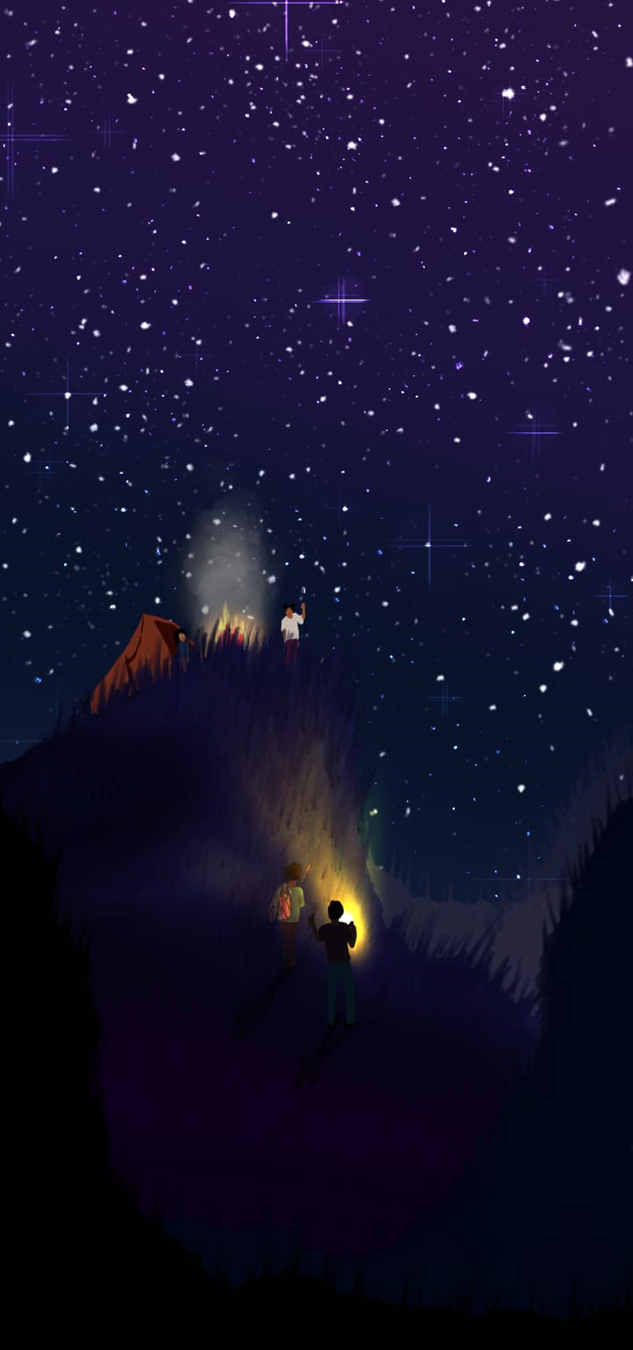
Next, at last, I drew their friends who have come back from their fishing. For this part, I used the inking pen to draw the people and the shadow. For the torch’s lightening, I used the glow brush and the flow airbrush tool. The center glow and then in another layer, I put it in glow effect and used the flow airbrush tool to spread the light of the torch.

Now if you guys are wondering how the lightning effect is falling over the front guy. That’s because I put that guy in the front of the torch’s layers as I have shown below!
And ta-da! That’s the end! I hope you guys have enjoyed the process of this art and its post. For now bye-bye and take care.
Congratulations @sakura21! You have completed the following achievement on the Hive blockchain and have been rewarded with new badge(s):
Your next target is to reach 2000 upvotes.
You can view your badges on your board and compare yourself to others in the Ranking
If you no longer want to receive notifications, reply to this comment with the word
STOPTo support your work, I also upvoted your post!
Check out the last post from @hivebuzz:
Support the HiveBuzz project. Vote for our proposal!