.jpeg)

Español
Hola querida familia ❣️ El día de hoy traigo para ustedes un increíble y divertido paso a paso, dónde les mostrare como elaborar un cuadro de atrapasueños, el cual está hecho de materiales muy económicos y fáciles de conseguir, pues, recuerden que el secreto está en hacer nuestros proyectos con paciencia, amor y obtendremos resultados asombrosos, y mucho mejor de los que hemos imaginado. Así que, manos a la obra, nunca es tarde para aprender cosas nuevas e increíbles.
English
Hello dear family 💓 Today I bring you an incredible and fun step by step, where I will show you how to make a dream catcher painting, which is made of very cheap and easy to get materials, well, remember that the secret is in do our projects with patience, love and we will obtain amazing results, and much better than we have imagined. So get down to business, it's never too late to learn new and amazing things.
¿Qué están esperando?
Utilizar estos hermosos materiales para transformarlos en un hermoso cuadro, es una idea muy original y económica para decorar nuestro entorno y darle un toque de creatividad a nuestras paredes. Antes de comenzar no olvidemos lavarnos nuestras manos.
What are they waiting for?
Using these beautiful materials to transform them into a beautiful painting is a very original and inexpensive idea to decorate our surroundings and give a touch of creativity to our walls. Before we start, let's not forget to wash our hands.
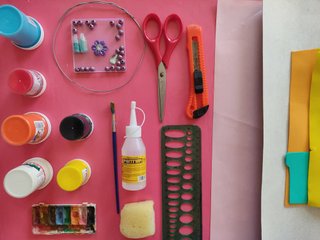
[Materiales | Materials]
Para hacer este hermoso atrapasueños necesitaremos:
- Moldes
- Foami o goma eva.
- Cartón
- Circulo de alambre.
- Pincel.
- Pinturas.
- Brillantina.
- Tijera.
- Cuter.
- Tijera.
- Pegamento o silicona caliente.
To make this precious dream catcher will need:
- Molds
- Foamy or EVA foam.
- Cardboard
- Wire circle.
- Brush.
- Paintings.
- Glitter.
- Scissors.
- Cuter.
- Scissors.
- Hot glue or silicone.
Procedimiento (paso a paso)
Process (step by step)
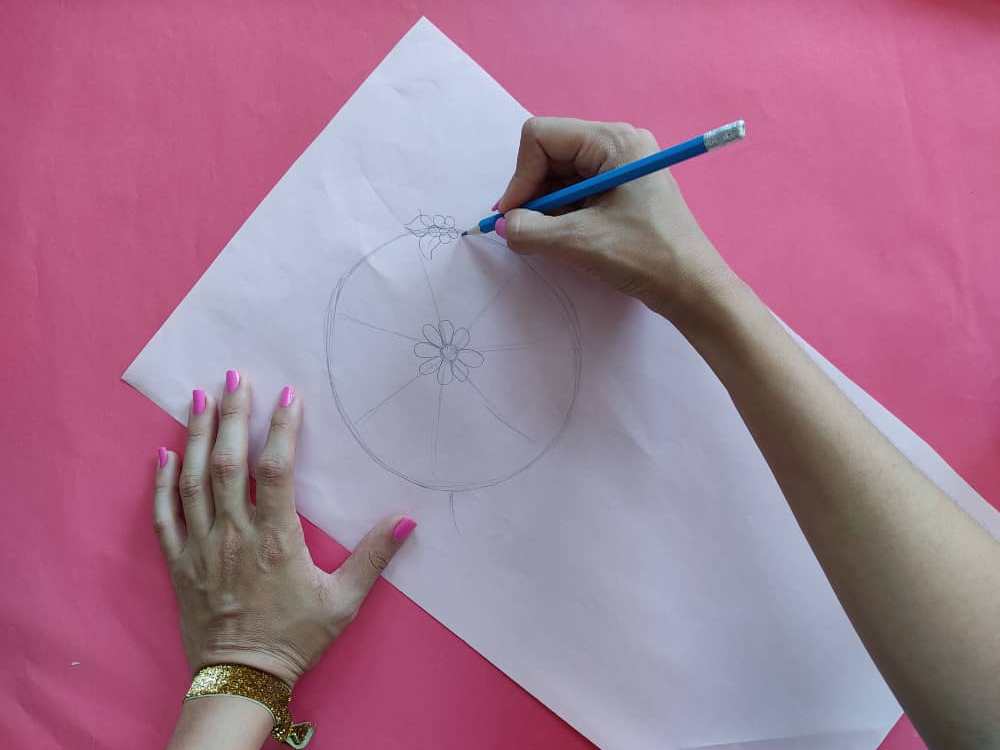
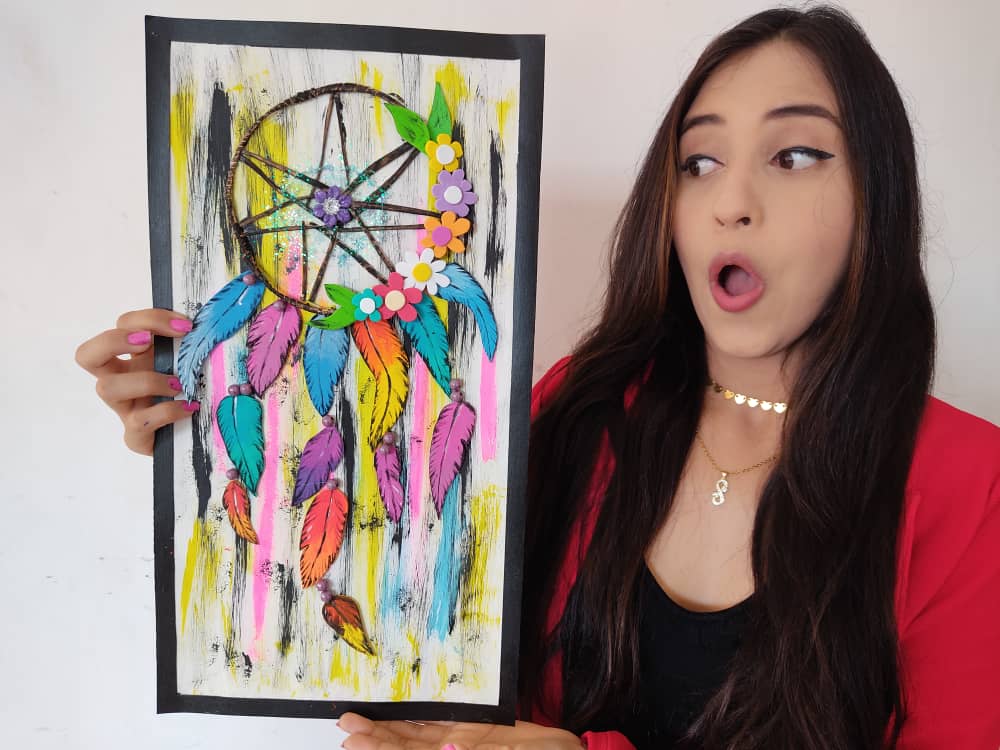
Primero, dibujamos un lindo atrapasueños con hermosas plumas , en este caso decidí, dibujar algunas flores a un lado de este, para decorar y dar un toque diferente.
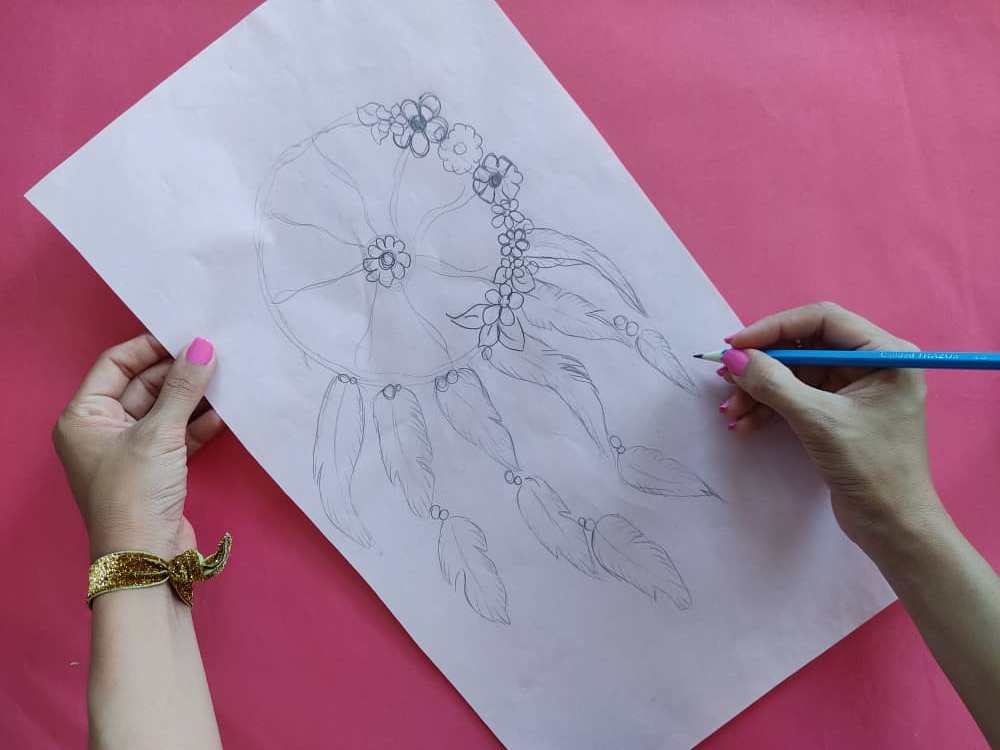
First, we drew a cute dreamcatcher with beautiful feathers, in this case, I decided to draw some flowers on one side of it, to decorate and give a different touch.
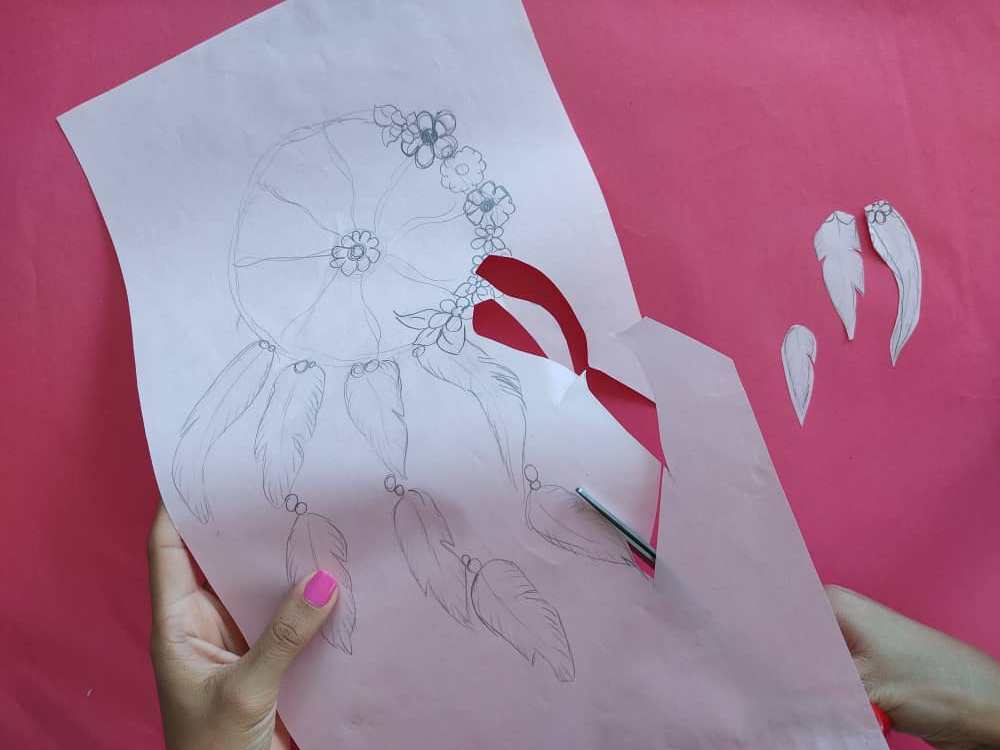
Una vez listo nuestro dibujo, recortamos separando las plumas, con mucho cuidado para mantener sus medidas intactas.
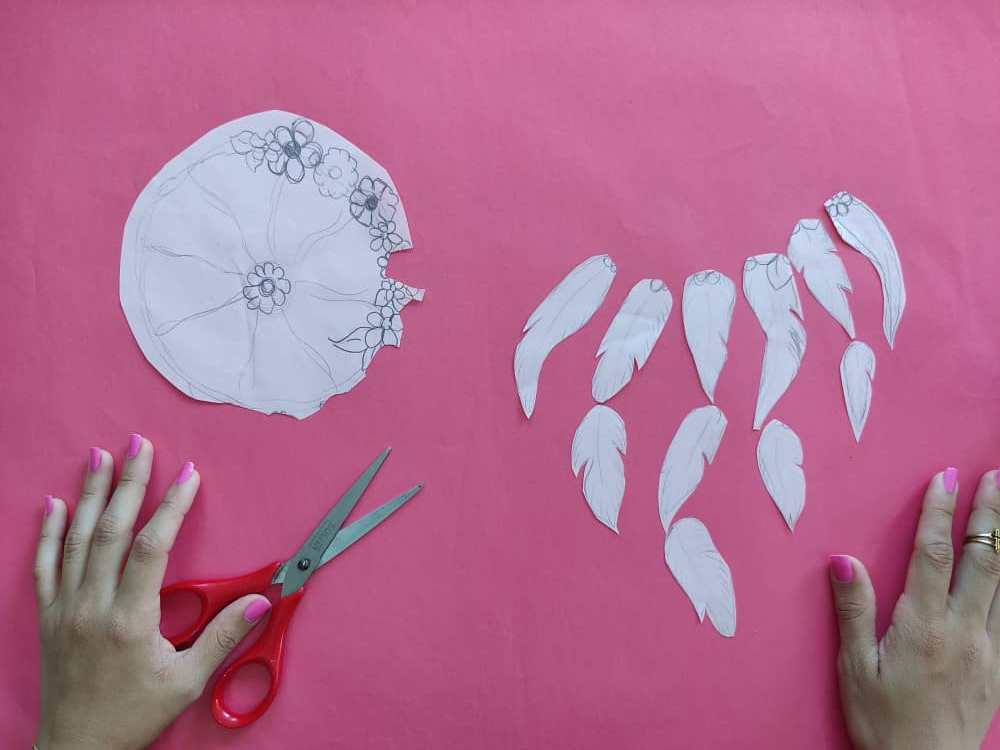
Once our drawing is ready, we cut the feathers apart, taking great care to keep their measurements intact.
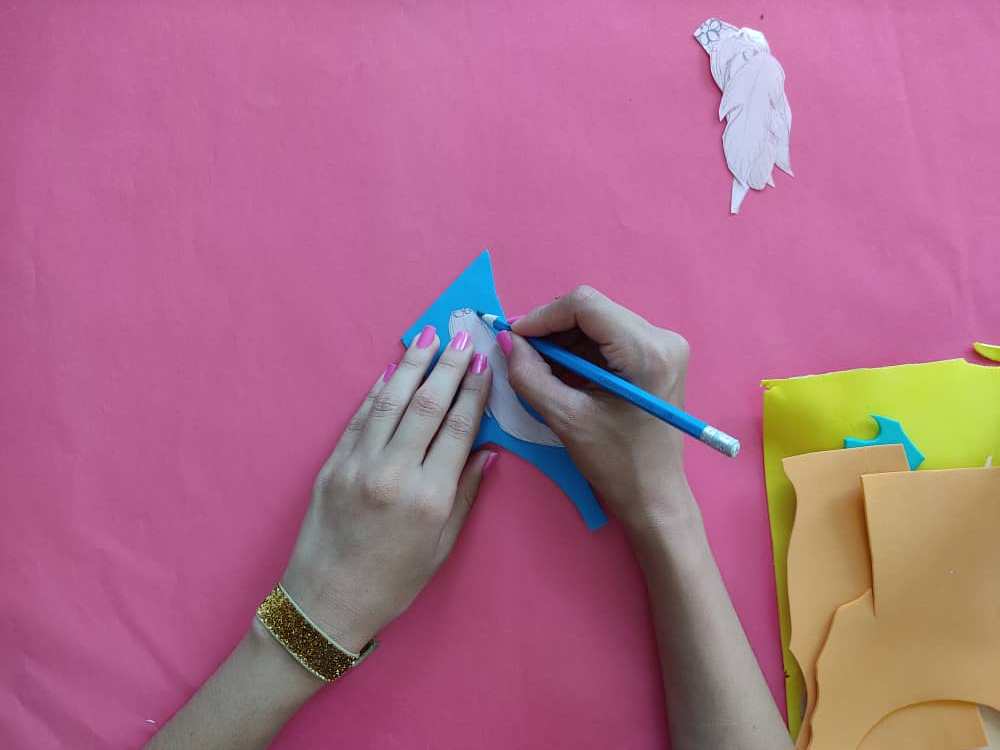
Ahora, transferimos las figuras (plumas) obtenidas al foami de diferentes colores, recuerden que los colores deben ser muy lindos y alegres, y seguidamente recortamos.
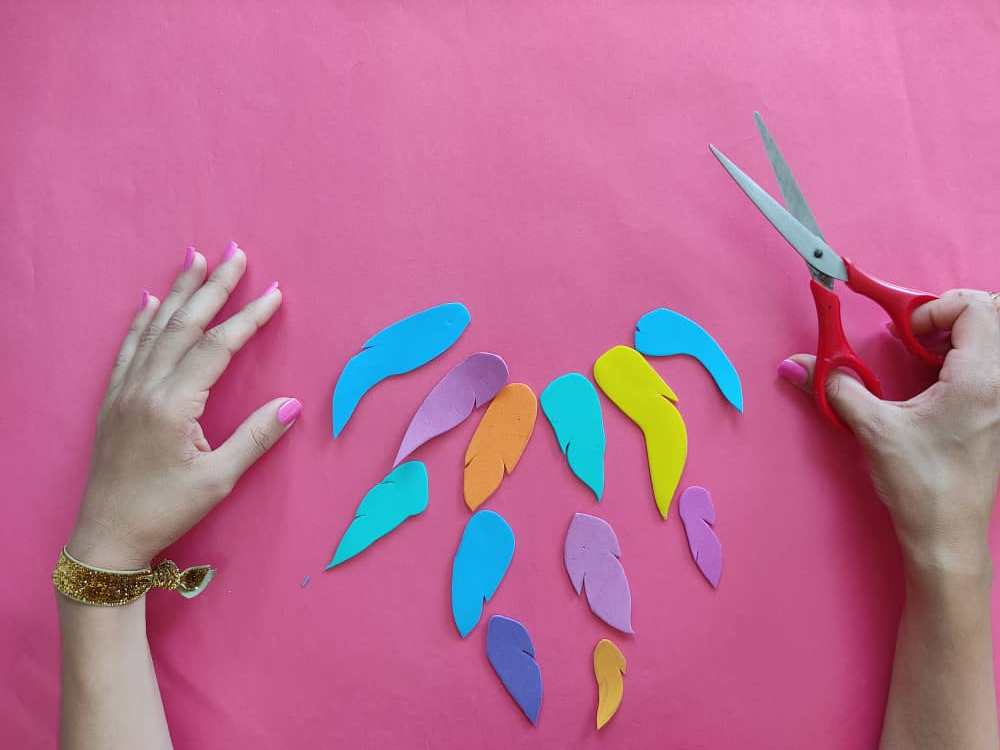
Now, we transfer the figures (feathers) obtained to the foamy of different colors, remember that the colors must be very beautiful and cheerful, and then we cut.
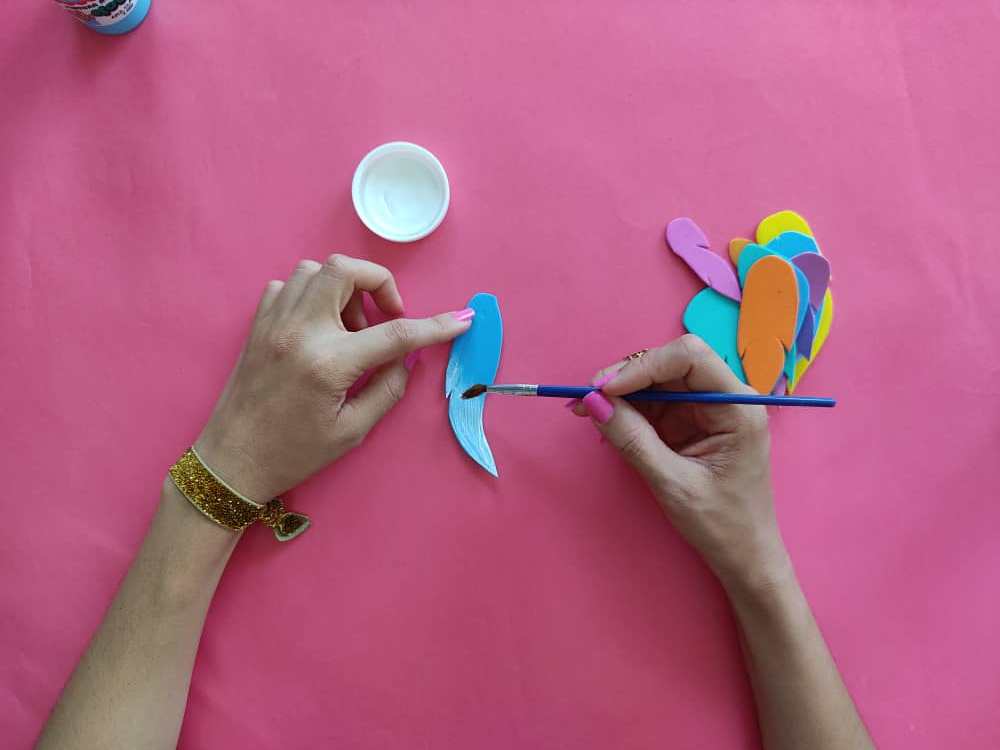
Seguidamente, comenzamos a dar hermosos toques de color a cada una de las plumas para que nuestro atrapasueños luzca muy auténtico, pues, opte por hacer una especie de contraste para que luzcan muy hermosas.
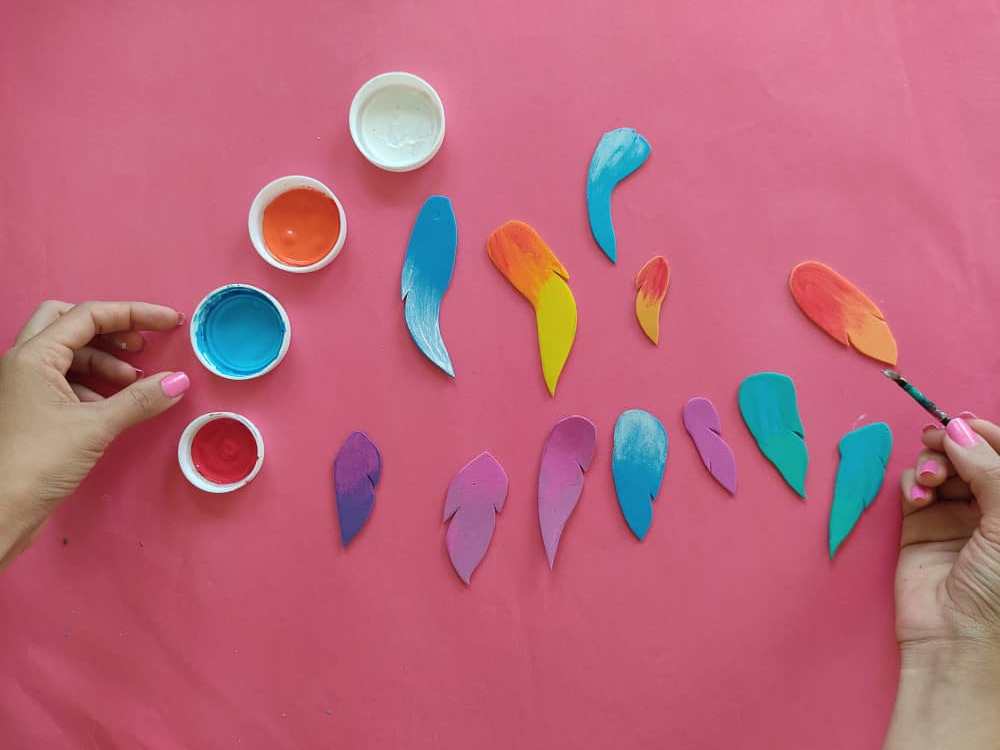
Next, we begin to give beautiful touches of color to each of the feathers so that our dreamcatcher looks very authentic, then, I chose to make a kind of contrast so that they look very beautiful.
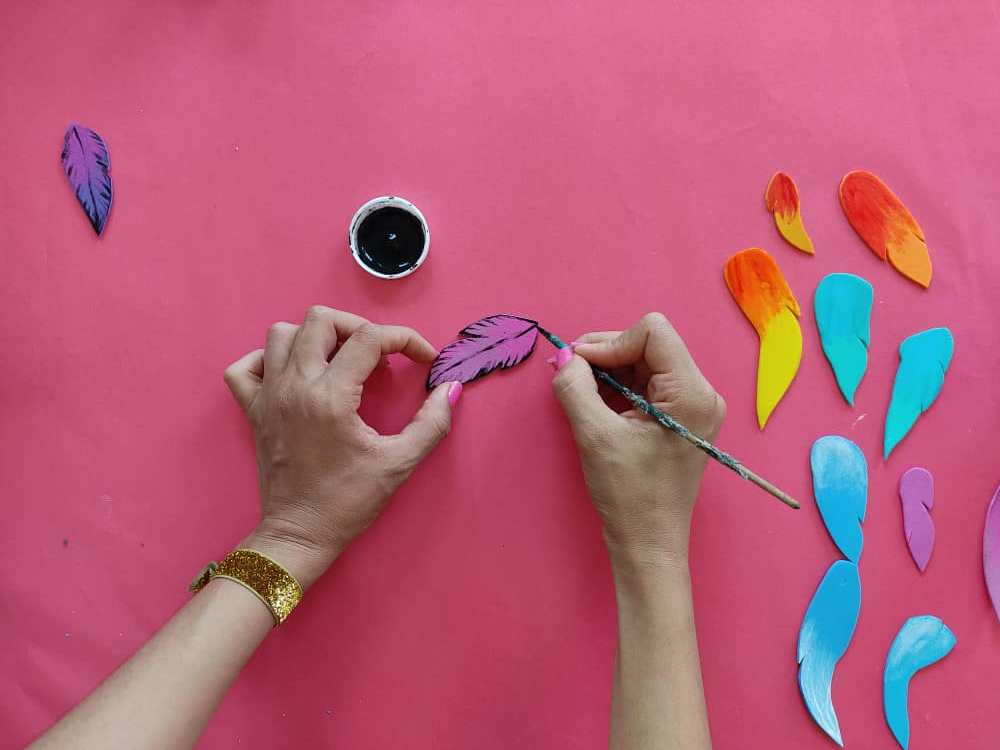
Una vez pintadas nuestras plumas, marcamos los bordes con color negro utilizando un pincel muy fino, de manera que se definan las pequeñas líneas de las plumas, y adicionalmente hacemos una pequeña línea blanca que dará un toque de luz a las plumas.
Once our feathers are painted, we mark the edges with black using a very fine brush, so that the small lines of the feathers are defined, and additionally, we make a small white line that will give a touch of light to the feathers.
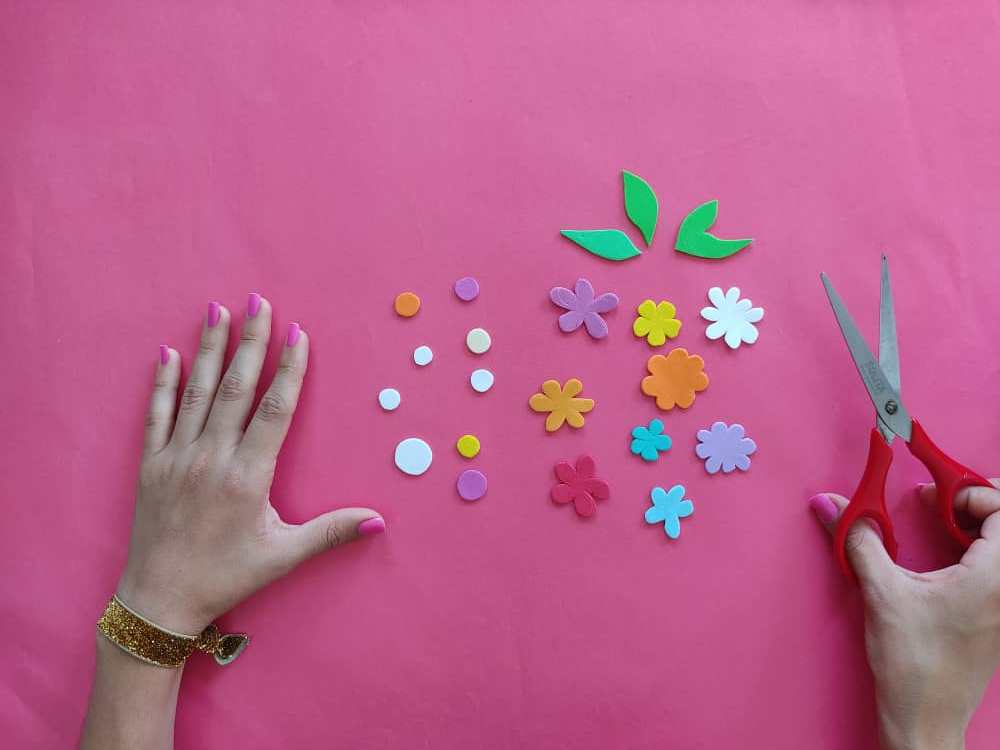
Luego, elaboramos pequeñas flores en distintos tamaños que nos ayudarán a darle ese toque diferente a nuestro atrapasueños, pues opte por elaborarlas de diferentes y hermosos colores, con cada uno de sus centro que nunca deben faltar, también decidí elaborar varias hojas muy pequeñas para que acompañen a las flores. Y las armamos aplicando silicón liquido, pegando el pequeño círculo en el centro y hacemos algo de presión por unos segundos y listas.
Then, we make small flowers in different sizes that will help us to give that different touch to our dreamcatcher, because I chose to make them in different and beautiful colors, with each of their centers that should never be missing, I also decided to make several very small leaves so that accompany the flowers. And we assemble them by applying liquid silicone, gluing the small circle in the center and do some pressure for a few seconds and ready.
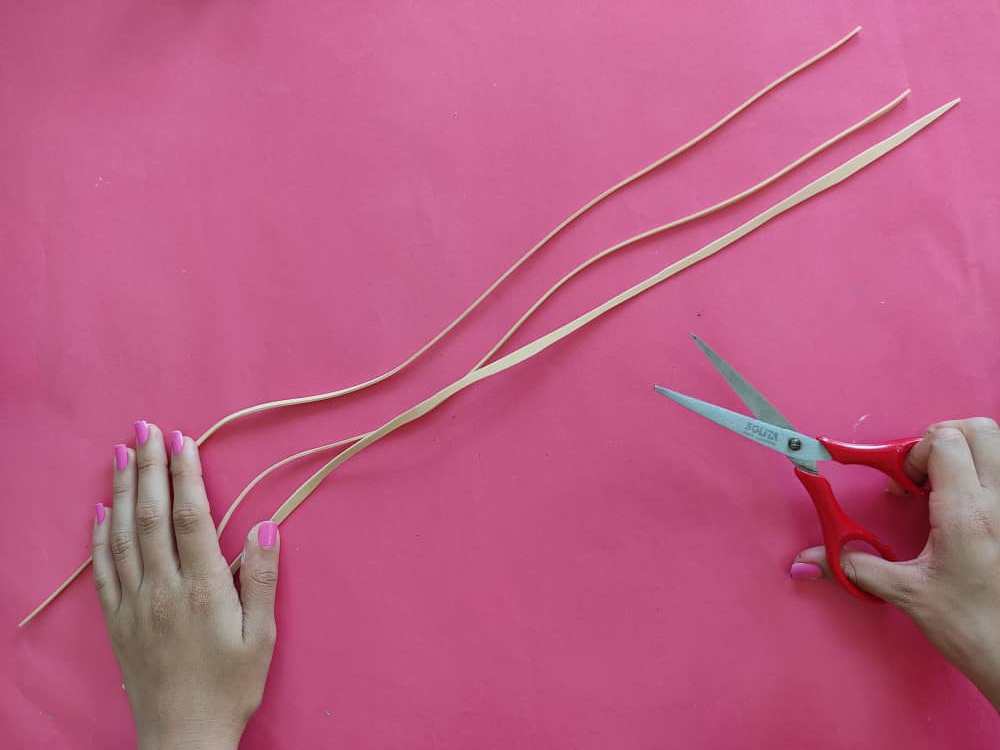
Ahora, recortamos una tiras muy delgadas que servirán para cubrir el círculo de alambre, el cual será el disco del atrapasueños, las enrollamos al rededor de este y al mismo tiempo aplicamos silicón líquido para que quede bien cubierto.
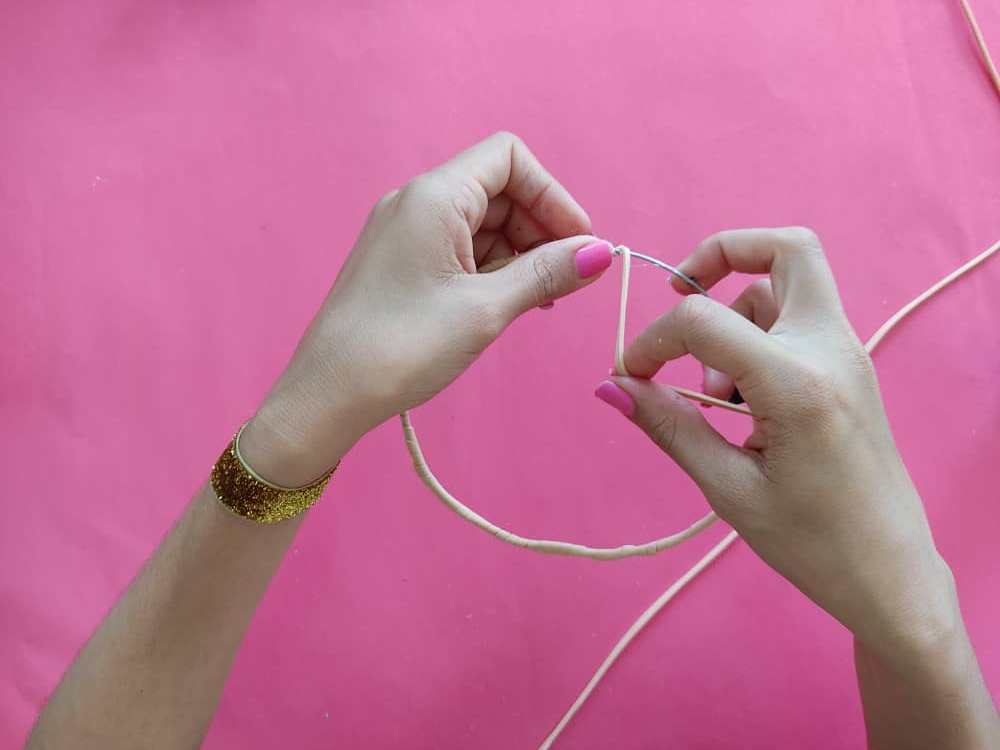
Now, we cut very thin strips that will serve to cover the circle of wire, which will be the disk of the dreamcatcher, we wrap them around it, and at the same time, we apply liquid silicone so that it is well covered.
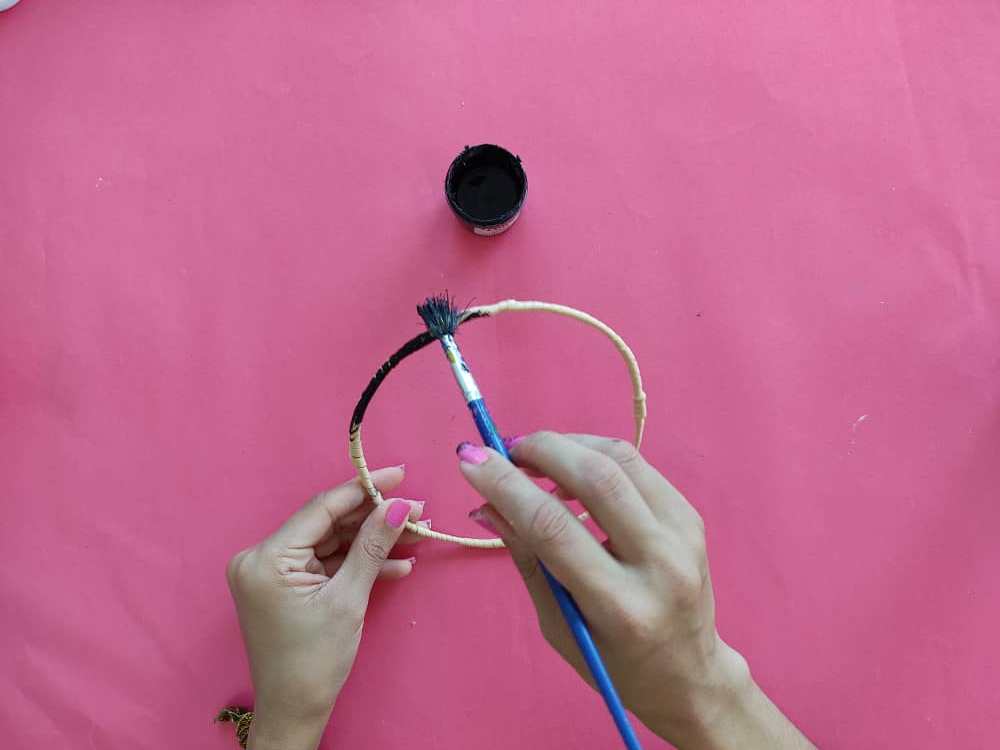
Luego, pintamos el círculo de negro, y también pintamos las tiras sobrantes, para decorar el centro del atrapasueños, y dejamos secar por unos segundos.
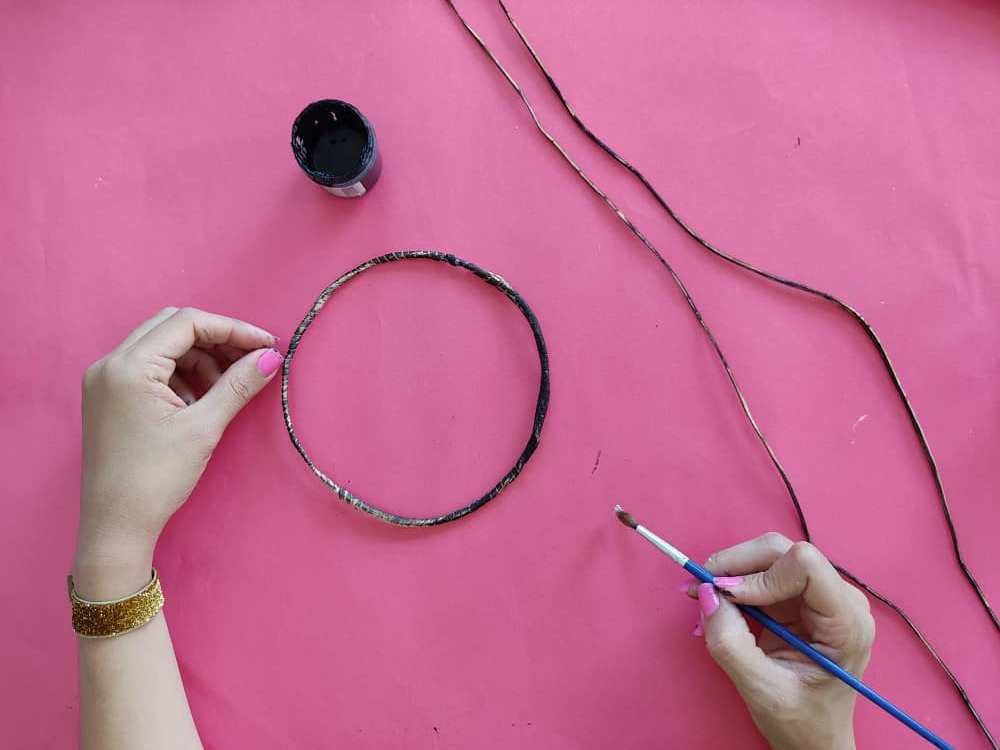
Then, we paint the circle black and also paint the remaining strips, to decorate the center of the dream catcher, and let it dry for a few seconds.
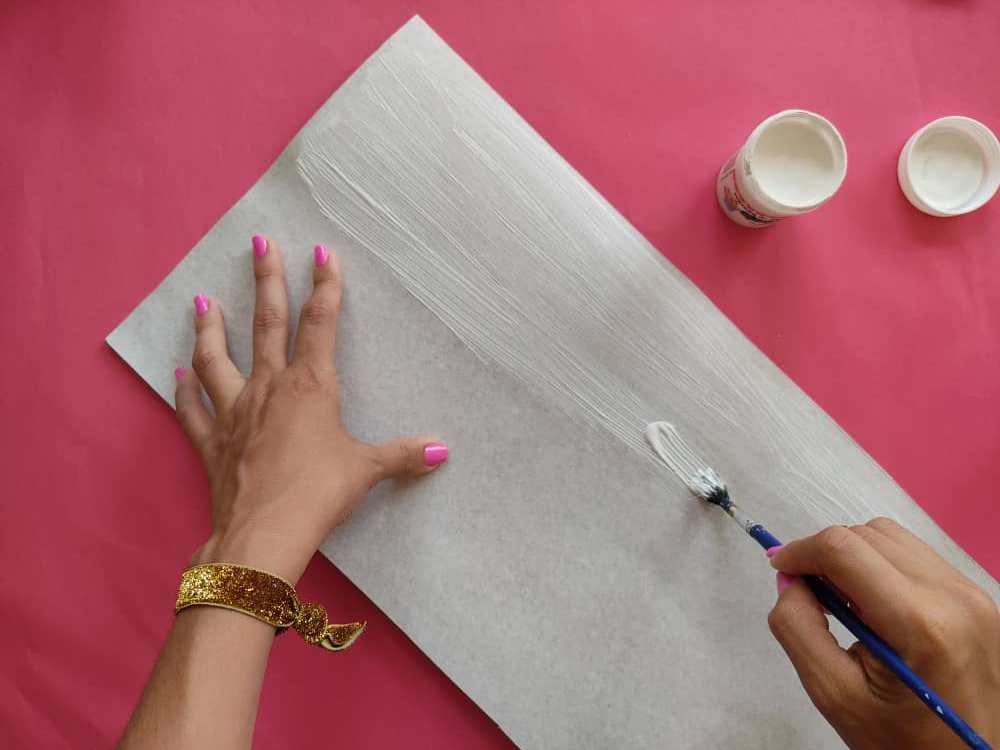
Seguidamente, elaboramos una base de cartón de 40 x 24cm y la pintamos de color blanco para que los colores luzcan más intensos, y luego hacemos hermosas manchas de varias colores con la ayuda de una esponja, y dejamos que se seque la pintura para que el resultado sea genial.
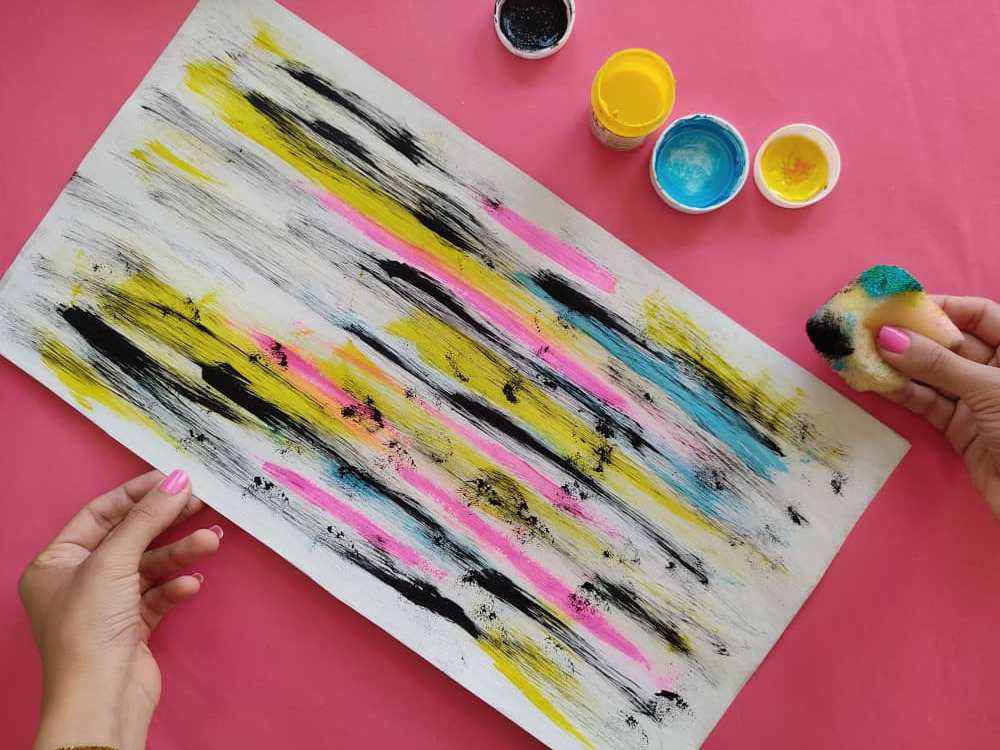
Next, we make a 40 x 24cm cardboard base and paint it white so that the colors look more intense, and then we make beautiful spots of various colors with the help of a sponge, and let the paint dry so that the result is great.
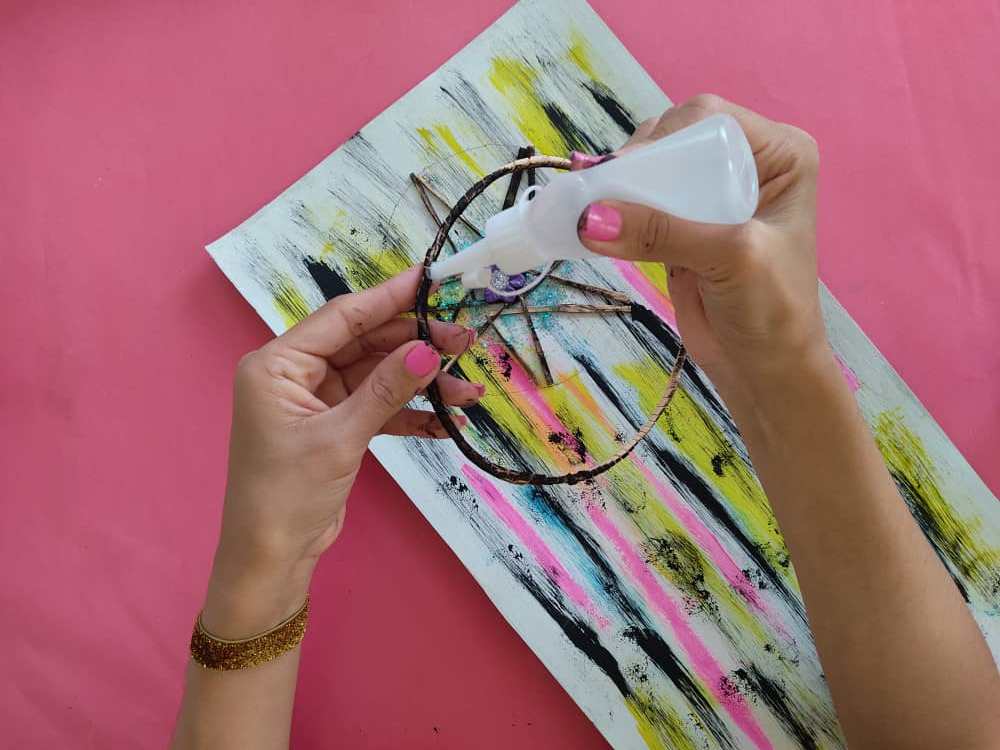
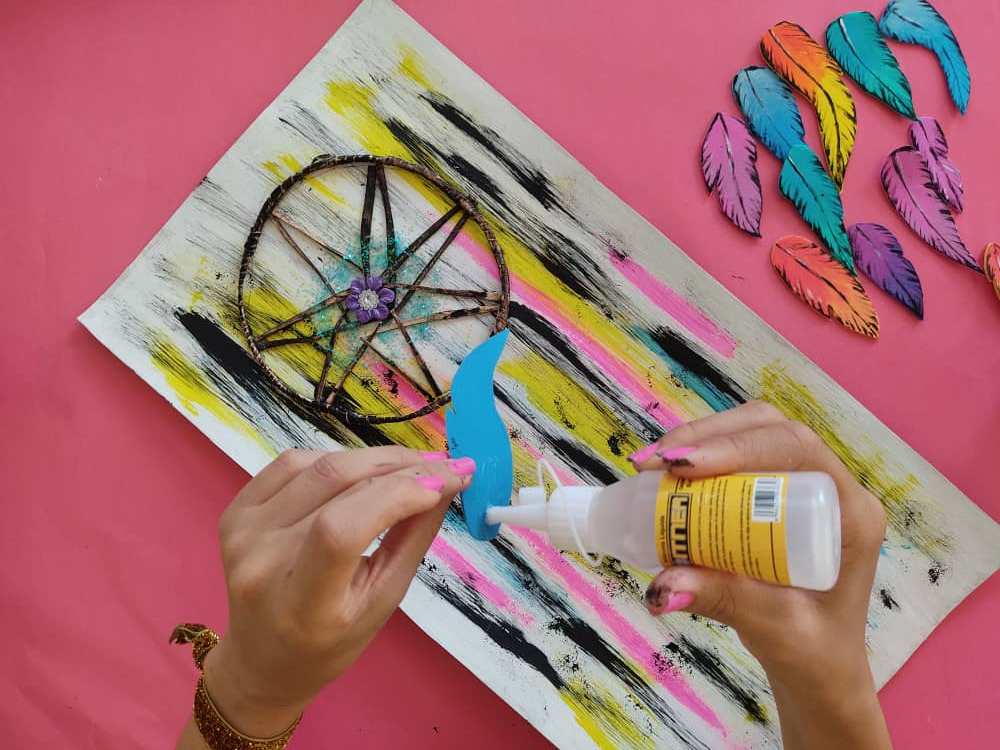
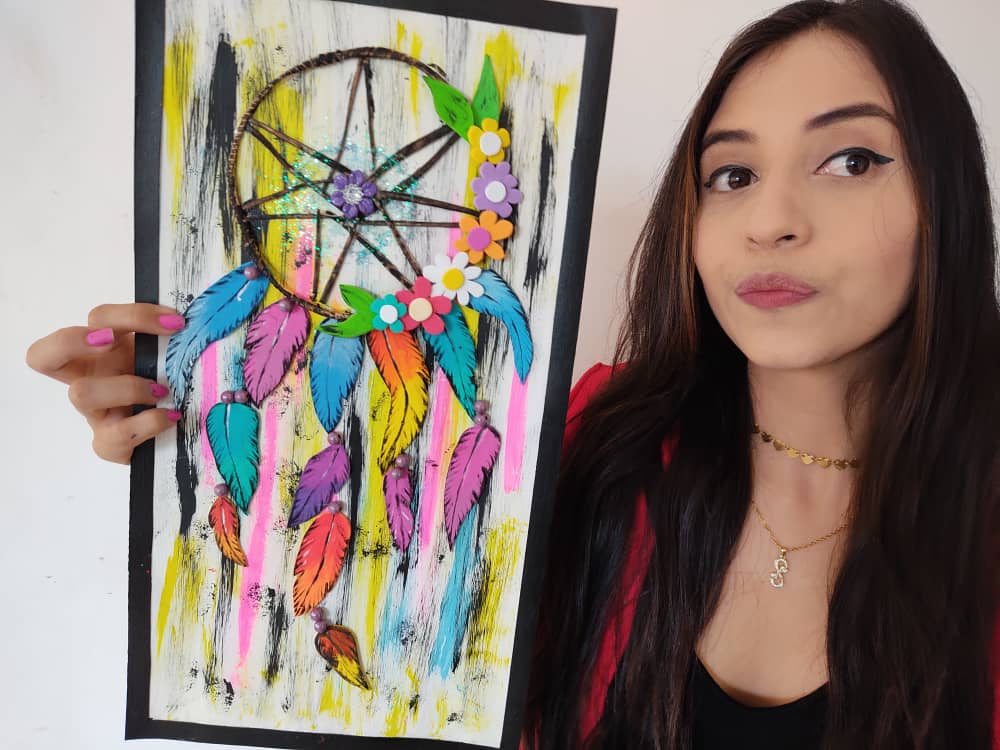
Ahora, armamos el atrapasueños sobre nuestra base, primero, hacemos una especie de estrella con silicón líquido y vamos añadiendo cada tira formando una estrella que irá en el centro de este, seguidamente, pegamos una linda flor decorativa en el centro y aplicamos un poco de brillantina.
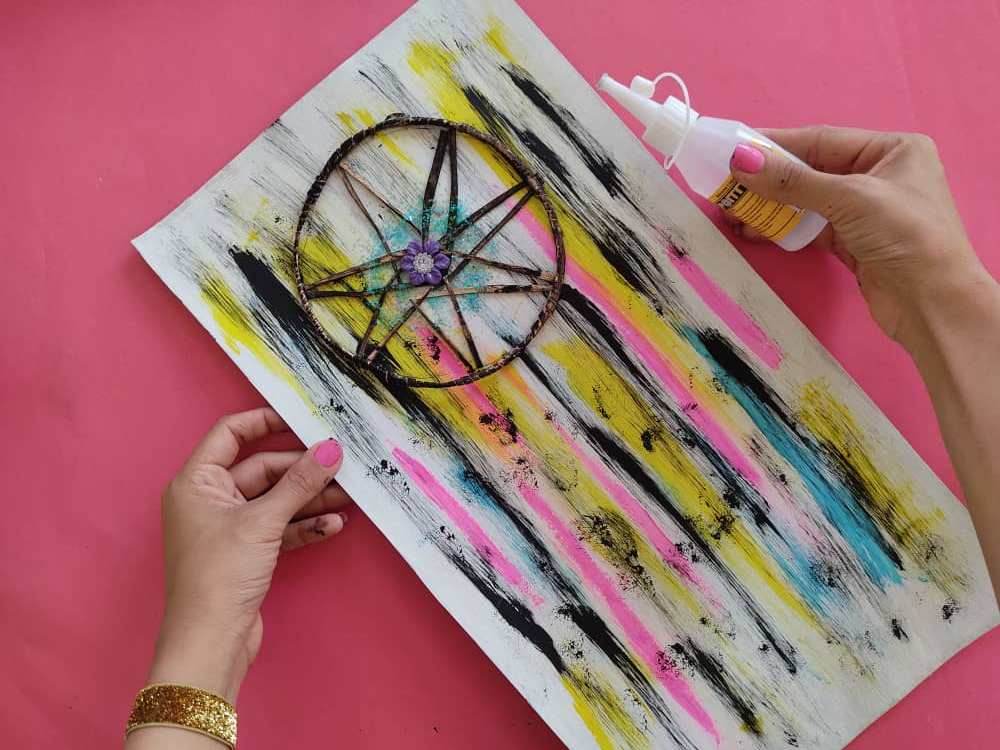
Now, we assemble the dreamcatcher on our base, first, we make a kind of star with liquid silicone and we add each strip forming a star that will go in the center of it, then, we glue a beautiful decorative flower in the center and apply a little of brilliantine.
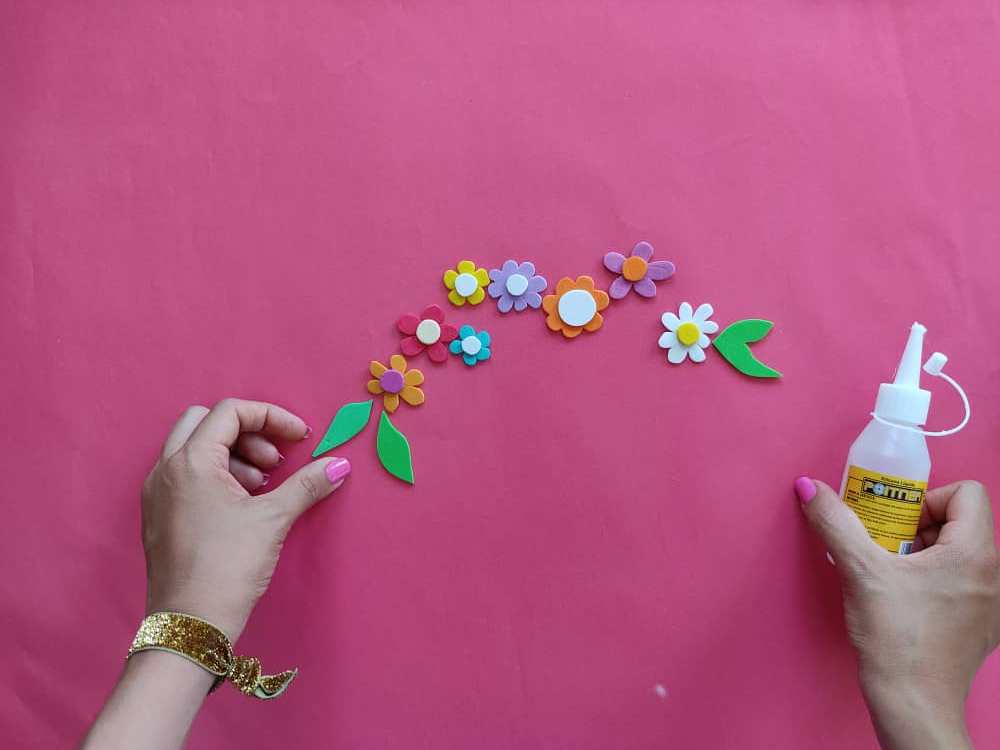
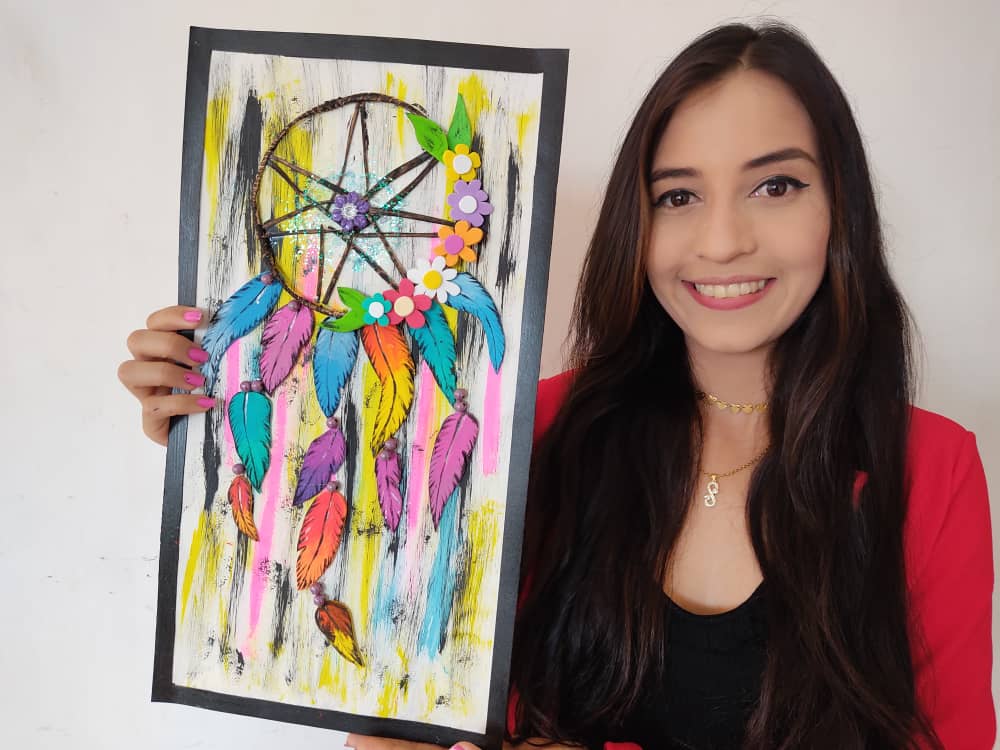
Luego, comenzamos a pegar las plumas ubicándolas en lugar que deseemos, haciendo un hermoso juego con los colores para que queden bien distribuidos y no se repita uno al lado de otro. Seguidamente, pegamos las hermosas flores a un lado del atrapasueños, formando como una pequeña guirnalda, no olviden pegar las hojas a sus extremos.
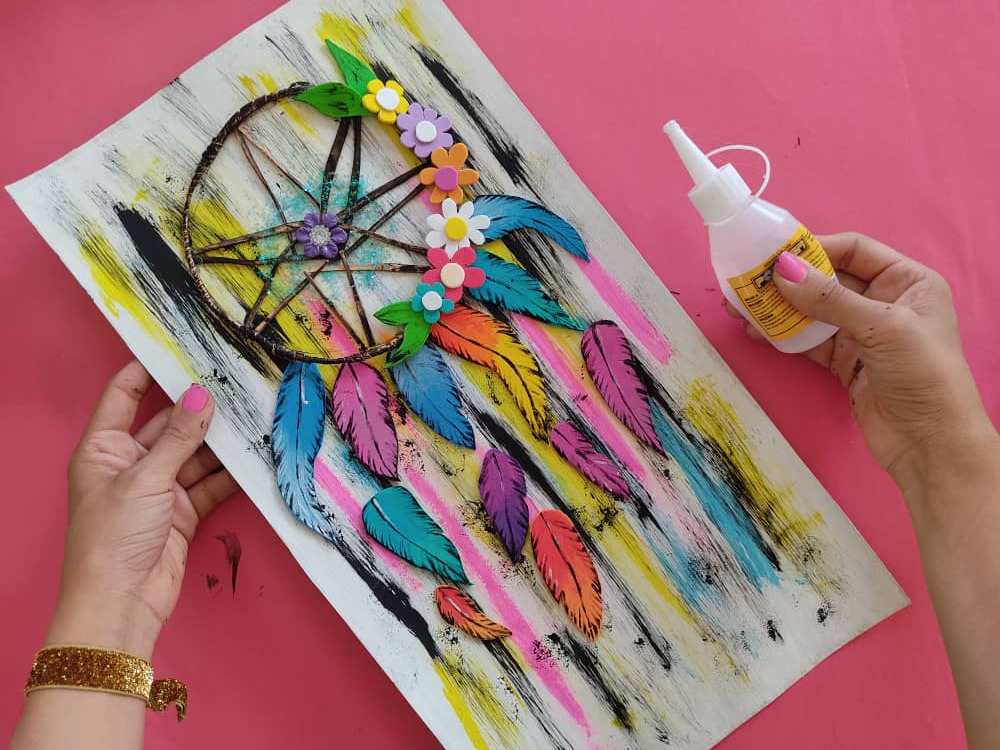
Then, we begin to glue the feathers, placing them in the place we want, making a beautiful game with the colors so that they are well distributed and do not repeat one next to the other. Next, we glue the beautiful flowers to one side of the dreamcatcher, forming a small garland, do not forget to glue the leaves to their ends.
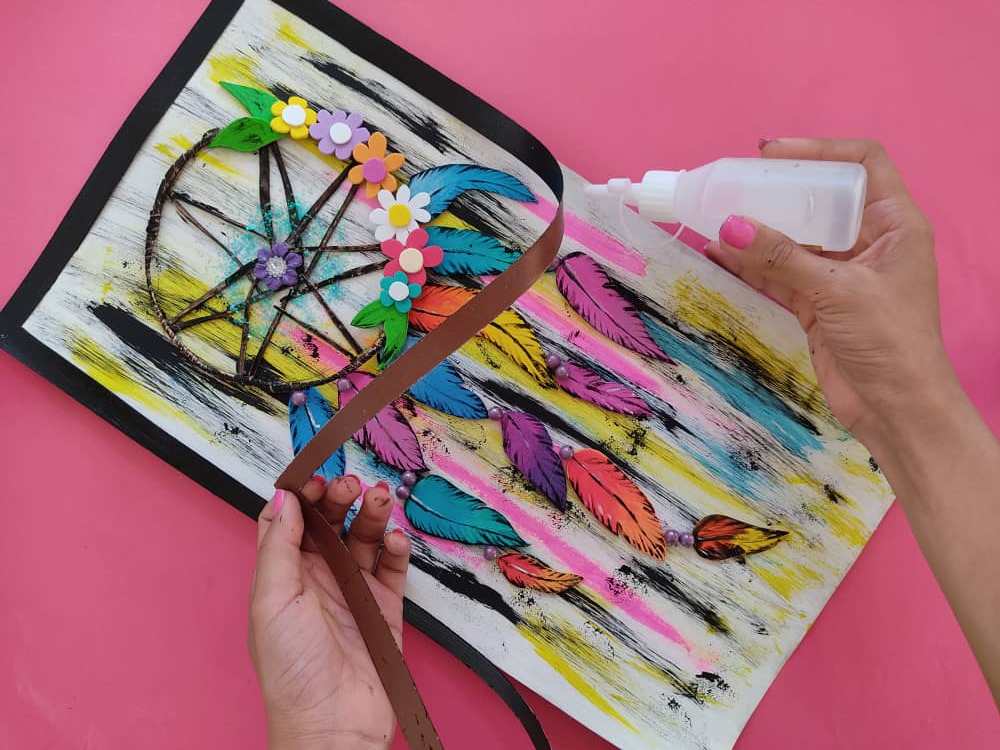
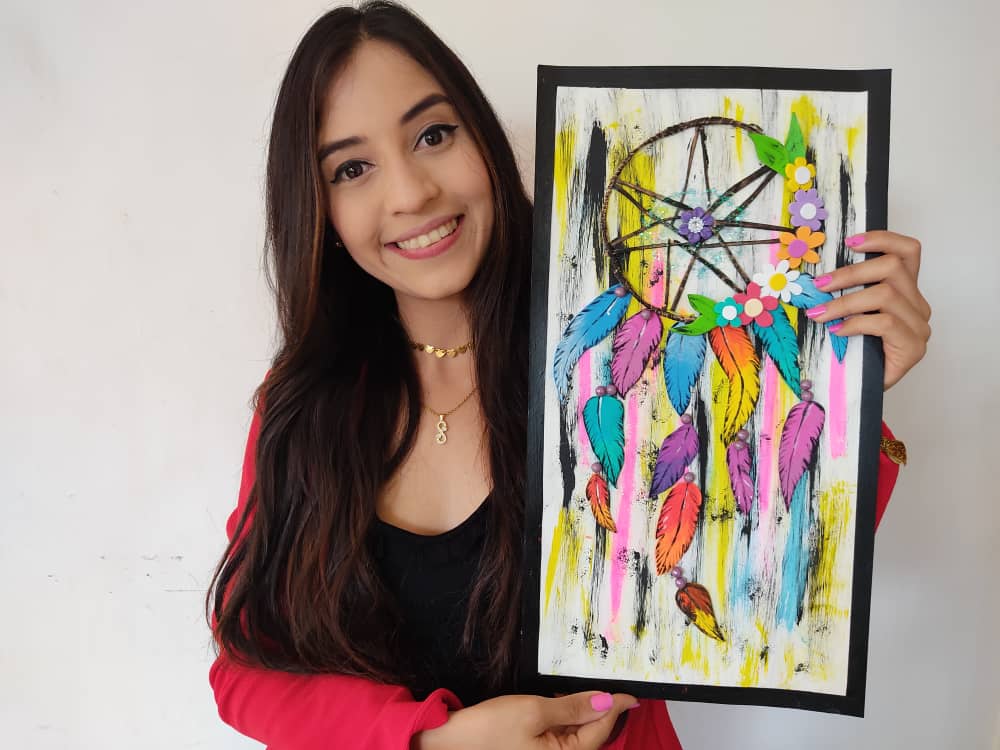
Finalmente, fabricamos el marco de cartón para nuestro cuadro y lo pintamos de color negro. Y por último, lo pegamos al rededor de la base de nuestro hermoso cuadro y listo.
Finally, we make the cardboard frame for our painting and paint it black. And finally, we glue it around the base of our beautiful painting and that's it.
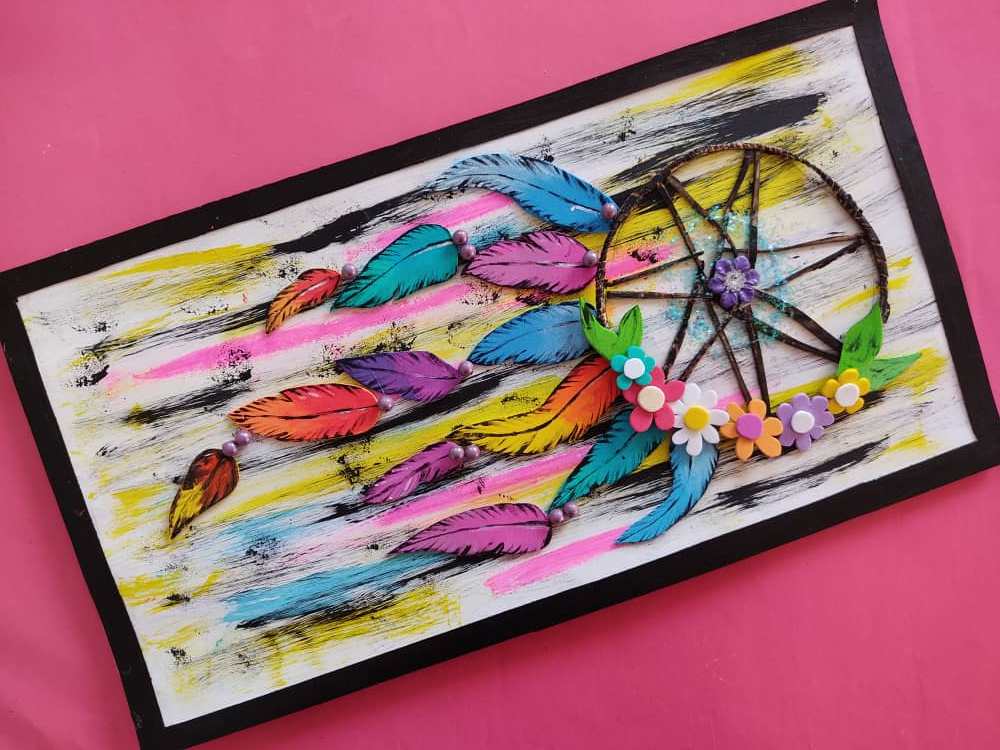
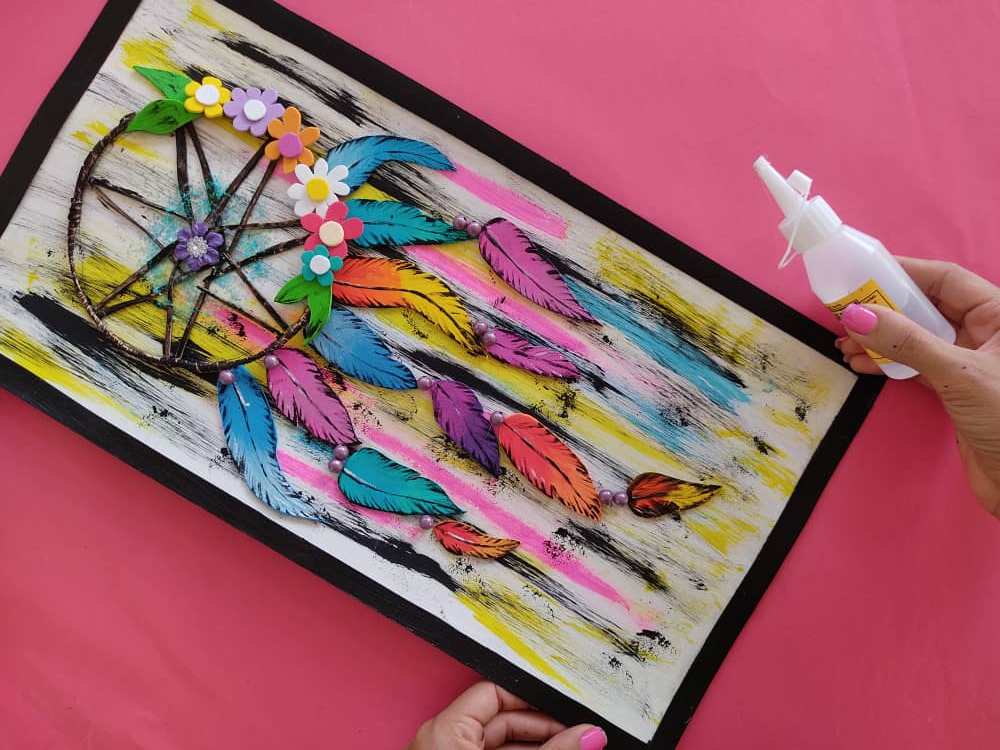
Gracias por acompañarme y espero que lo hayan disfrutado. ❤️
Thanks for joining and I hope you enjoyed it.❤️
.jpeg)
.jpeg)
.jpeg)
.jpeg)
.jpeg)
.jpeg)
.jpeg)
.jpeg)
.jpeg)
.jpeg)
Clic para ver trabajos anteriores | Click to see previous works


Very much
😘😘😘😘
Eventually you'll need to start doing a bigger variety of poses and then you'll be able to make a calendar of you posing with your artwork like those old model calendars XD
This dreamcatcher is beautiful, is it hanging somewhere on your wall? Can you even see the walls? I'm imagining them being covered by everything that you make :D
Hahaha it's a good idea about the calendar. Yes, of course, it can be hung, although most I have given them to close people.Thank you for your comment XOXO
Hi @saracampero, You made my day through this fascinating dreamcatcher painting. Very useful guidelines published how to make this work in this content. Keep it up for make many kind of arts.
Me alegra que te haya gustado este lindo trabajo. Gracias por comentar siempre mis publicaciones, eres una bendición. XoXo
👋 Hi @saracampero, I was flipping through the blockchain and stumbled on your work! You've been upvoted by Sketchbook / a community for design and creativity. Looking forward to crossing paths again soon.
✅ Join the Sketchbook Community
Congratulations, your post has been upvoted by @dsc-r2cornell, which is the curating account for @R2cornell's Discord Community.
Thanks for your support..
Thank you for sharing this amazing post on HIVE!
Your content got selected by our fellow curator @priyanarc & you just received a little thank you via an upvote from our non-profit curation initiative!
You will be featured in one of our recurring curation compilations and on our pinterest boards! Both are aiming to offer you a stage to widen your audience within and outside of the DIY scene of hive.
Join the official DIYHub community on HIVE and show us more of your amazing work and feel free to connect with us and other DIYers via our discord server!
If you want to support our goal to motivate other DIY/art/music/homesteading/... creators just delegate to us and earn 100% of your curation rewards!
Stay creative & hive on!