.jpeg)

Español
Hola querida familia ❣️ Este lindo día les traigo un divertido paso a paso en dónde les mostrare como elaborar un precioso cuadro llamado “cuadro de los sueños”, pues decidí colocarle este nombre, ya que, viajar en los increíbles globos aerostáticos es uno de mis más grandes sueños desde que era muy pequeña, y pues, se que algún día iré a volar en una de estas fabulosas aeronaves, esta hermosa obra está hecha con materiales muy económicos y fáciles de conseguir y sobre todo con mucho amor, pues su resultado lo dice todo, a mí realmente me enamoro, espero que a ustedes igual.
English
Hello dear family 💓 This beautiful day I bring you a fun step by step where I will show you how to make a beautiful painting called "dream painting", because I decided to name it, since traveling in the incredible hot air balloons is one of my biggest dreams since that it was very small, and well, I know that one day I will fly in one of these fabulous aircraft, this beautiful work is made with very cheap and easy-to-get materials and above all with a lot of love, because its result says it all, to I really fall in love, I hope you do the same.
¿Qué están esperando?
Utilizar estos hermosos materiales para transformarlos en un hermoso cuadro, es una idea muy original y económica para decorar nuestro entorno y darle un toque de creatividad a nuestras paredes. Antes de comenzar no olvidemos lavarnos nuestras manos.
What are they waiting for?
Using these beautiful materials to transform them into a beautiful painting is a very original and inexpensive idea to decorate our surroundings and give a touch of creativity to our walls. Before we start, let's not forget to wash our hands.
 >
>[Materiales | Materials]
Para hacer este precioso cuadro necesitaremos:
- Moldes.
- Foami o goma eva.
- Cartón.
- Pincel.
- Pinturas.
- Tijera.
- Cúter.
- Pegamento o silicón liquido.
To make this precious painting will need:
- Molds.
- Foamy or EVA foam.
- Cardboard.
- Brush.
- Paintings.
- Scissors.
- Cutter.
- Glue or liquid silicone.
Procedimiento (paso a paso)
Process (step by step)

Primero, dibujamos lo que tenemos en mente dejando volar nuestra imaginación y creatividad para obtener el resultado deseado. Opte por dibujar a unos enamorados viajando en increíbles y coloridos globos aerostáticos, de manera que parezca que el hombre está fotografiando a su chica desde atrás.
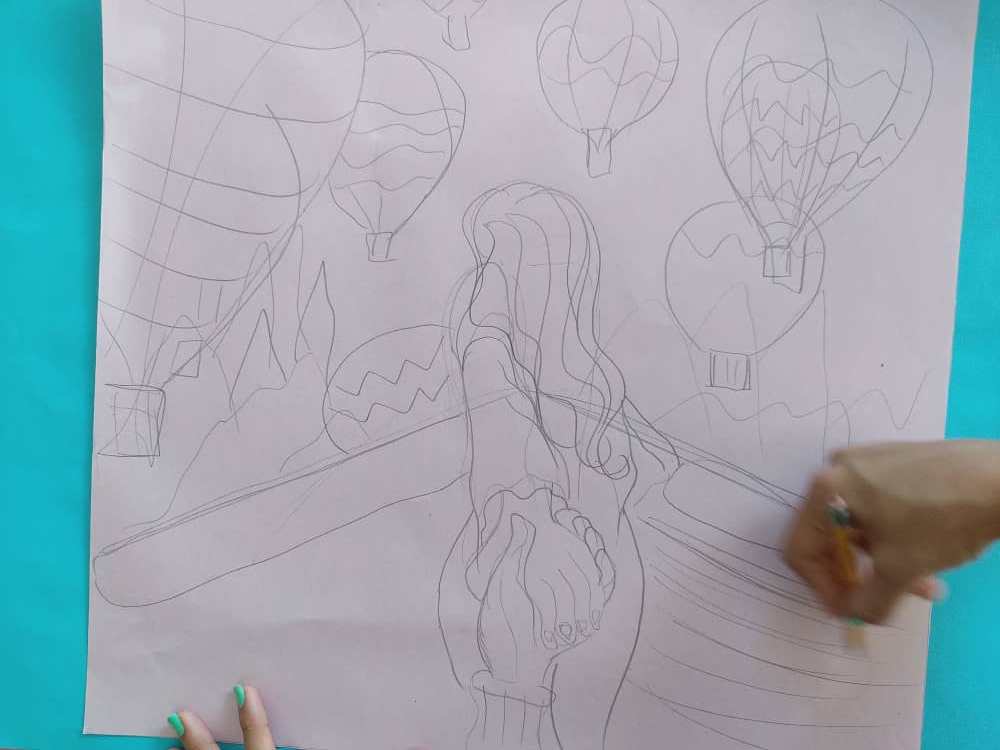
First, we draw what we have in mind, letting our imagination and creativity fly to obtain the desired result. Choose to draw some lovers traveling in amazing colorful hot air balloons, so that it looks like the man is photographing his girl from behind.
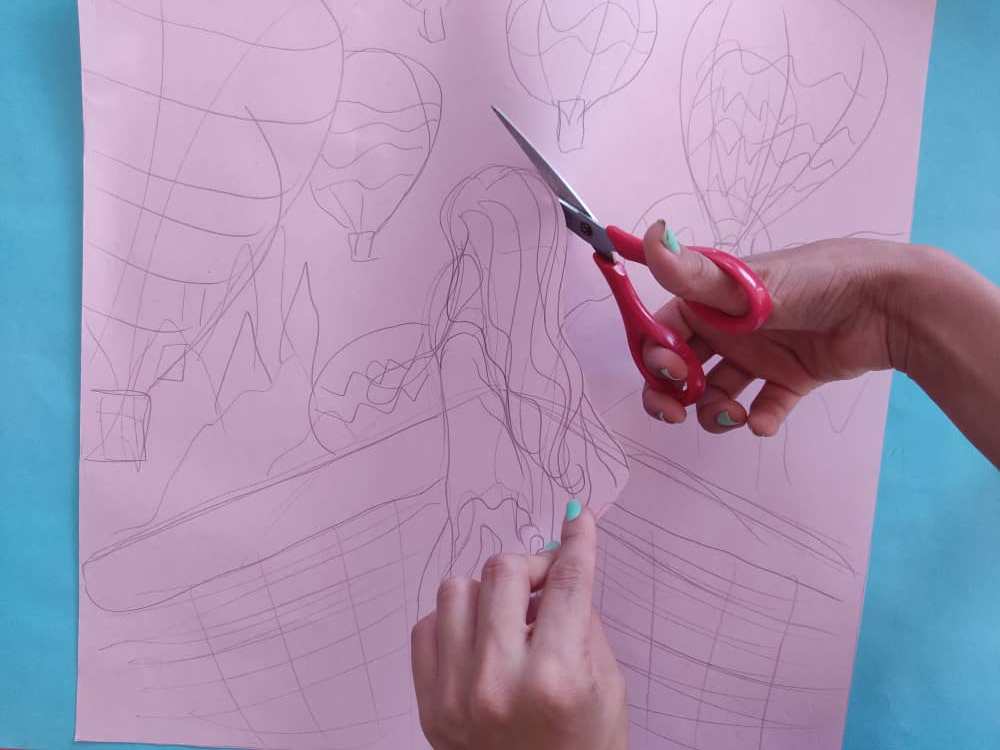
Luego de haber obtenido nuestro diseño, recortamos cuidadosamente separando la chica con las manos, la canasta del globo, más cada uno de los globos. Recuerden conservar las medidas marcadas para no perder la forma de nuestro hermoso dibujo.
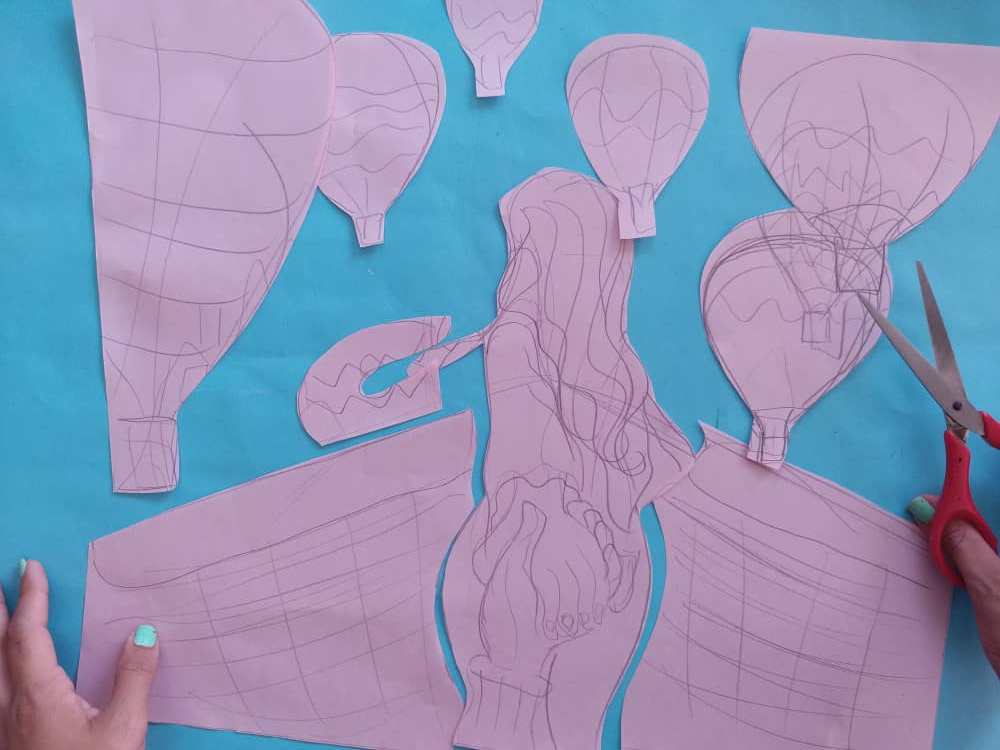
After having obtained our design, we carefully cut out the girl with our hands, the balloon basket, plus each of the balloons. Remember to keep the marked measurements so as not to lose the shape of our beautiful drawing.
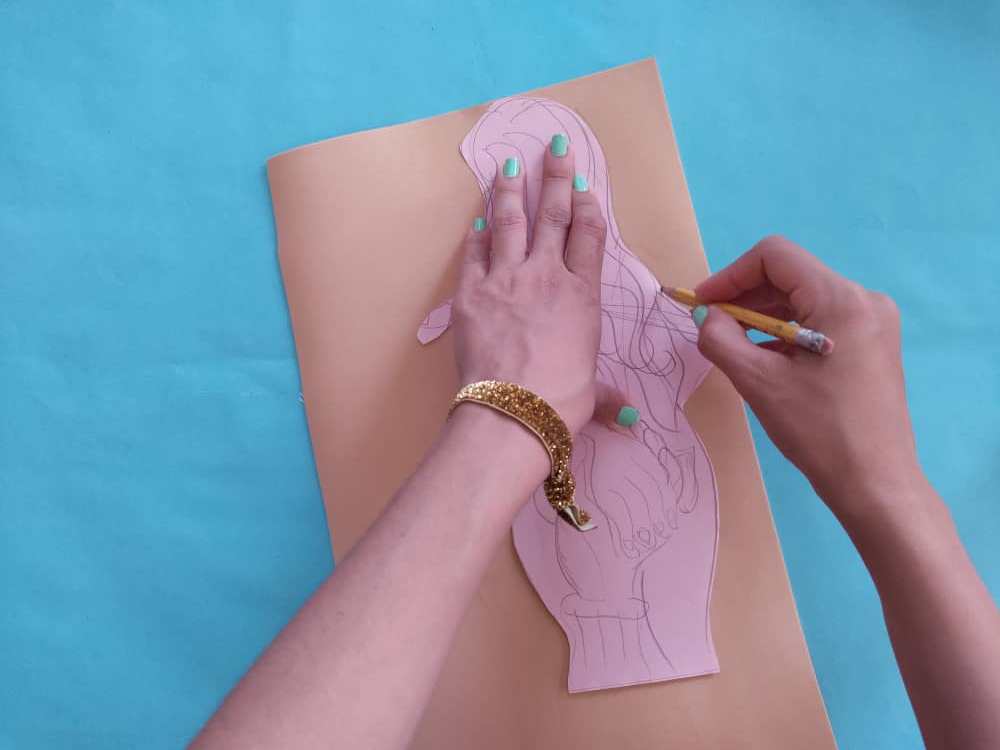
Seguidamente, transferimos al foamy cada una de las figuras que obtenidas, conservando su tamaño para que nuestra obra quedé lo más perfecta posible.
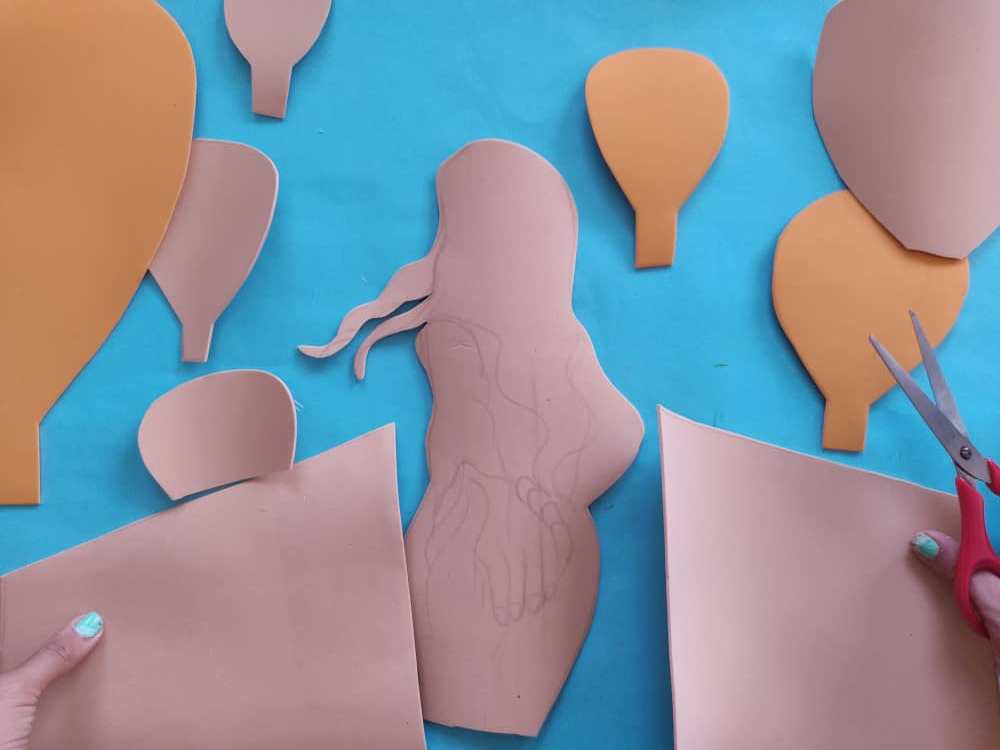
Next, we transfer each of the figures obtained to the foamy, preserving its size so that our work is as perfect as possible.
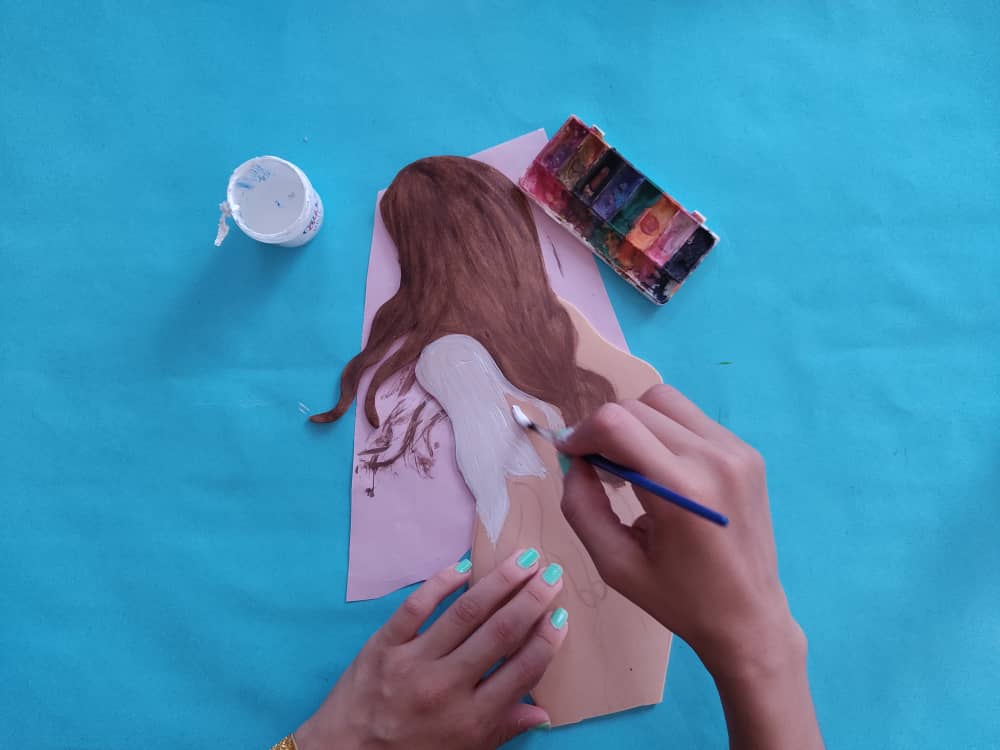
Ahora, comenzamos a darle amor y alegría a nuestras partes aplicando un poco de pintura, definiendo a la chica primero que todo, pintando su cabello, también su ropa, y las manos y la de su enamorado. Una vez que esté lista, pintamos sus bordes de negro, con ayuda de un pincel muy fino, no olviden hacerlo con delicadeza.
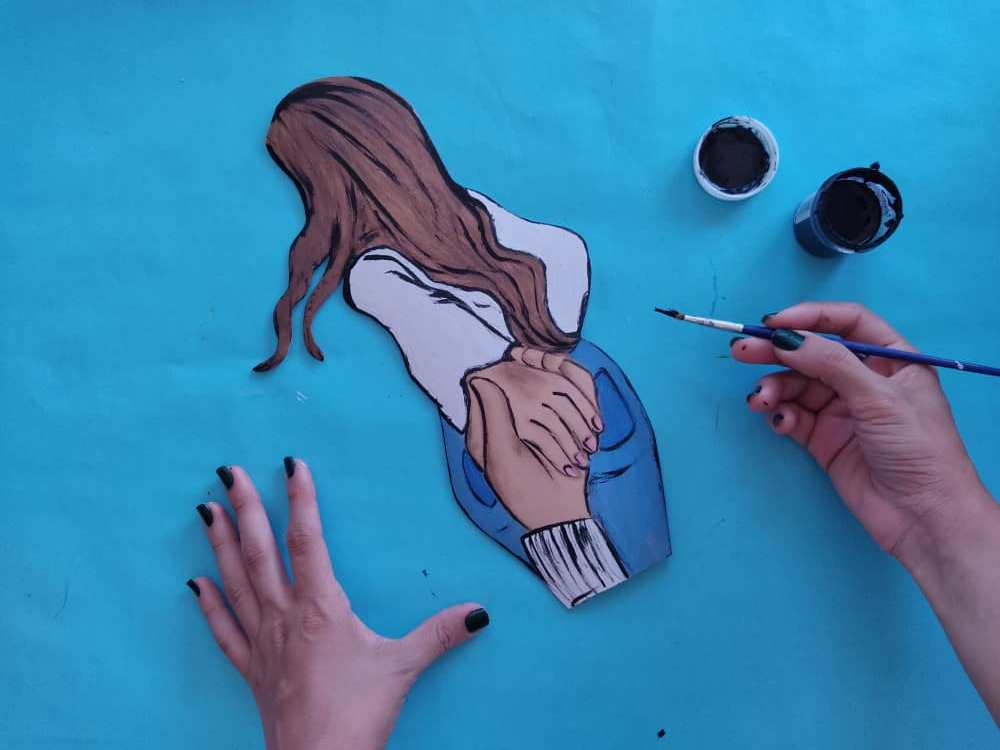
Now, we begin to give love and joy to our parts by applying a little paint, defining the girl, first of all, painting her hair, also her clothes, and the hands and that of her lover. Once it is ready, we paint its edges black, with the help of a very fine brush, do not forget to do it delicately.
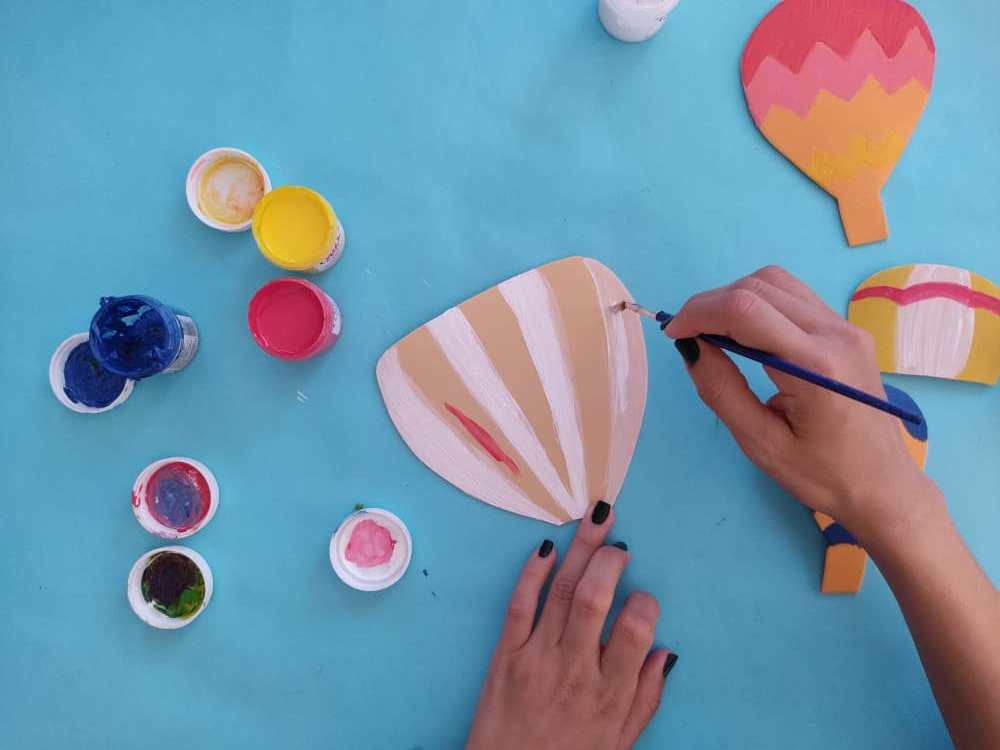
Luego, pintamos cada uno de los globos, de una manera muy hermosa y colorida, pues, saben que amo los colores vivos, brillantes, y alegres, y realmente así son estás magníficas aeronaves, y una vez que estén todos listos, pintamos sus bordes con negro para realzar su figura.
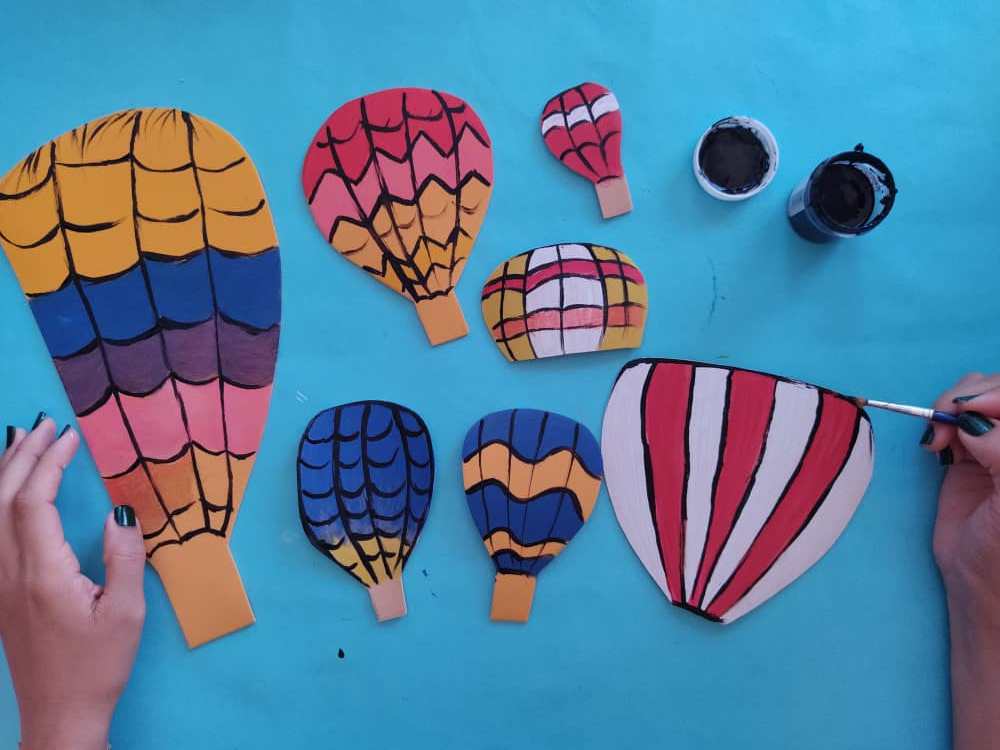
Then, we paint each of the balloons, in a very beautiful and colorful way, well, they know that I love bright, bright, and happy colors, and this is really how these magnificent aircraft are, and once they are all ready, we paint their edges with black to enhance your figure.
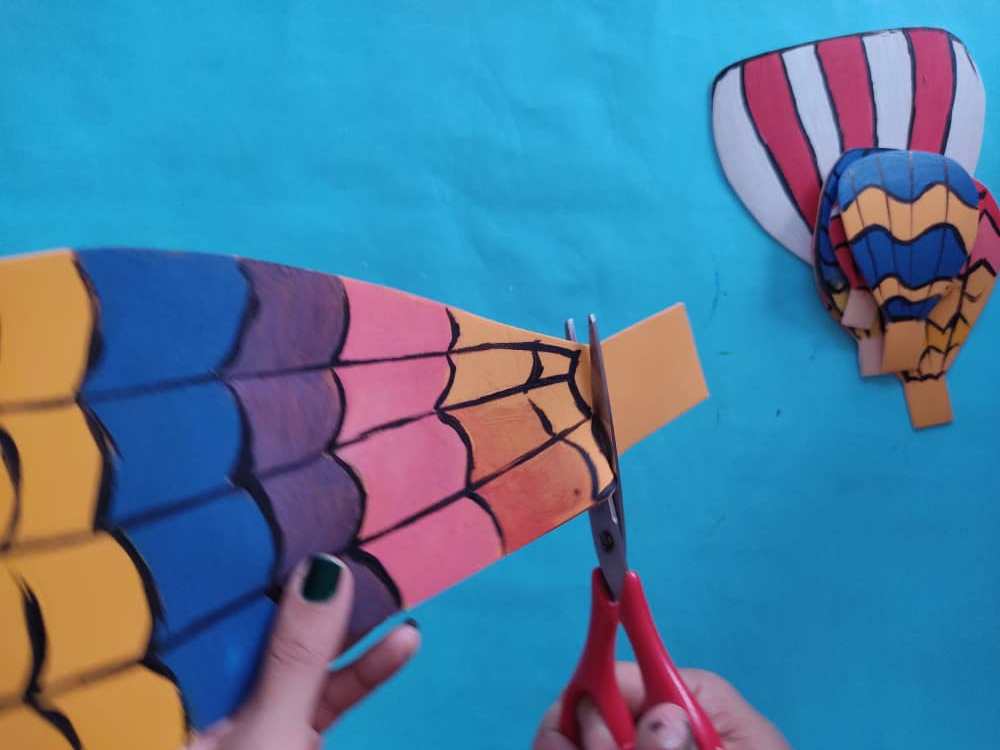
Una vez listos los globos, los recortamos separándolos de las canastas.
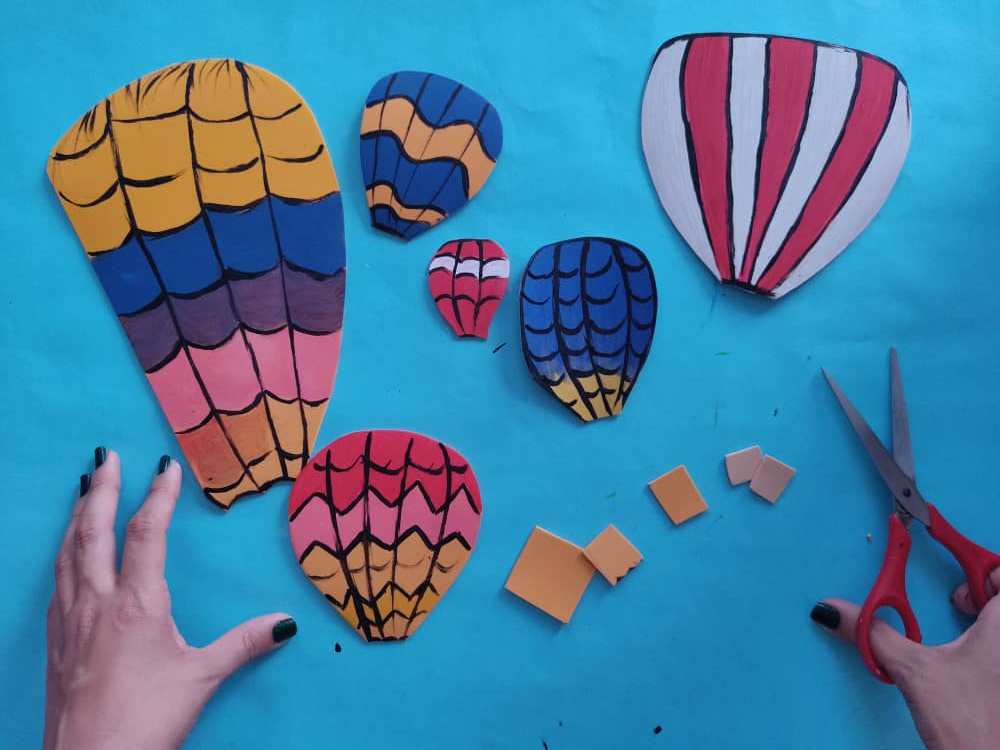
Once the balloons are ready, we cut them separating them from the baskets.
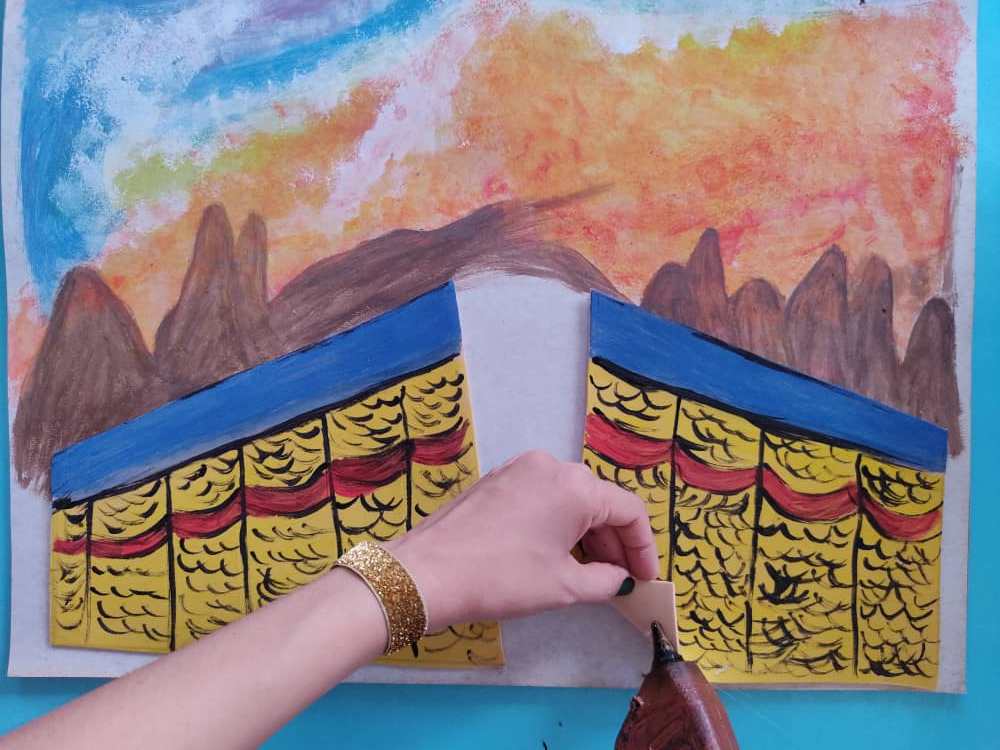
Ahora, pintamos las partes de la canasta del globo en el que viaja nuestra pareja de enamorados.

Now, we paint the parts of the basket of the balloon in which our loving couple travels.
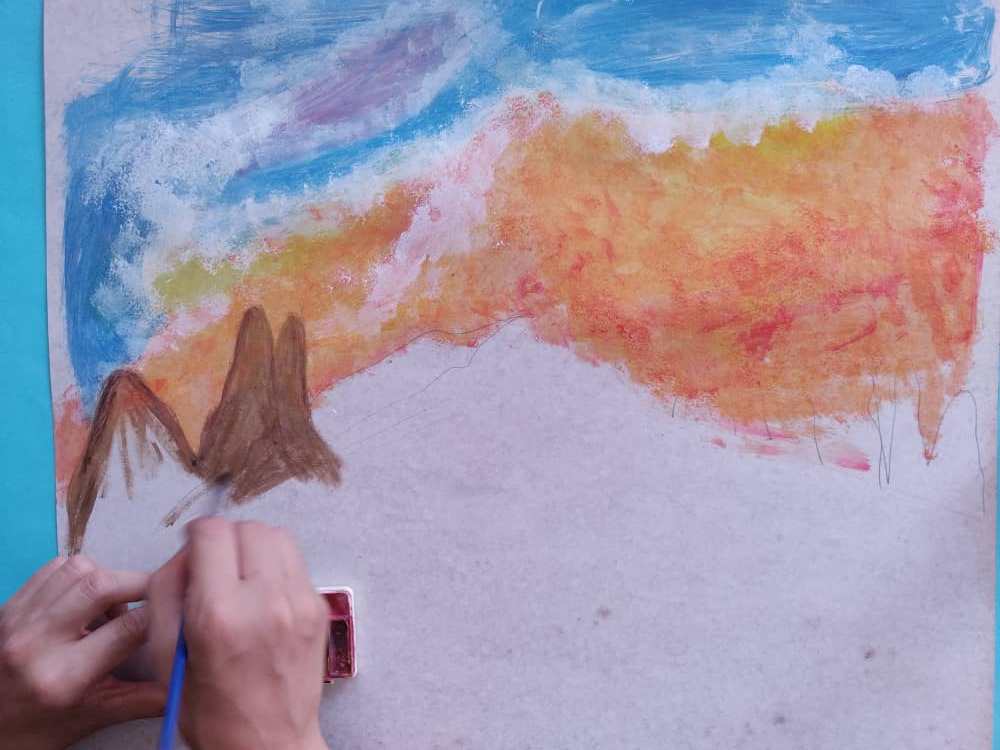
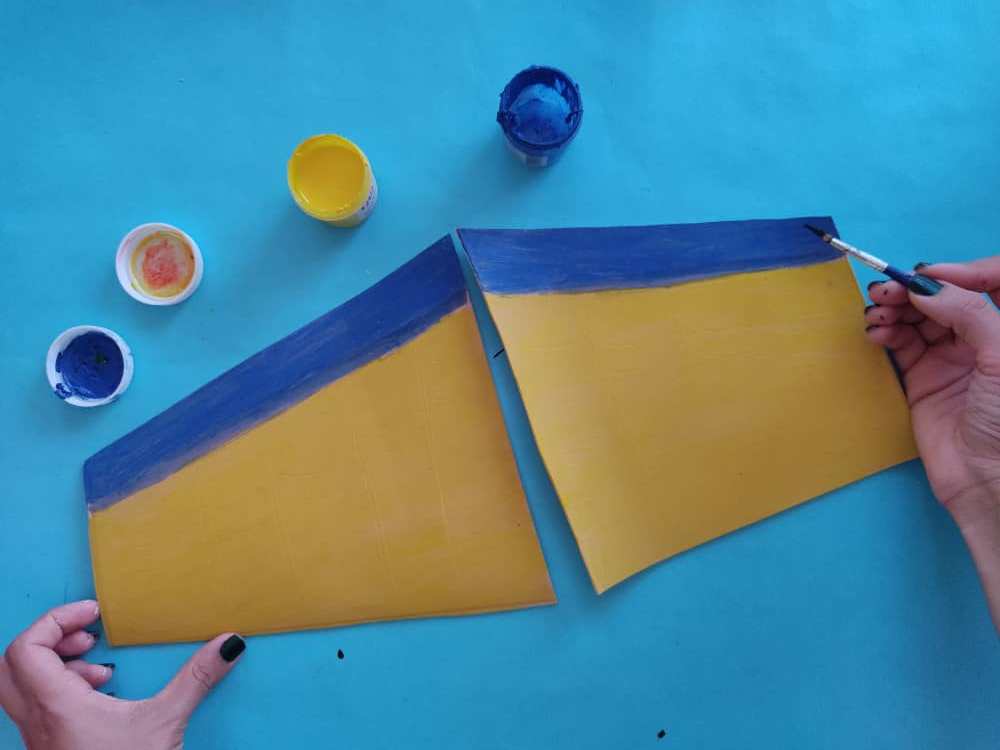
Luego, fabricamos la base para nuestra obra, de aproximadamente 48 x 48cm y la pintamos, pero esta vez haremos algo muy diferente, ya que haremos el cielo y algunas montañas en la base, pues el cielo lo haremos de distintos tonos, entre azul, blanco y amarillo por el sol radiante. Dejamos secar por algunos minutos.
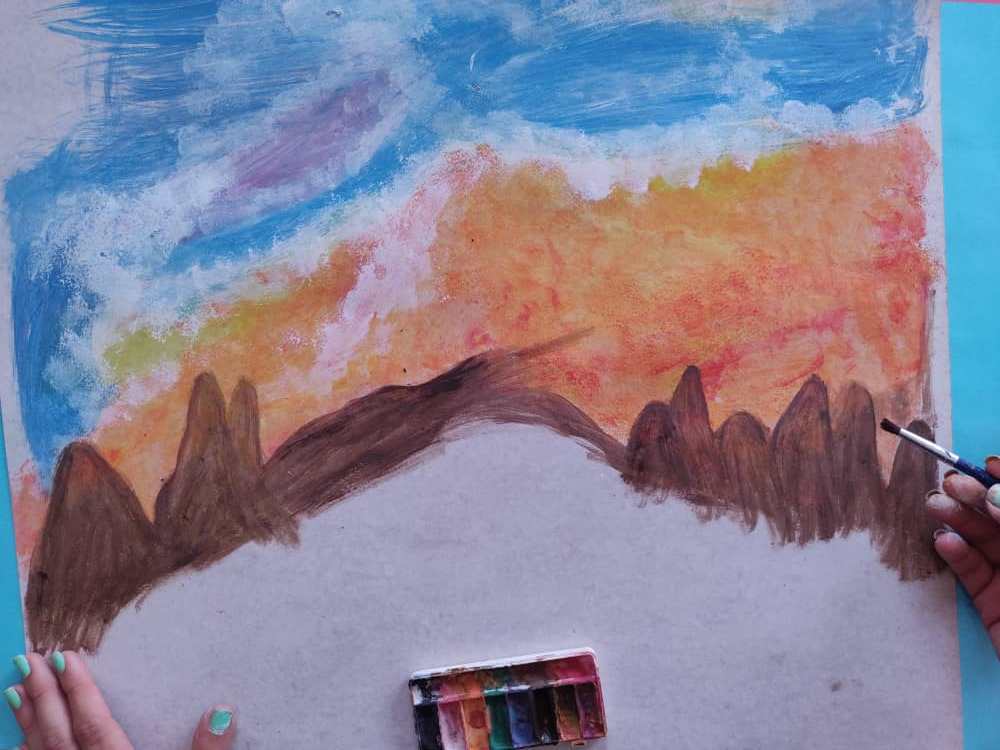
Then, we make the base for our work, approximately 48 x 48cm, and paint it, but this time we will do something very different, since we will make the sky and some mountains on the base, since we will make the sky in different shades, between blue, white and yellow from the bright sun. We let it dry for a few minutes.
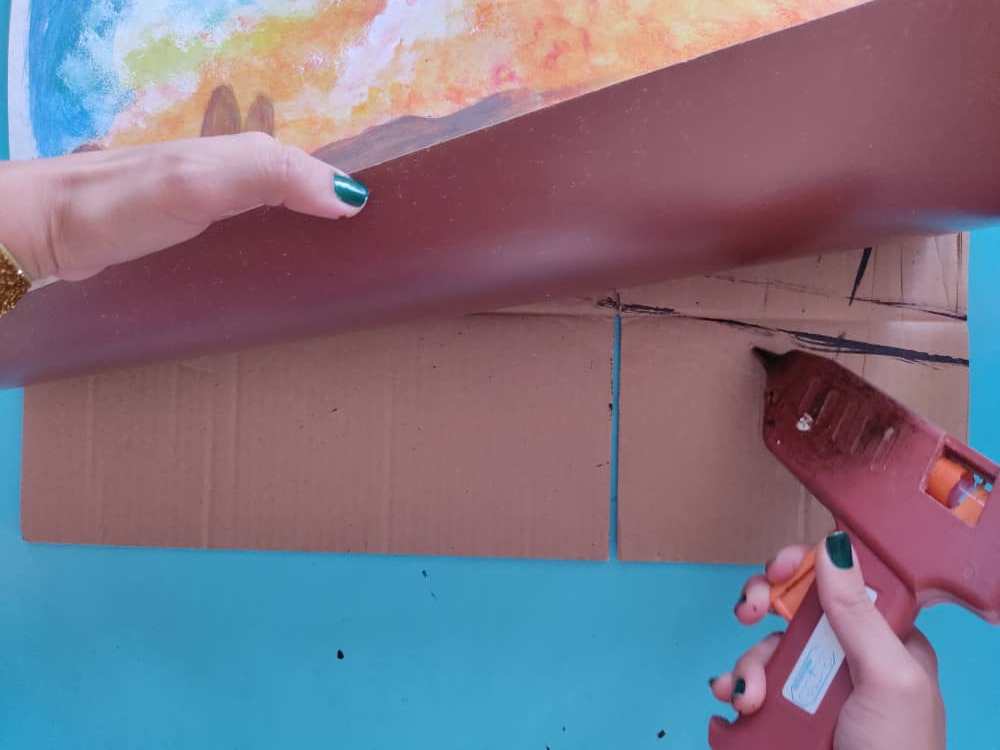
Una vez que esté totalmente seca nuestra base, la pegamos sobre un cartón de la misma medida y un poco más grueso, con silicón caliente, y hacemos un poco de presión para obtener una base muy firme.
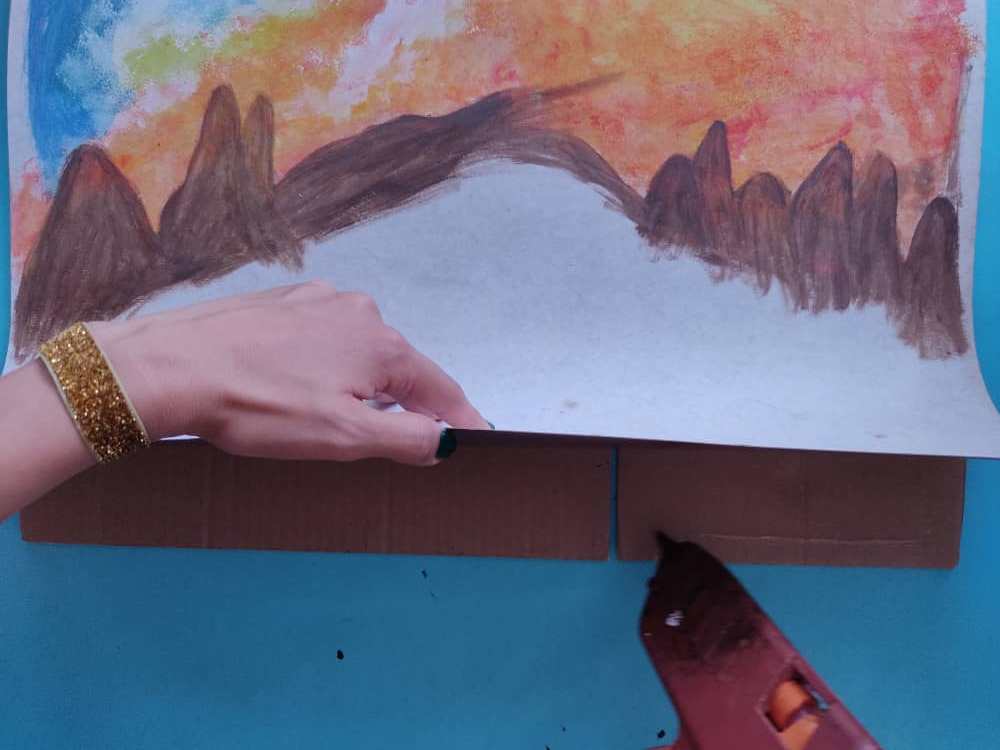
Once our base is completely dry, we stick it on a cardboard of the same size and a little thicker, with hot silicone, and apply a little pressure to obtain a very firm base.
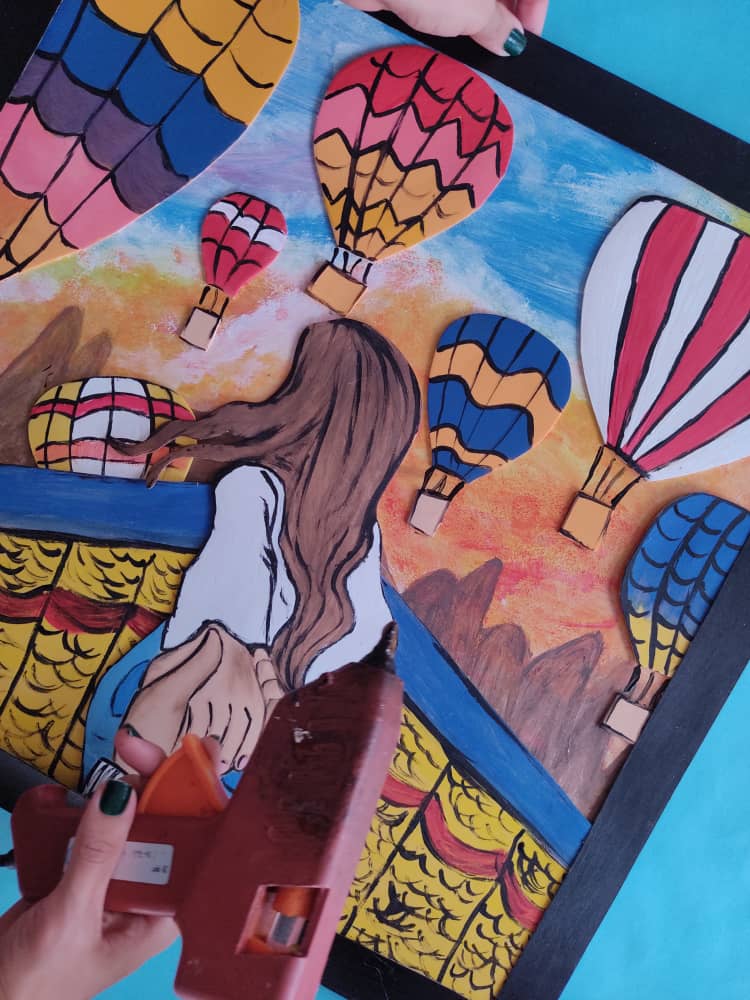
Ahora comenzamos a armar nuestra obra pegando cada pieza sobre la base, ubicándolas en el lugar que más nos guste comenzamos por la canasta del globo dónde vuela la pareja y así sucesivamente.
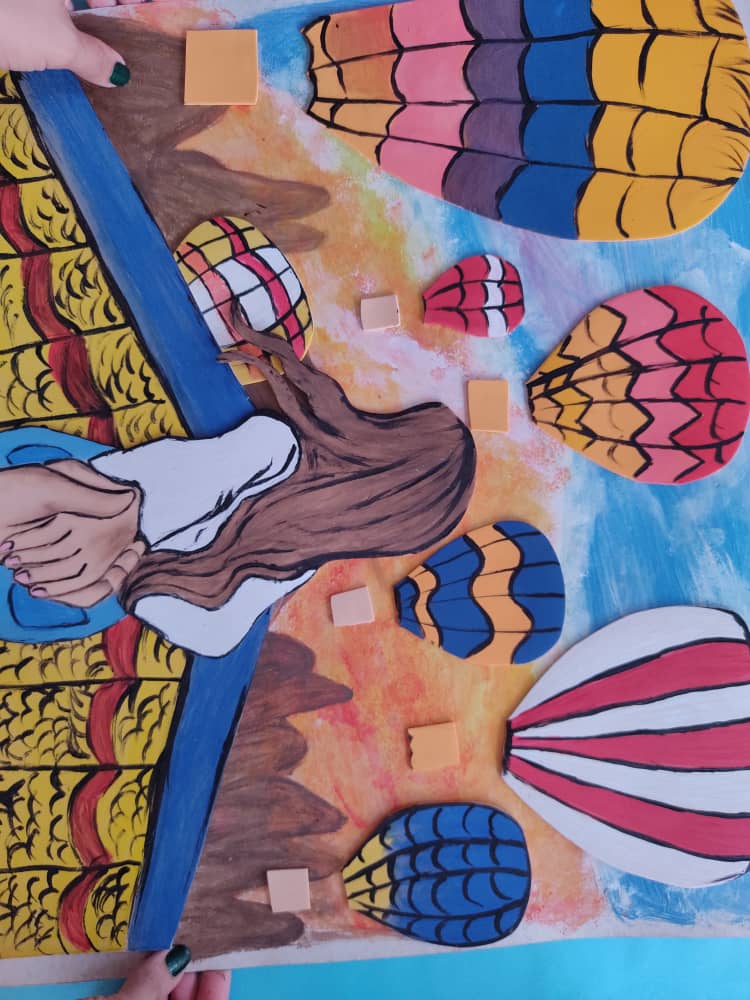
Now we begin to assemble our work by gluing each piece on the base, placing them in the place that we like the most, we begin with the balloon basket where the couple flies and so on.
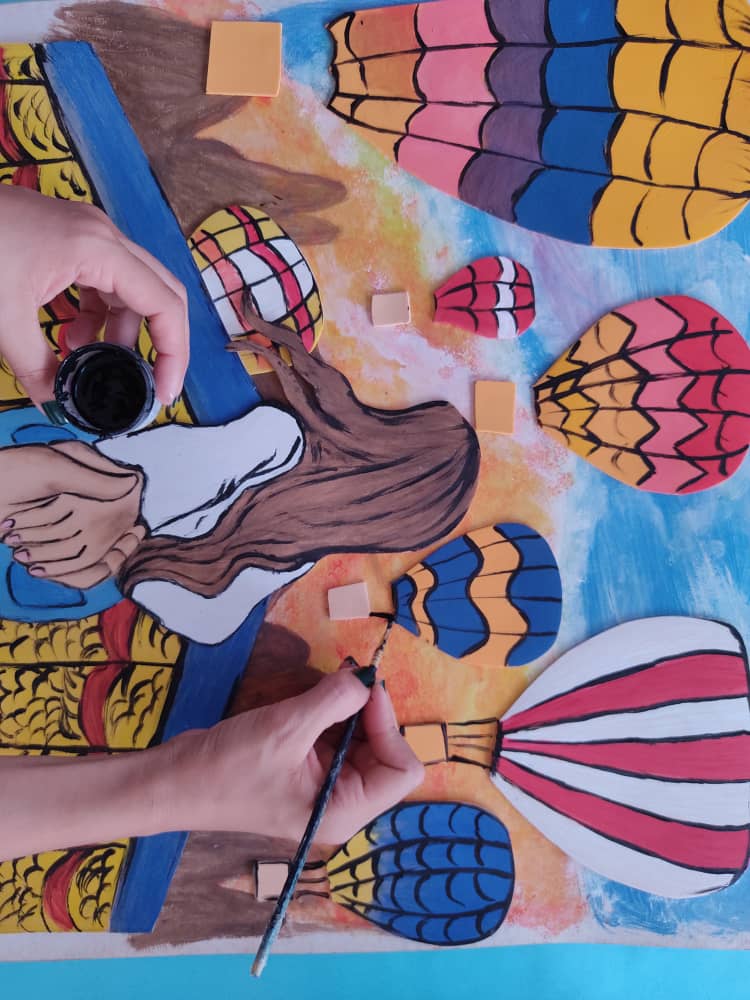
Luego de que todos nuestros globos estén bien ubicados, pintamos lo que serán las cuerdas que sostienen sus canastas, con pintura negra. Y listo hermoso no?
After all our balloons are well located, we paint what will be the ropes that hold their baskets, with black paint. And ready beautiful right?
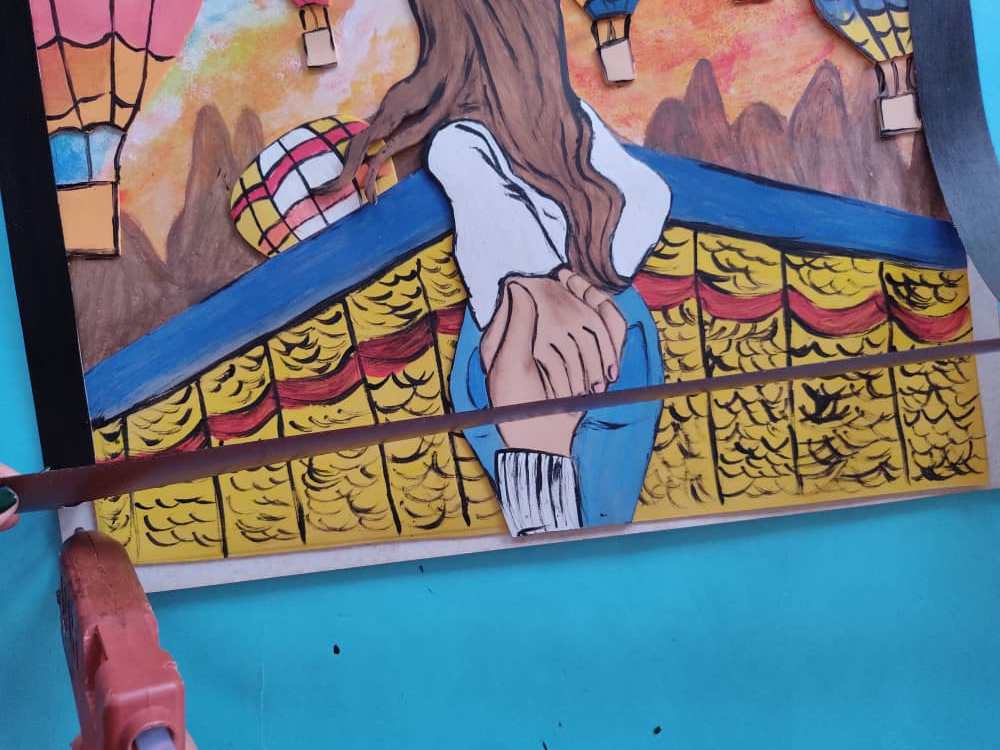
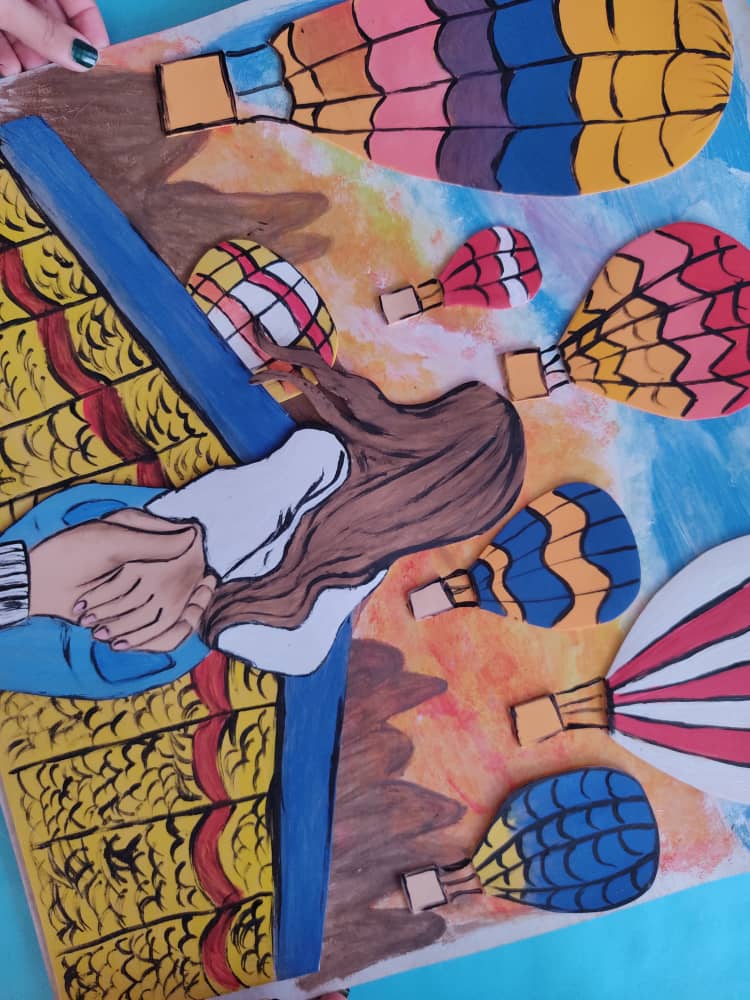
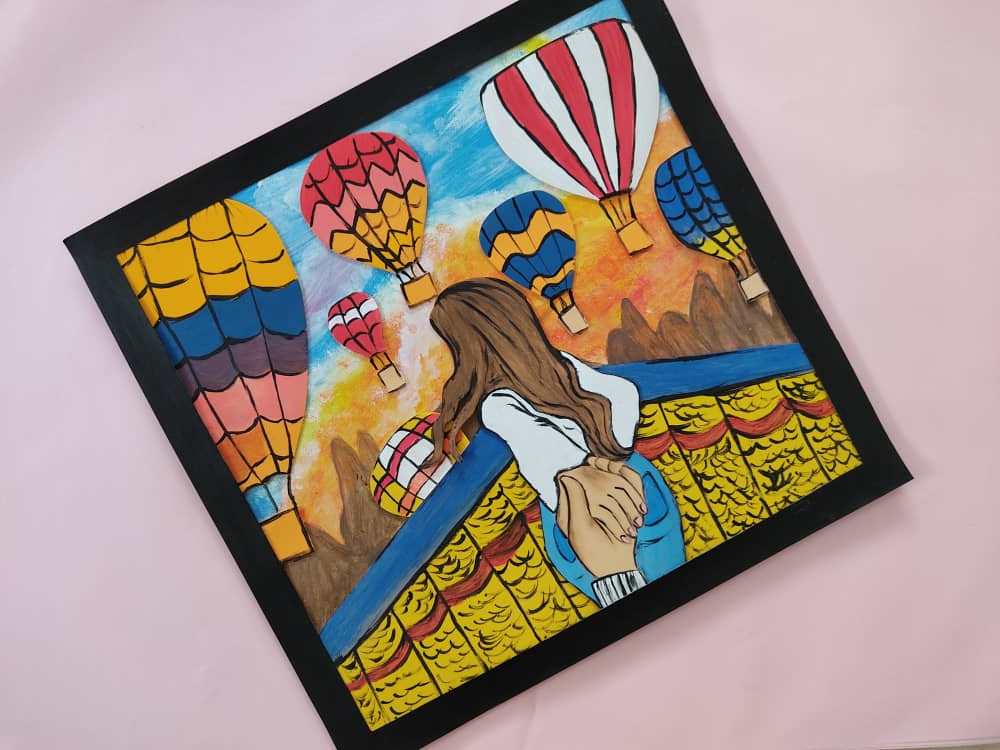
Finalmente, fabricamos un marco súper genial y lo pintamos del color que deseemos, en este caso yo decidí pintarlo de negro, para que luzca muy elegante y a la vez hermoso. Y finalmente lo pegamos en el borde de la base.
Finally, we made a super cool frame and painted it the color we want, in this case, I decided to paint it black, to make it look very elegant and at the same time beautiful. And finally, we glue it on the edge of the base.
.jpeg)
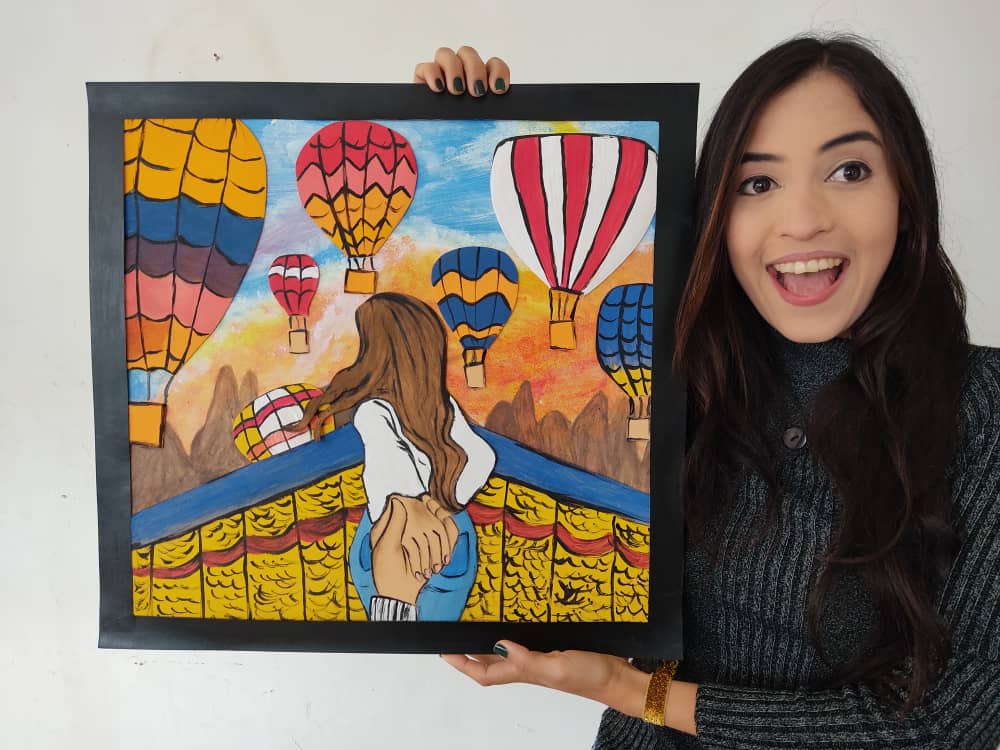
Gracias por acompañarme y espero que lo hayan disfrutado. ❤️
Thanks for joining and I hope you enjoyed it.❤️
.jpeg)
.jpeg)
.jpeg)
.jpeg)
.jpeg)
.jpeg)
.jpeg)
.jpeg)
.jpeg)
.jpeg)
Clic para ver trabajos anteriores | Click to see previous works


#posh
Hi @saracampero, How much time you spent for created this art work? I think it was so long. Firstly I thought this is a painting work on single sheet or board. But I went step by step process, Then I knew how you made it. Absolutely stunning and adorable color combination here.
It took many hours, but in 2 days I could finish it. Thanks for your nice comment. God bless you
me gusto mucho tu cuadro esta hermoso,amo tu creatividad
Excelente...
Muy bello tu cuadro, una idea muy creativa y única❤❤Excelente Presentación.
In our country, there is a place called 'Kapadokya'. It looks very similar :)
As always, a very nice post..
Está Hermoso tu Cuadro 😍 Me encanto Felicidades 👏
el resultado es fantástico, buen trabajo
Cómo rompe cabeza♥️