Part 2 - Putting it Together
In Part 1 of this series, we looked at the basics of fermentation. You can read Part 1 here:
https://steemit.com/life/@lifeisartsandy/how-to-make-kimchi-quickly-easily-and-cheaply-part-1-fermentation-basics
Now it's time to mix all the ingredients and place them in jars to ferment.
Here's what you'll need:
- Clean pickle or Mason jars with lids. Wash them in really hot water or run them through the dishwasher to kill any germs.
- Salt
- Hot pepper flakes (1/8 to 1/4 cup or to taste)
- Ginger powder (1 tsp to 1 tbsp or to taste)
- Garlic powder (1 to 2 tbsp or to taste)
- A little bit of sugar (1 tsp at the most. *optional)
- 1 head of Napa (Chinese) cabbage or European cabbage (approximately 1.5 pounds)
- Green onions (3-5 full stalks)
- Other vegetables as desired: chopped onion, shredded carrots... You can also add daikon radish, small pieces of apples or pears.
Step One - Prepare the Vegetables
Cut all the vegetables into small pieces. The cabbage doesn't have to be shredded, but I like to cut mine into small bite-sized pieces. Set everything aside but the cabbage. Place the cabbage in a large mixing bowl, and prepare to add salt.
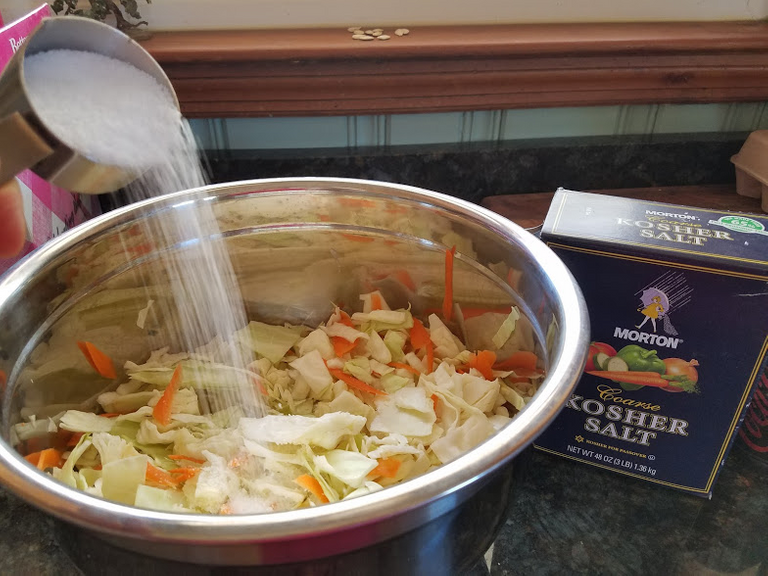
Step Two - Salt the Cabbage
As stated in Part 1 of this series, it's really important to the fermentation process that you use the right amount of salt. Most experts recommend a 1/4 cup of salt per pound or two of vegetables. You're going to be rinsing off excess salt before adding the rest of the ingredients. So if you use too much, you'll have a chance to get the excess out. Just make sure that after rinsing, the cabbage tastes salty enough without being too briny.
I actually added a little salt back in after rinsing, because it didn't taste quite salty enough.
Mix the salt and cabbage well. (I accidentally added the shredded carrots before the salt. If you forget and do this, don't worry about it.) Add a few tablespoons of water when mixing, and let the cabbage stand in the salt mixture for about 10 to 15 minutes.
After the cabbage has marinated for about 10 - 15 minutes, rinse out the salt, squeeze out the excess moisture, and drain thoroughly.
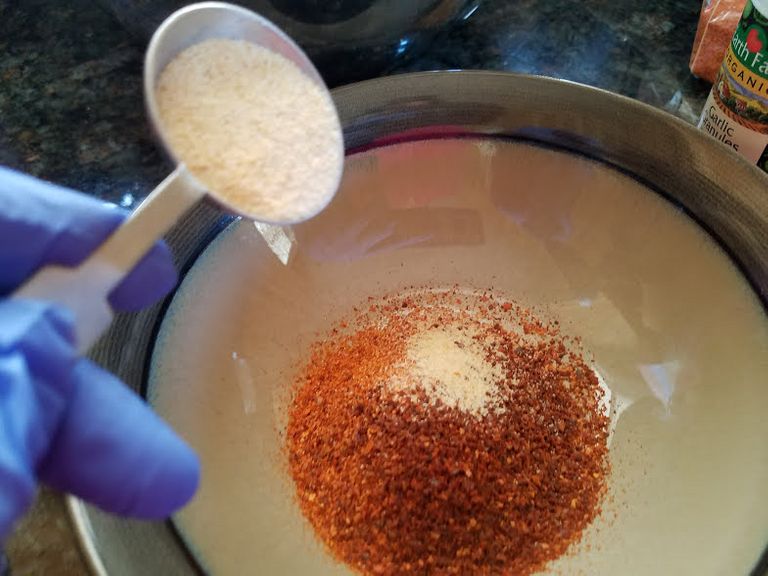
Step Three - Prepare the Seasoning
While the cabbage is marinating in the salt, mix together the hot pepper flakes, garlic powder, ginger powder and sugar.
For the hot pepper, I used part Korean red pepper flakes. They weren't that spicy, so I mixed it with the ground up cayenne that my neighbor grew in his garden. The cayenne is "blow your face off hot". I probably didn't need to use as much as I did.
Step Four - Mix Up the Kimchi Ingredients
*You need plastic or rubber gloves for this part. Please don't touch your face or eyes!
After the cabbage has been marinated, rinsed and drained, return it to the bowl. Add the dry ingredients and chopped up vegetables. Mix thoroughly until all of the cabbage and vegetables are red.
Step Five - Put the Kimchi in Jars
Stuff the kimchi as tightly as possible into your clean jars. Keep pressing down so that you can fill each jar tightly to the top. You want to keep as much air out as possible during the fermentation period.
If you end up without enough kimchi to fill a jar entirely, you can use a pickling weight to keep air out. I didn't have a pickling weight, so I lined the top with some of the leaf pieces from the outer cabbage leaves, and placed a couple of small clean rocks on top.

Step Six - Storage
After jarring your kimchi, place it in a dark cabinet for 24-36 hours. This helps to jumpstart the fermentation process. When fermentation starts, you will see tiny bubbles. There may be some leakage as the pressurized gasses fill the jars and disperse the liquid. Be sure to place your kimchi jars on a towel or a mat to prevent damage to your kitchen cabinets.
After the fermentation process has started, or the 36 hours is complete, transfer your kimchi jars to the refrigerator to continue to ripen. Try not to open your jars for about a week. After that you can open the jars check to see if the kimchi is turning tangy and sour. When you're satisfied with the level of fermentation and flavor, your kimchi is ready to eat.
In Part 3 we will explore different ways to eat your kimchi.


Makanan khimchi itu makanan khas daerah mana?
Korea
Thank you for this recipe. I had never heard of kimchi before but I love all the ingredients. I plan to give it a try. But first I have to read part 1 and watch for part 3.
I hope you find my directions helpful!
Very helpful. I think I can do this. I love cabbage and sauerkraut so I am sure I will love this. And it sounds so healthy.
Kimchi has a lot of probiotics, so it is healthy. Good luck on your first batch.
Cooking is an art. I love to cook.
It's so wonderful that you love to cook @nurinur. Your love goes directly into the meals you make and blesses everyone who eats them.
My husband and I went to a fermentation class last year and we made Kimchi there. I was amazed at how easy it was and So many variations. Yours looks good too!
It really is once you understand the steps, ingredients and proportions. My husband and I own an Asian pear orchard. I'm working on perfecting this recipe, so that I can experiment with adding small amounts of Asian pear when they get ripe.
YAAAASSSSS! That sounds amazing!