Hi there,
this is already the third blog post about my PC desk "Spike" which I am building myself.
If you didn´t read my last 2 blog posts, please read them first.
---> https://steemit.com/technology/@jrelooc/my-pc-desk-modding-project-spike-or-with-pictures-or-part-01
---> https://steemit.com/pc/@jrelooc/my-pc-desk-modding-project-spike-or-with-pictures-or-part-02
I am Jannis from Germany so please let me know in the comments, if I can correct any mistakes. ;)
If you´ve got some questions or like my project, I would be really happy, if you´d upvote my post, post a comment or follow me :)
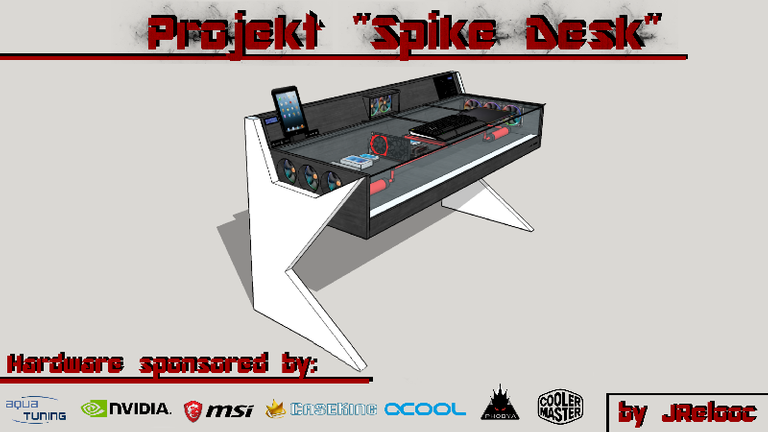
I designed my desk in a 3d software and also built it myself (But it is not completed yet).
Some companies also liked my project and sent me some nice hardware.
Huge thanks to: Aquatuning (Alphacool+Phobya), Caseking, Coolermaster, Msi and Nvidia.
without them my project wouldn´t be possible.
So here are the first pictures + a little bit of information:
(The pictures aren´t in 4k res. for people who don´t have fast internet) ;)
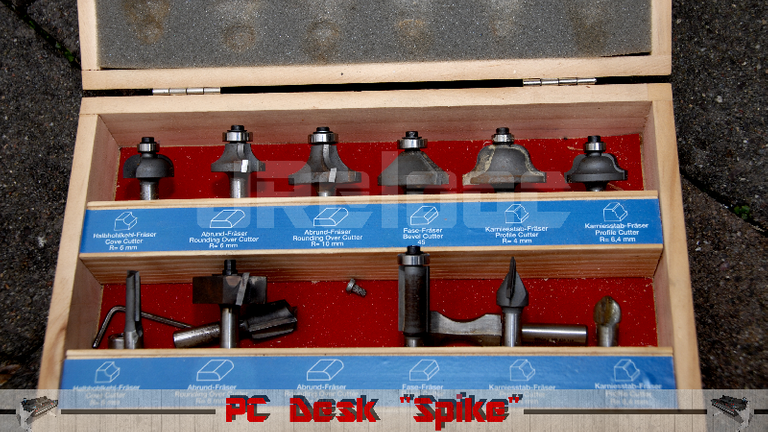
After I made some millings with the big machine (which i showed in the last post), I continued with a more tiny one.
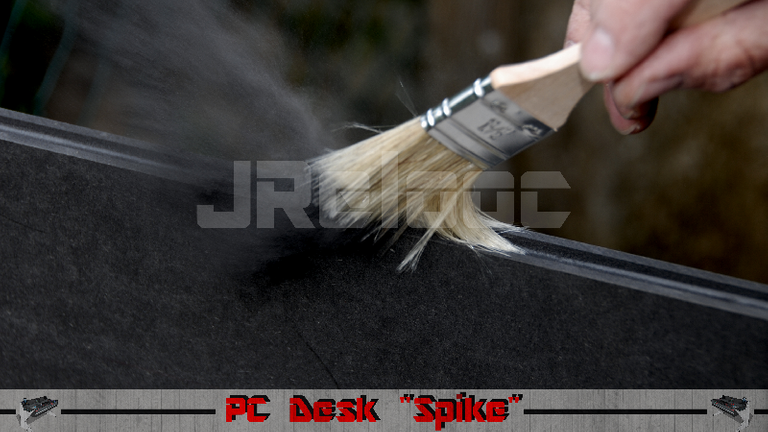
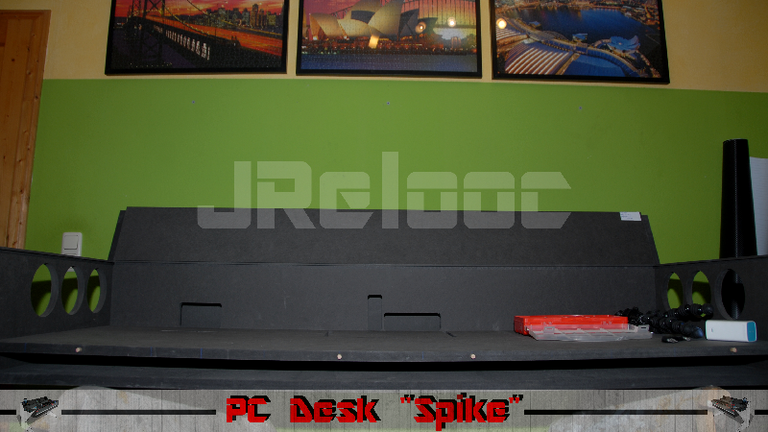
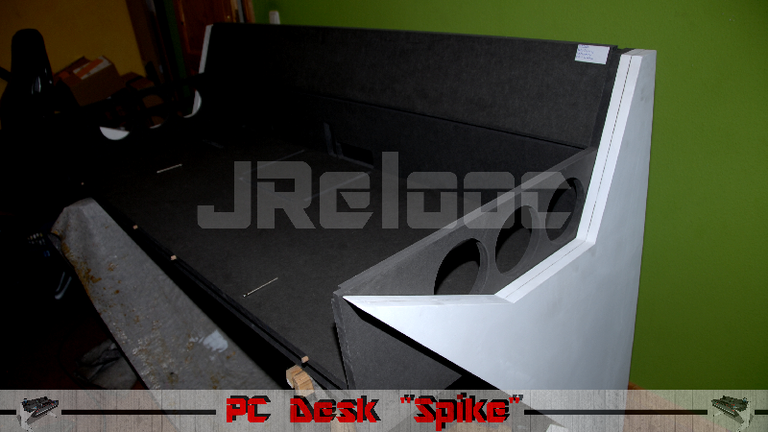
I also colored the legs of my desk white, because the brown wood isn´t looking that great. ;)

Then I put my desk together and screwed the top half together. Later, I also screwed on the legs of the desk.
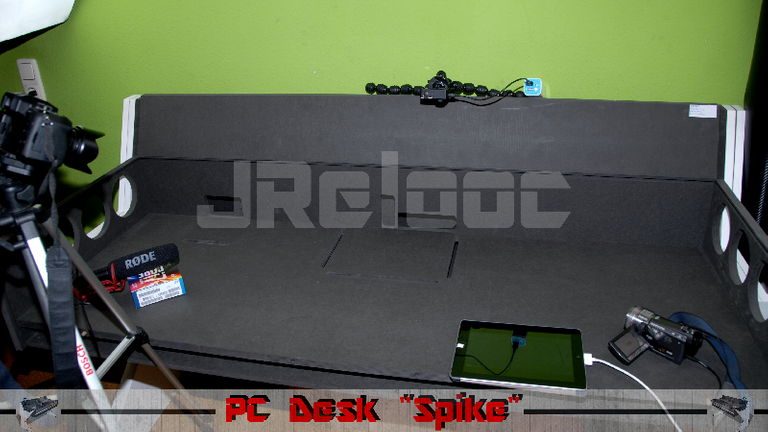
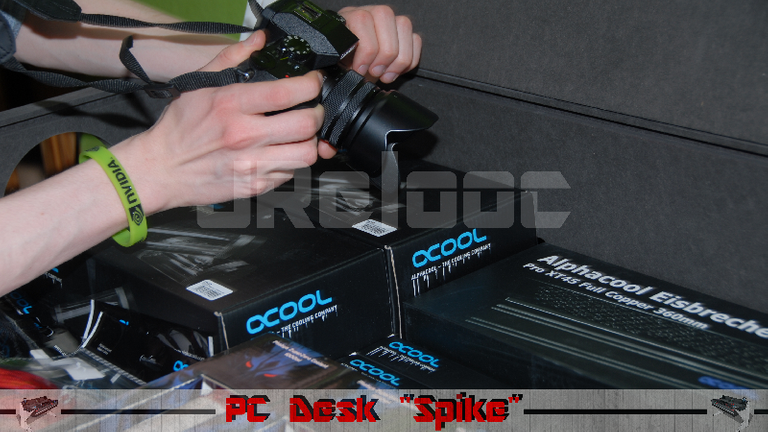
On the next picture you can see how I prepared the unboxing of my watercooling parts. I put some cameras at different angles to get some versatile shots.
Then I unboxed the first big package from Aquatuning with many nice parts for my build.
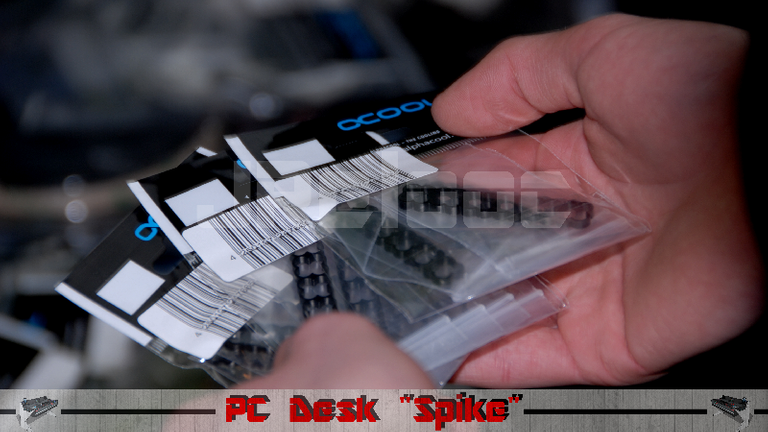
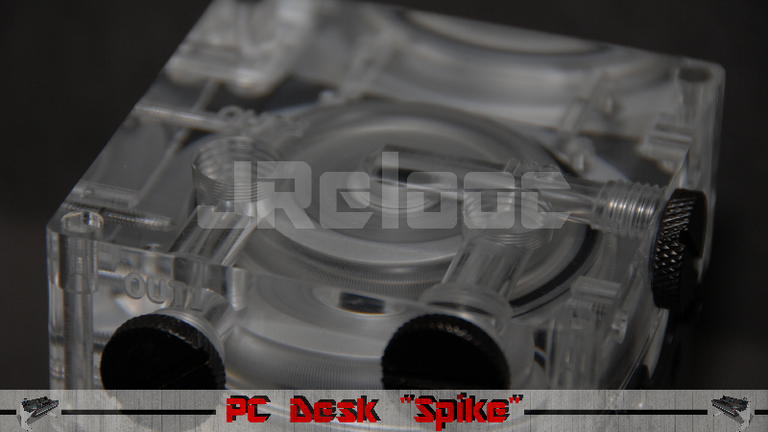
This is all the stuff which was in the package:

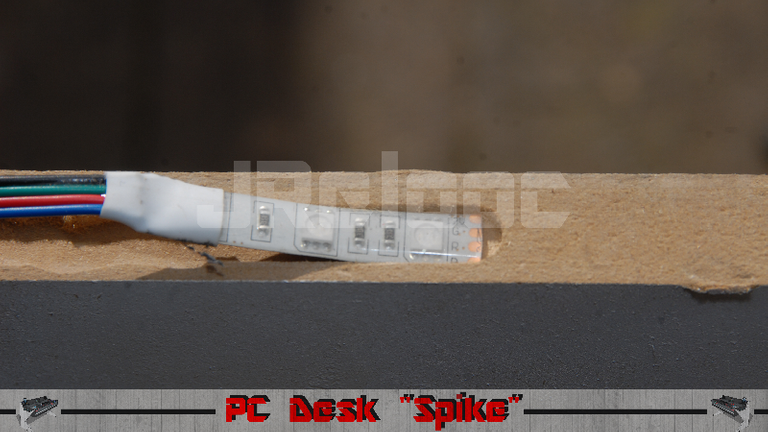
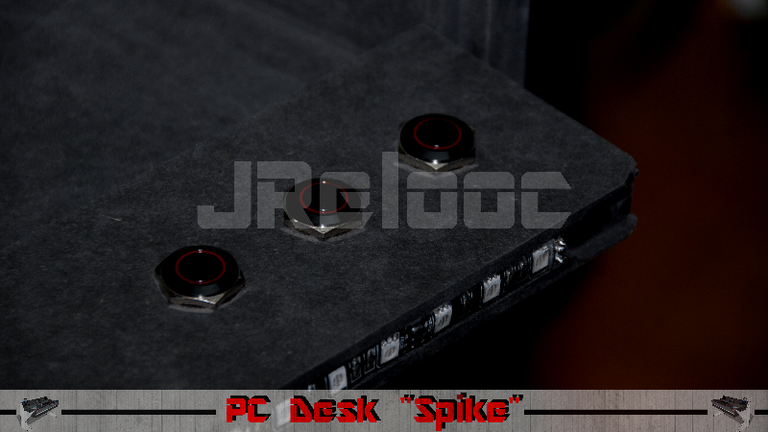
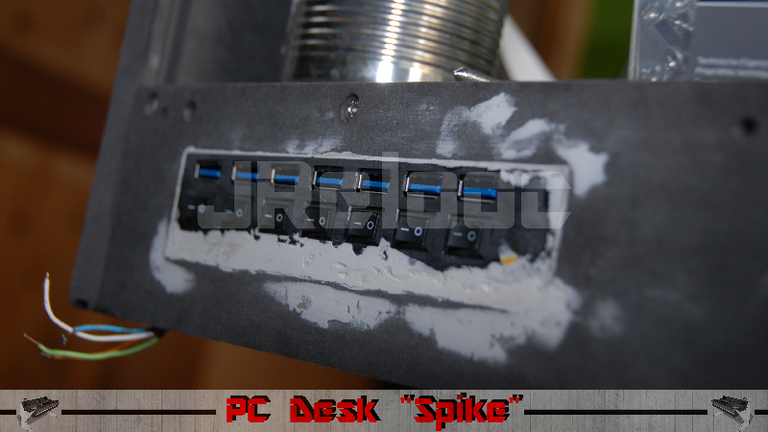
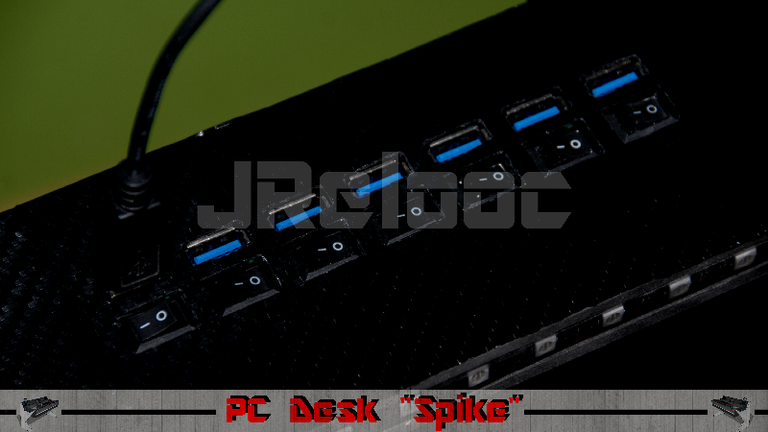
Next I continued to work on the front panel of the desk. I built in some buttons a USB hub.
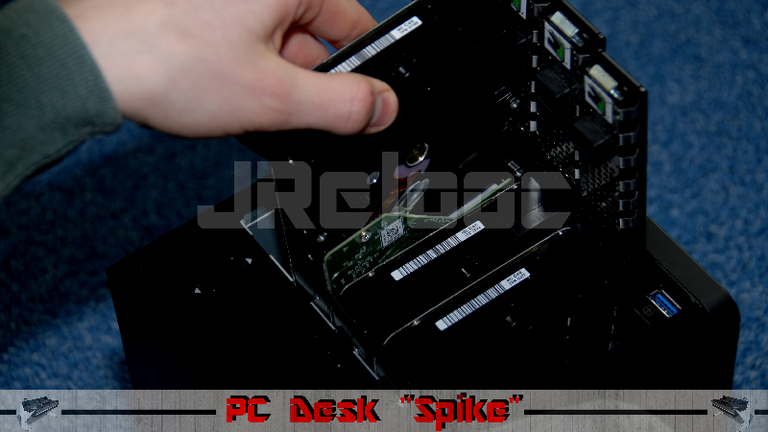
I also recieved my NAS system which is equipped with 16Tb of storage.
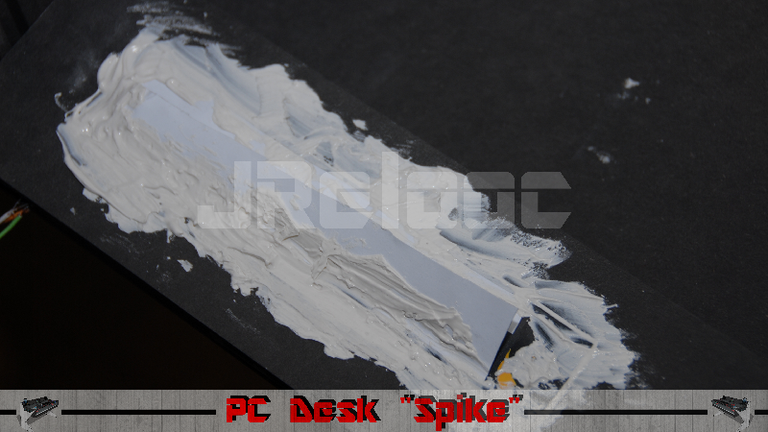
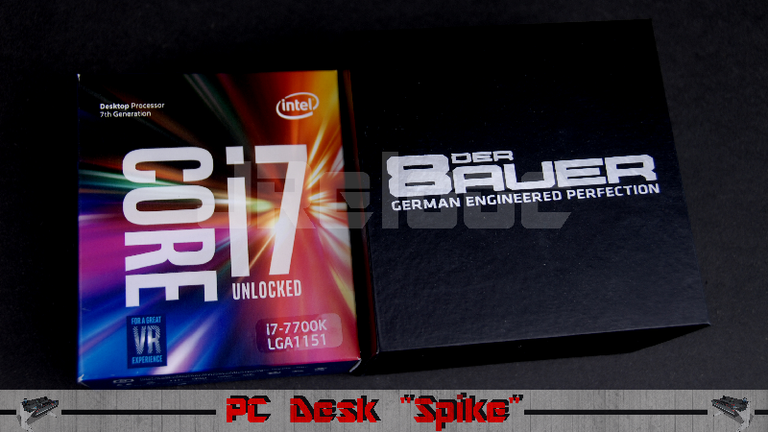
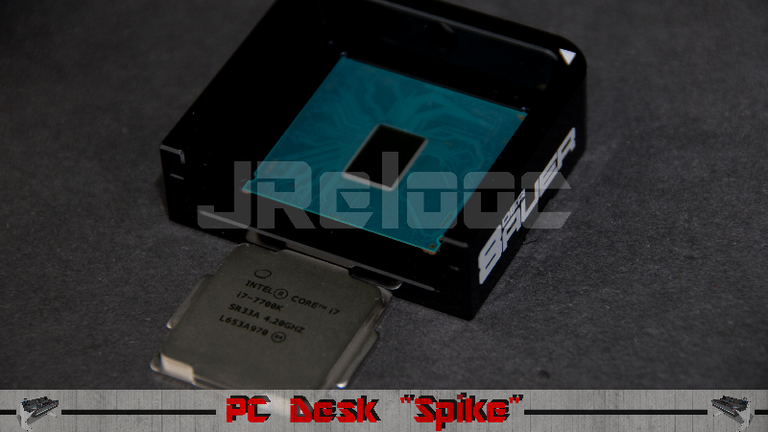
The last step which I will show in this post is the delidding of my I7700k CPU.
I did it with a tool from "Der 8auer" called "Delid die mate". It worked really great and it is easy to use.

This was already my third update post on my project.
The third worklog can be found here:
English:
German:
I will post another update within the next days, so if you like my project I would be really happy if you follow me, upvote my posts or resteem it.
If you found any mistakes please write a comment so that I can correct it.
Thanks for any upvotes comments etc.!
-Jannis
Congratulations @jrelooc! You have completed some achievement on Steemit and have been rewarded with new badge(s) :
Click on any badge to view your own Board of Honor on SteemitBoard.
For more information about SteemitBoard, click here
If you no longer want to receive notifications, reply to this comment with the word
STOPGreetings! I am a minnow exclusive bot that gives a 5X upvote!
I recommend this amazing guide on how to be a steemit rockstar!
I was made by @EarthNation to make Steemit easier and more rewarding for minnows.