Hi there,
this is already the fourth blog post about my PC desk "Spike" which I am building myself.
If you didn´t read my last 3 blog posts, please read them first.
---> https://steemit.com/technology/@jrelooc/my-pc-desk-modding-project-spike-or-with-pictures-or-part-01
---> https://steemit.com/pc/@jrelooc/my-pc-desk-modding-project-spike-or-with-pictures-or-part-02
---> https://steemit.com/photography/@jrelooc/my-pc-desk-modding-project-spike-or-with-pictures-or-part-03
I am Jannis from Germany so please let me know in the comments, if I can correct any mistakes. ;)
If you´ve got some questions or like my project, I would be really happy, if you´d upvote my post, post a comment or follow me :)
I designed my desk in a 3d software and also built it myself (But it is not completed yet).
Some companies also liked my project and sent me some nice hardware.
Huge thanks to: Aquatuning (Alphacool+Phobya), Caseking, Coolermaster, Msi and Nvidia.
without them my project wouldn´t be possible.
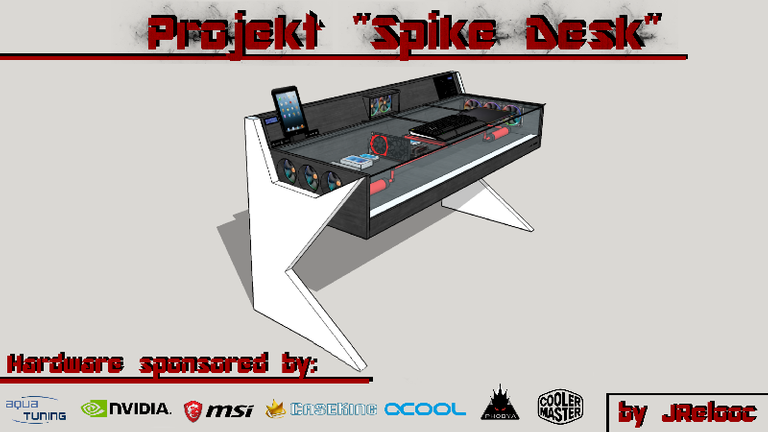
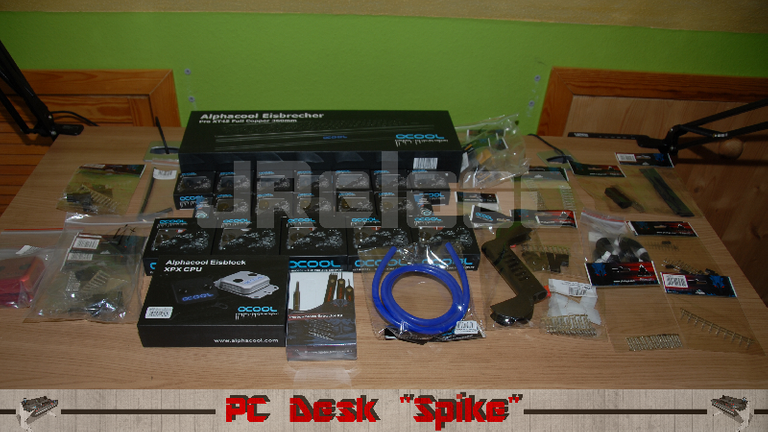
So here are the first pictures + a little bit of information:
(The pictures aren´t in 4k res. for people who don´t have fast internet) ;)
The last step which I showed in my last blog was the delidding of my CPU.
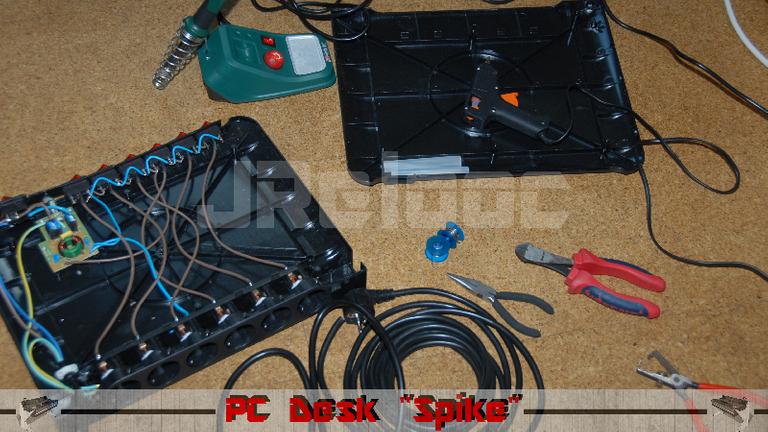
The next thing I did was some cablework on the power strip. I modified it so that I can build it into my desk.
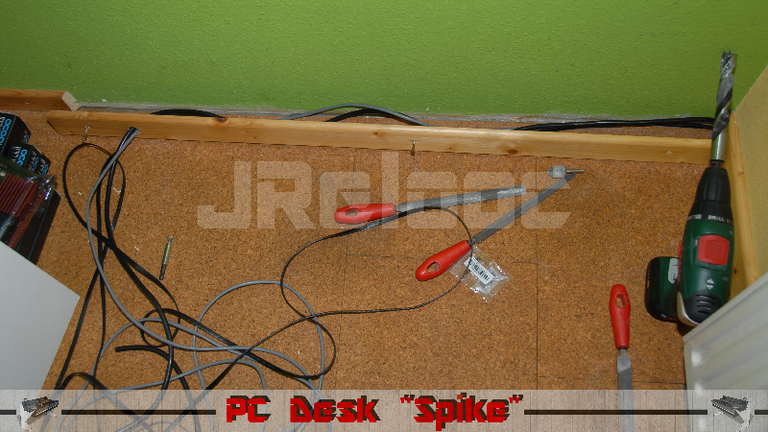
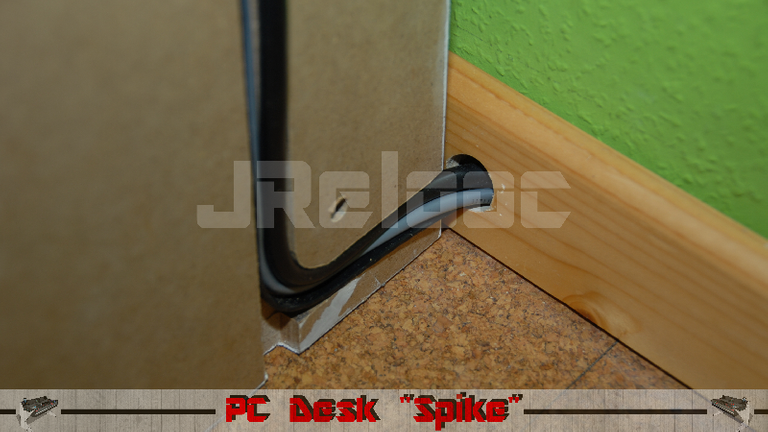
Then I hid the power cable and 2 lan cables behind the toeboard. (Then almost every cable will be invisible. ;)
The cables are going into the leg of my desk and just around 1cm of cables will be visible at the end.
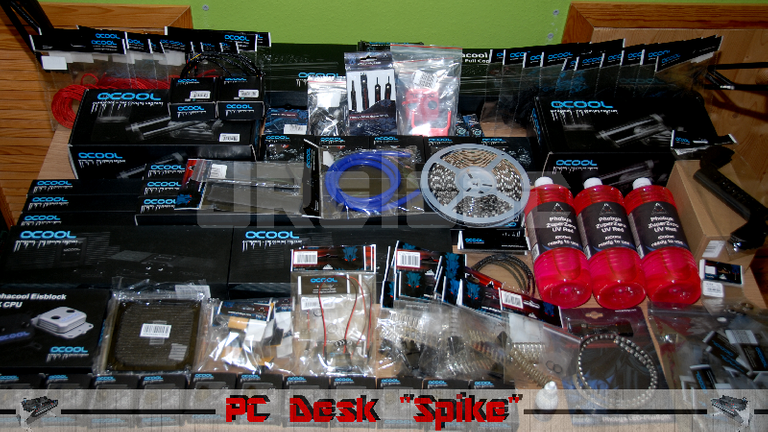
Then I recieved the other package of Aquatuning and I had almost all the parts for my watercooling loop.
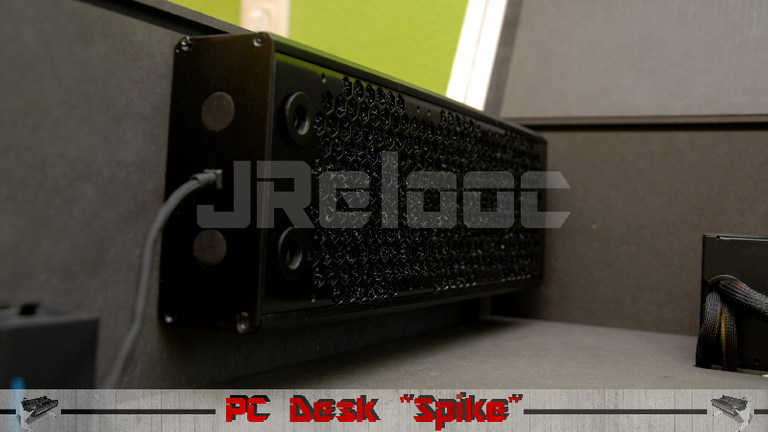
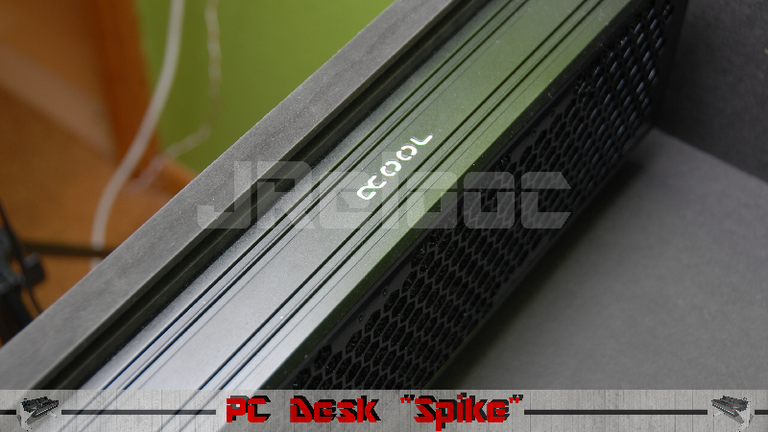
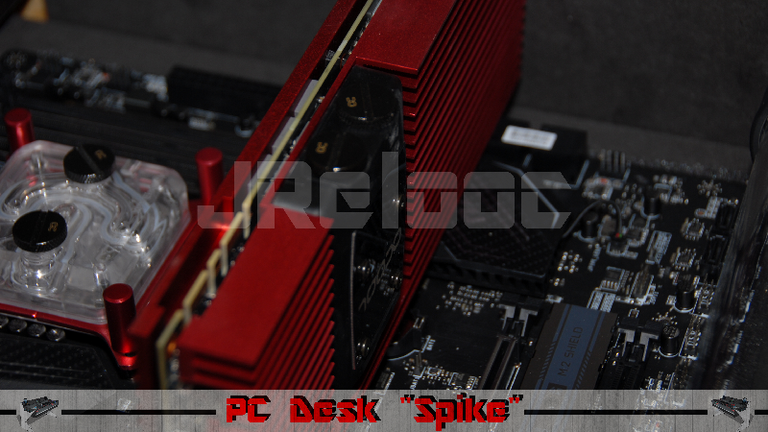
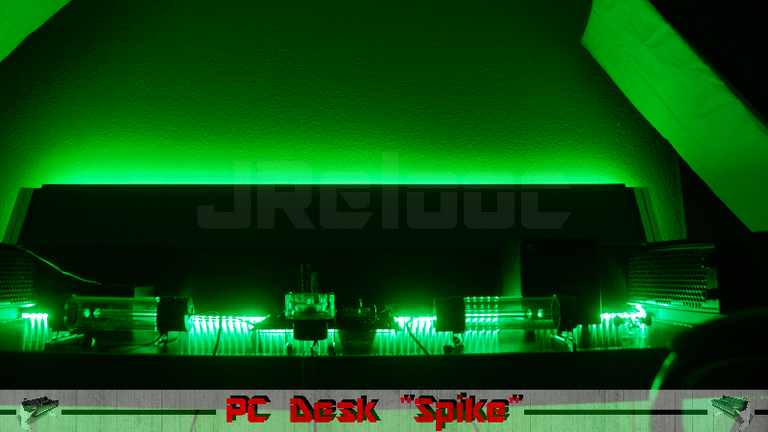
After unboxing the watercooling parts, I modified my radiator from Alphacool so that it can also light up in all the colors I want. Then I mounted it on the sides of my desk.

(First this logo was blue and now it is white and equipped with RGB LED´s underneath.
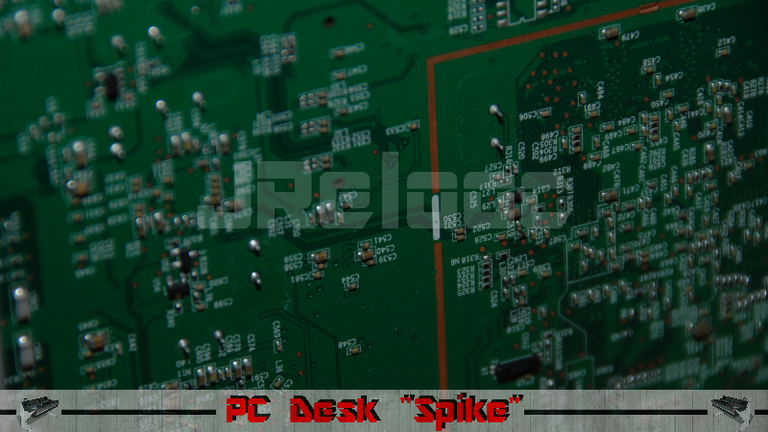
After that I glued my delidded CPU back together and mounted it on the mainboard.
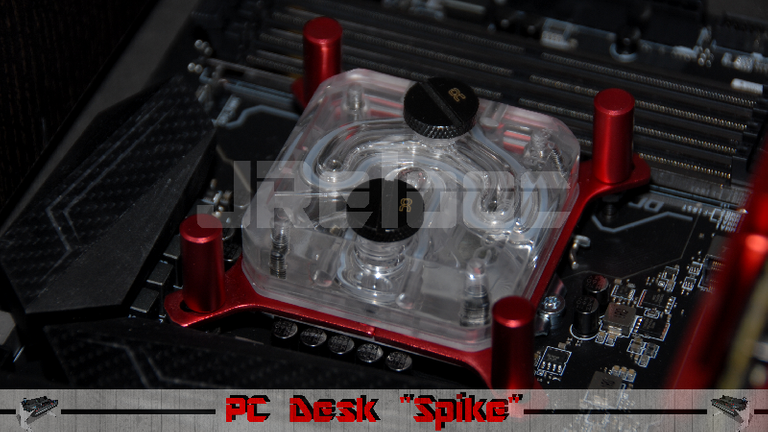
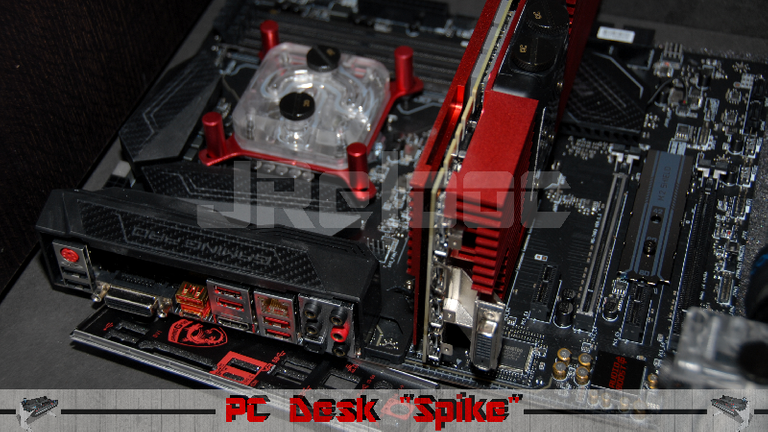
Later, I mounted the motherboard on my desk and modified with some carbon wrap.
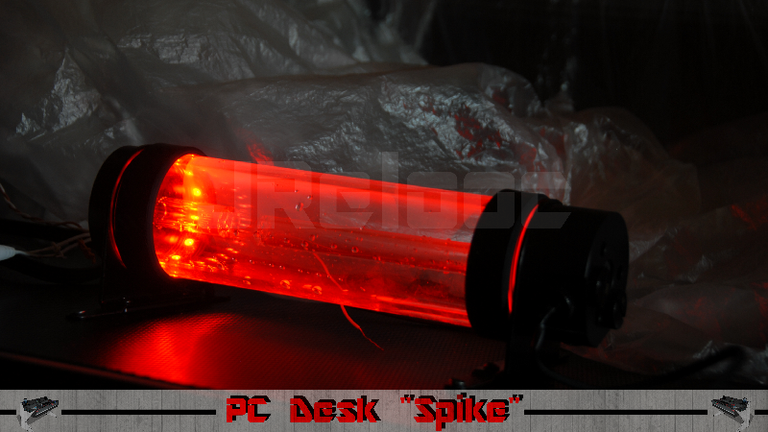
I also modded the RGB rings for my water reservoir.
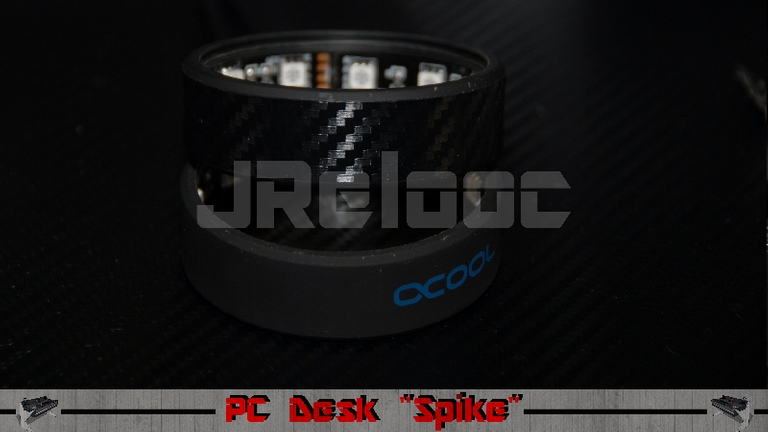
Before mounting the reservoirs, I flushed/cleaned them with destilled water.
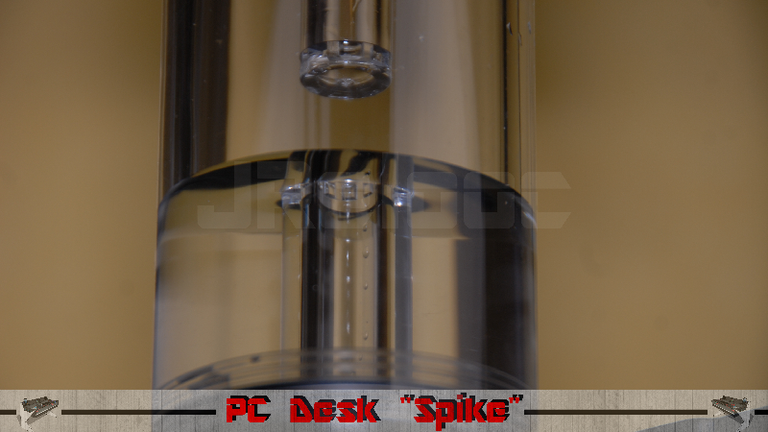
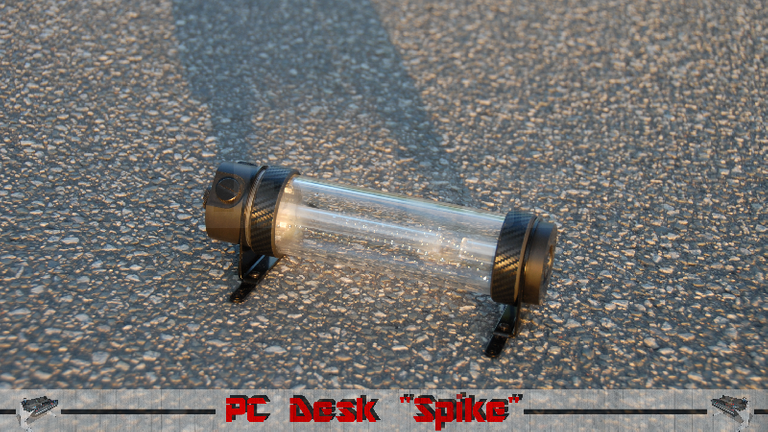
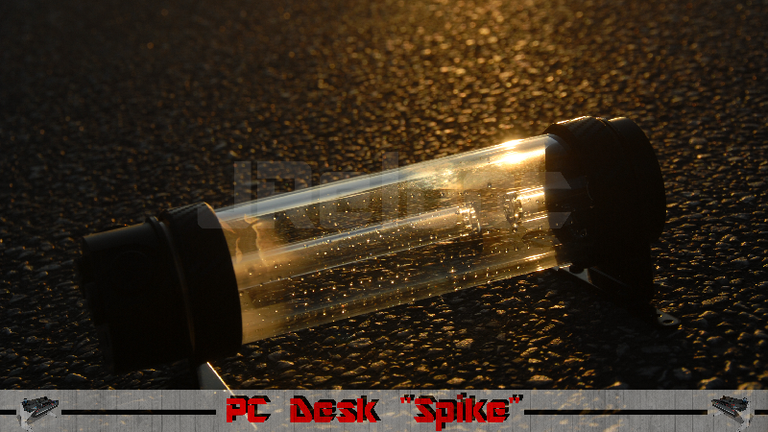
Here is how the mounted reservoir looks like.
(I put some clean film / foil above the other hardware to prevent dust from getting on the parts.
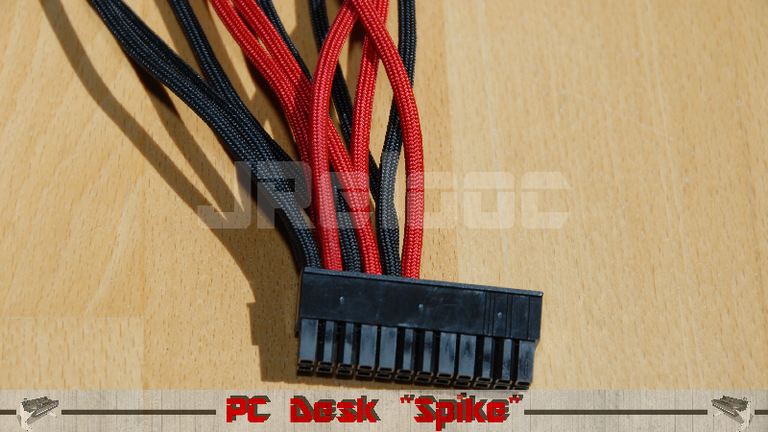
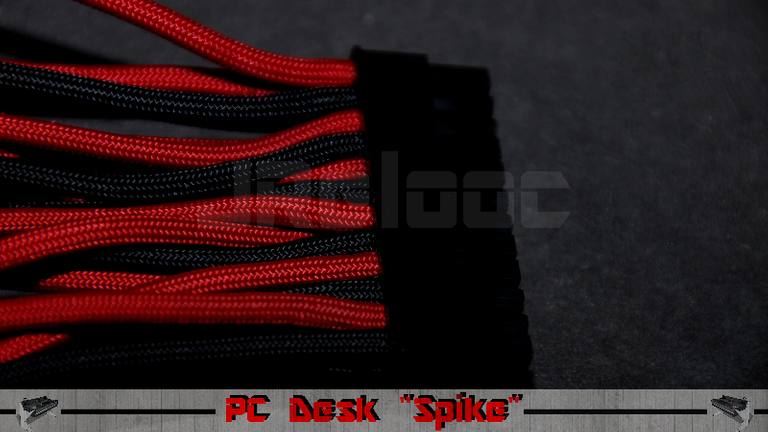
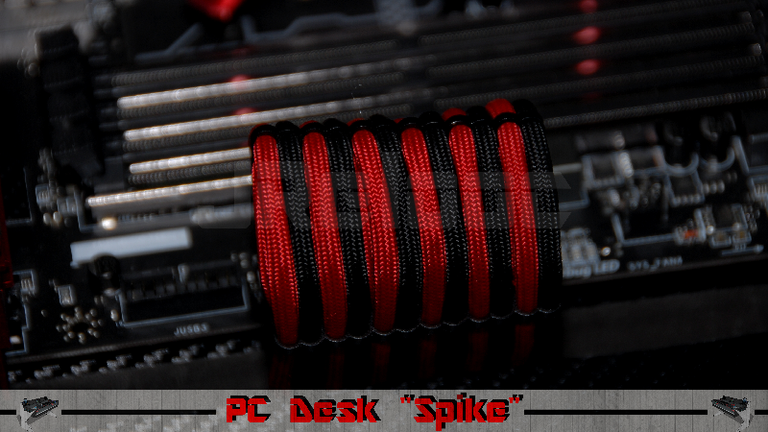
I also worked on the first sleeved cable.
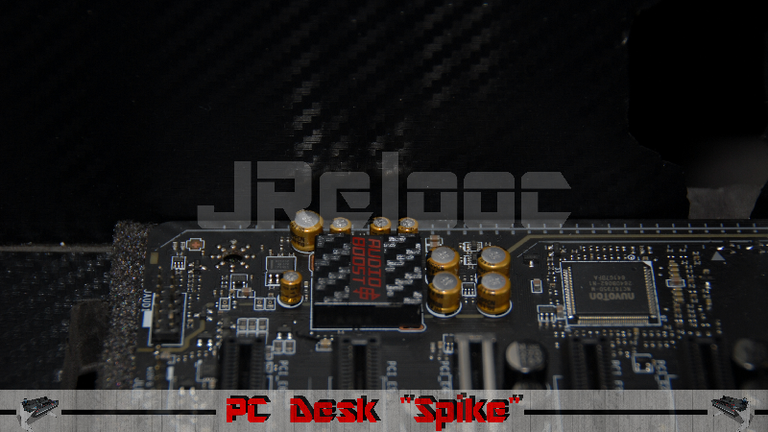
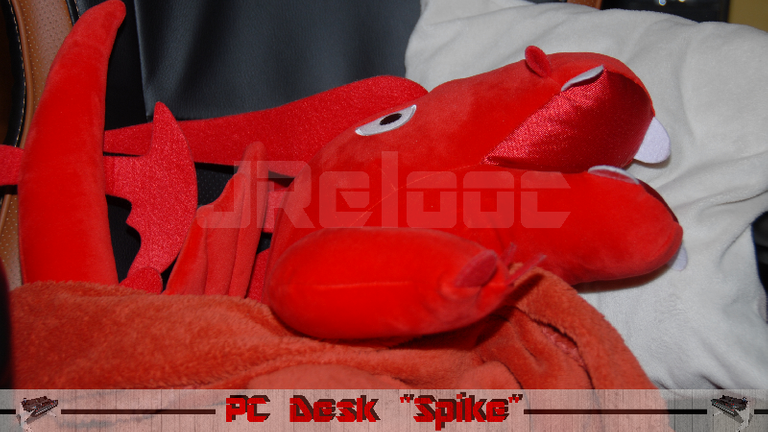
Here is a picture of the MSI dragon: ;)
The last thing which I will show in this post is when I disassembled my NAS system.
It came in a case but I wanted to put it in my desk so I don´t need a case ;)
This is how it looked like when I mounted it on the desk. I put some tape around it to ensure that it is mounted straight.

All together the desk looked like this:
This was already my fourth update post on my project.
The fourth worklog can be found here:
English:
German:
I will post another update within the next days, so if you like my project I would be really happy if you follow me, upvote my posts or resteem it.
If you found any mistakes please write a comment so that I can correct it.
Thanks for any upvotes comments etc.!
-Jannis
@originalworks
Sneaky Ninja Attack! You have been defended with a 0.70% vote... I was summoned by @jrelooc! I have done their bidding and now I will vanish...Whoosh
You got a 3.18% upvote from @upmewhale courtesy of @jrelooc!
Greetings! I am a minnow exclusive bot that gives a 5X upvote!
I recommend this amazing guide on how to be a steemit rockstar!
I was made by @EarthNation to make Steemit easier and more rewarding for minnows.