Hi there,
this is already the fifth blog post about my PC desk "Spike" which I am building myself.
If you didn´t read my last 4 blog posts, please read them first.
---> https://steemit.com/technology/@jrelooc/my-pc-desk-modding-project-spike-or-with-pictures-or-part-01
---> https://steemit.com/pc/@jrelooc/my-pc-desk-modding-project-spike-or-with-pictures-or-part-02
---> https://steemit.com/photography/@jrelooc/my-pc-desk-modding-project-spike-or-with-pictures-or-part-03
---> https://steemit.com/photography/@jrelooc/my-pc-desk-modding-project-spike-or-with-pictures-or-part-04
I am Jannis from Germany so please let me know in the comments, if I can correct any mistakes. ;)
If you´ve got some questions or like my project, I would be really happy, if you´d upvote my post, post a comment or follow me :)
I designed my desk in a 3d software and also built it myself (But it is not completed yet).
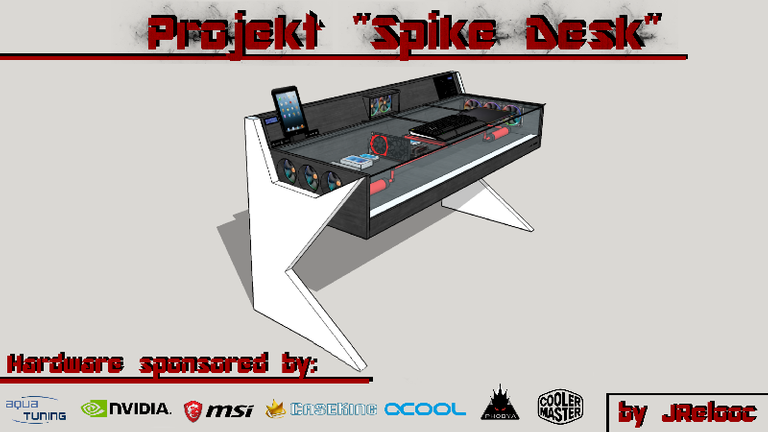
Some companies also liked my project and sent me some nice hardware.
Huge thanks to: Aquatuning (Alphacool+Phobya), Caseking, Coolermaster, Msi and Nvidia.
without them my project wouldn´t be possible.
So here are the first pictures + a little bit of information:
(The pictures aren´t in 4k res. for people who don´t have fast internet) ;)
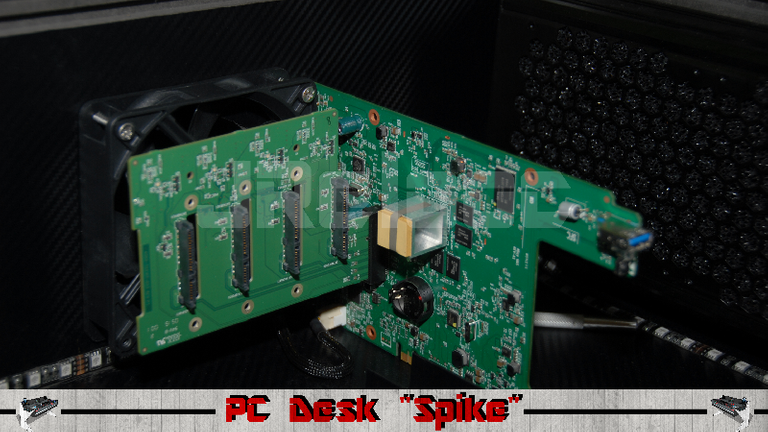
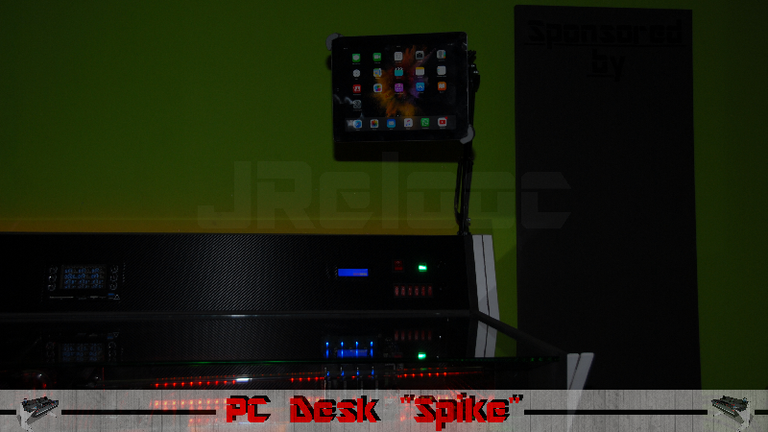
The last step which I showed in my last blog was the NAS sytem which I disassembled to build it into the PC.
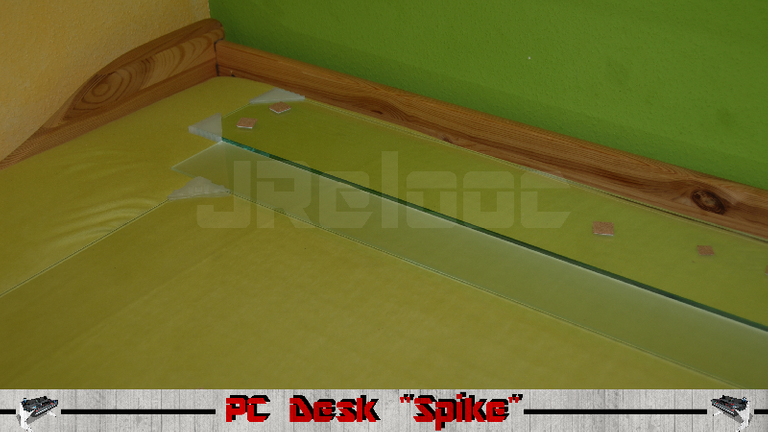
After that the glass which was cut for me arrived. I ordered 3 glass panes. The big one for the top, a smaller one for the front and a little one which will be inside the desk/ in the PC space. On this pane the logos of my sponsors will be.
Then I continued to work on my NAS system. I put it in the right place and then screwed the fan onto the wood.
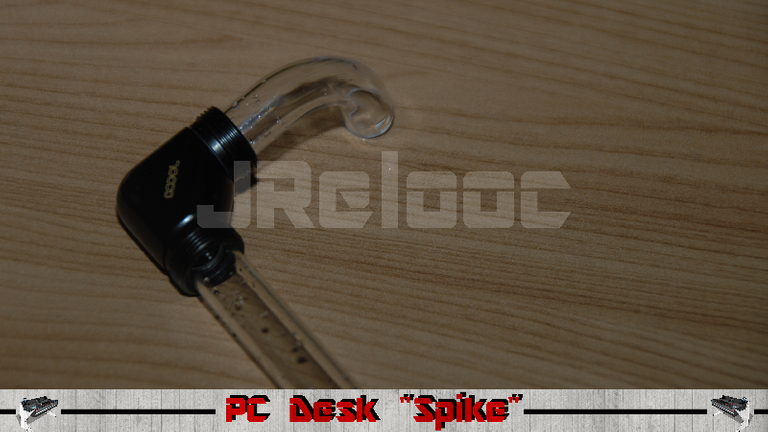
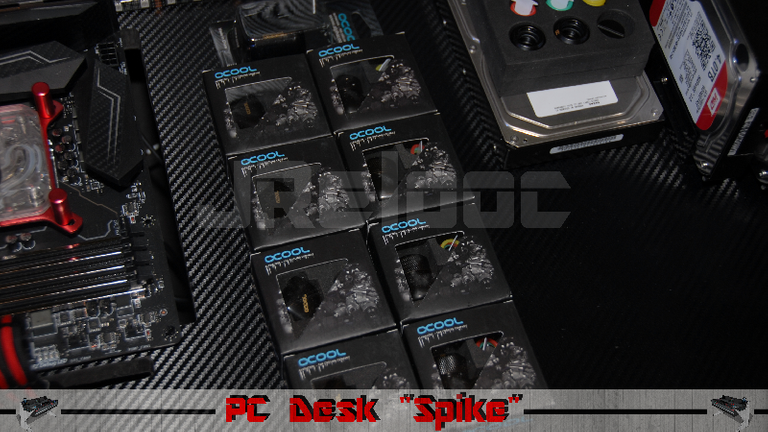
I also worked on the watercooling and made the first tubes.
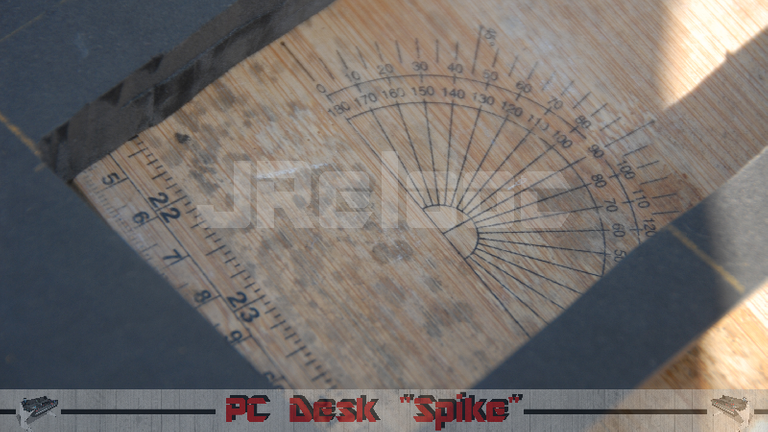
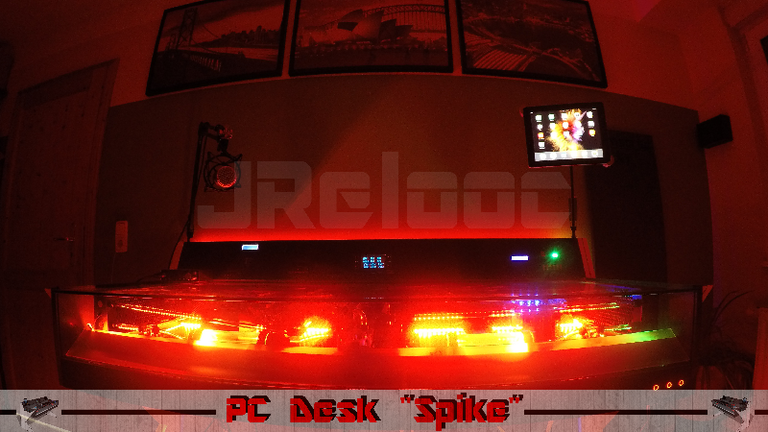
Then I worked on the slope of my desk.
Then I continued to work on the watercooling and recieved a 3rd package of Aquatuning with some mor Fittings.
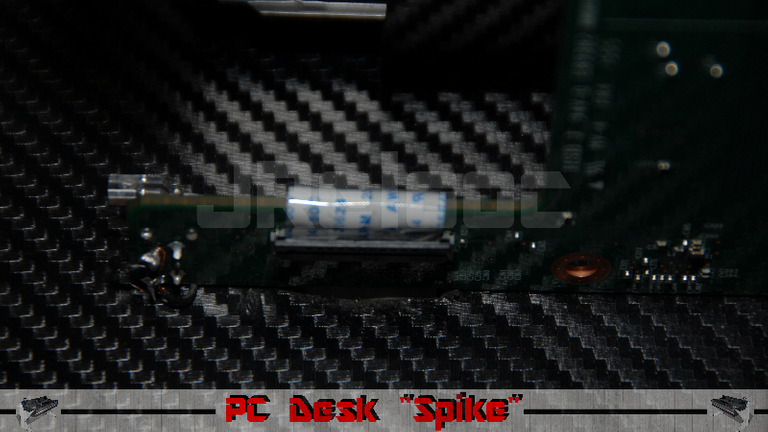
This is the display cable of my NAS system: (Because the original one was too short and my display will be placed in the slope of the desk, I had to buy a new one.
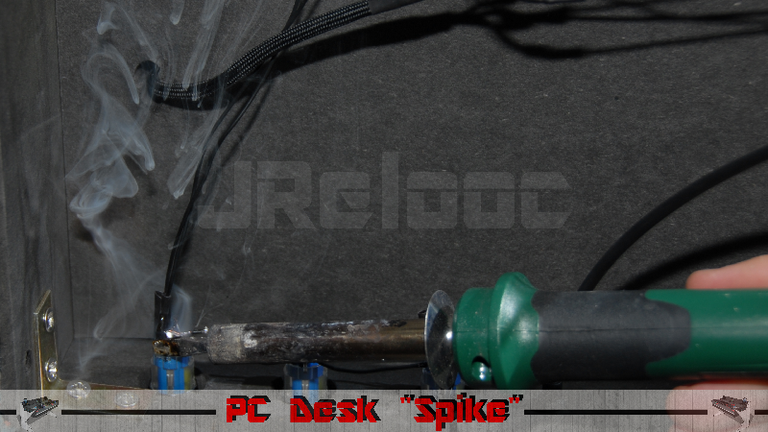
I also worked on the back of the slope and made some cable management there.
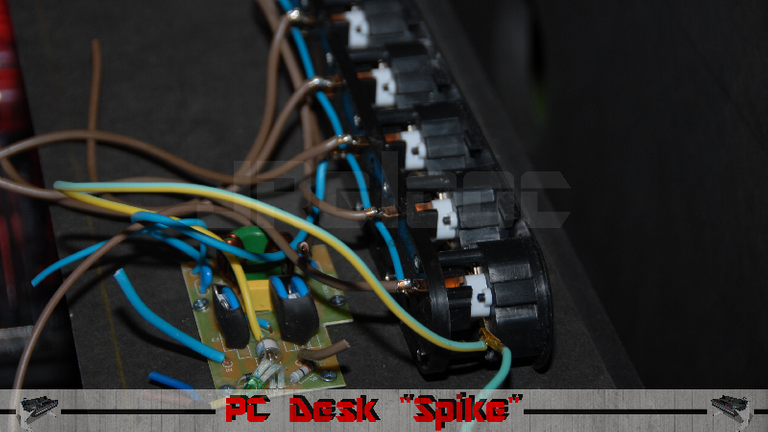
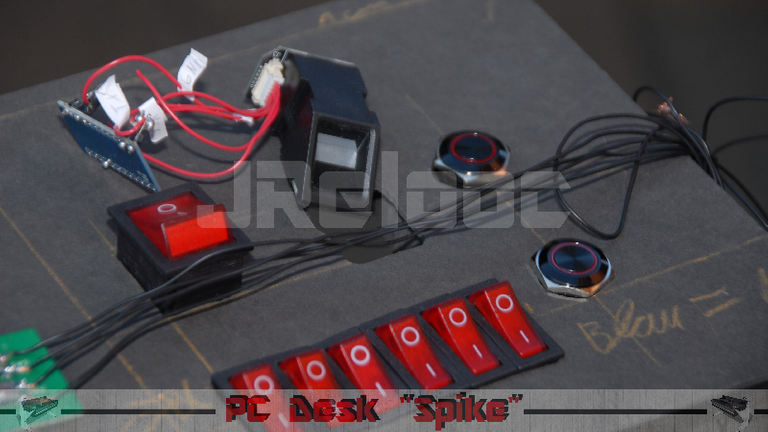
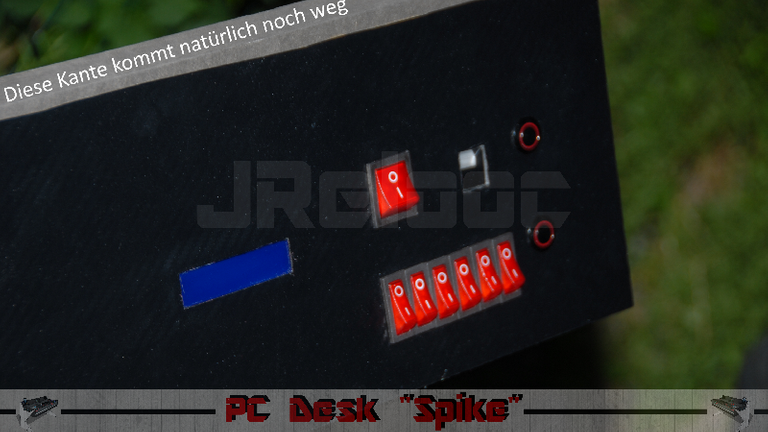
On this picture you can see how I connected the buttons at the right front of the desk to my NAS system to turn it on/off:
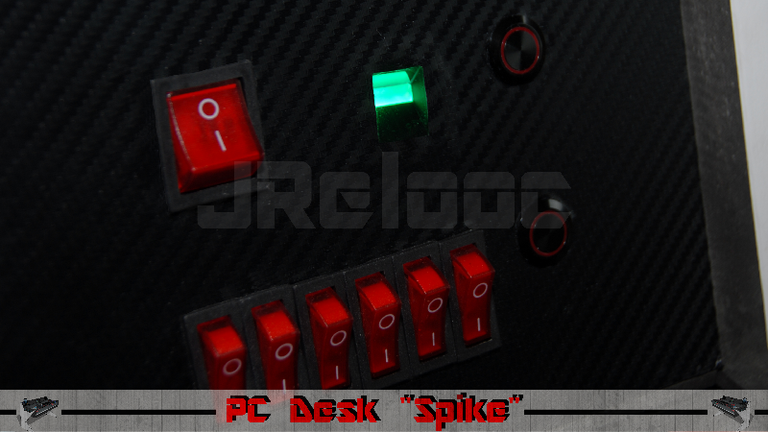
This is how the slope of the desk turned out looking. The green thing is my fingerprint scanner. It can type my passwords if I put my finger on it.
At the end of my 5th worklog/blog post my desk looked like this:
The desk isn´t completed yet but it is almost completed. I also recieved the fans for my desk and built them in, but the RAM and SSD is missing at the moment. I will probably buy them in the next days and maybe there will be a final update-post in March or April. :)
This was already my fifth update post on my project.
The fifth worklog can be found here:
English:
German:
I will post another update in some weeks or when my project is completed, so if you like my project I would be really happy if you follow me, upvote my posts or resteem it.
If you found any mistakes please write a comment so that I can correct it.
Thanks for any upvotes comments etc.!
-Jannis
Congratulations @jrelooc! You received a personal award!
Click here to view your Board
Do not miss the last post from @steemitboard:
Congratulations @jrelooc! You received a personal award!
You can view your badges on your Steem Board and compare to others on the Steem Ranking
Vote for @Steemitboard as a witness to get one more award and increased upvotes!