.jpeg)

Español
Hola mi querida familia de Hive, este lindo día, traigo para ustedes un nuevo y divertido paso a paso donde les mostrare como elaborar una increíble caja de multiuso ideal para mantener el orden siempre en nuestras áreas favoritas de una manera súper original. Y que cosa puede ser más original que algo que creemos nosotros mismo con mucha imaginación y estilo. Pues está caja, está hecha de materiales súper económicos y fáciles de conseguir, y además de ser muy linda es bastante útil para nosotros y sobre todo para los más pequeños de casa, hasta podemos utilizarla para guardar nuestros más preciados objetos, genial no? Así que digamos no al aburrimiento en esta cuarentena llena de actividades muy provechosas para todos en casa.
English
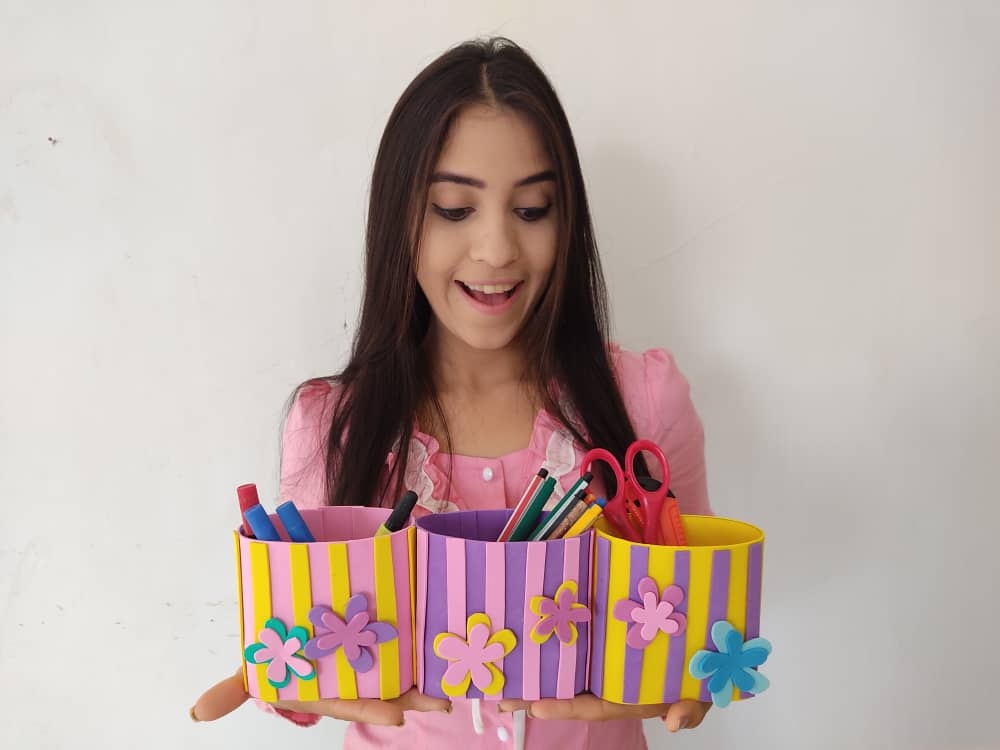
Hello my dear Hive family, this beautiful day, I bring for you a new and fun step by step where I will show you how to make an incredible multipurpose box ideal to keep order always in our favorite areas in a super original way. And what can be more original than something we create ourselves with a lot of imagination and style. Well, this box is made of super cheap materials and easy to get, and besides being very cute, it is quite useful for us, and especially for the little ones at home, we can even use it to store our most precious objects, great, right? So let's say no to boredom in this quarantine full of activities very beneficial for everyone at home.
¿Qué están esperando?
Con esta sencilla técnica es posible realizar en casa nuestra propia caja multiuso, sin duda alguna es una caja muy original, creativa y útil para guardar nuestras cosas preferidas como, pinturas, joyas, accesorios y muchas cosas más, e incluso también pueden utilizarlo nuestros niños para llevar sus cositas. Antes de comenzar no olvidemos lavarnos nuestras manos.
What are they waiting for?
With this simple technique it is possible to make our own multipurpose box at home, without a doubt it is a very original, creative and useful box to store our favorite things such as paintings, jewelry, accessories, and many more things, and even our children can also use it to carry your little things. Before we start, let's not forget to wash our hands.
[Materiales | Materials]
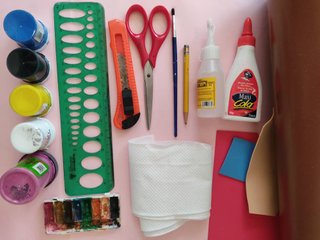
Para hacer este hermosa caja necesitaremos:
- Moldes.
- Foami o goma eva.
- Lamina de cartón.
- Pega o cola blanca.
- Papel higiénico.
- Pinturas.
- Tijera.
- Cúter.
- Pegamento o silicón liquido.
To make this beautiful box will need:
- Molds.
- Foami or EVA foam.
- Cardboard sheet.
- White glue.
- Toilet paper.
- Paintings.
- Scissors.
- Cutter.
- Glue or liquid silicone.
Procedimiento (paso a paso)
Process (step by step)
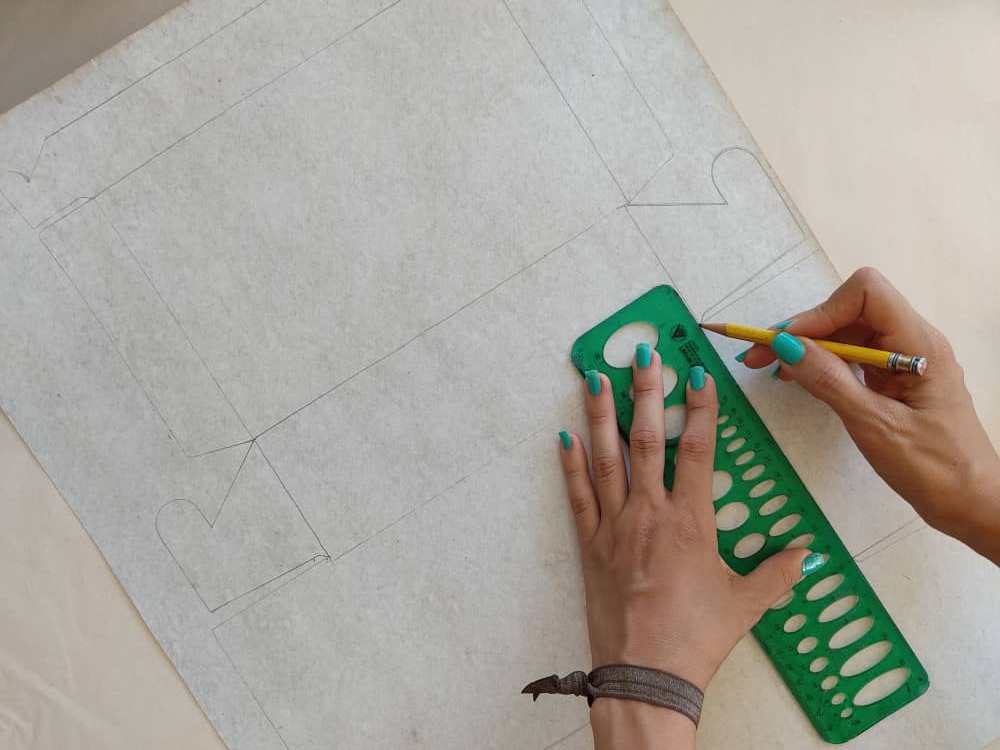
Primero, diseñamos un molde muy práctico con pestañas a sus lados, las cuales nos permitirán armar esta caja de una manera increíble, no olvidemos establecer las medidas justas para que todo encaje bien.
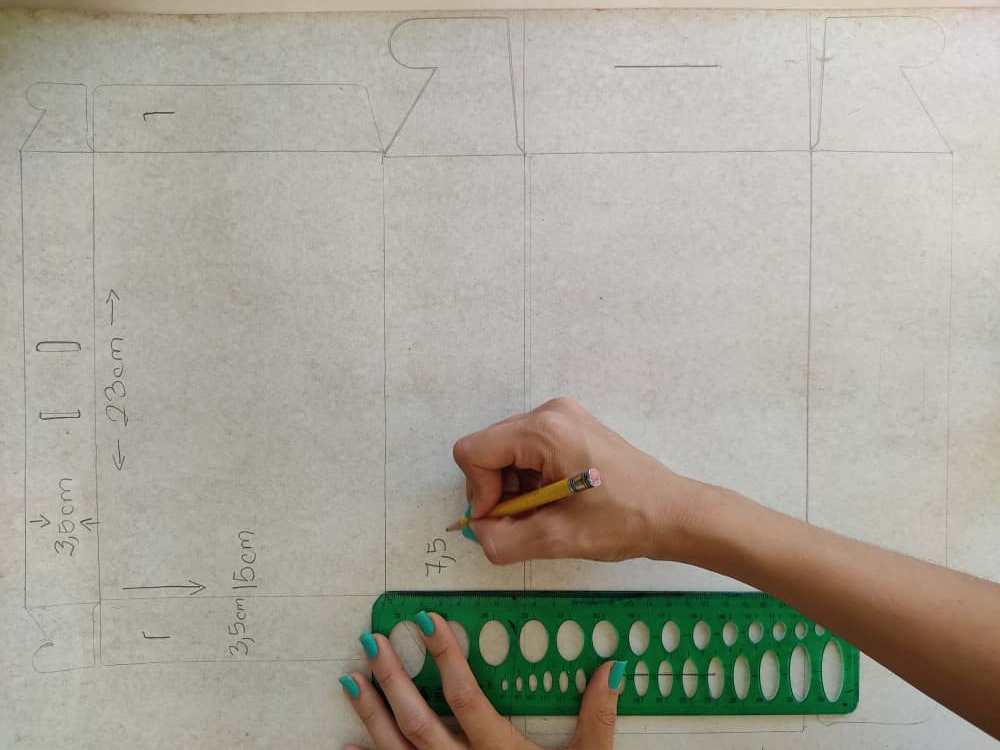
First, we designed a very practical mold with tabs on its sides, which will allow us to assemble this box in an incredible way, let's not forget to establish the right measures so that everything fits well.
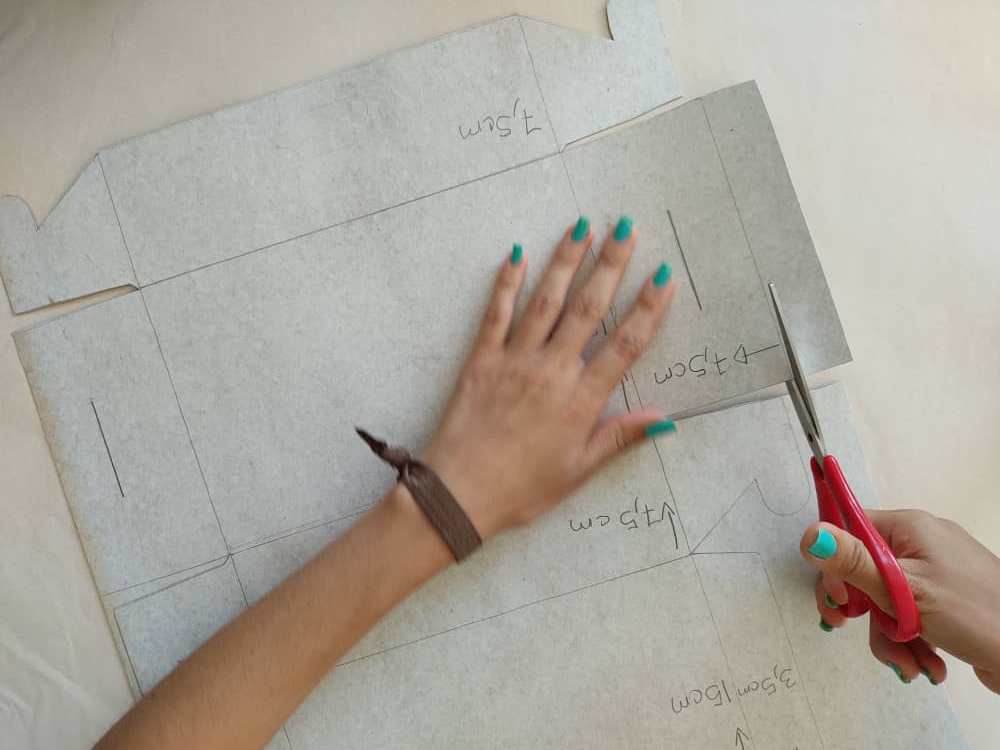
Seguidamente, recortamos el molde con mucho cuidado, ya que si alteramos las medidas no obtendremos los resultados requeridos, así que hagamos está caja con mucho amor y sobre todo con paciencia. Luego, abrimos unas ranuras con la ayuda del cúter para realizar una especie el anclaje con las pestañas.

Next, we cut the mold very carefully, since if we alter the measurements we will not get the required results, so let's make this box with a lot of love and above all with patience. Then, we open some slots with the help of the cutter to make a kind of anchoring with the tabs.
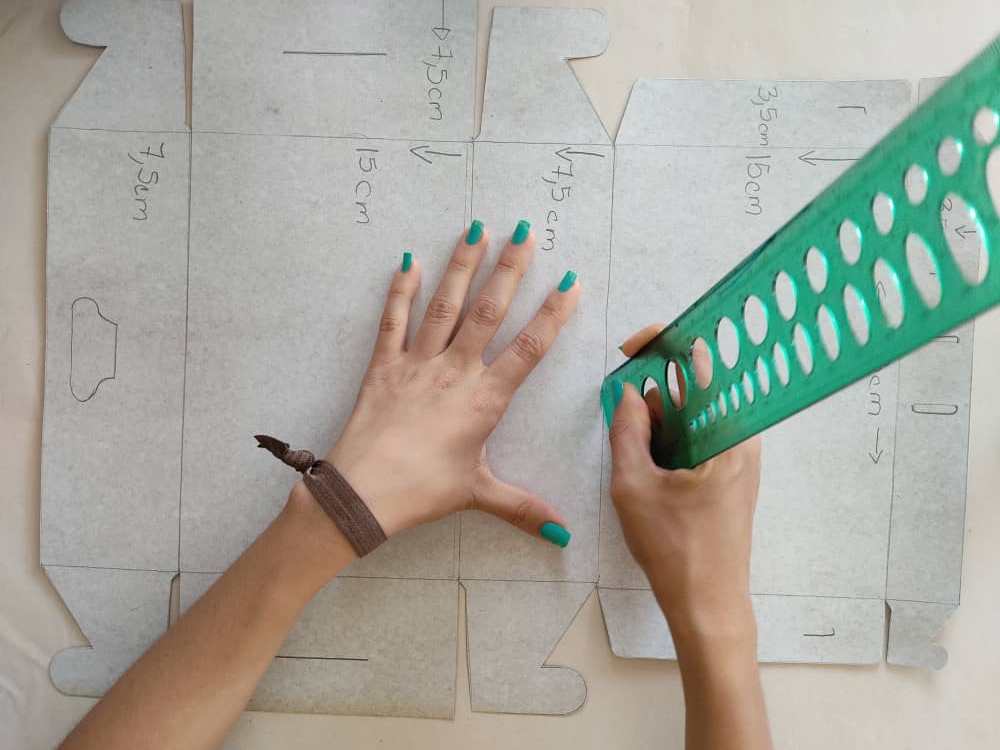
Ahora, remarcamos cada línea con la punta de regla, para facilitar el armado de la caja.
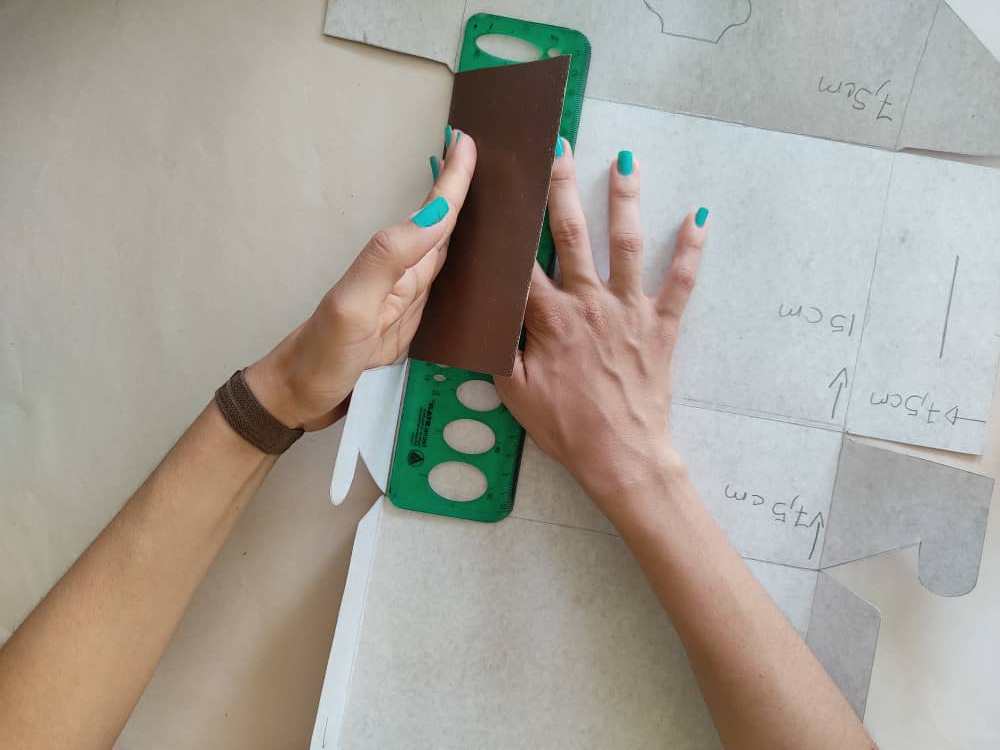
Now, we highlight each line with the ruler tip, to facilitate the assembly of the box.
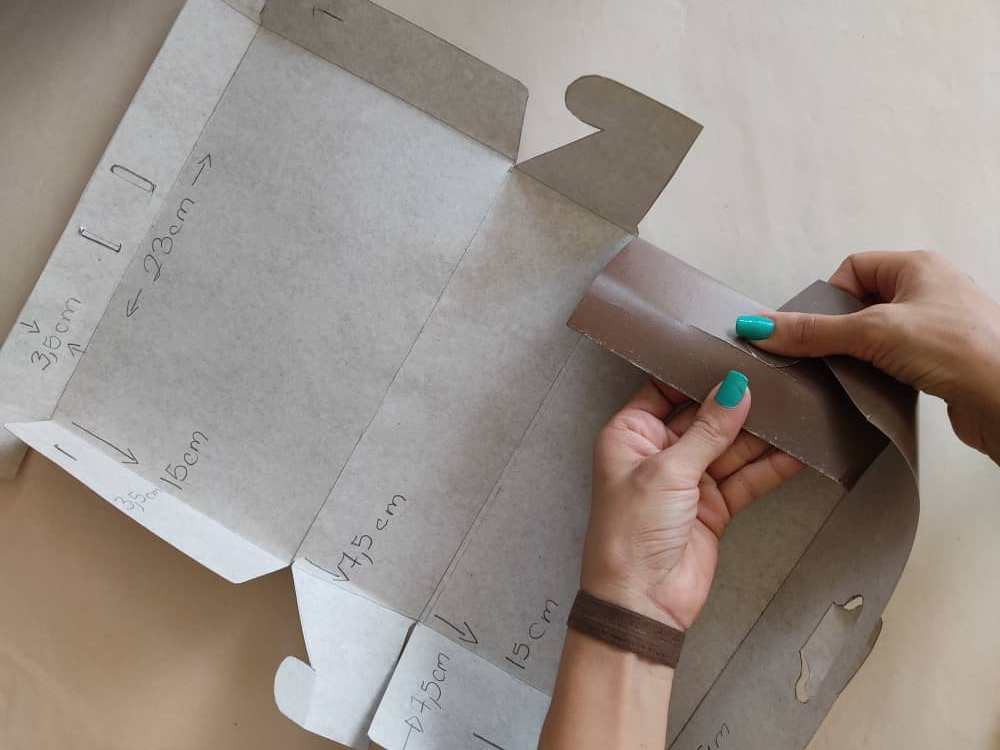
Luego, armamos nuestra caja atravesando las pestañas por medio de las ranuras.
Then, we assemble our box through the tabs through the slots.
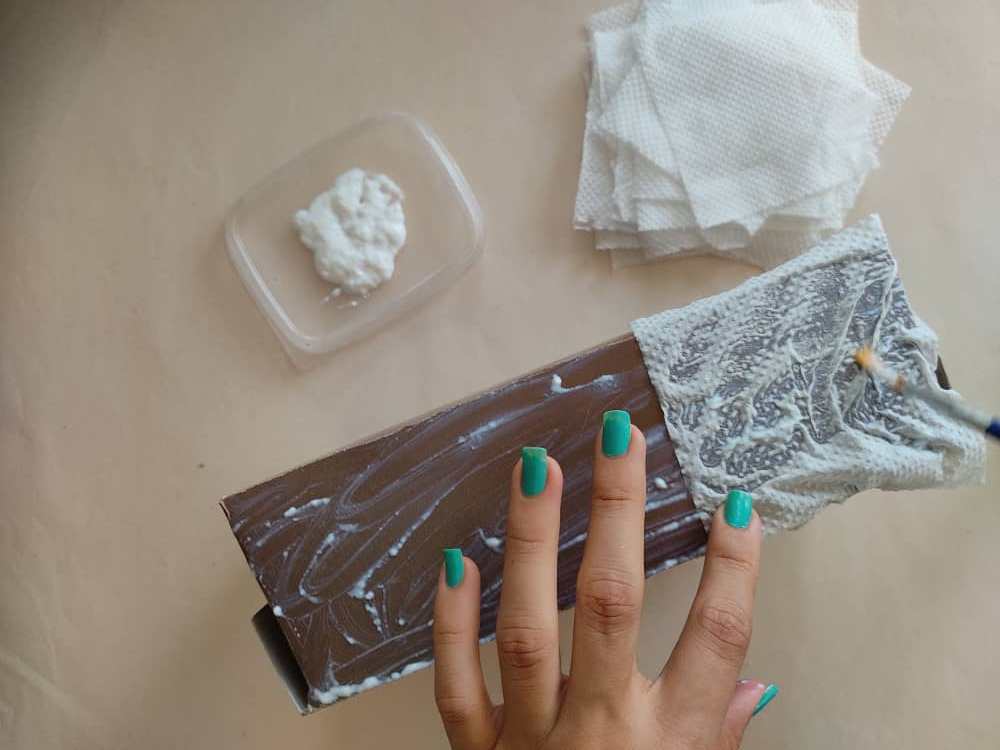
Una vez que ya este armada nuestra caja, aplicamos un poco pega o cola blanca sobre la superficie, y simultáneamente agregamos rápidamente papel higiénico, este paso debe hacerse rápido para evitar que el pegamento blanco se seque, y hacemos movimientos con nuestros con dedos sobre el papel, para que luzca una textura corrugada. Cuando esté cubierta toda la caja, dejamos secar durante unos minutos…
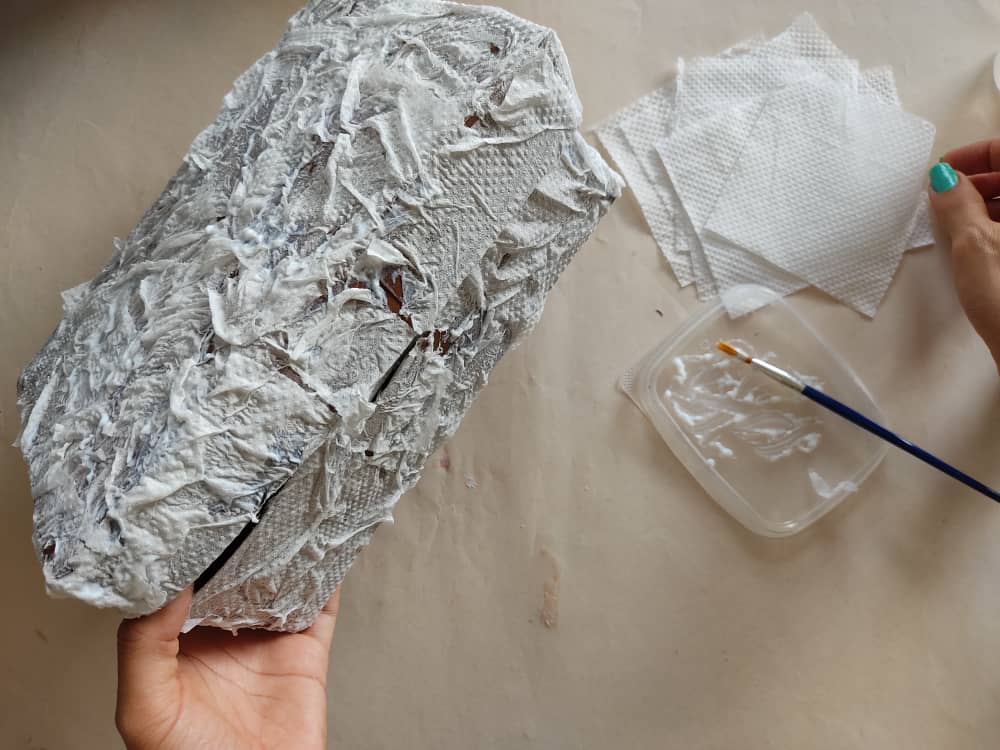
Once our box is assembled, we apply a little glue or white glue on the surface, and simultaneously quickly add toilet paper, this step must be done quickly to avoid the white glue from drying, and we make movements with our fingers on the paper, so that it looks corrugated. When the entire box is covered, let it dry for a few minutes ...
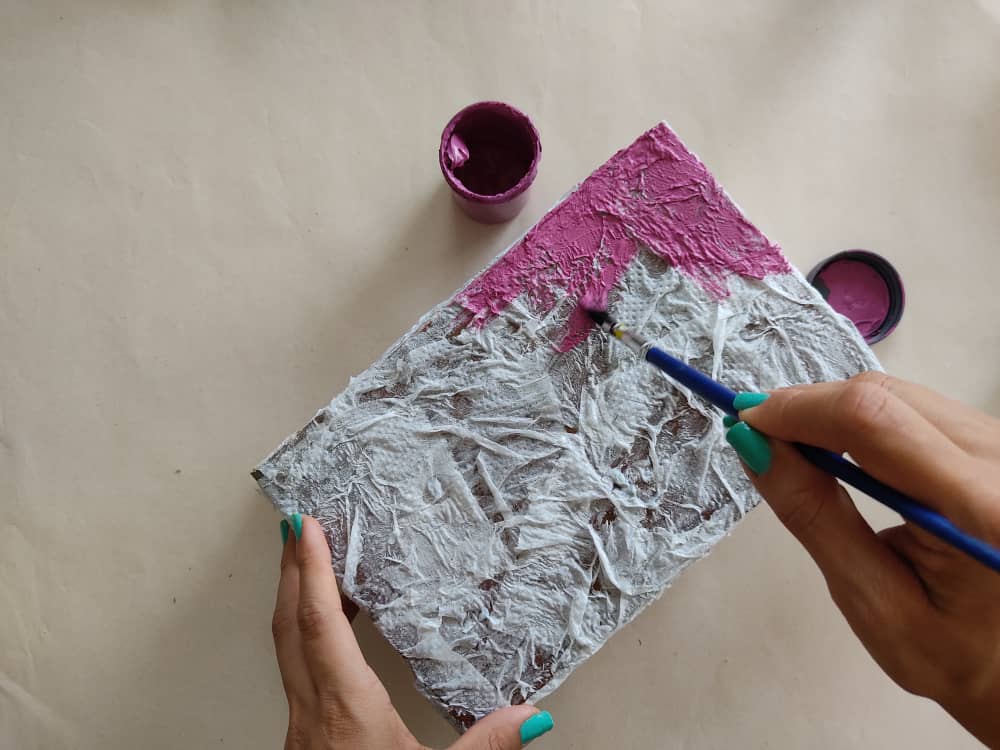
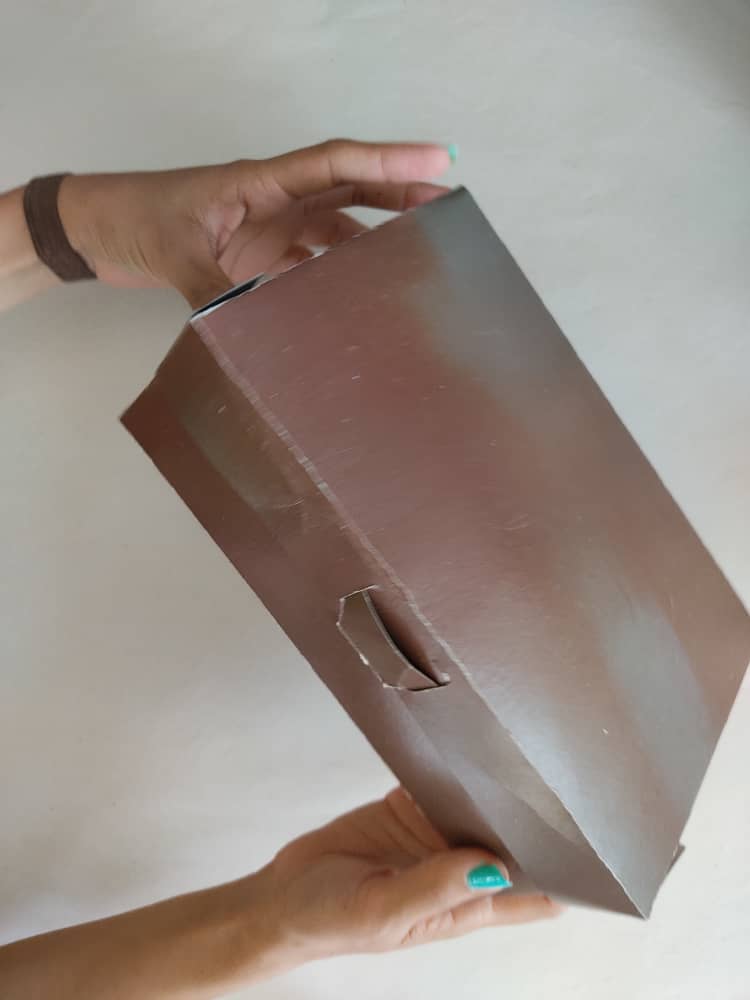
Luego que ya se haya secado el pegamento y el papel, pintamos la caja con nuestro color favorito. Y dejamos secar unos minutos…
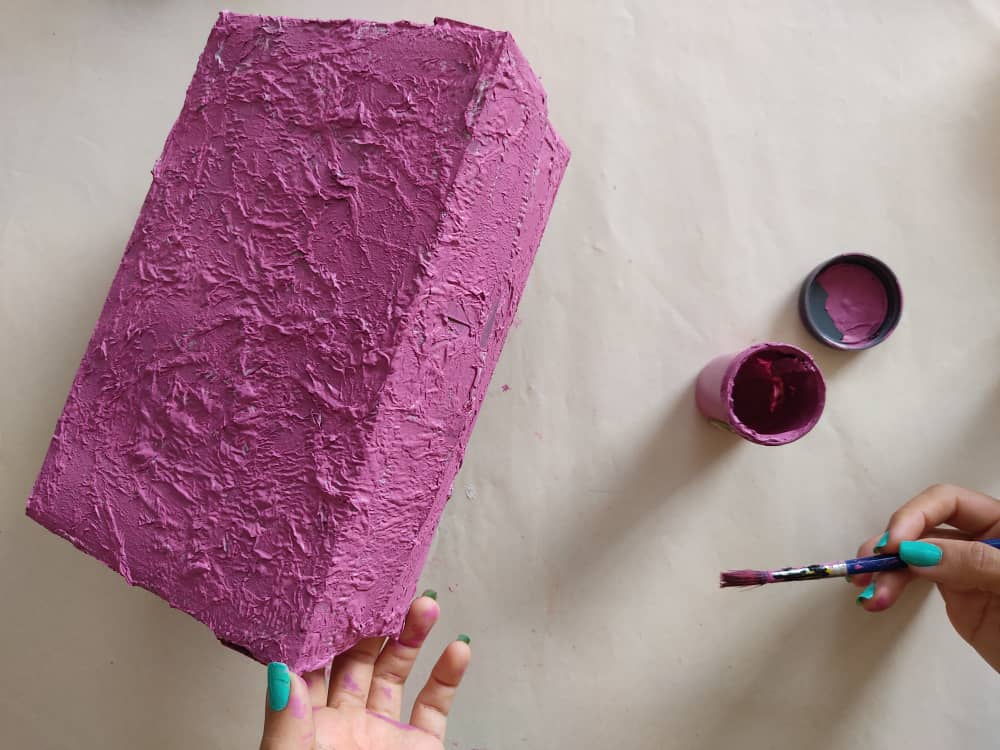
After the glue and paper have dried, we paint the box with our favorite color. And let it dry for a few minutes...
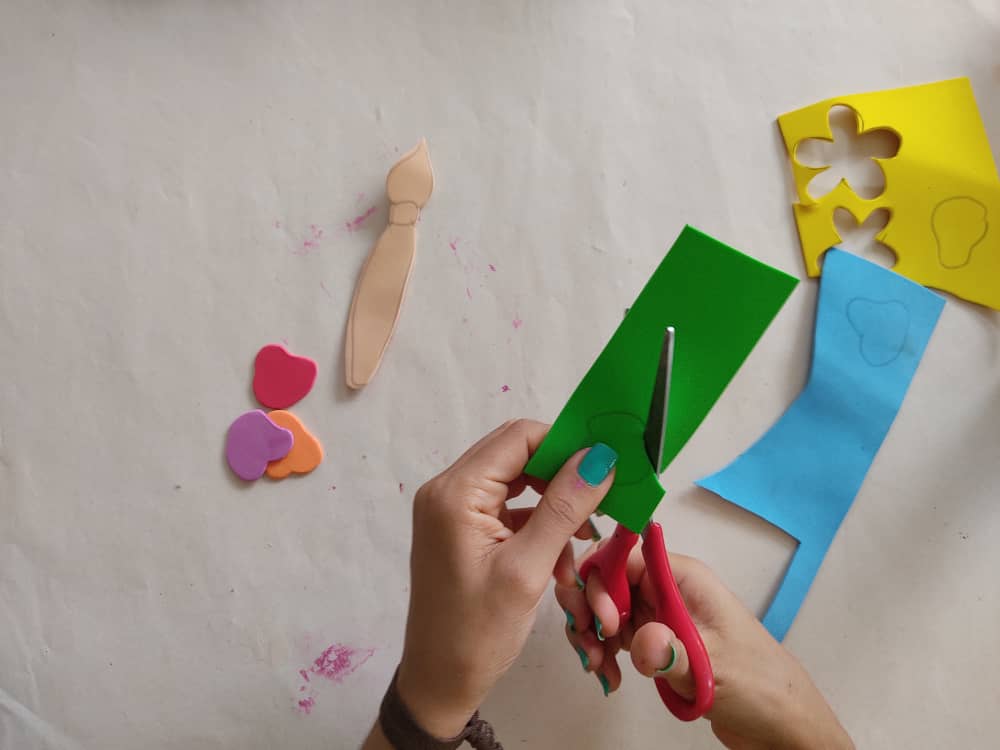
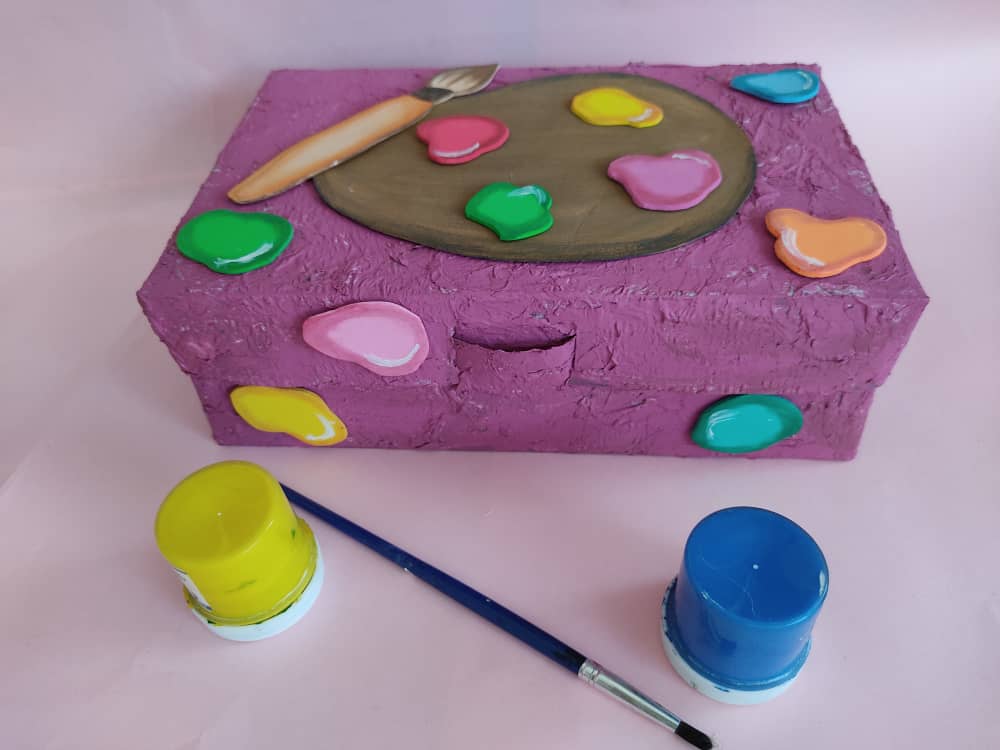
Ahora, elaboramos los detalles que le darán un toque de belleza y originalidad a esta increíble y práctica caja, en este caso como lo que más amo es pintar, decidí elaborar una hermosa paleta de pinturas, donde utilice retazos de foami para hacer un pincel, y las manchas de pintura en distintos colores de tonos muy alegres.
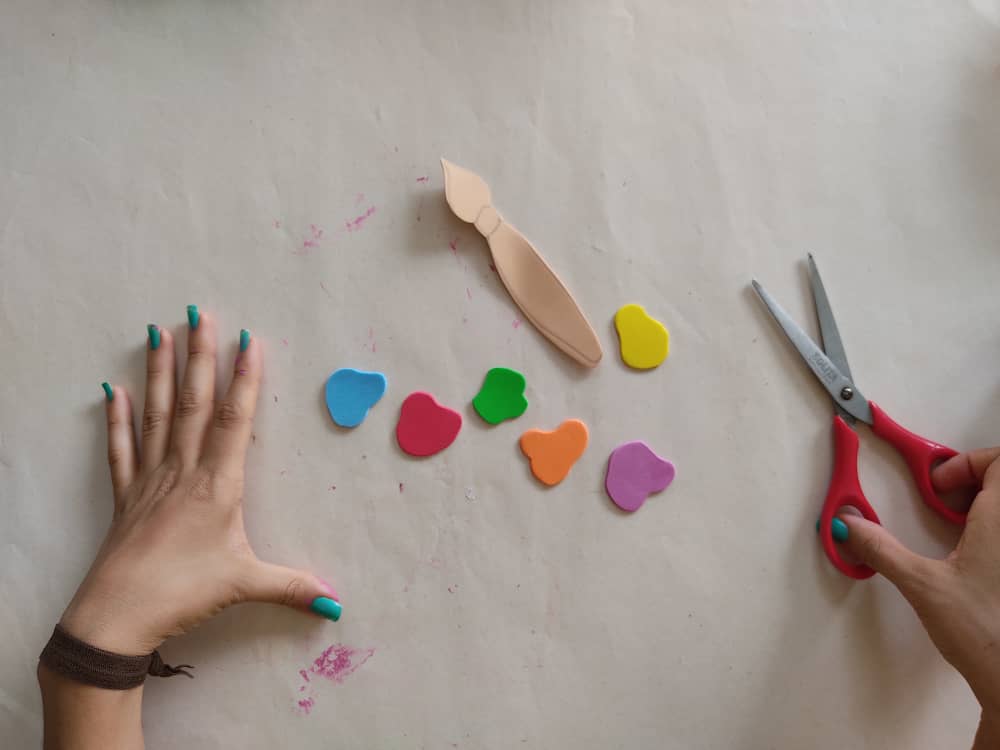
Now, we elaborate the details that will give a touch of beauty and originality to this incredible and practical box, in this case as what I love the most is to paint, I decided to elaborate a beautiful palette of paints, where I used pieces of foamy to make a brush and the spots of paint in different colors of very happy tones.
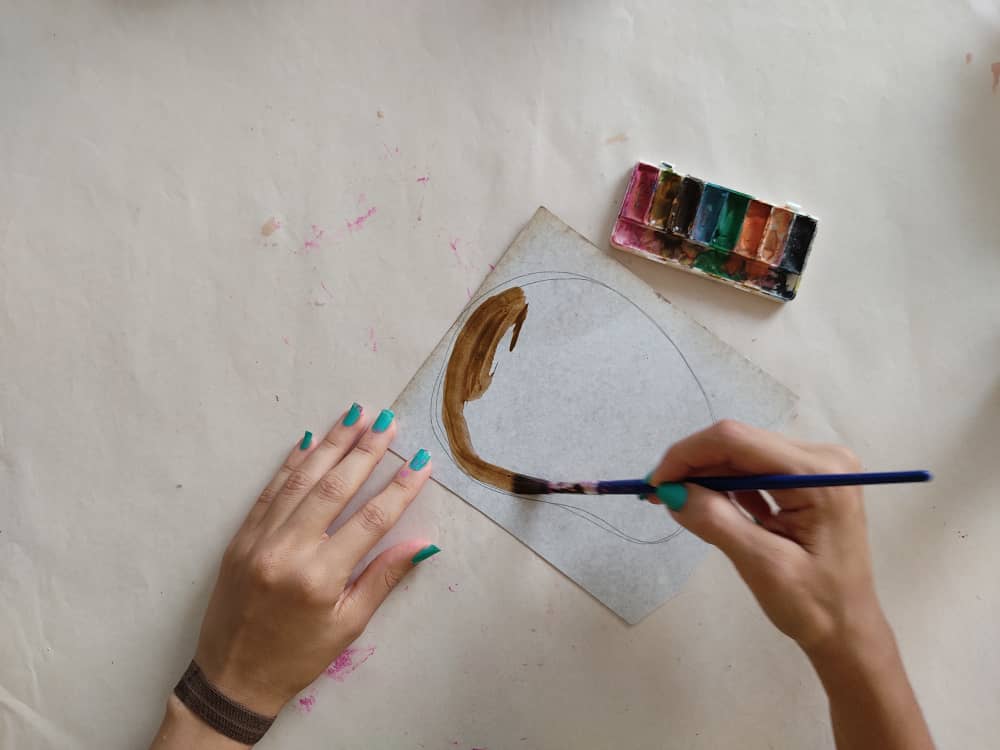
Luego, fabricamos la base de la paleta recortando un trozo de lámina de cartón, y le damos un poco de vida aplicando pintura de hermosos tonos marrones. Seguidamente pintamos con mucho amor el resto de las partes de nuestra paleta de pinturas.
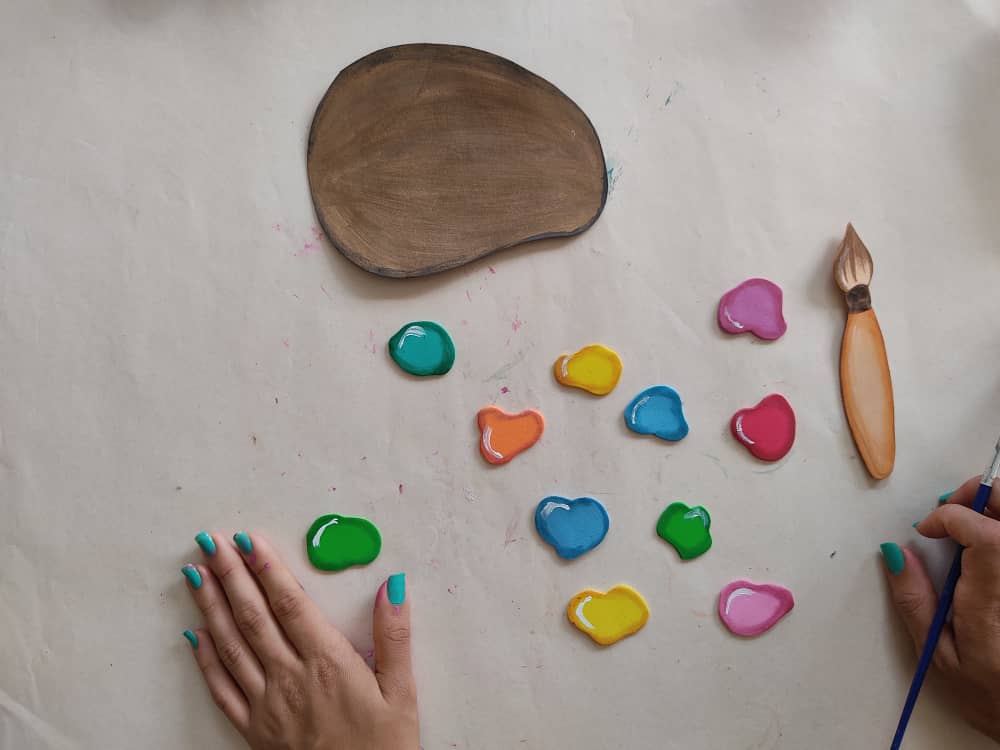
Then we make the base of the palette by cutting out a piece of the cardboard sheet, and we give it a little life by applying paint in beautiful brown tones. Next, we lovingly paint the rest of the parts of our palette of paints.
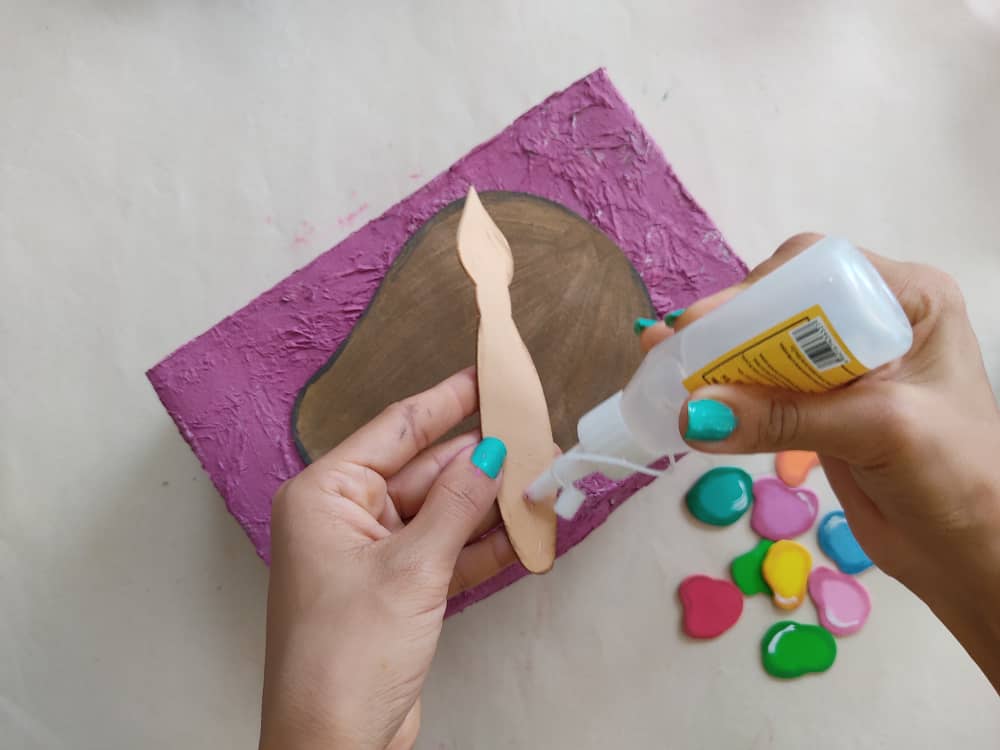
Finalmente, finalmente decoramos nuestra caja pegando nuestra fabulosa paleta de pinturas con la ayuda de pegamento o silicón líquido.

Finally, we finally decorate our box by gluing our fabulous palette of paints with the help of glue or liquid silicone.
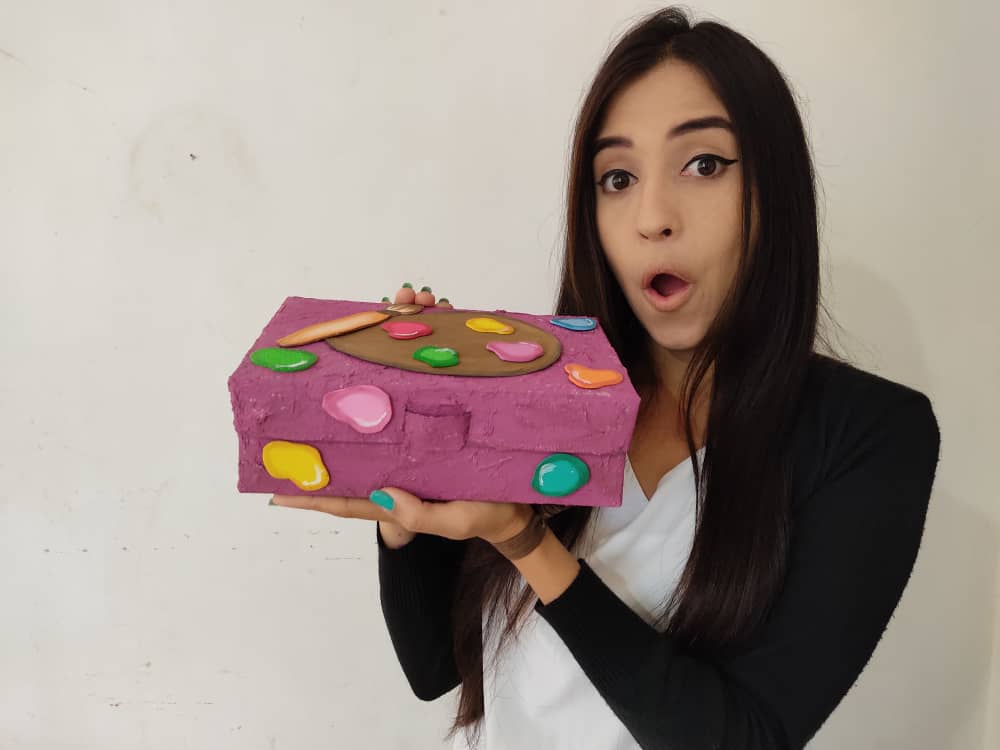
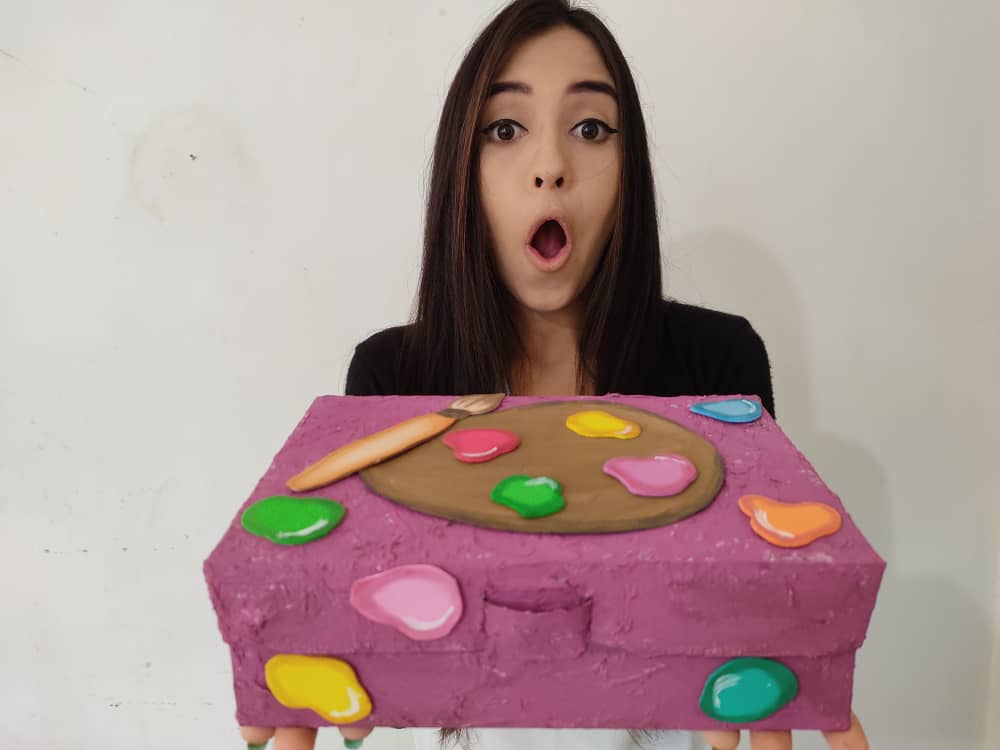
Gracias por acompañarme y espero que lo hayan disfrutado. ❤️
Thanks for joining and I hope you enjoyed it.❤️
.jpeg)
.jpeg)
.jpeg)
.jpeg)
.jpeg)
.jpeg)
.jpeg)
.jpeg)
.jpeg)
.jpeg)
.jpeg)
.jpeg)
.jpeg)
.jpeg)
.jpeg)
.jpeg)
Clic para ver trabajos anteriores | Click to see previous works
.jpeg)


My twt #posh
¡Felicitaciones!
1. Invierte en el PROYECTO ENTROPÍA y recibe ganancias semanalmente. Entra aquí para más información.
3. Suscríbete a nuestra COMUNIDAD, apoya al trail de @Entropia y así podrás ganar recompensas de curación de forma automática. Entra aquí para más información sobre nuestro trail.
4. Creación de cuentas nuevas de Hive aquí.
5. Visita nuestro canal de Youtube.
Atentamente
El equipo de curación del PROYECTO ENTROPÍA
Very cool and interesting work, Sara. What do you do for a living? You would be an excellent teacher. The kids would love you! 🤗