In past I have covered various type of the Gdevelop usage activities. I am sure you can easily follow these previous set of tutorials and teach your kids how to use them for making a game.
This is 8th post in my series of creating a game using GDevelop for Kids.
In case if you have not followed Tutorials, here are some of them listed for you in table of contents.
- GDevelop - How to Create Project
- GDevelop - How to Create Scene
- GDevelop - How to add background Image
- GDevelop - How to add Image Sprite
- GDevelop - How to Horizontal Scroll
- GDeveop - How to Vertical Scroll
- GDevelop - How to Add Background Color
In the series, I have covered a lot of basics which can be pretty useful for the kids. And also if you are teacher or the adult who is into the game development. You would find this series pretty much useful too. Each part in the series is independent and not connected. So you can start from any of the post from the tutorial series and you would be able to learn something new about GDevelop.
In this post, I am going to cover the character movement. The thing about the character movement is that you have to find the sprite sheet first. Each movement be it left, right, top and down. All of those movement can give you sprite movement for your character. You can use this tutorial to create your hero or the enemy character in the platformer or the RPG character.
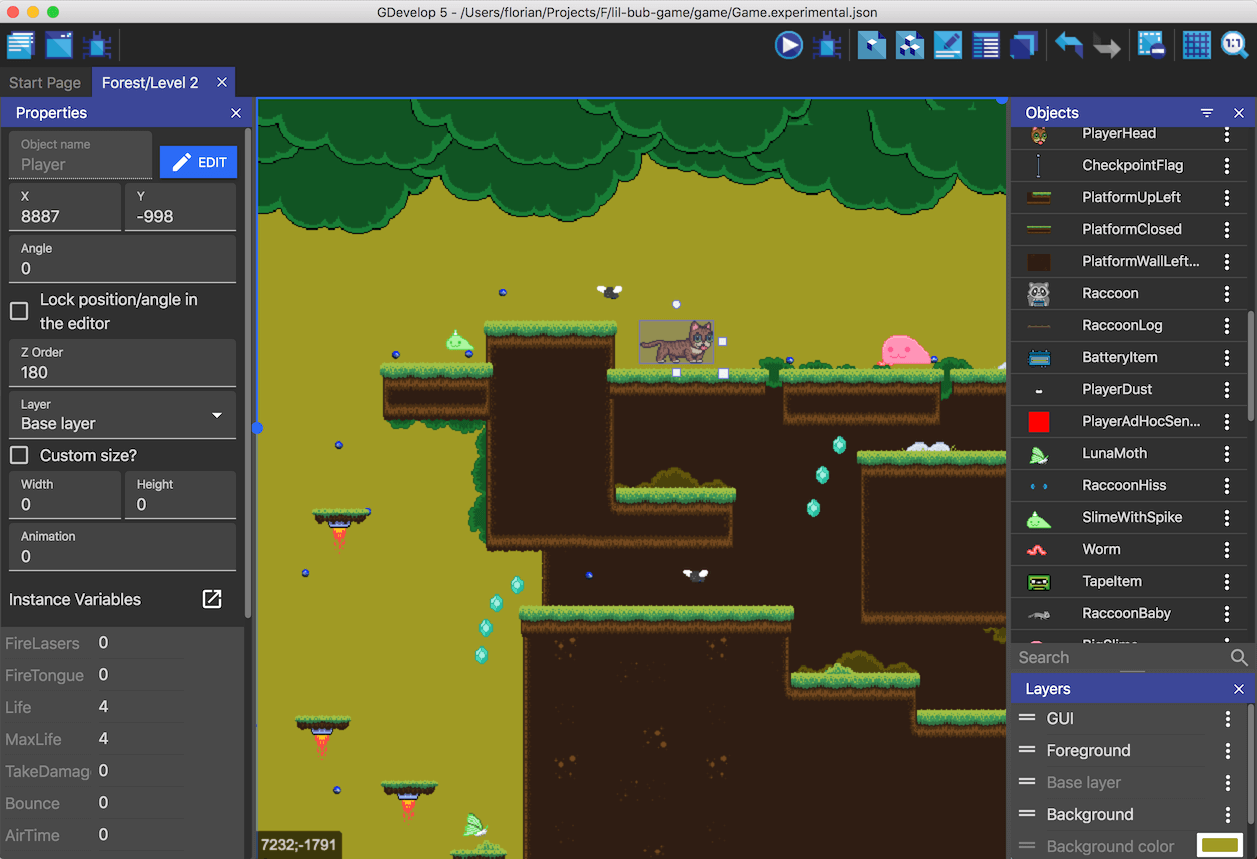
Image Credit: GDevelop
Follow the instructions below to add character movement.
- Install GDevelop from official site.
- Open up Gdevelop.
- Create new project.
- Click on project explorer on left top panel.
- Choose scene.
- Add the object into the scene.
- Add your character sprite into this object.
- You can assign the left, right ,top and bottom sprite for the object.
- Drop the character object onto the scene.
- Once you save the project. You can try out the code for the movement.
- Go to scene events for adding the movement code.
- For the character sprite make sure you apply force for the forward movement.
- You can also add movement for the idle movement sprite as well.
- You can then also add the gravity on the platform object.
- When you add the jump movement then this needs to be properly setup.
- Save project
- Run the project
- Preview the project.
That is all you need to set the character movement. You should try the video tutorial that is given below if you want to follow the video instructions. Often what happens is that people get the video instruction lot easily compared to the text based instruction. I would suggest that you should offer some sort of the character assets that can be used in the game. There are plenty of sites that you can try out for the same.
You can also check out the Video instruction of the tutorial.
I am making use of the craft pixel website for the character asset. You can also make use of the itch.io website for getting the new character set. There are some free and then there are some of the paid character asset that you can download and make use of. Make sure that you are teaching kids so the assets needs to be family friendly as well.
Another thing is that you can download the pre made assets that are out there which are kids safe graphics. And you can share that graphics with kids and all of them can make use of graphics that is approved by you. After character movement you should be adding more effects into the game. That should give you more things to display in the game.
We will continue the further game development topic in next post.
@tipu curate
Upvoted 👌 (Mana: 84/112) Liquid rewards.